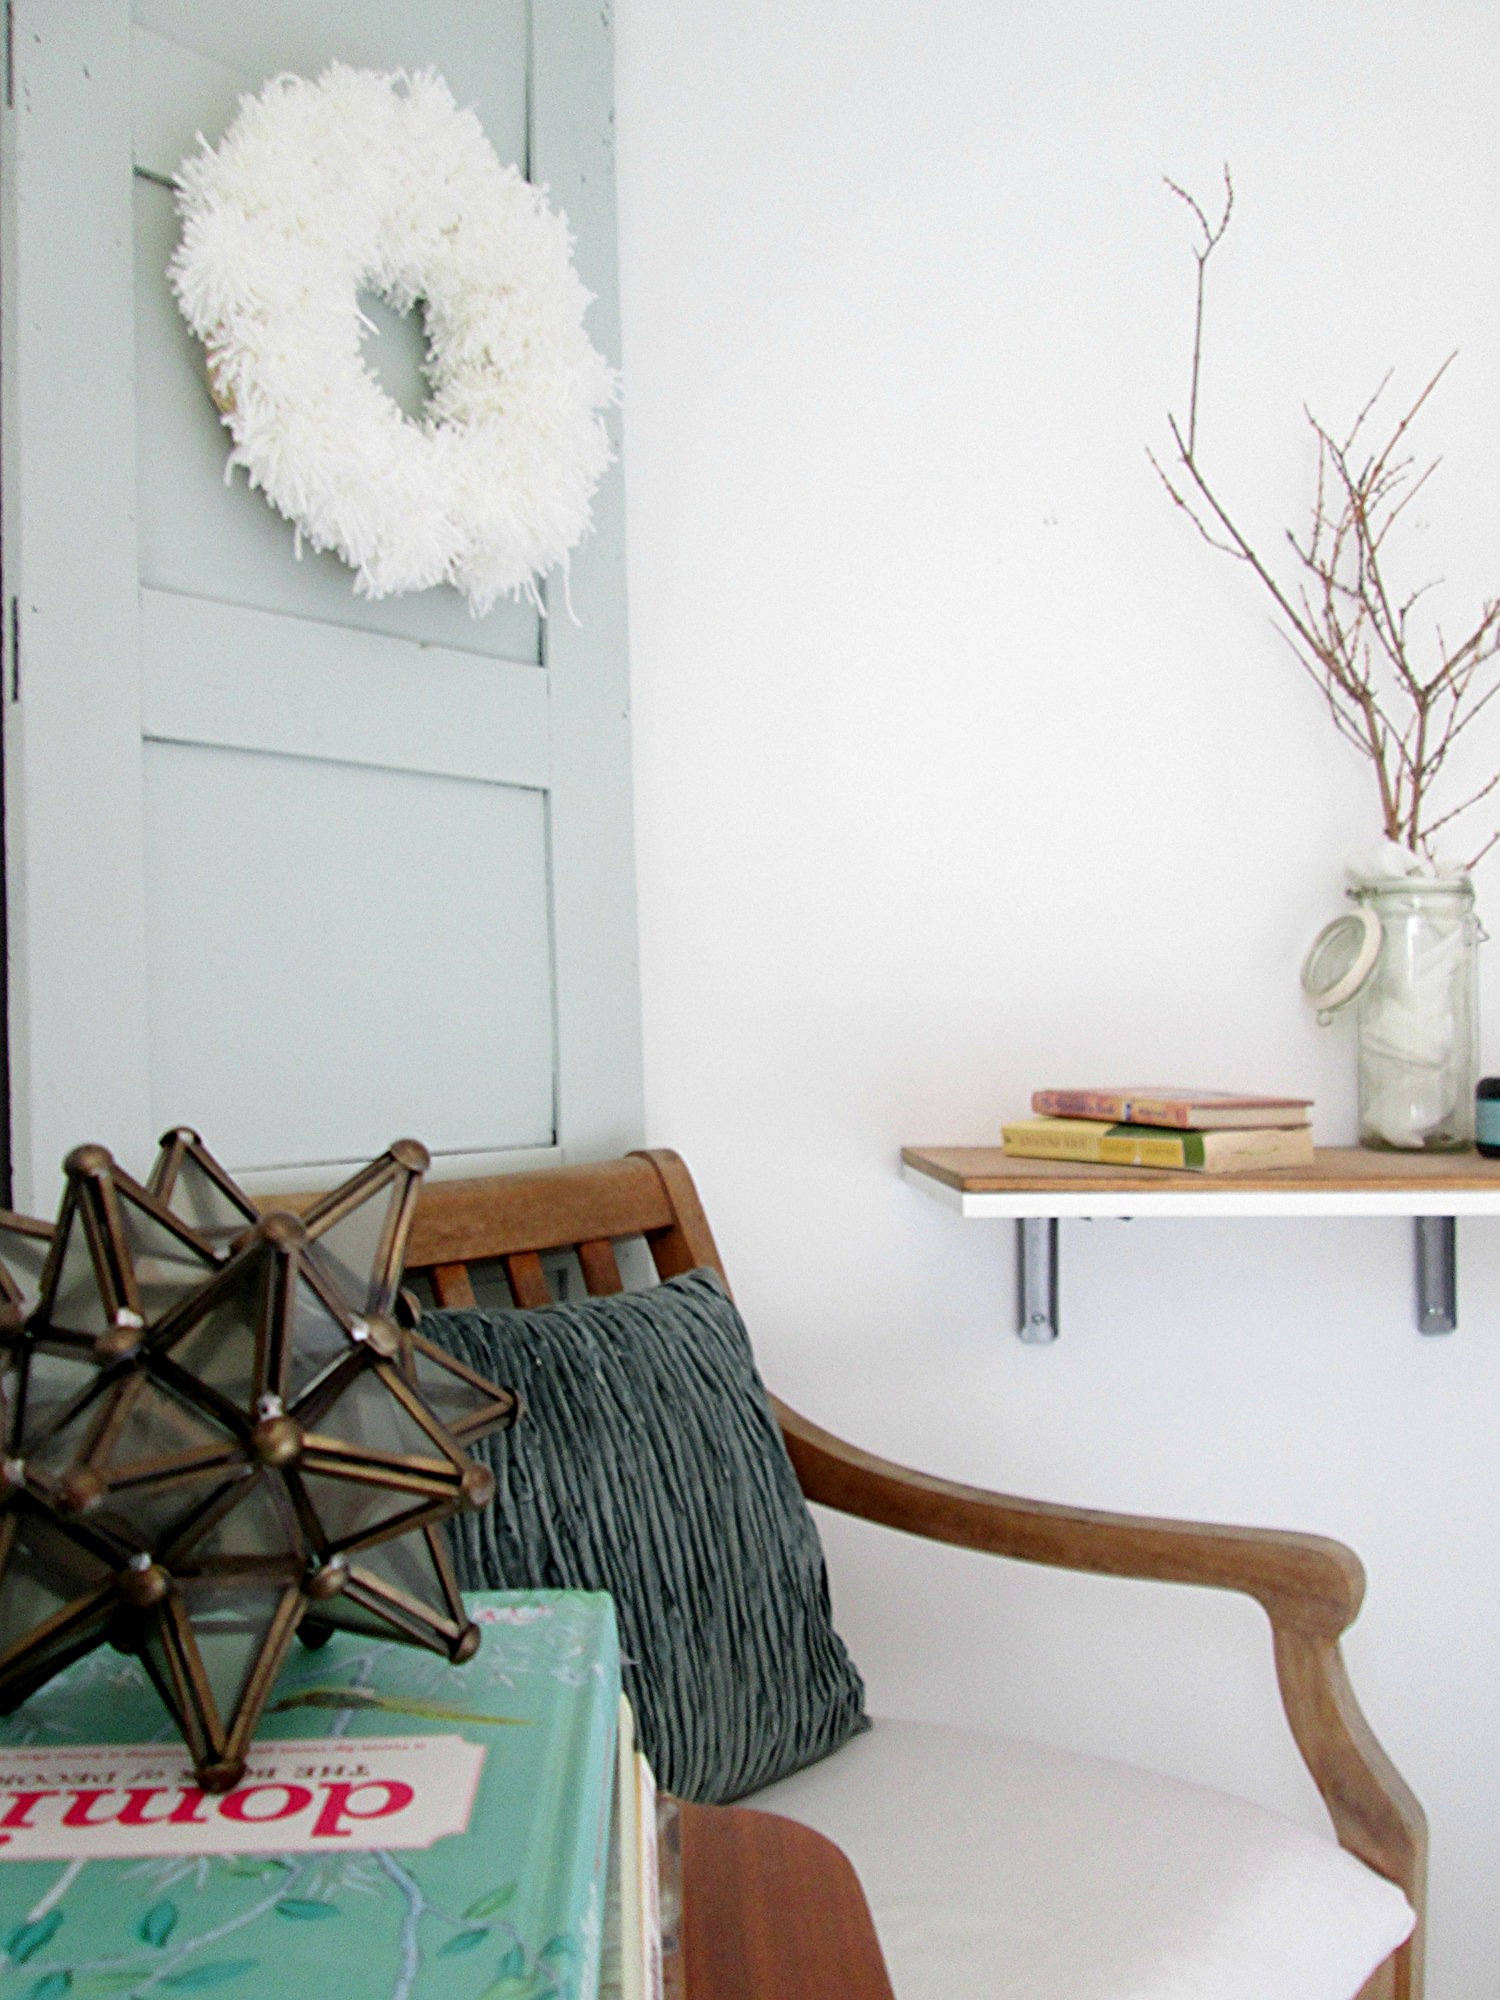
DIY Bookpage Wreath - Repost

Hi All! I almost forgot to share this old bookpage wreath tutorial from long ago! I shared it on Chelsea's Garage, (my old blogger stomping grounds), a couple of years ago and its been one of the most popular projects spit out of this small production line. This is a wreath I keep up year round, but I always like to share the tutorial again near the holidays, in case anyone's interested in a fabulous wreath project.

paper wreath9.jpg

For this project, you need just a few fairly common supplies:
-A book or two, (I used two with slightly different color pages for contrast)
-Stapler
-All purpose glue
-Foam wreath frame
-Black craft paint, (optional)
-Small artists brush, (only if you're using the black paint)

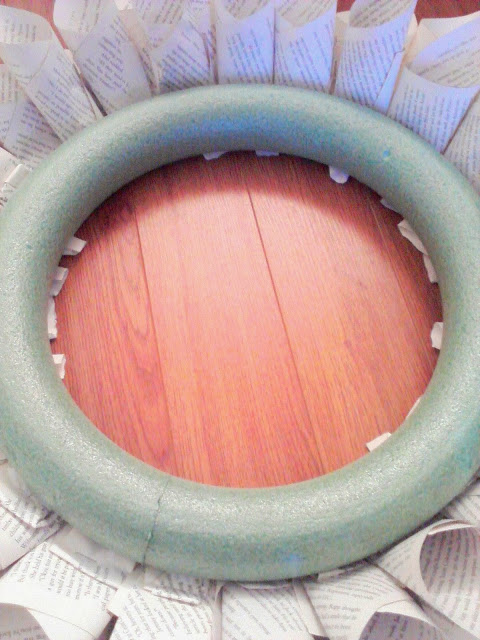
Step 1: With the books closed, take the brush and paint the outside of the pages with the black craft paint. Giving them a darker edge will create some visual contrast between each page in your wreath.

paper wreath3.jpg

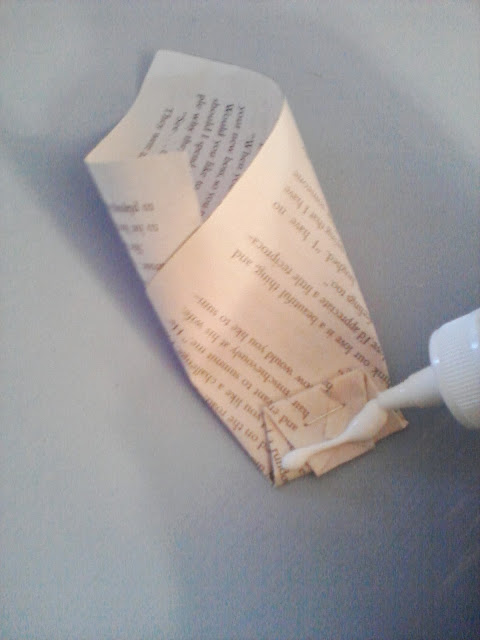
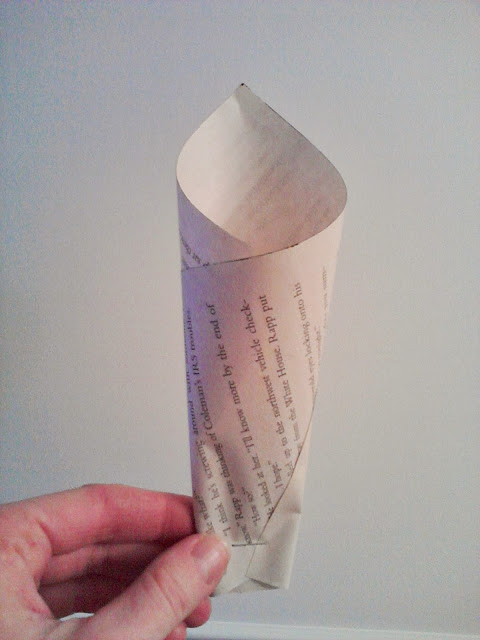
Step 2:  Tear out a page, form it into a cone
Step 3: Fold the bottom of the cone up about an inch, and staple
Step 4: Glue the bottom edge of your cone
Step 5: Place your hand gently in the cone, and attach the cone to the foam wreath frame, working your way from the outside, in.
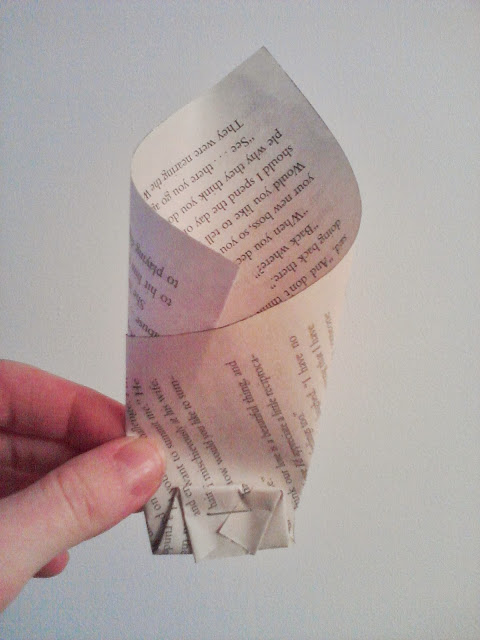
Not too complicated, right?! As you work your way inside the foam frame with the cones, it's helpful to add glue to both sides of the cones so they attach both to the frame, and the previous row of cones. Just tuck em' right in there.

I hope you're having a wonderful week and are enjoying this special time of year. It goes by so fast, I know. I have no tips on slowing down time, but I think pace is one thing in our control that we should handle with care. Don't overload your plate. Be realistic with your time and commitments. Be honest about your priorities. These DIYs are a dime a dozen and are absolutely unnecessary to enjoying the holiday season. They're simply meant to give you ideas and ways to add a bit of festive spark, if time allows, to your home.  

Thank you all so much for stopping by!

DIY Gold Geometric Ornaments {Holiday DIY No. 5}

Hi All! On Monday I shared our Holiday Home Tour! Click here in case you missed it and want to look around - I'm still excited about it! I went a little simpler this year and for us, it's just right. Any Office fans out there? Remember K-I-S-S; Keep It Simple Stupid? Well that's been my motto lately. But even simple can be lovely and cozy and cause warm fuzzy feelings. 

I'm kind of sad, (and kind of glad), to say it, but this is the last Holiday DIY project I'll be sharing before Christmas! I know we're still a chunk of days away, but I'm parkin' this DIY bus a bit early to devote the remainder of this special time to my nearest and dearest. I don't even remember what DIYs I said we'd be covering, but I know there are a few we didn't check off. I think we made our way through some good ones though, yea?! All are linked in our sidebar to the right if you want to go back and recap. 

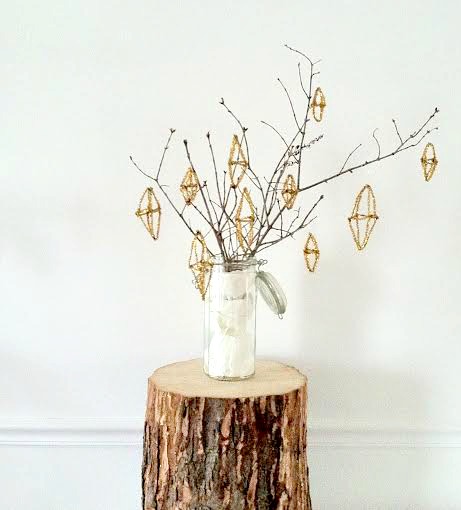
For the grand Holiday 2014 DIY finale, we're making ornaments! A little sparklier than the scrapbook paper ornaments we did last year, but just as easy! 

geo phone ornaments7.jpg

Geometric patterns are really trending right now, and I loved the idea of using gold pipe cleaners for a healthy dose of sparkle! Ever since our youngest became a giant wrecking ball, we have not hung our glass ball ornaments on the Christmas tree. I've used them elsewhere over the years, but not dangling helplessly and vulnerable from our trees. I do miss the shine they add, so I thought these gold geometric diamonds would be a perfect replacement! Best part is, they can't break! Do your worst, my wild little man!

These ornaments are really very easy to make. Here's how!

geo ornaments15.jpg

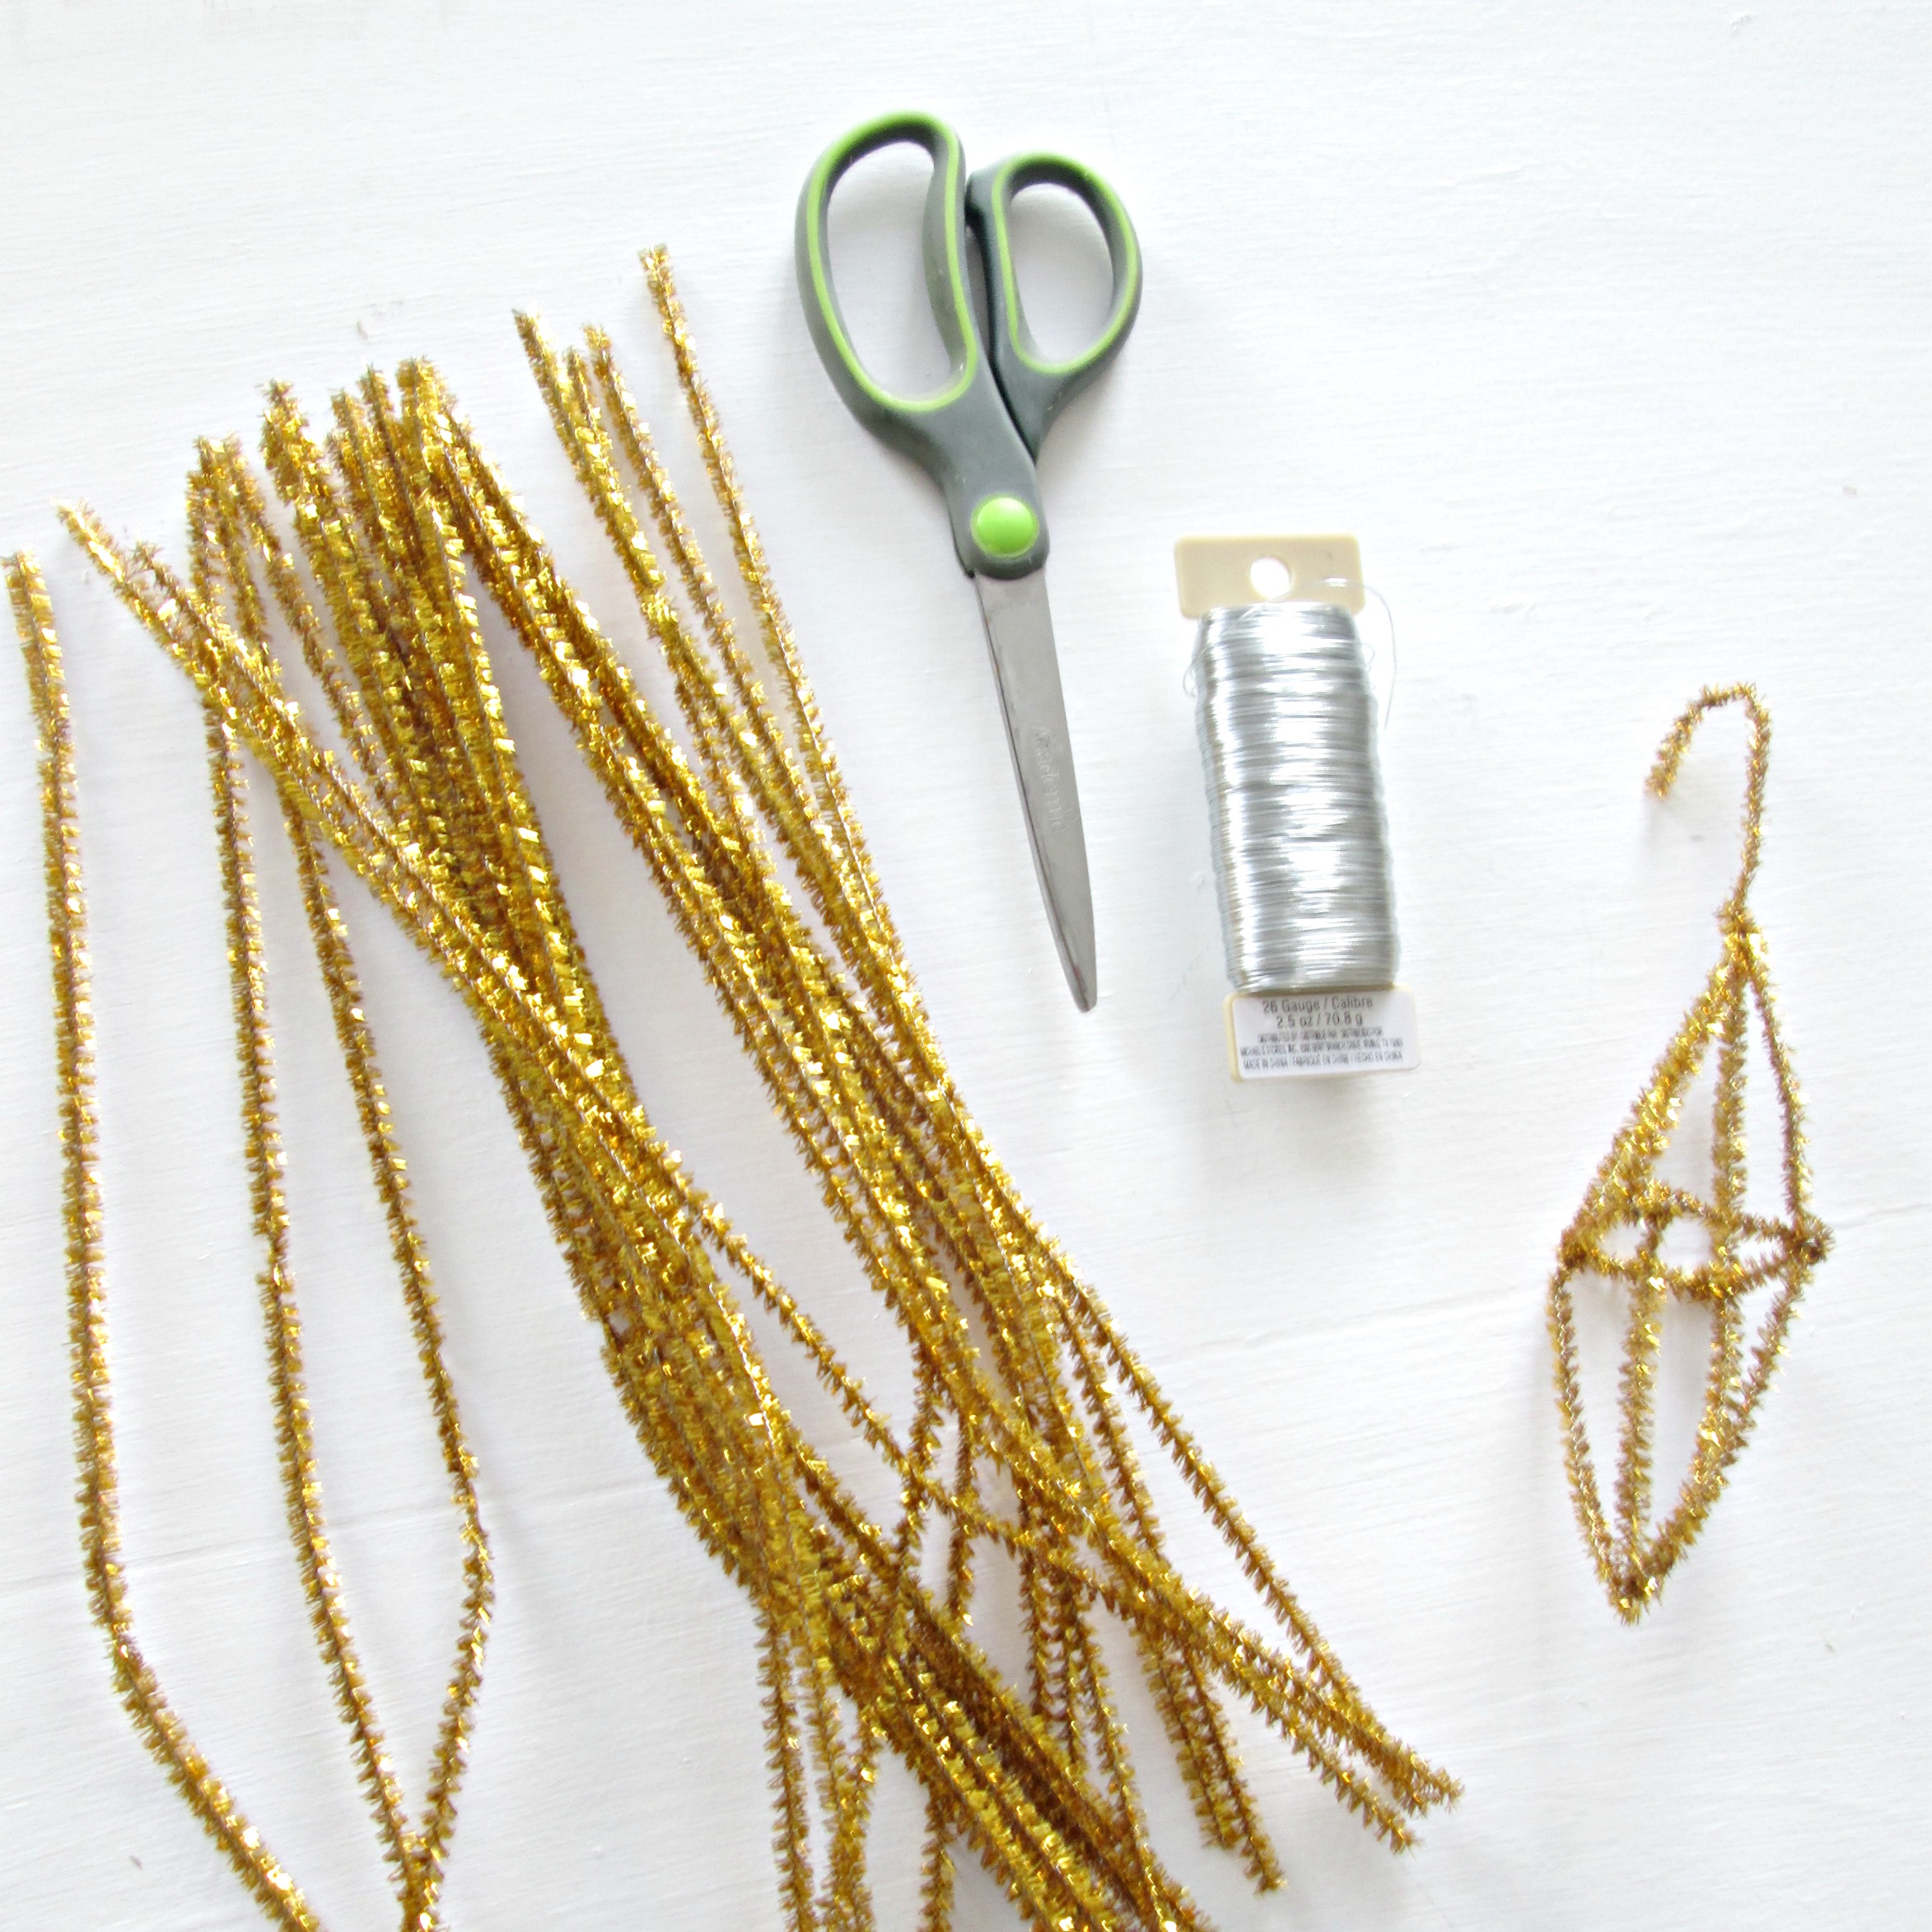
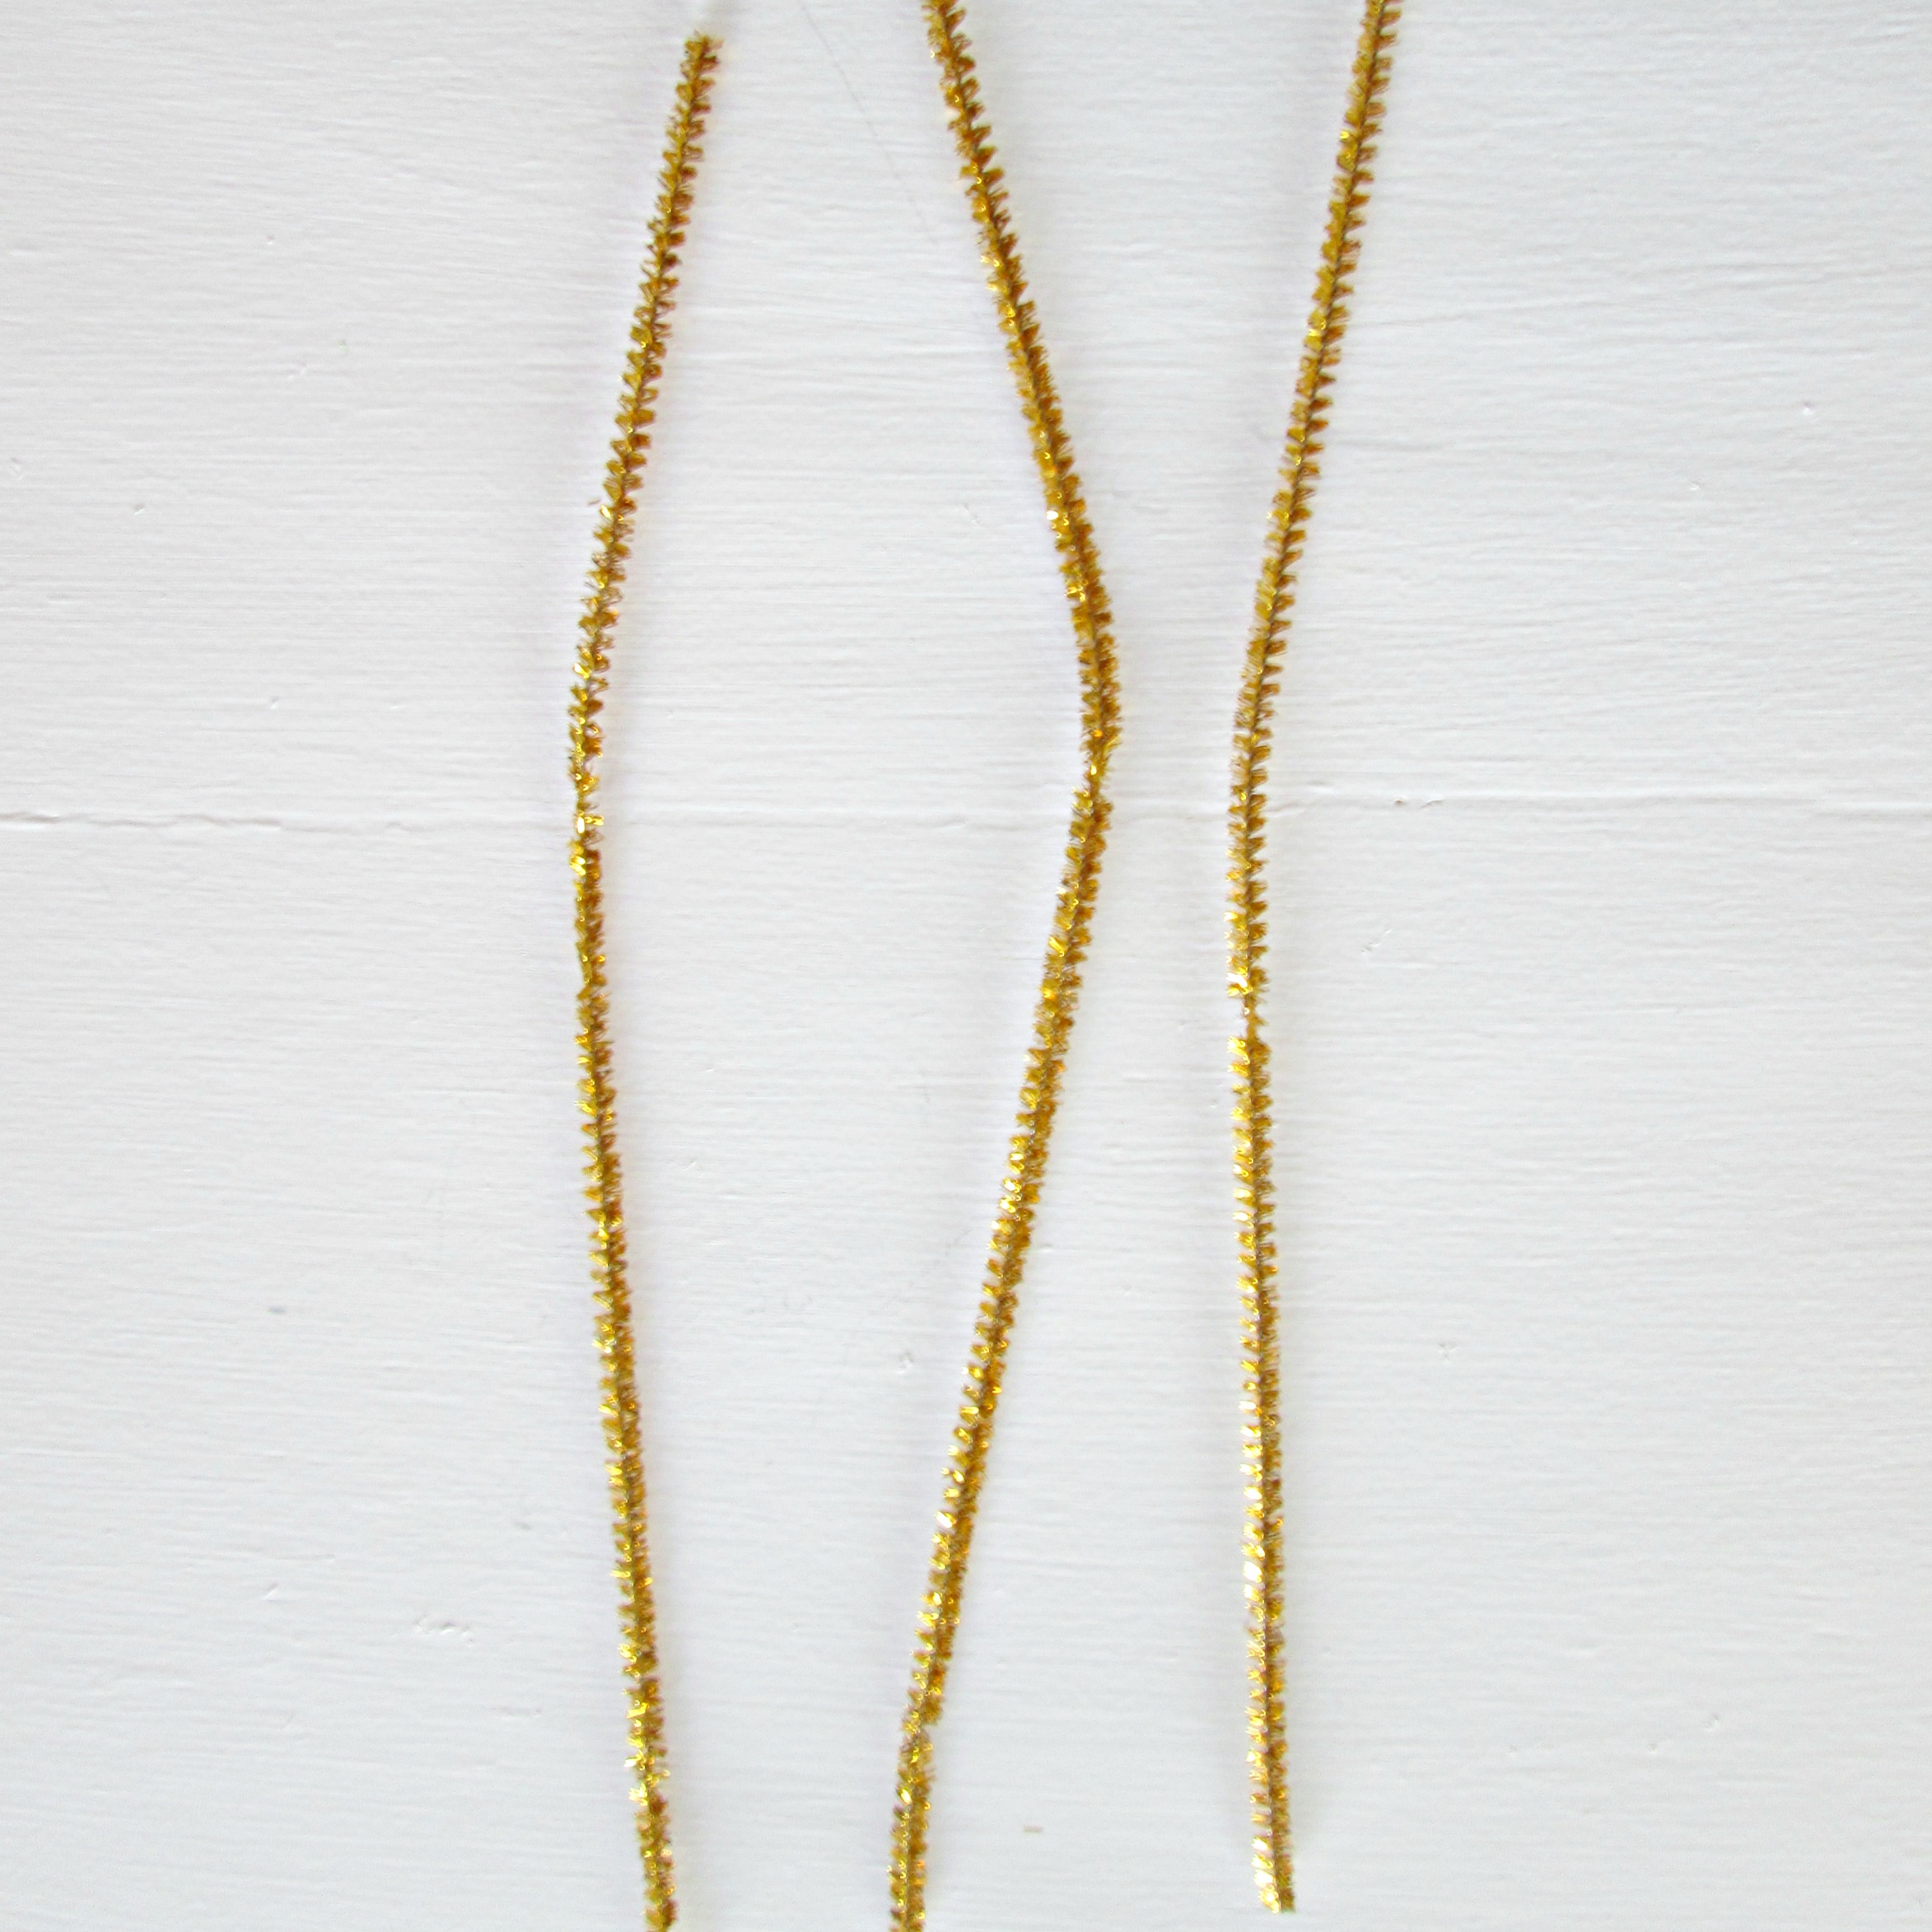
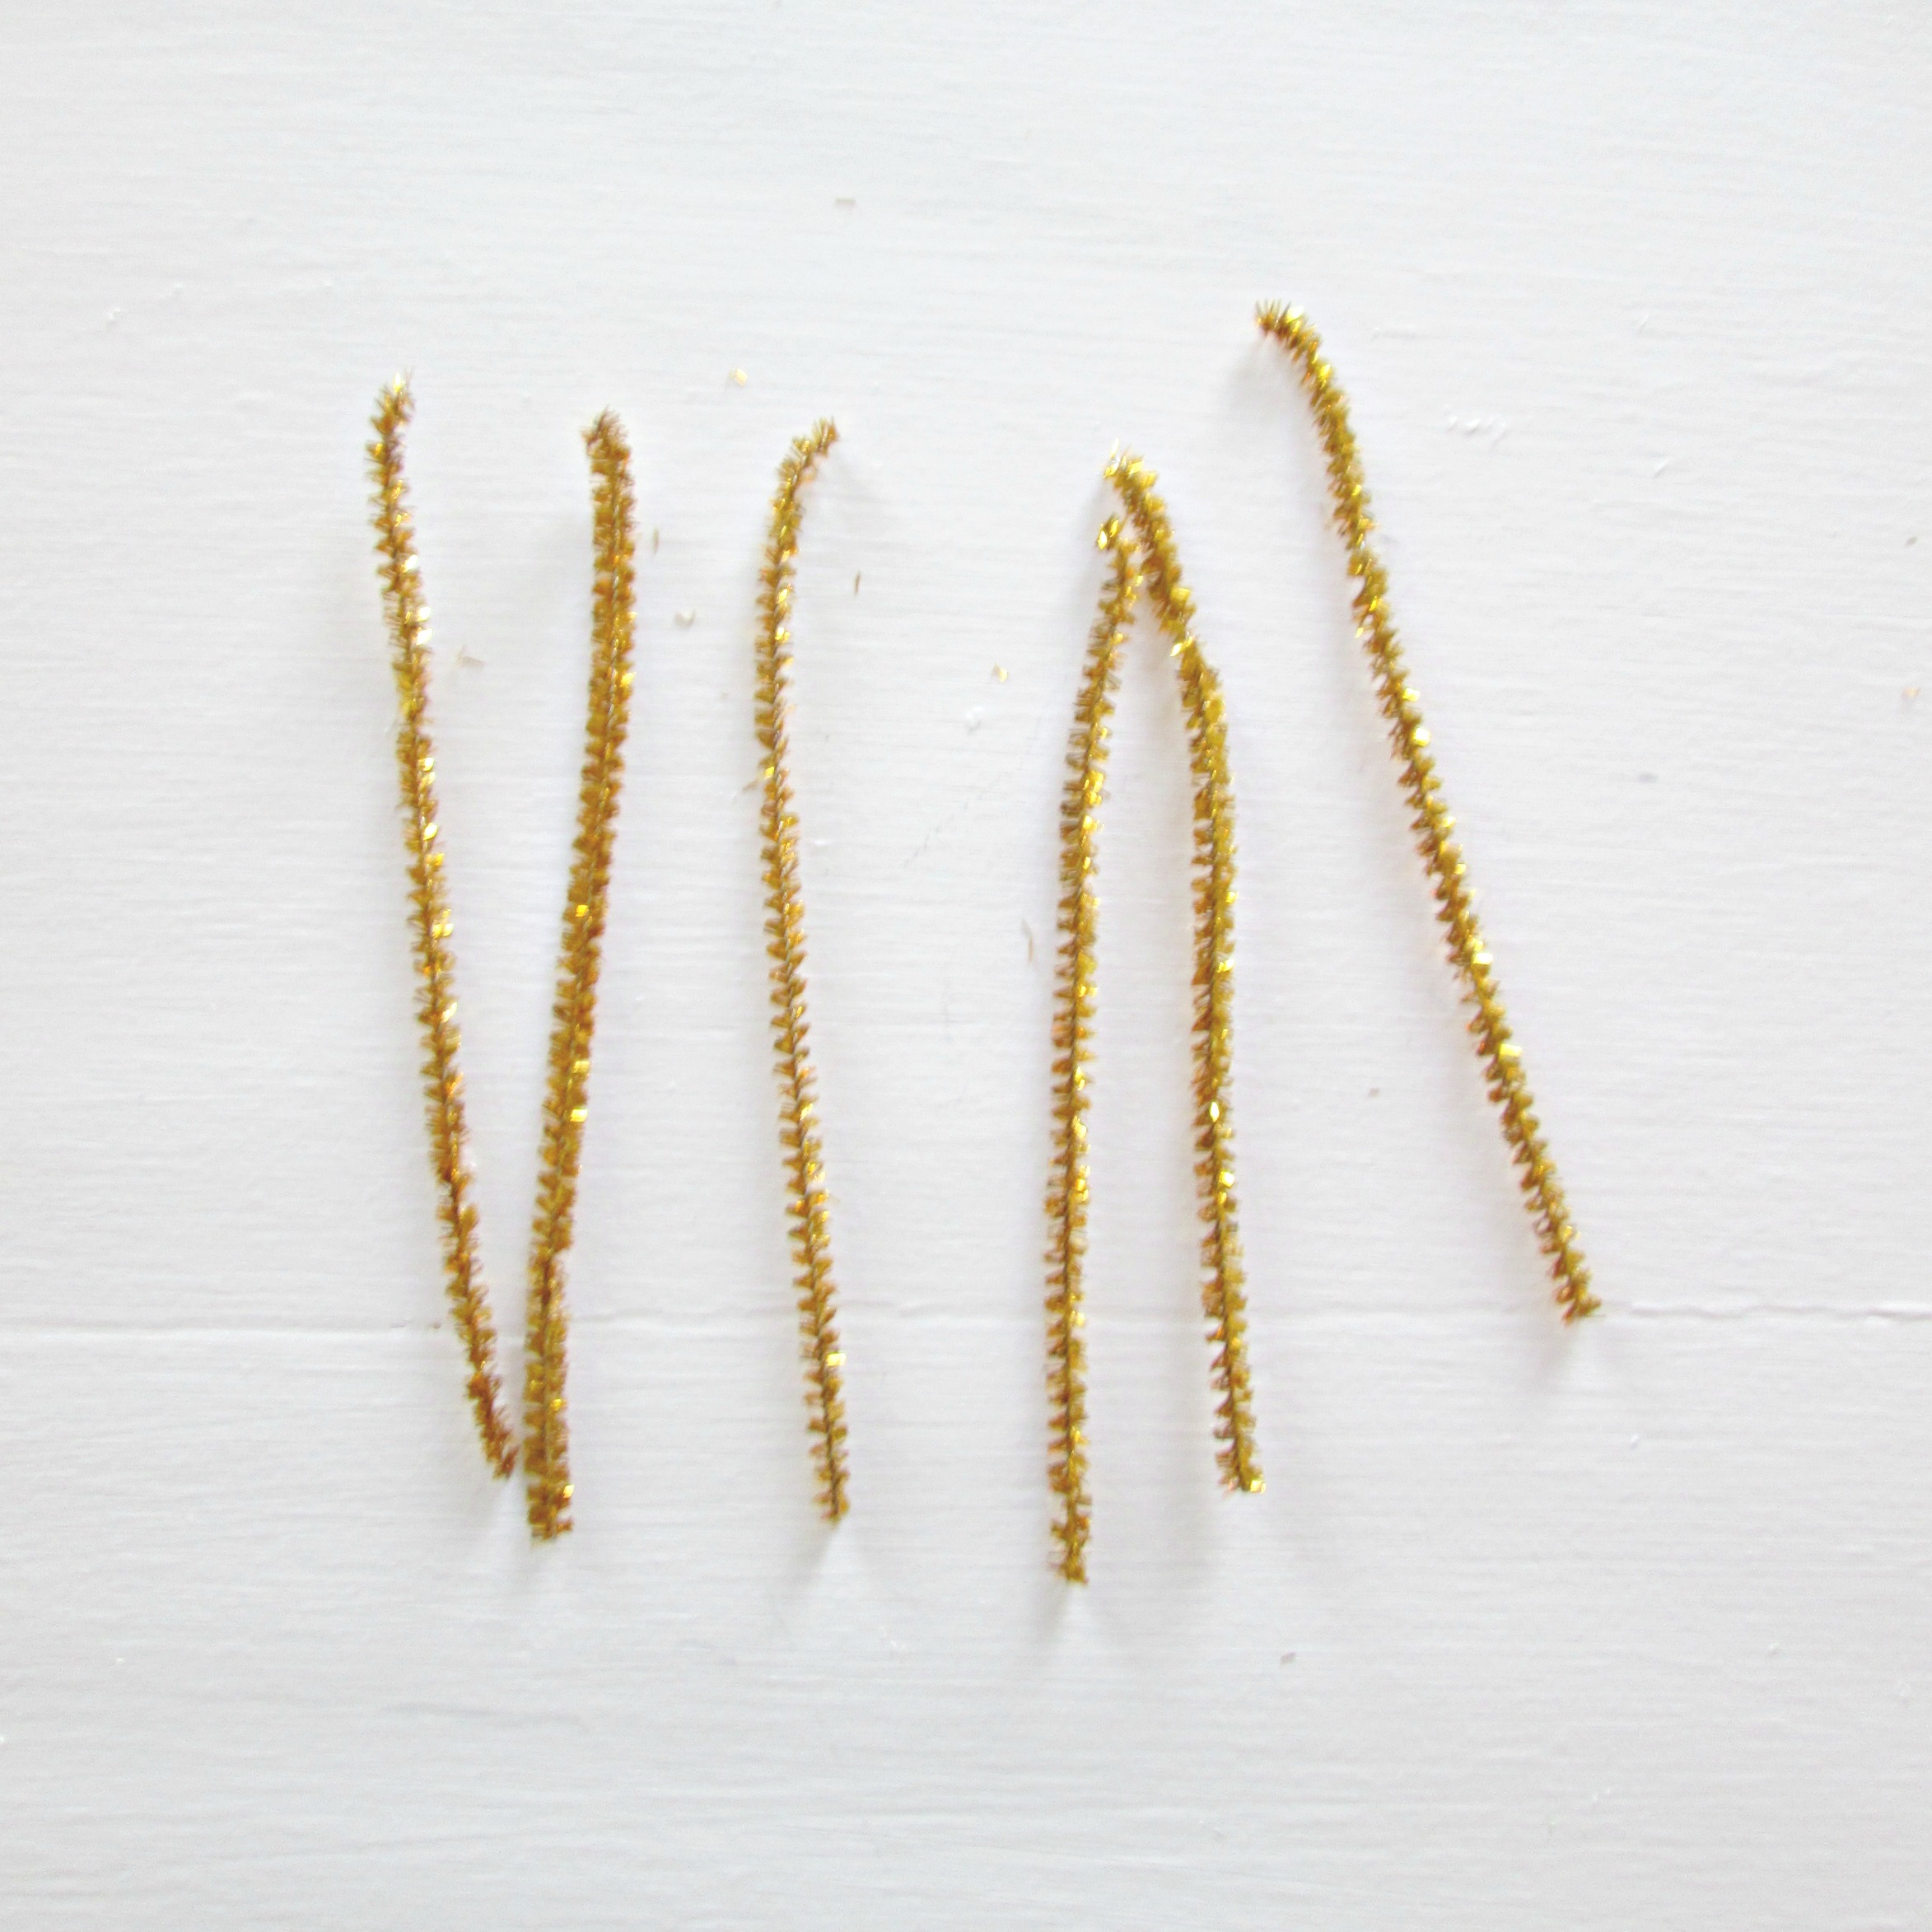
1. Take three pipe cleaners and cut them clean in half, (or in thirds if you want to make them smaller - I did an assortment of both).

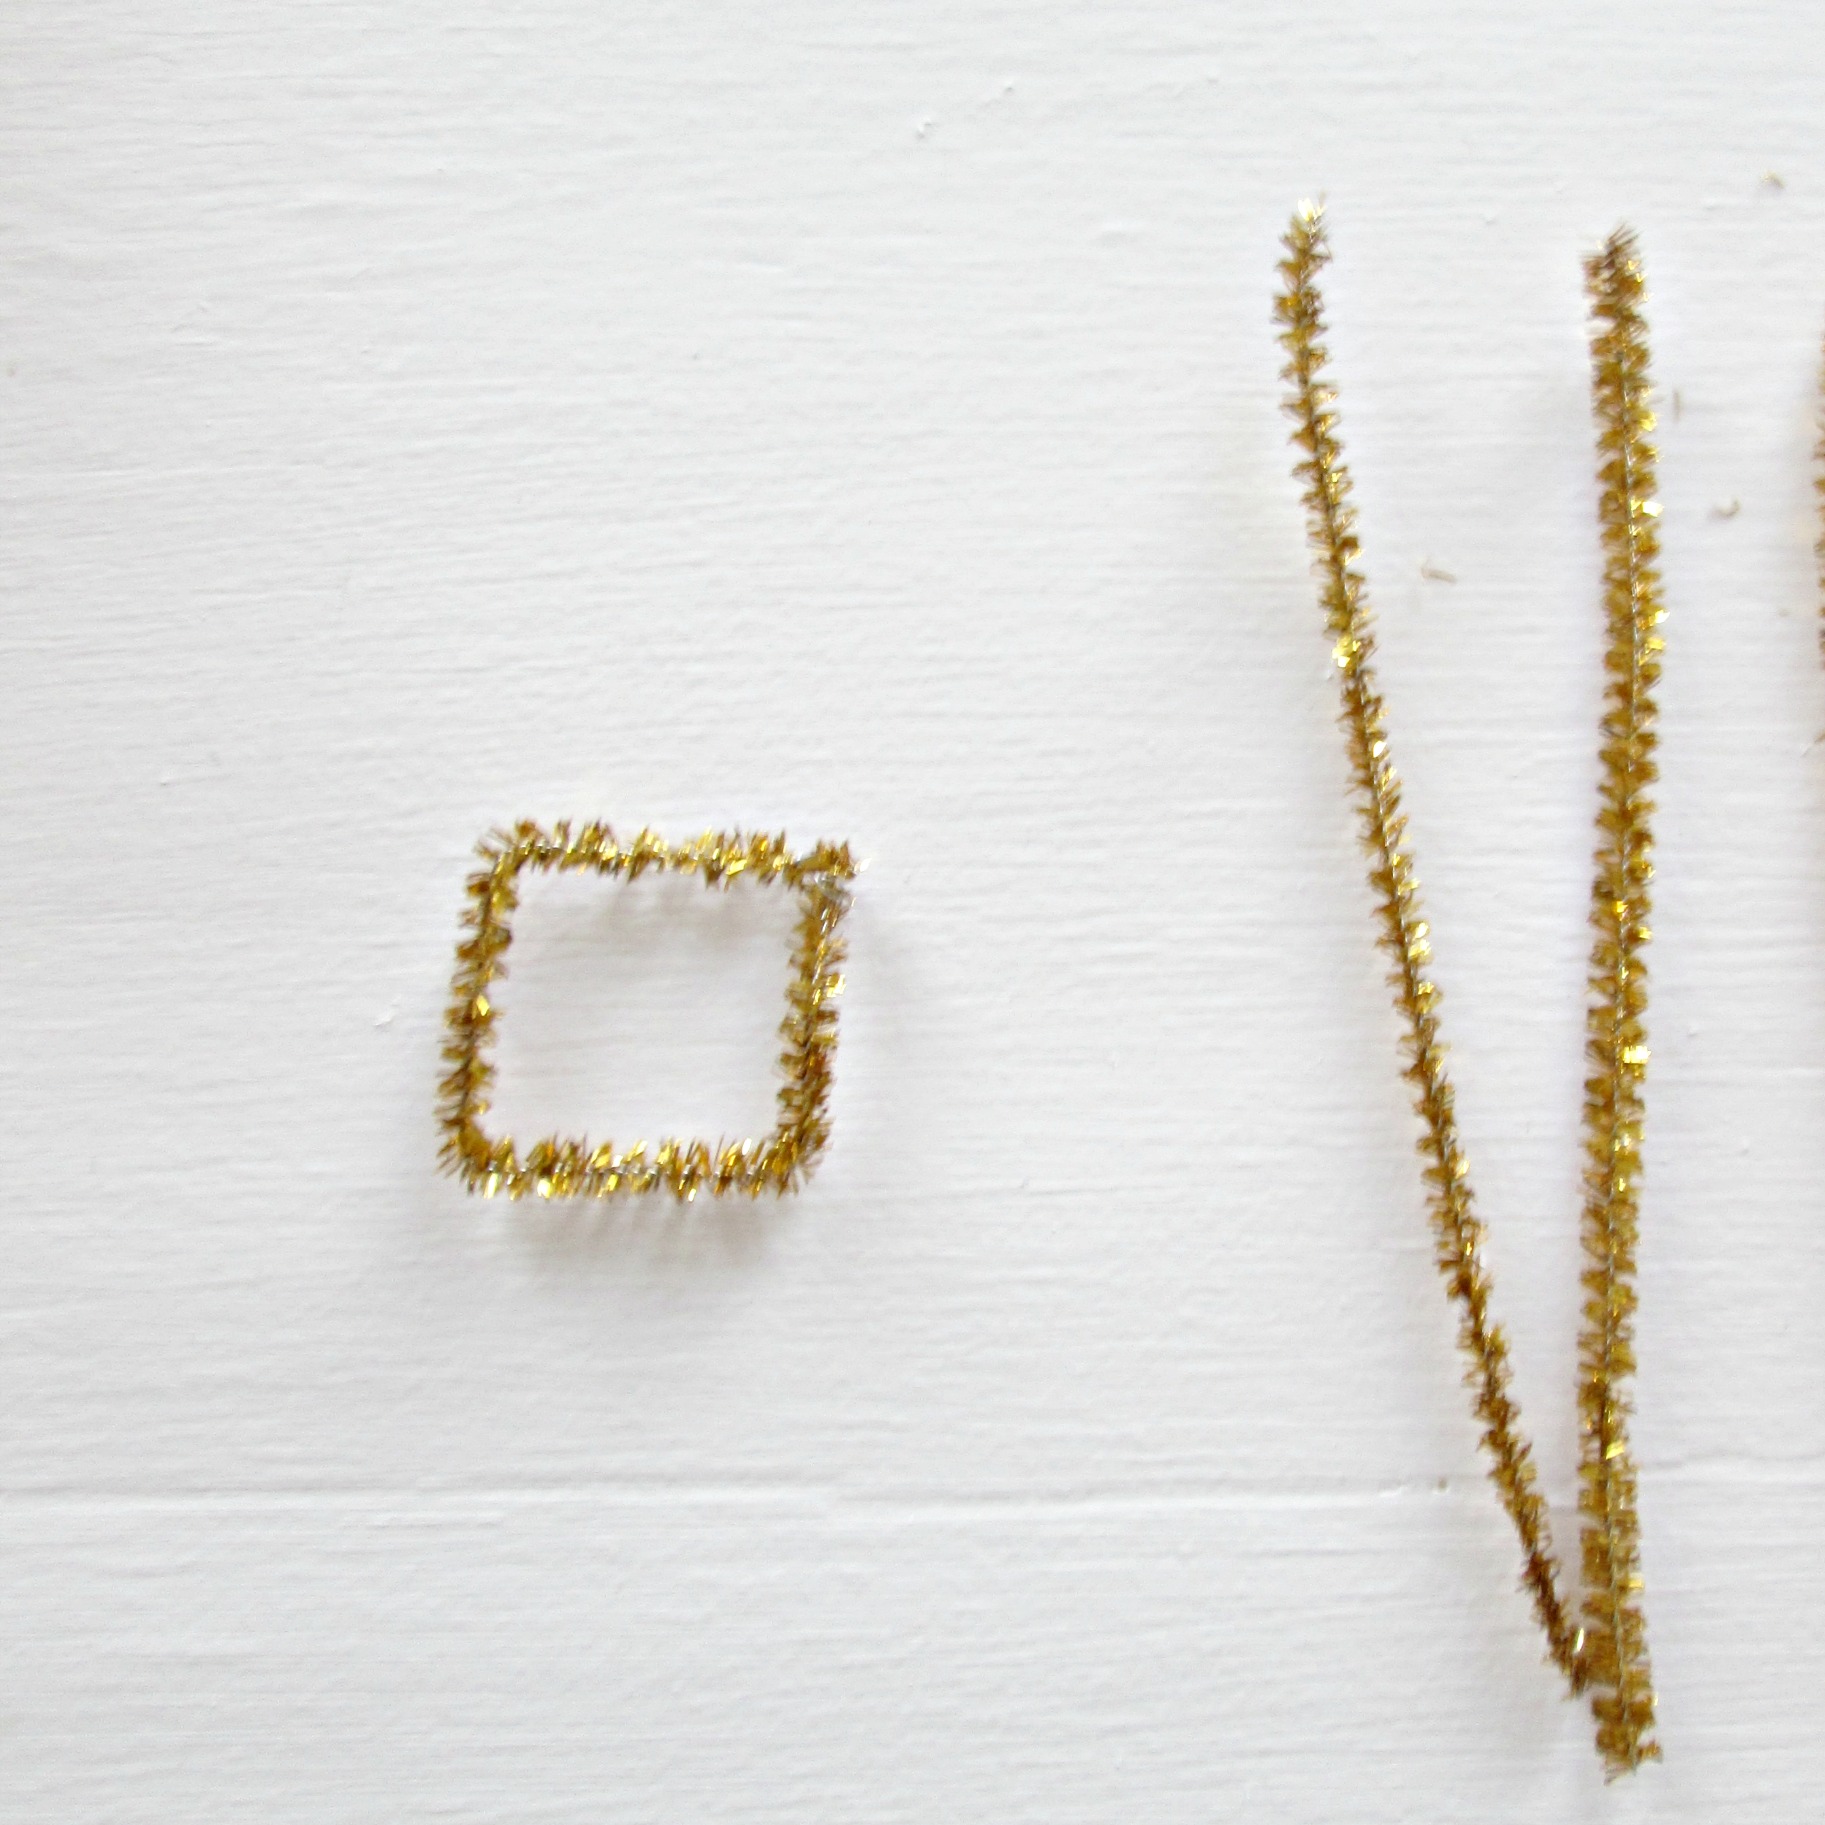
2. Use one 'stem' to make a square. Secure the ends by twisting them together, or securing with floral wire.

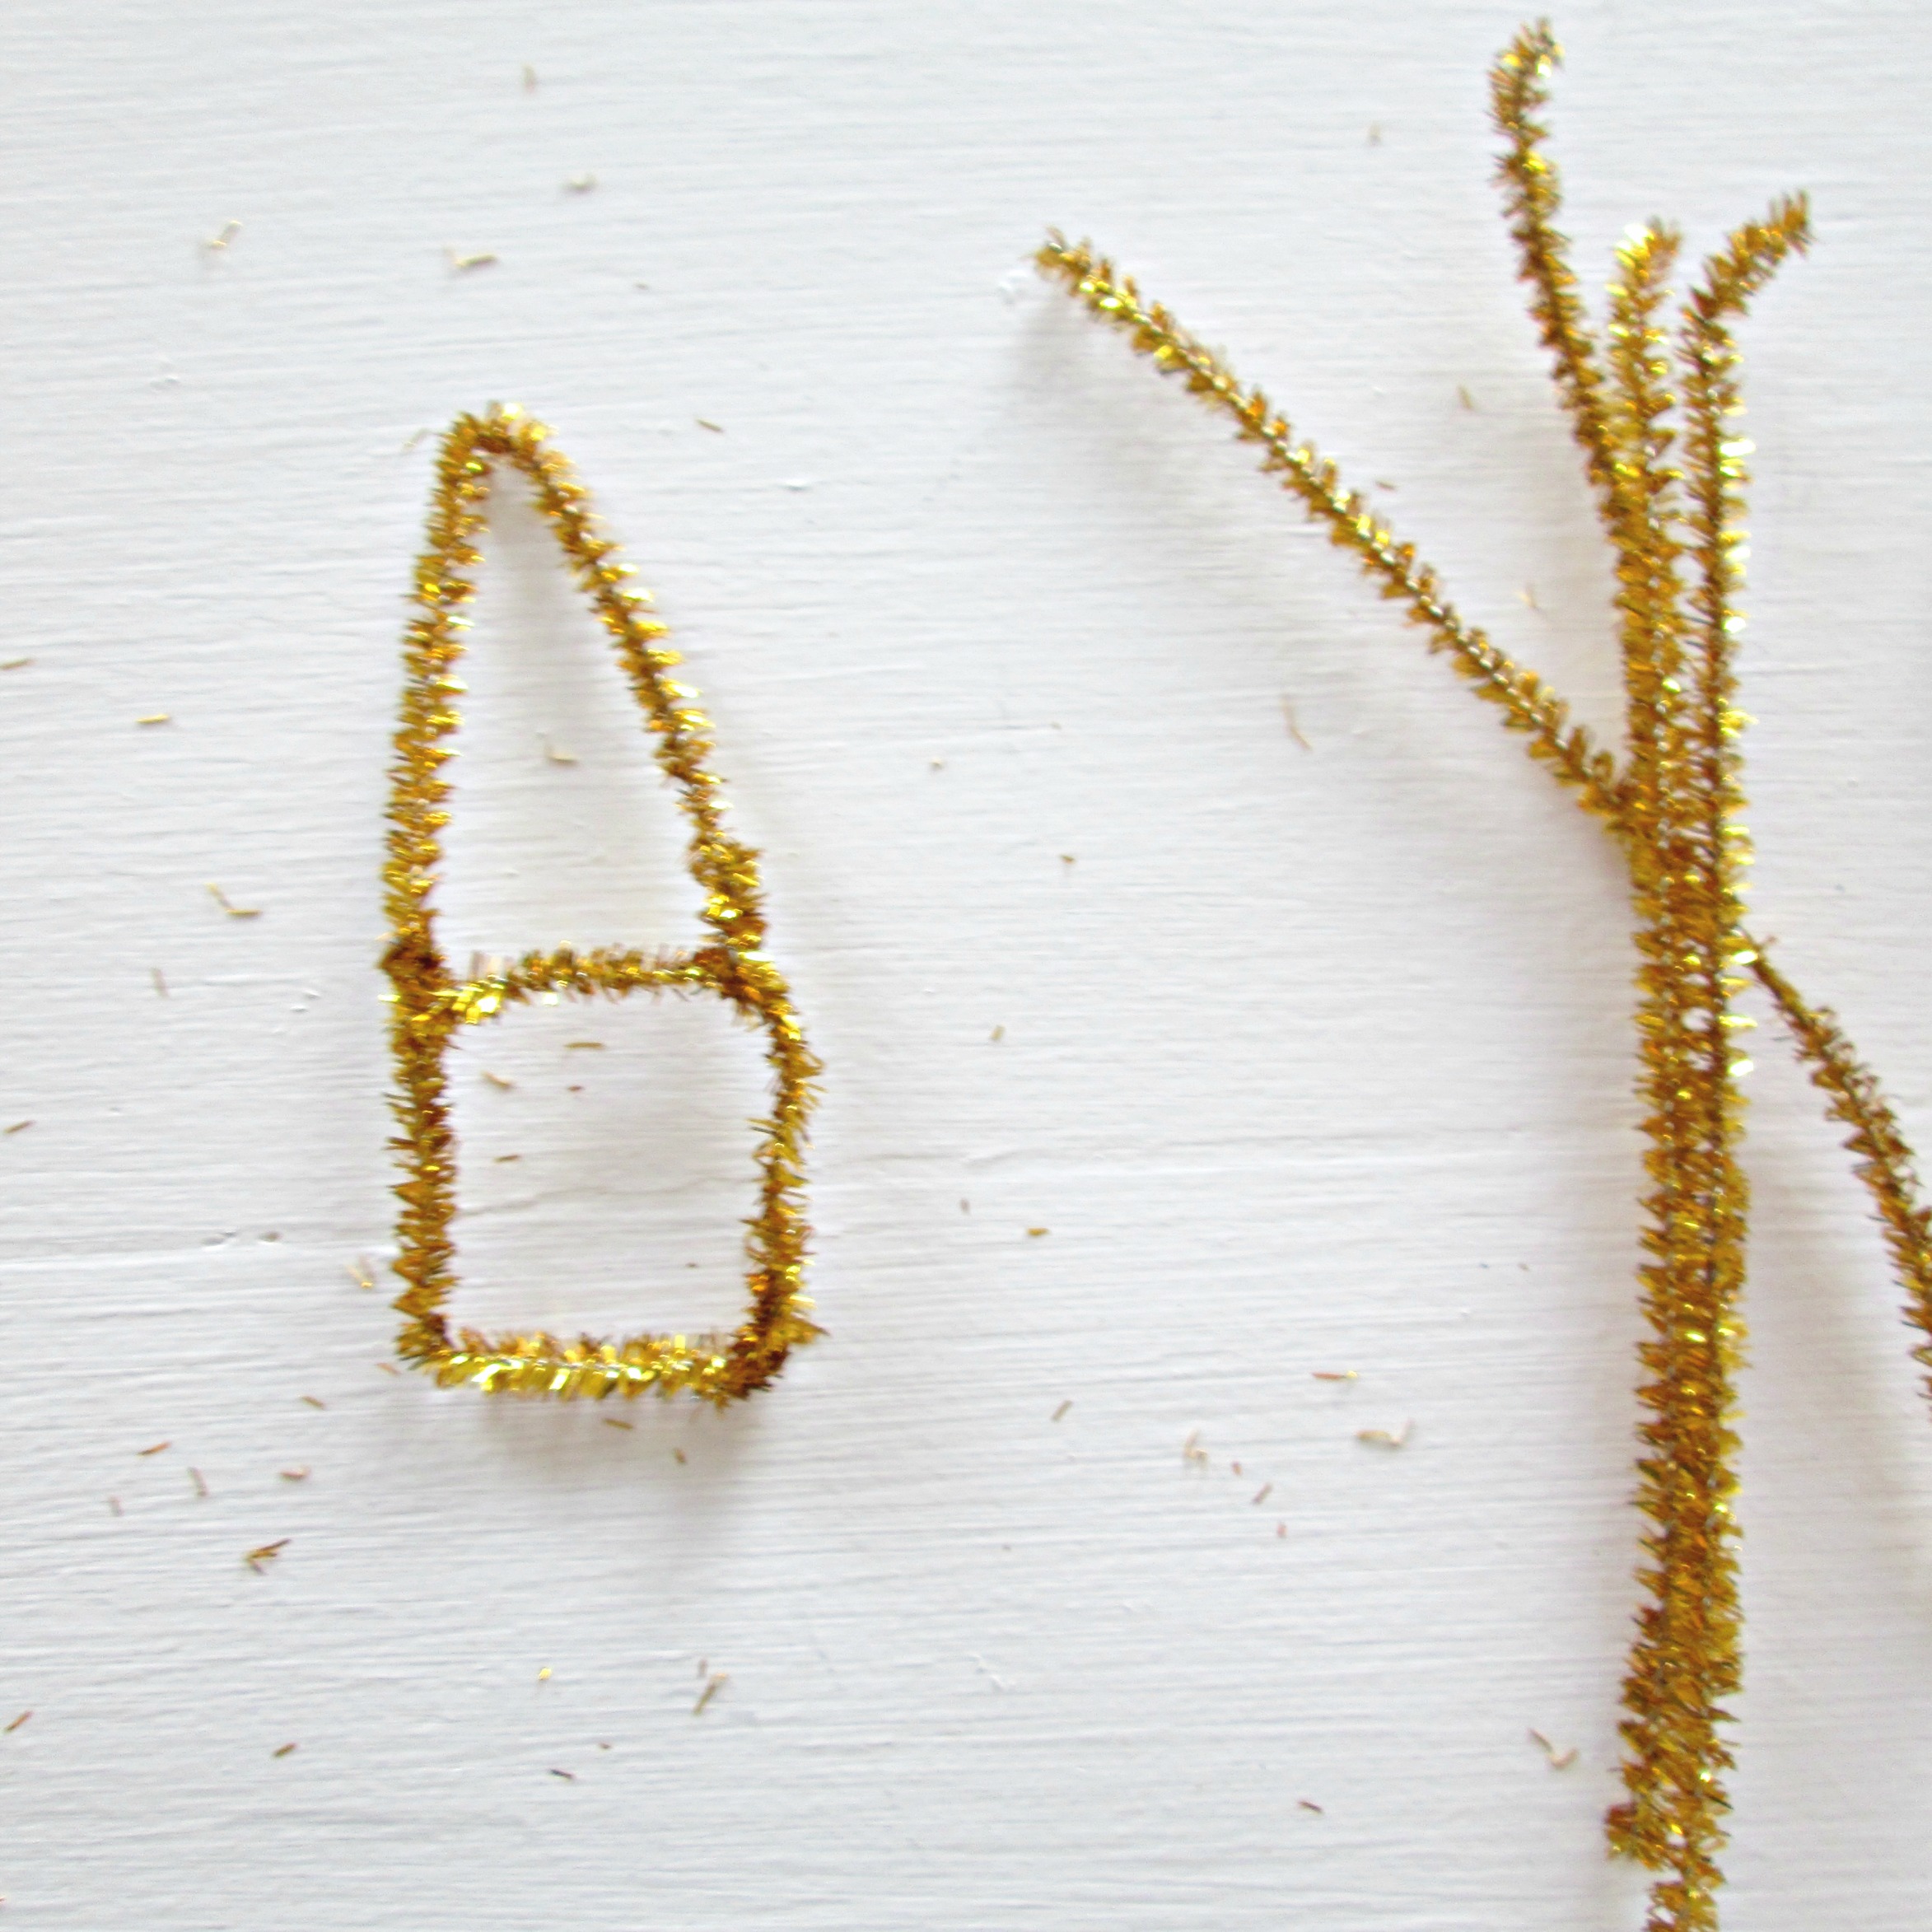
3. Use another stem and bend it into an open bottom triangle. Attach the ends to one side of the square.

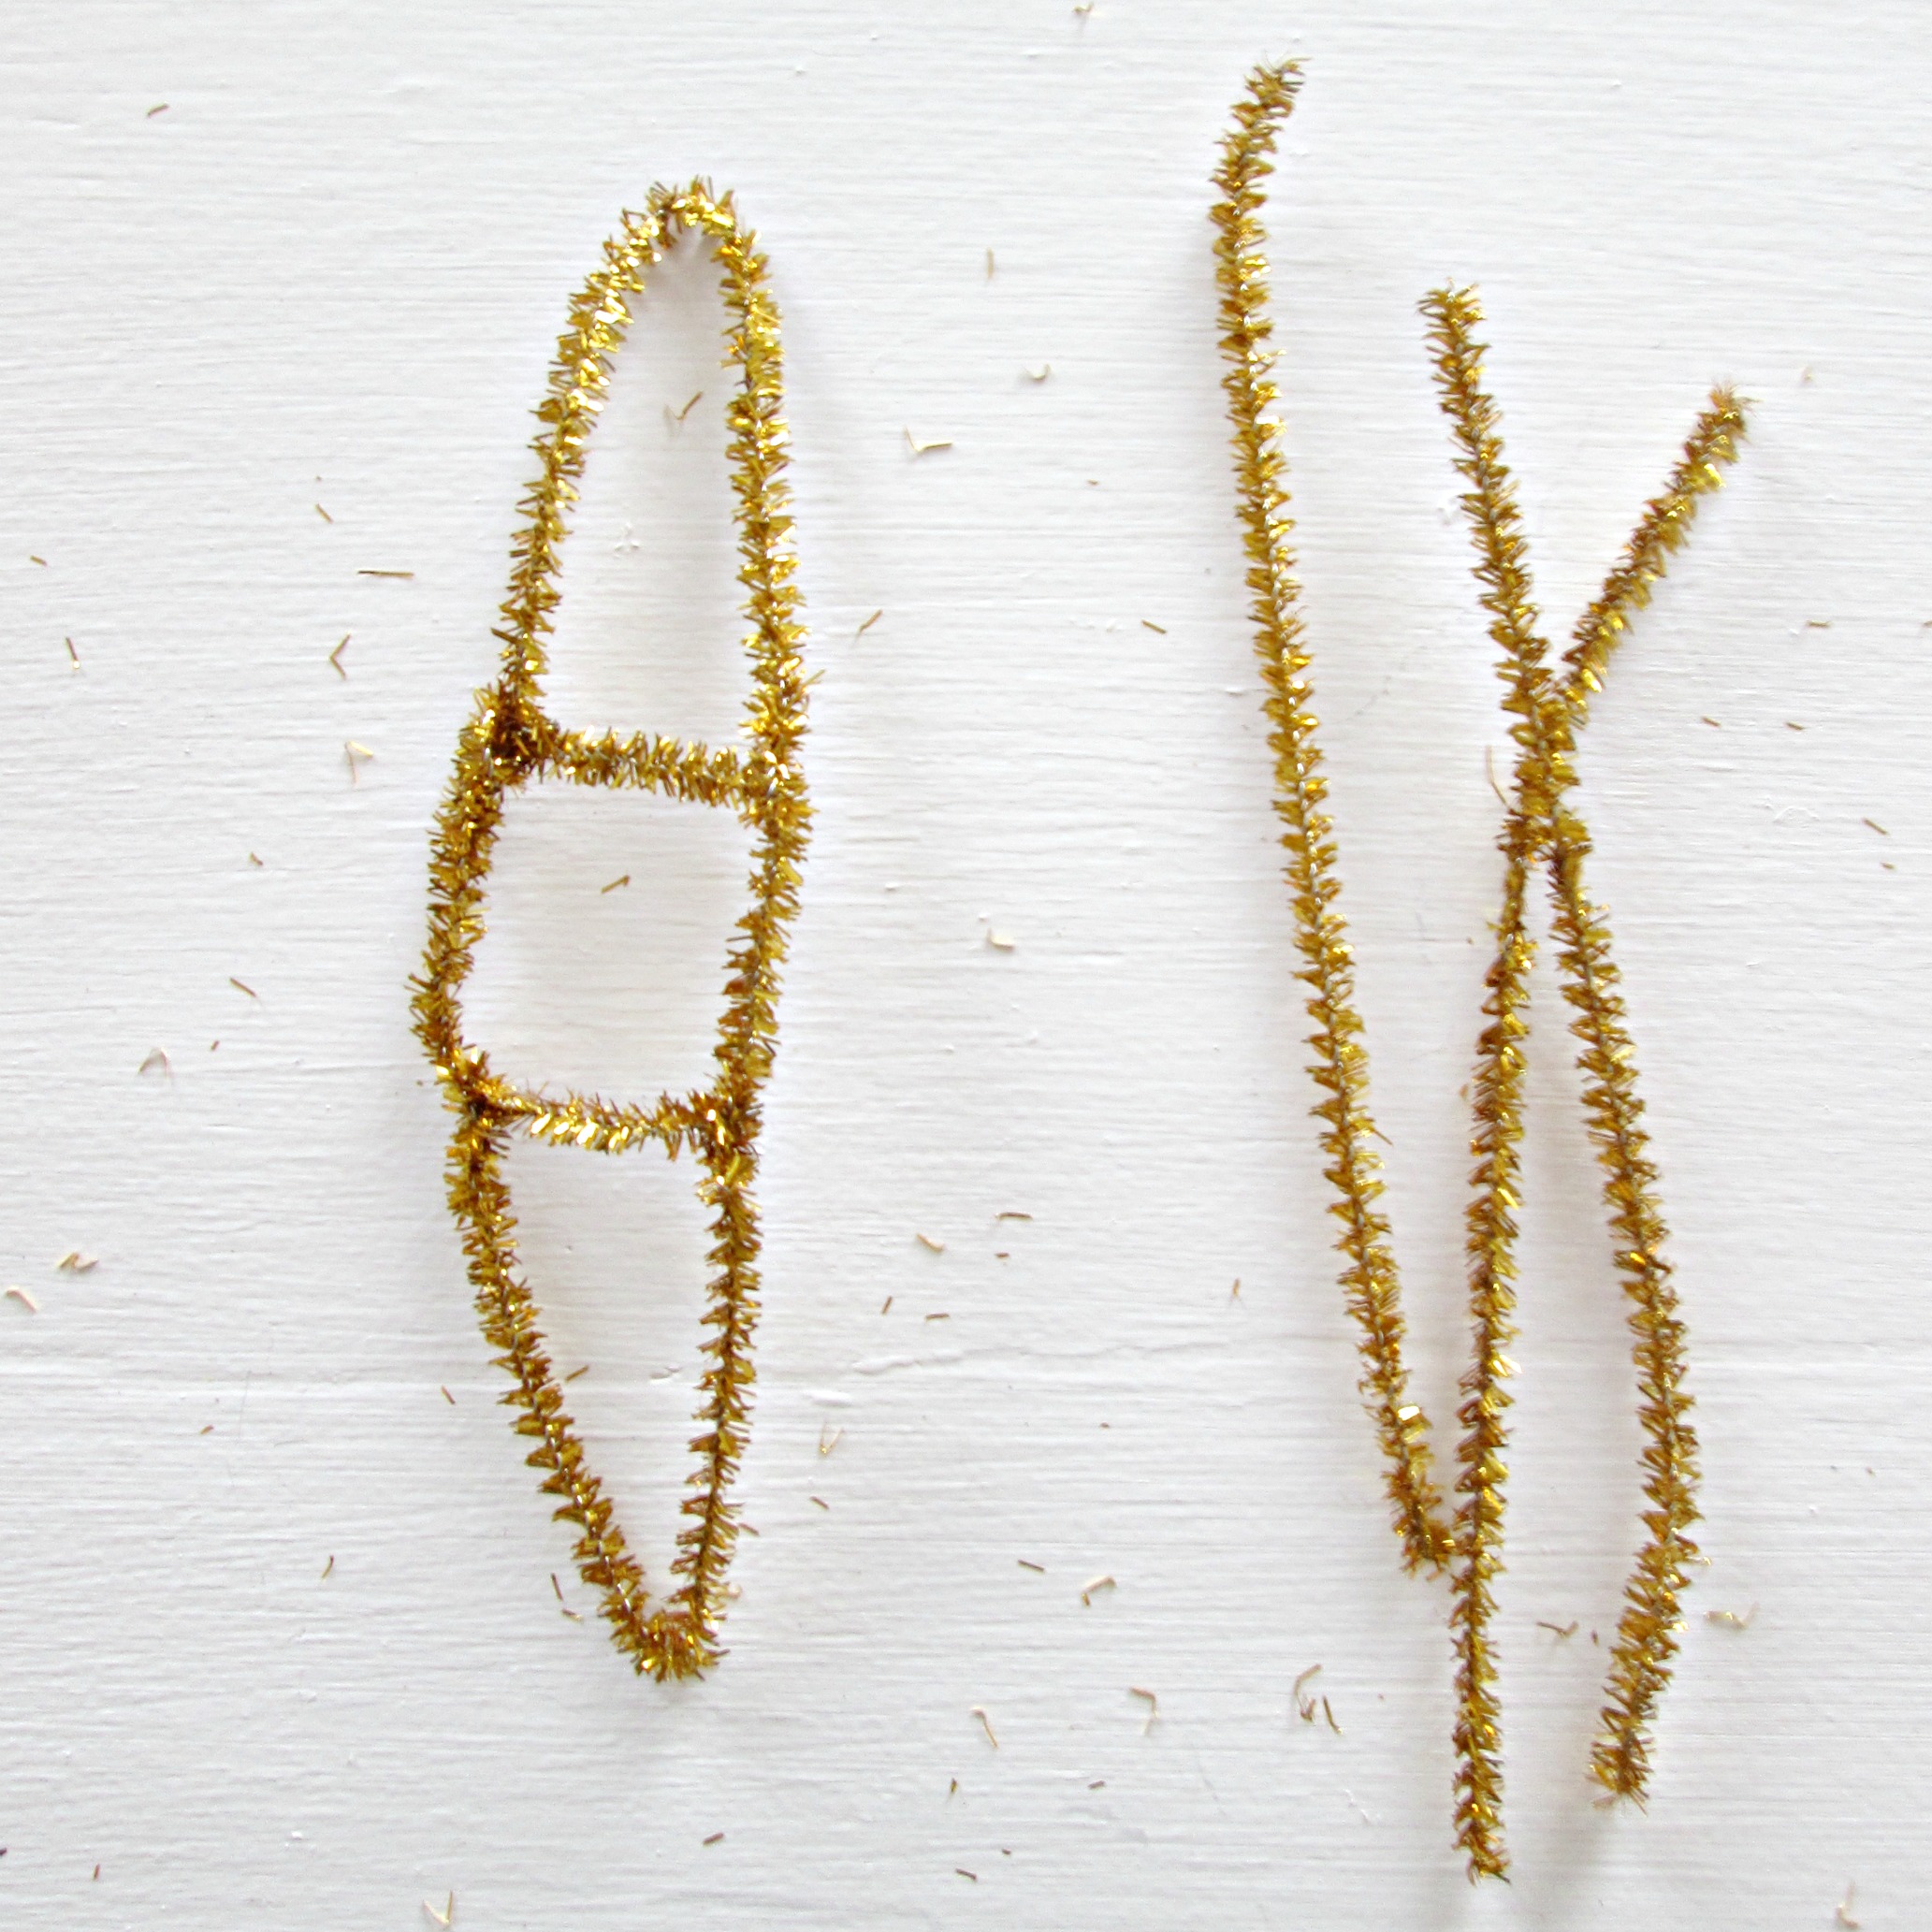
4. Make another open bottom triangle and attach it to the opposite side of the square.

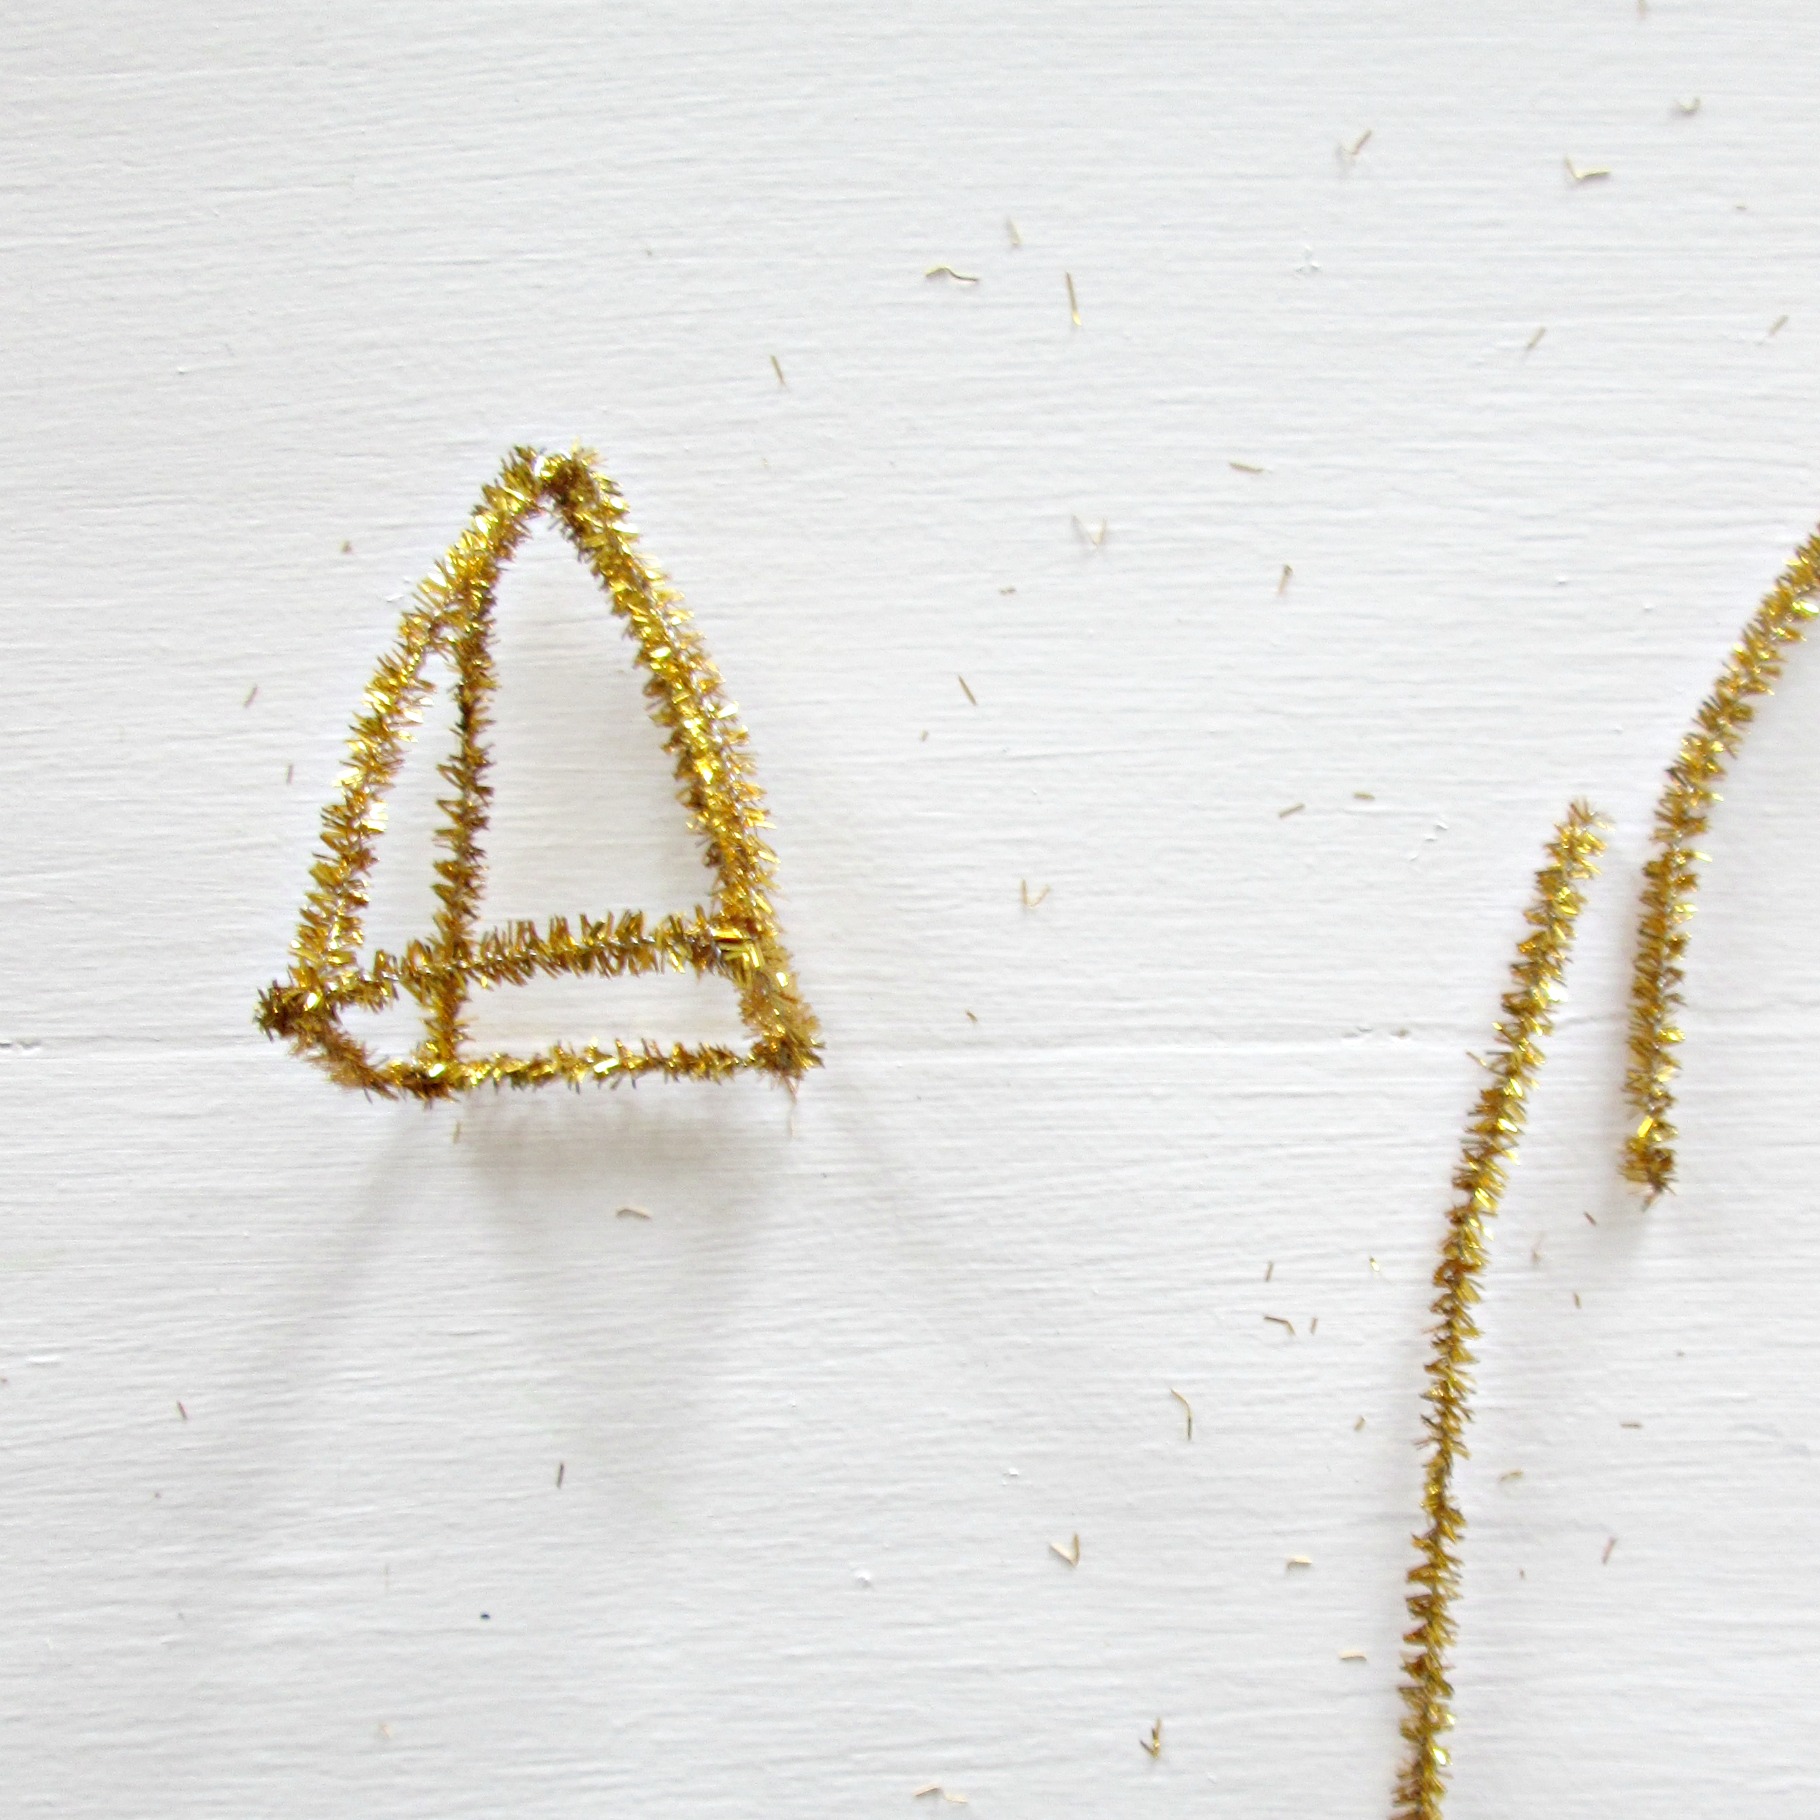
5. Bring the tips of your two triangles together and secure with floral wire. Now you should have a pyramid. 

Repeat these steps on the other side of your square to form a diamond! Use floral wire to make a small hook for hanging.

I'm really diggin' these on our tree! I've already stepped on one that 'fell', (haha, right), and just tweaked the form back into shape, and rehung! I love finding ways to make my style more child friendly. What an interesting challenge, indeed! 

Rather BUY than DIY?

Check these out from KelsoDoesntDance on Etsy!

geometric ornaments.jpg

You have yourselves a merry little weekend! Thanks a lot for stopping by!


Cozy Holiday Home Tour

Holiday home tour collage1.png

Hi friends! We're all decked out for this special holiday season and I've been so excited to show you around! First, we have had such a fun time checking out all of the inspiring and lovely decor that you have shared on Instagram and Facebook! Everyone has such a unique style and I just love the personal touches people create in their homes. On that note, design blogger and author, Jennifer Rizzo, has once again kindly opened up her 'blog doors' for all to share their decorated homes for a big ol' holiday 'link' party! This tour is linked there today, among so many beautifully cozy and festive homes. This isn't a voting thing, just a fun way to peek inside other peoples homes. You know you want to. (I totally do!!!) Follow the link below if you'd like to check it out!

We're kind of big on birthdays in our family, blowing up balloons and hanging streamers and banners. It's a lot of fun to decorate our home as a reflection of our celebrating the birthday person. Decorating our home for the holidays is just one of the ways we celebrate Jesus' humble birth. His birth was anticipated for 400 years before He even arrived, and still today, we celebrate. We celebrate the hope that our loving Father sent His children through the birth of this baby. 

May the God of hope fill you with all joy and peace in believing,
so that by the power of the Holy Spirit you may abound in hope.
Romans 15:13

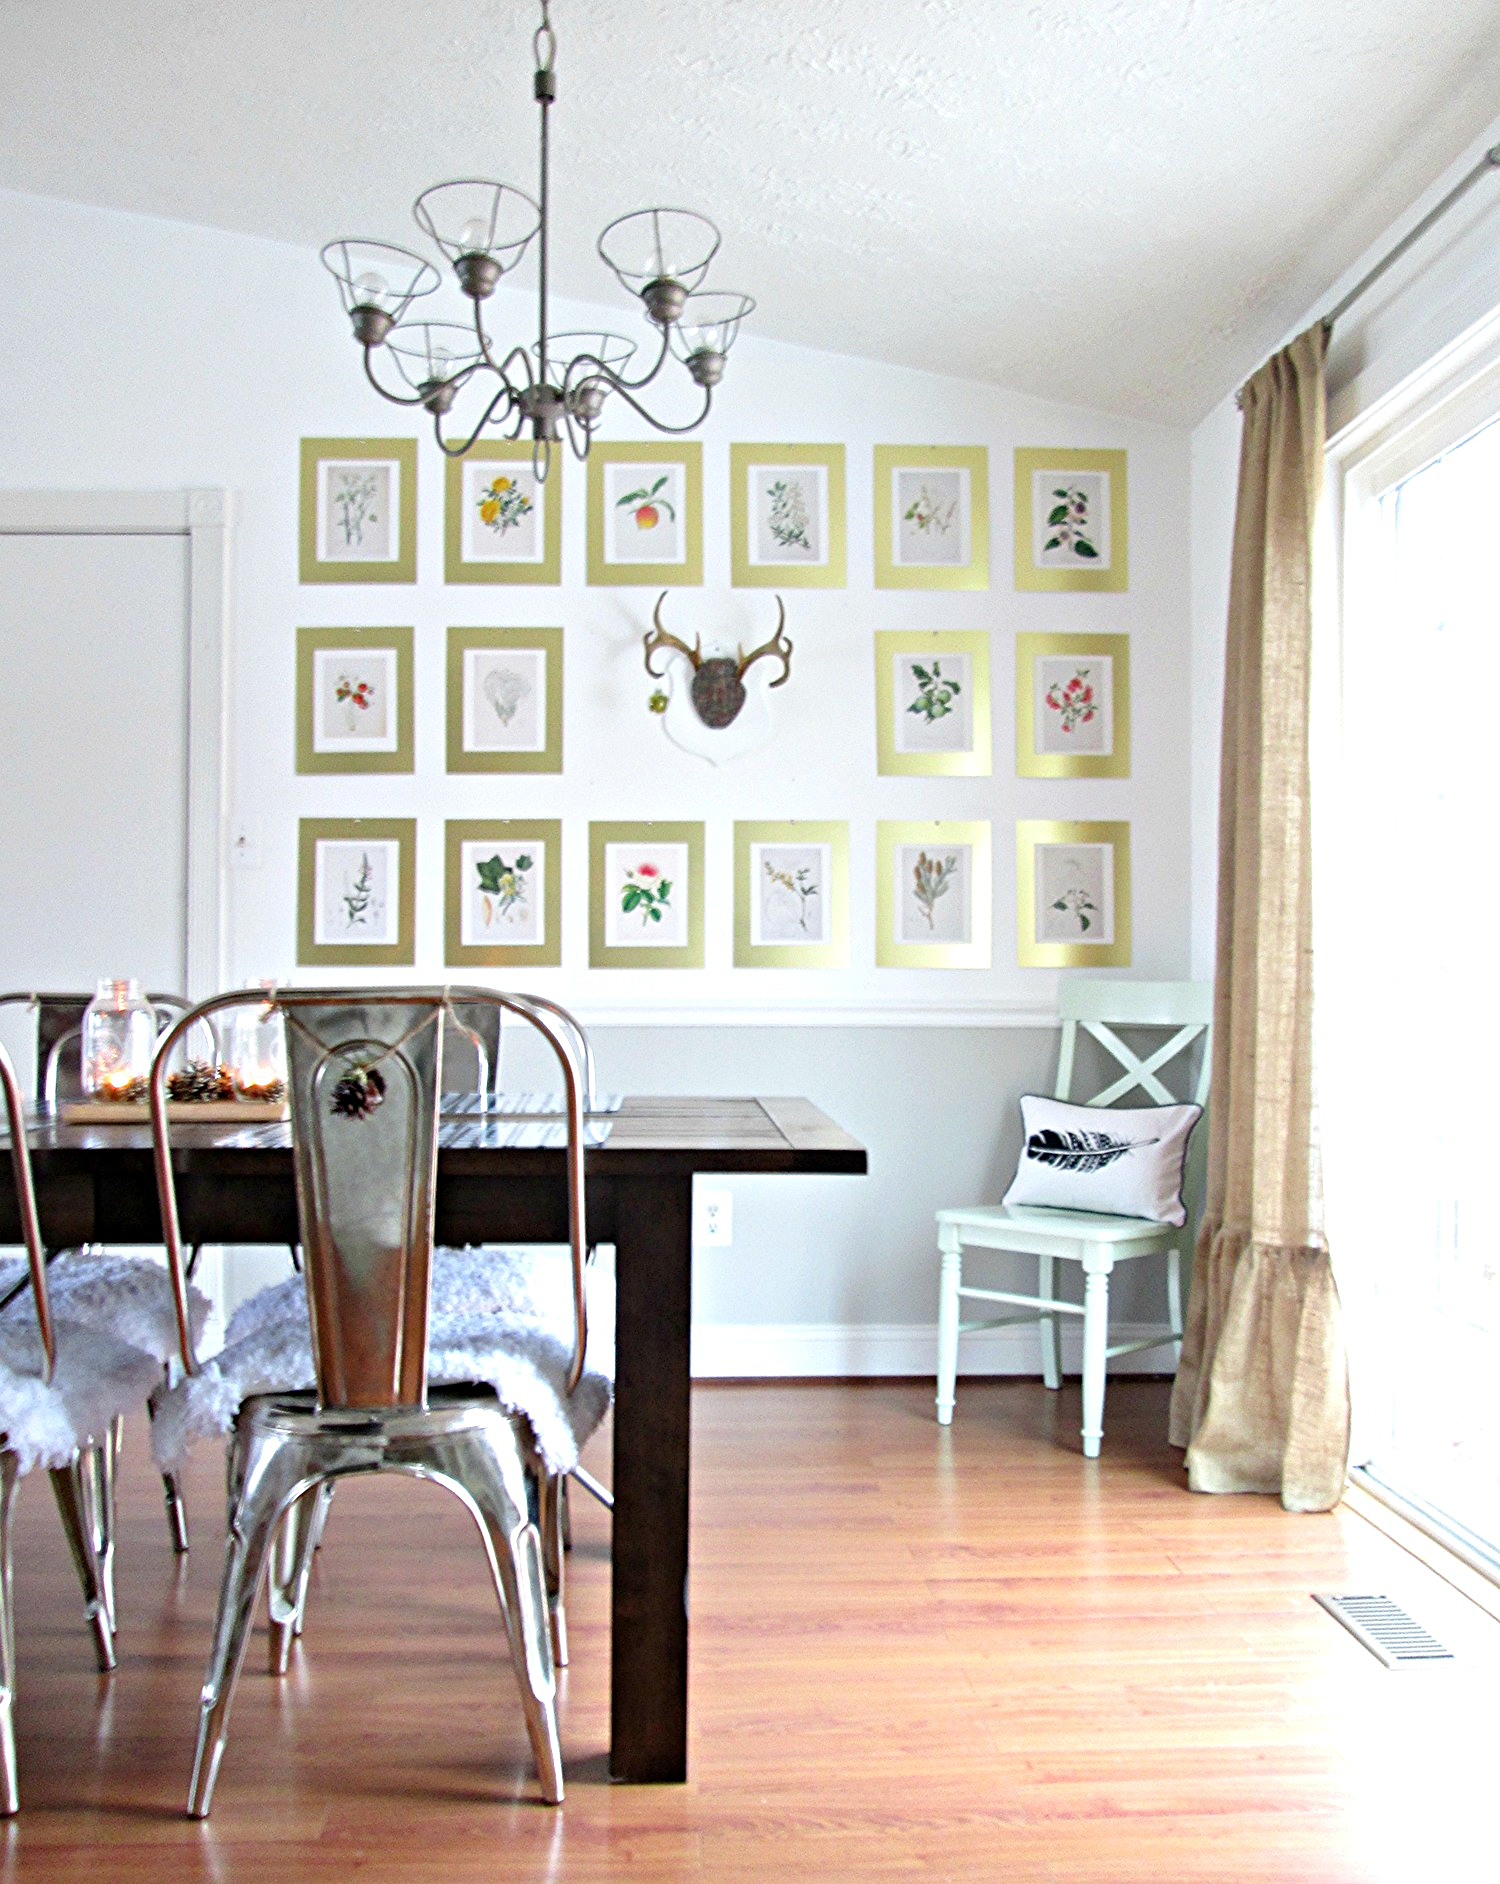
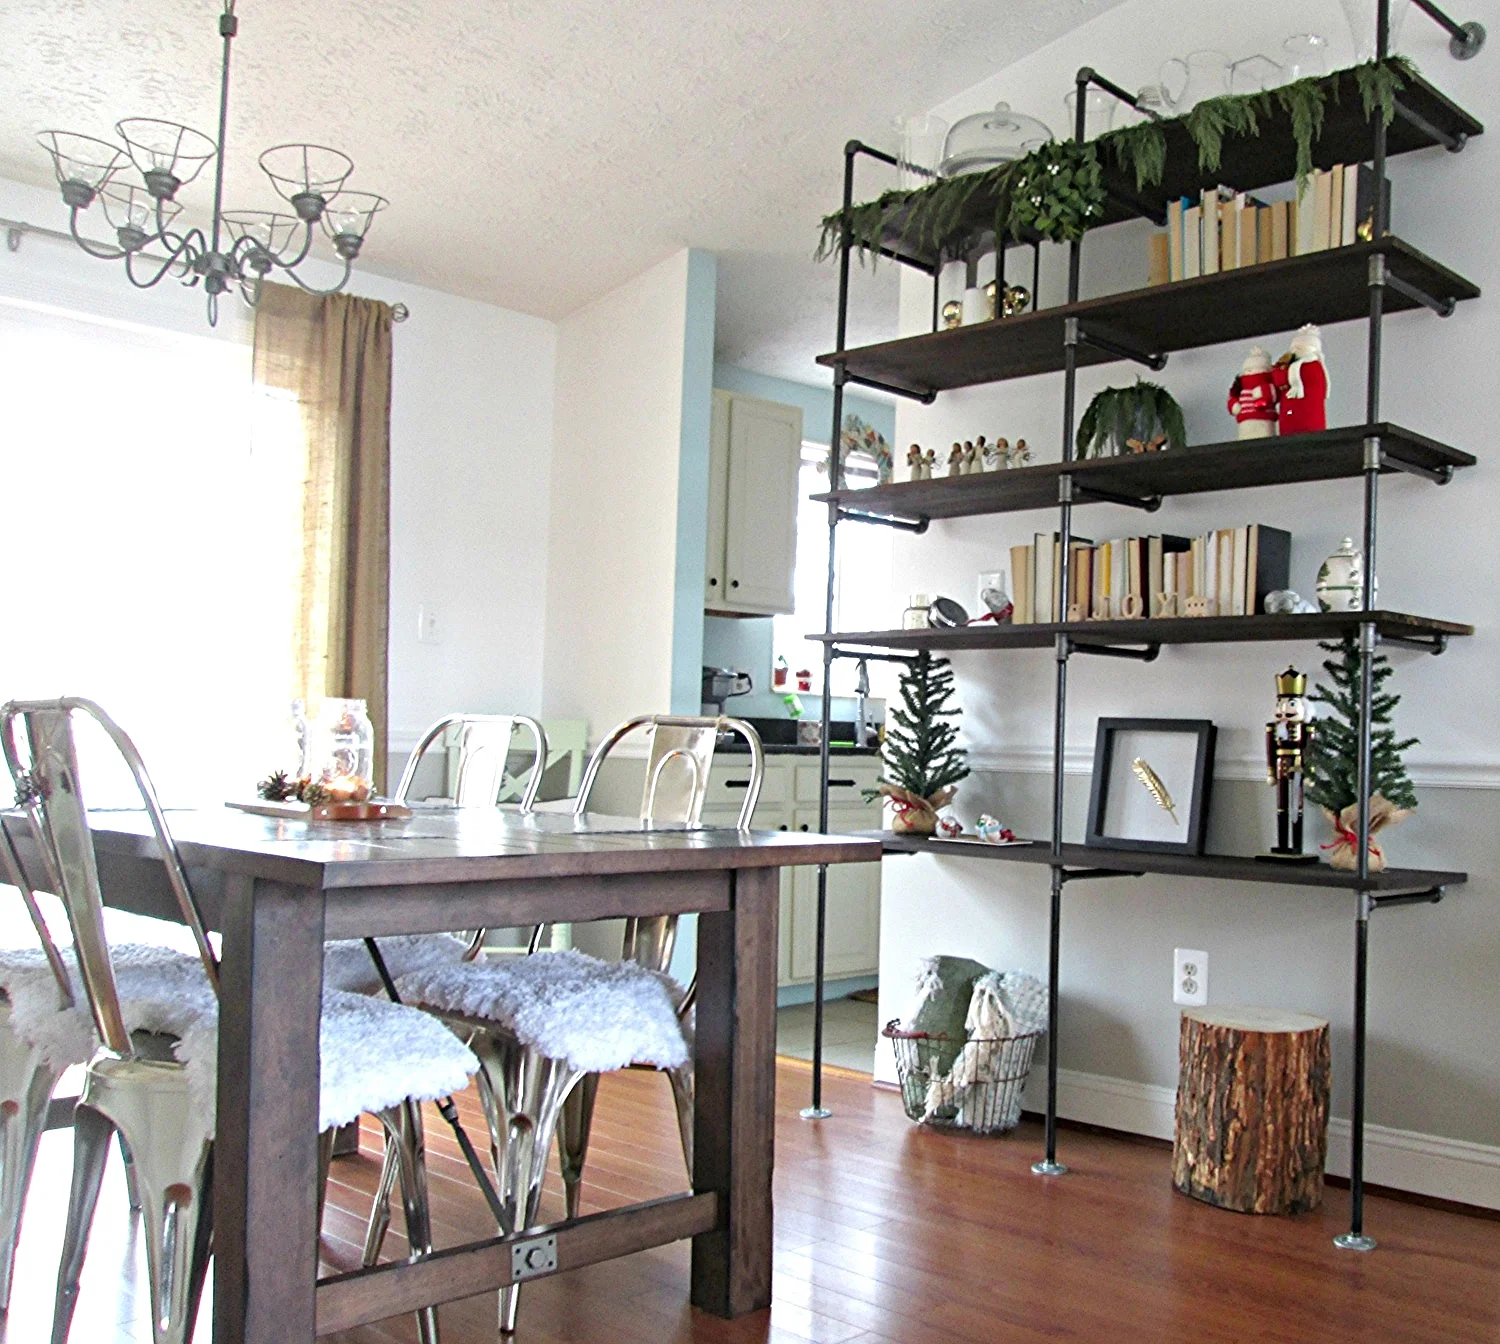
Alright, here goes! I hope you're comfy and enjoy the 'tour'! I'm so glad you've stopped by. I thought it appropriate to start in the dining room, as this is the one room we always come together as a family most days.

Dining Room

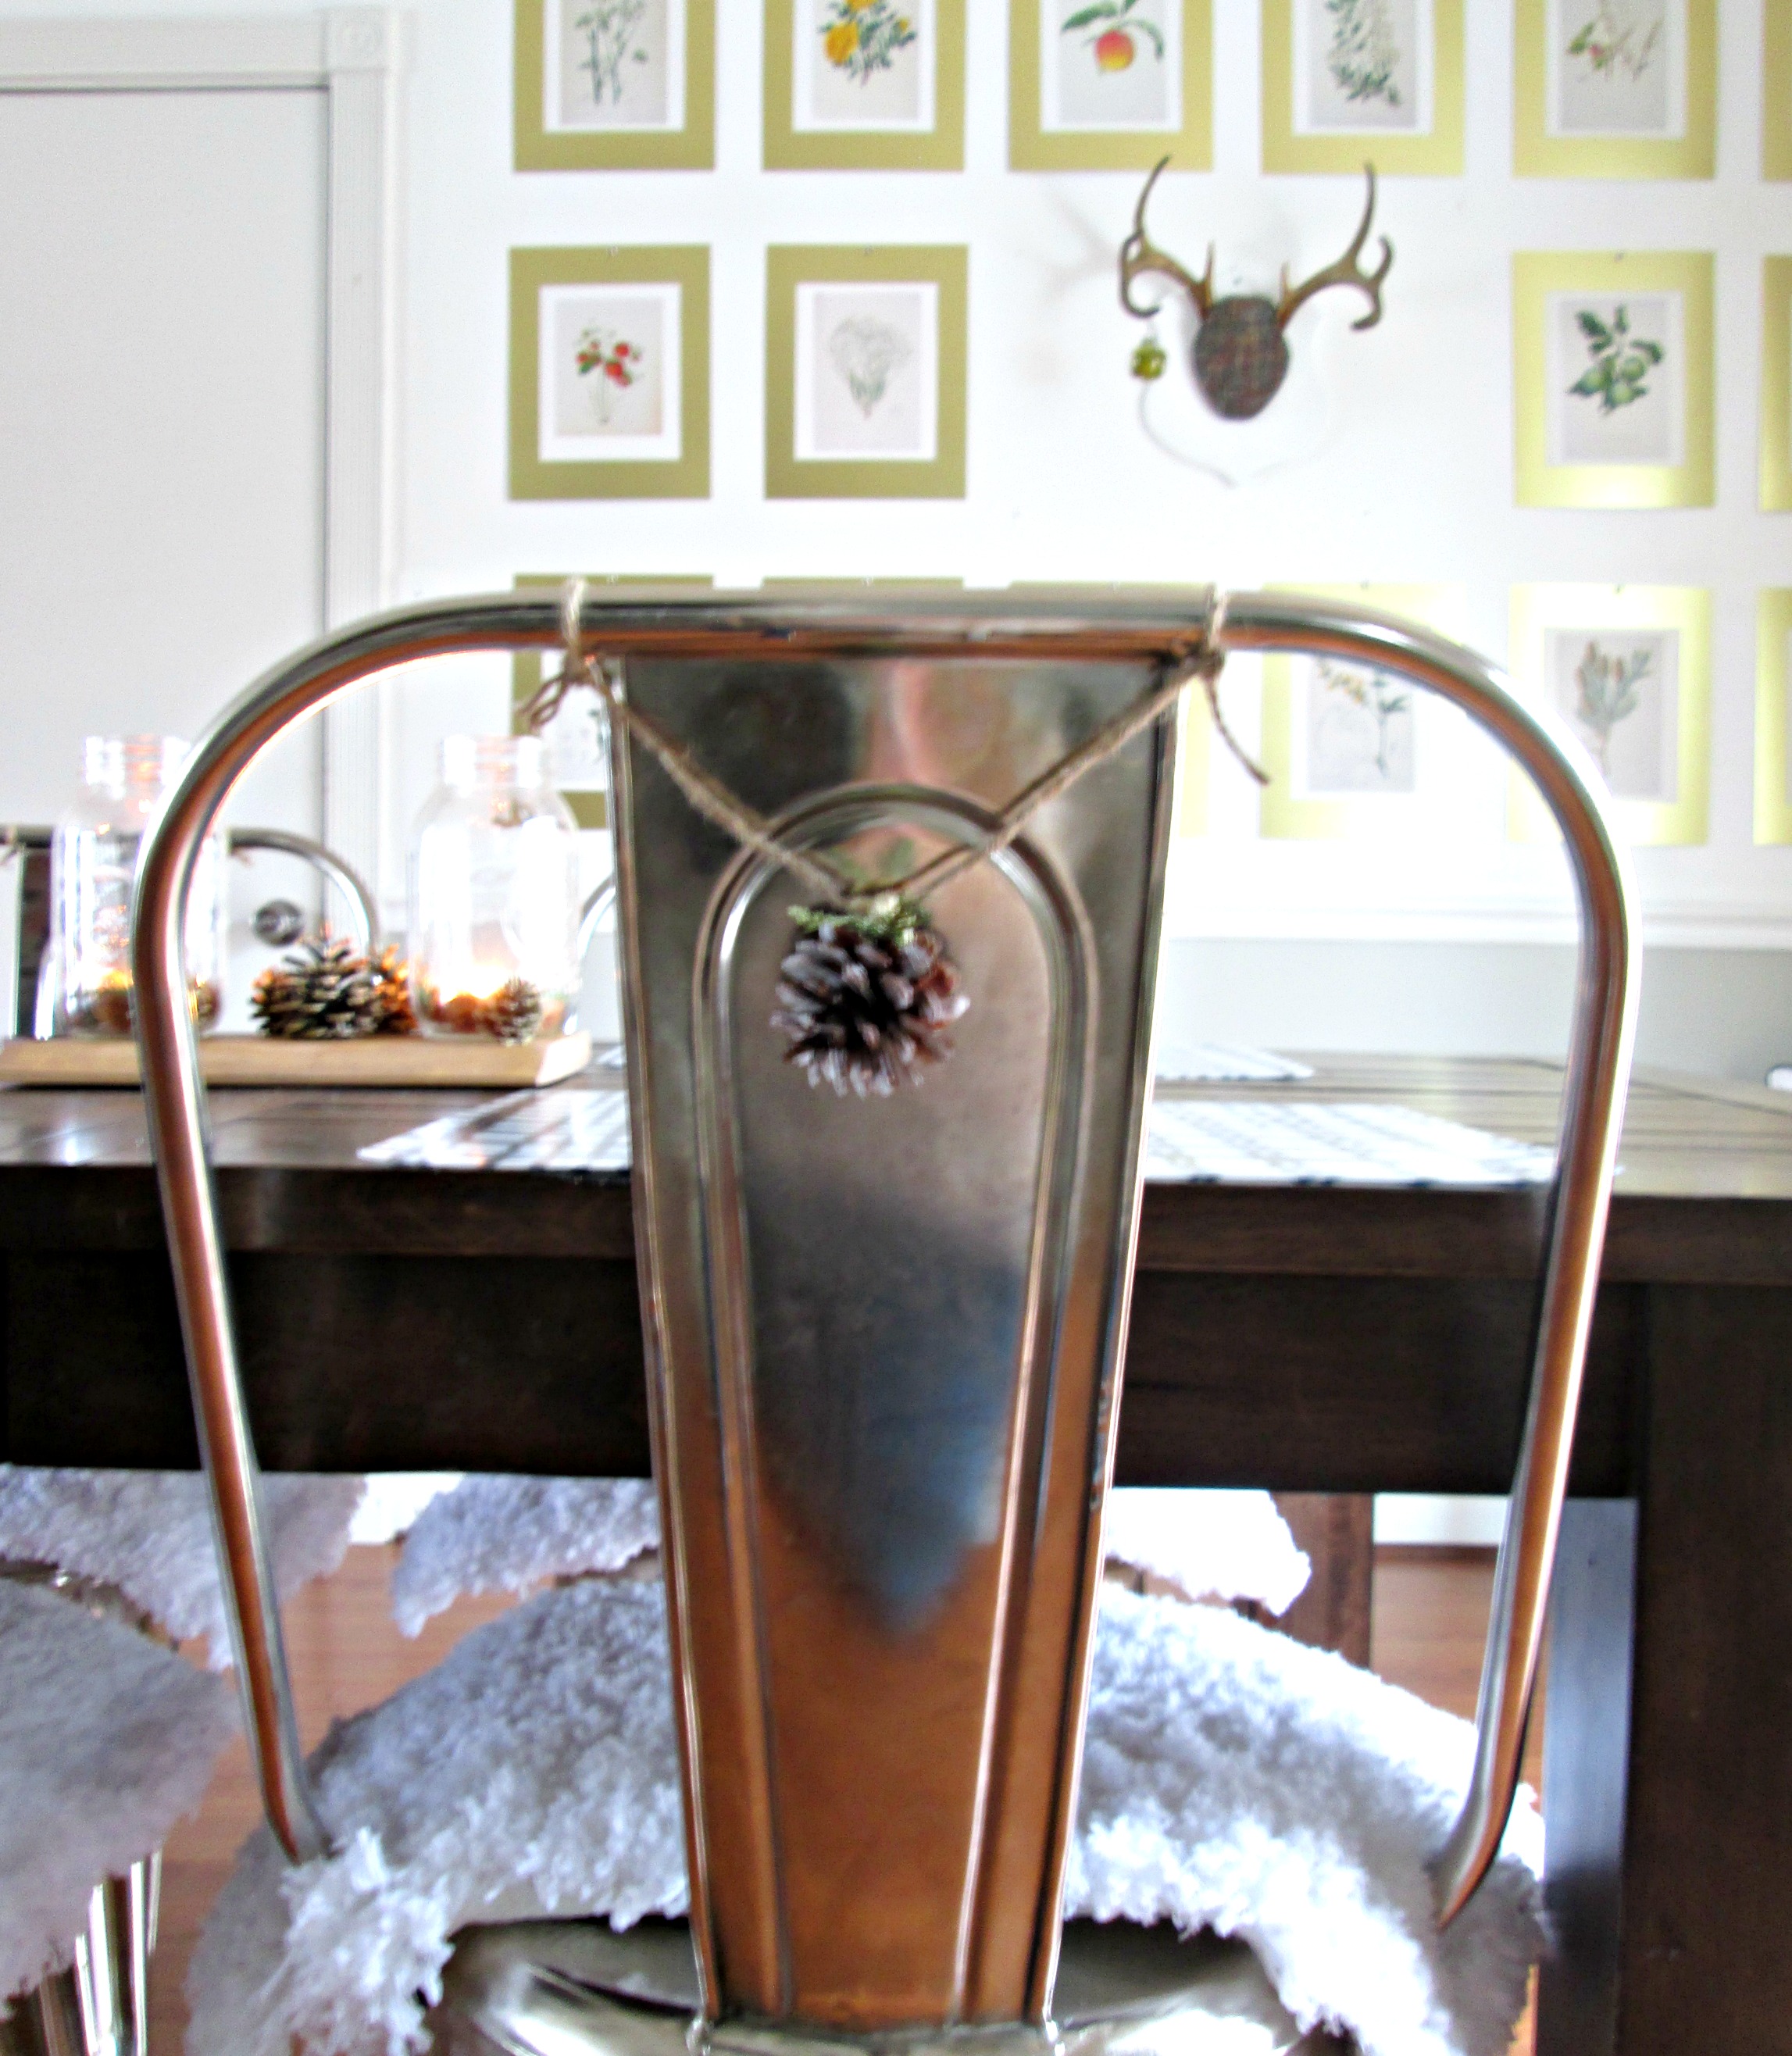
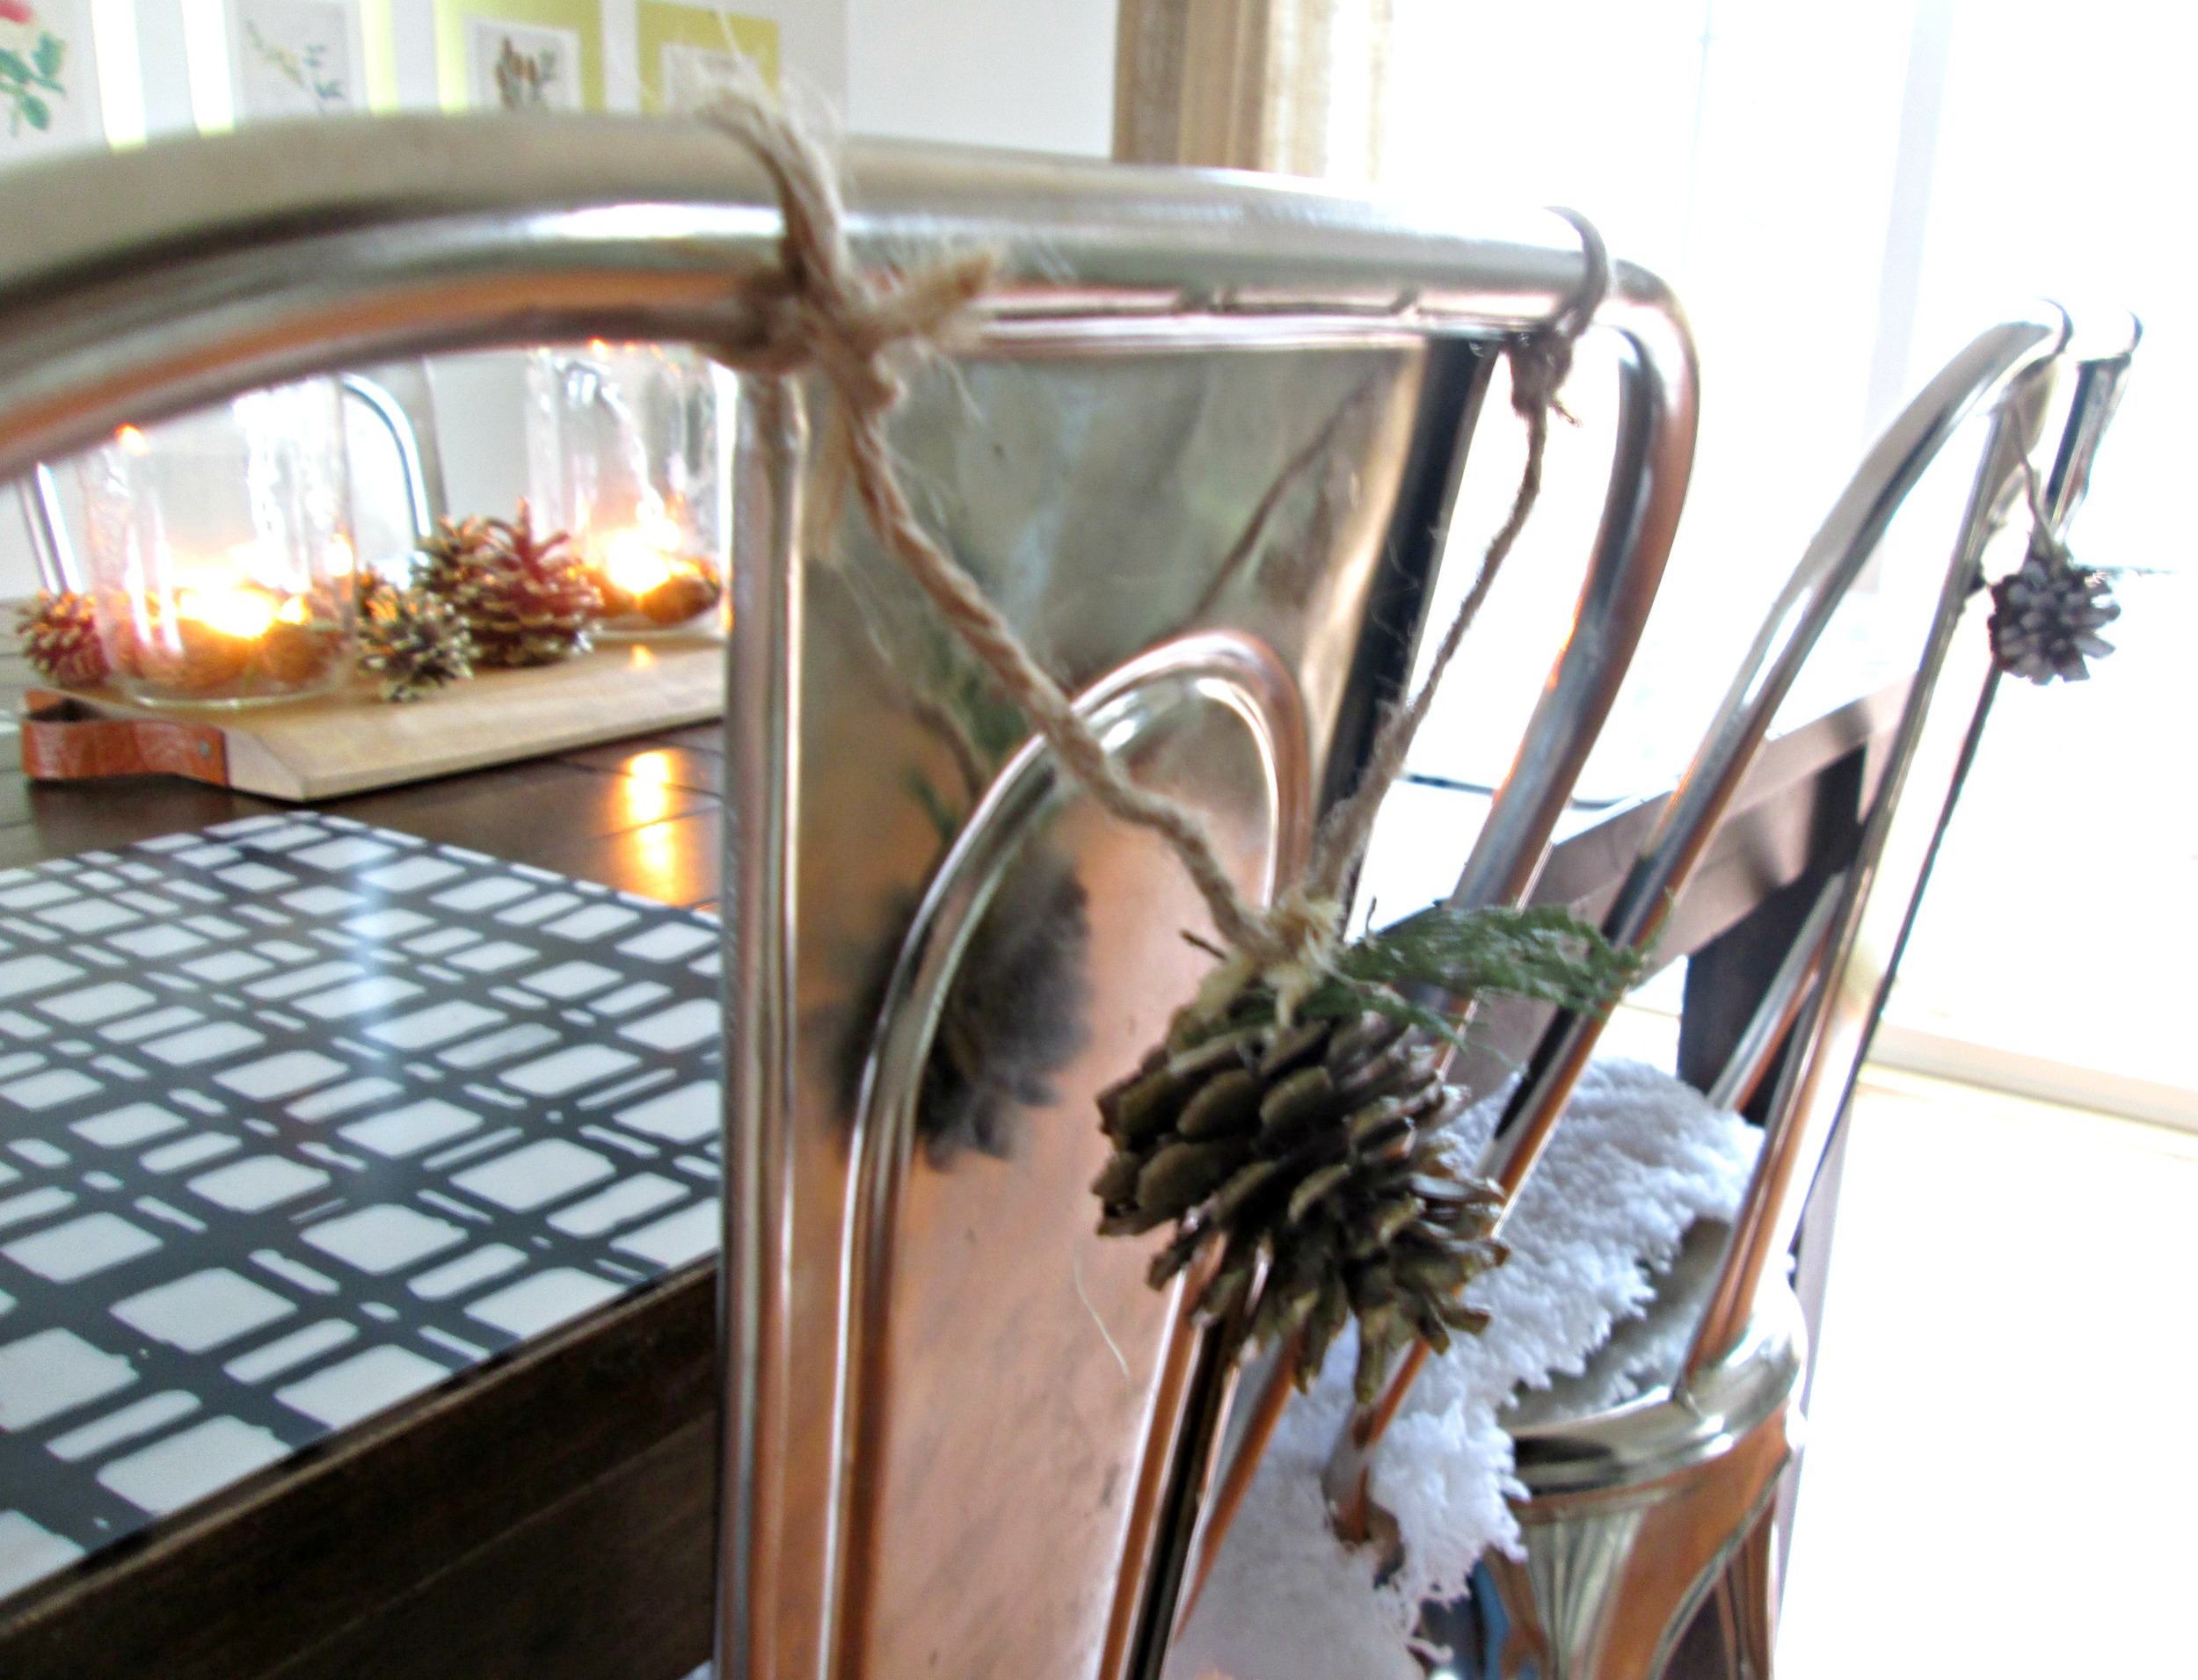
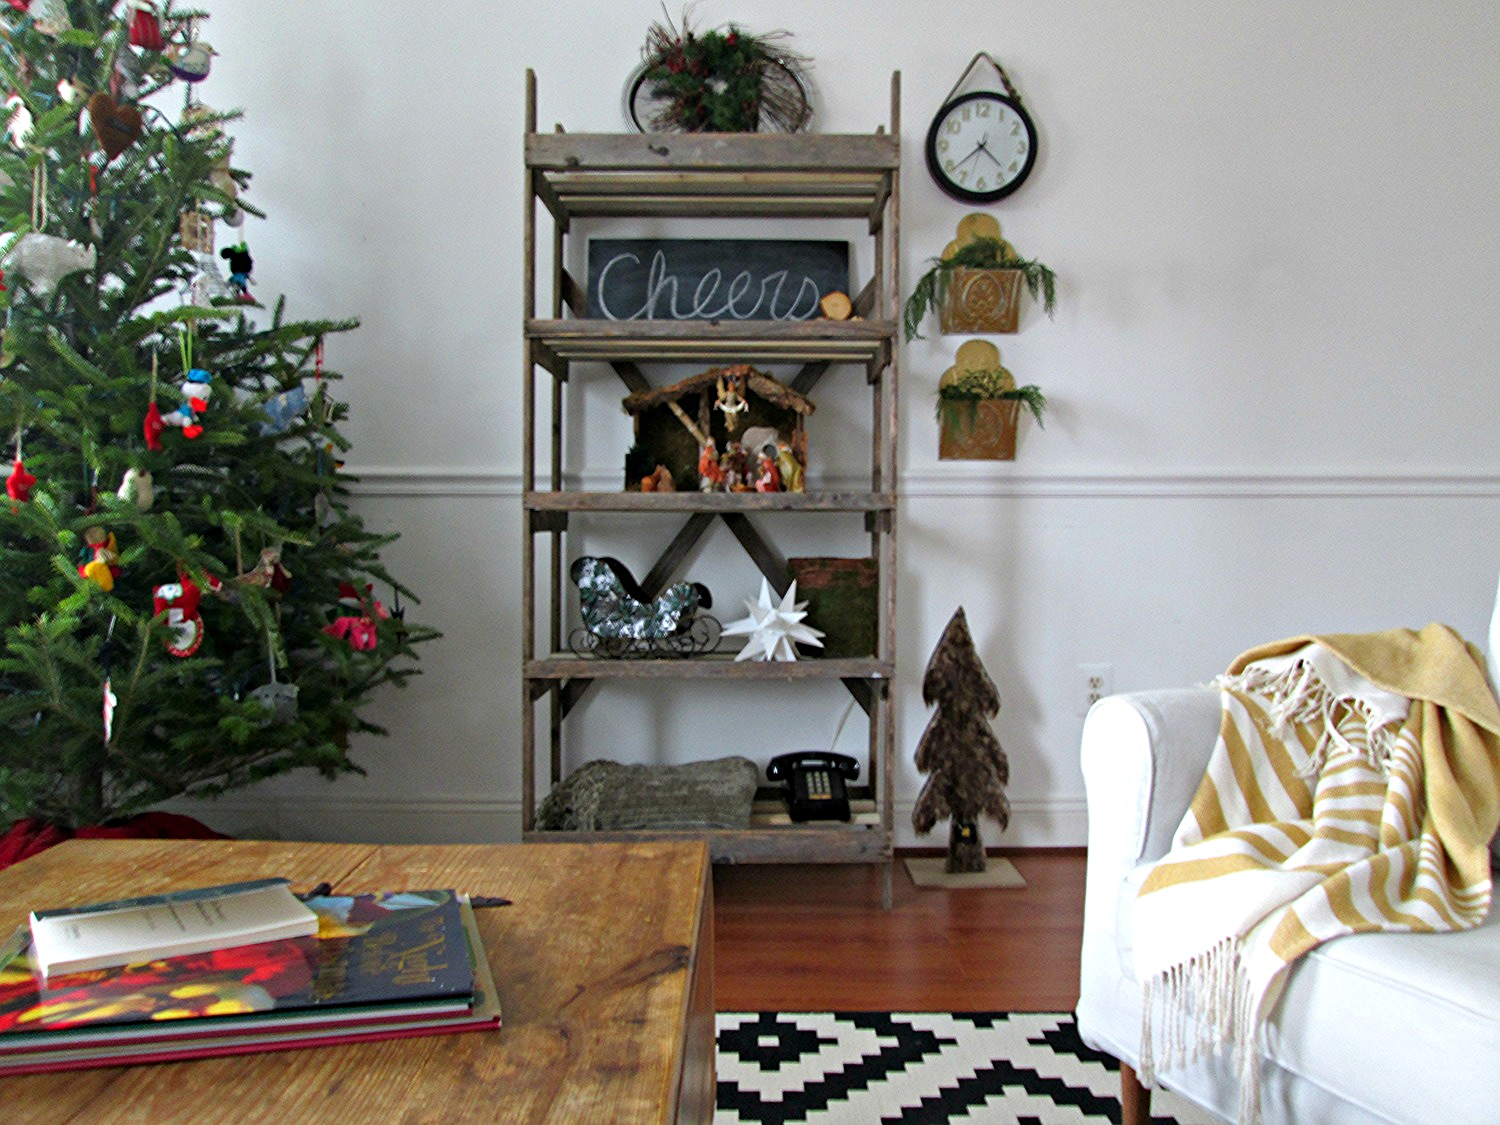
With Fall passing us by so quickly, I wanted to use some Fall-ish elements, like pinecones, to connect the seasons together. I've had them out since October!

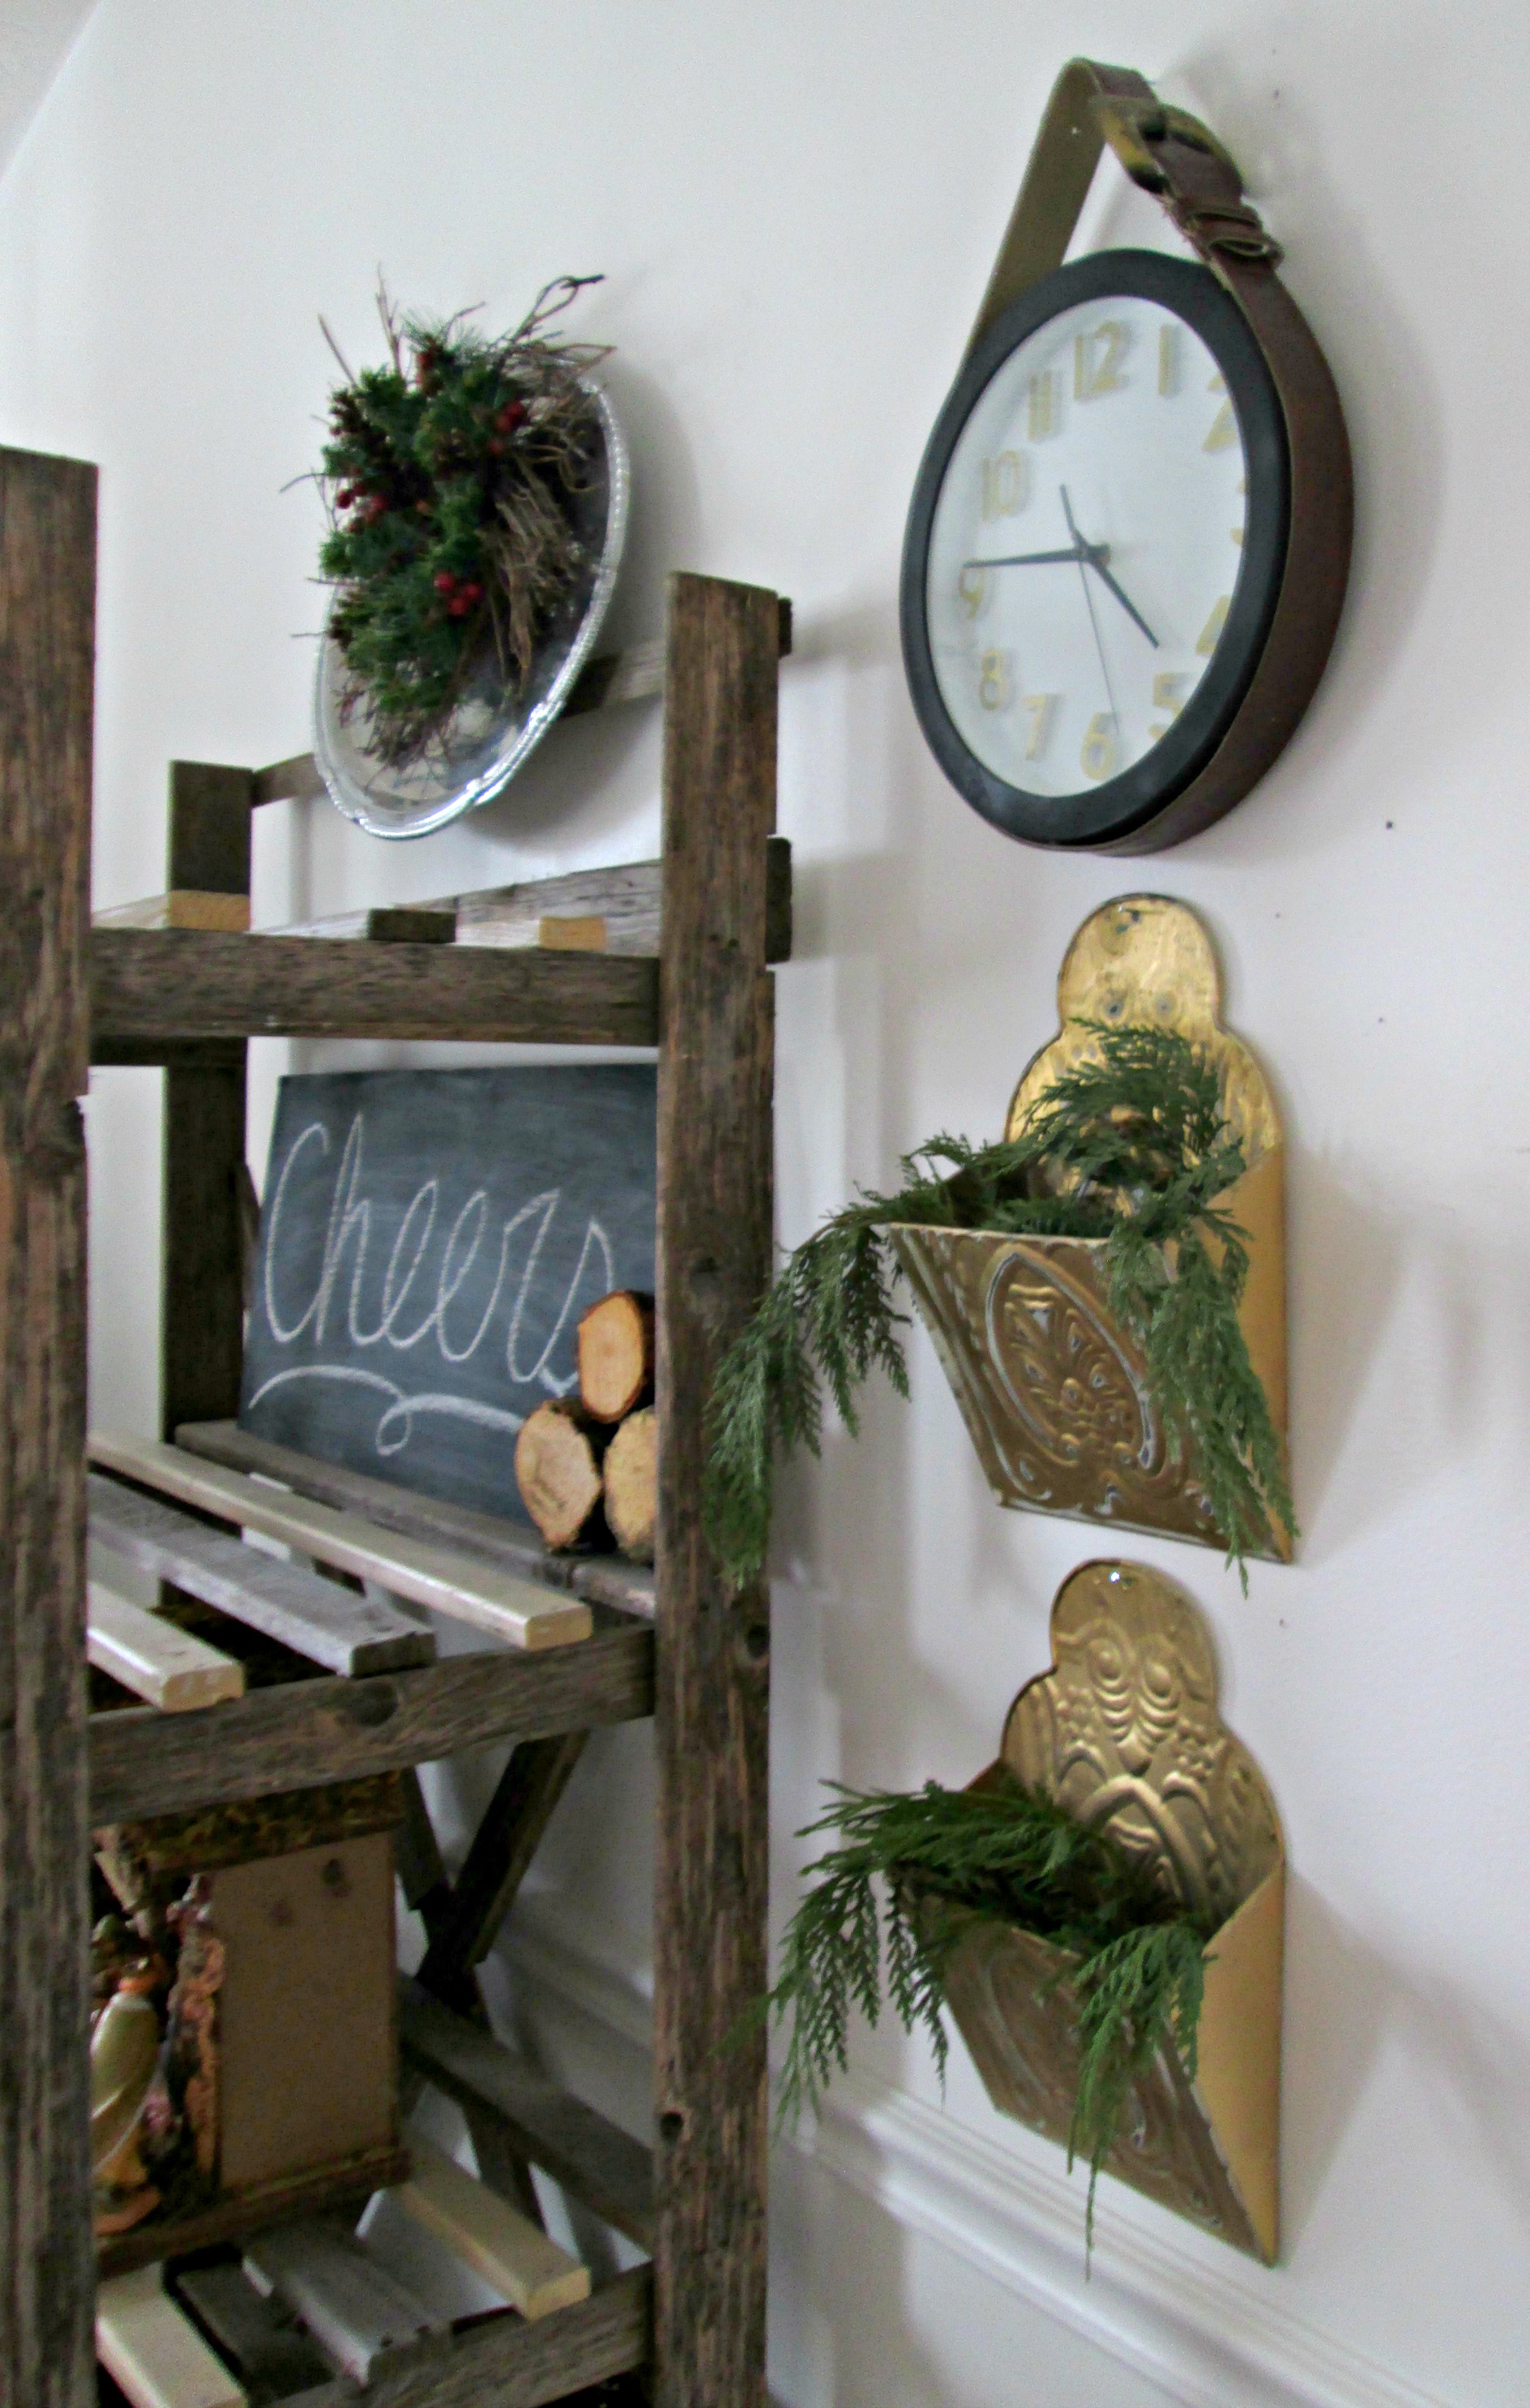
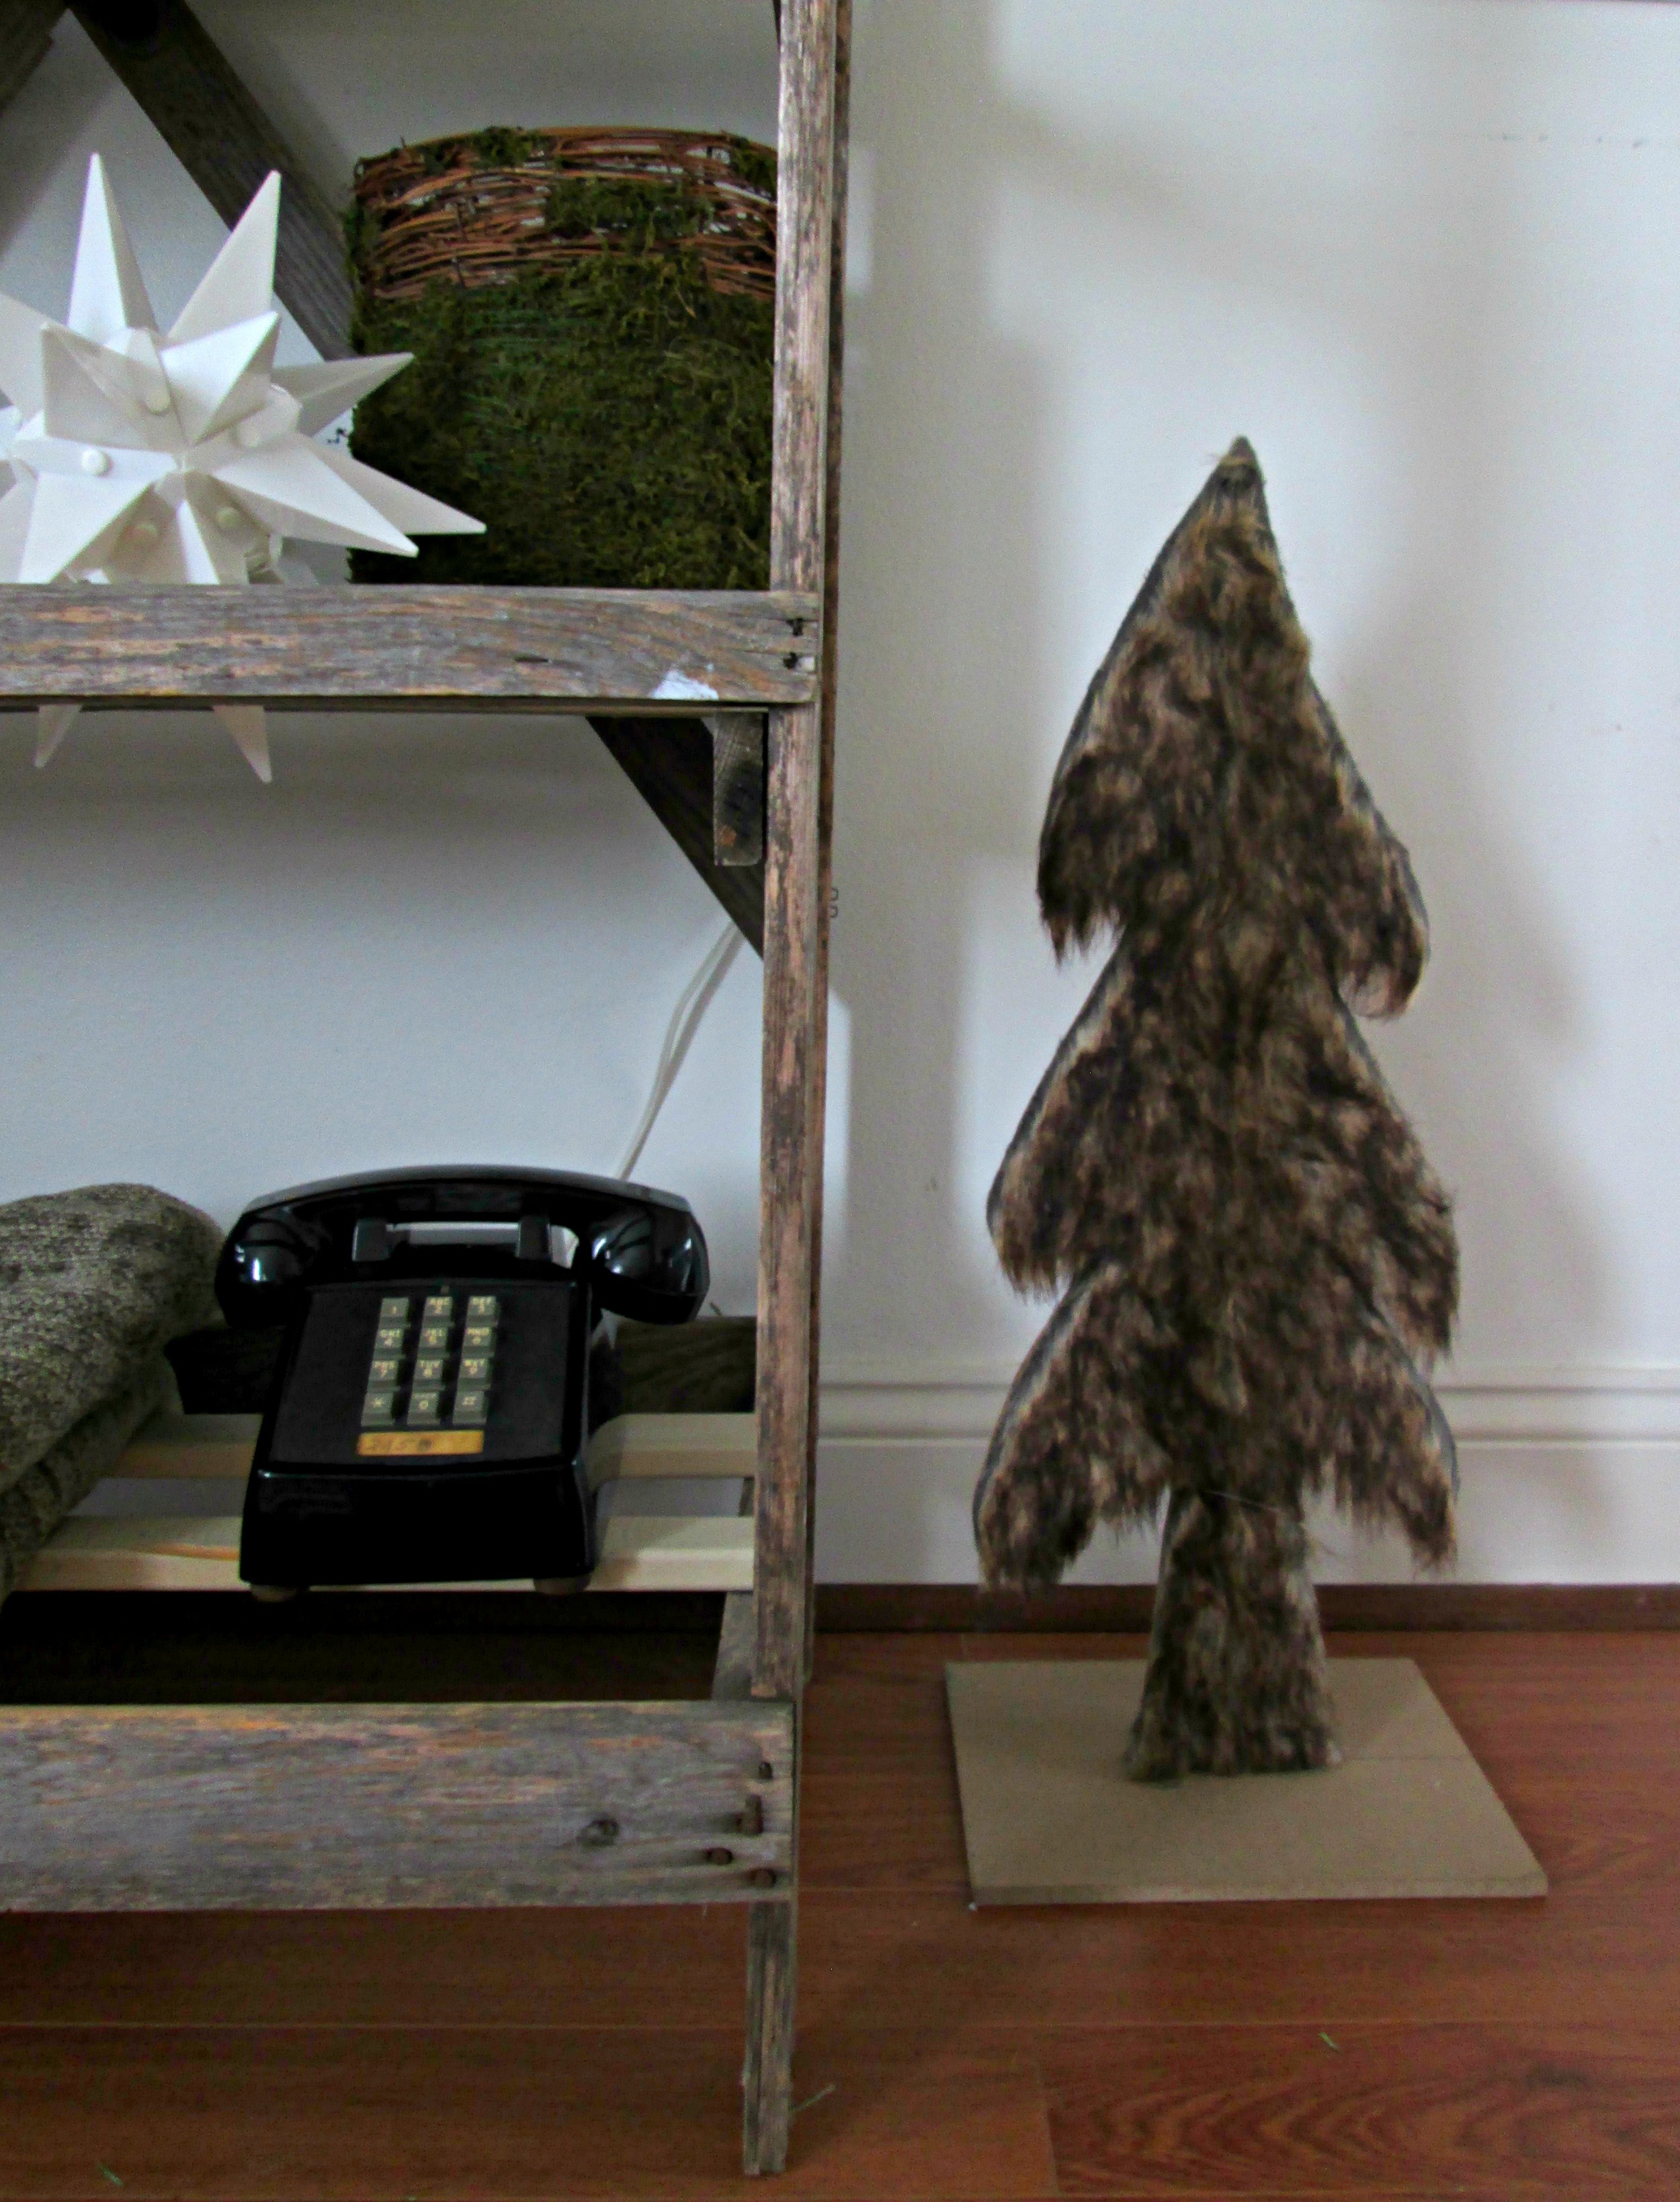
I was going to wait until after the holidays to share our newest build, but here it is! Our industrial pipe shelves! These were really fun to design and put together, (and surprisingly easy!), and I'll share all the deets very soon! Styling them for Christmas was a real treat.

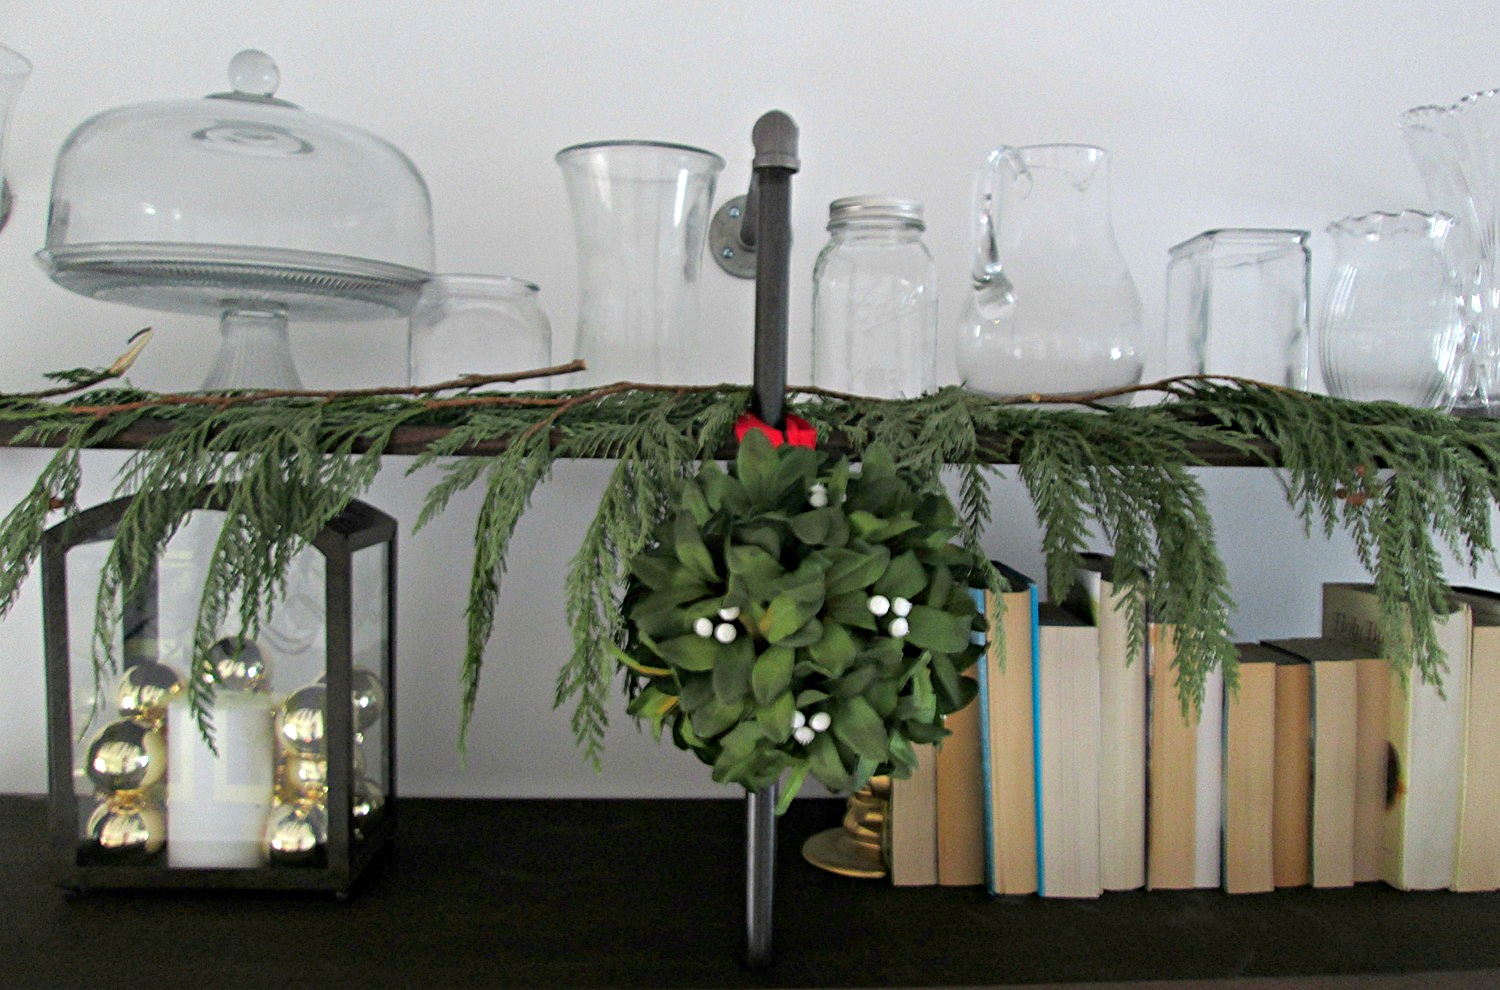
Since we've got a decent collection of Christmas décor, accumulated over 8 years of marriage, I didn't buy hardly a thing this year. But this kissing ball? Well that was a no brainer. :)

 While our metal chairs are great for dining with little ones, (super easy to clean), they're a little chilly on the toosh in the winter! I found a really thick faux fur bath rug from HomeGoods on clearance, cut it four ways, and placed quarters over the seats. An inexpensive answer to an icy situation!

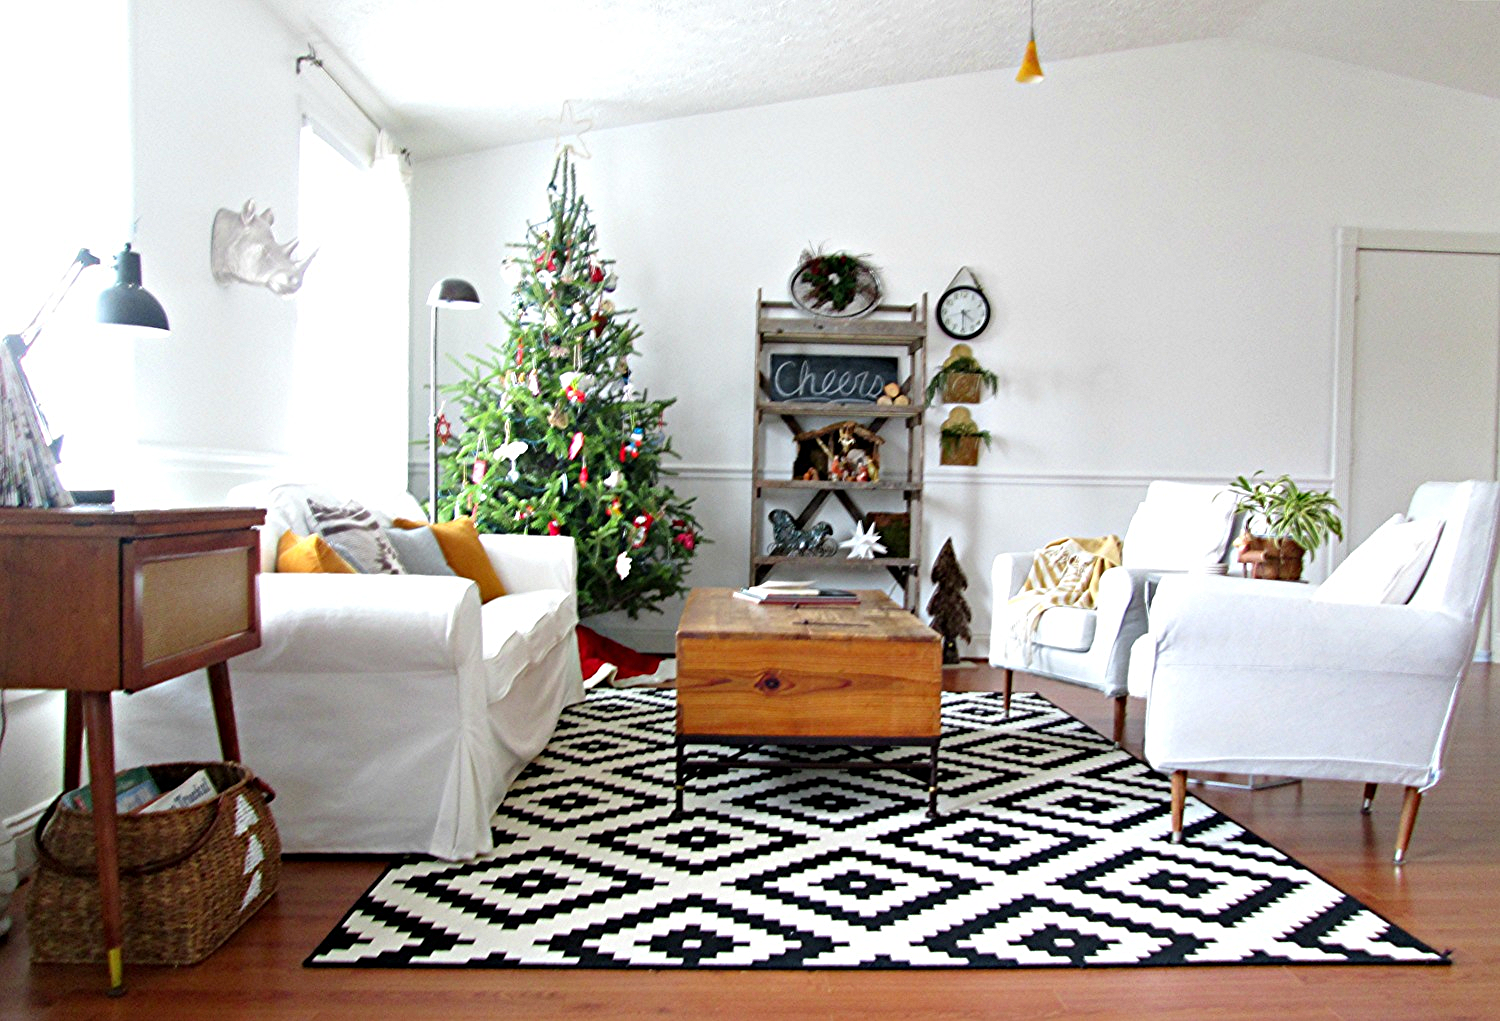
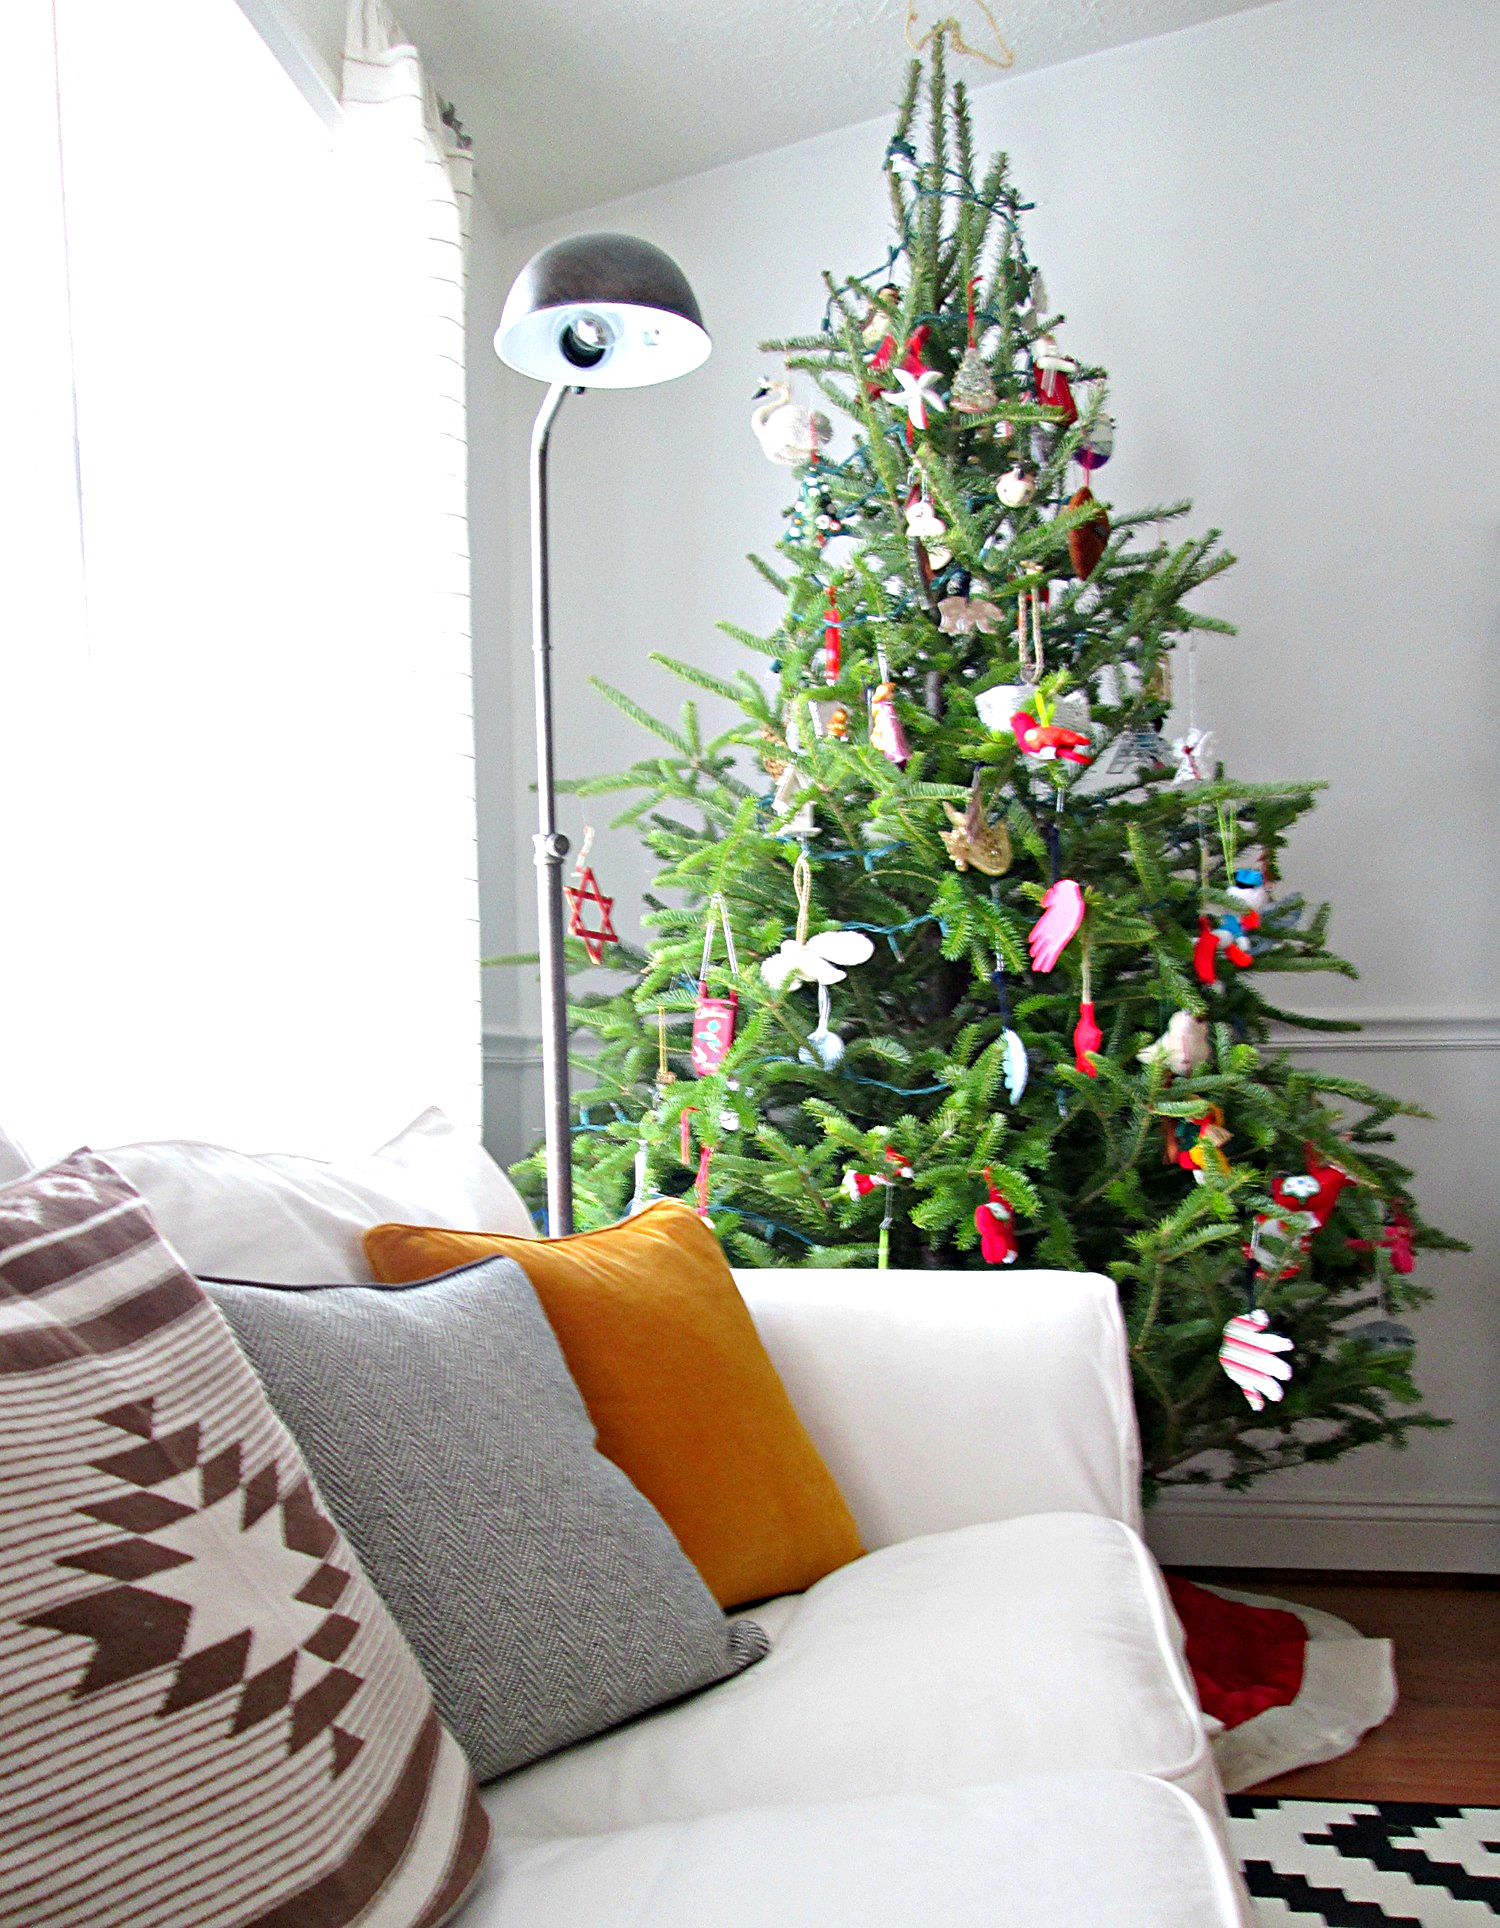
Living Room

A few small sprigs of fresh Christmas tree, (grab them from the tree lots!), replace the tea lights I usually keep in these small brass hangers.

I spy a StyleMutt Holiday DIY project!

This magazine tree was really fun to make, (and ridiculously easy)! Love this whimsical take on the Christmas tree.

The cute wooden stag came from my Grandma. It looks very homemade, like something you'd find at a craft fair, and I just love it. Aren't the oldest decorations just the best!

On another note, there are the geo painted coasters I shared from a few weeks ago, (another one of our Holiday DIYs)!

holiday home tour38.jpg

Master Bed

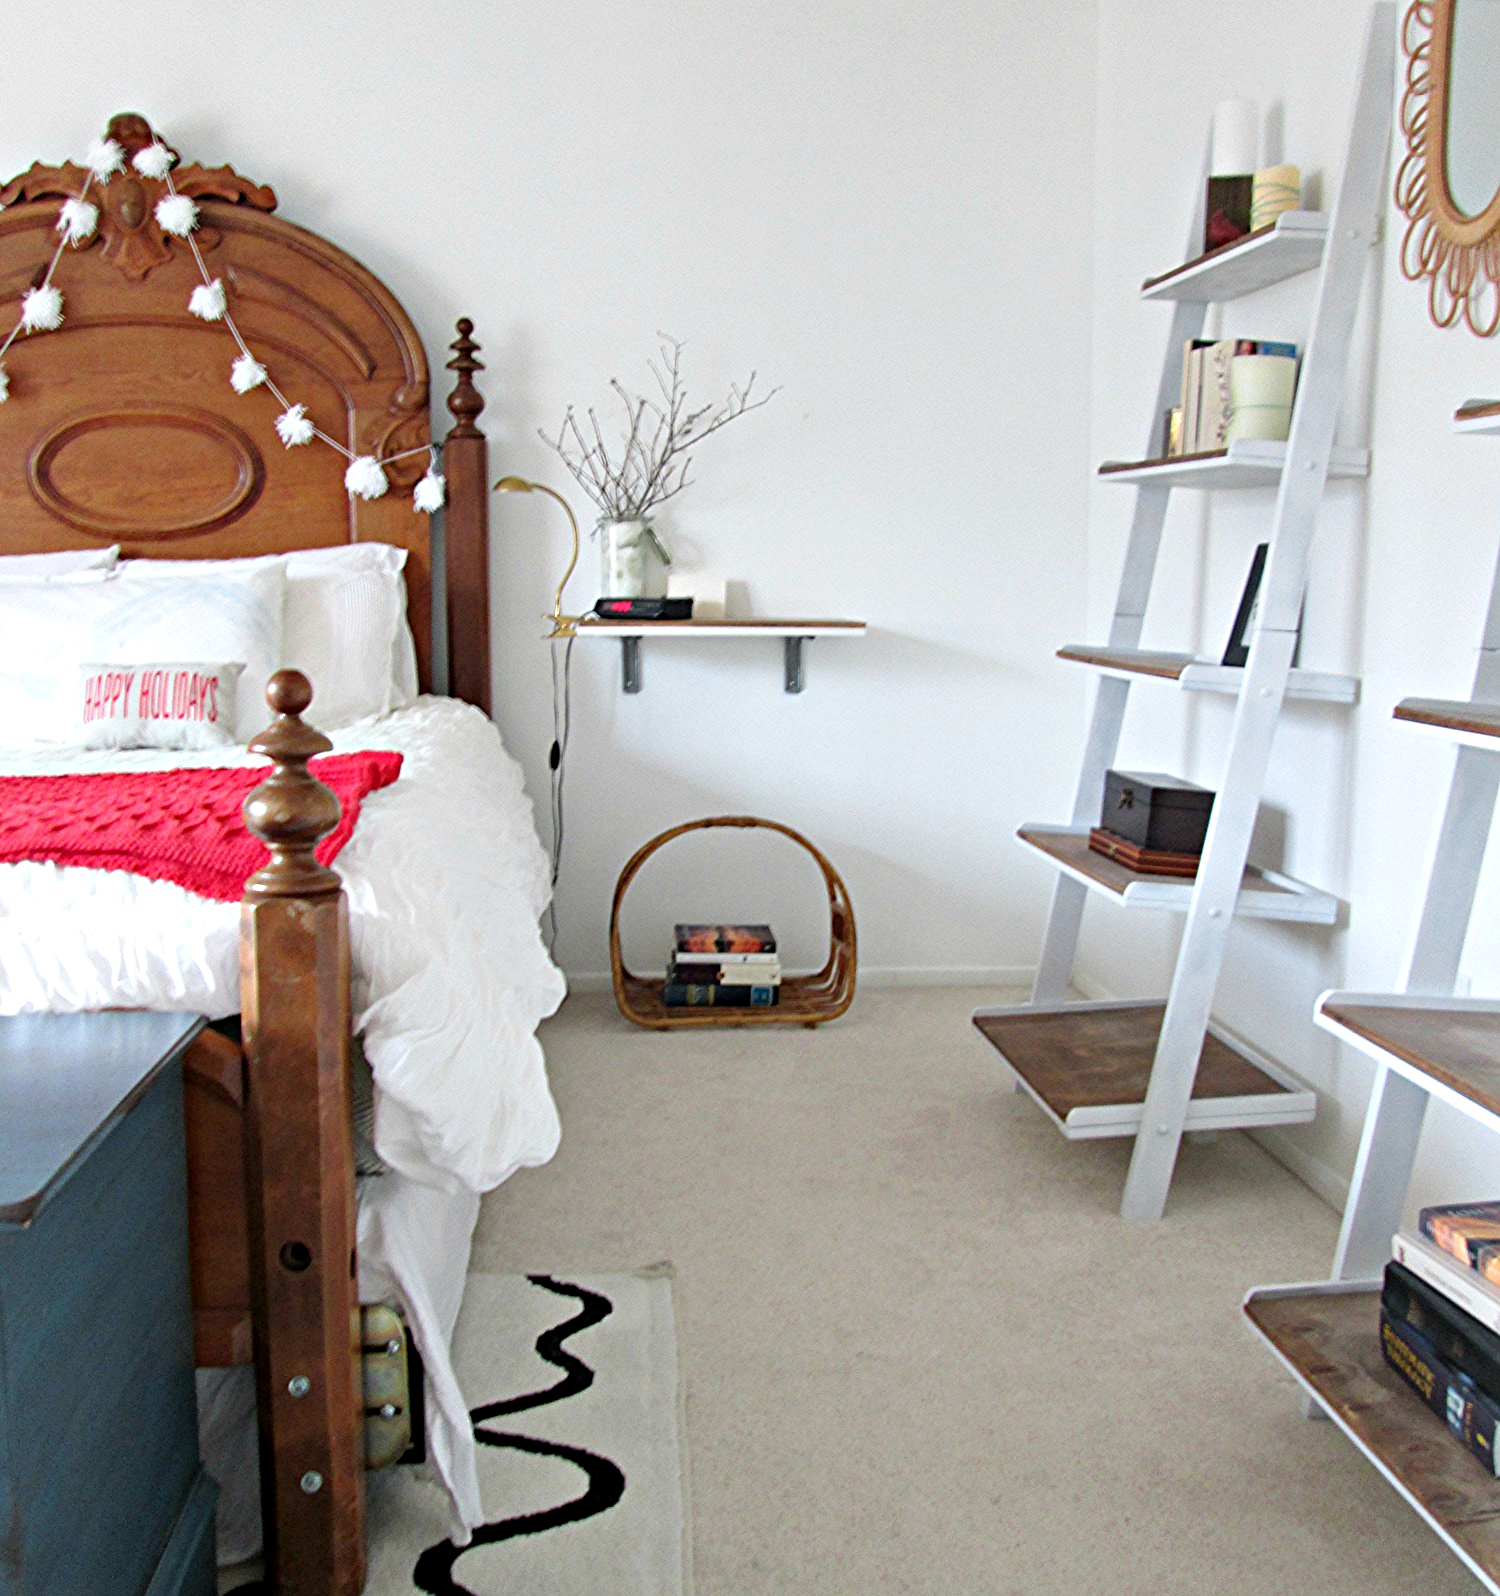
A few twiggy branches from the backyard bring a little of the outdoors in. The pom-pom garland from last year and some cheery red touches add some festive warmth.

Oh, look at that - another Holiday DIY project! This pom-pom wreath uses the same steps as the pom-pom garland! Learn how to make pom-poms once and you've got a couple easy projects you could try out!

holiday hoome tour3.jpg

Front Entrance

The last stop is a quick peek at our front entrance. Our homemade spoon shelf is the perfect spot for hanging coats, while the red toolbox serves as a bench for the little ones to pull their shoes on and off in the winter. The paper wreath is one of my favorite, (and oldest!), DIYs and stays up year round!

I hope you've enjoyed this little holiday tour and please hop over to the Holiday 'House Walk' to see more - so many beautifully decorated homes, all unique and true to their owners. I sure have enjoyed seeing everyone's creativity and personal touches!

Have a wonderful week, friends! Thank you so much for stopping by!

Source: http://www.jenniferrizzo.com/2014/12/holid...