What the Duck?

Happy Friday!!!  This week was a long one for me - who else feels like Thanksgiving was forever ago and yet Christmas is still so far away?!  Lord help me.

Ok, so in an effort to keep my expenses down, I've been trying to get more potential furniture flips off Craigslist's Free page.  However, that's not always that easy:

1.  Free postings go fast because, well... they're free.  And people know a good deal when they see one.  

2.  Often times people that post to the free page are just trying to alert the general public to a curbside takeaway.  There have been a few times that I have driven around looking for some random trash pile only to find someone must've been in the neighborhood a couple moments before me and has picked the pile clean.

3.  When Craigslist users are aren't trying to get any money out of their junk, they aren't always the most reliable communicators when you contact them to pick something up.  

4.  Finally, I find that many people treat Craigslist's Free page like an online trash can.  You'll have to sort through a lot of trash to see the treasure and more often than not, you have to be able to look past a piece's first impression to see its potential. 

But if you're able to handle all these hang ups, sometimes you can get lucky.  Which brings me to the duck...

I was actually going for the Mid Century Table in the craigslist ad pictured above, but was not quick enough.  {No wonder, MCM is like instant gold in the furniture world}.  The user ended up being a StyleMutt reader {I love when that happens!} and was happy to arrange a pick-up for the box trunk as my consolation prize.  The trunk was cute - the ducks a little weird for my taste, but there was potential.  Let's take a closer look:    

Now WHAT was I going to do with you oh gilded box of winged glory?

My instinct was to start by painting it.  To my surprise, the wet paint made the surface bubble!  This meant that the design was not laminate but some kind of paper!  And paper can be removed...

I took an exacto knife and scored the edges.  The duck paper was glued on but I had some handy household items that would loosen its grip.  I saturated the paper with equal parts fabric softener and water {an old wallpaper removal trick} and the paper started to detach.  Bonus alert: the fabric softener makes the whole process smell divine!  

After several hours of scoring, pulling up shreds, and scrubbing off glue residue I had an exposed particle-board-composite box to play with:

IMG_2735.PNG

I was inspired by Chelsea's recent instagram pic of this impromptu table.  I love the white with the natural blonde wood.

What's that you say?  You're not following StyleMutt on instagram?  Well good thing that's an easy fix!  

Just click the button:


We want you to tag us and share your own DIY projects with us on instagram and facebook.  We are always looking for new #stylemuttspaces to feature or #stylemuttprojects and #stylemuttrefinishes.  And you'll be able to easily follow the awesome #stylemuttholiday Christmas craft series Chelsea has been killing it with lately on the blog!

Ok, back to the naked box...


I taped off a harlequin-esque design and began to paint with a latex-based paint. 

I didn't originally intend for a distressed finish, but I think the fabric softener saturated wood was acting as a seal to the wood in some areas.   So as I went, I distressed the areas where the paint wasn't adhering.  I didn't even need to use sandpaper - just a wet paper towel while the paint was still wet.

After painting it, I was left with a neat little storage box.  By just adding some unfinished wood tapered table legs, it became a cute little end table.

IMG_3131.JPG

I kept the brass trim a little messy to match the distressed paint finish.

And unfinished legs with brass feet.

He's the perfect height for a low lying IKEA couch or just as a bedside table.

Thor likes it ;)

Box Trunk Side Table now available for sale.
15.5"L x 15.5"W x 23.5"H
$125

If you are interested in this piece or a custom order like it, please email cate@stylemutthome.com.

Rustic Votive Holders {Holiday DIY No. 4}

Hey guys! We're barely into December but the holiday festivities are truckin' right along. We've been under the weather in our home since the week of Thanksgiving, and that's forced us, (me), to really lay the brakes on and focus the small reserve of energy on what I really care about; my people. Here are some of my favorite moments from the last week and a half...

Goodness me, there is much to be grateful for. (I was singing a different tune a week ago when we were bogged down by the flu and I was hosting one of the worlds largest pity parties. Such a wuss! But so grateful.)

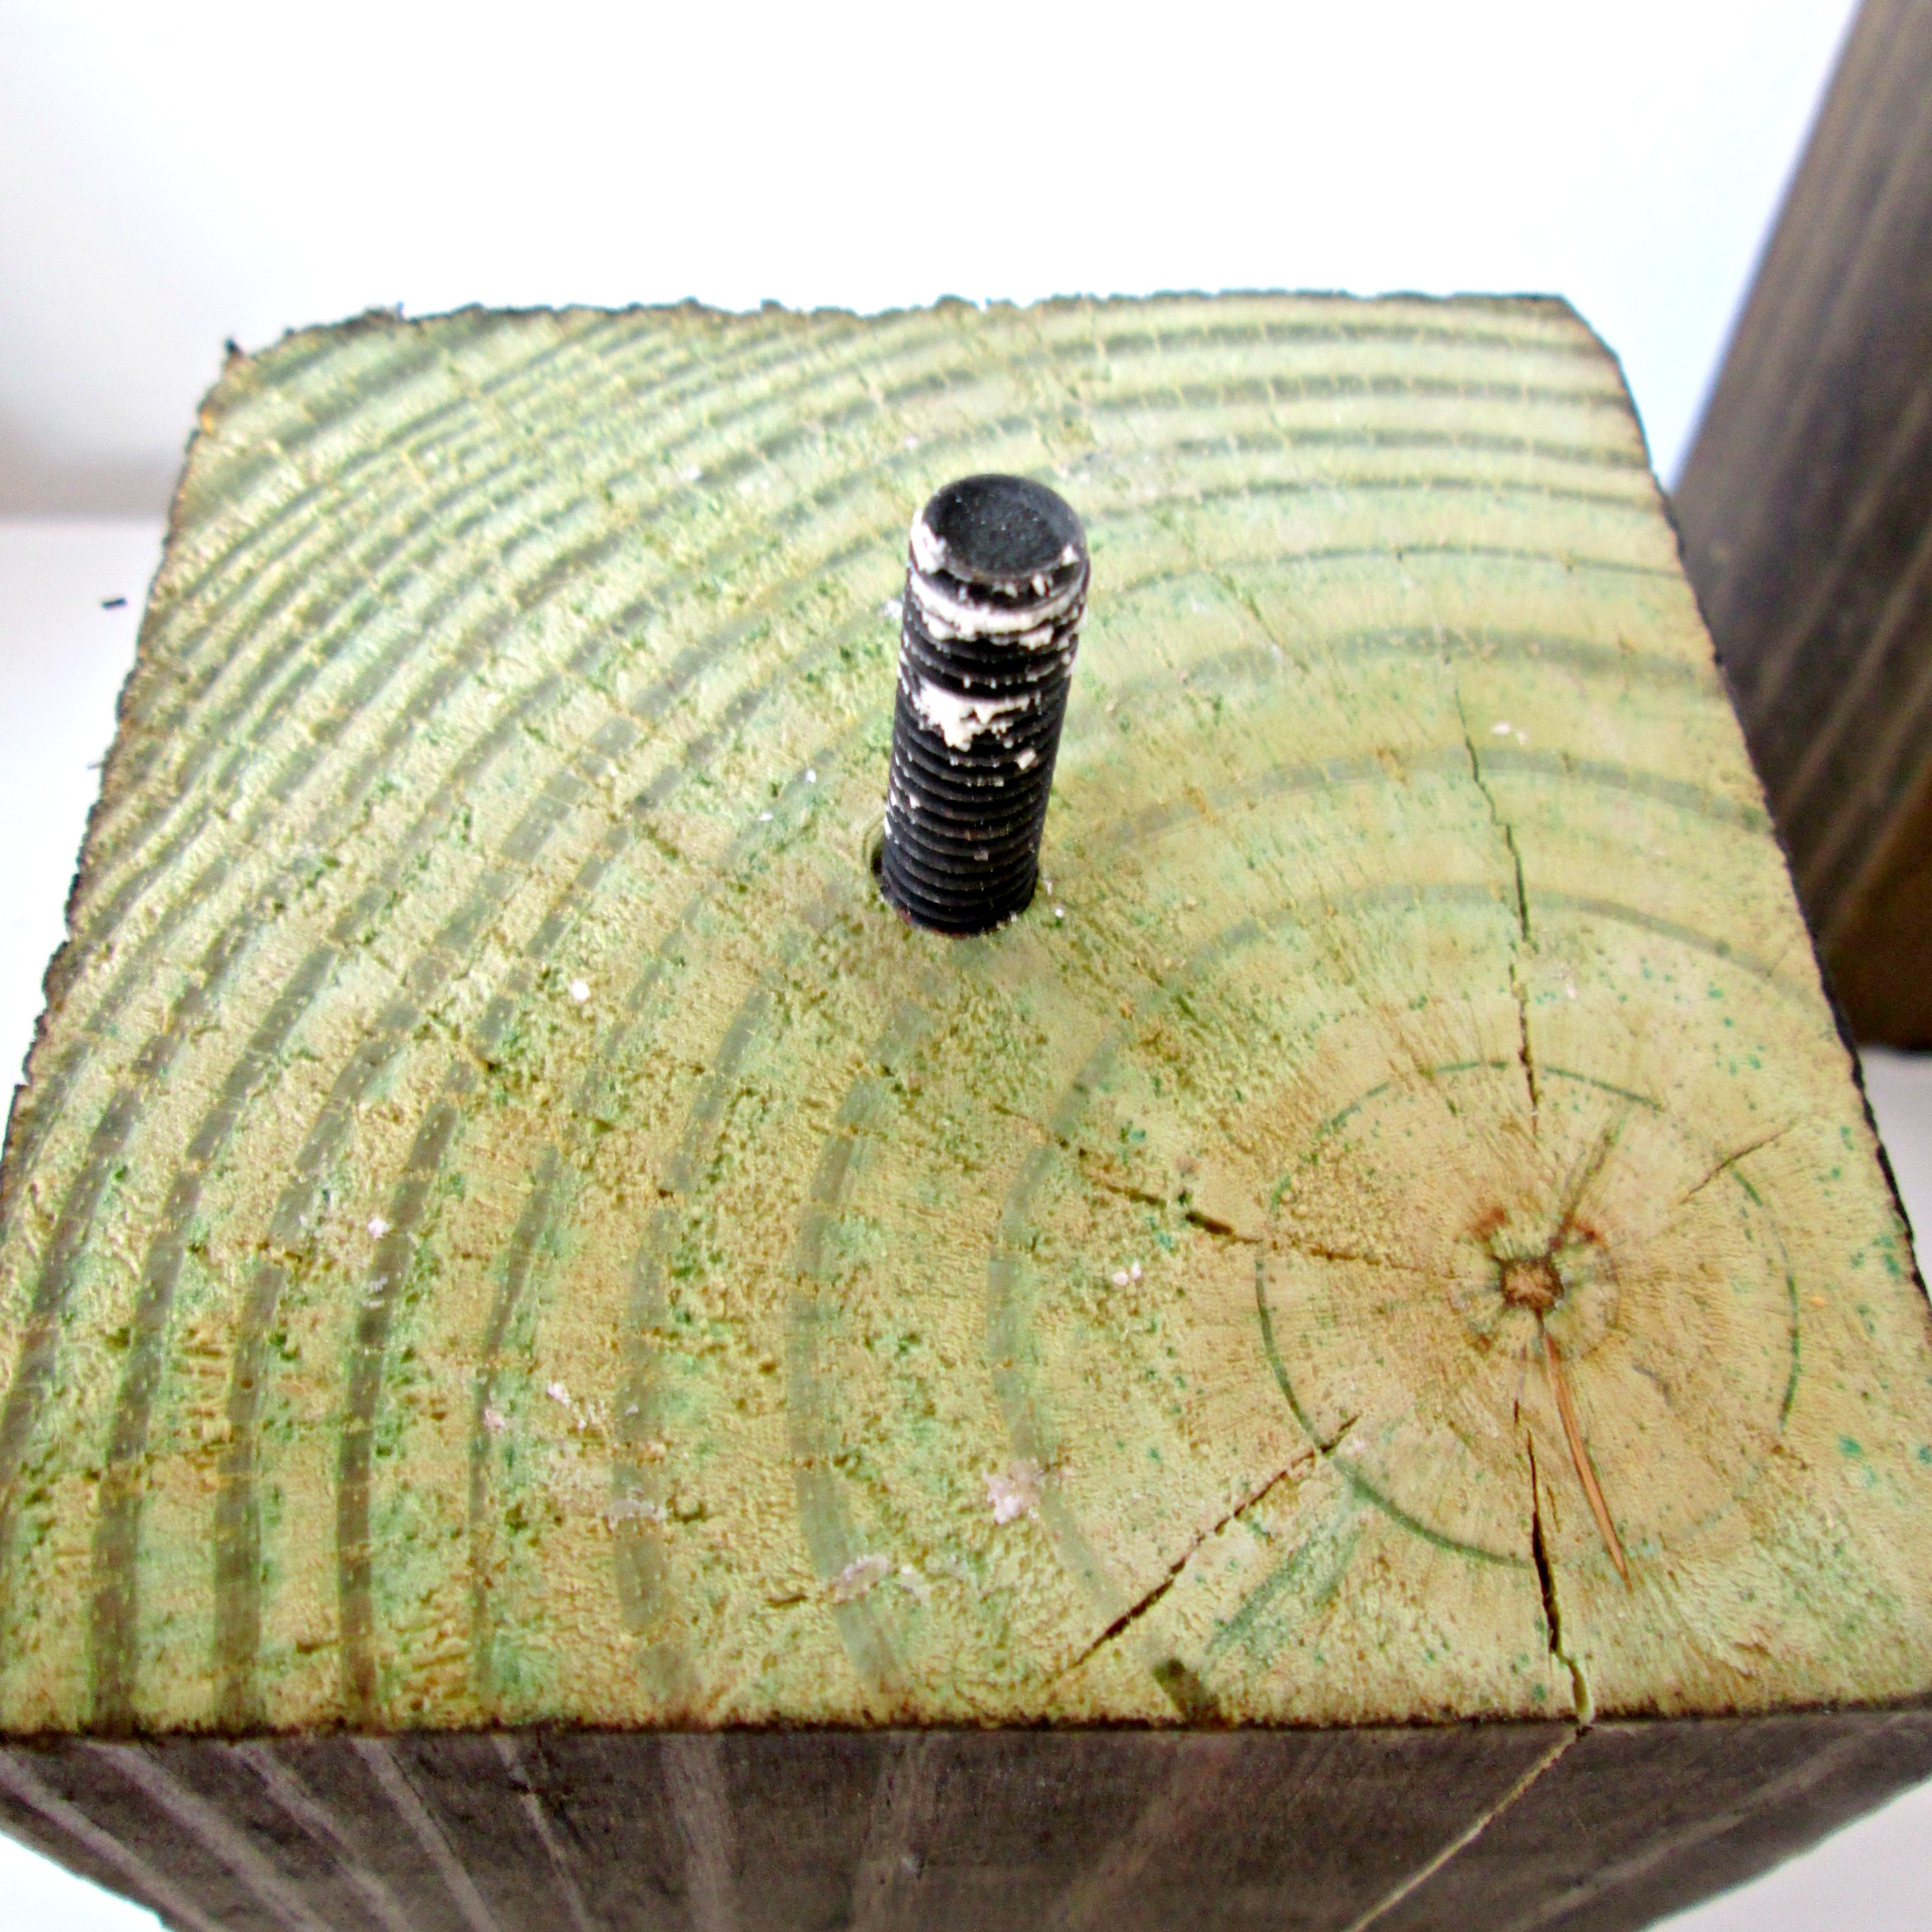
I'm excited to share this DIY project today because, truthfully, it was a happy accident! Over the summer we changed the legs on our sectional sofa - we, (Matt), ended up making the new legs from cut up blocks of 4 x 4 which we stained in Minwax 'Ash'. Since we had three extras sitting out in the garage, I thought they'd make awesome votive holders! I wasn't wrong...

This was really, really easy, folks. We pre-drilled a hole about 2" into the center of each block, and screwed in a hanger, (to do this, just wrap a dry cloth around the hanger, then use pliers to twist the hanger into the hole).

I left the top bare, but you could have some serious fun painting a complementing color to your own décor.

Then I screwed a hole into the bottom of the candle, about an inch to an inch and a half deep, just to keep it secure.

All done!

If the thought of cutting a 4 x 4 plank of wood doesn't excite you, you could either a) Grab a hardware store employee and ask them to cut it for you, (they do this for free at the big chains like Home Depot and Lowes), or b) Ask a store employee if there is any scrap wood leftover from other people's cuts which you could take.

Rather BUY than DIY?

Check these out from Tellus360Shop on Etsy!

I'll be signing off until Monday when I'll be back to share our full holiday home tour, but Cate's got another goodie for ya coming up tomorrow, (Friday)!

Thank you so much for stopping by! Have a fab weekend!

Bar Cart on Campaign {plus a tip for a good faux gold finish}

I'm in love!  I'm in love!  And I don't care who knows it!  {Name that movie!}  I think it's becoming increasingly difficult to hide how much I love campaign style furniture.  What's campaign furniture you ask?  Don't be embarrassed for not knowing!  I myself have only just jumped on the trend.  Ok, quick terminology lesson shall we?

Campaign furniture... is portable furniture that was designed for use in military campaigns.
- Apartment Therapy

Well done Apartment Therapy, thanks for sharing with us and a gold star for you.  That's right class, campaign furniture was originally designed to be durable and on the move.  This meant recessed handles, corner braces for bumpy rides, collapsible bases and easily disassembled parts.  Most often, these pieces were foldable chairs, tables and desks, small chests and trunks.

Chelsea and I have featured some campaign furniture of our own over the years.  Remember these campaign cuties from our Garage Sale this past June?  Note the recessed pulls indicative of the portable style and the reinforced corners for extra protection in travel.


And then more recently my flatware box to campaign nightstand.  The x-base fits the collapsible for storage criteria of many campaign pieces.  

Well today, I have another little table to share.  This table was a recent craigslist find.  Originally from World Market (the Walker Campaign Accent Table), I lucked out because it is discontinued and out of stock.  However, when I was looking at it in person, I realized it seemed rather dark to me.  Maybe it was the wrought-iron base and the dark walnut top, but as is my MO, I really wanted to GLAM IT UP ;)

So what's the first rule of glamour?  GET SOMETHING SPARKLY!

I knew I wanted to paint the base gold, but wasn't sure what to do with the wooden top.  As I pondered what to do to the table top, I started to lean toward some sort of stencil.  But I kept finding this particular image popping up in my head of a rimmed top with some sort of gold accent to match the base.

So I darted out to my local Home Goods {a dangerous pre-holiday quest.  Partly because of the parking lot crazies and partly because of the REALLY tempting loot they always have in stock}.  But I successfully turned on my infamous tunnel-vision and within minutes of entering the store I had found 2 suitable new table top options.

One was a hexagon shaped tray with metal handles.  The other was a round mirrored tray with cut-out hand holds.  So which of these candidates did I take home with me on the campaign trail?  {See what I did there?} *wink.  Well, let's take a look are their debate platforms:

The Hexagon

  • The Hexagon was solid wood so I could easily mount the accordion table base to the bottom and paint the handles to match the gold finish.
  • The Hexagon was an awesome shape.

The Round Tray 

  • The Round Tray was an inch bigger and closer in diameter to the original table top.
  • The Round Tray was mirrored.  And nothing says glam like some gold and mirrors.

But the swing vote came down to the budget {like it always does}.  The Hexagon was $10 more so the Round Tray won my vote.  So now, without further ado, may I present to you the lead candidate for your holiday entertaining needs:

The Campaign Bar Table

IMG_3314.JPG

Mirrors are tricky to work with {as I learned the hard way in this mirrored accent table post}.  However, in that project I actually bought and inset the mirror pieces myself so having a mirror already in the tray makes things much easier - as long as you're careful.  I removed the mounting hardware from the original table top and attached it to the round tray.  I was careful not to screw anything in until I was sure the screws would not protrude and fracture the mirror.

IMG_3012.JPG

The mirrored top bounces light around and helps liven up any corner of the room.

IMG_3072-001.JPG

Instead of the x-shape, this table has a collapsible accordion-style base - also true to a campaign piece!

IMG_3052-001.JPG

Even though Rust-Oleum® Specialty Metallic Spray is an awesome gold spray paint, sometimes my vintage-loving self can't help but feel like I'm not fooling anyone with a faux finish.  It just doesn't stand up to the real thing right?  But there are a couple small tricks you can do to help deepen the gold finish and therefore give it more of the dimension you can see in a real brass or gold base.

1.   It helps to have a black base coat.  If your piece is not black, paint it black first before you go gold.  Then when you add a gold topcoat, allow lapses in the coverage where the black can peek through and give the finish a little touch of shadow. 

2.  After the gold top coat is dry, buff over the gold paint with a dark wax.  This will add just another level of color dimension to the finish - giving it depth.  I didn't have any dark wax so I just mixed a little Minwax Oil-Based Dark Walnut Wood Finish Interior Stain  with some Americana Decor Clear Creme Wax  I had on hand from a previous project.  I am very happy with the end result. - hopefully these pictures are doing it enough justice for you to get the gist.

IMG_3049.JPG
IMG_3047.JPG

I even gilded the handle cut-outs to complete the look!

IMG_2828.JPG

Aaaaaaaaand thank you Thor for the ever-popular cameo appearance.

I love that the glamorous tray table is so easy to move around {ready for the campaign trail!}  Styled like a sparkling bar stand, this table would be a perfect drink station when your home is in holiday entertainment mode or a wonderful accent table in the off season.

IMG_3027.JPG

Elect this round tray Campaign Bar Table for your home holiday entertaining!
21"L x 21"W x 28"H
SOLD

If you are interested in this piece or a custom order like it, please contact cate@stylemutthome.com.