Stunning White Lacquered Set

First of all, I am totally not exaggerating when I say you guys made my day yesterday. Your response toThe Announcement has been heartwarming. All of the enthusiastic words of encouragement just make this next step all the more exciting and Cate and I feel so blessed to be surrounded by such kindness and support. We cannot wait to get Style Mutt up and running for you!

Whew! Now onto some other business. How long has it been since I've painted something glossy?!? I can't even remember. With distressed, weathered furniture in high demand right now, I don't get a lot of custom orders for glossy these days. So when a seriously fun client told me she was thinking of doing a lacquered white set for her living room, my heart did a cartwheel! With her ideal dimensions, a photo of her living room, and general idea of what she was looking for, I finally collected three pieces that I thought would do her vision justice.

(Yea, can anyone in the Northern Virginia area recommend a driveway repaving company? We'll be in the market someday whenever we're ready to sell. Oh my...)

Seriously stunning, right?! And the smooth, shiny finish is just amazing. I mean, you could ice skate on the surfaces, that's how glassy they are. So, want to know the secret to painting a super shiny, glassy finish?

Sorry, I should have taken the picture before I cracked open the can. But it's this Glidden Trim, Door and Furniture paint! It's not with the rest of the paints at Home Depot - it was actually on the spray paint wall of all places. But this product is not joking around. It's thick as molasses, but as you're brushing it on, you'll start seeing the brush strokes settle into the smoothest surface you could imagine. And because it's so stinkin' thick, this stuff is tough as nails once it's dry. I actually, (totally by accident), bumped it a couple times when moving it around, and it didn't get a single scuff or scratch. Plus it wipes really easily making cleaning it off a cinch. The only issue I ran into is that it kind of ruined the two brushes I was using. It's literally like painting with a molasses-like glue. I've never had issues cleaning any brushes before, but this paint would. not. come. off. Even after an overnight soak in Dawn dish soap. And it's still all over my hands after several days and good hard scrubs. BUT, the look on furniture is such a dream it's worth a brush sacrifice, (or two). 

The second product, which I used to refresh the mismatched hardware, (which I had already removed when I took the BEFORE picture), is Rust-oleum Metallic Antique Nickel spray. I've mentioned this before, but Rust-oleum is the only spray paint I'll use. For some reason I get serious sputter issues and cloggy nozzles with other spray paints. Call it operator error, but I never have any trouble with Rust-Oleum, (which makes me feel like a big-time pro). 

A completely different feel from the lovely time-worn, aged and distressed pieces, but so very stunning and absolutely perfect for this set.

One of the elements of StyleMutt that Cate and I are looking forward to is having a favorite supplies and products page! I love talking products with you guys and enjoy sharing my recommendations when you contact me, but we want to make it even easier for you to find our go-to list of tools, supplies and products for all our DIYs, both big and small. We hope this guide makes it even easier to tackle your own projects at home!

Speaking of home projects, anyone working on anything this weekend? Tag #chelseasgarage on Instagram or share on Facebook! We'd love to see what you're up to!

Thanks for stopping by and enjoy your weekend!

~Chelsea

This post was published under Chelsea's Garage, now affectionately known as StyleMutt.

Change is in the air

Hello dear friends, I'm writing today with a full and grateful heart. All of you even keel, non-feelers out there, be warned; it's about to get real!

Chelsea's Garage began on a wing and a prayer during the fall of 2009. I was spending long days living in Fairfax County Hospital while on monitored bed rest pregnant with our twins. During my time there I began researching how to refinish furniture, (among my other daily activities of crocheting, walking to the bathroom, and watching Ellen at 3). I saved a file full of the supplies I'd need, tools, and techniques; I really learned quite a lot before I ever picked up a paint brush. While the little babies played wrestle mania in my tummy, a little dream was stirring around in my mind.

The dream was tucked in my back pocket and stuffed with soiled spit up cloths and pacis while we survived our first year with twins in our apartment at the time. The funny thing is, I never felt anxious to get started. The Lord really gave me so much patience in waiting until the time was right. It's not in my nature to wait well and with a good attitude, so I am so grateful for that gift of patience during that time. God asked me to wait again when He surprised Matt and me with our third child, Mason, who was born right before the twins were 17 months. Before Mason's birth we had settled into our first home with not much more than our kids to our name.

It was after Mason was born that I jumped into the furniture refinishing / blogging world. I didn't know anything!!! I barely knew who I was as an artist, a designer, and much less, a creative business owner. But what I had without question was passion for inspiration and creativity. Over the last few years of publishing posts, (today's is the 400th!), on creative DIYs, refinished furniture pieces, and home decor ideas, I have learned more than I could ever have imagined, and the passion has only grown stronger.

About a year ago, Cate, (my talented sister-in-law who has been guest posting every Wednesday), and I started talking about building a business together. We've collaborated ideas, discussed goals and mission, and have a very clear direction with which we would like to move forward. Our aim is simple: to provide a top-notch resource site that is chalk full of information and inspiration for all styles. We want to provide not only imaginative DIY ideas, but where-to-find lists, how-to-make tutorials, and share more of what other creatives out there are doing as well! We want to offer a one-stop source that promotes sharing information and tips, tricks and techniques, and supports a positive, encouraging community among it's readers.

Although the content will be similar to what you've seen on Chelsea's Garage, (we will both continue refinishing furniture, flipping great deals, and sharing imaginative ideas), I've decided after much prayer and thought, that it's time to move forward with something completely fresh and retire Chelsea's Garage.
 

We are so very excited about this adventure but we know it will be a lonely ride without you all. We hope you will take this leap with us as we become something new; as we transition to 
STYLEMUTT. 


Naming our new site Style Mutt came very naturally; we both feel that our own personal styles are an eclectic mix of this and that, and I endearingly likened this mix of styles to a style mutt over a year ago here on Chelsea's Garage! Our hope is to build a resource that is helpful, informative, and inspiring to all breeds of style.

We are working hard on creating a clear sense of StyleMutt's mission, and building the site ourselves, so we will likely be taking most of September off so our focus can be clear. This does not mean Chelsea's Garage will cease to exist by October. We don't know exactly how long the site will take us to build, and we will still be posting to Chelsea's Garage, (except for September), until Style Mutt is completely ready. During this time of transition we hope to continue working on refinishing furniture and are still accepting custom orders, so don't hesitate to contact us if you have something in mind! We'll be sure to keep you posted on all that is happening with Style Mutt and hope as this new beginning approaches, you'll be as excited about it as we are! 

Thank you so much for hanging with Chelsea's Garage all this time - your 'company' here has meant so much to me and I could never have imagined the countless blessings that would befall over me through this blog. I feel so much peace about closing this door as I completely trust that the new door opening is so incredibly worth it. And I know you'll all be right there when this new door opens. You have to be; we need you!

Thank you, as always, for stopping by!

~Chelsea

P.S. You guys rock.

This post was published under Chelsea's Garage, now affectionately known as StyleMutt.
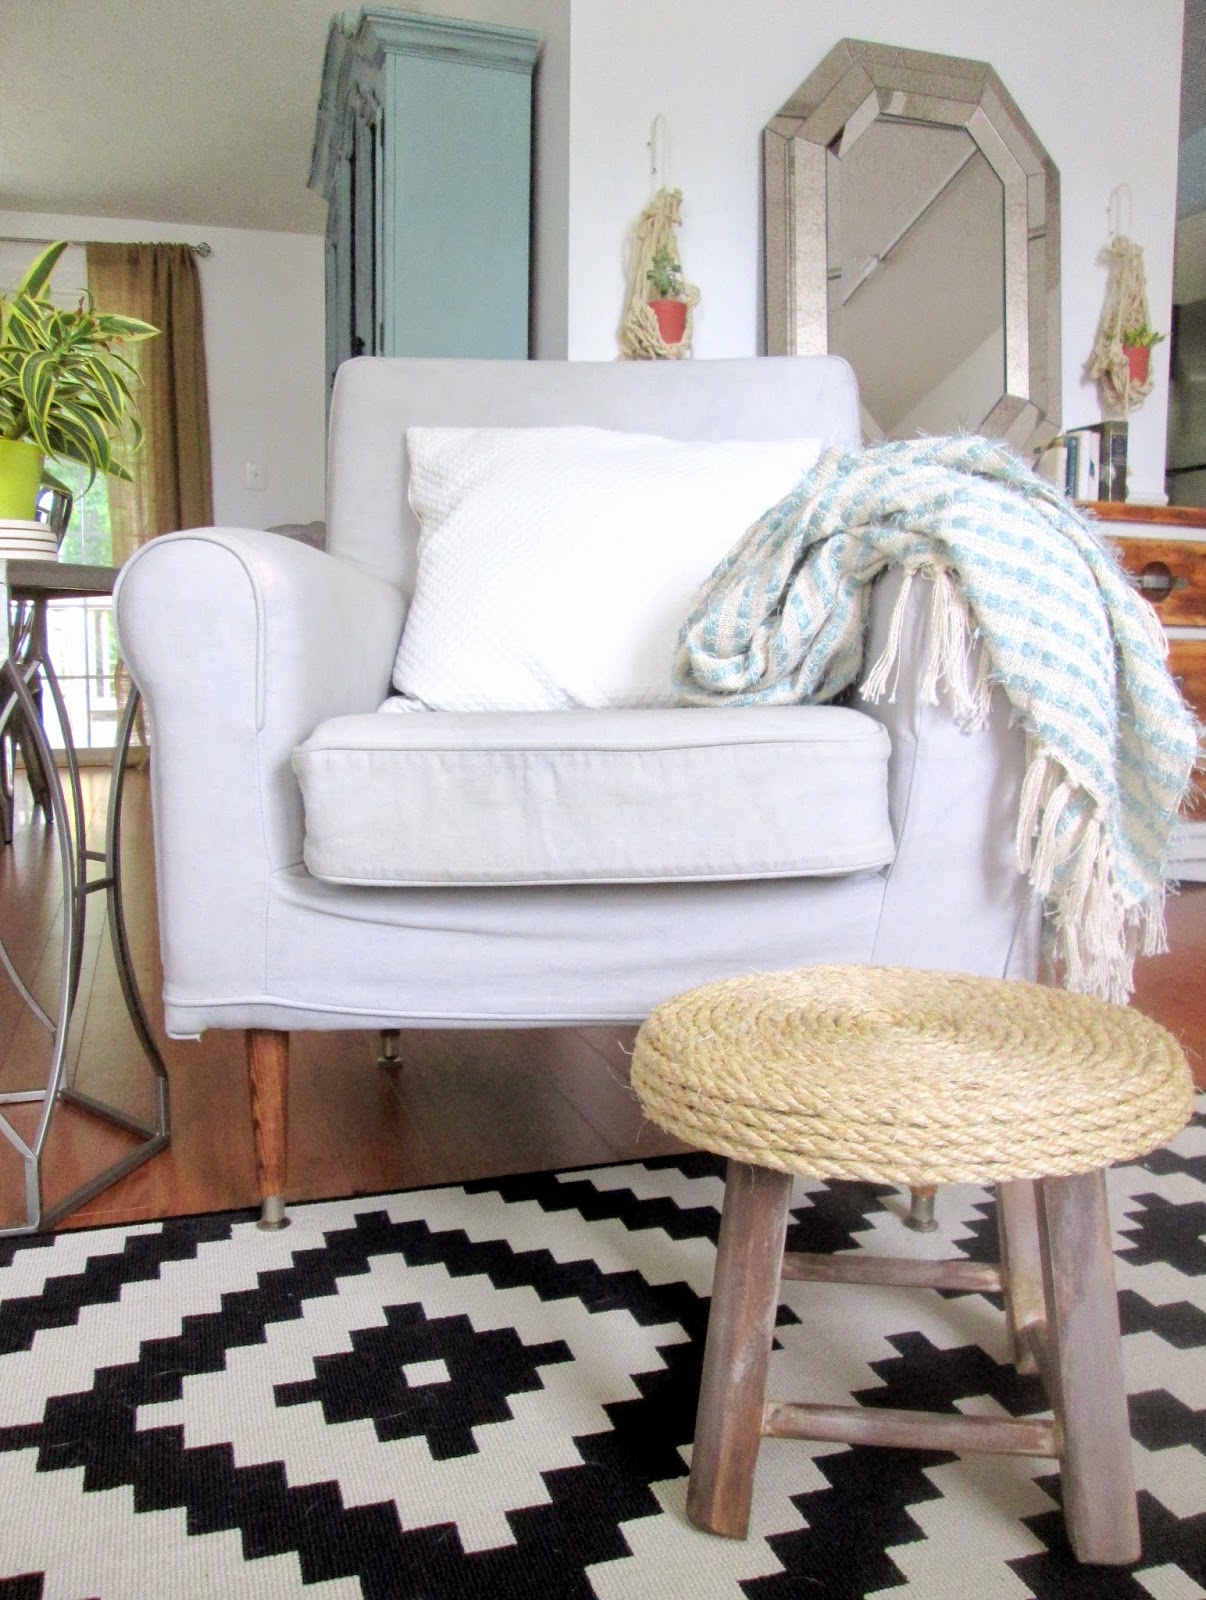
 

DIY - Rustic Rope Footstool

Hi friends! I'm back with another DIY project today that I really enjoyed seeing come together. There are many reasons to take a project on yourself versus buy new or hire someone to do for you. Sometimes budget is the driving force to DIY, sometimes it's an itch for creativity, and sometimes it's simply seeing something inspiring and wanting to make it your own. Inspiration was the reason behind today's project!

Long story short, I noticed a particular footstool at my parents' beautiful home while visiting for dinner the other week with my family. It's quite a simple stool, but the rustic effect it had in their living room really caught my eye. I love seeing natural elements mixed into home decor, and this particular footstool is such a perfect example of something small that creates that natural bit of warmth.

I couldn't help but snap a photo:

And after a little fun, here's mine:

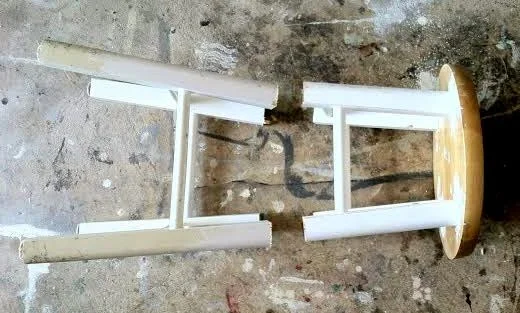
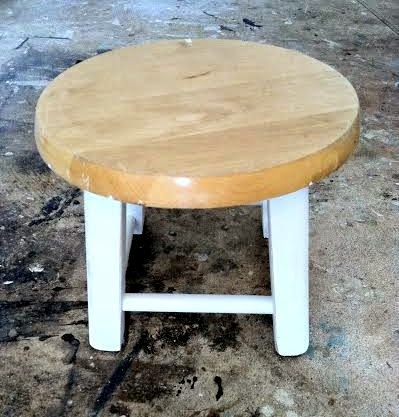
Want to see what it started as?

Not a bad deal, eh?! Let me show you how!

Supplies needed:
Stool, preferably unpainted
Rope
Hot glue gun
Electric saw, (I used a circular saw)
Sandpaper, (120 grit)
Stain, (I used Ash)
White paint

(To note: I only included the price of the stool, $5, and the price of the rope, $8, in the overall cost of this project, since the rest of the supplies are either common household items, (hot glue gun, sandpaper), optional, (stain and white paint), or easy to borrow, (the saw).

The Low-down

1. Measure each leg accurately, (I used 9" from the seat), and mark where you want to make your cuts, then cut. Be sure to sand the legs at the cuts so they're smooth. 120 grit sandpaper would be ideal.

 At this point, because my legs were painted, I had to remove the paint. If I wanted to remove every bit of it I would have used Citistrip, but because I was going for a salvaged look, I just sanded it off and left bits of the paint here and there.

2. Stain the legs using a clean cloth or staining sponge

3. Dry brush a bit of white paint on the legs once the stain is dry, (which should only take a few minutes). Dry brushing gives a lovely, multi-dimensional effect to a piece so it isn't so flat, but it takes a smidgen of practice. First, I set the can of paint aside and use just the lid. Dab the brush into the paint collected on the lid.

Then wipe it off on a clean cloth, and brush quickly over your surface back and forth with the grain of the wood.

4. Now it's time to rope your seat. Start in the very middle, (best to measure so it's accurate), and stick a big glob of hot glue in that spot. Place the rope firmly into the glue and start gluing around a few inches at a time, followed by placing the rope over the glue. The middle is the toughest spot to get started, but once you get a few rows in, it gets much easier to handle the glue and the rope.

Finished product!

That's it! This stool would make an adorable child's step stool, plant base, or use it just as a footstool! You decide, that's the best part. I actually have a second one of these which I plan to refinish a little differently. Stay tuned! If you try this or any other projects you've found inspiring on Chelsea's Garage please tag them as #chelseasgarage on Instagram or share on Facebook. We love seeing your handiwork! In fact, check out this Swiss Cross rug, (inspired from this post), that a dear reader, Beth, made for her classroom:

So awesome! Thank you so much for sharing on Facebook, Beth - it's perfect in your room. Best of luck in the new school year!

Thank you all for stopping by!

~Chelsea

This post was published under Chelsea's Garage, now affectionately known as StyleMutt.