Matchmaker, Matchmaker

Hi friends! Every now and then we have the pleasure of refinishing a matching set of furniture, per custom request. Whenever a set comes in, whether it's a coffee table and end table set for a living room, or a matching bedroom set, it's always fun to imagine the room created around the pieces. 

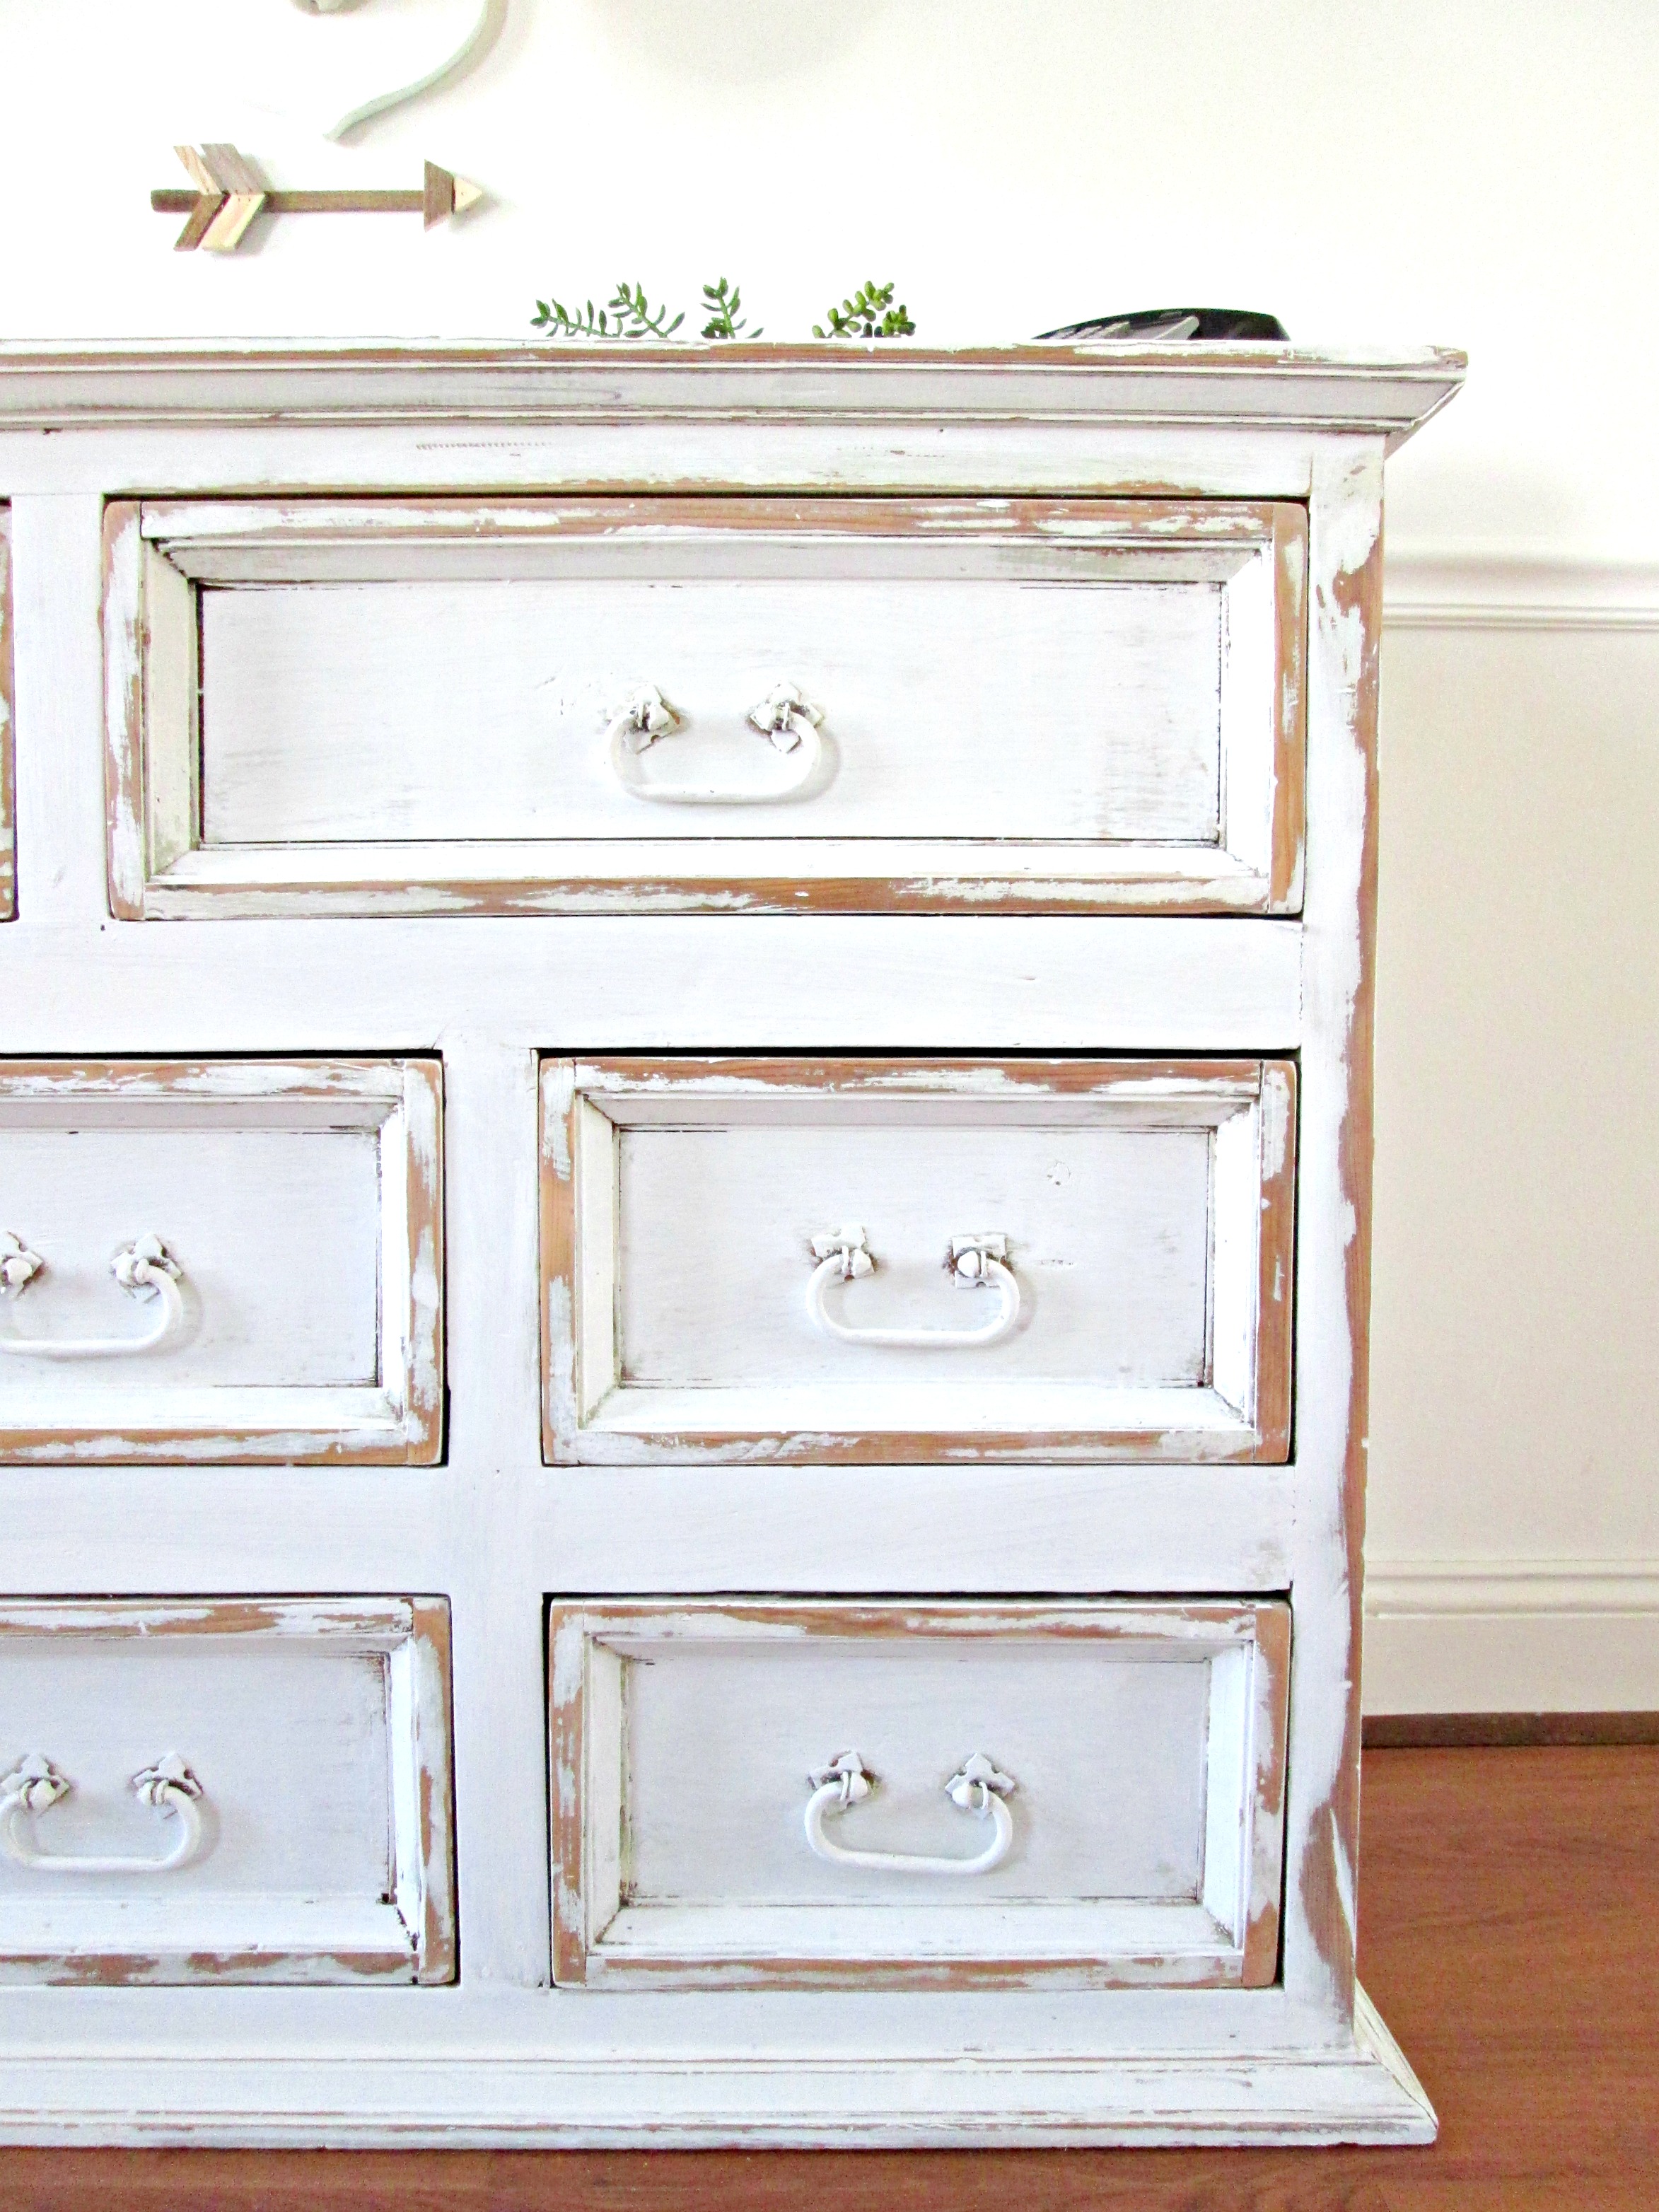
I was definitely day dreaming about this while working on a bedroom set that was requested to be finished similarly to this beauty:

The dear gal who purchased this piece asked if I could use the same ultra distressed technique on her daughter's bedroom set. After she sent pictures of her daughters pieces, I knew it wouldn't be a stretch. The set had great bones and lines already! Here's what I came up with:

How to get this look:

I refinished these pieces in several layers, just as I did the large dresser several weeks ago. I painted them in Old White, by Annie Sloan Chalk Paint. Then I went over in Layla's Mint by Miss Mustard Seed Milk Paint. The final coat is a mix of Pure White, (by ASCP), and Grain Sack, (by MMSMP). The mix of milk paint to chalk paint gives a chippy-er finish, drawing the paint up a bit so it flakes off easily. I finished by taking my electric sander with rough 100 grit sandpaper over both pieces and removing as much paint as possible in a few key spots - on the dresser I heavily distressed the frame of the drawer fronts and the protruding side panels. On the headboard, I focused on the protruding middle section, as you can see below.
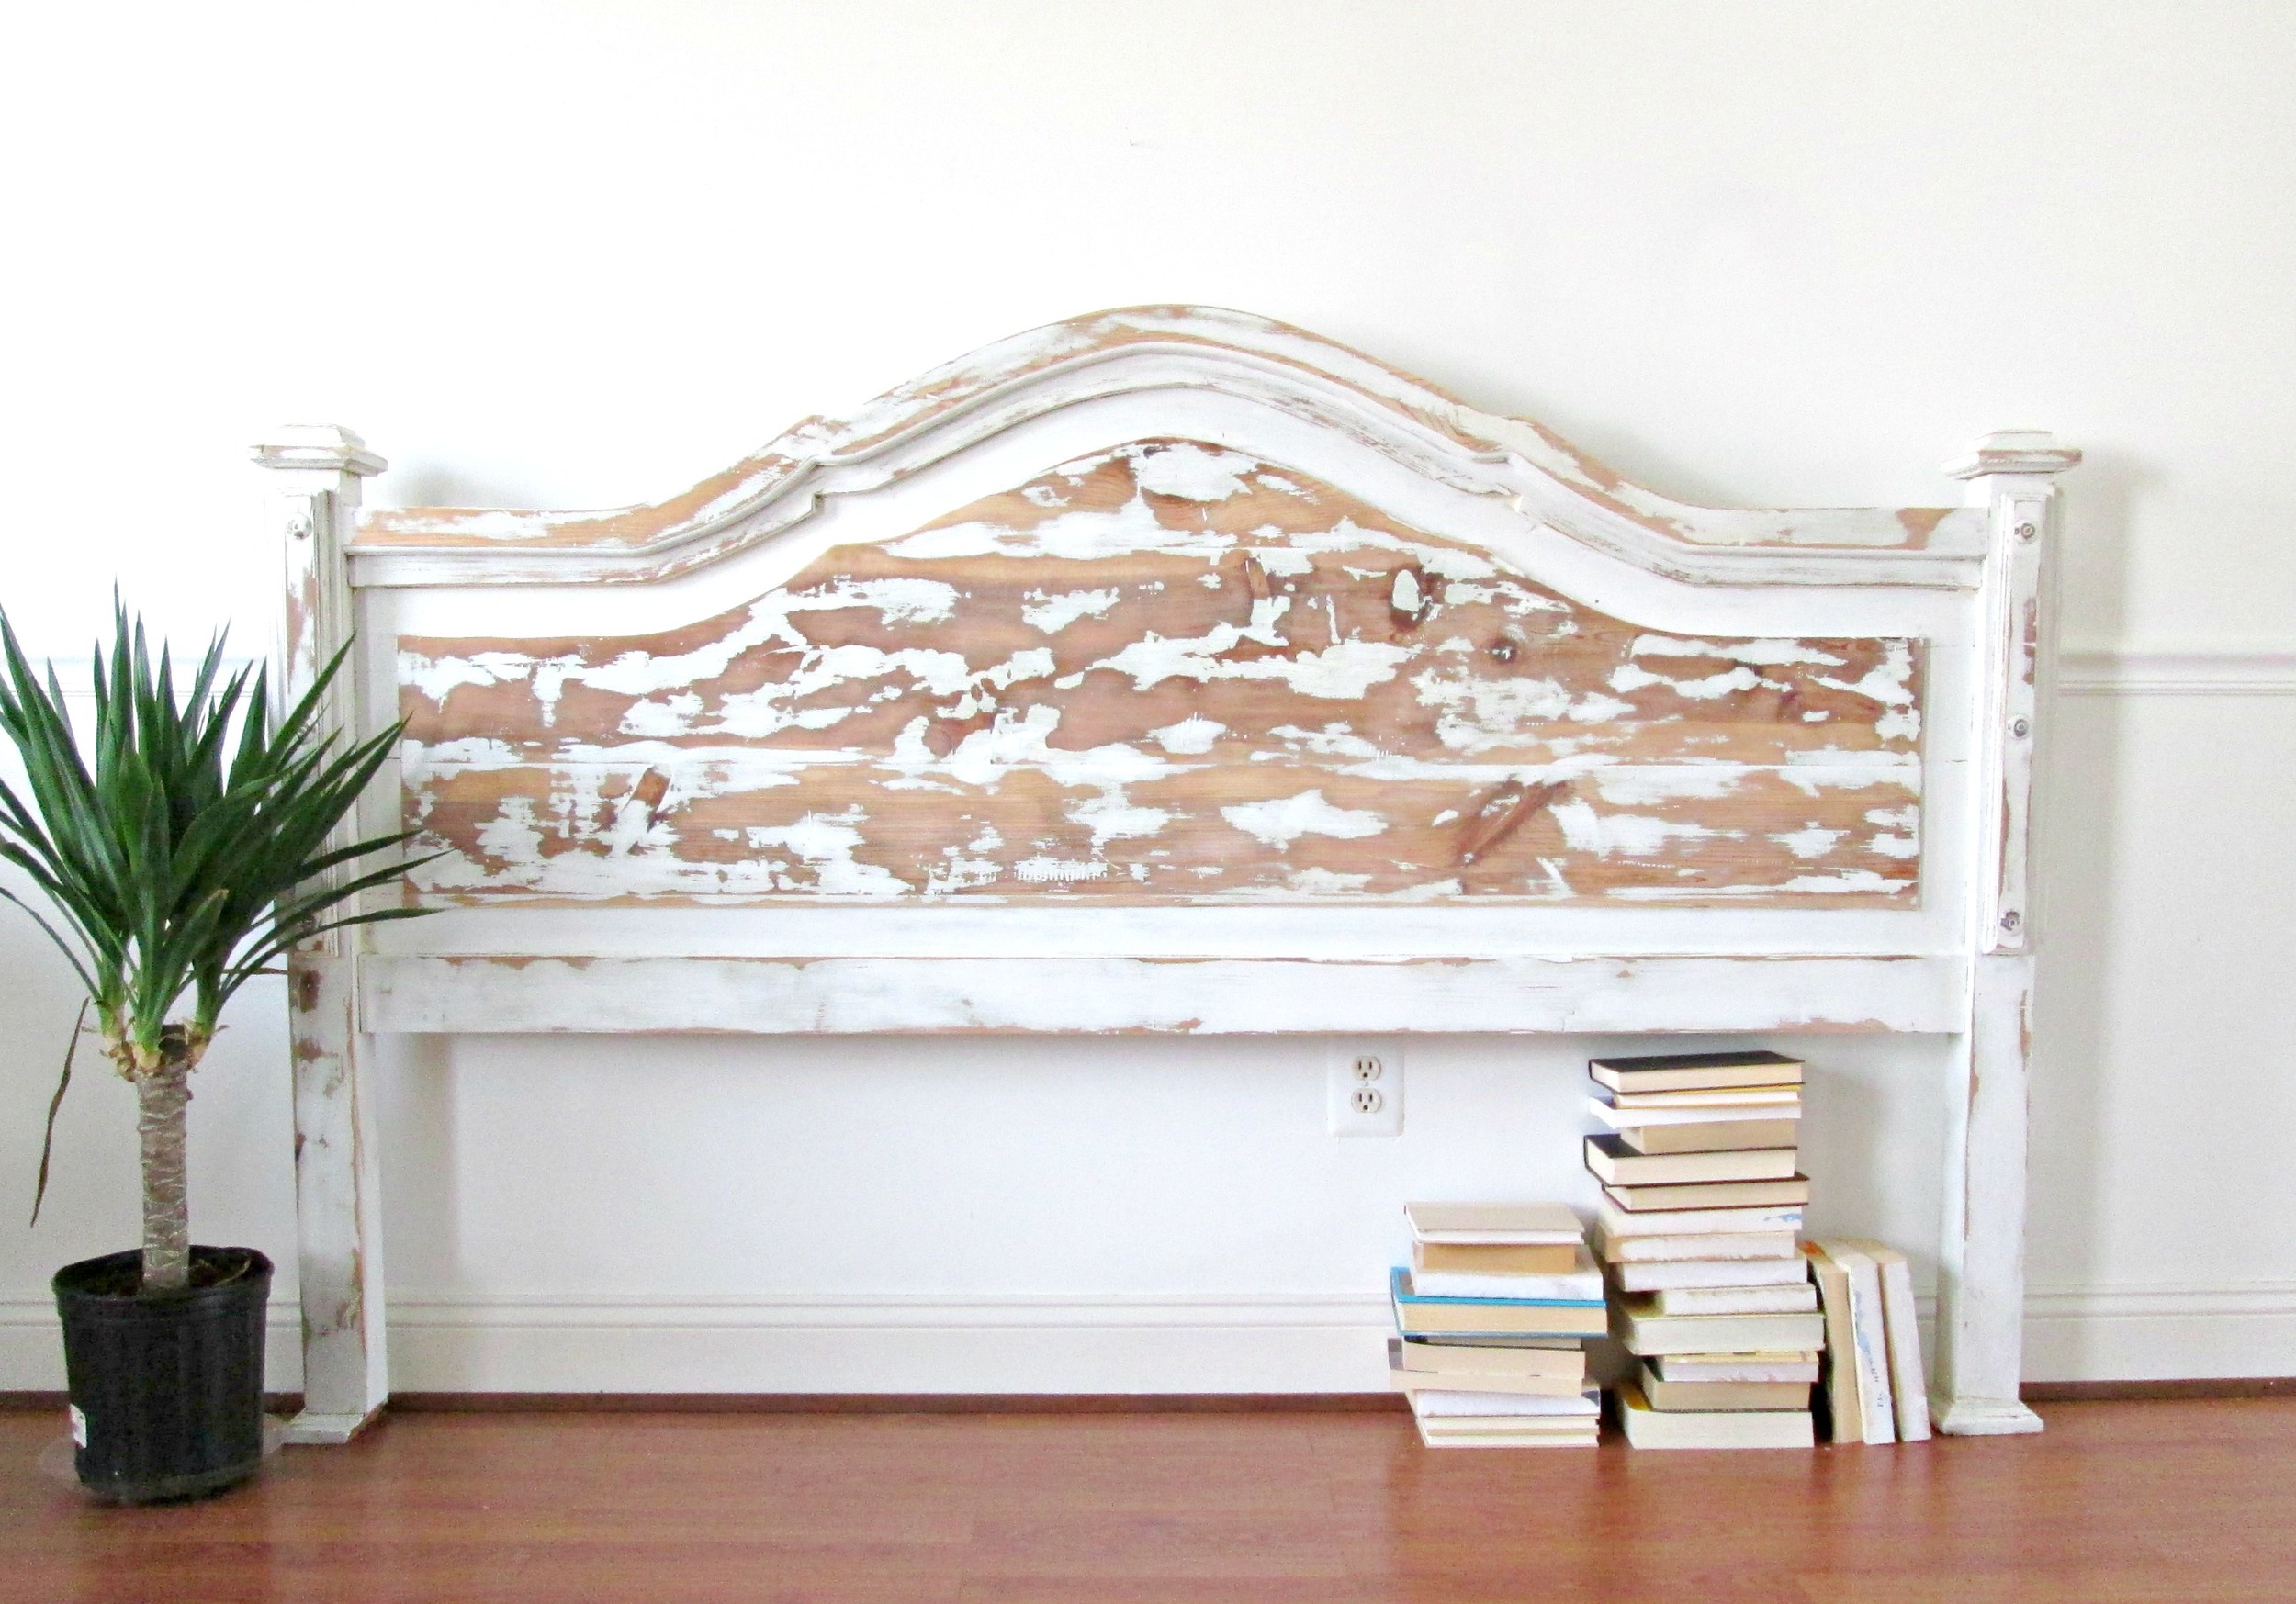
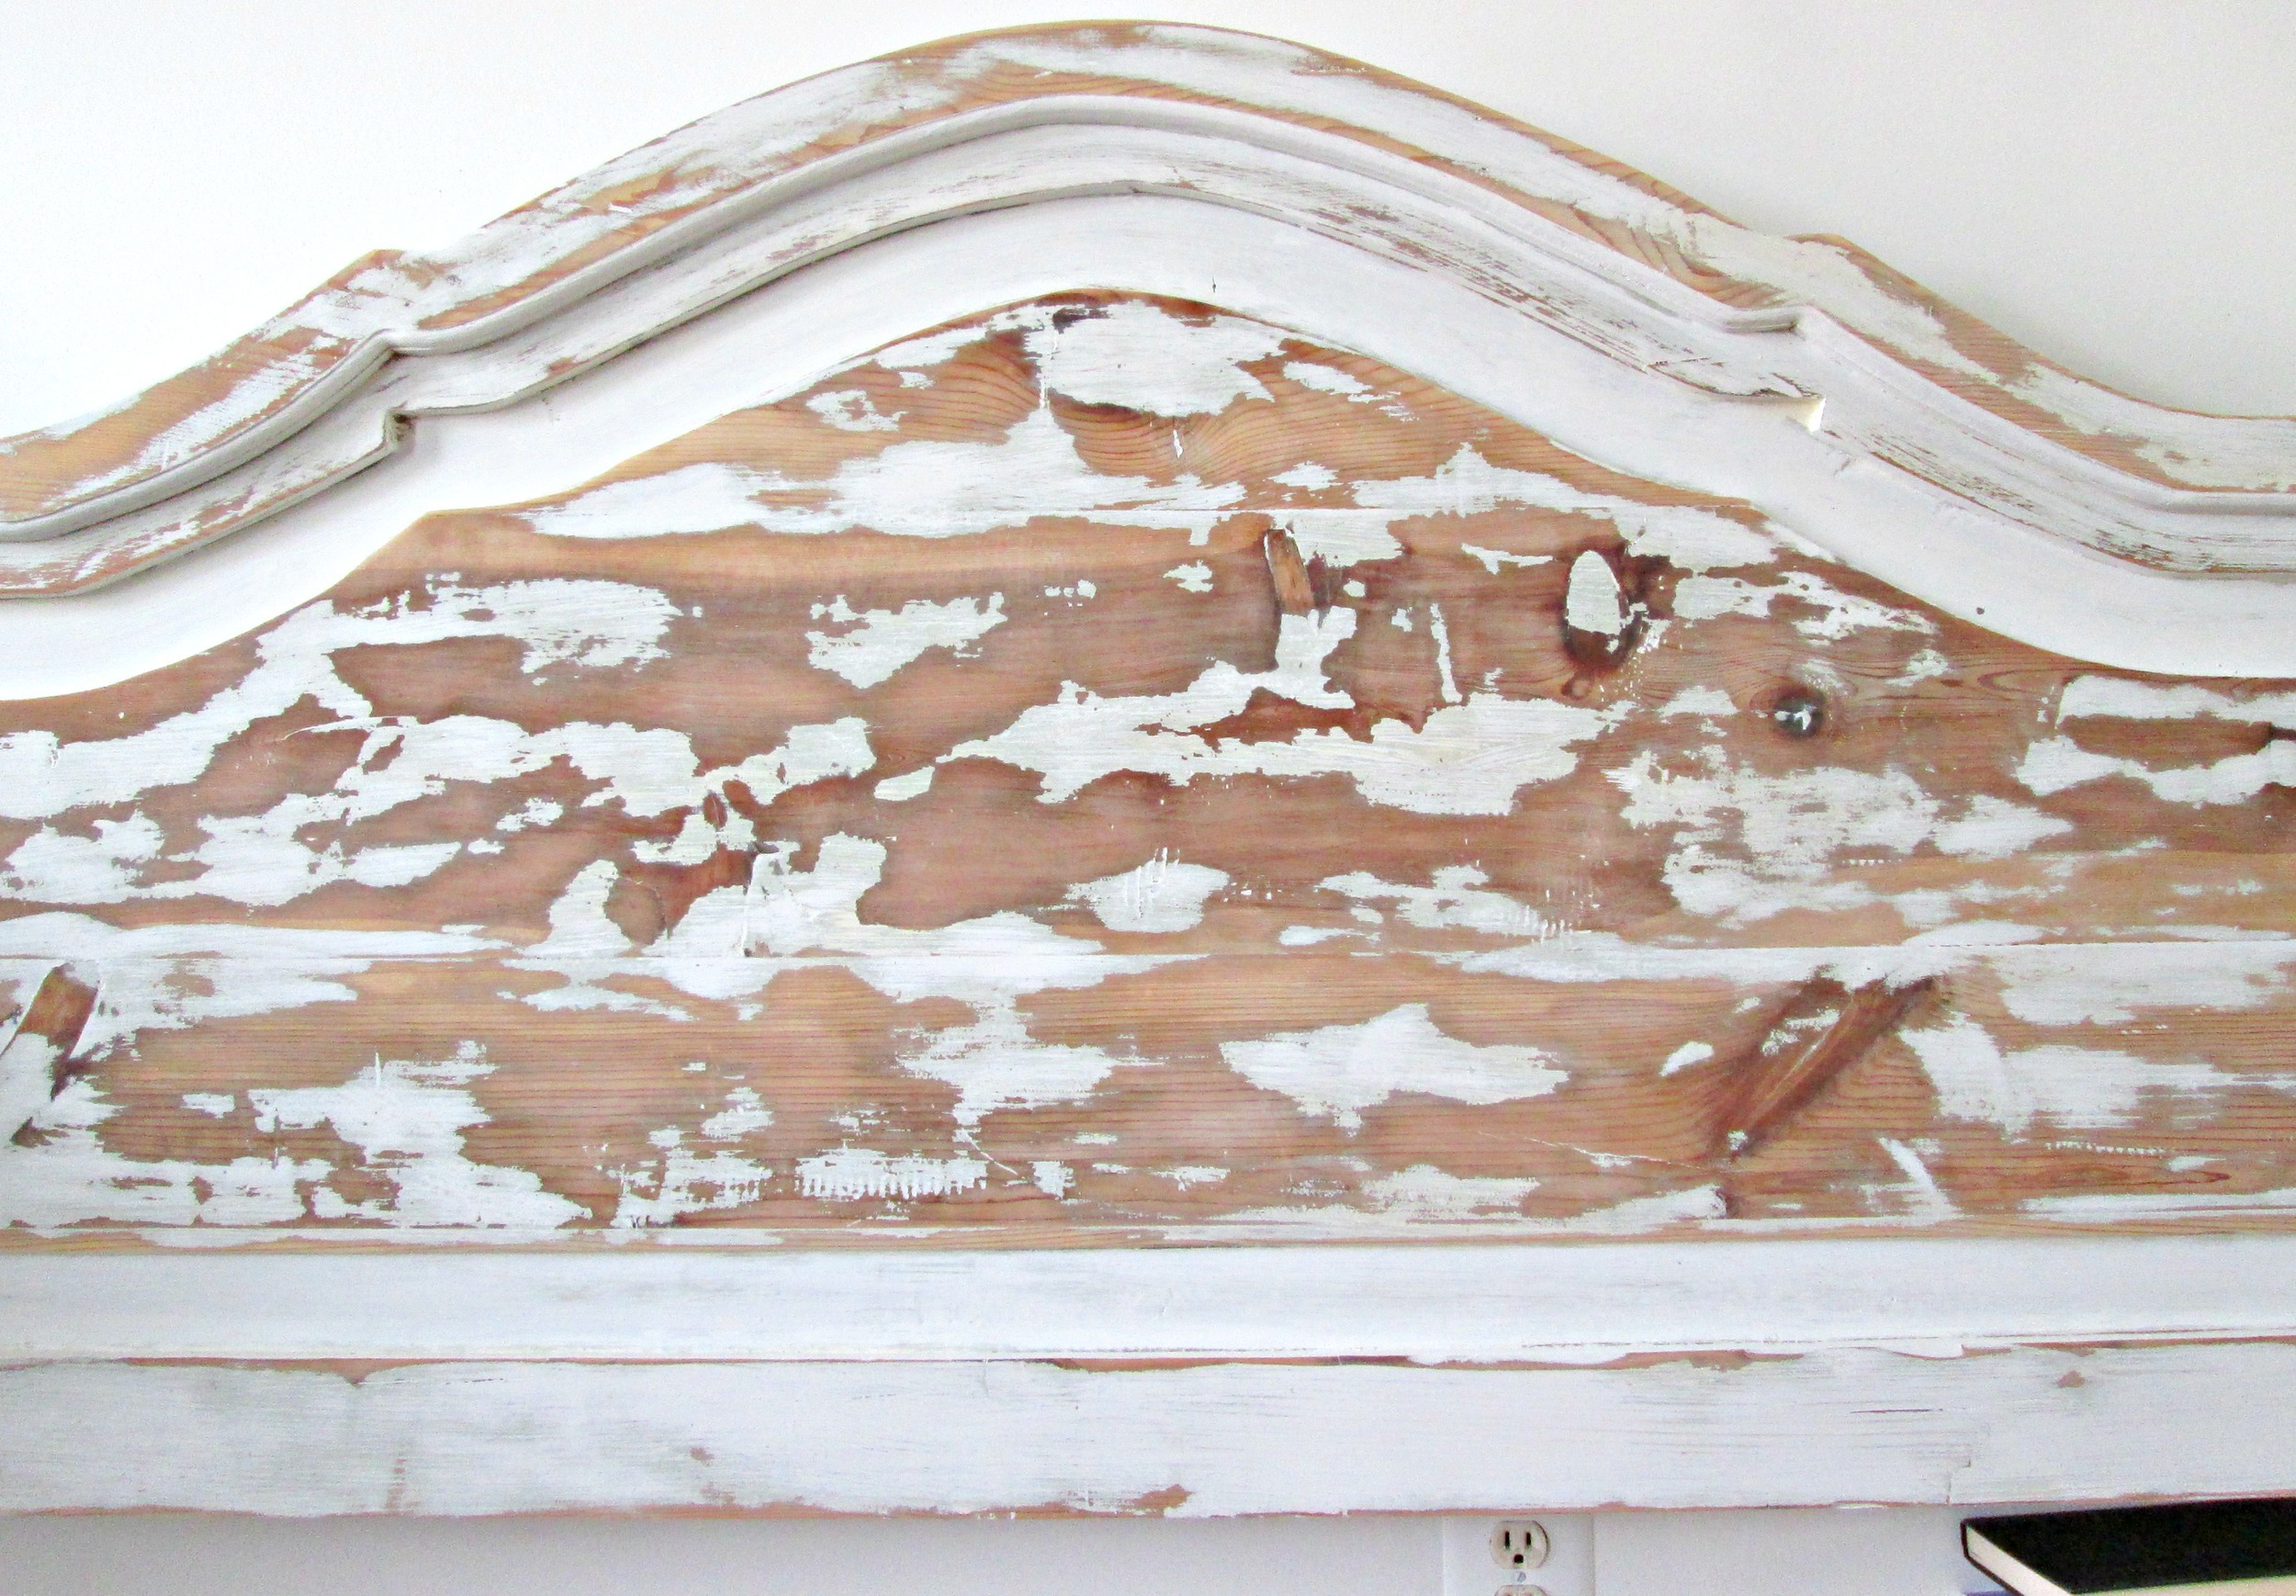
The most important piece of information I about on the girl who this set will live with is that she is NOT a girly-girl. Her sweet Momma told me that she wanted the white distressed look, but nothing too 'sweet'. I think with the extra distressing, these pieces have an edgier, butt-kicking, 'don't mess with me' kind of look. Do you see it? :)

Love, love seeing side-by-side Before+Afters! These pieces were in great shape before - just needed a bit of character.

But then again, my stance is anything can be improved with a bit of character. ;)

Thank you all for stopping by!


Reader Design: Tiffany's Thrifty-Chic Girls Room

You guys know when you meet someone that you want to be friends with, like, yesterday? Tiffany is one of those people. Cate and I 'met' her through Instagram, sharing home design and DIYs, and she is just a burst of joy. Her kind personality is larger than life and she decorates from the same place in her heart - so radiant and full of life!

When I first saw photos of her 14 year old daughter's madeover bedroom, it was like a shot of 5-Hour Energy!! The mix of colors and pattern is just so, so fun. What a thoughtful Momma to have designed a room like this!

From Tiffany:

"So this is my daughter's room. Most of the furniture in this room has been thrifted. I love thrifting for furniture because I find that the quality of the pieces is much better and can obviously stand the test of time....or at least hold it's own with kids and teens! Since she's 14 I didn't want to go too "little girl" but at the same time, wanted the room to reflect her bright and cheery personality."

"Her headboard was a $3.00 find that I repainted in a soft gray-lavender color. The desk is part of a set that we got years ago on Ebay and as stated above, has definitely stood the test of time. The small dresser is actually from Ikea (Rast)  and I painted the drawers the same color as the headboard and the outer frame is painted white. The knobs are from Hobby Lobby and the trim work is from Home Depot. The pink bedside table was about $5.00 and the top actually opens up for storage, so snatching that piece up was a no brainer! I spray painted it and added a touch of "gold" to the bottom of the legs, just to jazz things up a bit."

Gold legs; check. Amazing art; check. Vibrant colors; check. Awesome Mom; double check.

"Her bedding is from Walmart ( I know right!!), and the rug is a steal from Homegoods."

Loving the bold rug under the bold bedding - teenage years are too short for timid subtly. 

"I really get a kick out of mixing high (or high for me) with low; new and old and seeing how it can all work together to create a really great space."

What an inspiring mix of thrifted and new pieces! Collected pieces go so much deeper than just decor - they tell stories and give a home warmth and character. This room is full of both and we are so grateful to you, Tiffany, for letting us share it here! Please thank your daughter for us, too! You can follow Tiffany @myeclecticnest on Instagram for more creative ideas!

We are in need of some more Reader Designs, everyone! Please submit photos of your own spaces to our Facebook page or by tagging #stylemuttspaces on Instagram! We love sharing all kinds of creative styles here and feel that everyone has something inspiring to share. Check out our SPACES page for an awesome growing collection of rooms from creatives around the world! 

Thank you all for stopping by and have a splendid weekend! "Make good choices!" (name that movie)

​


DIY Ceiling Fan Upgrade

Hi All! Does this happen to anyone else: You see an idea that is so insanely easy that you just can't waste a second to try it yourself? This was me right after this post featuring Jen's bedroom and foyer Reader Design. She solved a simple issue in her bedroom which I'd been scratching my head about with our own.

The dated ceiling fan light fixture! I see so many gorgeous room makeovers where the ceiling fan is replaced by a stunning chandelier or pendant, but getting rid of our fan was not a suitable option for us. We may have still been getting snow into the middle of March, but Virginia summers are brutally humid with long stretches over 100 degrees. So, what to do about those intrusive tri-light foggy glass shades that no-one invited to the party?

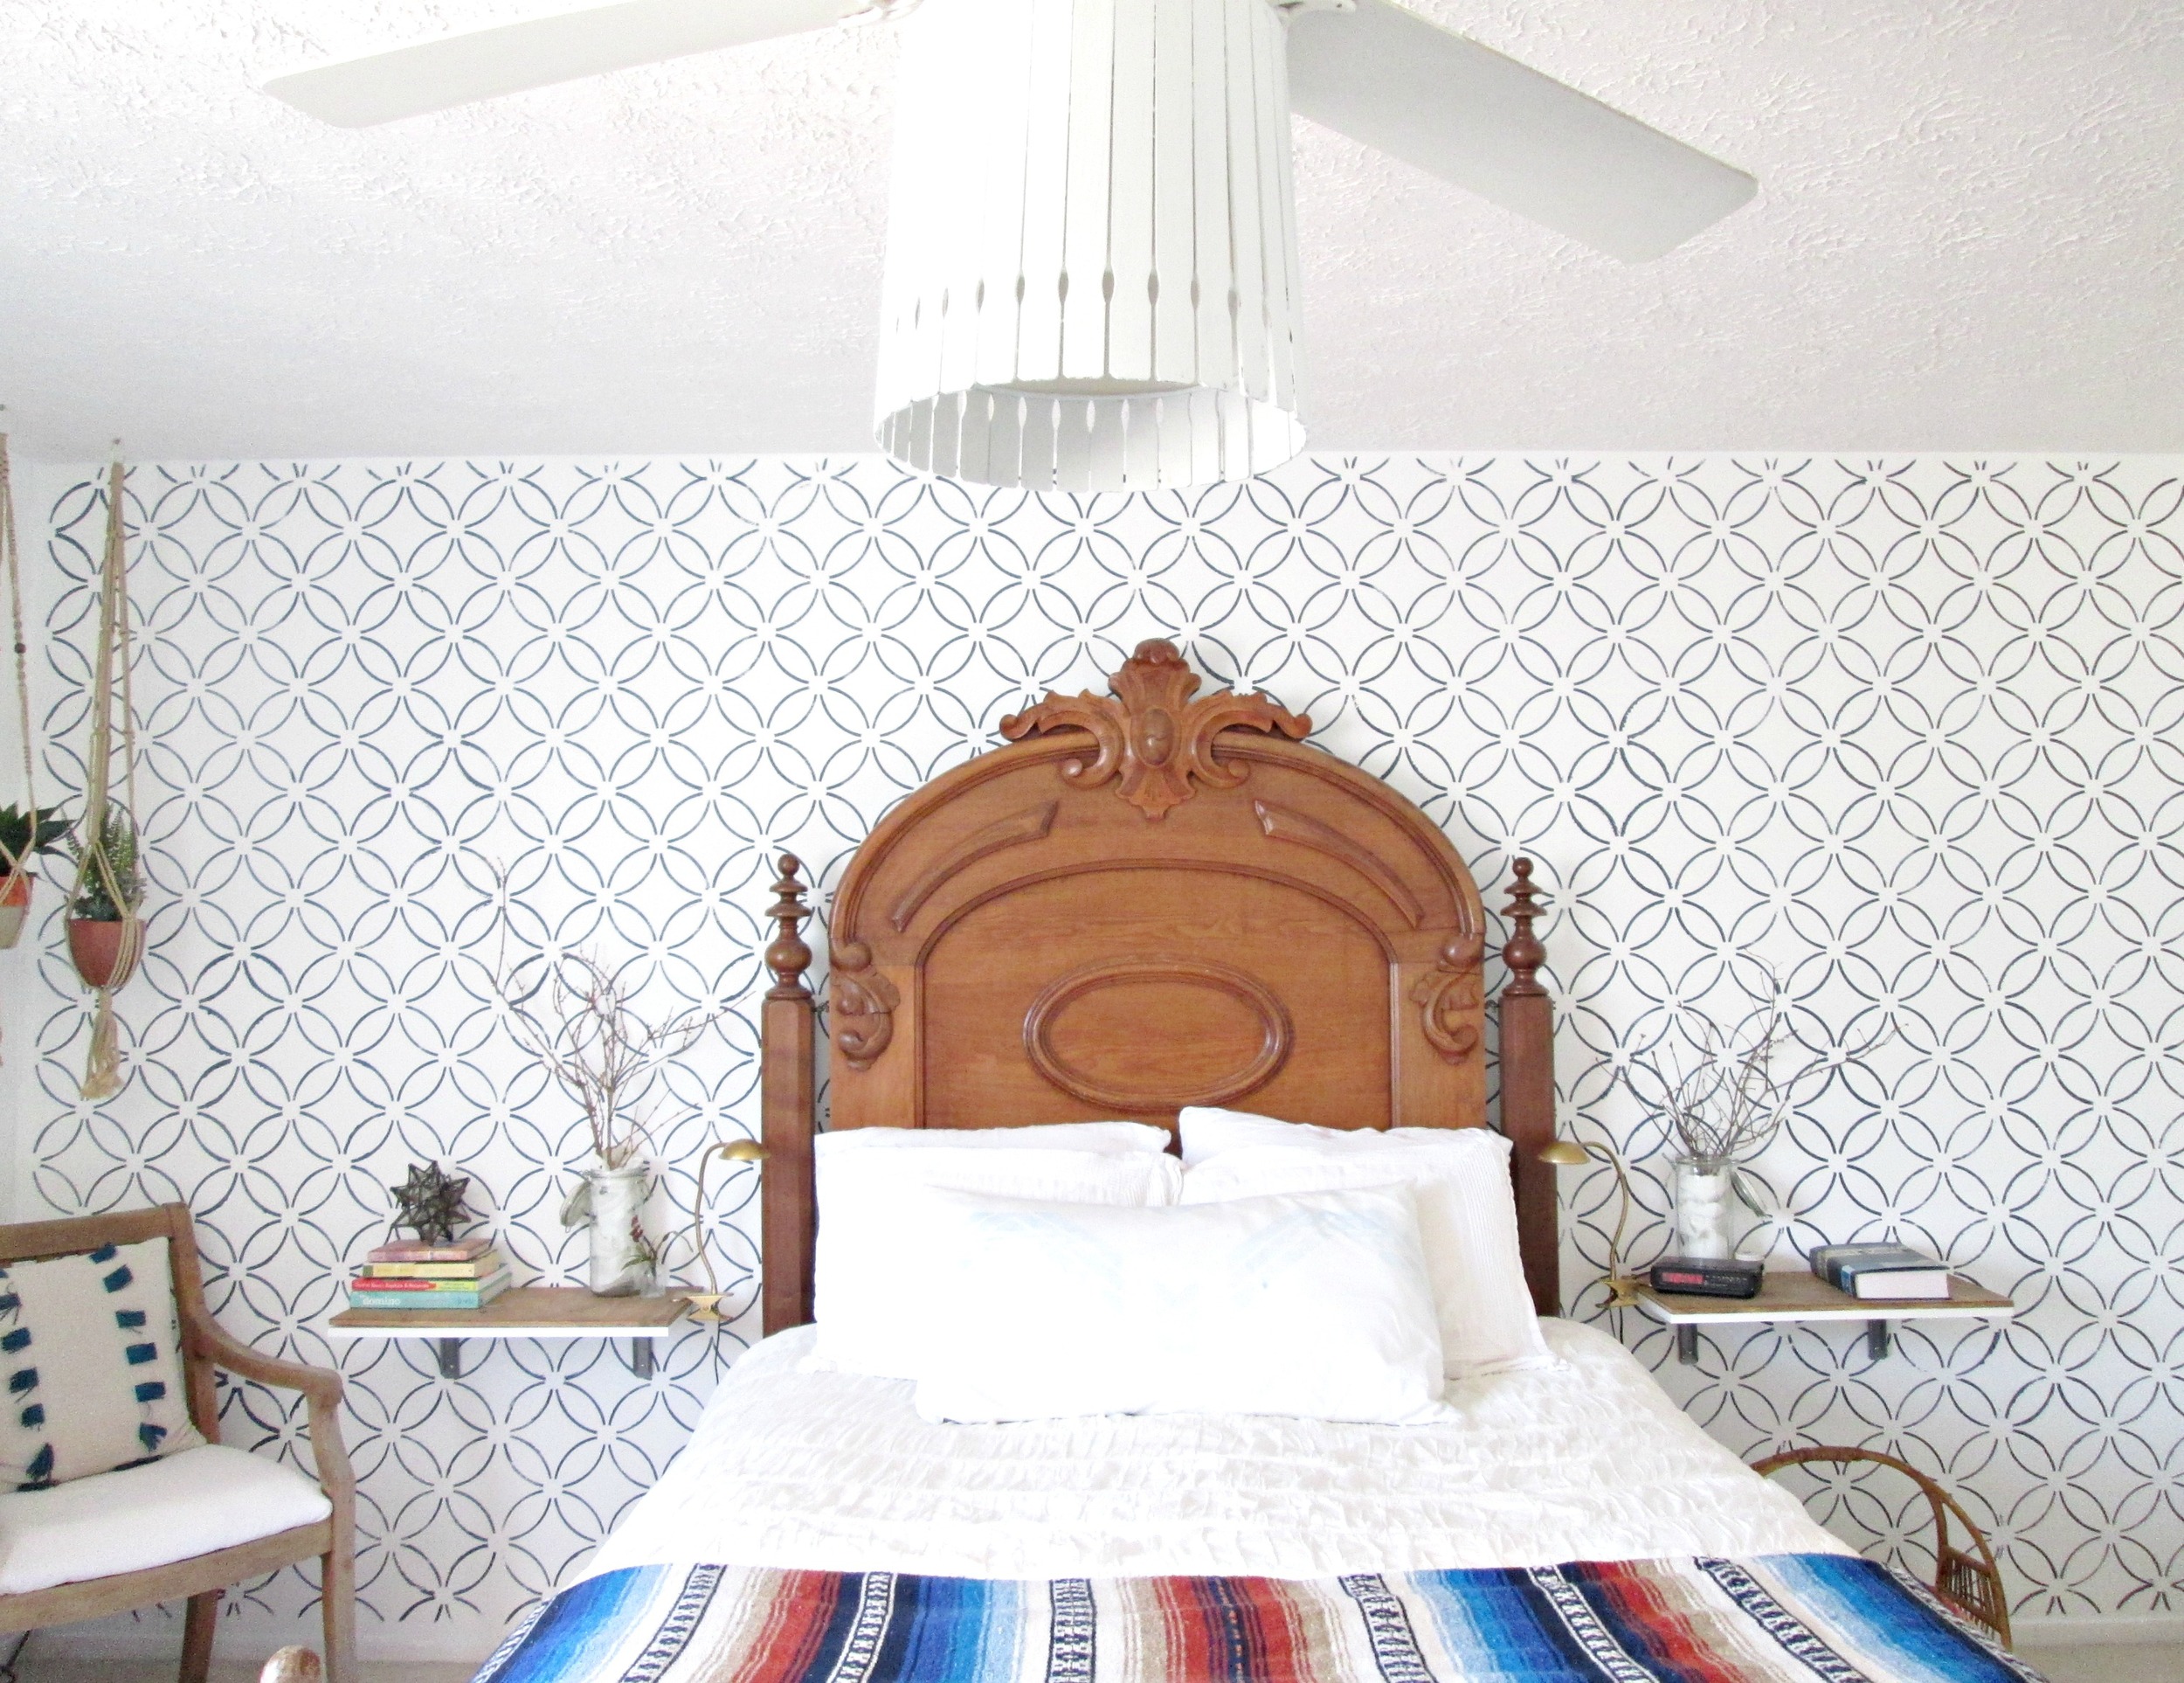
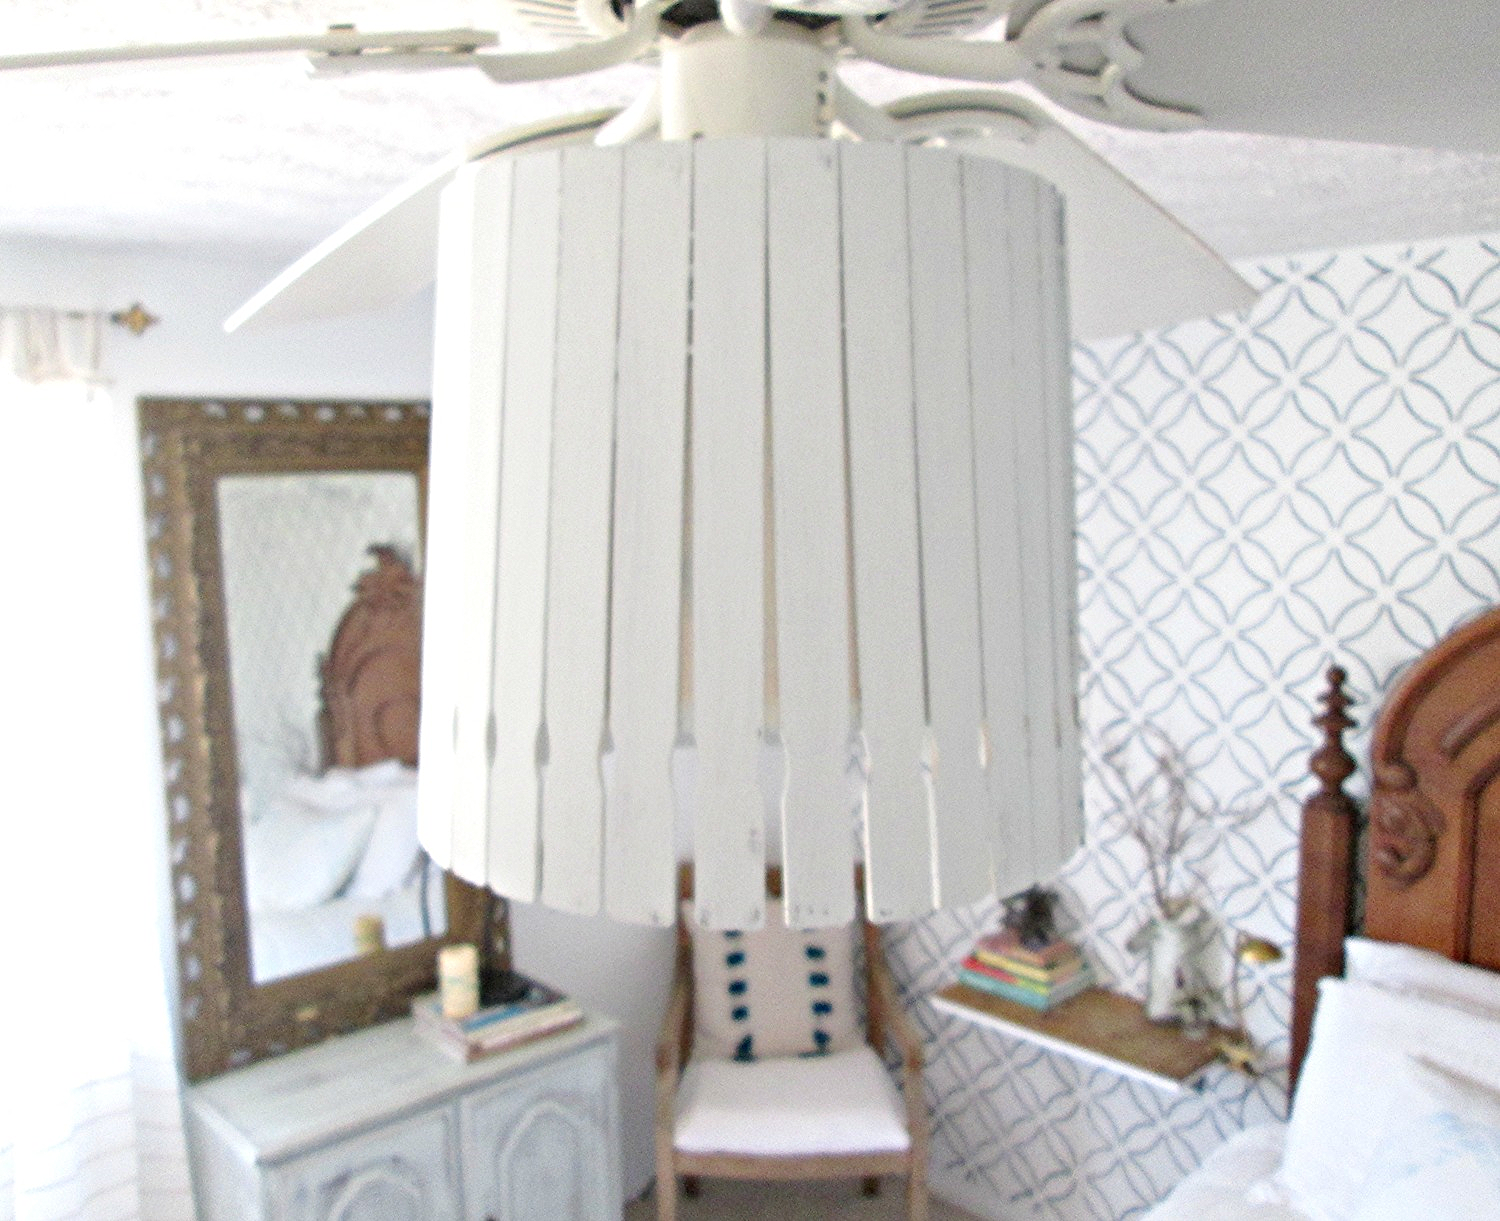
How about add a drum shade!

I've been wanting to add a drum shade to this fan for quite some time, but it was one of those ideas that just wasn't at the top of my priority list as I figured it would require a decent chunk of time. Boy, was I wrong! I happened to click over to Jen's drum shade tutorial, and when I discovered this project would take me a quarter the amount of time it takes me to get all three of my kids out the door in the winter time, I didn't waste a second giving it a go!

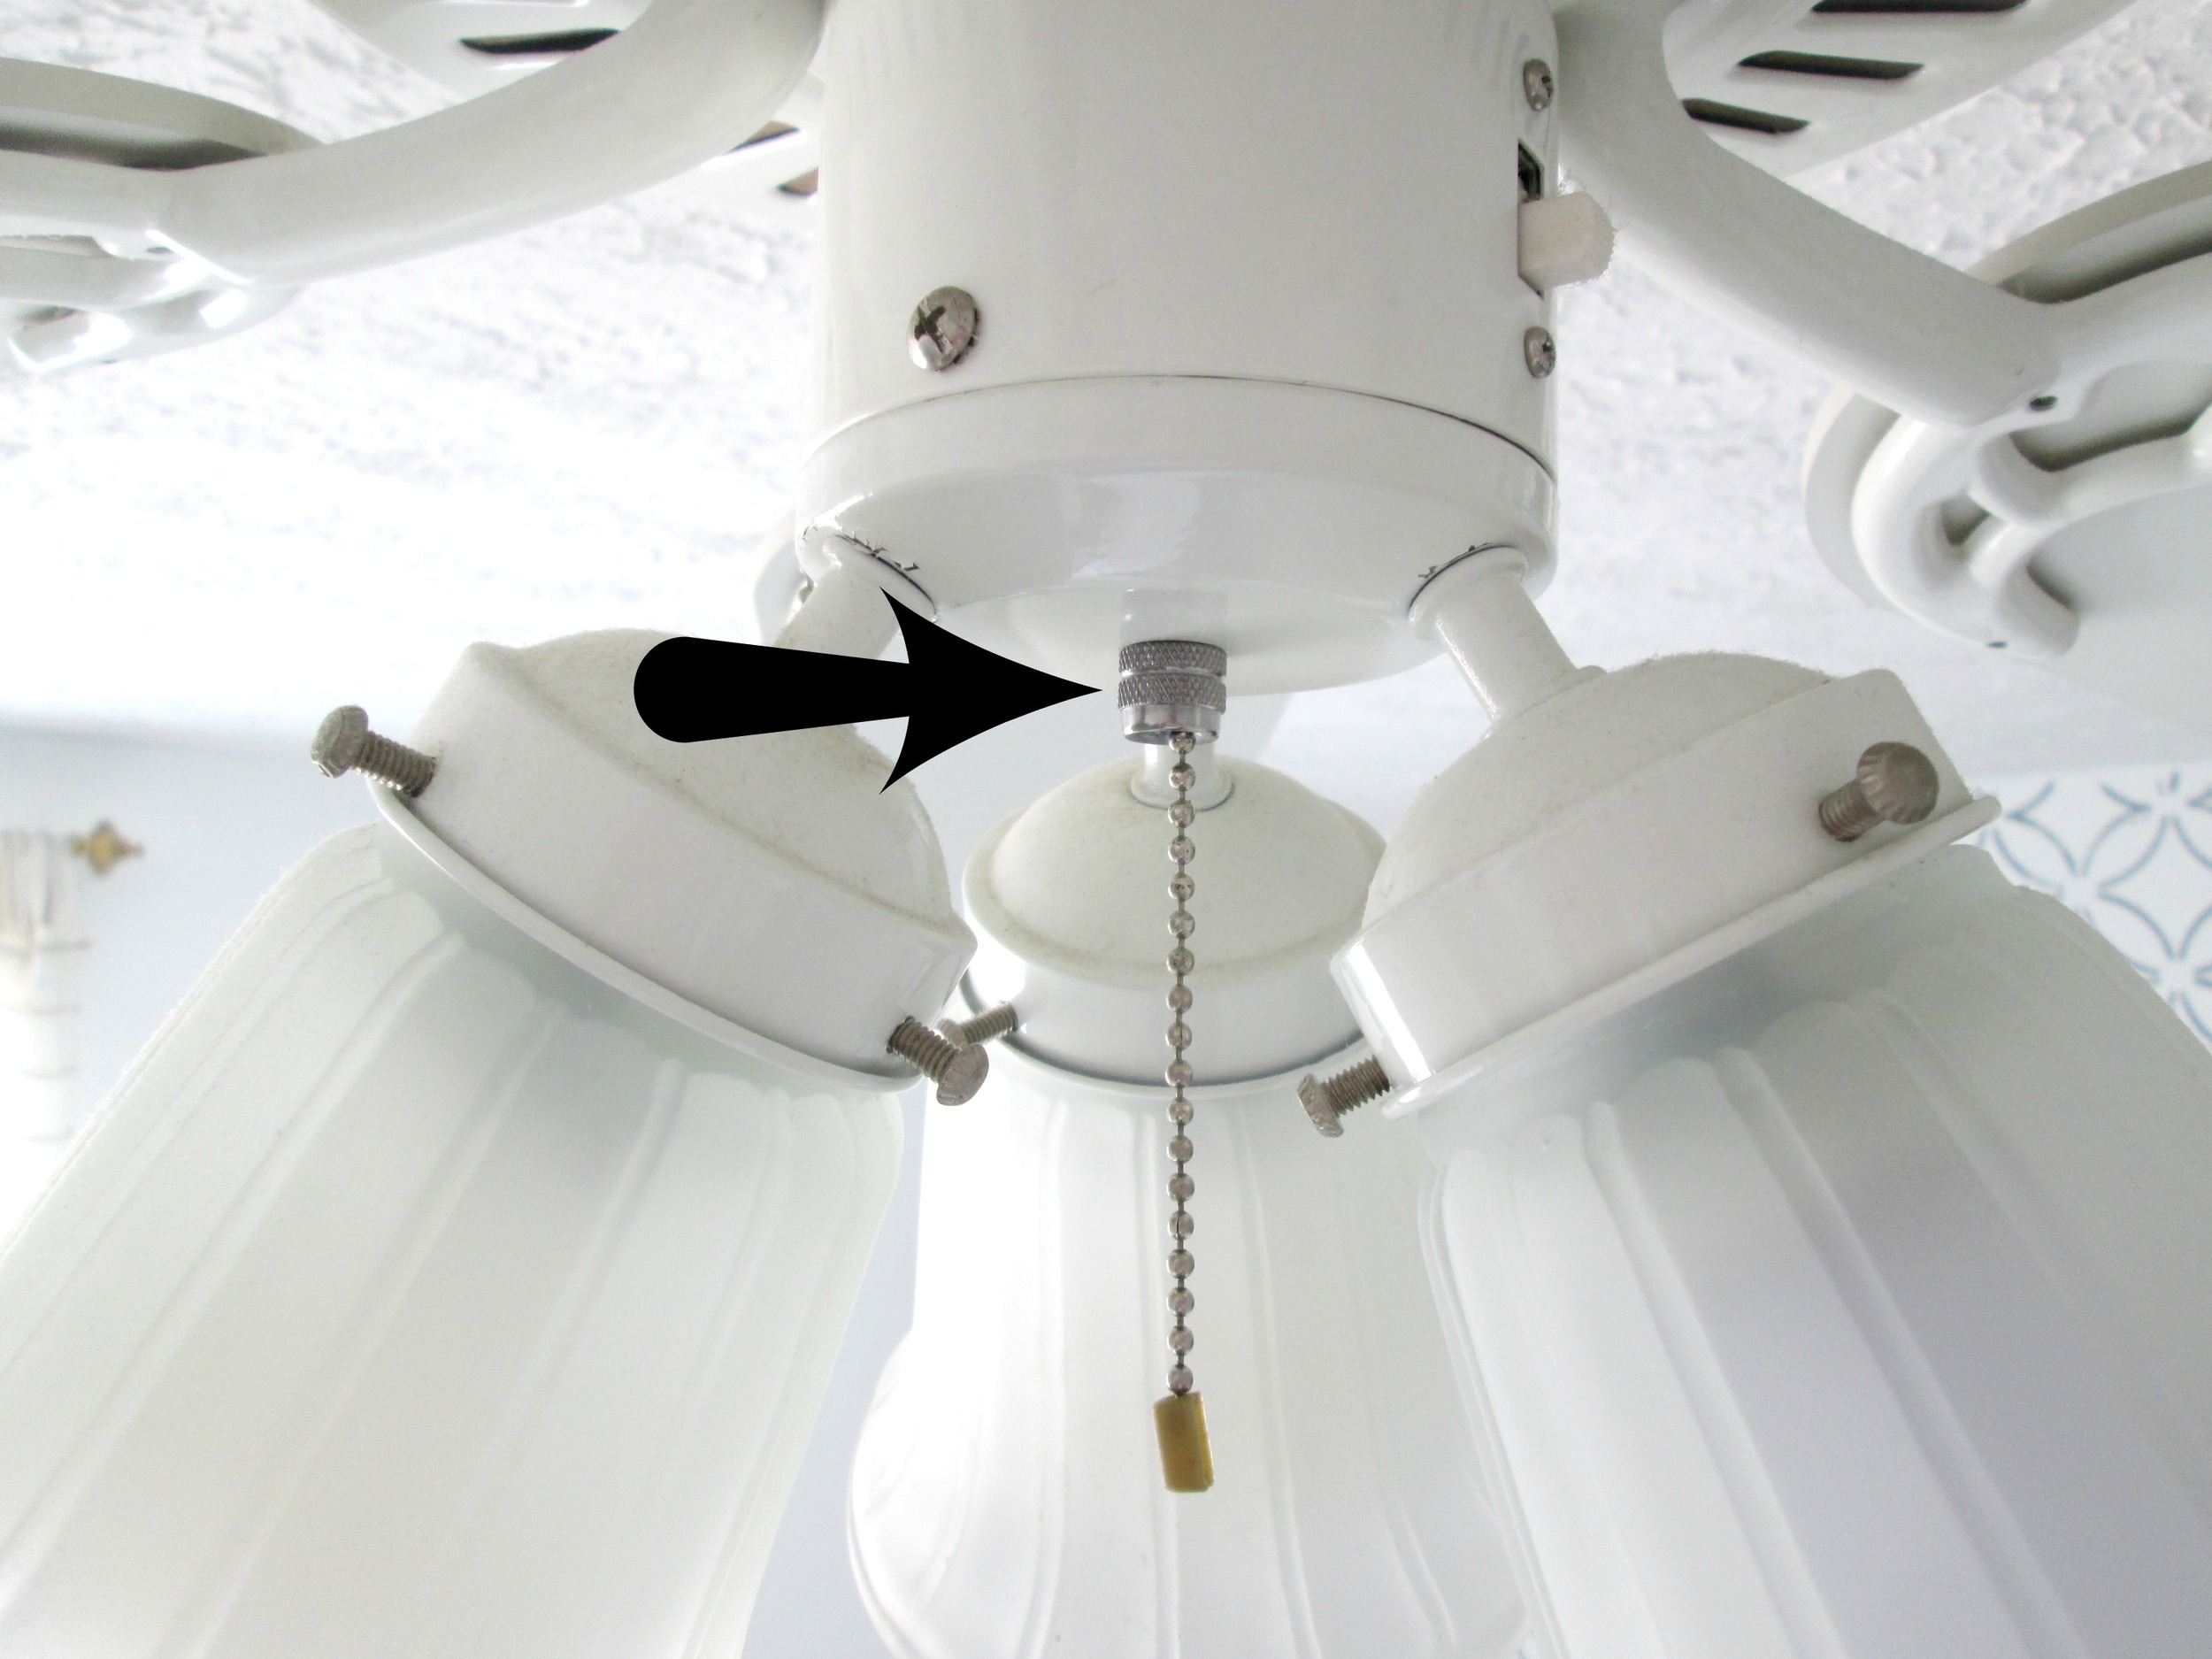
The pictures below show what you'll be working with. See that screw cover which the pull chain is hanging from? That's the secret key! Start by unscrewing that, (and remove the foggy glass light shades).

Now, this is where my experience with this upgrade differs from Jen's. The center of her drum shade fit perfectly around the nipple, and she was able to then just reattach the cover from under the drum shade to keep the shade in place. Unfortunately, the center of my drum shade was much thicker than the nipple and there was nothing exposed to thread the cover onto. This was the quick fix:

Purchase a nipple and coupling from the hardware store, (the best option I found was a multi-pack of different sized nipples and it was only a few bucks). In the picture below, the coupling is on top, and the nipple is below, (for anyone who hasn't worked with these materials before).

fan light1.jpg

Screw the coupling onto the nipple emerging from the fan.

fan light2.jpg

Then screw one of your purchased nipples into the coupling. The size shown below ended up being too long so I used the next size down in my pack.

fan light3.jpg

Then lift your drum shade up and into the center of the nipple, and hold in place with an appropriately sized washer. I ended up adding a second nipple underneath just because I had an extra one in the pack I had, but a washer on its own will do the trick.

fan light4.jpg

Don't you just love when the ratio of time put into a project vs it's impact is like 1:4312343!?

done5.jpg

Easy-peasy! Oh! And just FYI - I used a DIY paint stick lampshade for this project.

Thank you all for stopping by!