Rustic Farmhouse Buffet ||Before+After||

We've got some fresh meat in the Garage Shop this week! Who's hungry?
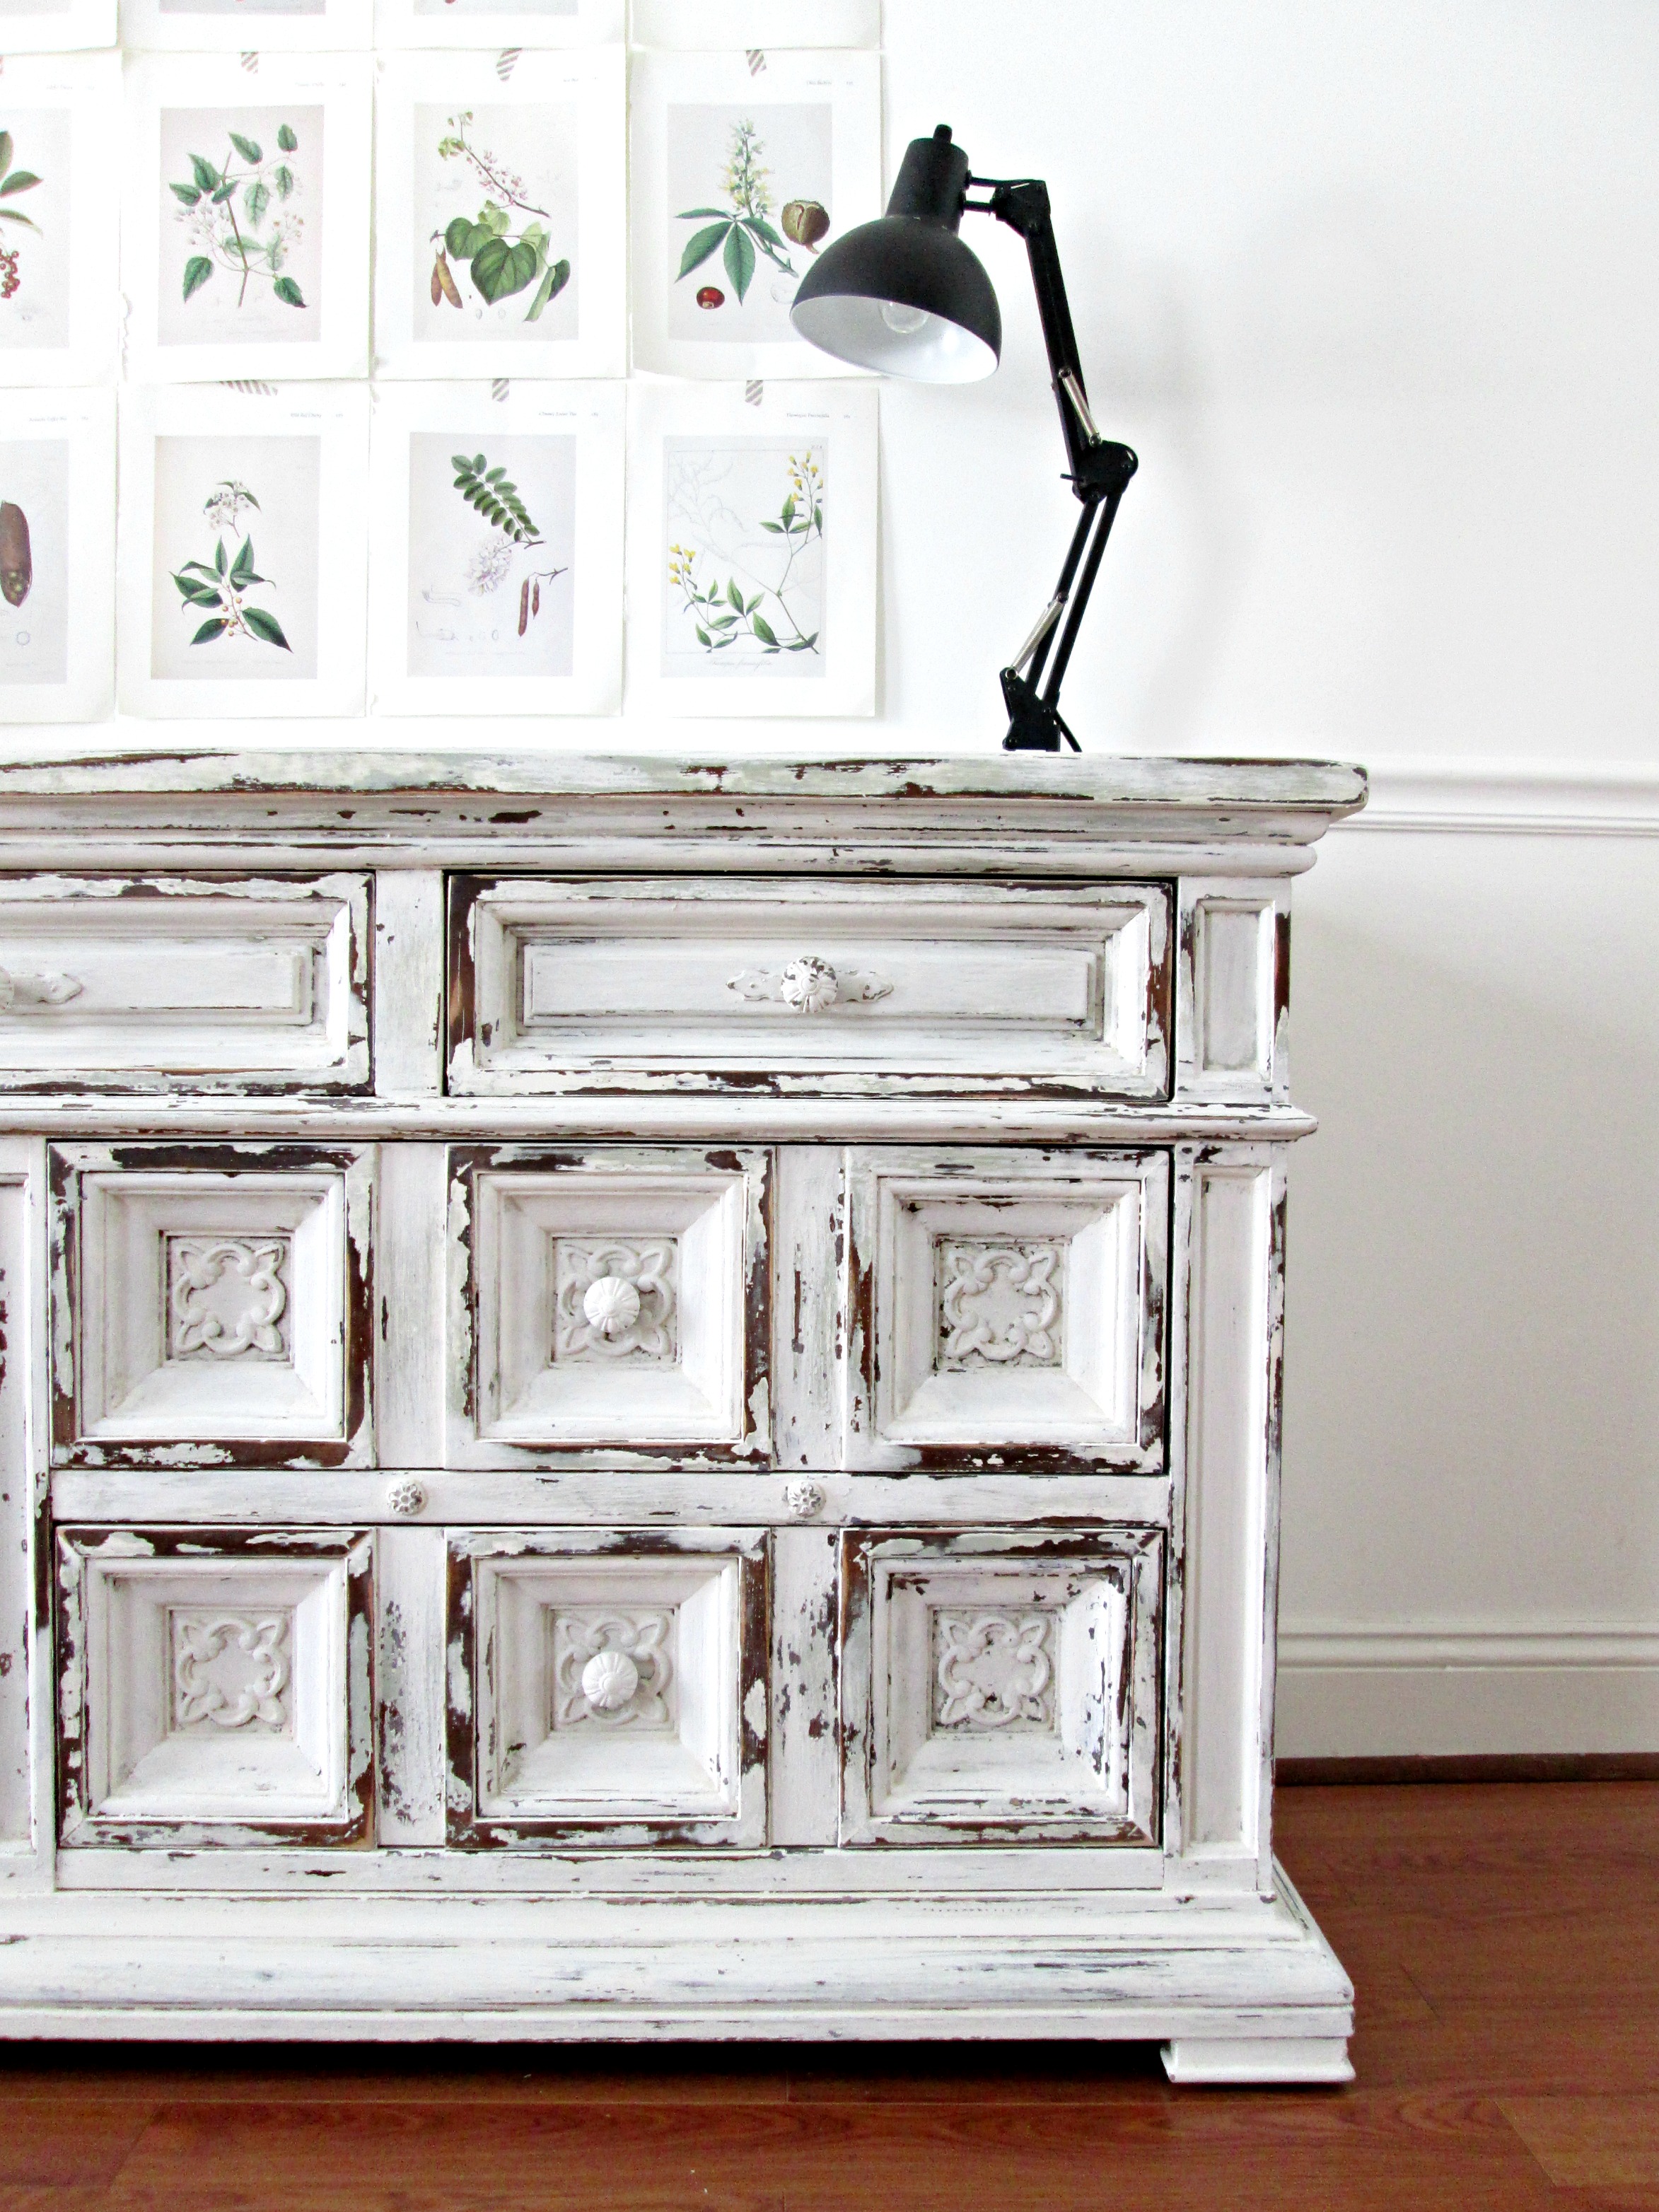
I, for one, am ravenous! Since much of my free time, (i.e. my children's afternoon nap), is spent in the garage painting and flipping furniture, the winter gets brutal after I've been away from 'my office' for a couple months straight! It was time to lean into what I know, despite the negative temps and cue of snow storms.
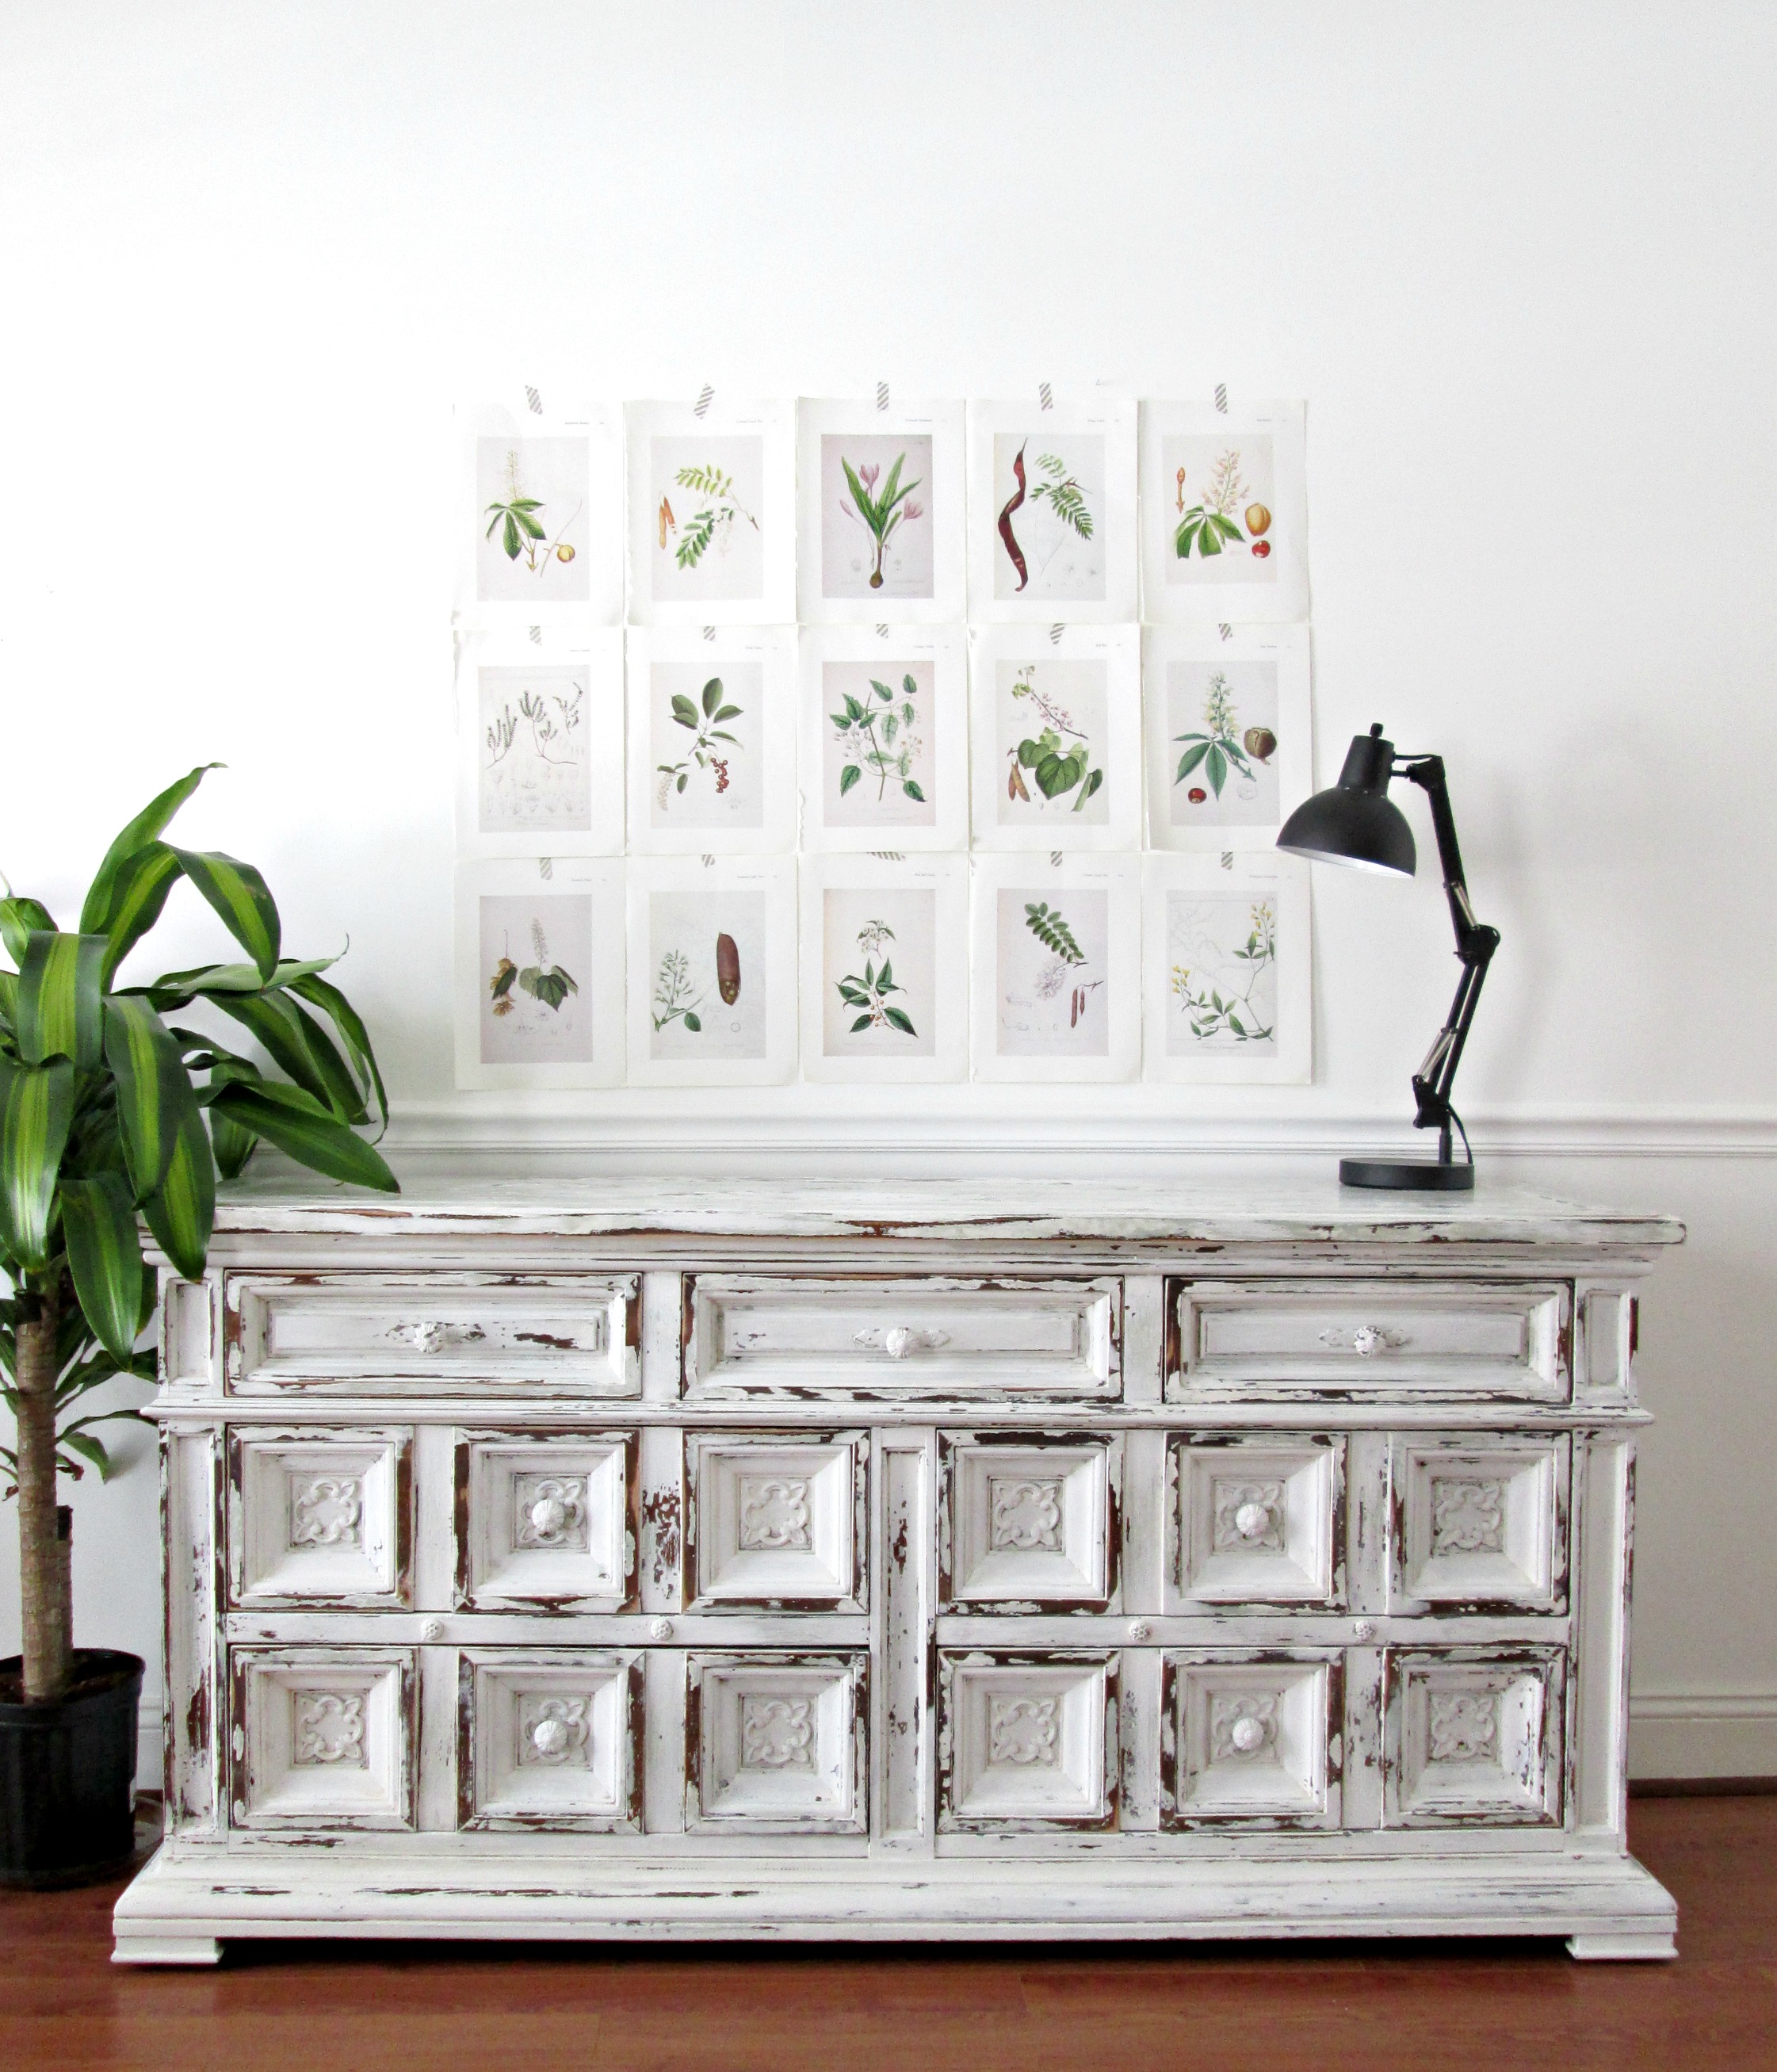
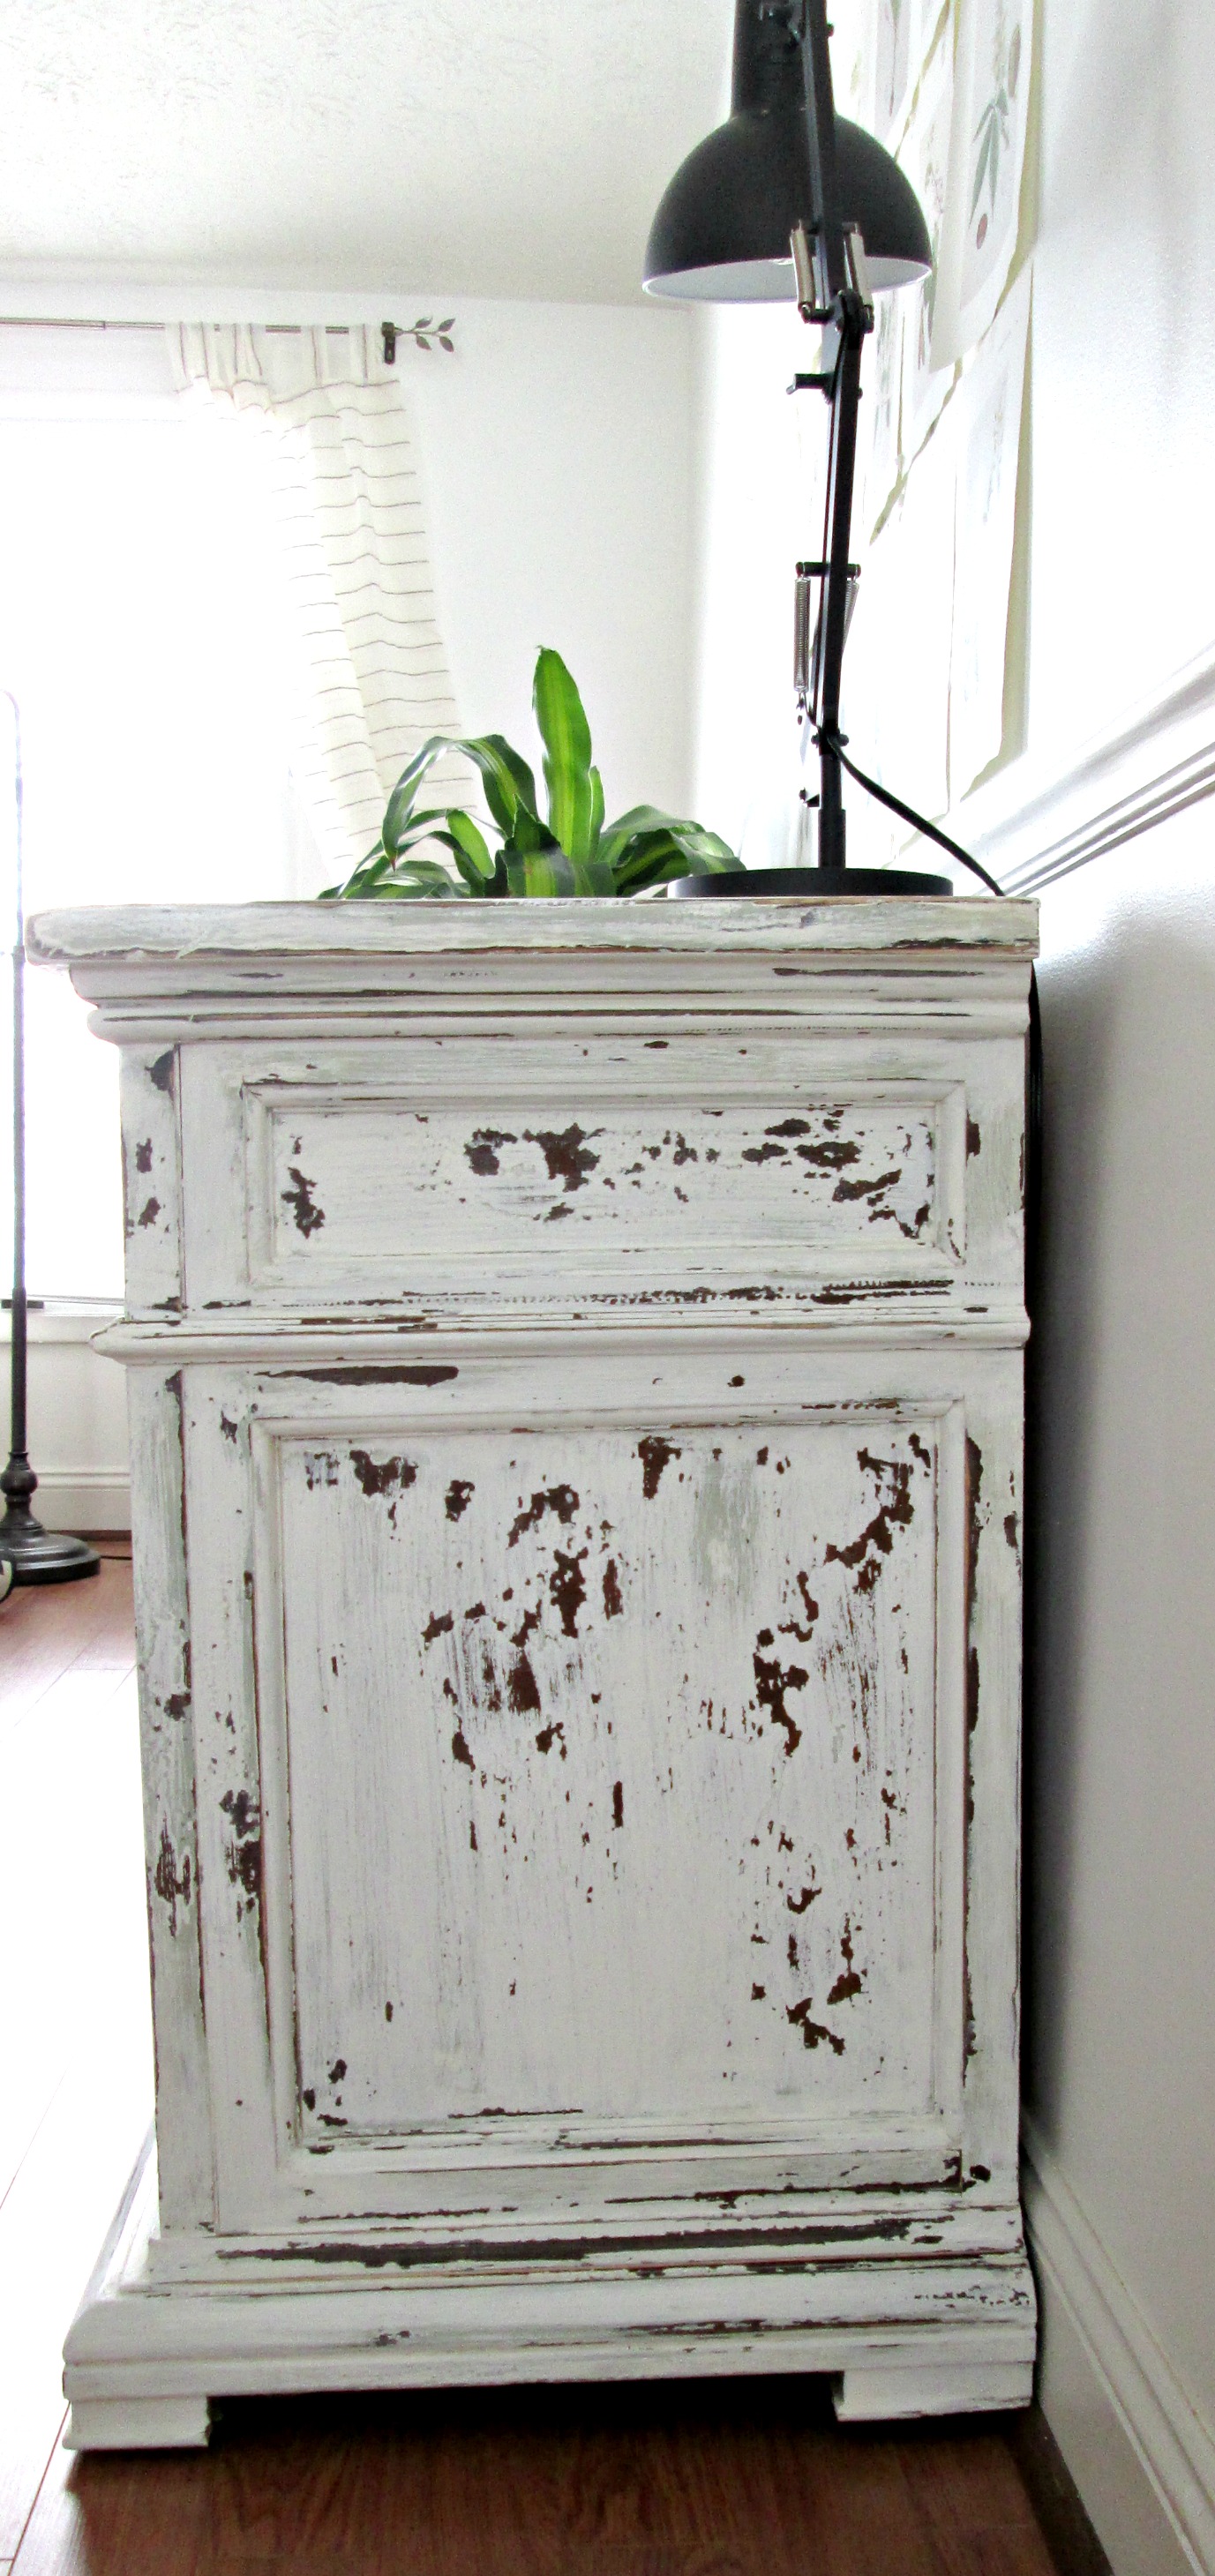
What you're looking at above, (but doesn't pick up so well in pictures), is layers of varying hues of white and green, and lots of chippy charm. Getting this finish was not difficult, but lets start with The Beginning.

Not bad! Not bad at all. And major bonus - this beauty is on hidden casters! So, to begin, (nothing like a rogue 55 degree day to jump start the process), my Shire and I slapped on a first coat of Annie Sloan's Pure White and Old White. (We didn't mix the colors, we just worked side by side, Shire had the Pure White and I had the Old White). Since I knew I'd be layering multiple colors, the first coat didn't matter a single bit.
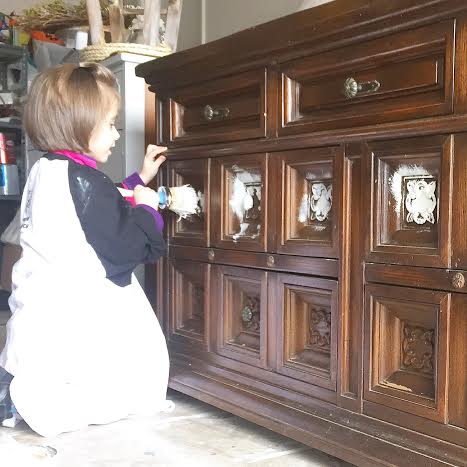
Oh how I love painting with this one! After a couple coats of white, our piece here was looking perty!

And then it was time to rough it up! I used 220 grit sandpaper in my electric sander to get a good bit of the paint off. I knew I'd be going over this with milk paint which crackles beautifully over smooth, non-porous surfaces. Chalk paint is extremely porous, so it was important to sand down to the wood a good bit so the milk paint would crackle and chip off in those spots.

And the milk paint did not disappoint! I used one of Miss Mustard Seed's newer colors, Layla's Mint. You can see here where it had crackled down to the wood on the side, and with gentle sanding, (I used a medium grit sanding sponge), revealed the white underneath.
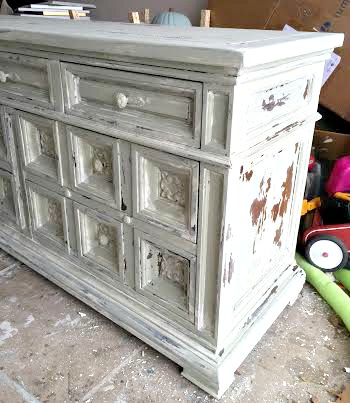
The last coat of paint was more white on top of the green. Again, I used Annie Sloan Chalk Paint in Pure White for the final coat.

After 4 coats of paint, it was time to get started on bringing this piece to life! I used fine 220 grit sandpaper again in my electric sander and just lightly went over most of the edges and corner surfaces - just a gentle touch with the sander took the already crackling and peeling paint off beautifully!
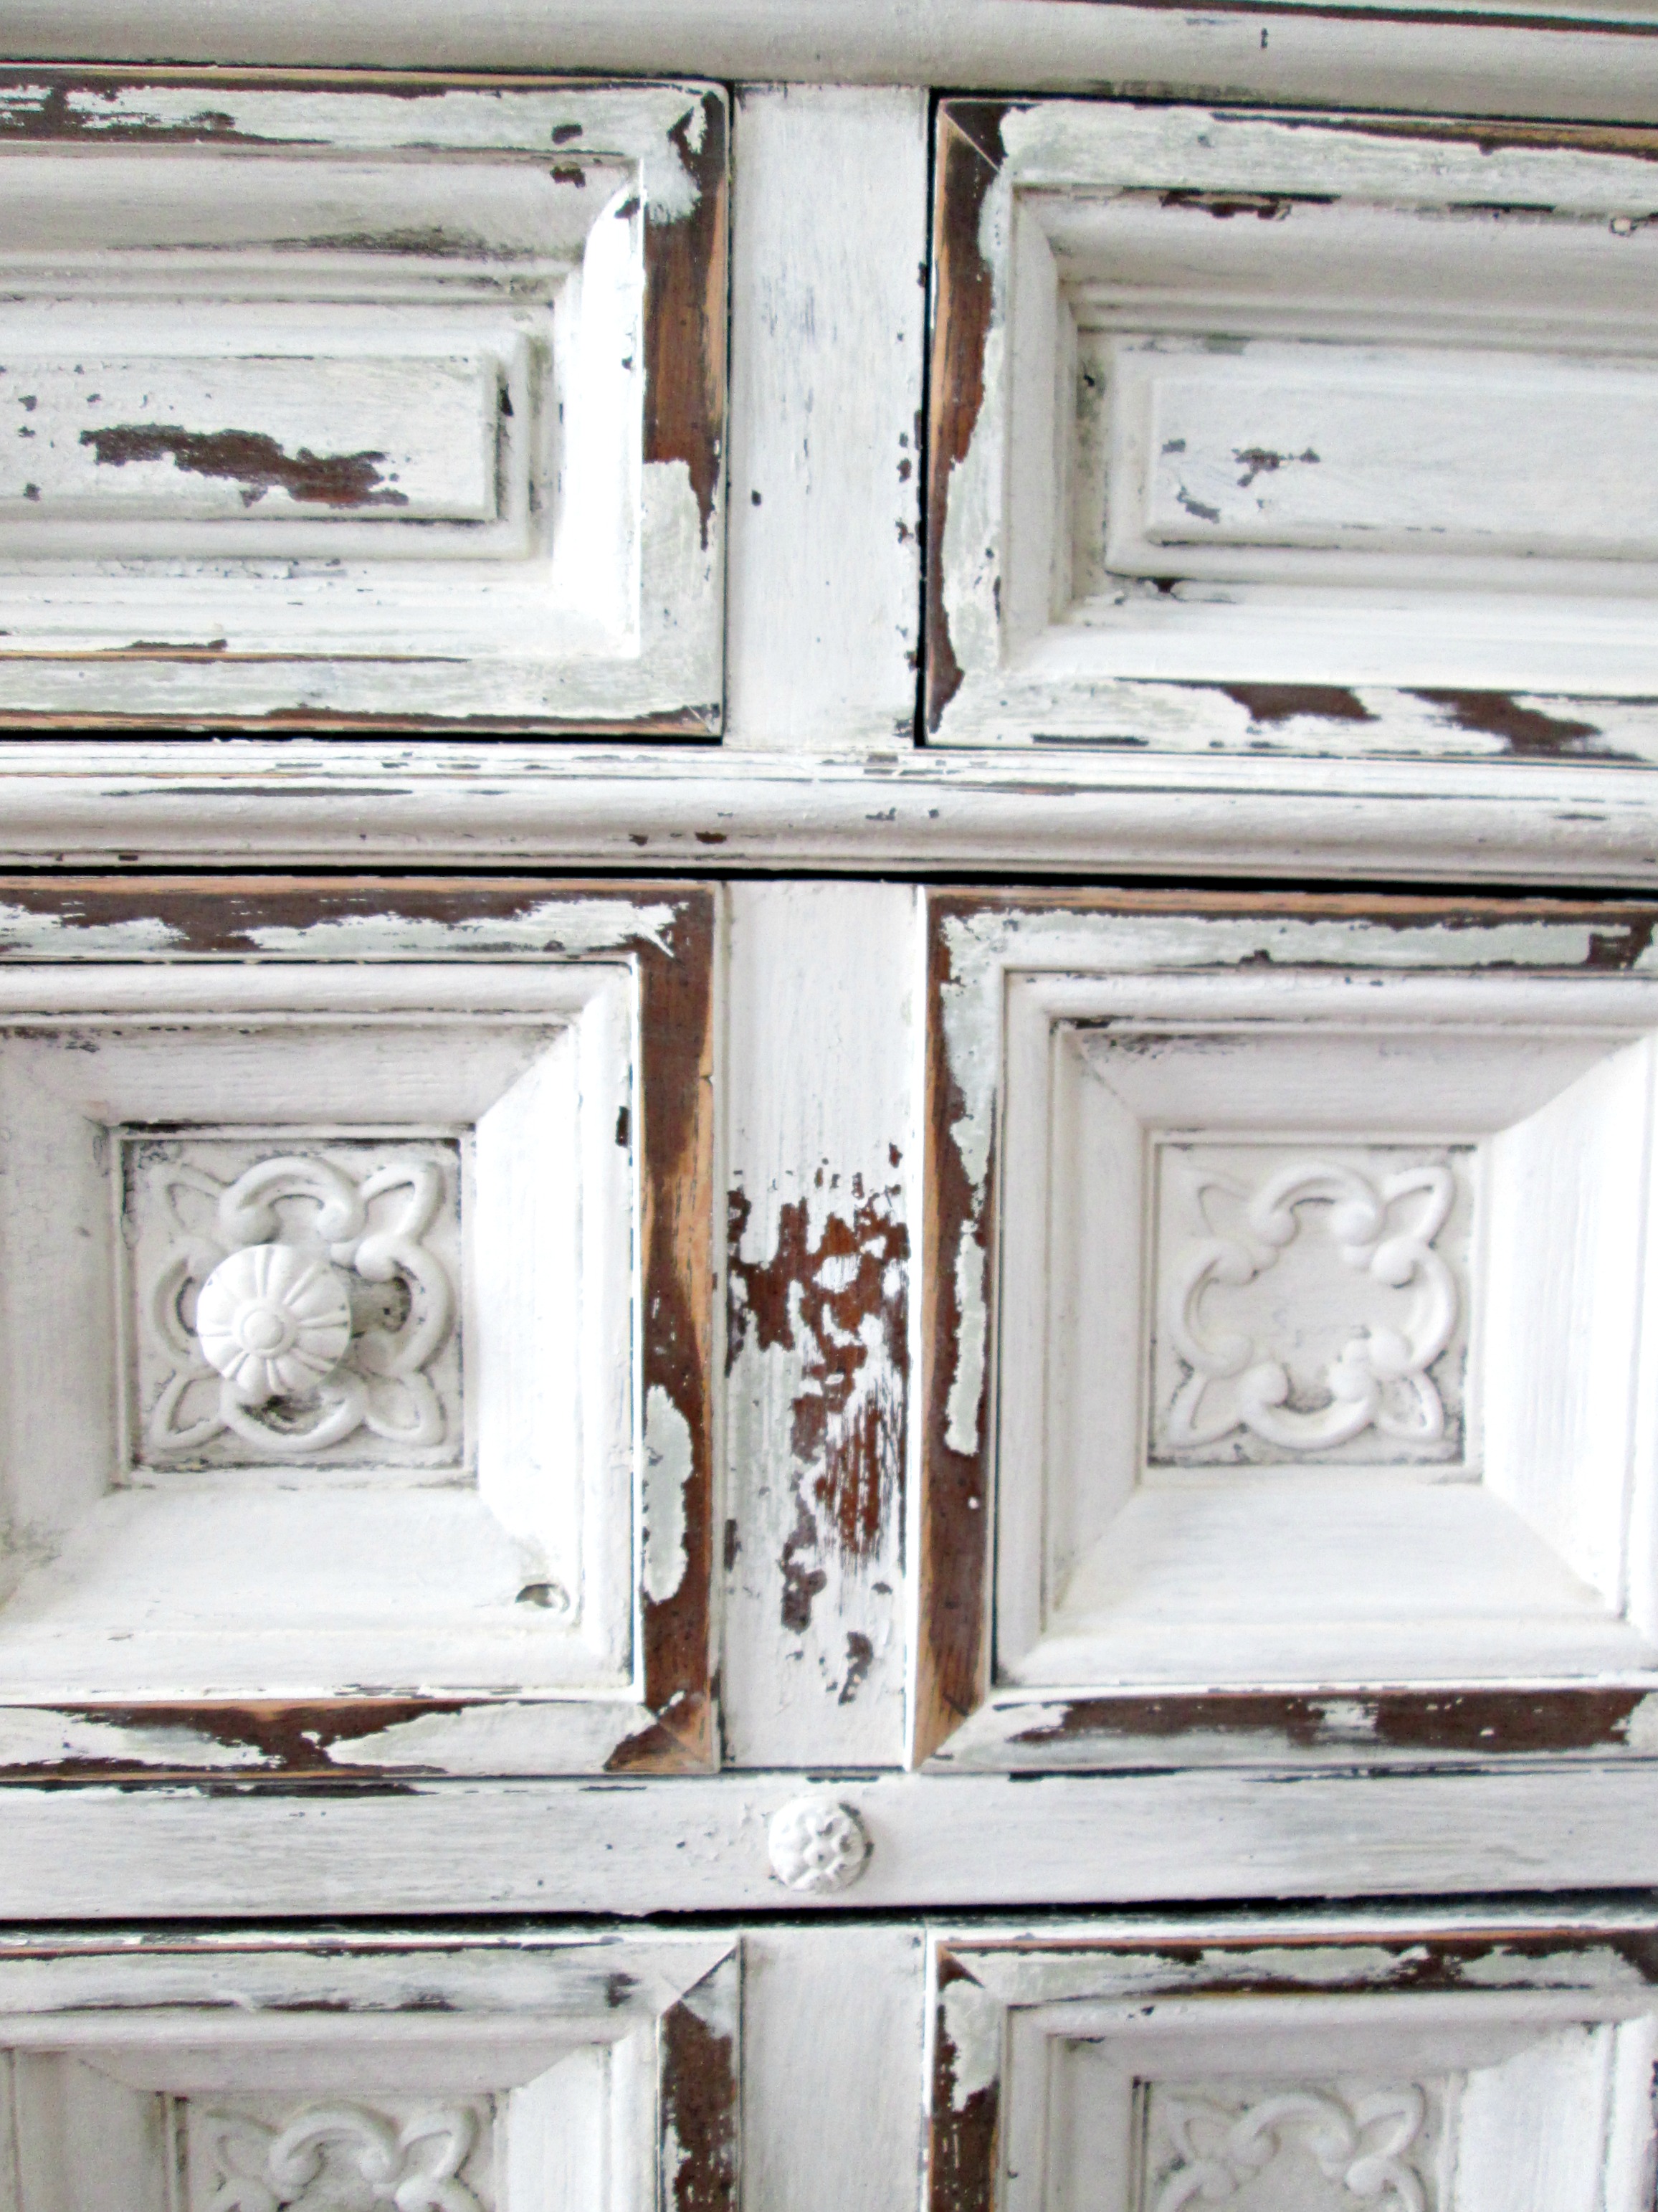
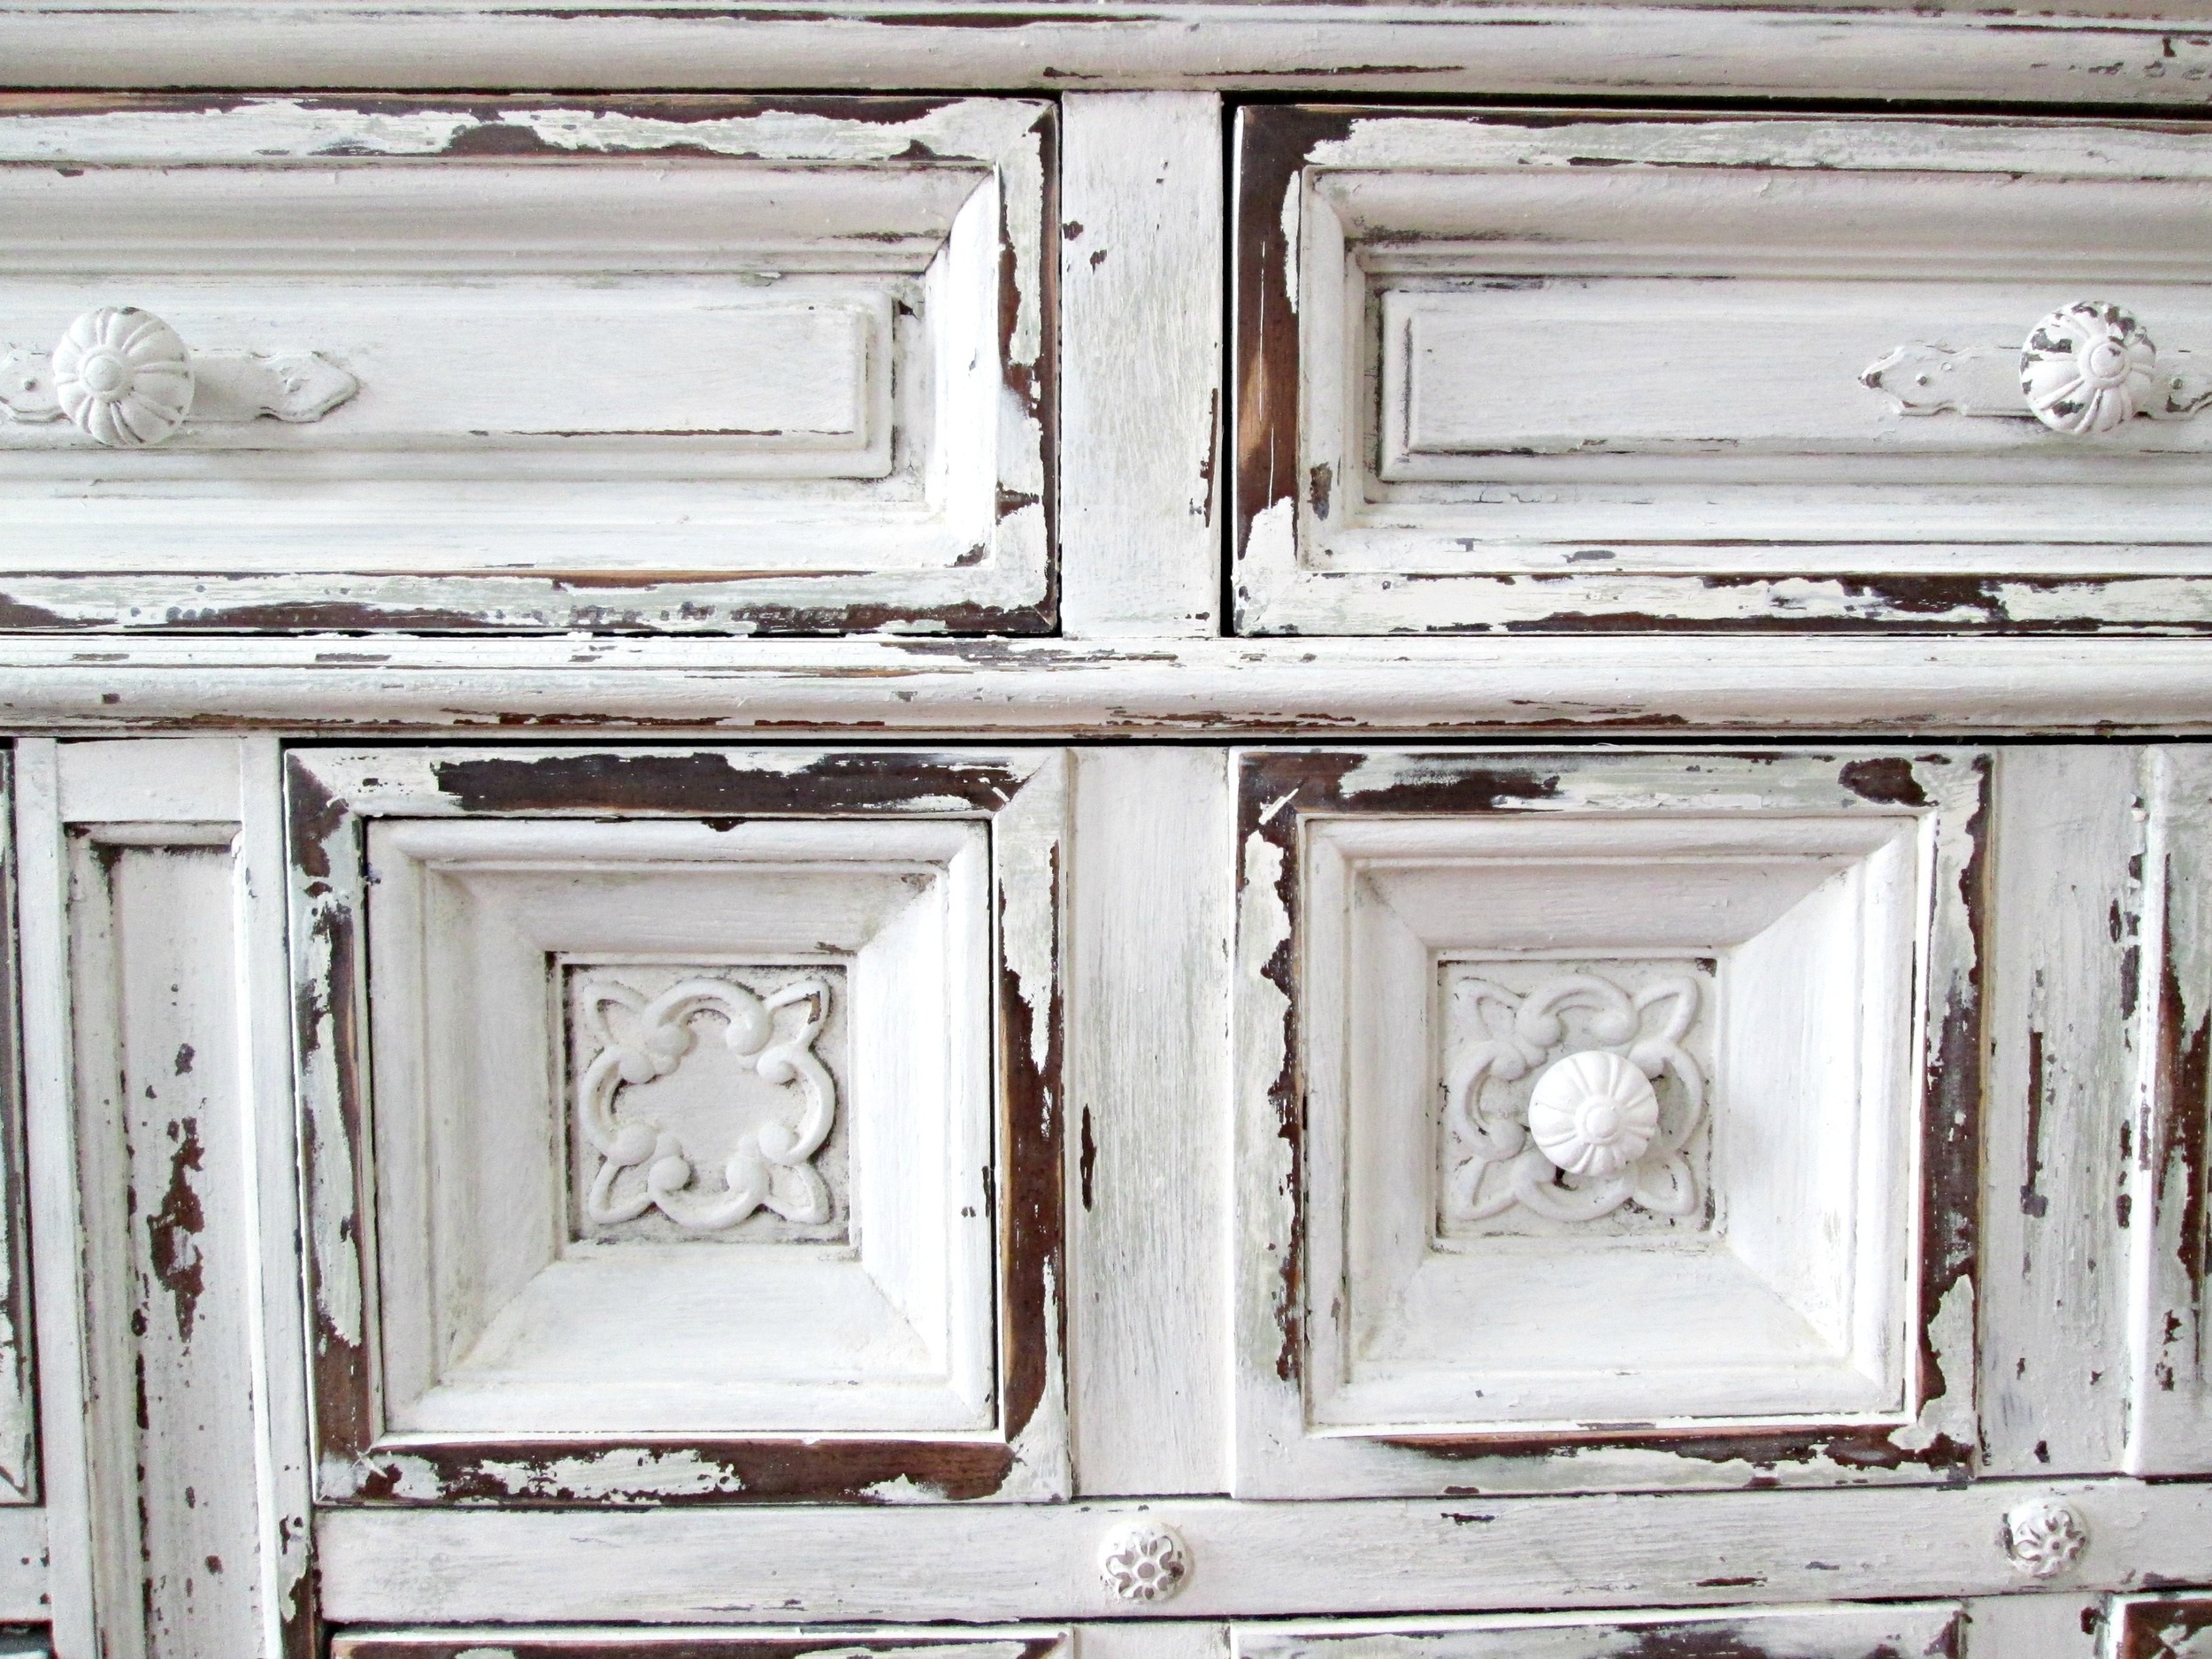
I circled a couple spots in the photo below where you can see the layers of green and white. I'm crazy for layered colors on a piece! It just has a way of adding decades of charm!

For the top surface I removed quite a bit more of that final coat of white in order to get down to the green underneath. 

On deck are two sleek and modern looking pieces! A far cry from today's time-worn goodness. We are style mutts here after all... :)

Charming Chippy Dresser, (or buffet or media center)
Available or sale
66" x 31.75" x 20"
$685

Contact chelsea@stylemutthome.com if interested in this or a similar custom order!

Thank you all for stopping by! 

Got any piece which you've shown some TLC? We'd love to see your handiwork! Share them directly to our Facebook page or tag #stylemuttrefinishes on Instagram!


DIY Baby's Breath Wreath

Hi All! Who could use a little hopeful reminder that Spring will, indeed, arrive? If you just got dumped on over the weekend with another snow, it might feel like a distant reward. Decorating for Spring only helps remind us of the hope that it's coming, right?! So let's get on with it!

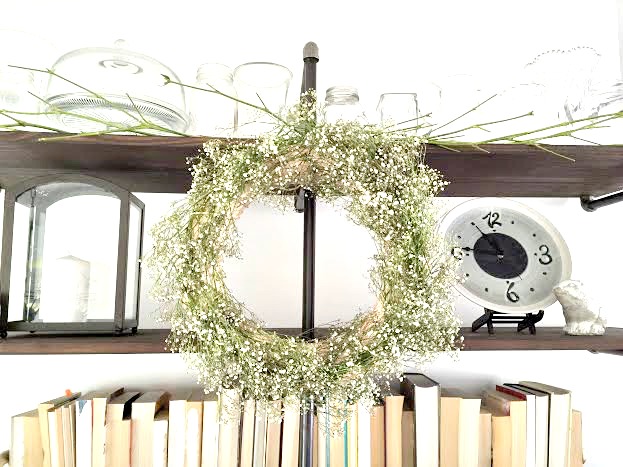
I came up with the idea for making a Baby's Breath wreath when considering how to balance the industrial presence of our pipe shelves with a softer, natural element, (there go my bohemian tendencies again). Baby's Breath is actually my favorite flower! Can we call it that? Any botanists in the house? Anyways, it's soft, whispy and wildly untamed look is perfect for covering a wreath frame!

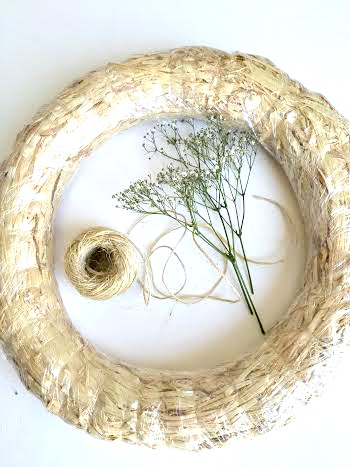
Dreamy, isn't it?! And so easy to make. Here's what you'll need:

Supplies:
-12-16" wreath frame
-twine
-4 bouquets of Baby's Breath

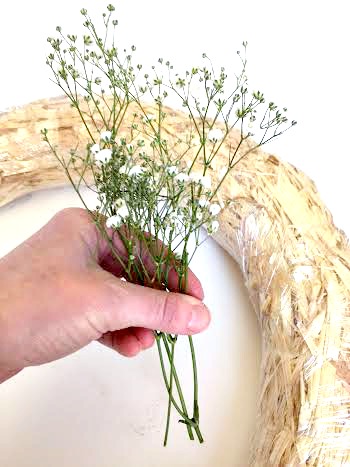
To begin, separate sprigs of Baby's Breath from the whole stem:

Gather up 3-4 sprigs in a bunch, unravel a length of twine, and simply wrap the sprigs of Baby's Breath around the frame.

Continue on gathering up small bunches of sprigs and laying them over the previous bunch on the frame, going over top of the twine from the last bunch.

When you get all the way around, just tuck the ends of the last bunch underneath the first bunch, and tie your twine in a small knot in the back to hold everything secure.

I used the stems from the Baby's Breath to lay across the top shelf. I love how naturally structural they are! 

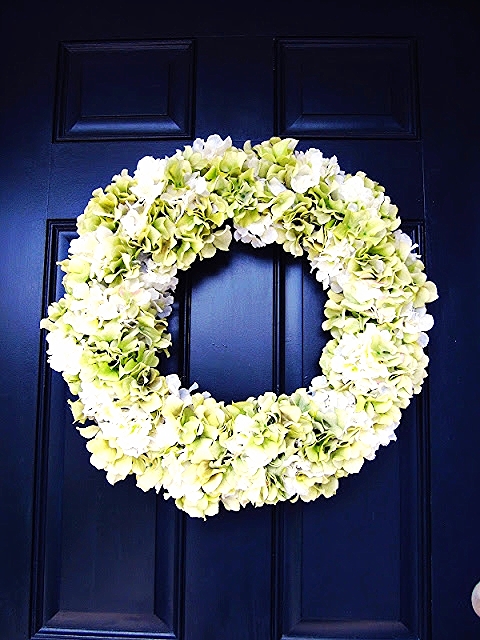
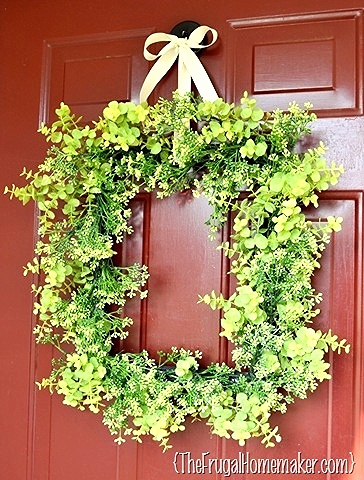
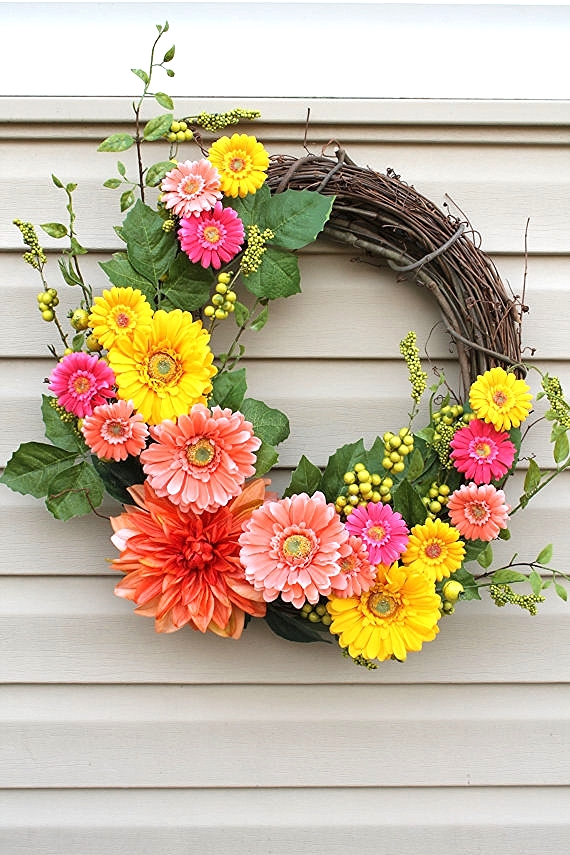
Mission accomplished! I've seen quite a few Spring wreaths starting to circulate on Pinterest and Instagram. Here are a few other ideas, (the bottom right is by my other Sis-in-law, Megan! The other three you can click through to the source).

Hang in there, flower buds, Spring's-a-comin'! Thank you so much for stopping by!

Reader Design: Jen's Fresh Crush Camper

It's finally Friday!  Can I get a Fri-Yay?!  We've been so pumped about the flood of Reader Design submissions that we can hardly contain ourselves.  But we've decided we want to give everyone their full moment in the spotlight and save these juicy reveals for the end of each week.  Lucky for you, it's the weekend and we've got an alternative space for your viewing pleasure.  

Ok like me, you may have noticed that decking out an itty-bitty-living space is all the rage these days.  But tiny cabins and converted school buses are just the hipsters of the movement: catching on to the trend after it's been around for a good long while.  Let's not forget the origins of tiny living dates back to the 1920's with this little number:

The Camper

Ok.  It's not much to look at.  But that's because this was before Jen from Fresh Crush got her magical hands on this diamond in the rough.  

You remember Jen right?  I mean how could you forget her master bedroom & foyer Reader Design.

WHAT?!?  You don't know what Reader Designs are?  Shun the non-believer!  I bet you even have an entry of your own to share.  Why would you deprive us of your unique point of view?!?!  Reader Designs are an open invitation to share your unique design and creativity.  There are no requirements to be a professional decorator or even a fellow blogger. The purpose of Reader Designs is simply to share incredible rooms with fresh ideas and document these features in our SPACES section to use as a reference of inspiration.

Oh, I see!  That's not the issue.  The issue is you don't know how to enter your space.  Well that's an easy fix.  Just tag #stylemuttspaces on Instagram or post your pics right onto our Facebook wall! 

Ok, now that you're in the loop - back to today's sensational space:

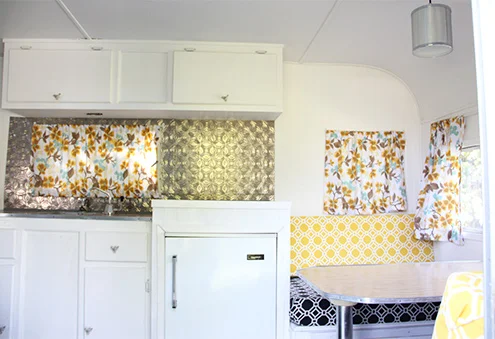
The Glamper

BAM!  Betcha didn't see that coming!

It used to be that when I thought "camper," I pretty much pictured what Jen initially found when she acquired hers: 

A big, smelly, mysterious pile of YIKES.

Jen, how you could see this jewel somewhere in of all that I shall never know.

From Jen:

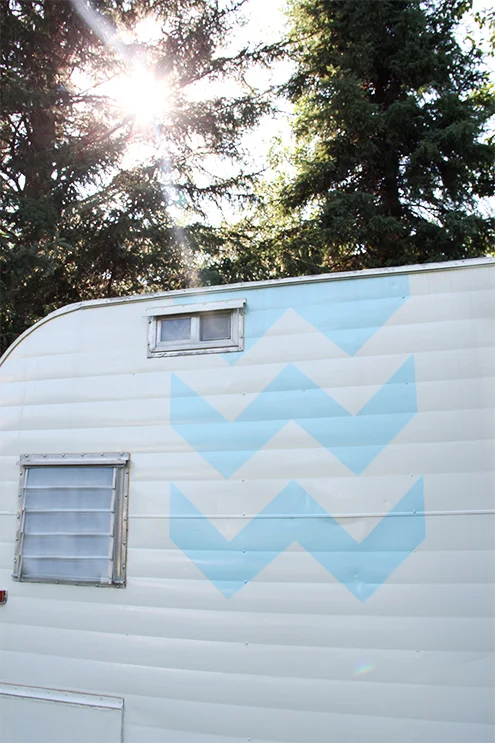
"This project was around for a few Summer seasons! But it was so much fun. The goal was to keep a vintage retro look, but modernize it a little... and keep it cheery! My husband and I had a blast figuring out every little detail from new exterior paint, to new upholstery and lighting. There isn't a square inch we haven't touched and updated, and we love every minute we spent in this beauty, all Summer long with our family. A big step up from tenting!"

I'll say!  I'd like to check into my room please.

I can't imagine what kind of spring cleaning it took to strip it down to the bare bones.  Unrecognizable!

And Jen didn't bottle up her personal touches on the inside:

  She gave it some glam on the outside too.

How inviting!

And polite too!

Yup, Jen's got herself a keeper with this camper.  Thank you so much darling for sharing such an epic space!  Don't forget to pop over to Fresh Crush to see the complete camper reno and to what else she's cooked up.  

We hope you have an inspired weekend my friends!  Ok maybe not to go camping in this weather we're having.  But if I had myself a glamper... 

Jen, if it's not still parked outside tomorrow...