Staging Smart: Tips For Staging Small Pieces

Hello, friends! Following up my earlier post this week on the importance of staging refinished furniture, (for the purpose of selling), I thought it might be fun to talk about staging different pieces. Today I'll cover smaller pieces like end tables and accent chairs, and next week we'll discuss the larger beasts.

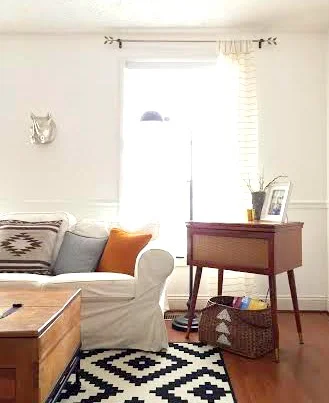
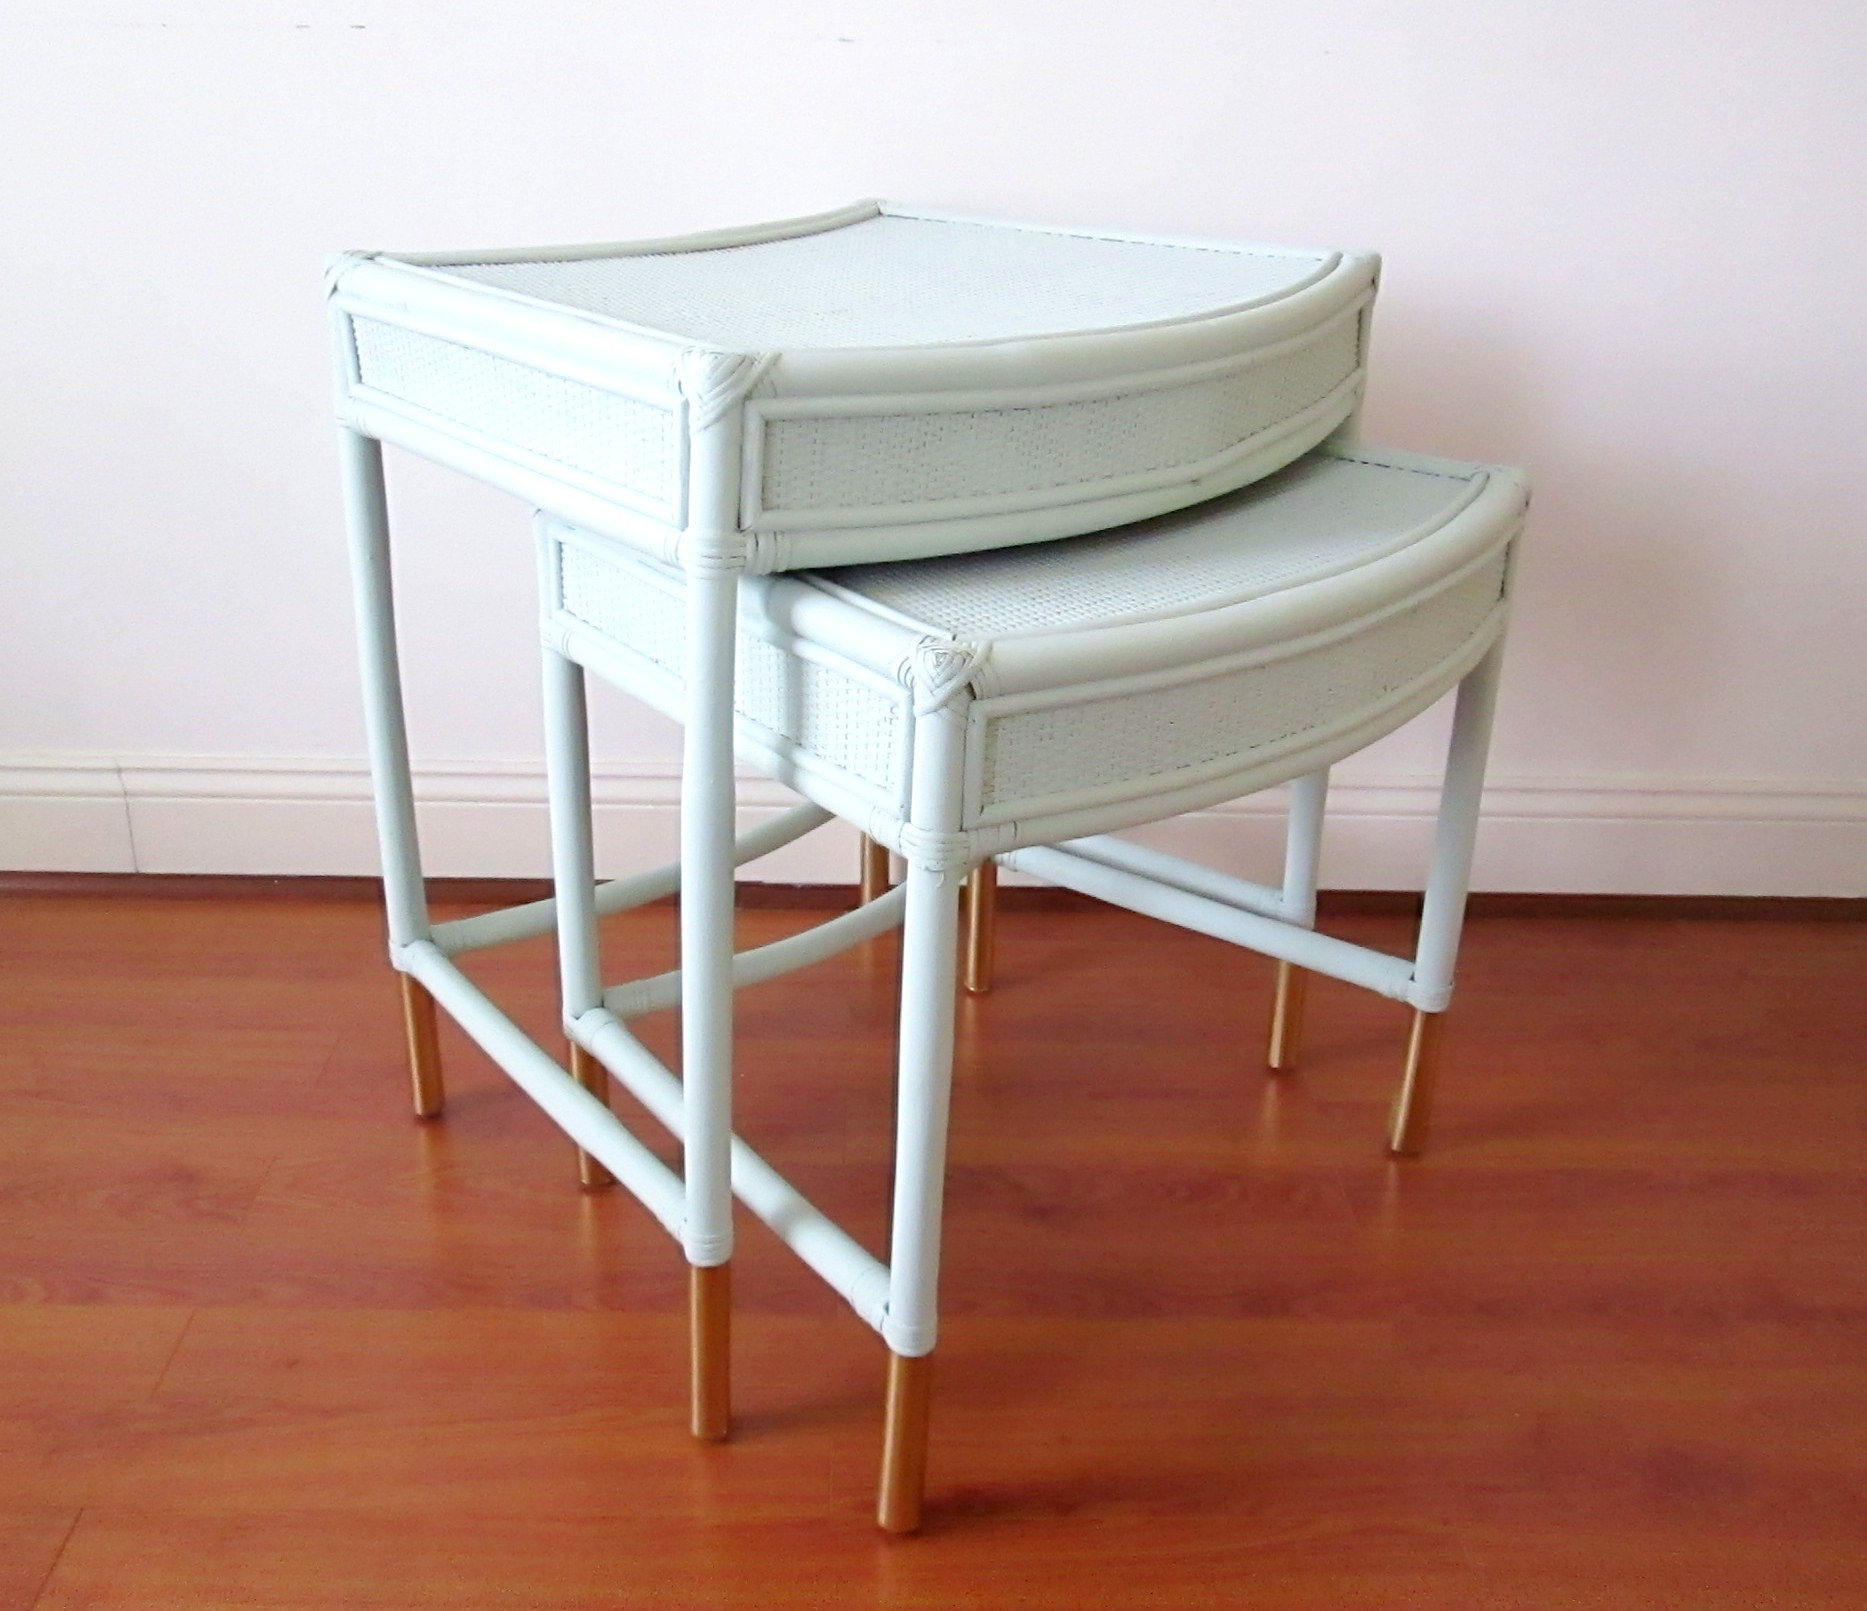
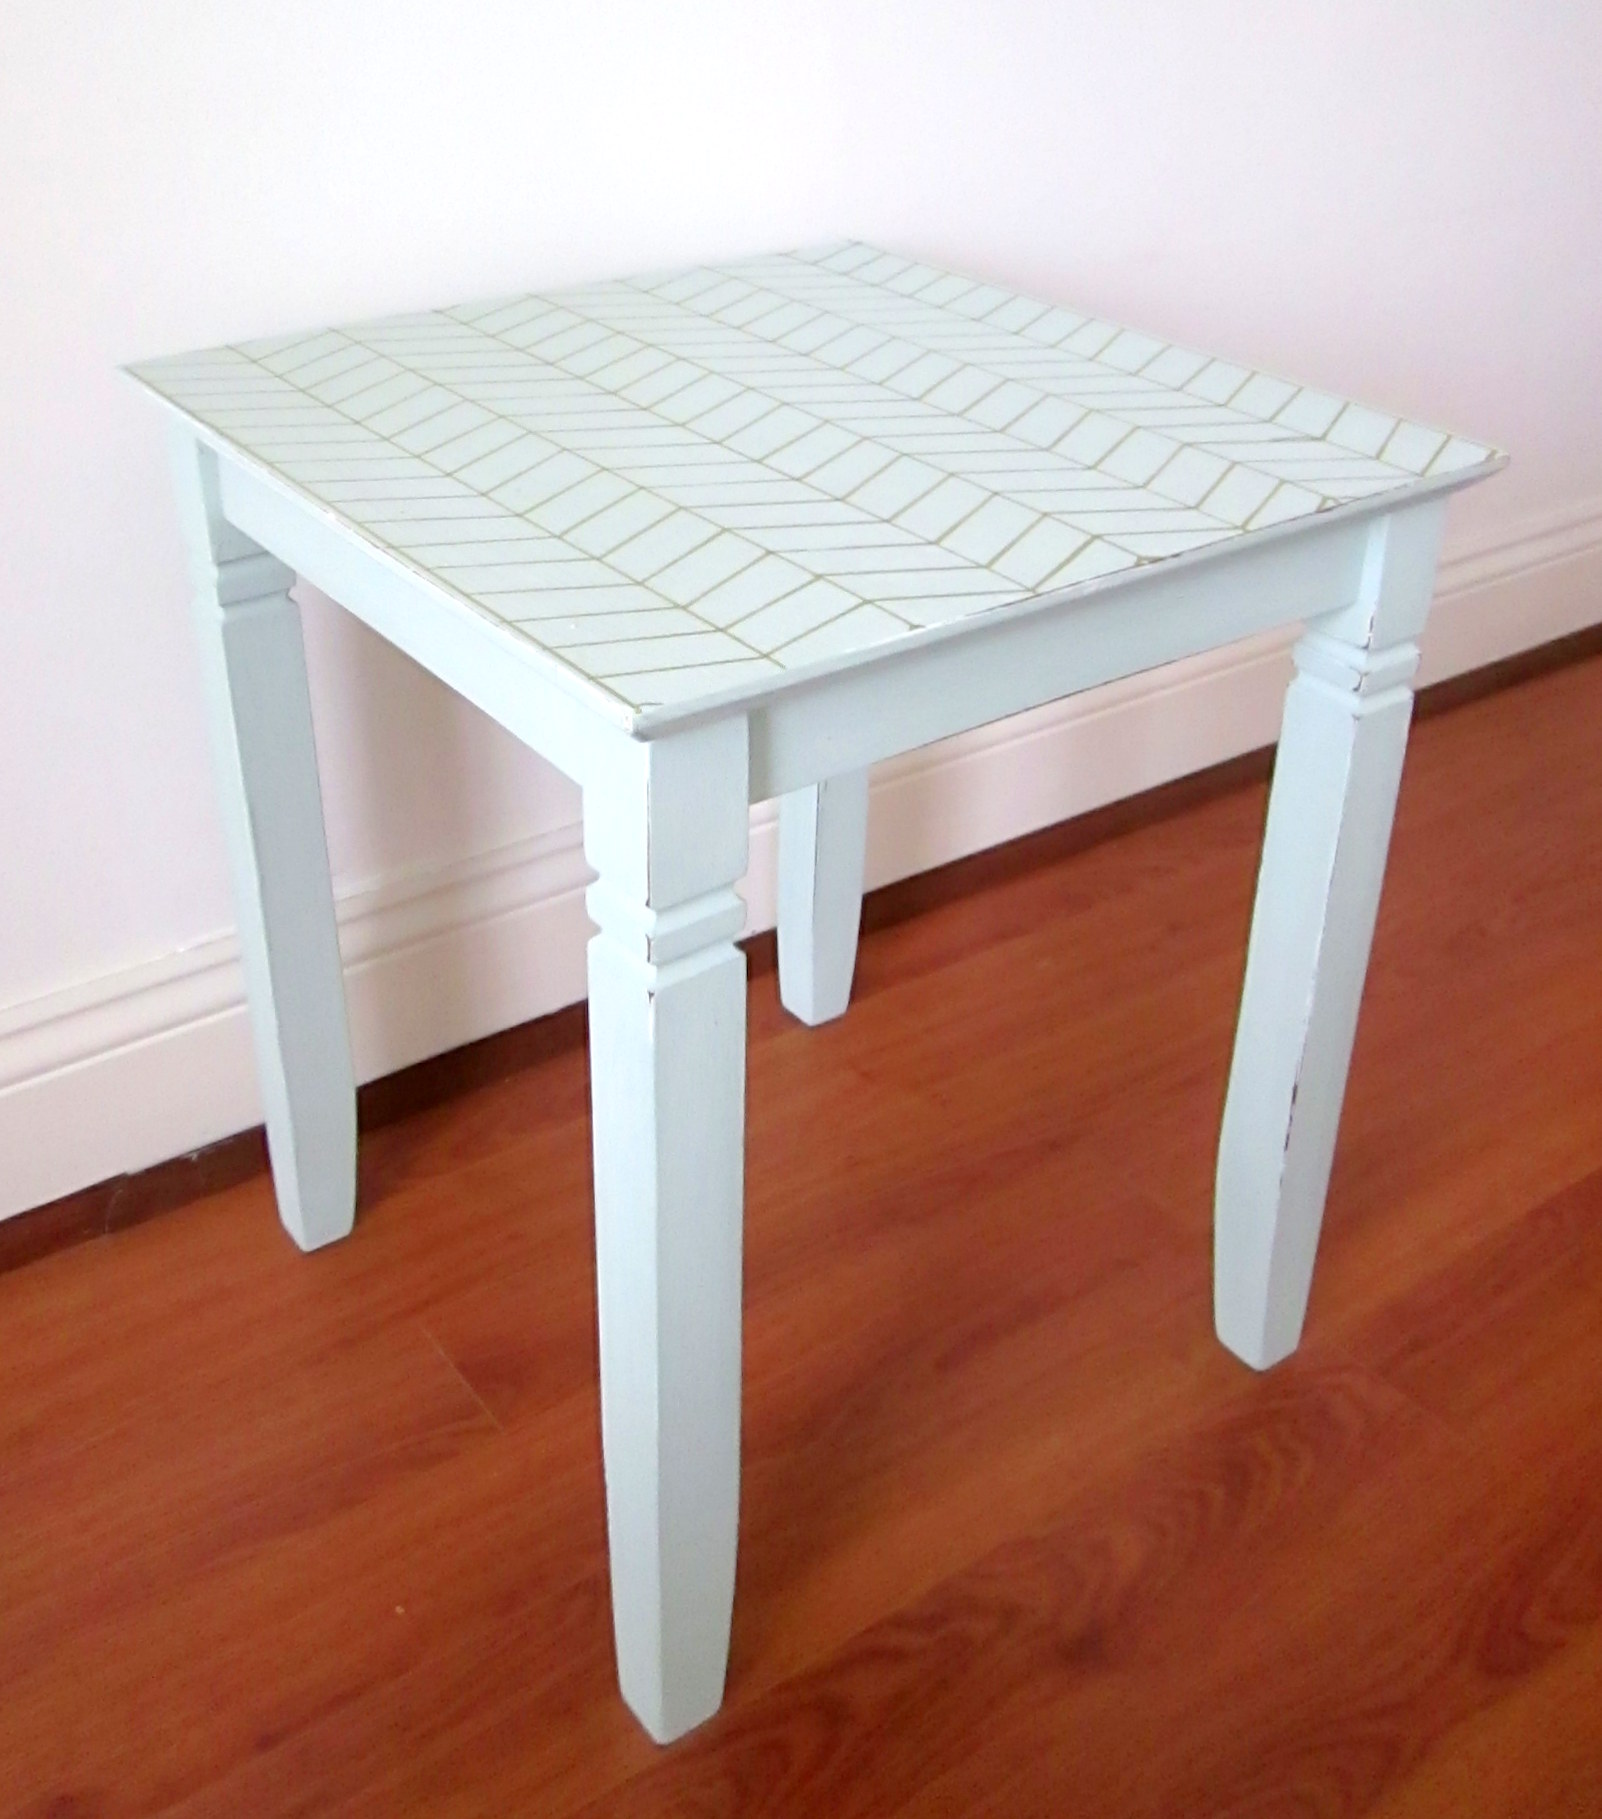
For whatever reason, I find it more difficult to stage a smaller piece. I love playing with the surface and surrounding of a large dresser or china cabinet, but when all I have is a small footprint to work with, I tend to scratch my head staring at it. I don't really have a specific 'formula' to share, but I've learned that it's okay to stage smaller pieces a bit 'abstractly'. It's not likely that anyone would place a little table floating rogue on the open floor, but it's okay to stage it that way!

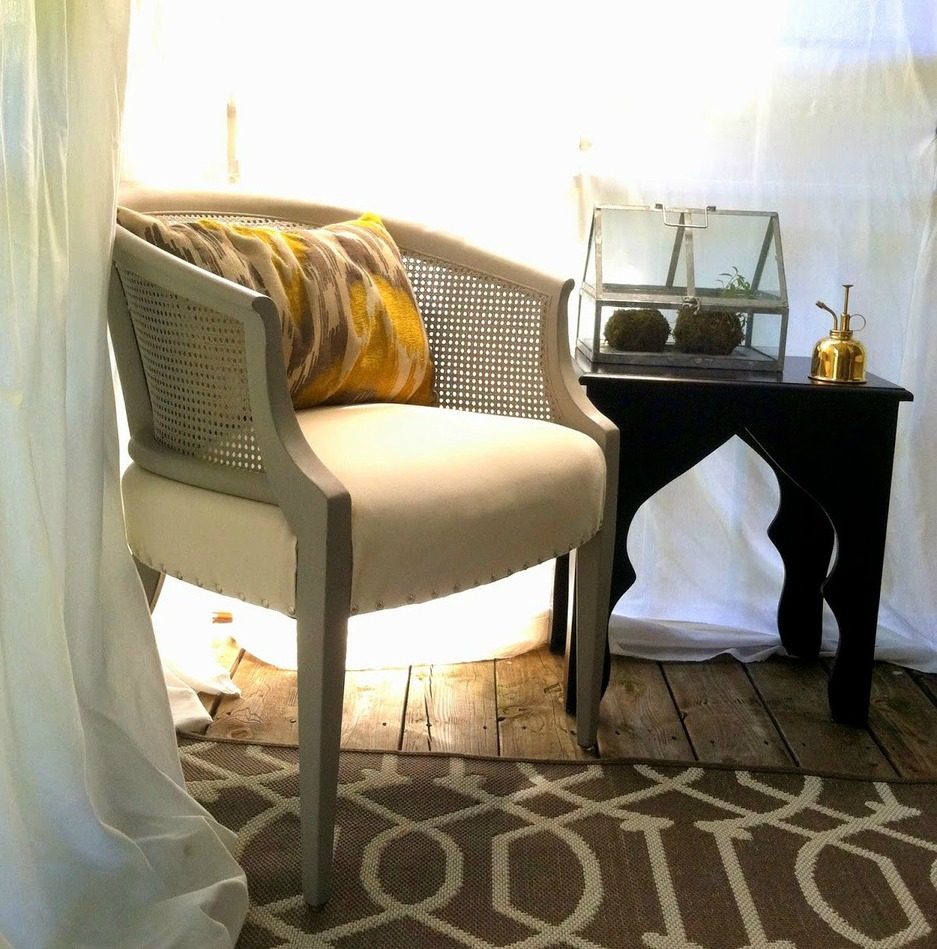
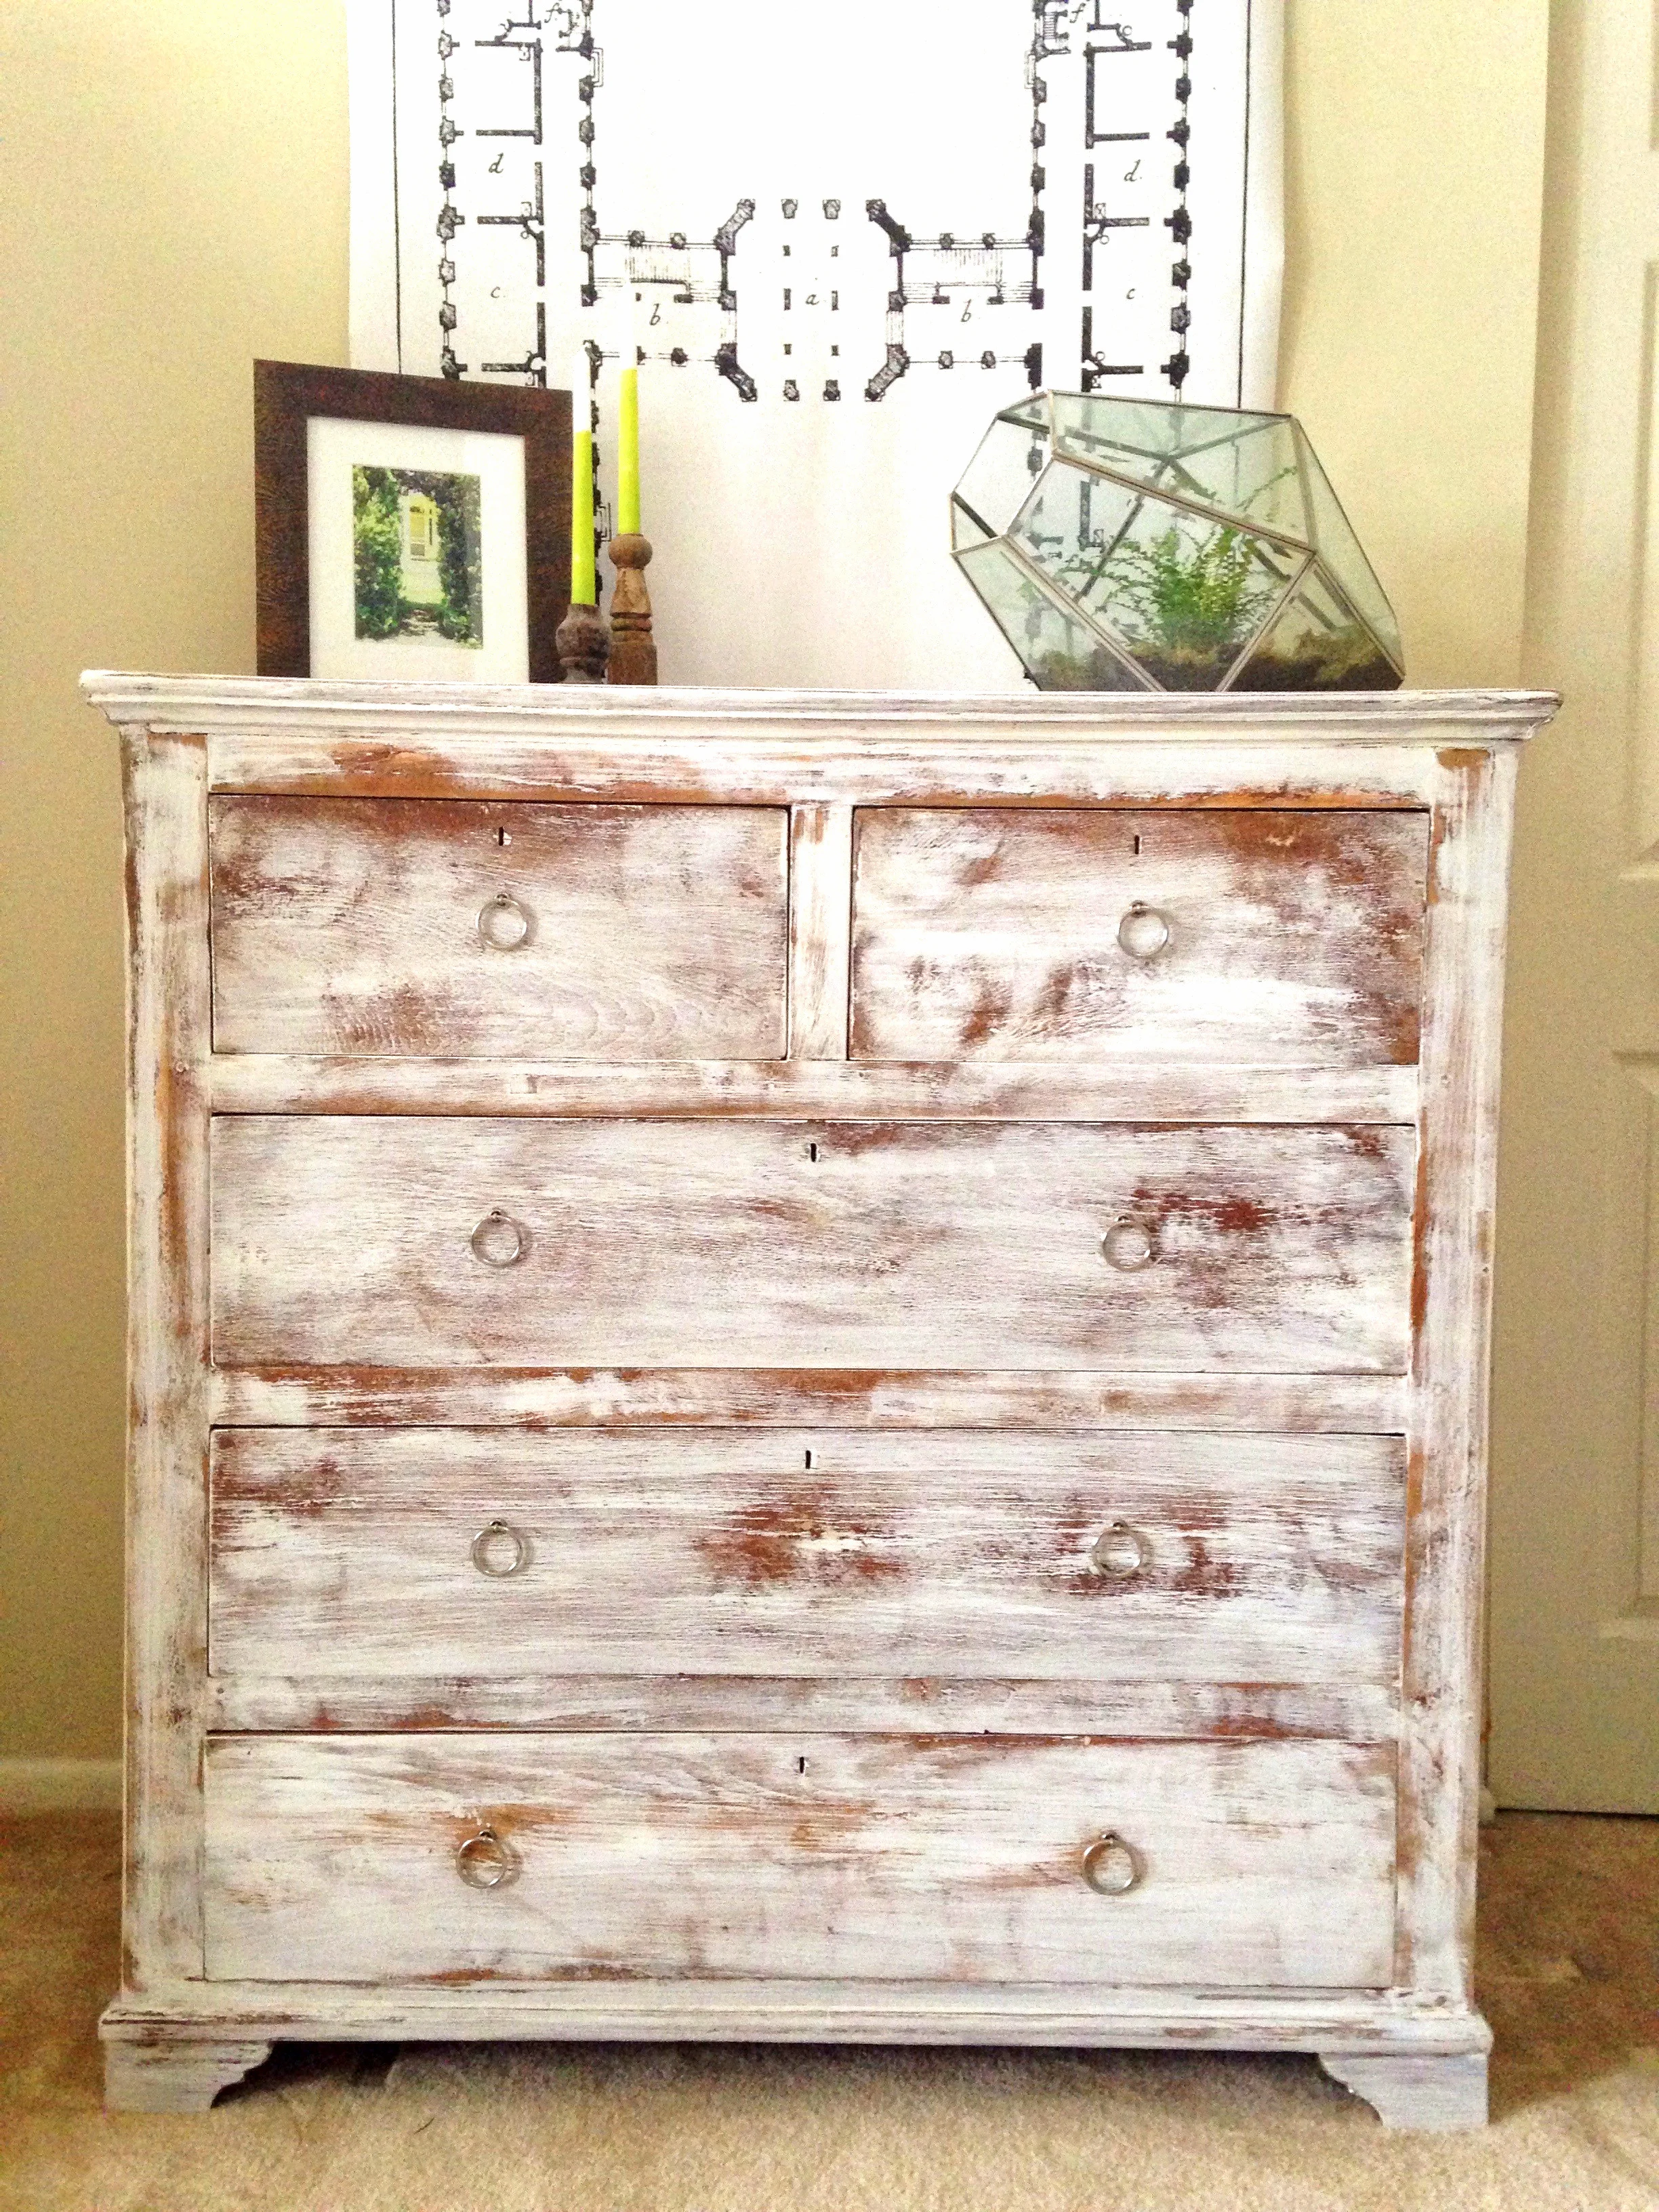
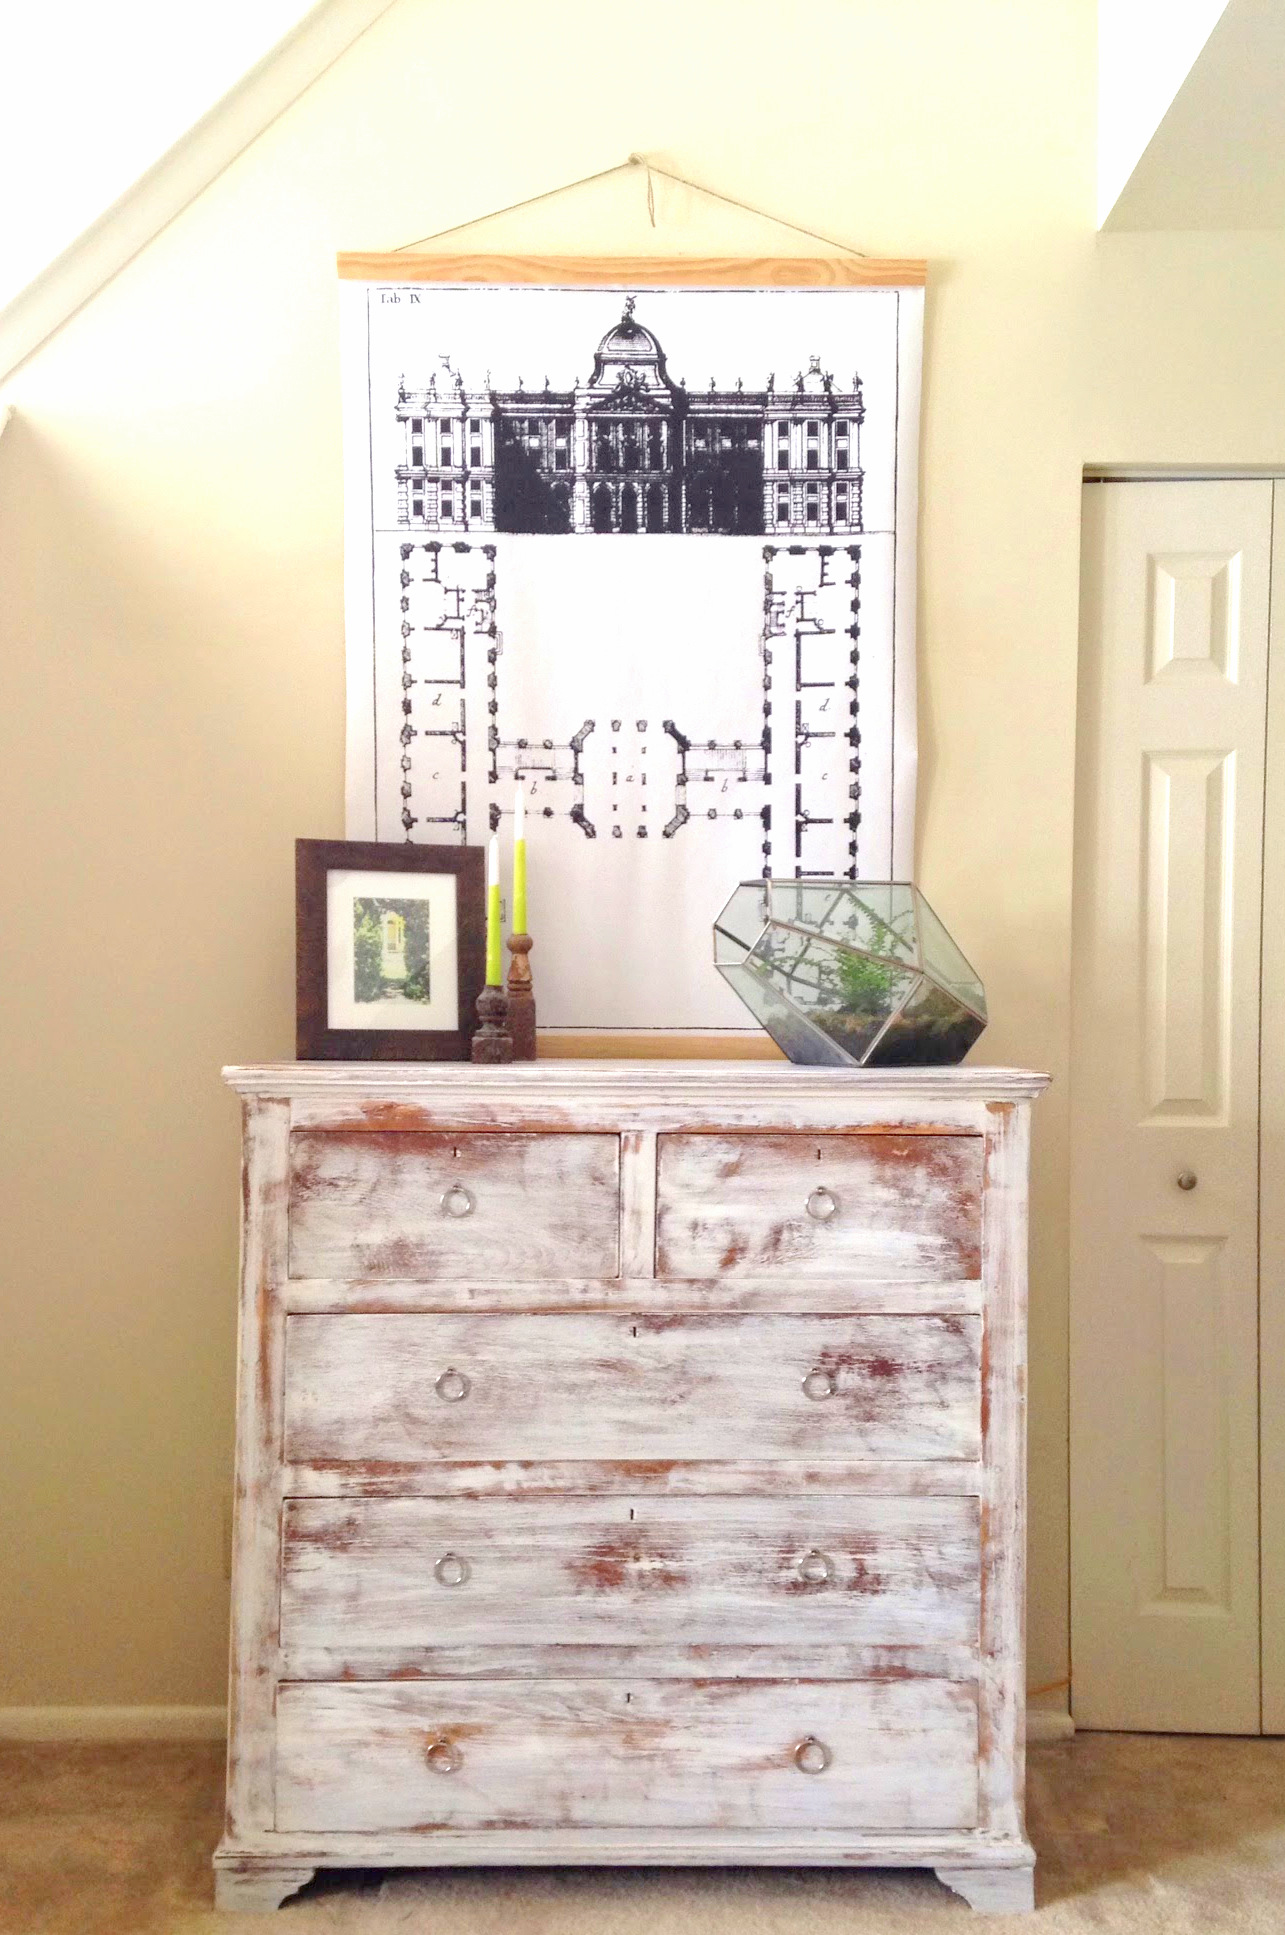
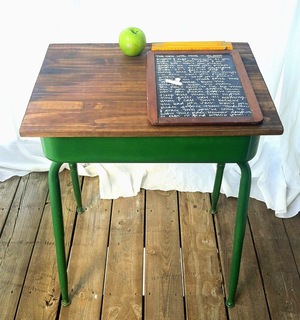
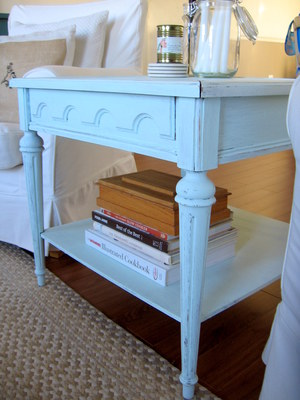
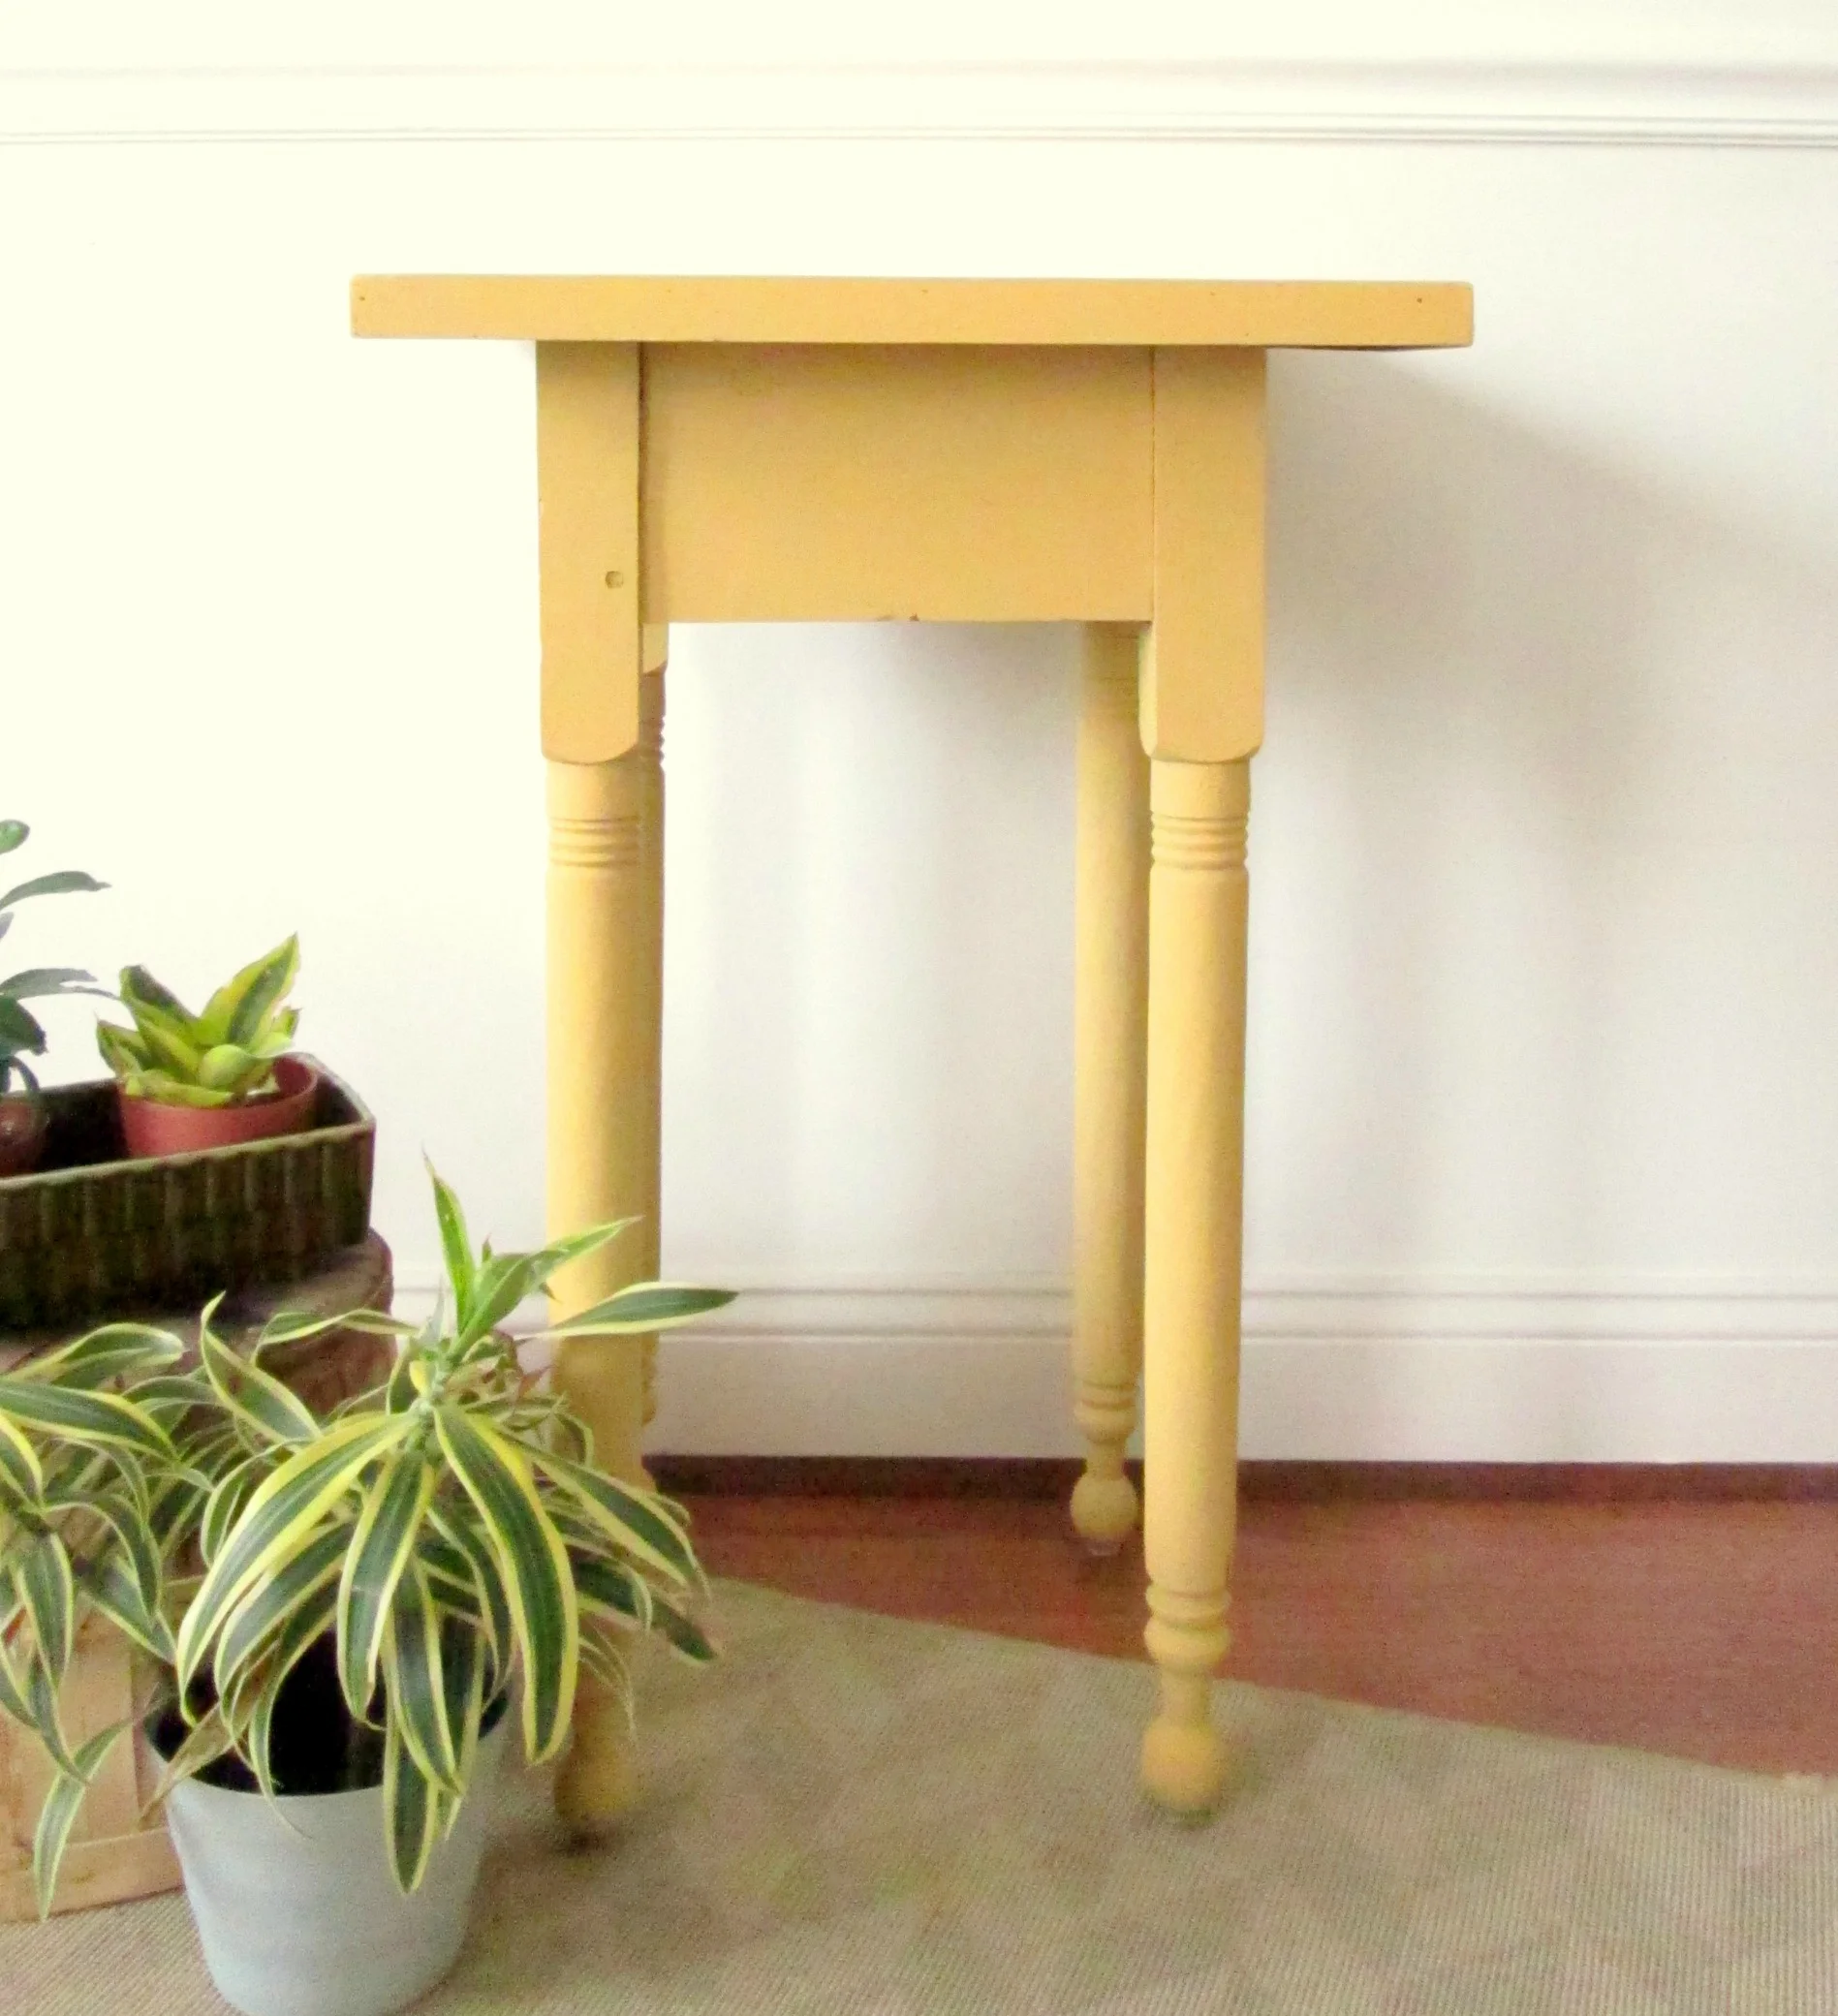
It's also okay to settle these small pieces in and sprinkle a little 'life' around them. Some of my go-to accessories for small tables include an open book or neat stack of books, fresh flowers, succulents, and pretty candles. We don't use all of these at once, but it's fun to play with one or two, step back, and see what looks the most natural.

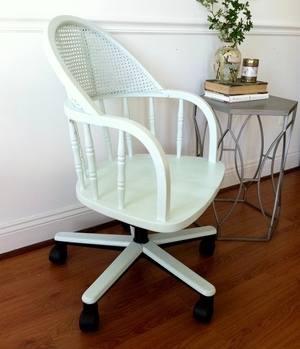
Accent chairs are also one of those pieces that can be a little tricky to stage photos. Accent chairs are just that - accents to a whole, finished room. Taking a picture of one by itself just feels a little bit awkward. Just like with small tables,  it's okay to keep it simple but still bring a bit of energy to your shots. Go ahead and get artistic with your shots. Play with angles, with lighting, with accessories. The top right photo below was a really different kind of shot for me. I had just refinished this antique chair that was passed down from my husbands grandparents. I refinished it in a soft color but wanted to stage it with a bit more life to show it's versatility - that even pale painted antiques can be edgy. :)

Do you have any small piece staging tips that you could share? If you've got photos we'd  love to see! Share either on our Facebook wall or Instagram, using the tag #stylemuttrefinishes. Next week we'll be back with more staging fun!

Have an awesome weekend and thank you for stopping by!

Basket Art

Hey, All! A huge trend I'm seeing right at this very moment is ORGANIZATION! Perhaps the new year surfaces a desire for more order in the home...or maybe folks are just bored during the cold winter months and itching for things to do! Whatever the reason, there are lots of posts about how to organize and organizing challenges floating all over social media. 

I'm not a great organizer and am okay with a bit of chaos, but I do like for everything in my home to have a place to go at the end of the day, even if it is just random stashing. My favorite stashing is with baskets - especially big ones!

Obviously, using baskets to corral 'stuff' is nothing new. However, I do like to have a little fun with them before settling them into our home. Baskets are a great opportunity to create a custom piece!

Here is a picnic basket we received as a wedding gift and now use for the kids' library books. I painted three triangles on it to fit it into our room and break up that corner of brown. To make the triangles, I carved a triangle out of a piece of cardboard and used it as a stencil. I just placed the triangle stencil where I wanted it, painted it in, then moved it down to the next one - easy peasy!

Since most of the kids' toys are stashed in the basement and procreating as we speak, we don't need anything too big on our main floor for storage. This basket, which I painted simple stripes around, is the right size, easily accessible, and is another source of pattern on that floor.

Our 'entry nook' was the perfect spot for this taller basket which keeps a lot of our shoes. I went for a color-blocked look and absolutely adore it! Gives it a little 'oomph', you know?!

baskets 8 DONE.jpg

So there you have it! That's how I like to do baskets in our house. :) If they're needed, (and boy do we need them), why not have some fun with them! 

Closing out the week I'll be back to discuss some staging tips for small pieces. Would love for you to dig up any pictures you have of staged end tables and accent chairs so you can be ready to share them to our facebook wall! We love seeing your handiwork and getting inspiration from you!

Thank you all for stopping by!

DIY Ring Pulls - and the first completed Flip List item

The other week I scored this great dresser on Craigslist for a great price.   It's solid wood and the seller had bought it and brought it back from India.  {How cool is that?  I love pieces with unusual history}.  , But she was selling it because it had some damage to the finish - so it became my first opportunity to cross something off my Flipper's New Years Resolutions.  Can you guess which item I went for first?  That's right!  I went for No.6 the paint-stripped dresser. 

Except it didn't actually turn out the way my inspiration piece looked... it came out WAY BETTER.  

I wasn't really sure how to go about re-recreating this effect from my inspiration piece other than just stripping off most of the paint finish on a piece to reveal the naked wood underneath.  My piece was already naked and part of me felt like it was a waste to paint it just to strip it off again.  So I decided I would only cover the piece with a thin coat of paint.  

But first I had to start by sanding the piece to prep it for paint.  Then on a whim I decided to wipe it down with some fabric softener because, as I discovered while painting my box trunk, it can keep the paint from taking in some areas.  Then I painted on a light coat of home-made chalk paint I had left over from my two-toned coffee table.  

After the paint dried, it was time to TAKE IT OFF BABY.  Using a fine grit sanding pad on my orbital sander {thanks for the xmas gift Scot & Joanie} I gently sanded some of the paint off.  

I could have kept sanding to reveal more of the naked wood, but I liked how the white was bringing out the natural wood grain. 

It kinda ended up like a dry-brush effect but without the dabbing-paint-on-a-rag-or-paper-towel process.

For the hardware I also tried something new - DIY ring pulls!  I can't take credit for this idea however - I found this post on Sarah M. Dorsey Designs, but no disrespect to Ms. Dorsey, I needed a little bit more info on where to find the parts: cotter pin, 1" ring, and washers.  I had never heard of a cotter pin before.  I had no idea if I was in a plumbing thingy or electrical do-hickey and therefore had no clue where to look for it in the store.

Turns out it's in with the screws, nuts, and bolts aisle.  And more specifically, it was in a drawer at Home Depot with a tiny picture on the front so it was kinda hard to spot at first when you have shopping tunnel vision on.  You can also find the finishing washers {which are beveled} and regular washers {which are flat} in this aisle.  The trick was finding the ring for the DIY pull.  There was nothing in that aisle that resembled Sarah Dorsey's find at her local hardware store so I had to expand my search.  I actually ADORE going to the hardware store and perusing all the aisles I really have no business being in to find odds and ends I can repurpose for something else.  And my aimless wandering did not disappoint.  I ended up striking gold in the window treatment aisle with a set of curtain rings for $7.97 that would be perfect understudy.

I'm gonna go ahead and assume I'm not the only one who did not know what a cotter pin looks like so here's a visual aid:

Labels.png

Supplies Needed:
Curtain ring {with removable clip}
Cotter pin {size 1/8" x 1-1/2" should do}
Finishing washer {I used size #8}
Washer
{doesn't have to be pretty because you won't see it inside the drawer - just make sure the cotter pin can fit through the inner hole}
Pliers

1. Remove the clip from the curtain ring.  It was really easy to unhook the clip with just my fingers, but you can use the pliers just in case.

1. Remove the clip from the curtain ring.  It was really easy to unhook the clip with just my fingers, but you can use the pliers just in case.

2. Much like sliding your finger through a bobby pin, slide the ring between the two prongs of the cotter pin until it reaches the eye at the end.  Cotter pins are made from much tougher metal than bobby pins {which is good because you wan…

2. Much like sliding your finger through a bobby pin, slide the ring between the two prongs of the cotter pin until it reaches the eye at the end.  Cotter pins are made from much tougher metal than bobby pins {which is good because you want something stronger for furniture pulls}.  So this is really where you want to use pliers and put some elbow grease into it.

3.  Once the ring is on, pinch the prongs of the cotter pin and slide on the finishing washer with the beveled side facing the ring.

3.  Once the ring is on, pinch the prongs of the cotter pin and slide on the finishing washer with the beveled side facing the ring.

4. Now you've got the makings of the ring pull.  To secure it onto the drawer, thread the prongs through the hole in the drawer and slide the regular washer on the inside of the drawer.  Then bend the ends of the cotter pin like a bra…

4. Now you've got the makings of the ring pull.  To secure it onto the drawer, thread the prongs through the hole in the drawer and slide the regular washer on the inside of the drawer.  Then bend the ends of the cotter pin like a brad to keep the pulls in place. 

Mighty fine looking for just about $2.11 a pull!

Could't help snap this pic of another of my chandelier terrariums.  If you want the tutorial on how to make your own, check out this post from last spring.

The only thing I was disappointed by is that Home Depot doesn't seem to carry cotter pins or finishing washers in brass.  If any of you readers have ideas on where I can get some please share!

White distressed dresser
43"W x 19.5"D x 43"H
Sold

If you are interested in this piece or a custom order like it, please email cate@stylemutthome.com.