Industrial Pipe Shelves ||Reveal + Tutorial||

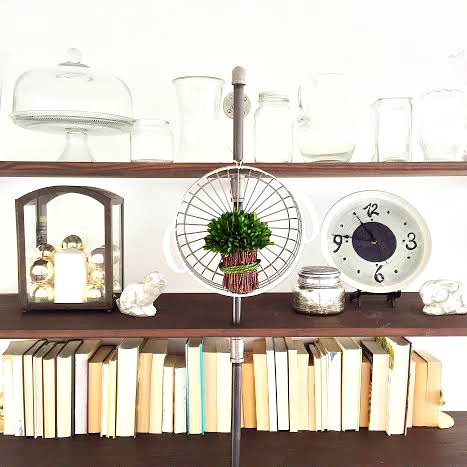
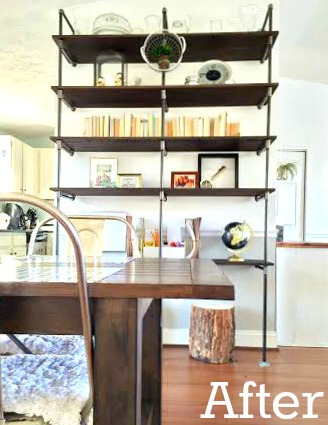
Hi, All! I'm thrilled to finally be sharing this crazy fun and super big project with you today! If you're an Instagram friend then this post might be a little anti-climatic since I've been sharing pictures of these shelves for the past couple months. I decided to wait until after the holidays to post about our new industrial build, so we've had a bit of time to grow into it. You may have seen pipe shelves before - I've seen folks build small ones in bathrooms, as well as over entire walls as more of a 'built-in' look. Here is our version of these fabulously industrial shelves:
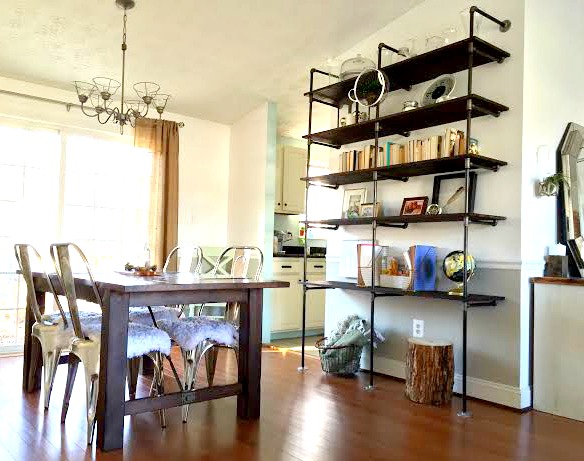
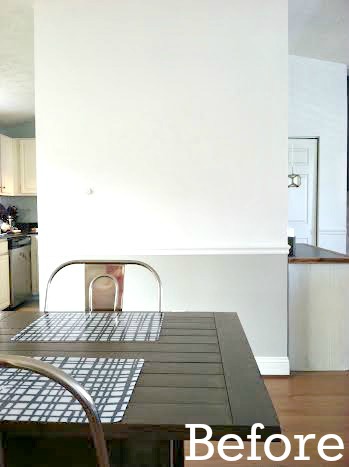
Aren't they rad?! We previously had a china cabinet on this wall which I enjoyed refinishing in a beautiful Duck Egg blue. But, as the kids got a little older it wasn't a practical piece for us and I needed way more open storage. I shared a few inspiring pictures of industrial shelves with Matt, he loved the idea, and we got to work almost right away! Building this was WAY easier than I had expected, and I'm going to show you how right now!

Let's have some fun, shall we?

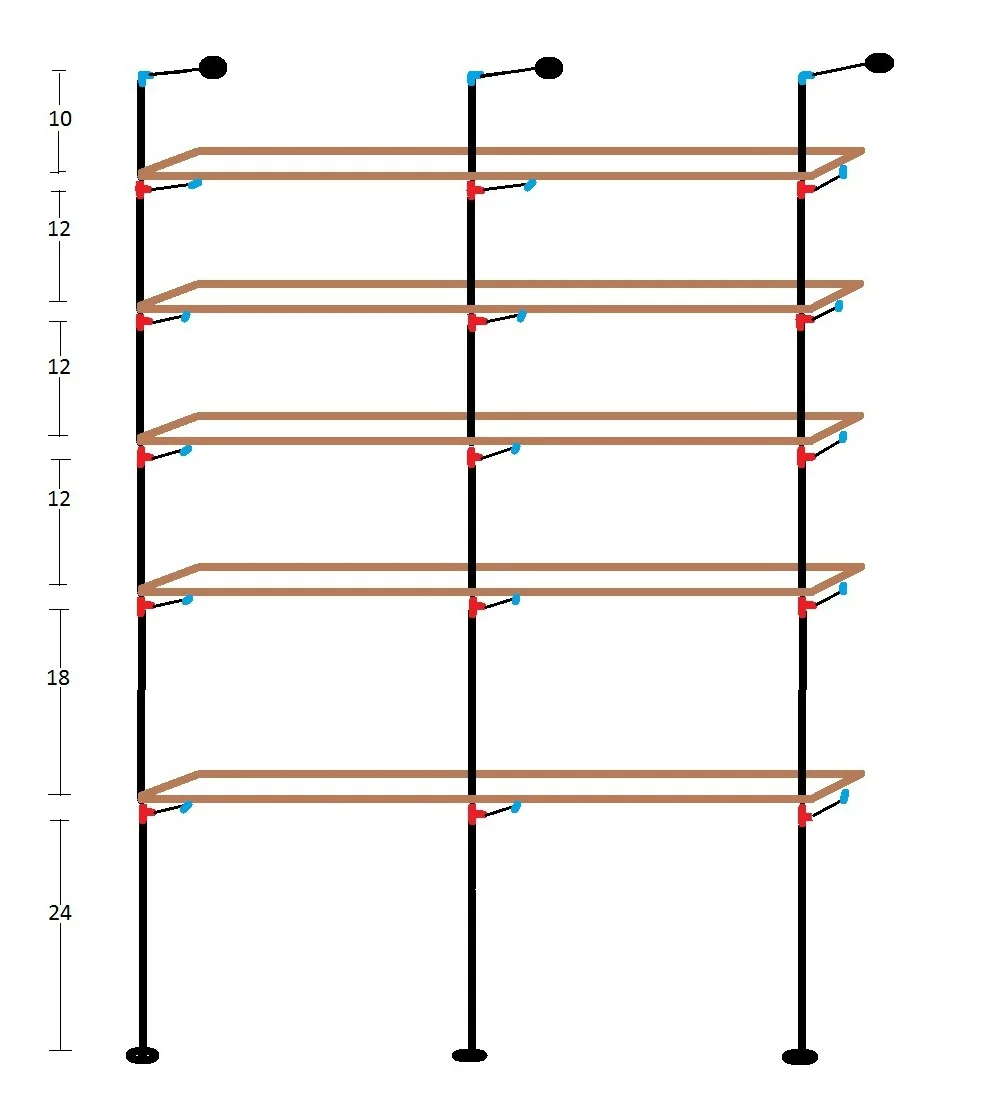
First, we measured our wall and created this digital design of what we wanted to build. I wanted room at the bottom shelf to slide a stool or two under to use as a make-shift desk for our kids.
Then it was time to gather the supplies! I kid you not, gathering all the pipes and pieces for this project took longer than the actual build. I highly recommend calling your designated hardware store ahead of time and asking them to check their stock of each piece! Here's what we came home with:

Supplies pictured above:
3 x 24" 1/2" pipes
3 x 18" 1/2" pipes
3 x 14" 1/2" pipes
24 x 12" 1/2" pipes
3 x 10" 1/2" pipes
18 x 1/2" elbows
16 x 1/2" tees
6 x 1/2" flanges
Supplies not pictured above:
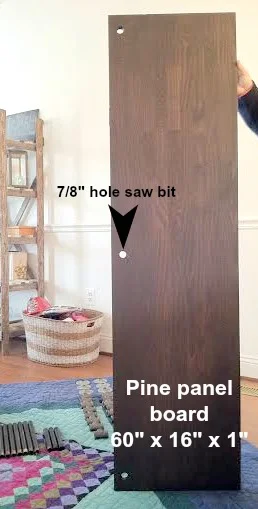
5 x 60"x16"x1" Pine Panel Boards
7/8" hole saw bit
Wood Stain for the boards, (we used Kona by Minwax)
Metallic spray paint for the pipes, (we used Rustoleum Oil Rubbed Bronze)
Lysol wipes to clean the pipes

TOTAL COST FOR ALL SUPPLIES: Just under $450

Once you have all of your supplies home, you'll want to clean the grease and oil off of the pipes before you spray paint them. Just give them a good wipe down with Lysol wipes, let dry, then spray them. Once the pipes are dry, it's time to build! Work from the floor up:
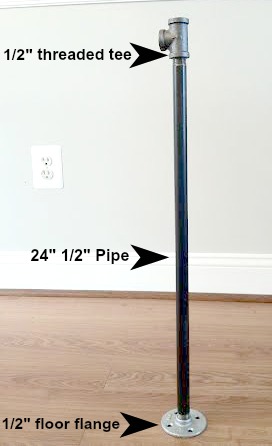
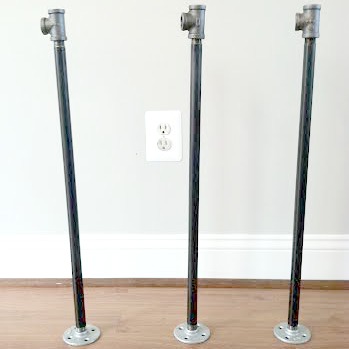
Following our digital design, we just started threading everything together like a good old fashioned erector set! At this point we have not screwed anything into the wall or floor. The pipes and fittings were screwing together so tight and were so incredibly sturdy, there was no need to anchor anything until we got up to the very top.

The panel boards, which we pre-drilled the holes on, just slid right over the vertical pipes, and rested on the horizontal 12" pipes with the elbow supporting the side closest to the wall.
Once we got to the top, (and again, at this point nothing is anchored to the floor or wall, but the sheer weight and tightness of it all kept it so sturdy), we used 3 x 14" pipes threaded into the top three elbows, (seen in the picture below without the pipes), and then threaded the other end of the 14" pipes into the flanges. We then screwed the flanges directly into the wall for additional security. The bottom flanges are just sitting on the floor, not screwed in. It's really not necessary once you see how sturdy the structure is.

A view of the finished product from the middle. It really was a quick build! The prep work took a bit of time, (gathering the supplies, cleaning and spraying the pipes, staining both sides of the boards and drilling the holes), but the actual structure went up pretty quick!

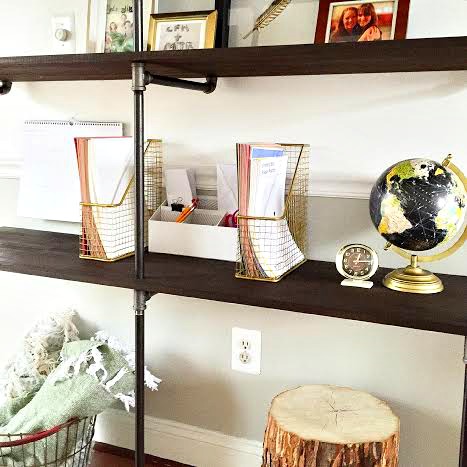
These shelves have been so much more functional for us. The bottom shelf is completely stocked with kids' activities and supplies and now that they're out in the open, we are doing way more activities together. That is such a gift in and of itself!

I hope if you ever want to give these shelves a go that this tutorial is helpful for you! Please don't hesitate to ask any questions you have! One discovered bonus to these shelves versus actual built in shelves is that these are transportable! If we ever move from this home, we'll be able to bring these with us, (and we can always add on if need be).

Thank you so much for stopping by and have a wonderful weekend!


A Flipper's New Years Resolutions

Happy New Year!  So as we know in this culture, January has a way of
1.  Making you feel guilty about where you are in life/ size/ relationship status and
2. Forcing you to think about where you want to go next

Well I'm not immune to these tendencies, but this year I don't want to look at myself and critique what I see or don't see.  My parent's always said that marriage would be my declaration of independence.  That's not to say they would cut me off, but that they would step aside as my primary support system and let my husband and I figure it out - finances and all.  In 2014, I married a wonderful man but we quickly had to face the ugly adult truth that being all grown up and on your own is hard.  Bills seem bigger when you're not living in a house crammed with a ton of roommates to help split the rent.  It's just the two of us in a studio apartment {three plus Thor - but cuteness don't pay the rent}.  And let me tell you, leaving and cleaving is much more dramatic when you're adjusting to one ministry salary and the other spouse only works part time.  But since 2015 has already descended and my first wedding anniversary approaches on Jan 18th, I am nothing but grateful for this past year.  I am truly thankful for Every. Last. Hardship.  

I have a board on pinterest I call "Furniture Flip Bucket List" and it is exactly that - a jumbled collection of inspiration and unorganized thoughts.  I decided that today I want to go ahead and claim a couple items on that board that I want to see myself tackle in 2015.  This is not meant to be a list of New Year's resolutions that will make me feel empty if I don't cross a single thing off my list.  This is simply meant to be my declaration of what's on my DIY radar this year. 

No.1: Build my own bakers rack or industrial cart

I have always one of these ever since I saw Chelsea's wooden backer's rack which she uses a living room bookshelf.  And then over Thanksgiving, I caught myself drooling over her mom's industrial shoe rack which she uses to display her collection of serving platters.  So after tediously noting how the metal and wood shoe rack was constructed, I started thinking what if I build my own from scratch?  You'll be the first to find out how it goes ;)

No.2: Recreate this surface effect with wood shims

Source:  The Rycotewood Furniture Centre at OCVC

Source:  The Rycotewood Furniture Centre at OCVC

Shim: noun   thin strip of material used to align parts, make them fit, or reduce wear.  

At first glance, a shim looks like a simple strip of wood or even a paint stick.  However, upon closer look it has one end slightly thicker than the other.  Although the quality of wood is not a polished as the inspiration photo, I still think it would be a cool uneven surface treatment for a two-toned mid-century modern look.

No.3: RIVET SOMETHING! 

Source: Sarah M. Dorsey Designs for Infarrantly Creative

Source: Sarah M. Dorsey Designs for Infarrantly Creative

Riv·et: noun  a short metal pin or bolt beaten out or pressed down used for holding together two plates of metal.

Guys!  Guess what?!?  I got my first riveter for Christmas!  My inspiration photo used rivets to fasten this awesome trunk table base, but really, the possibilities are endless I just need the perfect occasion to break it in.  Any ideas?

No.4: Refinish a dresser in a velvety navy with gold glam hardware

I fell in love with this photo when it popped into my pinterest feed.  The source article was advertising a newer paint product called Velvet Finishes by Kellie Smith which I would love to try one day.  However, I also believe I can get this effect without the trouble of special ordering a mysterious new paint.  We'll have to see how my hypothesis turns out...

No.5: Figure out the cheapest way to DIY a pull down chart IN COLOR

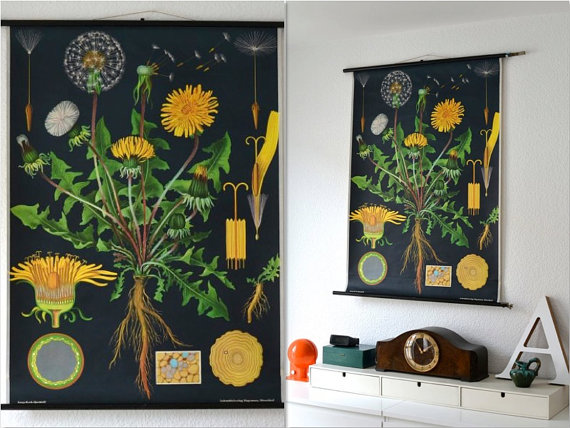
I just plum LOVE these pull-down charts.  I made my own  equestrian and architectural faux pull-down charts with big, cheap engineer prints that {alas} only come in black and white.  This year, I would like to find out the cheapest/ largest way I can DIY a pull-down chart in vivid colors. 

No.6: Un-retire my shabby chic side and do a stripped-paint dresser finish

When I first started acquiring furniture, I was all about the Shabby Chic look.  I had chipping window frames, gilded mirrors, drawers with crystal knobs, and I was obsessed with white distressed furniture.  

Last year I saw this stripped cabinet at a thrift store and was re-reminded of why I love about this look.  Unfortunately it was for display only {#$%^!} but I did not dismay - I just added it to my bucket list and hope to make it happen this year!

No.7: Turn a barstool or swivel seat into a modern accent chair

Source: West Elm

Source: West Elm

Not everyone needs a barstool, but almost everyone can find a use for an accent chair.  I would love to find a barstool or swivel chair like this inspiration photo and see if I can switch out the swivel for some tapered legs and turn it into a mid-century modern gem.  


So there you have it readers - you may hold me accountable to my list this year.  However, I am determined to have no regrets for how any of these projects turn out or if I ditch my resolve in favor of some new idea I have yet to hatch.  Mk?  Mk.  

I'll catch you on the flip side (see what I did there ;)

Got some ideas of your own you want to tackle?  Or have some advice on how I can take on these Flip List items?  Dare to share 'em with us here or on facebook or instagram!

Easy + Inexpensive Home Upgrades

Hi Friends! I don't know about you, but I tend to start piddling around our house looking for SOMETHING to do by mid- January. When the excitement of the holidays is behind us and life moves back into regularity, I start getting a little itch to do something creative. And when my furniture pieces are so cold that a single brush of paint frosts over before my eyes, I'm limited to the indoors.

If you're looking to do a few creative home improvements over the long winter months, we're here to help you get inspired! The following ideas are simply meant to be jumping-off points to get your wheels spinning. 

Let's have some fun!

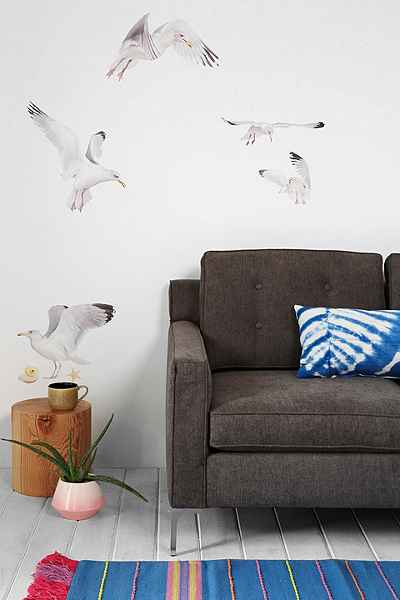
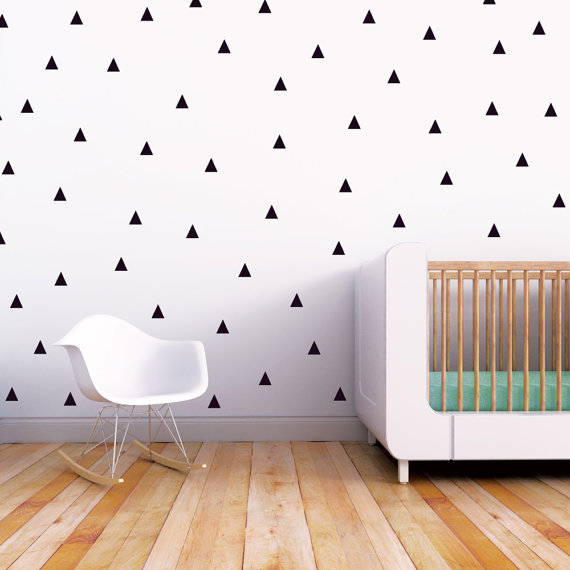
1. Wall Decals - Here's a trend that I am revving to jump on! Wall decals are such a whimsical way to complete a room, and the best part is, there are so many beautiful choices! You can create an entire statement wall with decals, or a specific focal point. These choices are a great mix of fun and sophisticated:

Sources from Left to Right: Raindrop Flower, Seagull Wall, Triangle Wall

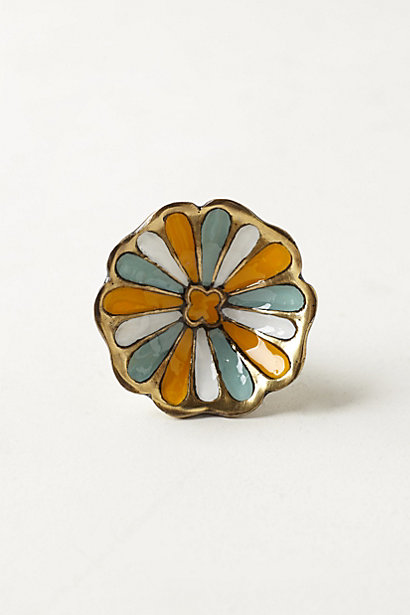
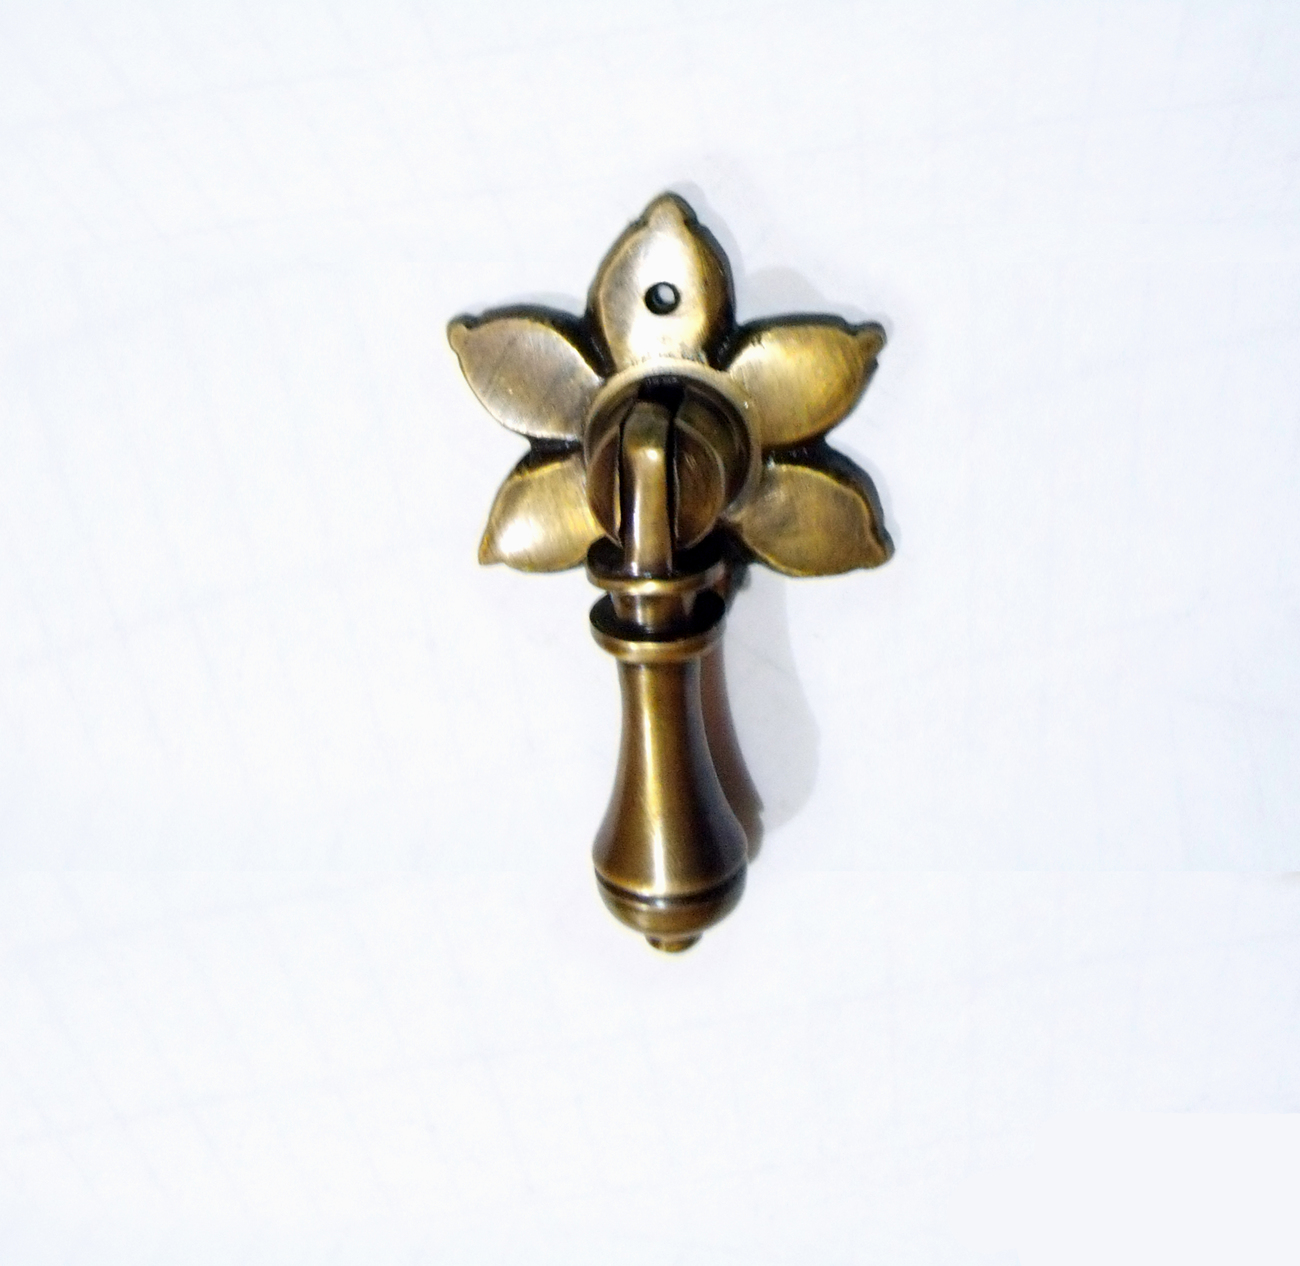
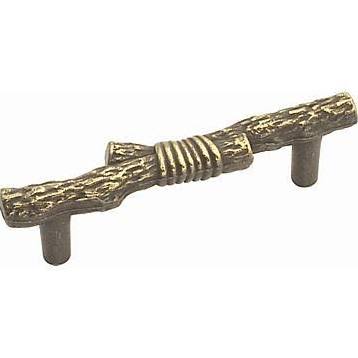
2. Hardware - One of my personal favorite ways to switch things up is a simple hardware upgrade! The options are endless so your bound to find a style that's right for you, (and your piece of furniture)! Here are three favorites floating around right this minute:

TO BUY

Sources, Left to Right: Gold Tone Mushroom Knob, Netherbury Knob, Antique Tear Drop Knob, Rustic Cabinet Pull

TO DIY

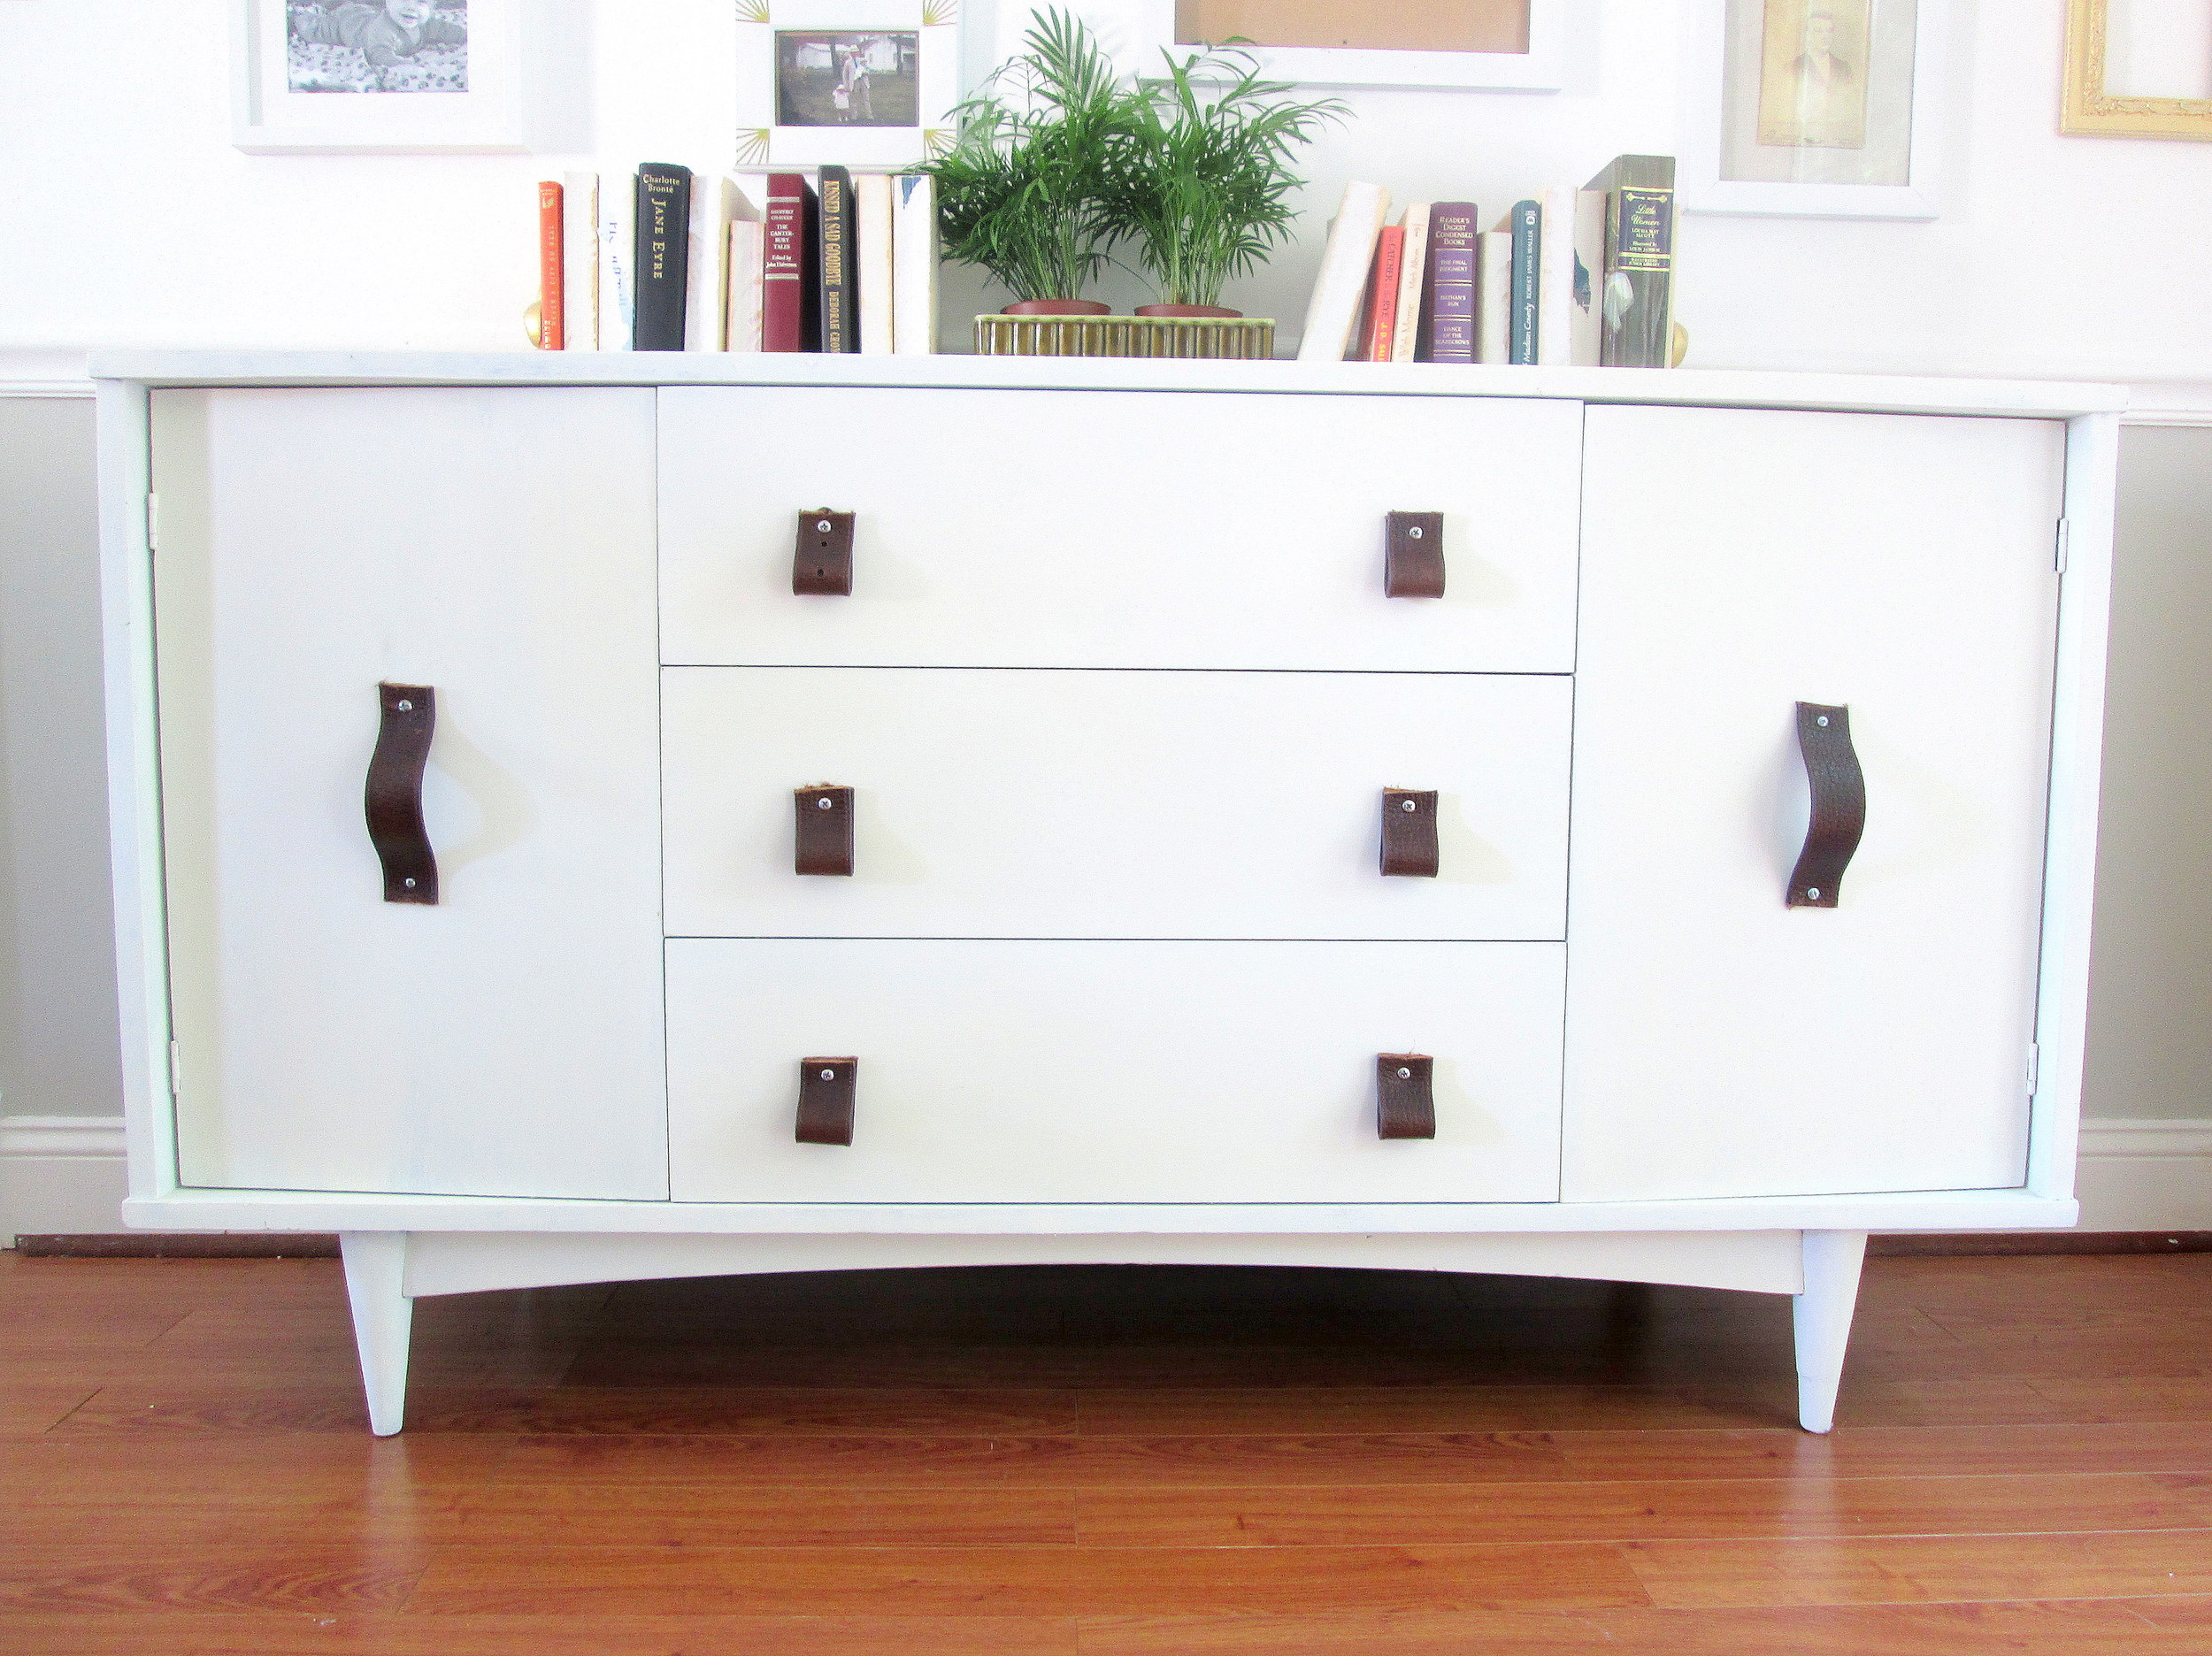
If you have a retired belt, (or you can find one for a few bucks at a thrift store), then you can cut it up and make leather pulls! On the piece blow, I made tab pulls by folding 6" pieces in half and sticking my screw through the top, as well as full length handles by sticking a screw through each end, with the middle bowing out a bit.


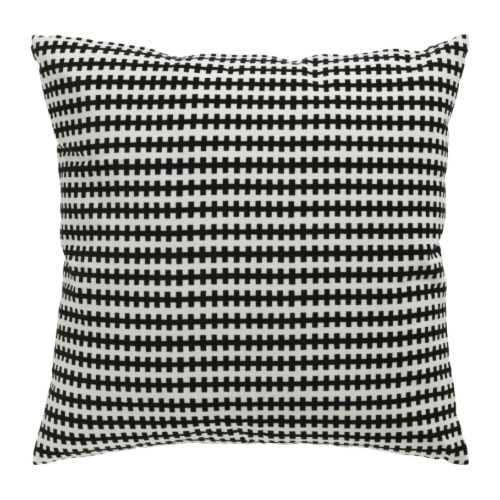
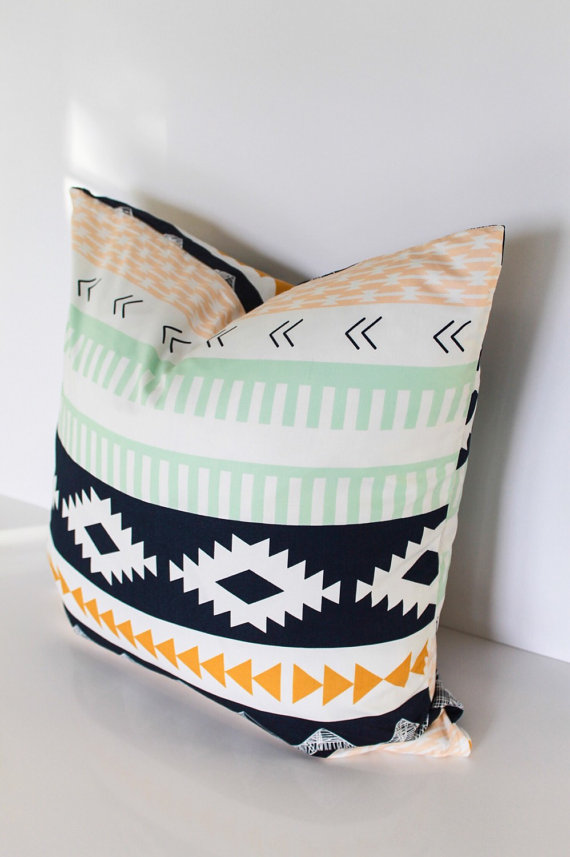
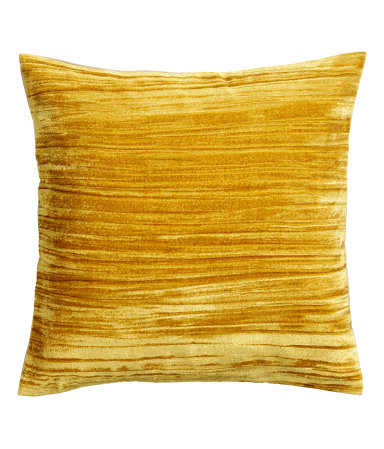
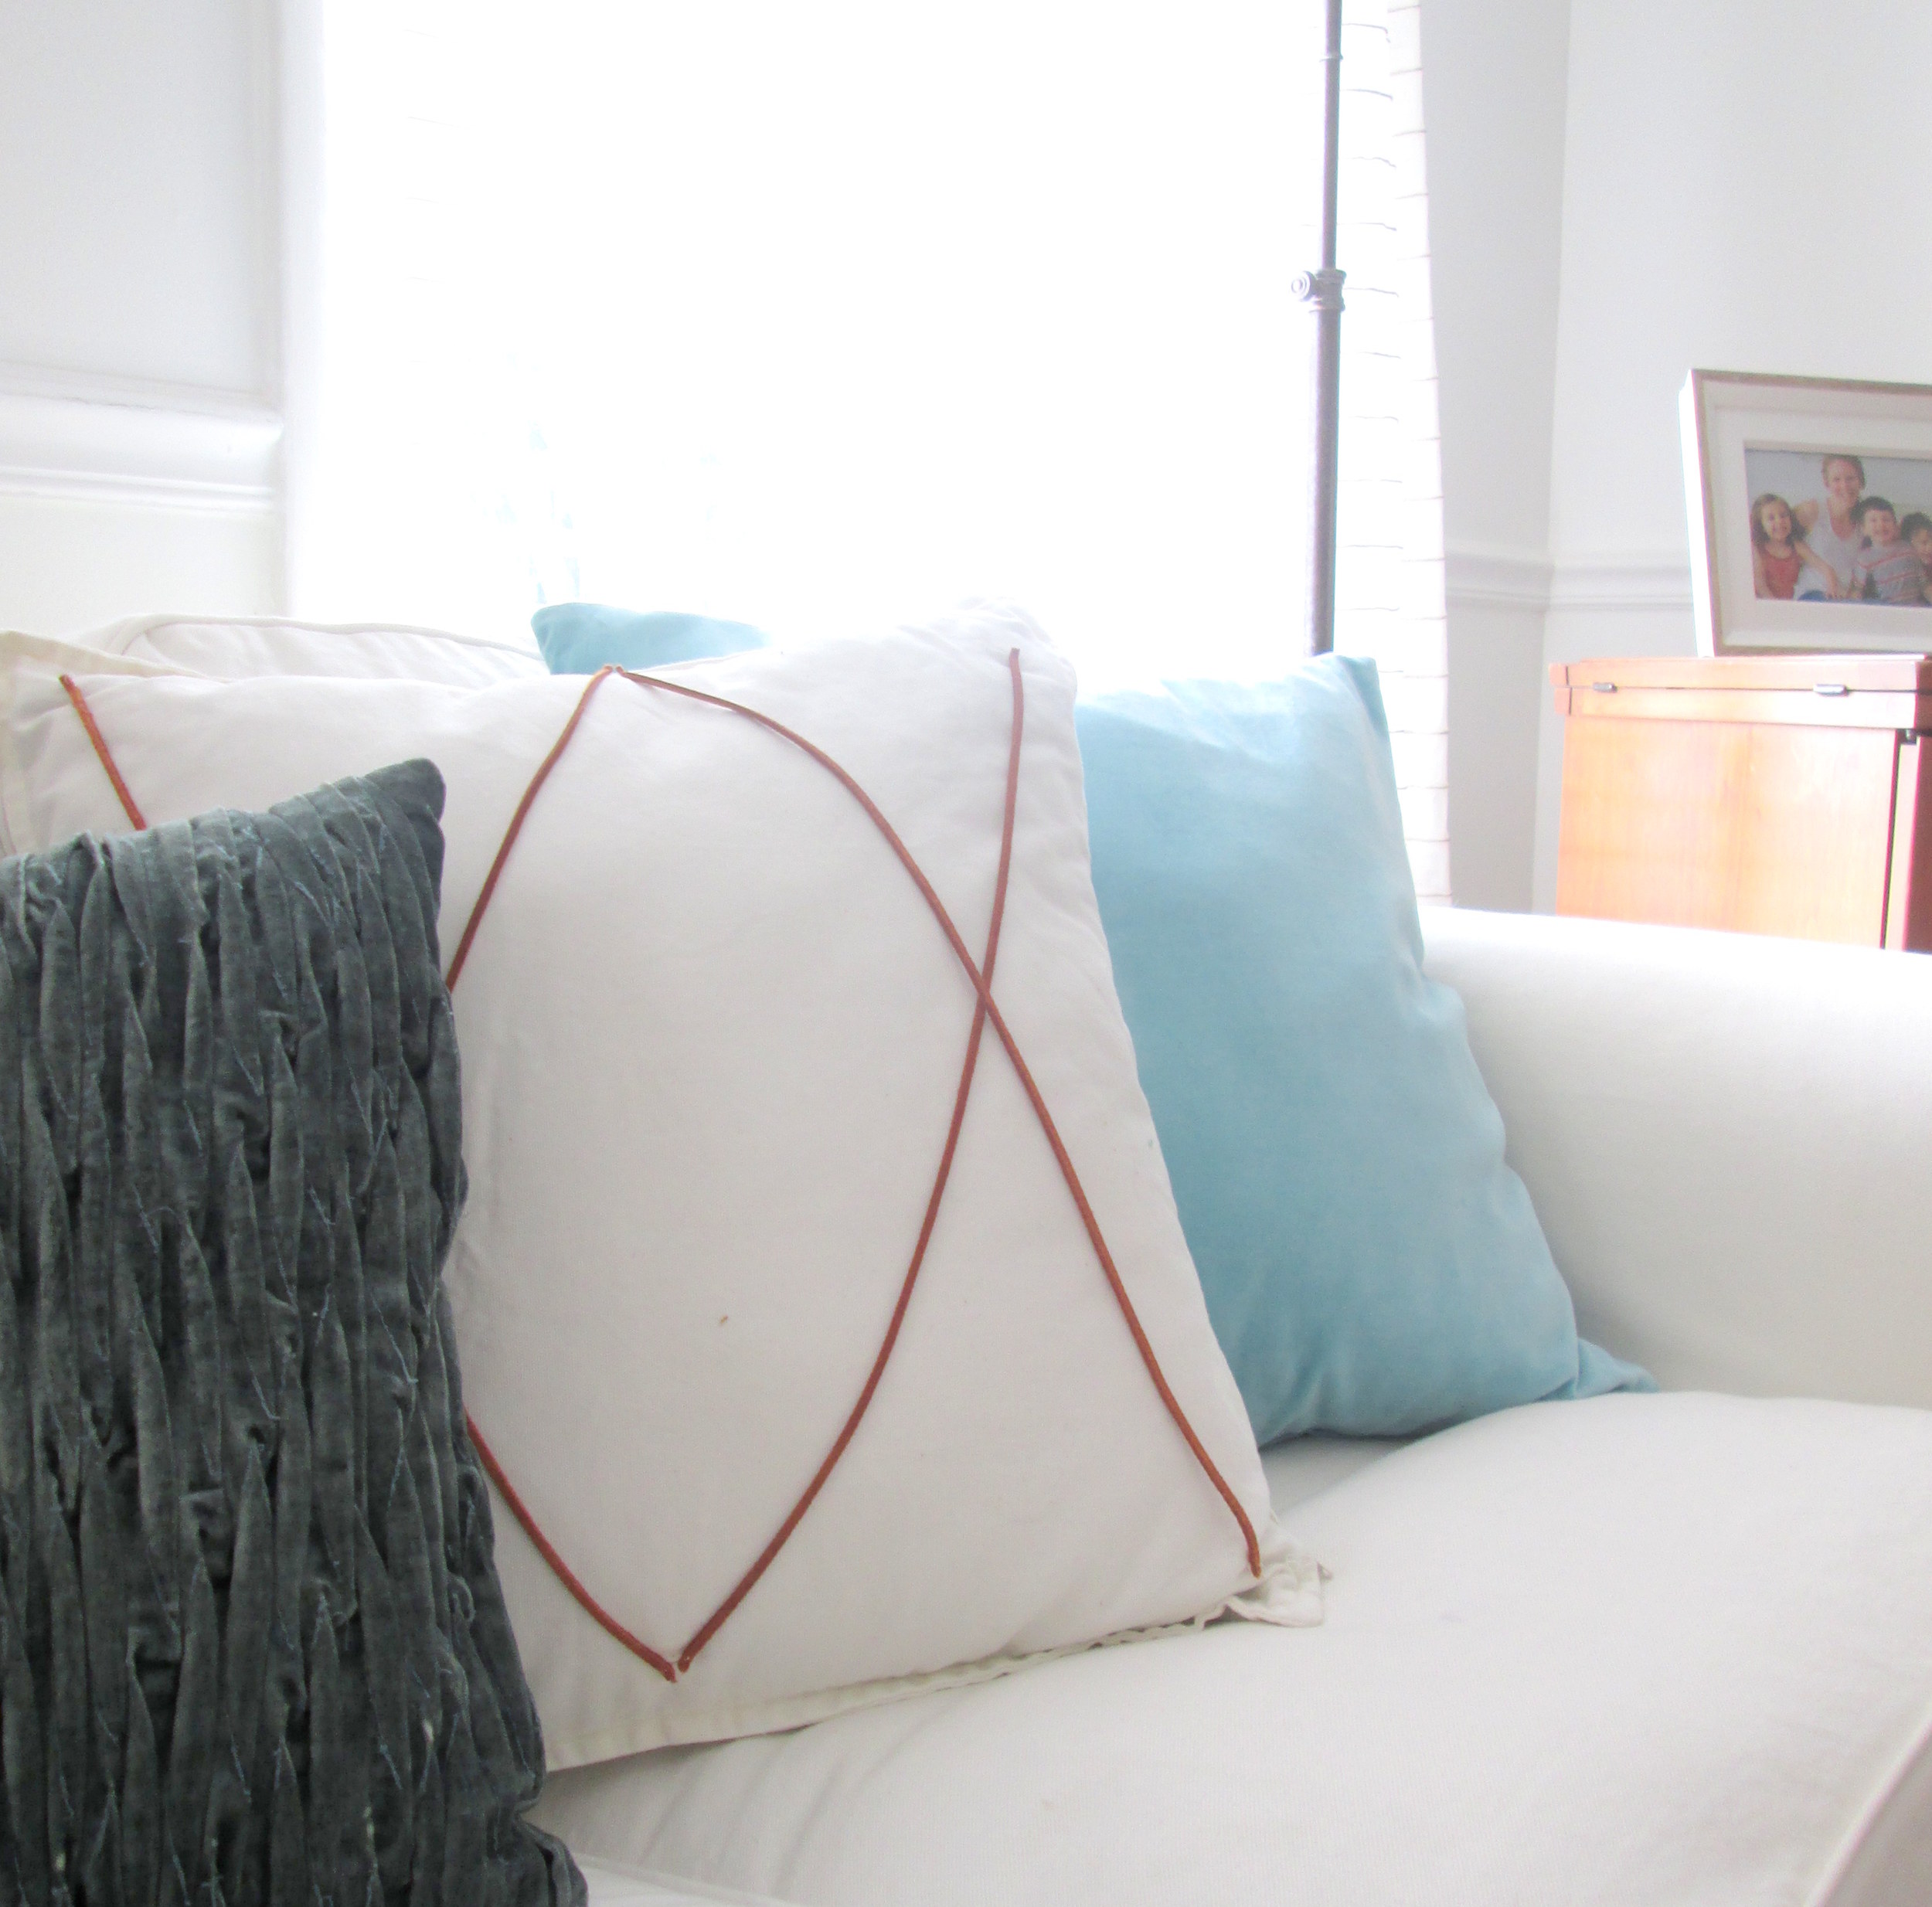
3. Sofa Cushions - By far the most popularly switched out item in the home, sofa cushions are a zero effort option that offers dramatic results. Fabrics and patterns can be mixed and matched any which way you please, so if you can make the tough decisions, it's a great way to give a room a noticeable face-lift! It was hard to narrow my favorites down, but the companies below are my personal, tried and true favorites for price, style and quality.

TO BUY

Sources from Left to Right: Stocholm Pillow, Striped Aztec Pillow, Velvet/Linen Pillow 

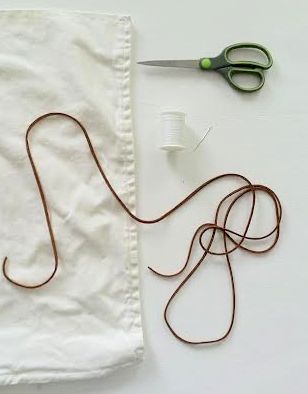
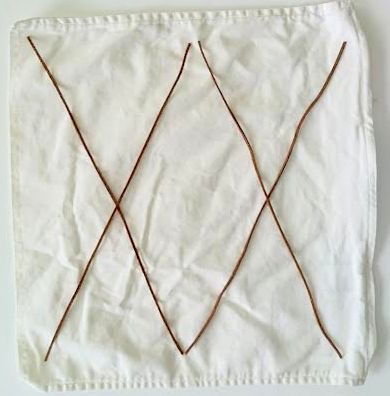
TO DIY

Using leather cord and a white cover, stitch just the ends of the cord placed in a criss-cross pattern.

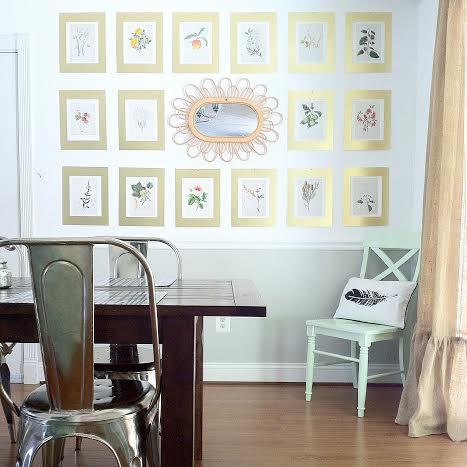
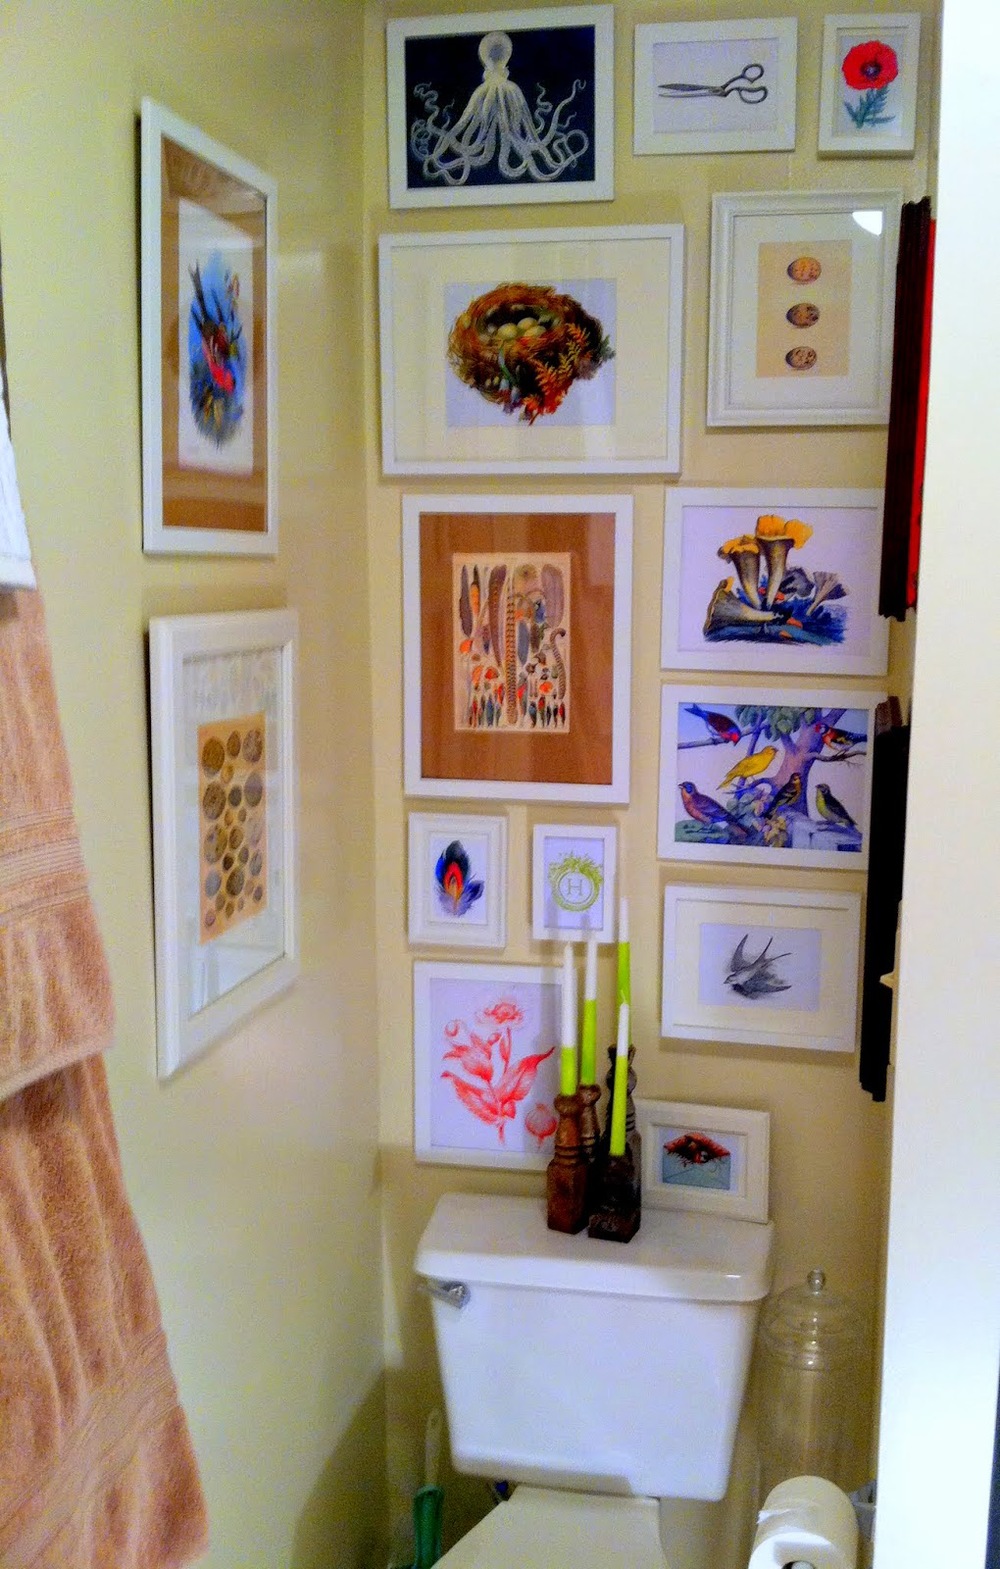
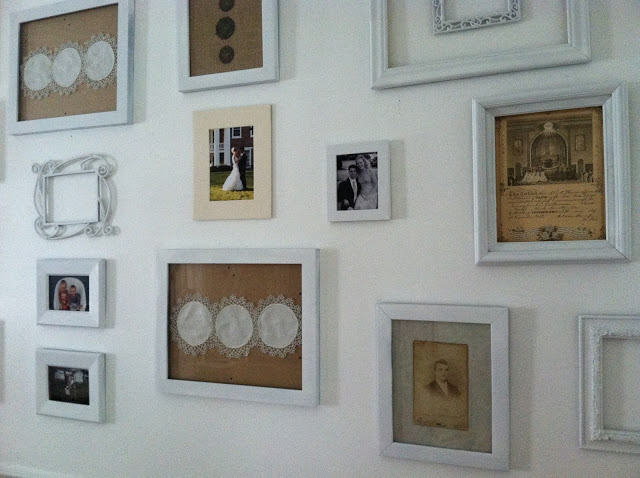
4. Gallery Walls - This completely DIY option can be as clean and simple or as random and haphazard as you'd like! There are really no rules when it comes to gallery walls, but it's highly recommended to lay your pieces out on the floor first so you can play around with placement and design. Use personal photos, pages from books you own, or downloadable prints you find online! Here are a few gallery walls we've designed here at StyleMutt:

Sources, (complete with how-to tutorials), from Left to Right: Botanical Prints, Downloaded Prints, Sentimental Wall in White

There you have it! A few good indoor-weather projects to get you through the Winter! Is there anything you hope to work on this Winter or any other ideas you can add? We'd love to hear what you're up to!

Thank you all for stopping by!