Colin and Shire; The Fifth Chapter

Hi friends! Today we're celebrating our twins' fifth birthday! (That's code for 'today I'm celebrating having raised these two people for five years and they seem alright to me and our pediatrician').

Since I've been writing a blog for over half of their life, it's become a small tradition of mine to write a few words every year on October 29. It's a completely self indulgent habit, so I don't blame you at all if you skip it. :) A couple years ago I laid out their entire birth story, (starting here). I saved those posts to always remember the crazy roller-coaster of a time we had leading up to their birth and the difficult, lonely month after. Today I just want to give thanks. So much thanks. These guys are no longer even toddlers, they're people. They ask, they teach, they encourage, they joke, they pray. They're comfortable with who they are and are starting to tap into the unique gifts the Lord has equipped them with. I couldn't ask for more and my heart overflows.

Our twins' birthday always brings forth a flood of memories!

The beginning was just nuts. 

Colin and Shire

Colin and Shire

For being all up in each other's business for 7.5 months, they definitely took some time getting acquainted. 

After we all got to know each other better things got weird. We realized that what we considered normal looked anything but.

Colin could. not. sit up by himself for a while. But he figured out a way.

Colin could. not. sit up by himself for a while. But he figured out a way.

Though our early days were long, my love for these two grew by the hour. As did my biceps.

Never in a million years would I have guessed I'd have boy-girl twins, (especially since I was given boy-girl twin baby dolls when I was 6, and that would just be too ironic...). But, the Lord had these little sweeties planned just for Matt and me. They're our dreams and prayers come true.

Off to party with a couple 5 year olds today. :) 

Massive Piece gets a Major Transformation

Often, I don't really know what I'm going to do with a piece when I first see it in the thrift store.  But one thing's for sure: before I bring it home, I snap a pic and text it to Caleb.  Although {some} of his design opinions may be valid, I do not do this to get his aesthetic input {that's when I text Chelsea}.  I text Caleb because one of the first rules of marriage I have learned so far is ask my husband if he's willing to carry something up 3 flights of apartment stairs BEFORE I buy it.  {She writes with a big guilty/ sheepish grin}.

My lovingly tolerant husband {AKA "The Muscle"} did indeed give me the go-ahead so I brought home this 3-door outdated beast in hopes that I would eventually get an idea for what to do with him.

I thought about doing this one a little shabby-chic with some gray chalk paint and distressed edges.  He had the right little pulls for it, but I couldn't help but feel that something was off.  He was just too BIG.  At 60" long and 24" wide, he just seemed too massive for such characteristically "feminine" touches of a shabby-chic treatment.

He was really deep for a sideboard.  Unless you have a giant dinning room, I couldn't see him working as buffet or a credenza.  So what on earth am I gonna do with this beast?


Feeling kinda stuck, I took off the doors to get a good look inside and a fresh perspective.  This helped me pinpoint what he had going for him:

- 6 drawers for storage {dovetailed - always a good indicator of quality craftsmanship}
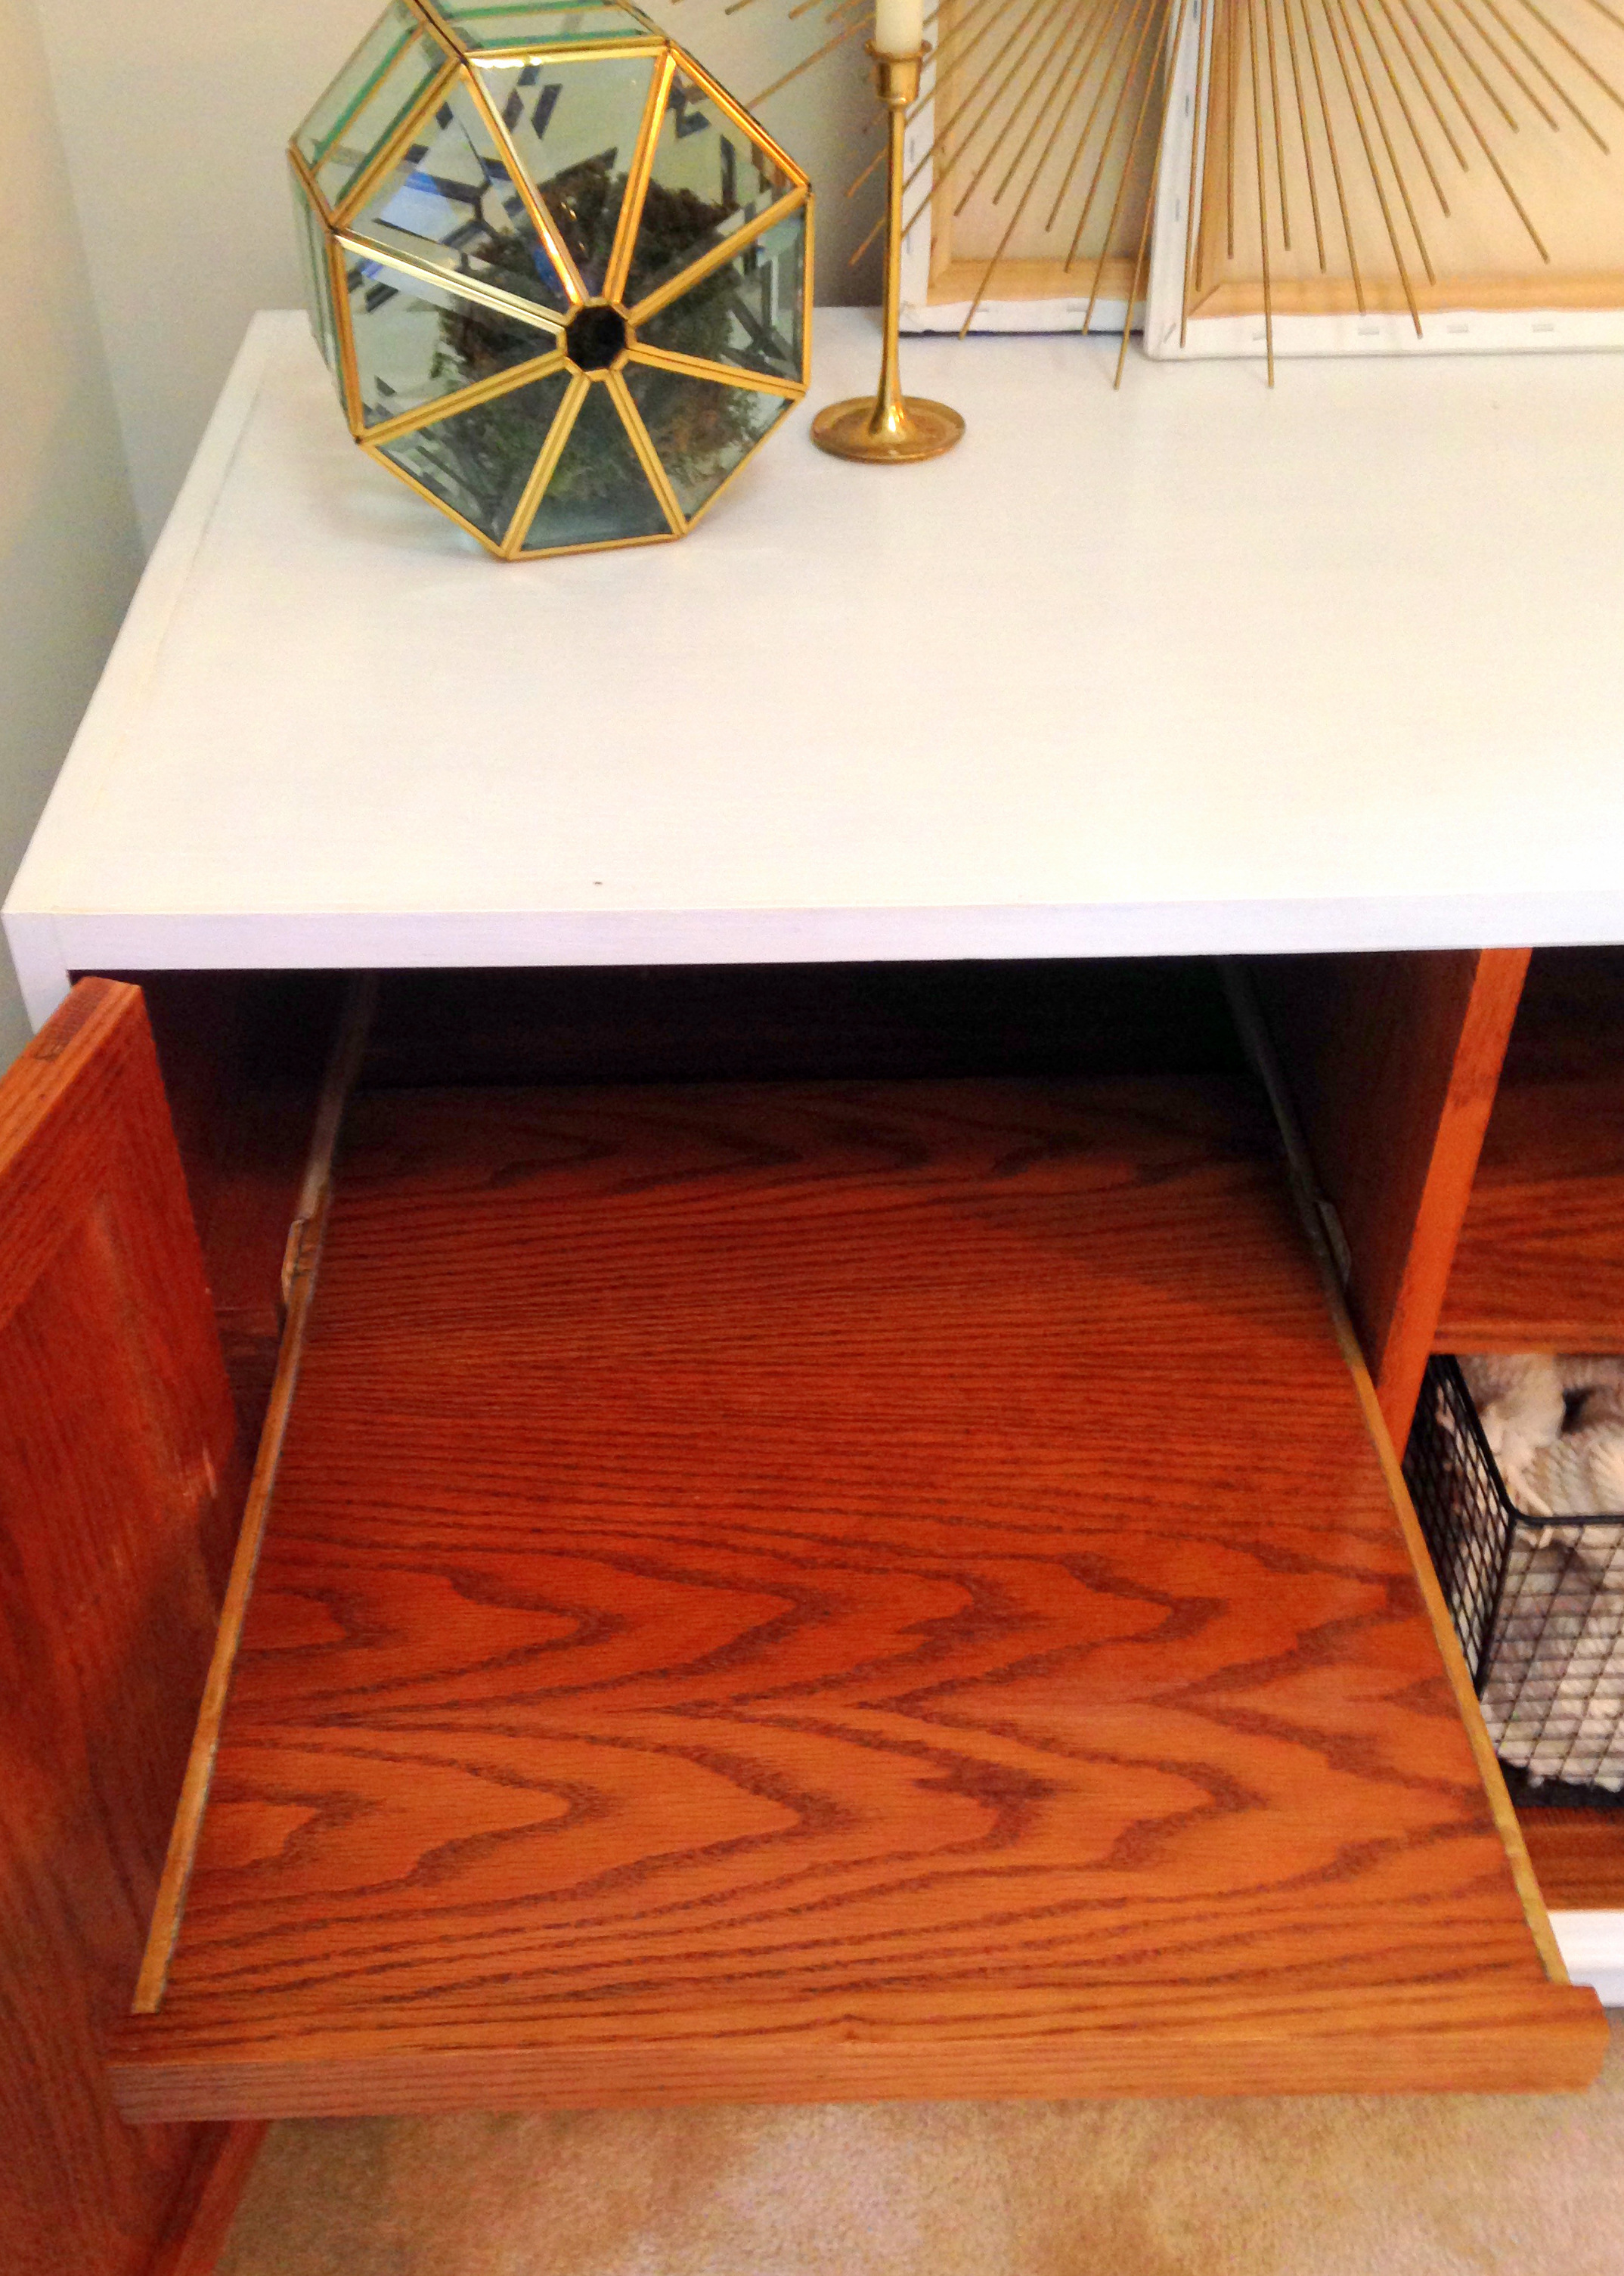
- A pull-out tray on the left side
- 2 strategically placed holes to allow hidden routing for unsightly cables

I was beginning to realize that this piece had all the fixin's to be a solid media stand: the holes for cables would make the centralized shelf perfect for a cable box...  

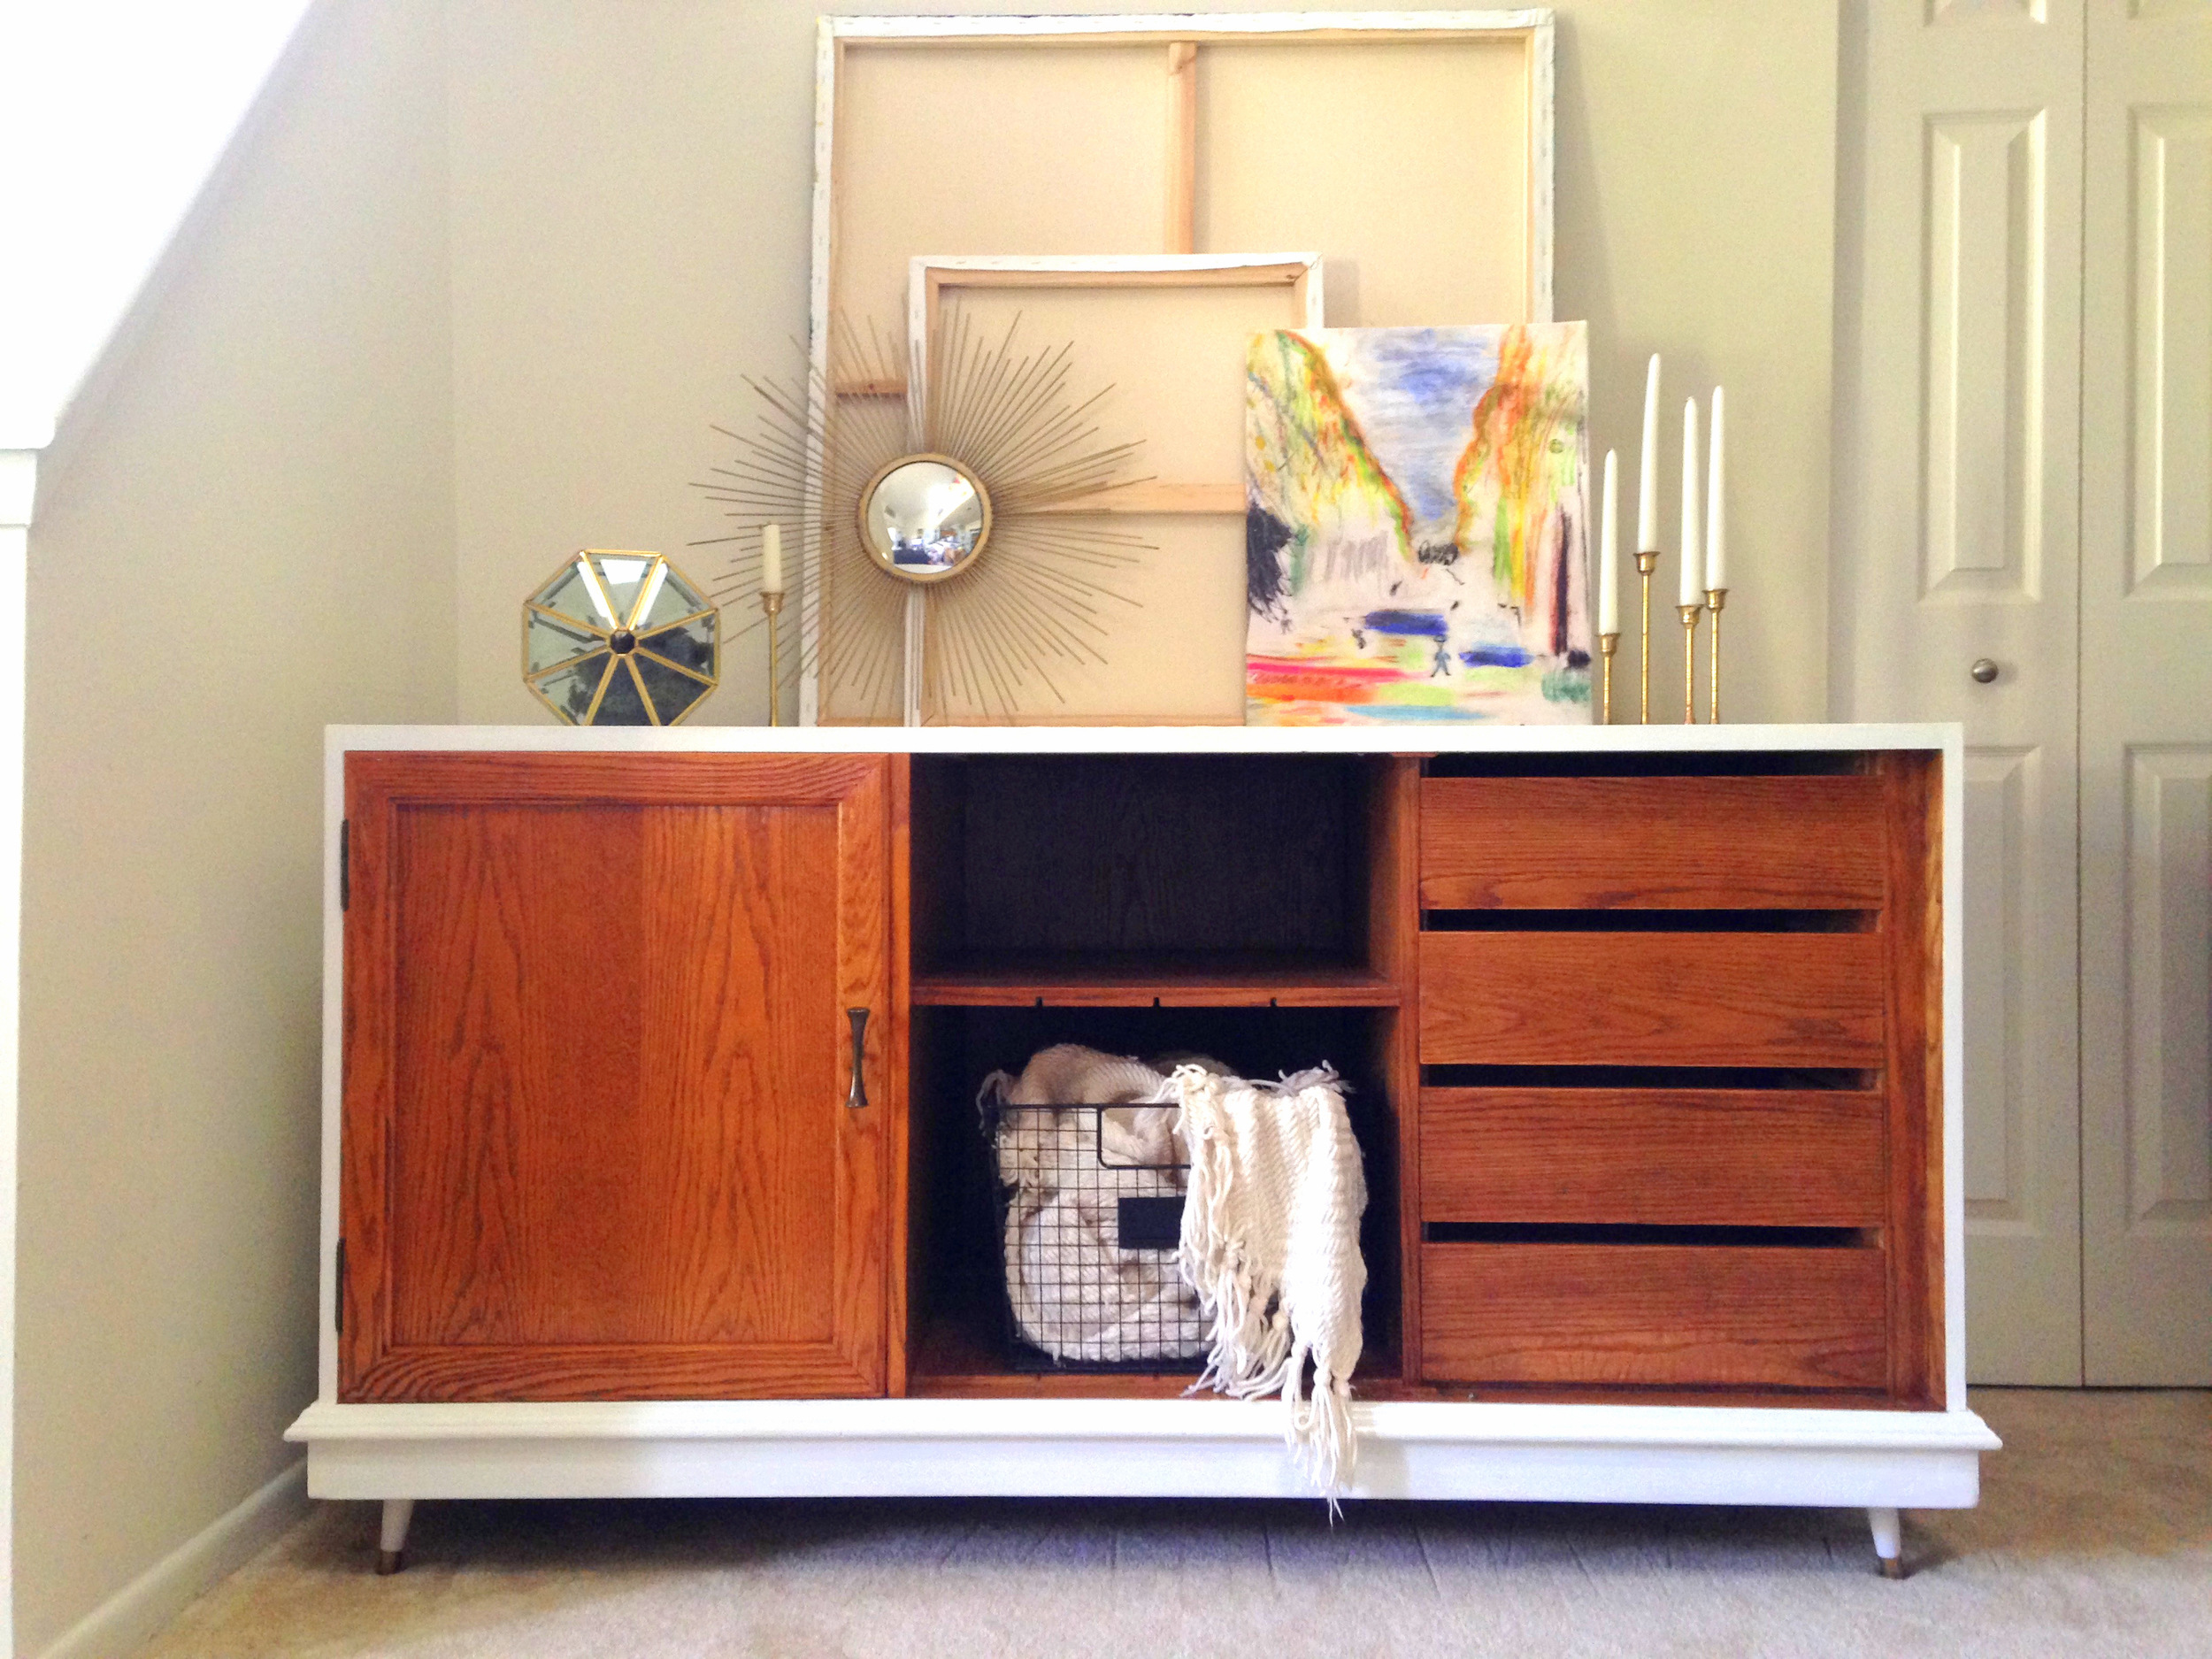
But who would really use a TV stand that required you to open a door for the remote to communicate with the receiver?  This is where I had my revelation: this was no ordinary TV stand.  This was a Mid-Century Modern TV Stand just waiting to come out of hiding!  He had all the right lines {especially with those clean drawers that sat flush into the piece}.  So naturally I had to help this poor soul.  I removed two of the doors and gave him some painted trim, a warm coat of stain, and some tapered legs from the hardware store...

What.  Just.  Happened.  Did you see that transformation coming?  I sure didn't when I first saw it in the store ;)

The veneer needed some extensive repair.  After using some wood filler and putting in some sweat equity in manual sanding {I'm saving up for a power sander...} I decided to paint the outside and the tapered legs a crisp white and leave the door and drawers to get that two-tone MCM look.

I left only one of the doors on to hide the biggest cable slit and the pull-out tray.  

By leaving other two doors off, now the center shelf can be used for a cable box.  Plus I love being able to show off the 4 right-side drawers.

Savvy me saved the old pulls from the Bamboo Dresser flip which were the perfect 70's style to reuse one for this piece {points for Gryffindor!}

Now I can so see this MCM piece as a sharp-looking entertainment console.  Throw a drink set and a tray on there and it can even moonlight as bar worthy of Mad Men.

I'm so pleasantly surprised with how retro-licious it turned out!

Now available for sale.
60"L x 24"W x 32"H
SOLD

If you are interested in this piece or a custom order like it, please email cate@stylemutthome.com.

P.S. We invite you to share your proud transformations with us by tagging #stylemuttrefinishes when you post before & after photos to instagram or facebook.  Looking forward to seeing your unrecognizable renos!

Now for sale: Buffet + Bar cart {traditional with a twist!}

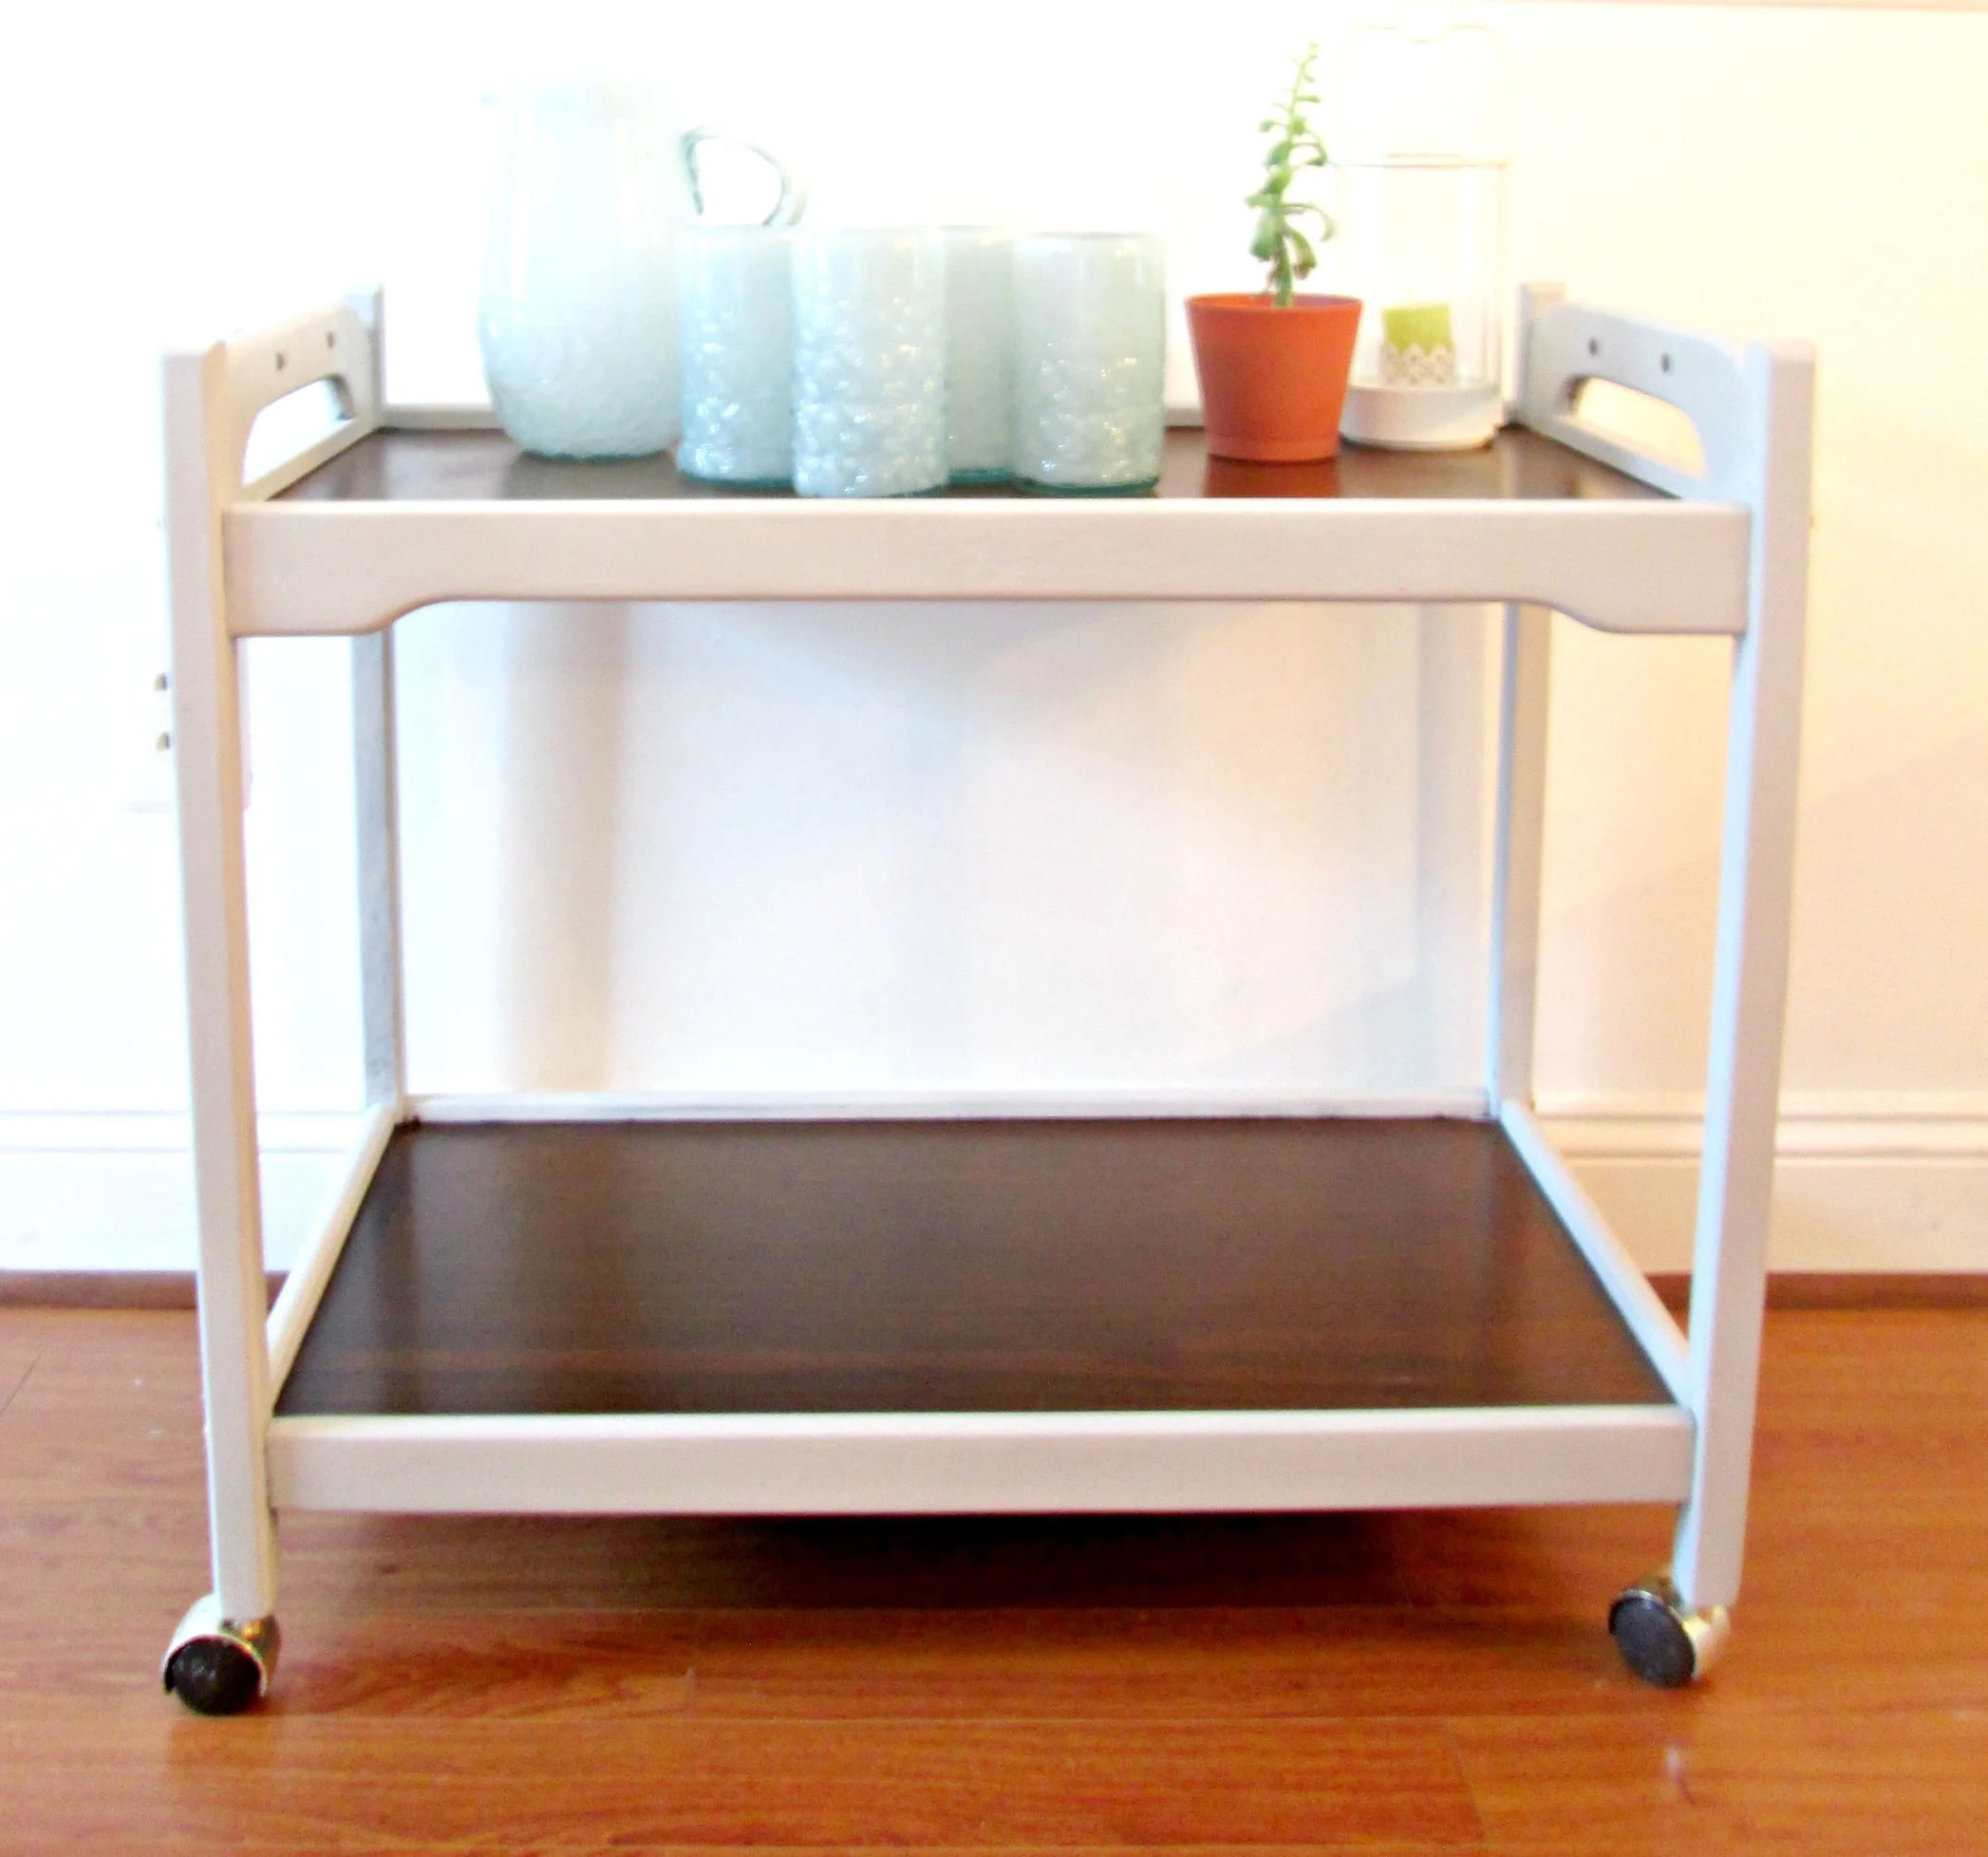
Happy Friday, folks! I'm excited to kick the weekend off with a couple of entertaining pieces - a matching buffet and bar cart! I've actually never done a bar cart before - the ones I see while out thrifting are glass and brass/gold and don't need any of my attempts at improvement. But, when I saw an all wood bar cart in perfect condition on old casters, I grabbed it with not the faintest idea of what to do!

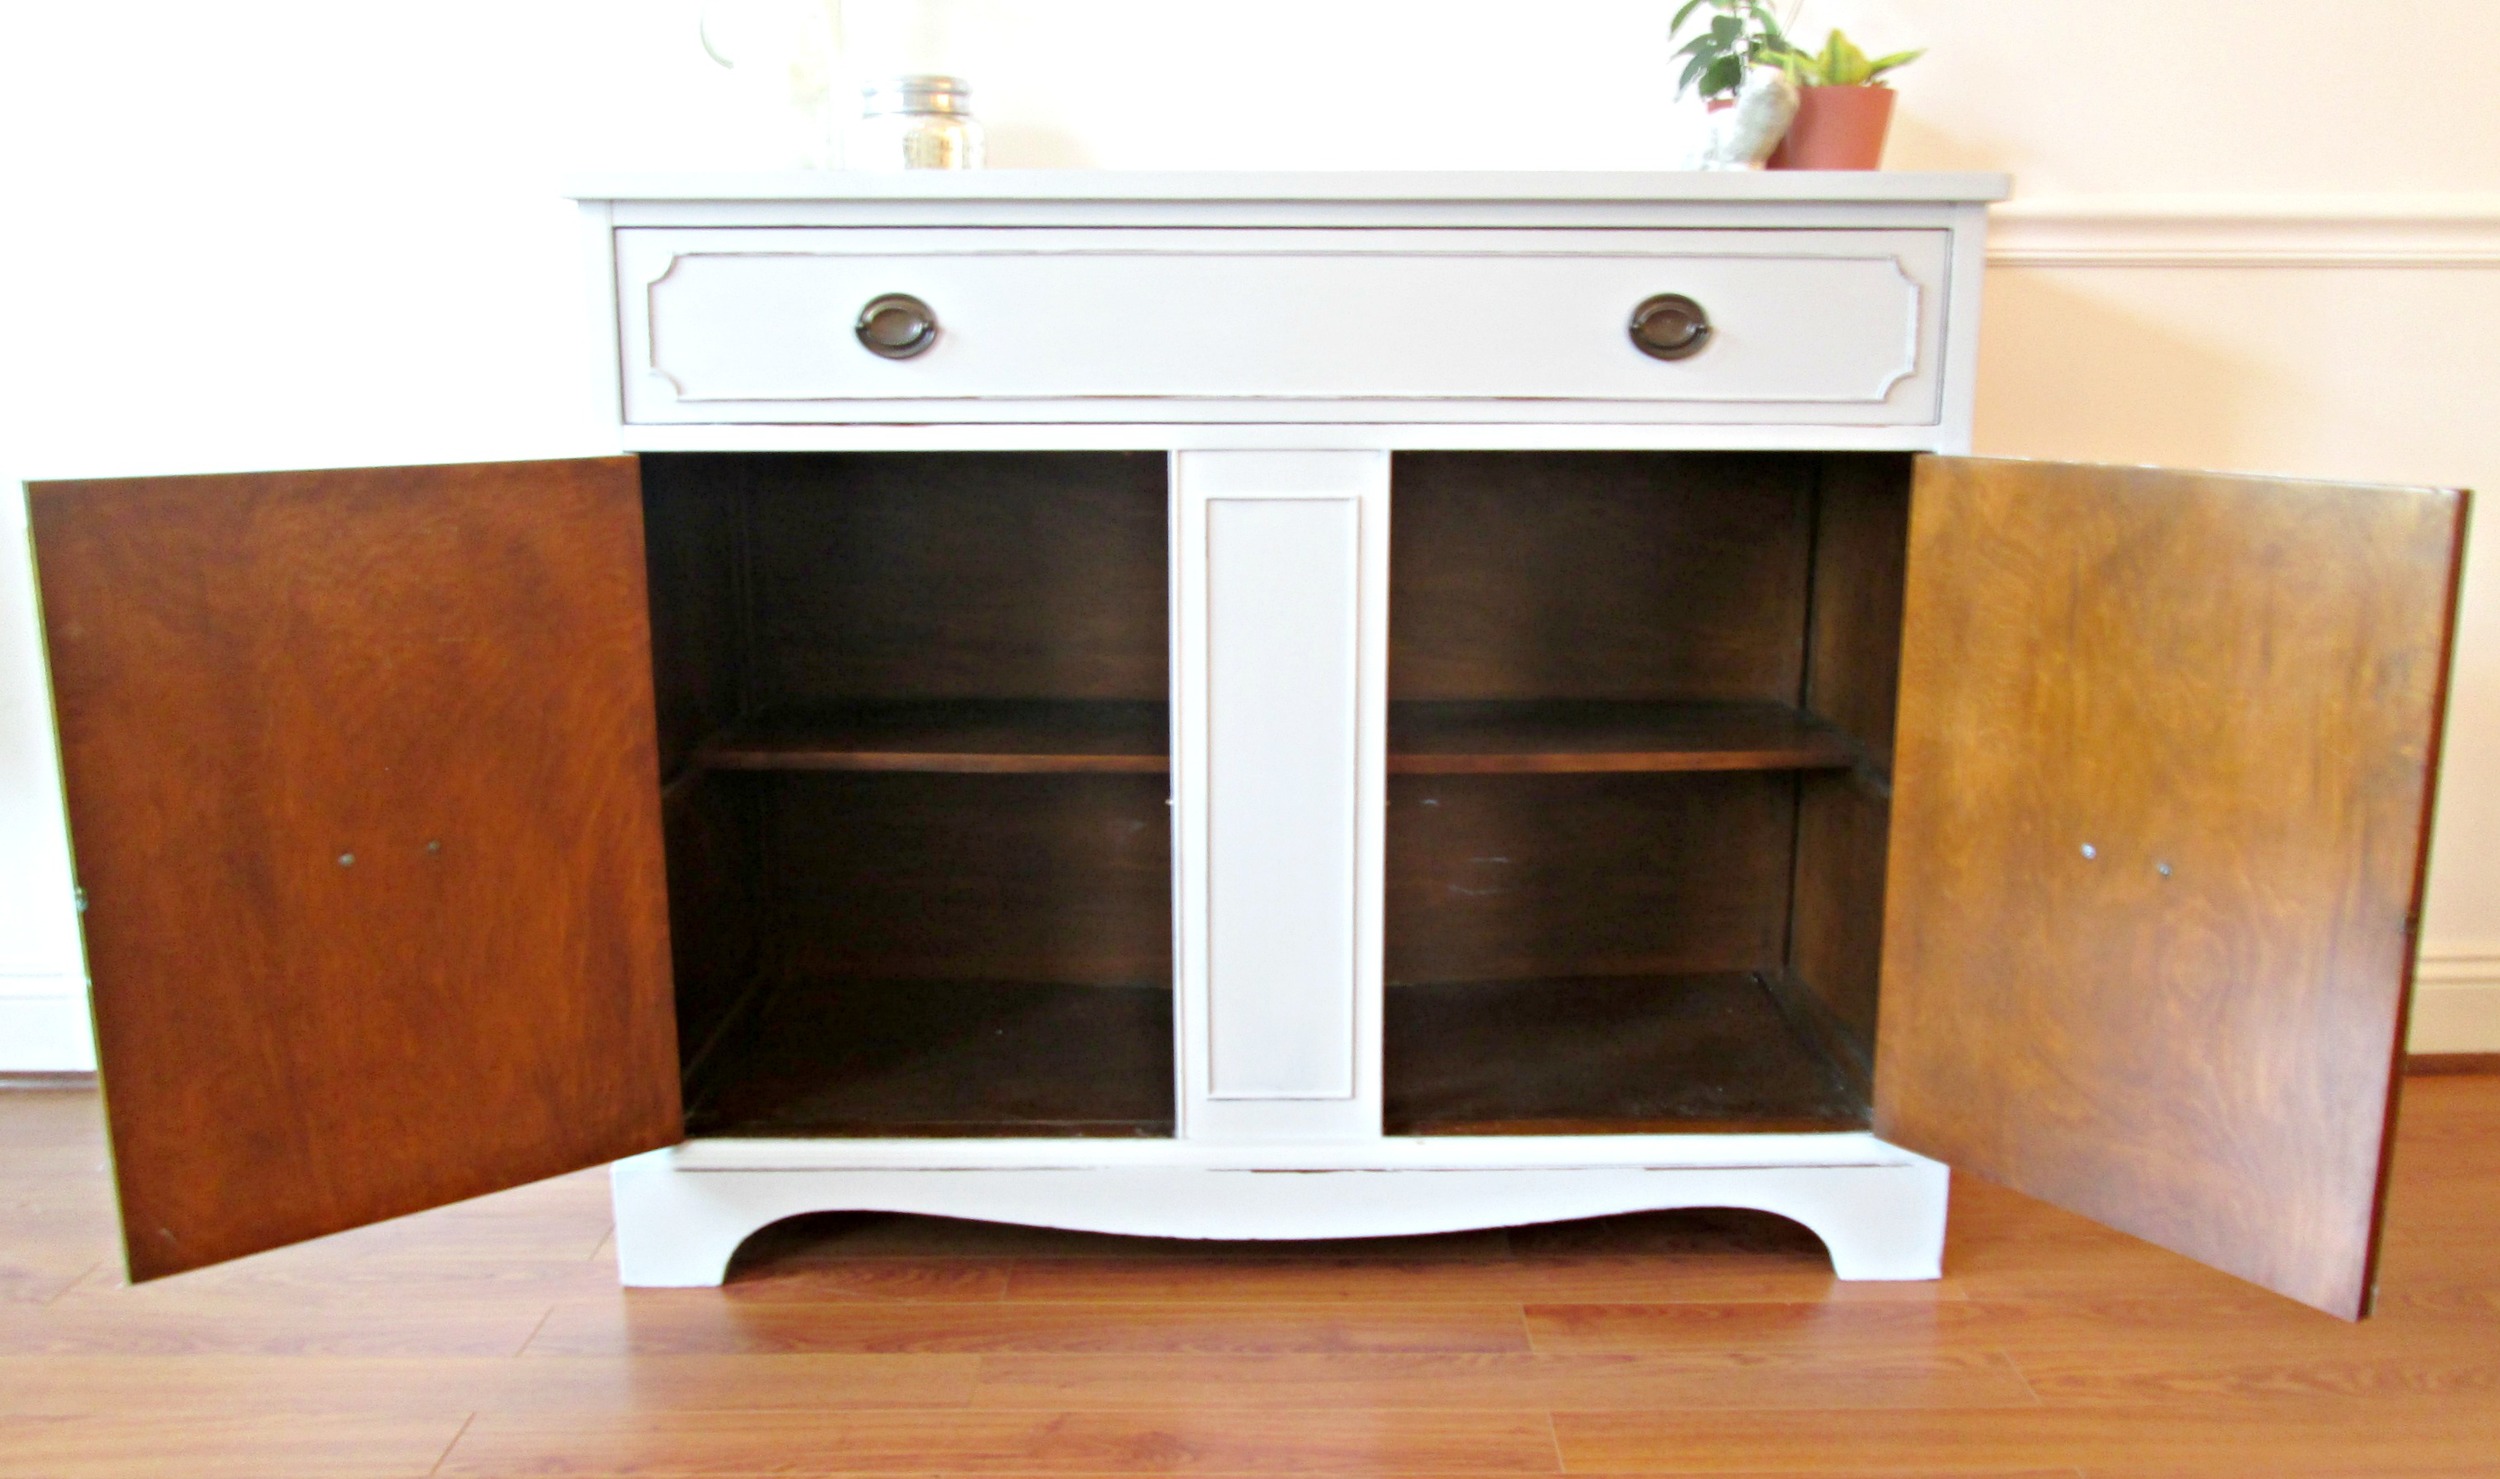
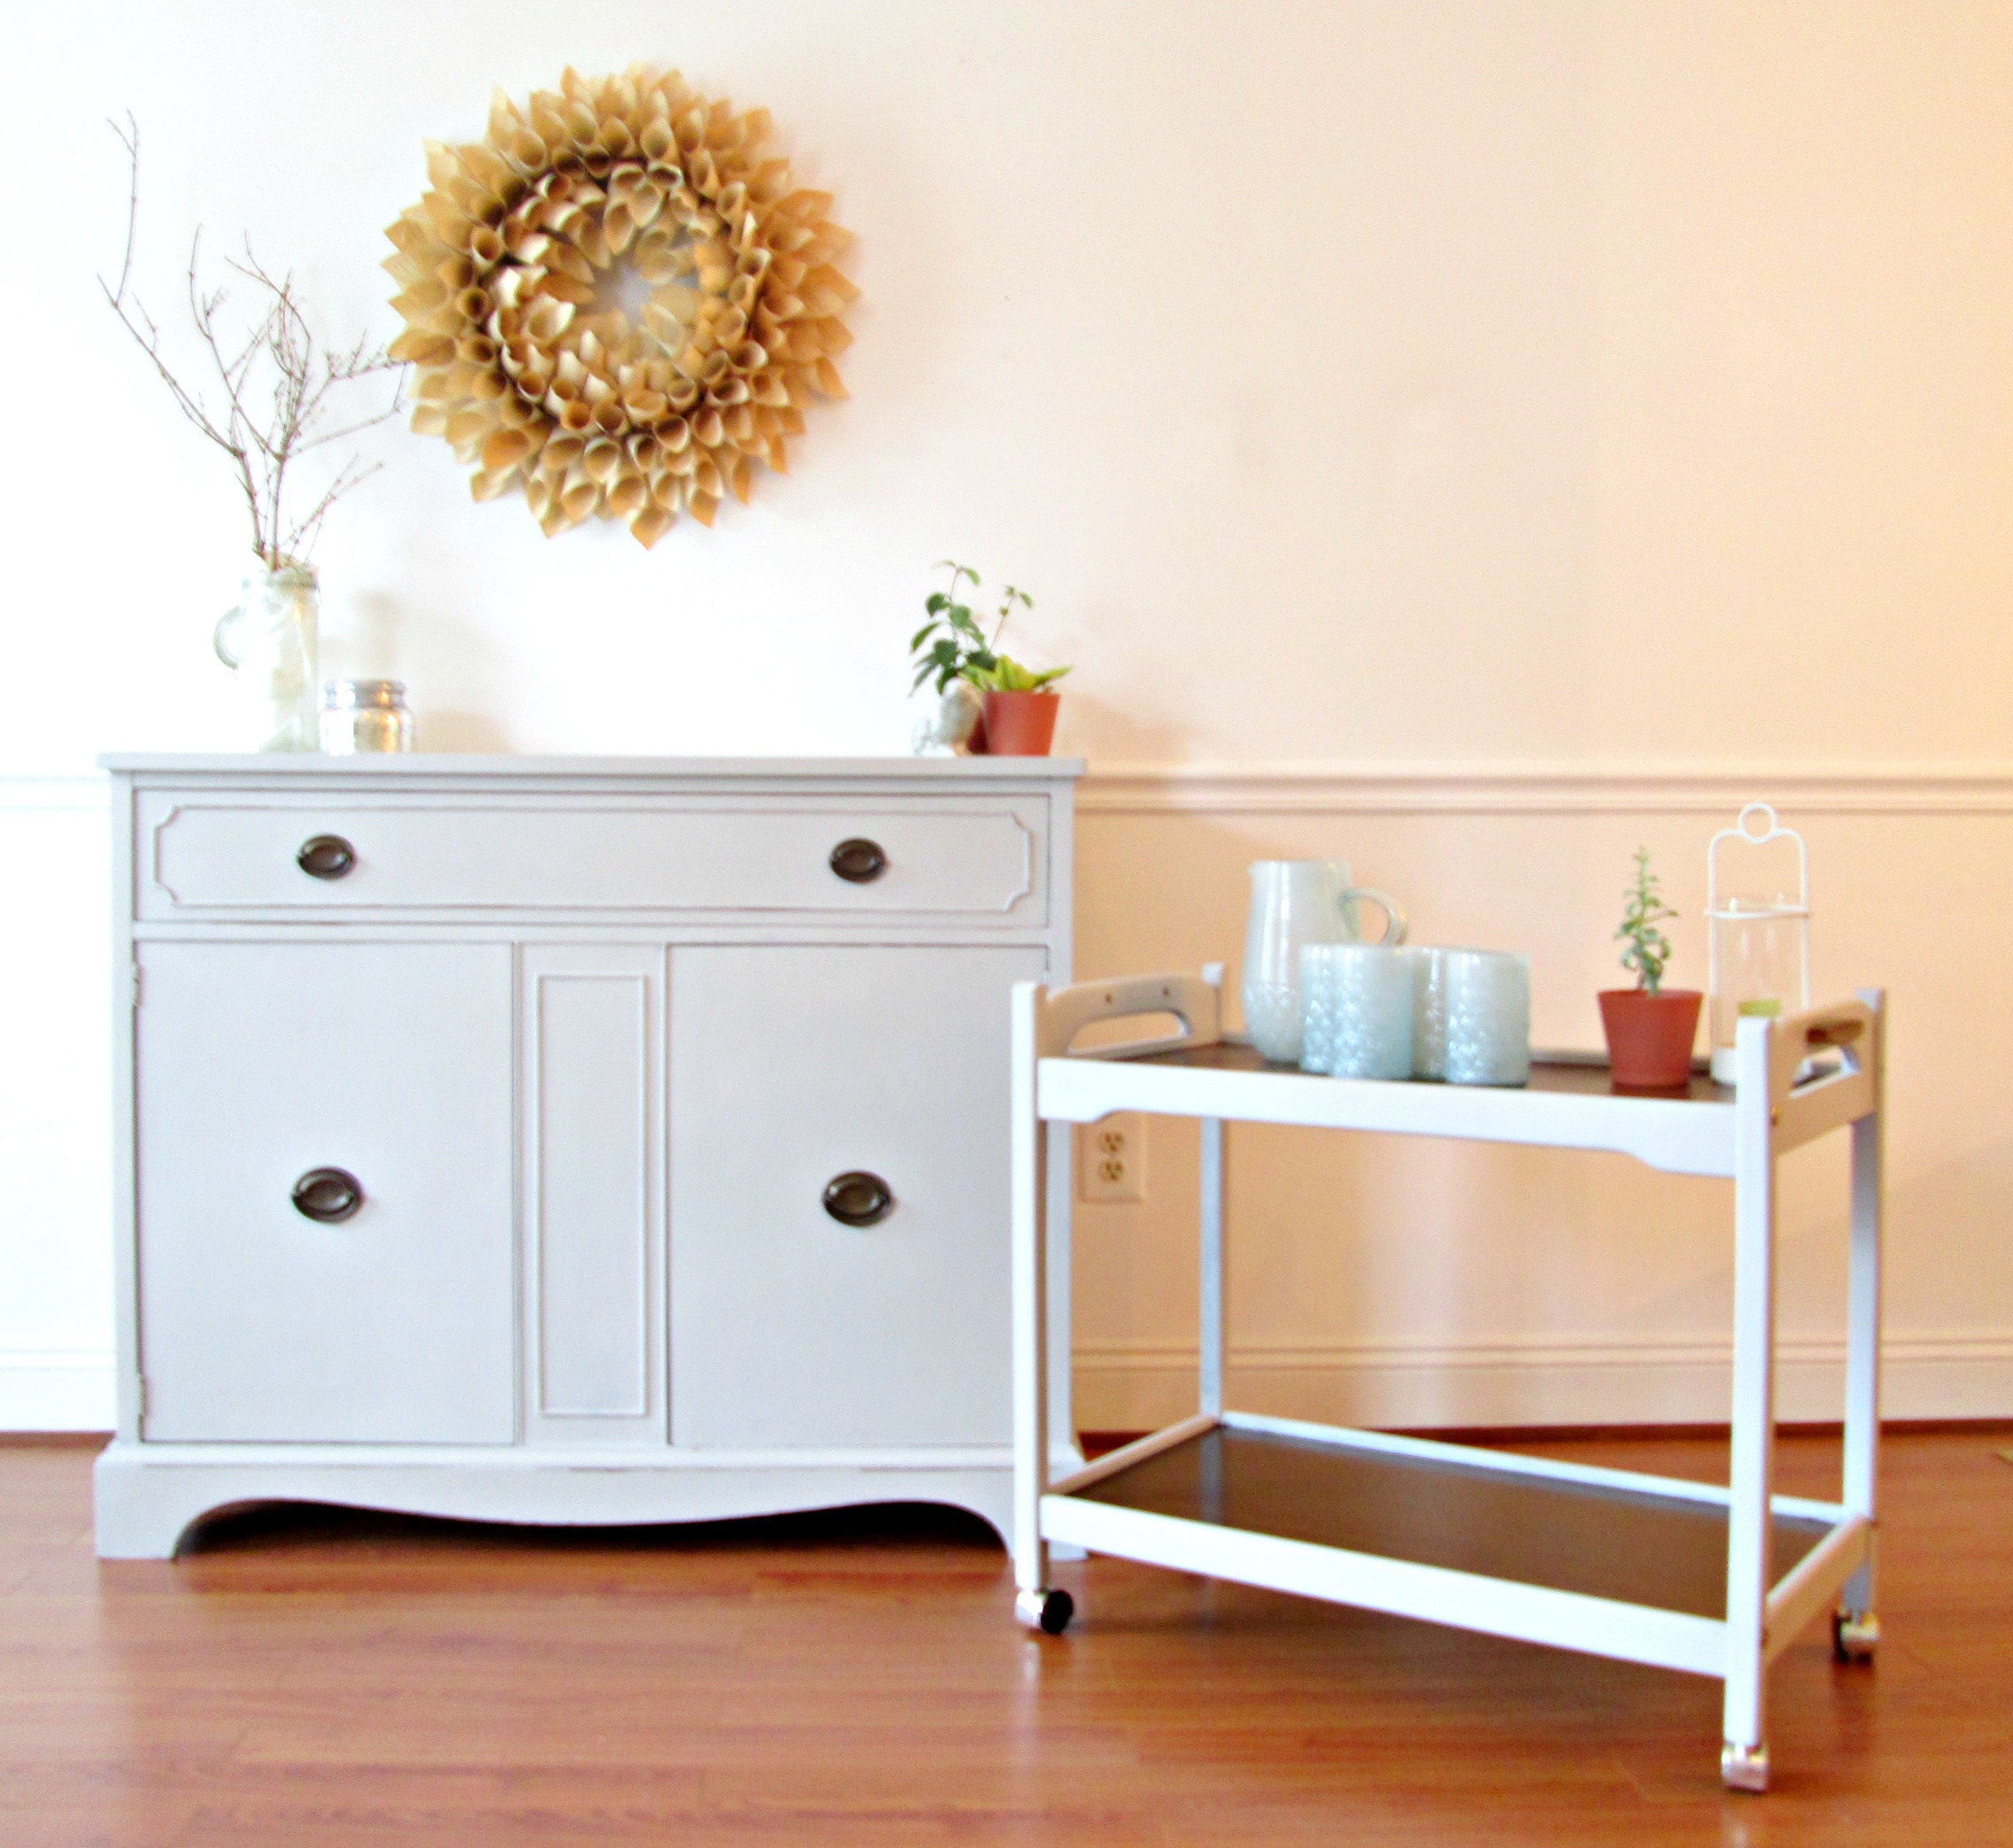
Fortunately, I also snatched up this buffet on the same day which gave me a great jumping off point for creating a set! (I'm gonna go ahead and apologize now for the quality of the pictures - I had a tight window to get them done and it was during our darkest, rainy day this week while my kiddos ate lunch. These pictures were the least of our disasters this week, however, and I'm already looking forward to starting fresh come Monday! Just don't stare at my blurry pictures too long, I'd hate to awaken your vertigo.)

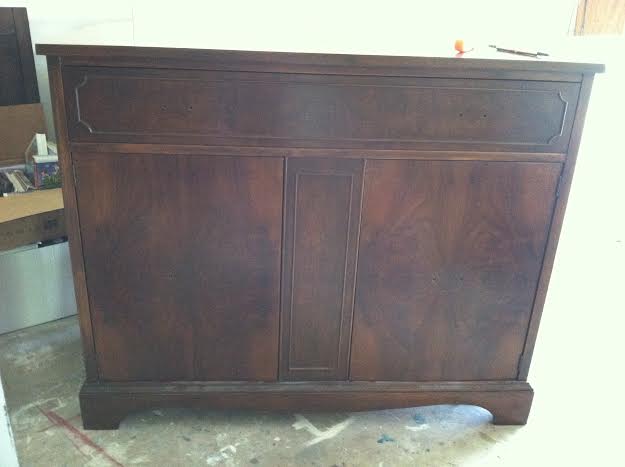
BEFORE

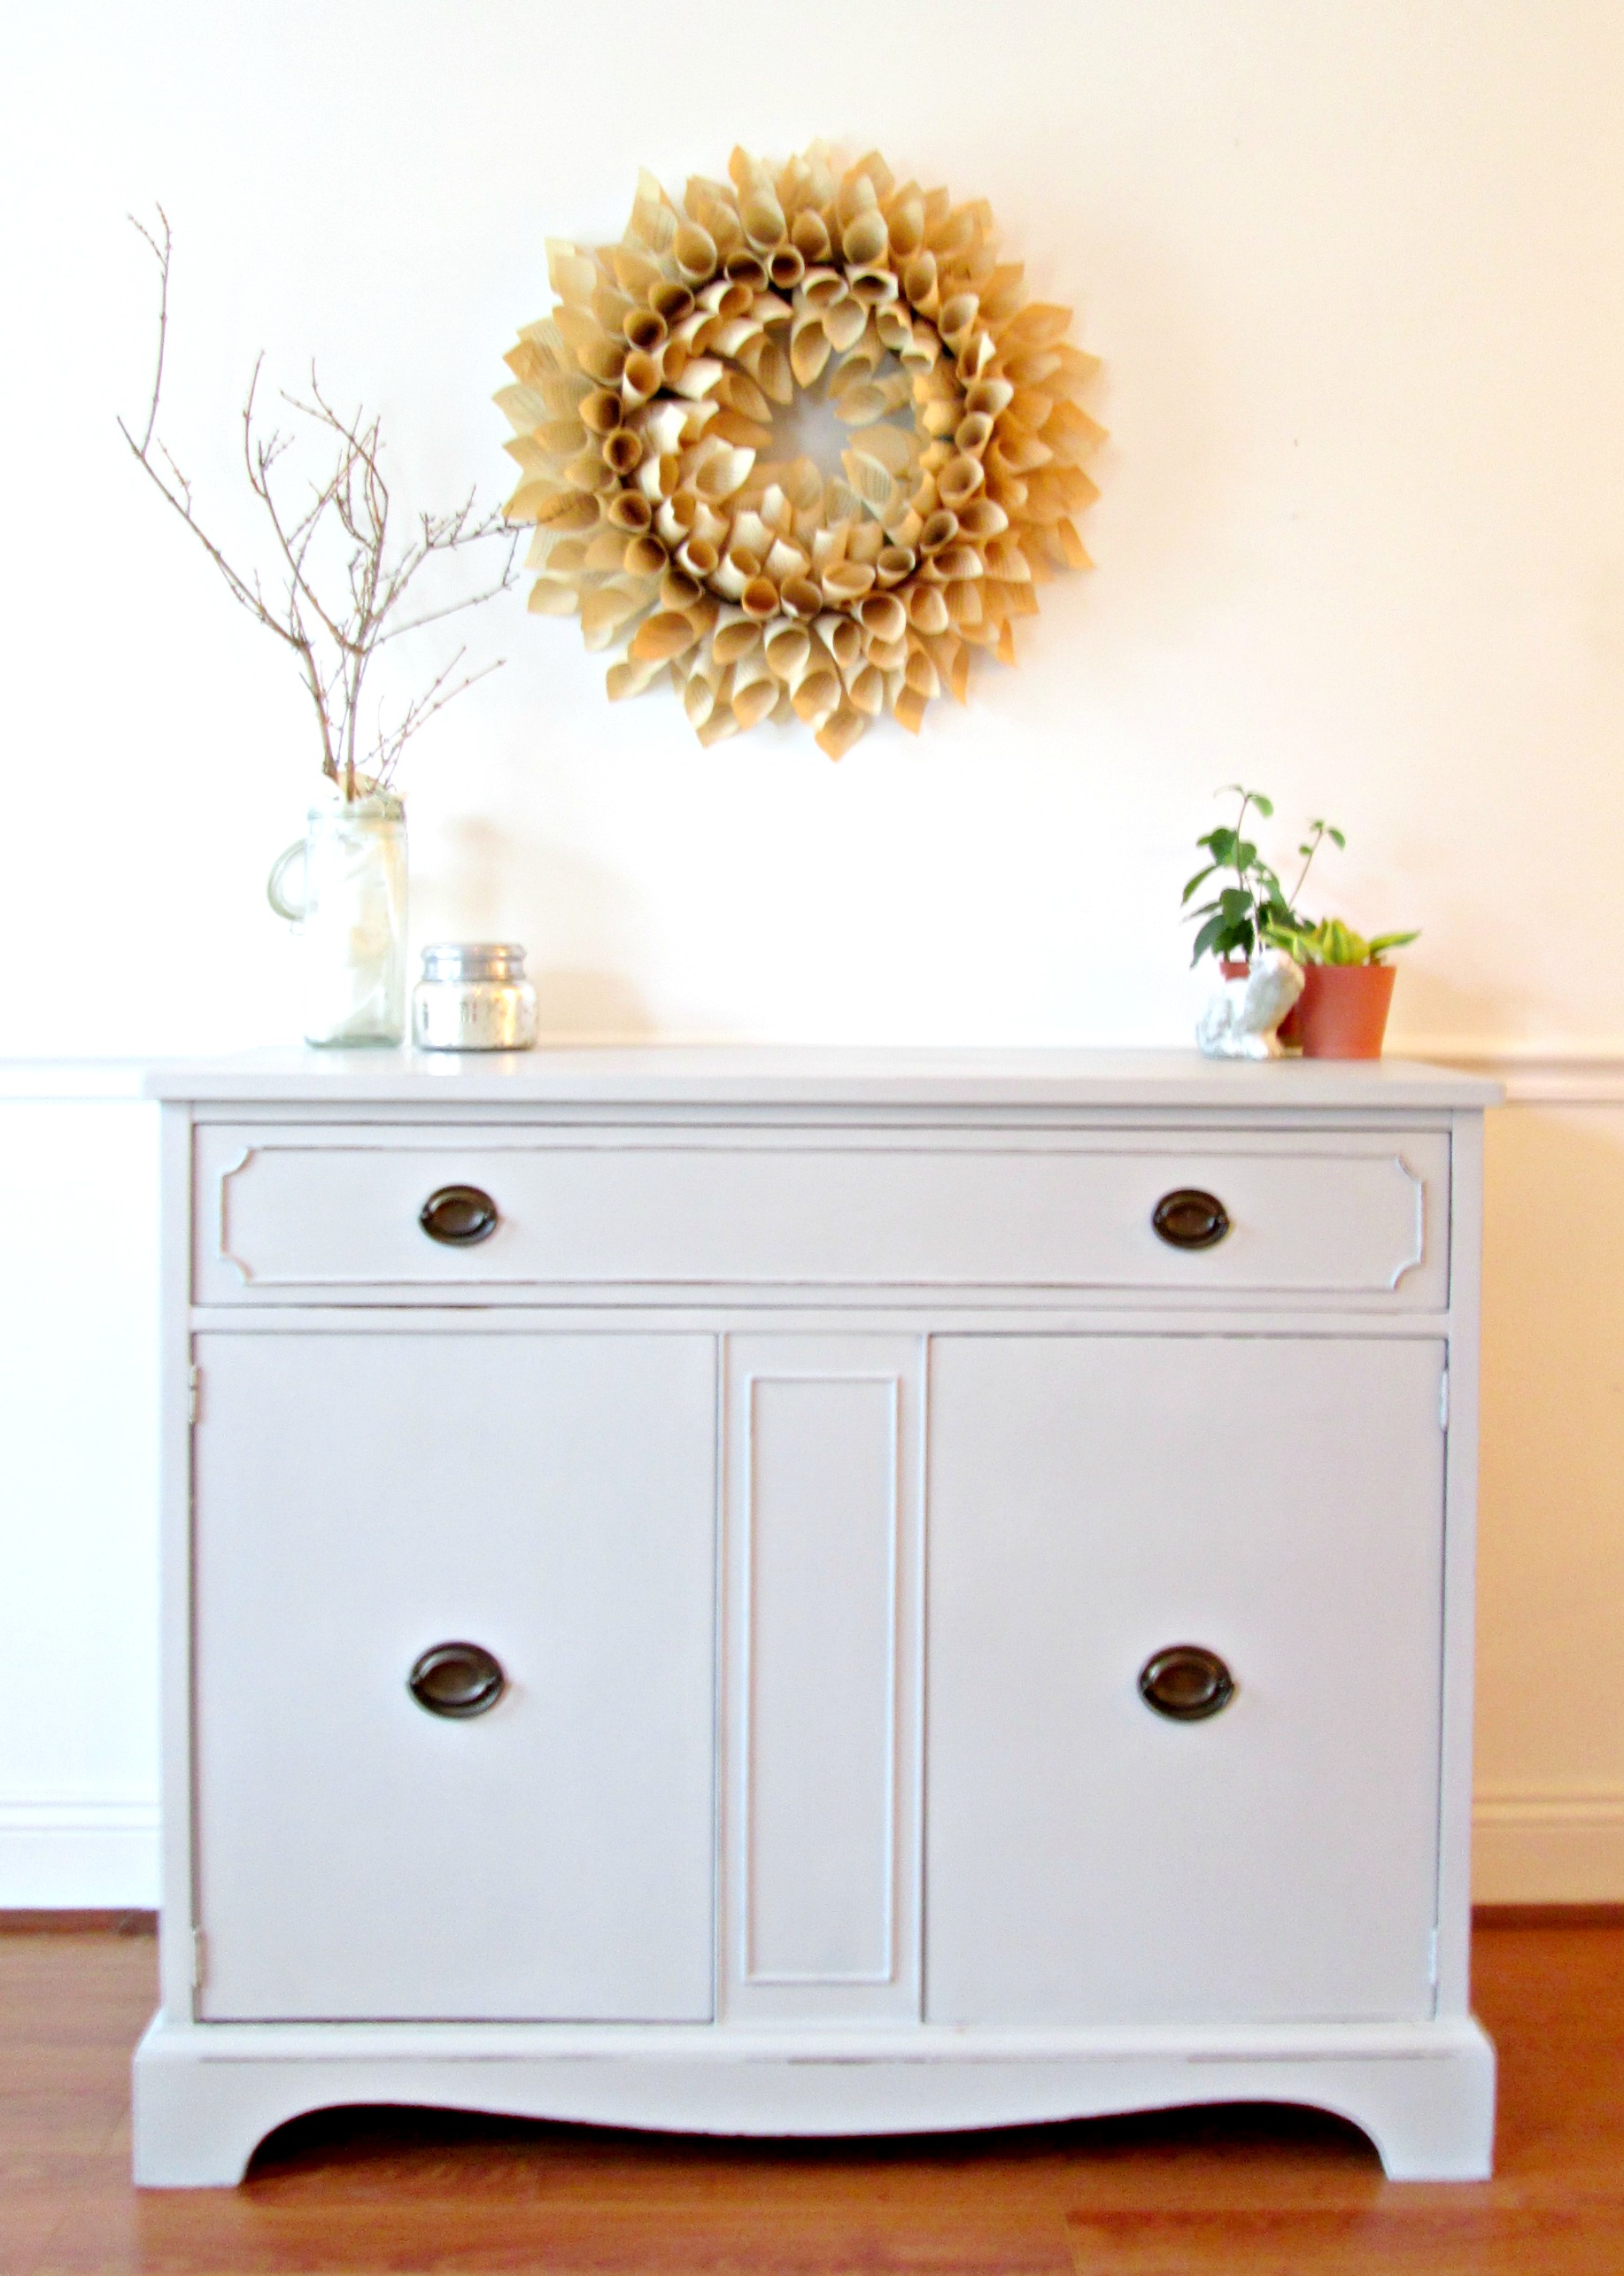
AFTER

I really wanted to maintain the traditional integrity of the buffet and decided to go with a classic color - a very soft, creamy grey. One of my favorite custom color mixes is Paris Grey and Old White, (both by Annie Sloan Chalk Paint), about equal parts of both. Rather than do any deep distressing, I just painted on two solid coats, applied the clear wax with a brush, and then buffed with a clean cloth. When buffing, I pressed a little harder with my cloth along the edges and details to pull some of the paint away, but it's nothing harsh. 

Seems a typical, lightly distressed grey buffet, right? But wait! There's more...

I'm not a totally traditional gal - I appreciate traditional pieces and design, but I personally prefer to put soft, unexpected 'twists' on such classic styles. Nothing that screams "whoa there, big fella!", (name that Seinfeld episode), but enough to give such sophisticated pieces a more casual, edgy look. I am in debt to Cate for helping me with this one - I knew I wanted to do something a little different with this piece, but I really didn't want to cross the crazy line. Cate's fresh eyes were so helpful and when she suggested leaving the inset panels in their natural wood state, I knew she'd hit the nail on the head. It was just enough of a twist without going overboard, maintaining the classic integrity of the piece.

And with a matching bar cart to boot, we're quite classy, indeed, today!

For a touch of glam I added aged brass pulls which I had removed from another piece last month. It was one of the easiest updates considering the impact they add to the simple cart. (NEVER throw out old hardware...unless you feel it's truly quite hideous!)

This set is now available for sale, $525. Email me at chelsea@stylemutthome.com if interested! 

To see what else we've got for sale please hop over and browse our Garage Shop!

Enjoy your weekend and thank you for stopping by!