Silver Chest Revealed!

So remember when I said the silver chest was probably my favorite find of these three scores?

No.1: a handsome globe & stand
No.2: a bamboo-front dresser 
No.3: an old silver chest  

Well I'm so excited that it's finally time to tell you why!  So let me ask you, what do you get when you combine a silver chest with a repurposed TV tray? 

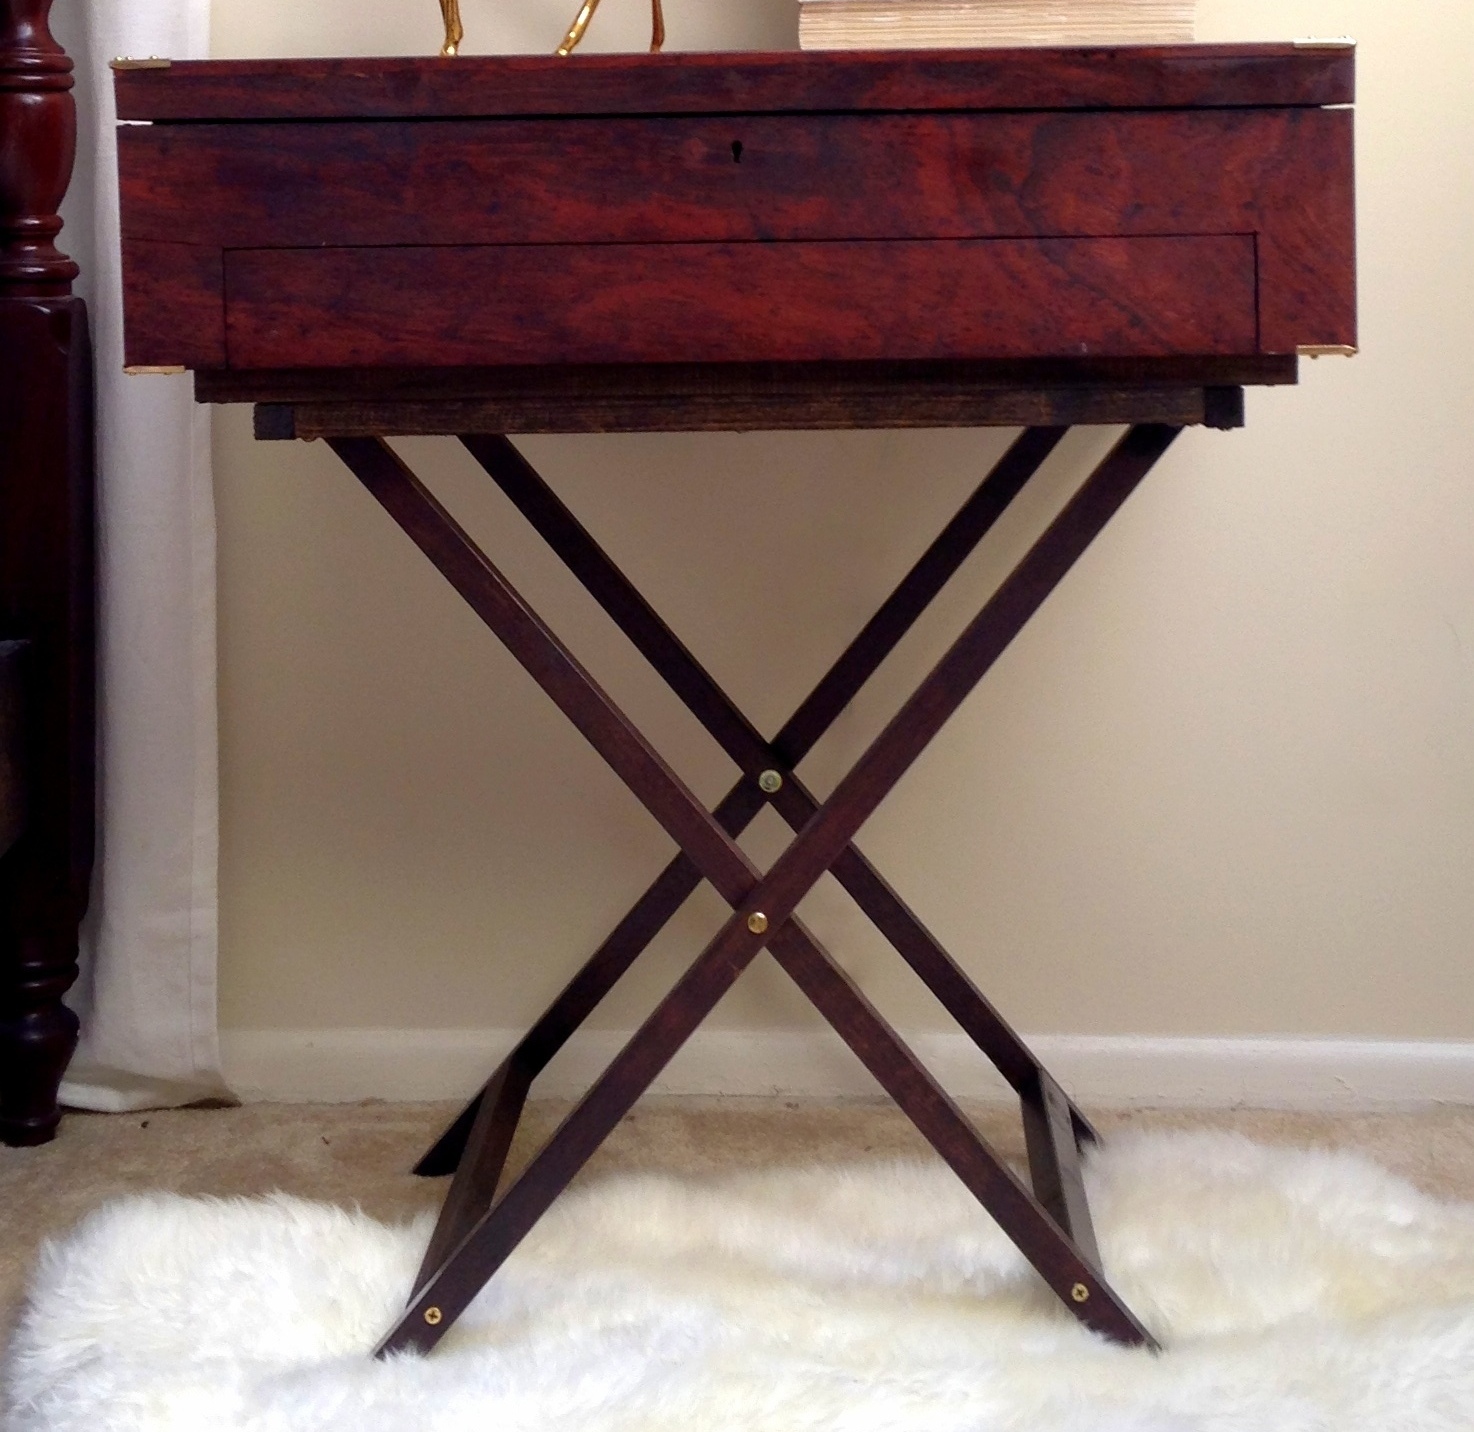
How about an X-Base Campaign Nightstand!

 I knew I wanted to make the silver chest into a table somehow, but wasn't sure what to use for the legs.  Originally, I thought about  a  mid-century modern hairpin leg like this Etsy find or tapered leg with brass feet.  But a closer look at the deep, rich wood of the box was calling for something more... classic.

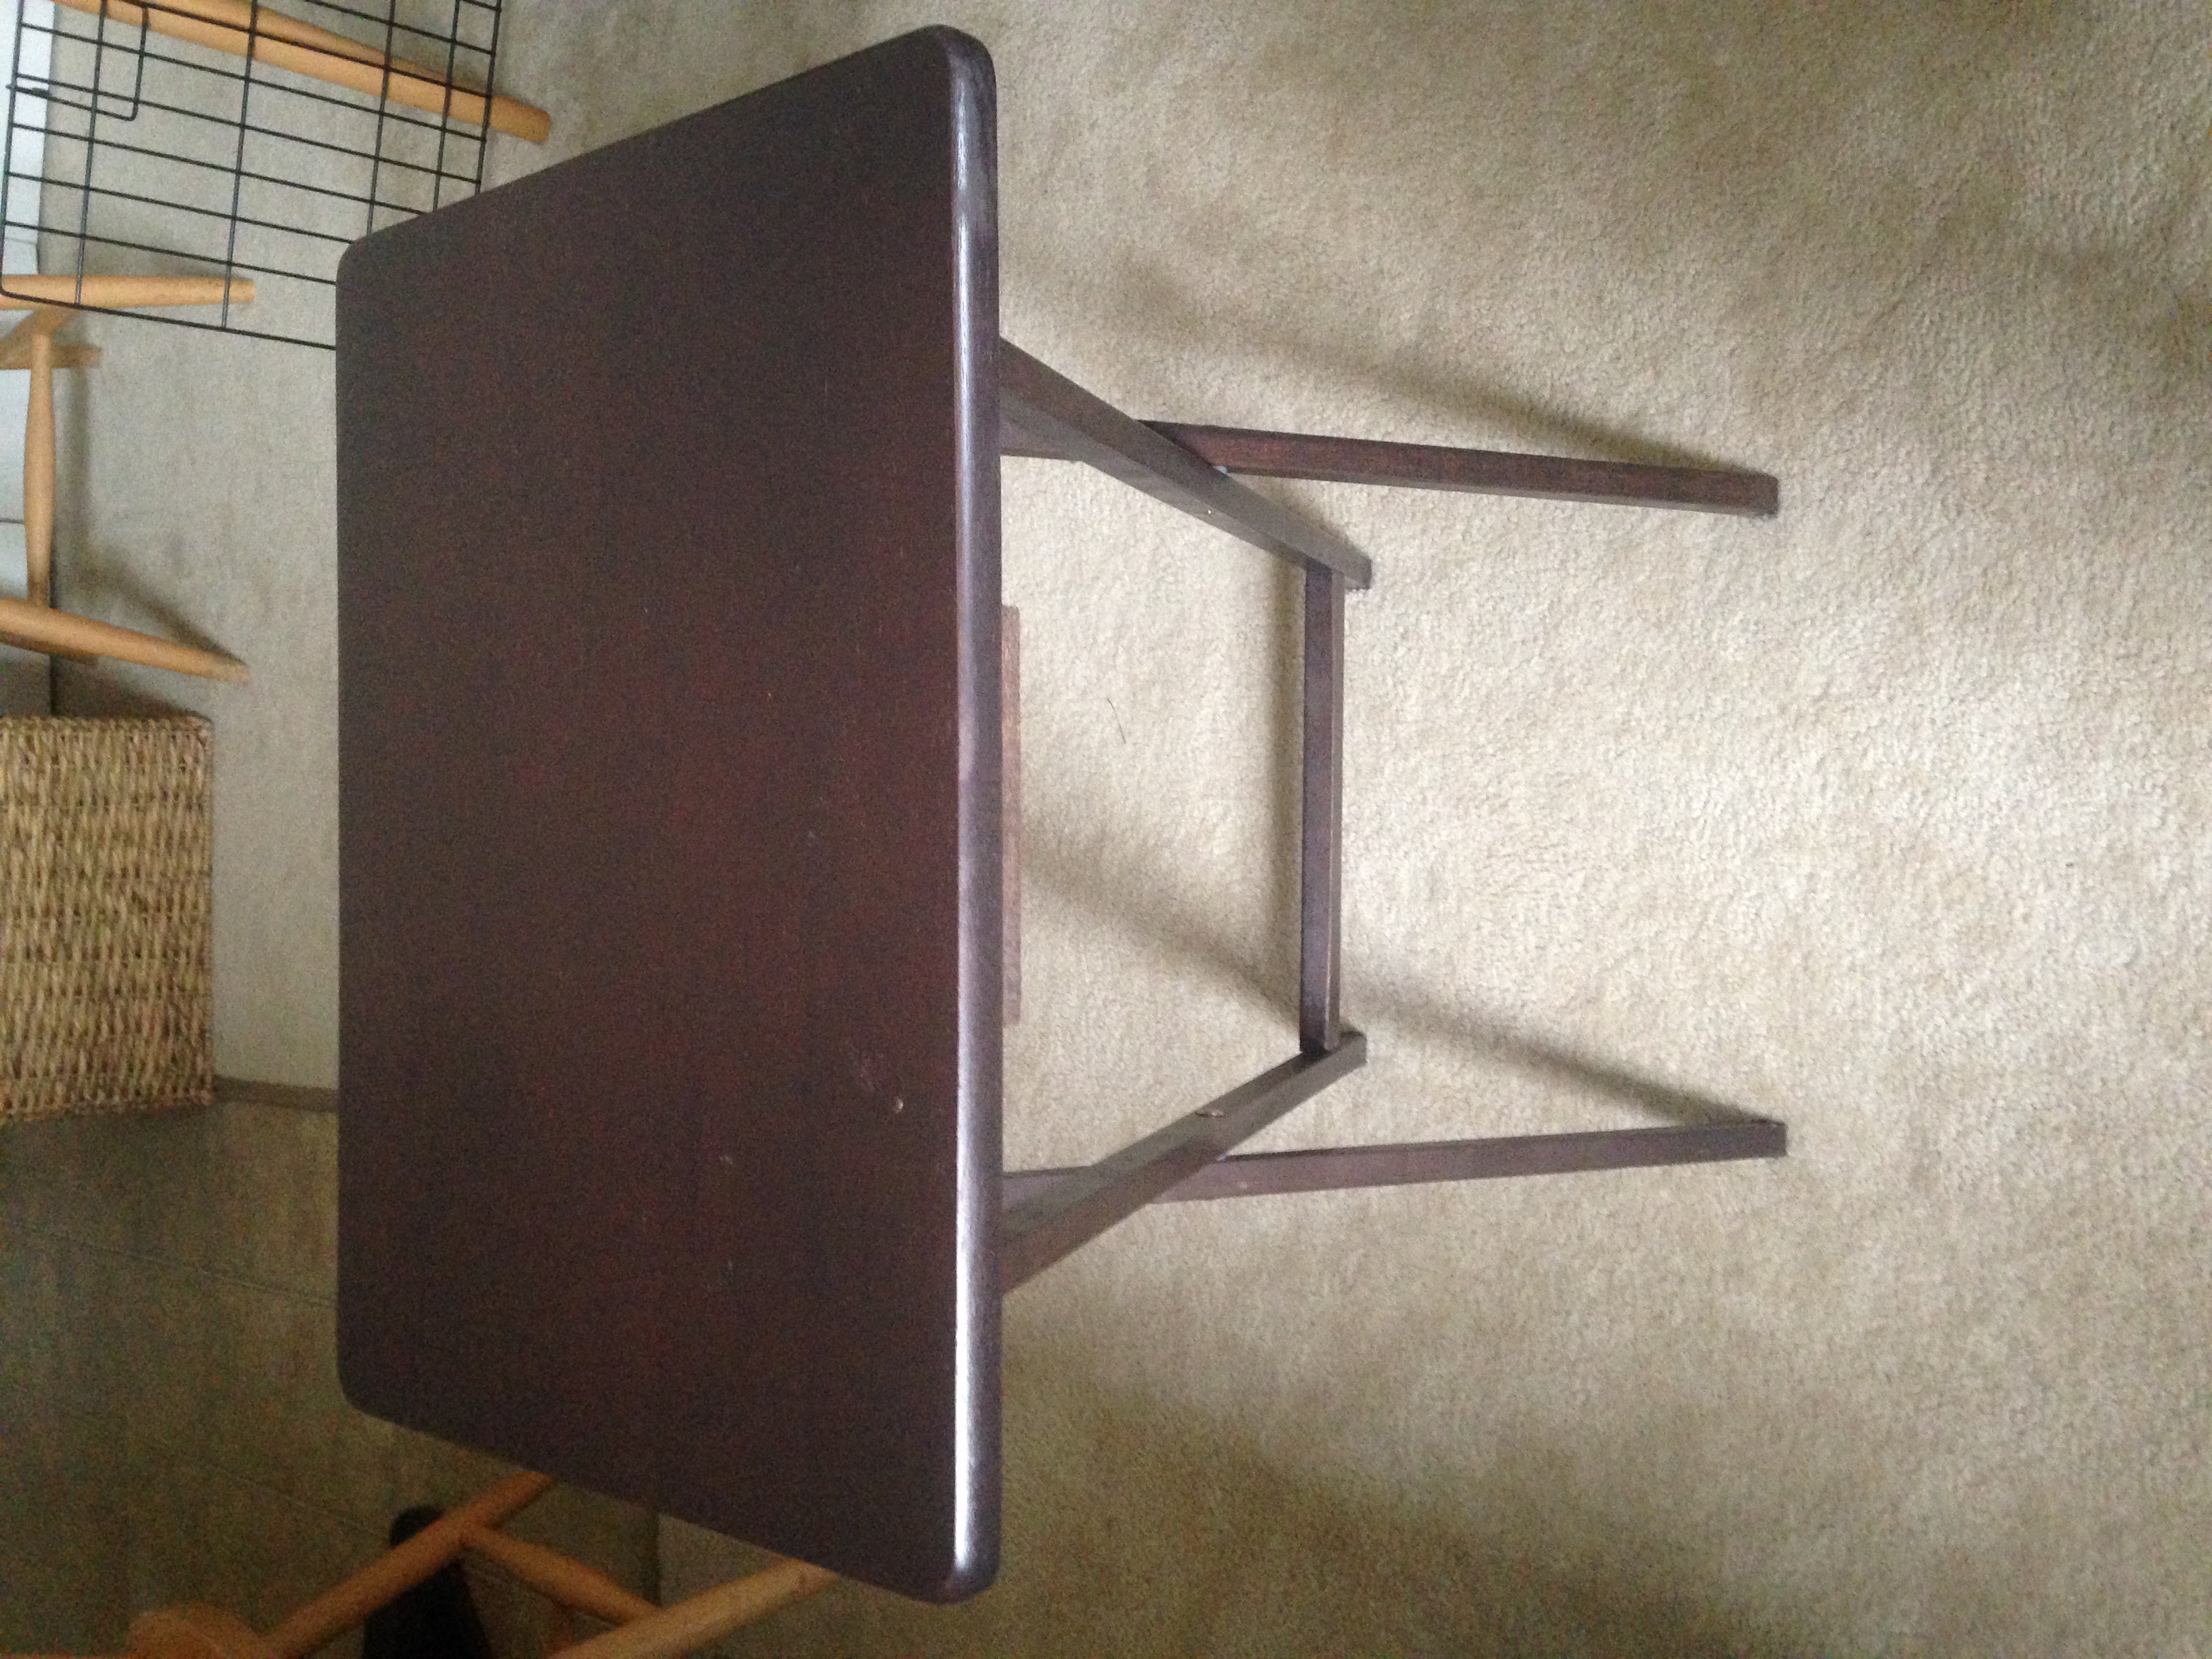
And what could be more classic than a TV tray?!
...JK.  But the $8 craigslist find was the perfect x-base leg donor.  {Leg donor - sounds Frankenstein-y right?} .  

X-Based tables can either feature cross sections on the side with one reinforcement strip in between or cross sections front and back with two reinforcement strips at the base. The TV tray already had a reinforcement strip on the lower part of the cross section, so I took the top off the TV tray so I could re-orient the legs and then cut and stained a second strip for the other side.

Source Target

Source Target

Source Pottery Barn

I added petite brass corners to bring out the campaign lines of the piece
and to match the little glint of gold hardware in the legs.
  

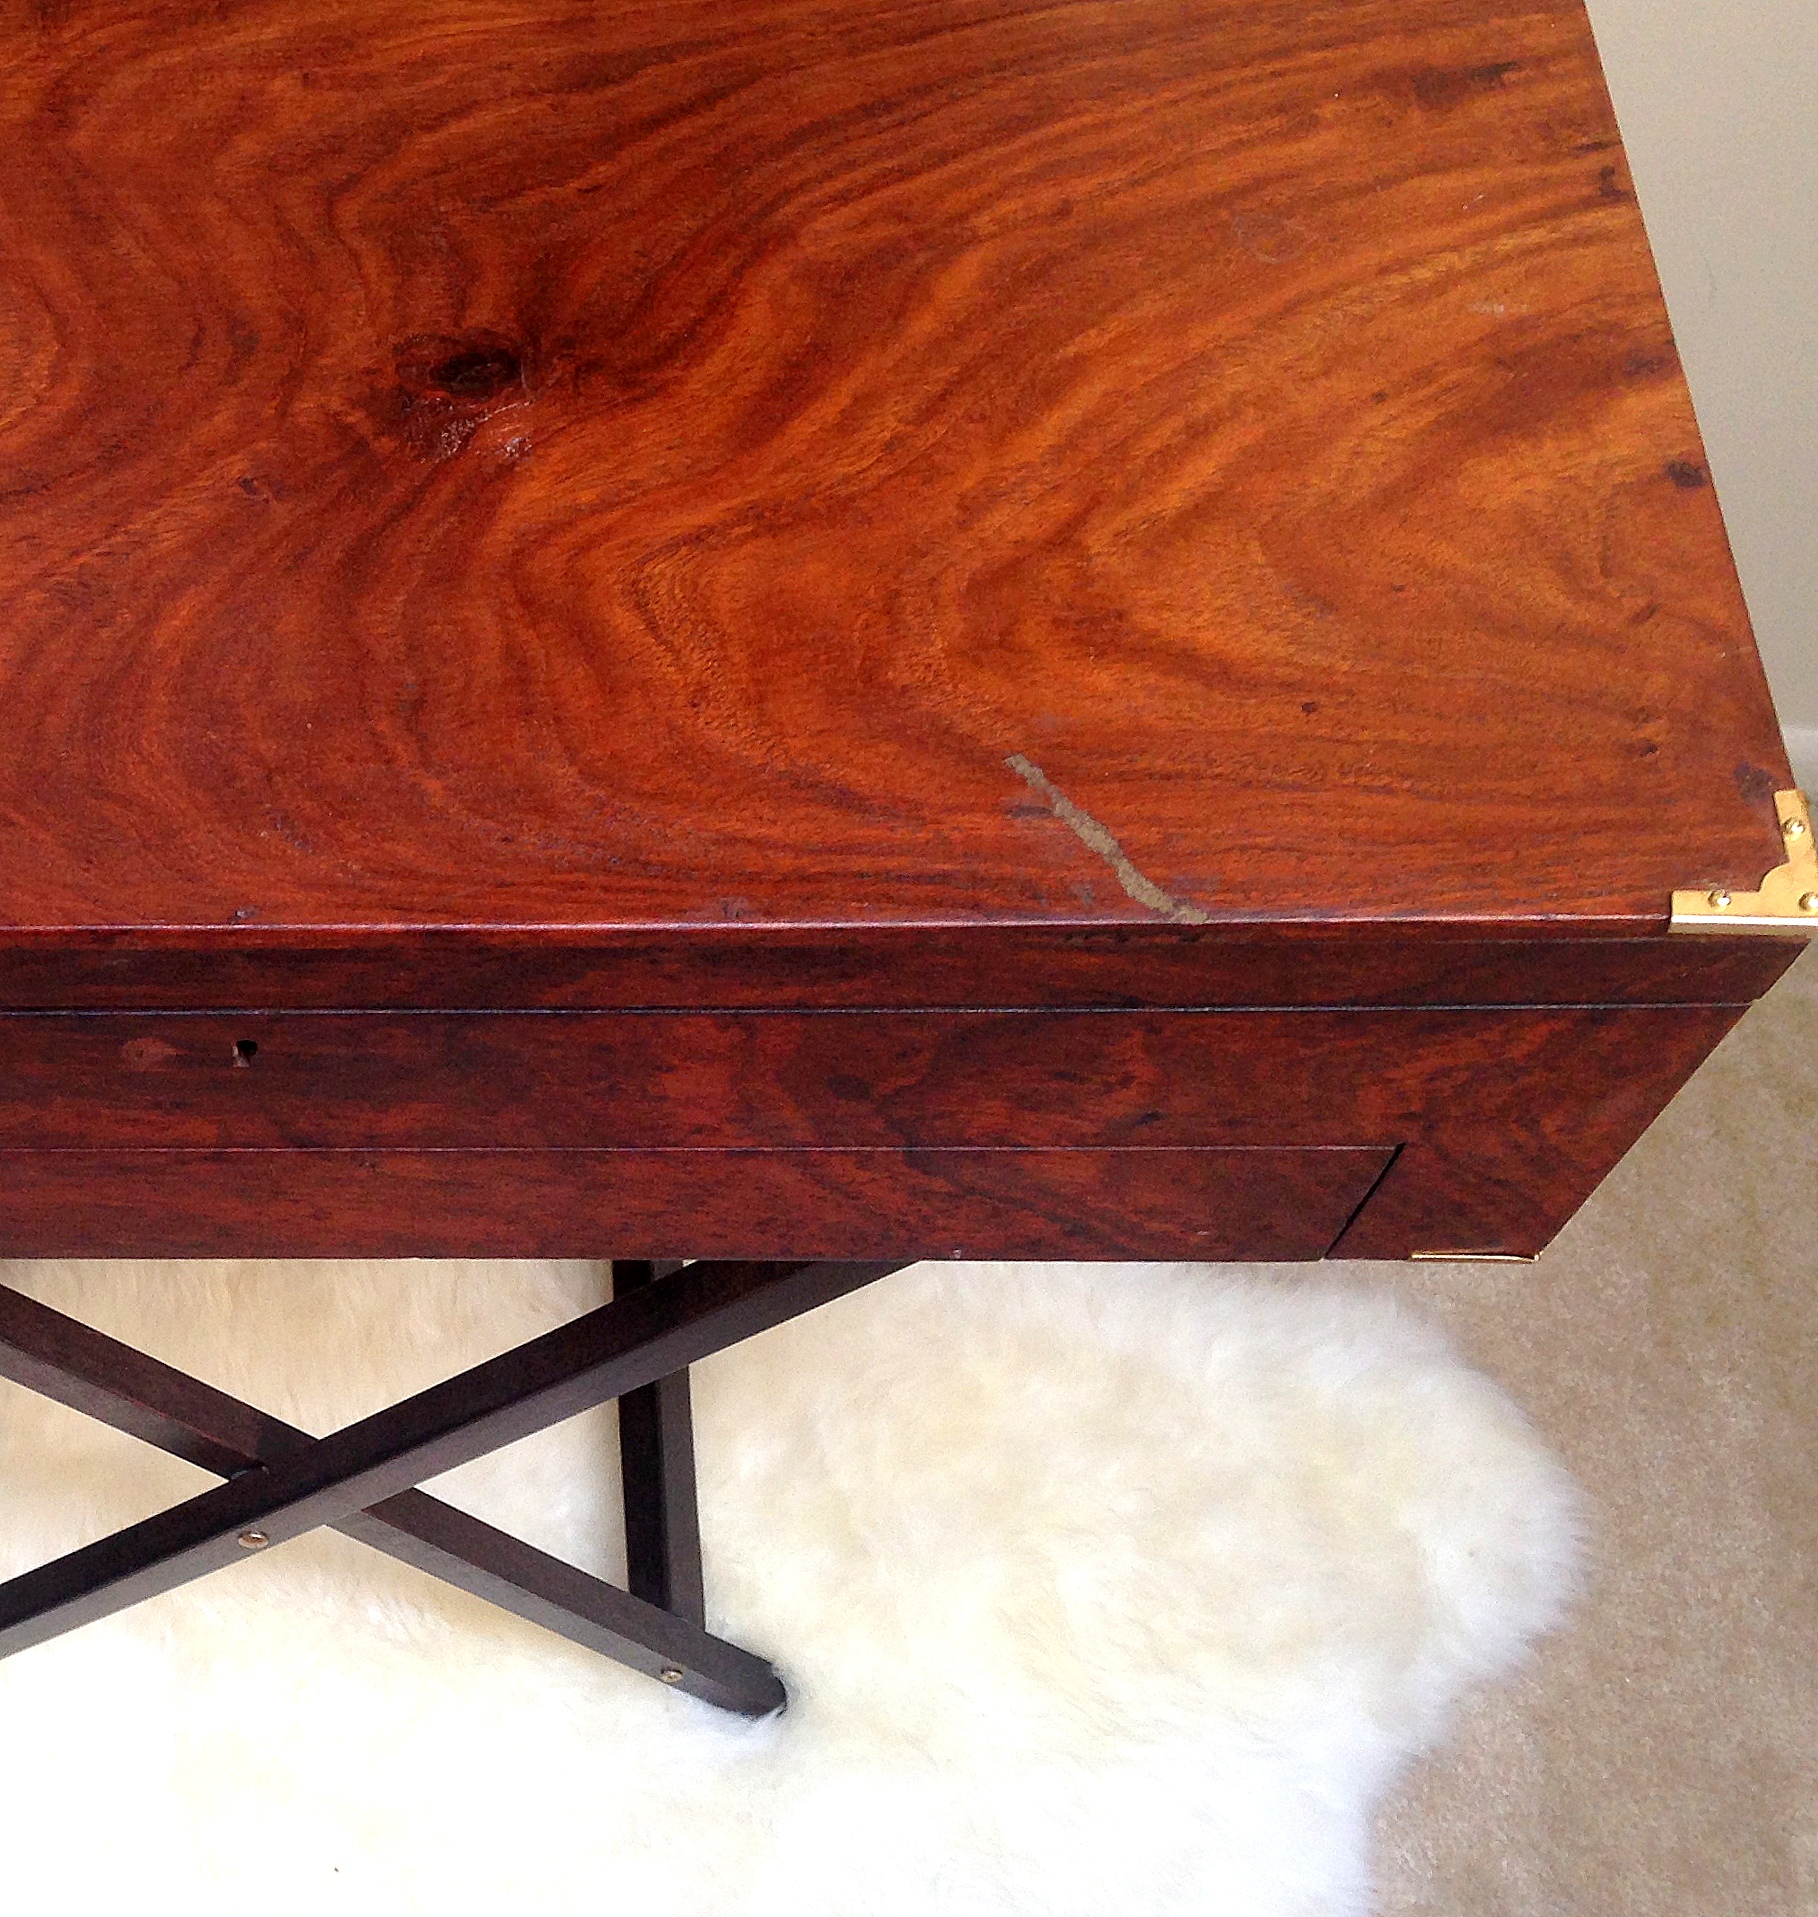
Look at that incredible wood grain!

IMG_1674.JPG

Bonus alert!  There is hidden storage.  Lift up the top to find 3 cubbies perfect for your bedside journal, stationary, or maybe special jewelry you want to keep tucked away.

When I first saw this chest at the thrift store and lifted up the top, I realized it was too shallow to not have more storage somewhere.  I didn't really notice the drawer because it sat so flush and camouflaged in the wood grain.  I couldn't even figure out how to open the drawer since it didn't have a pull, but I bought it and threw it into my truck on faith that I would figure it out later.  Luckily, the bumpy ride home jostled it open and I could see how awesome the slotted silverware compartments are!

Whether you use it for earrings, jewelry, or writing utensils, the secret slotted drawer makes a great catch-all for the bedside table.


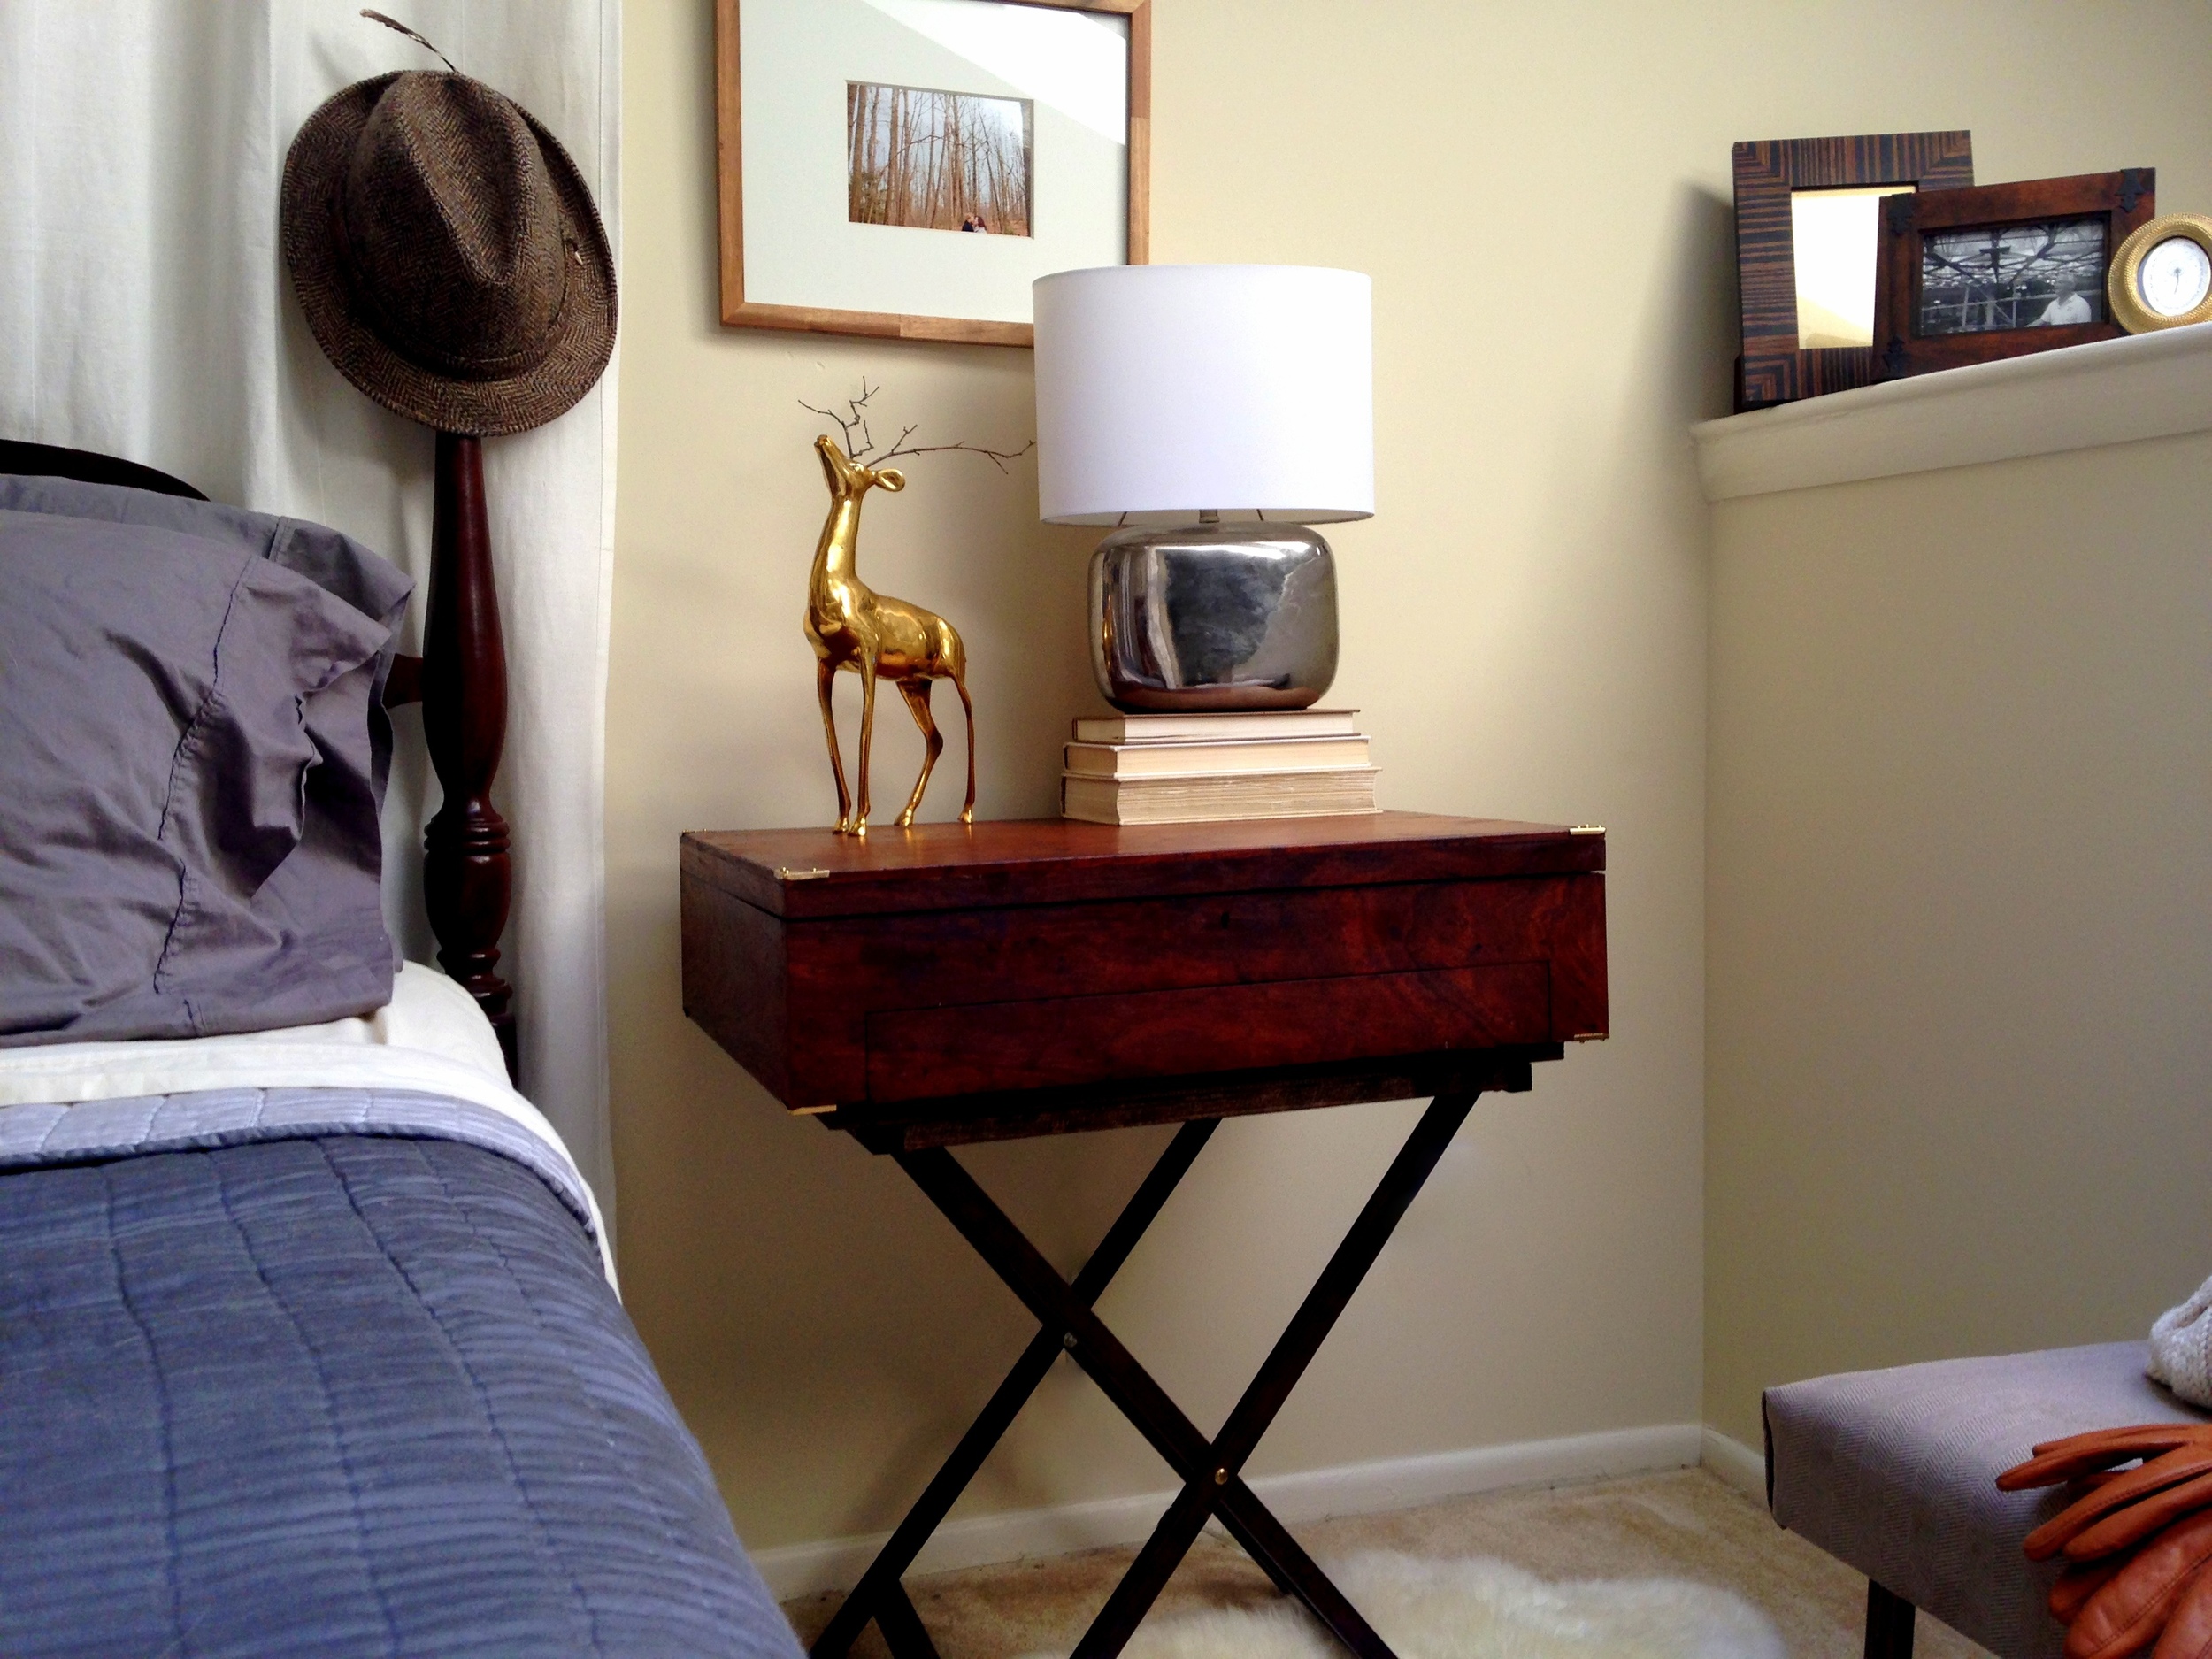
Even though the drawer placement inhibits my ability to put in a recessed campaign pull, I definitely love a piece with storage.  I actually like how clean the lines of the table front are without hardware.  And the drawer actually opens just fine if you pull it out from underneath {duh Cate}.


And c'mon how cute is that keyhole?  Any added hardware would have just stolen his thunder.

And {of course} while I'm doing this styled shoot, someone found the freshly fluffed pillows...
Can you spot him?

Busted...

X-Base Campaign Table.
24"W x 18"D x 28"H
Sold
If you are interested in this piece or a custom order like it, please contact cate@stylemutthome.com.


Large Botanical Gallery Wall {+ tips & tricks!}

Hi guys! I recently made a big, life-changing step when I overcame a personal fear; the fear of gallery walls.

I've always been struck by large, organized, symmetrical gallery walls. I think they're stunning! However, it's always intimidated me to try to hang everything absolutely perfect. In the past this intimidation has lead to random, haphazard gallery walls which weren't supposed to be even or organized. Those were my safe zone where I felt comfortable. (Kind of like when I get home from church on Sundays and change into despicably ill-fitting sweatpants.)

After finding an entire book of botanical prints on Ebay for $4, I took a leap out of my comfort zone to create a big, structured gallery wall in our dining room! Since these prints were already large, (11 x 13), and I wanted to use a lot of them, (16), I decided to just mount them using mattes to keep the expense of this project low. I used painters tape to attach the prints to the mattes, which will peel off easily without ripping the prints should I ever decide to use them another way.

Drawn From Nature + Antiqued Gold Mattes from Matboardplus.com

To begin, I measured the space I wanted to use on the wall and then taped those measurements onto the floor using painters tape. Then I added the mirror, ($12.95 on sale at Anthropologie), in the middle, measuring all four sides to be sure it was centered. Once the mirror was in place I filled in the rest of the space with the prints! Taking a picture of the finished product on the floor really helped when I went to hang everything on the wall. I liked the arrangement I had on the floor and didn't want to forget where they all went!

To get the gallery up on the wall, I basically followed the same steps as I used for the floor triall! I pulled the tape up off the floor and used those same strips to create my rectangle on the wall, (definitely grab a level to make sure your tape is...level). Second, I hung the mirror, measuring all four sides to be sure it was in the center. Then I filled in with the prints! I hung these with simple metallic tacks, which is way easier than measuring where to hang a nail for a frame. Baby steps.

All finished!

Another tip I've seen for hanging a precise gallery wall is to trace all the frames onto brown packaging paper and cut them out. Then tape each 'paper frame' onto the wall, moving them around until you're satisfied, (idea seen below from Young House Love).

Have you hung a gallery wall in your home, (symmetrical OR random)? We'd love to see it and/or hear your tips! Just share right to our Facebook page or tag #stylemuttprojects on Instagram!

Thank you for stopping by!

It's good to be back!

Hi dear friends! It's so good to be back in touch with you and even better to be here on StyleMutt for my first time! Chelsea's Garage is officially non-existent. Just this past weekend we rerouted the Chelsea's Garage page to StyleMutt's homepage, so I hope ya'll got the closure you needed because that door is closed, baby! It was a good chapter and one I will always, always be grateful for. However, it was only made good because of the community behind it, and my heart is so uplifted that you all have joined us here on StyleMutt!

Cate and I still have a few kinks to work out and some more, (super fun), features to add in before this site is really functioning at the capacity we've dreamt it to be. But, we're really encouraged by StyleMutt's 'birth' and are looking forward to the direction it's going! One of the most frequent pieces of advice/comments I received when we first began talking about shutting down Chelsea's Garage and starting StyleMutt, was to maintain a personable site just as Chelsea's Garage was. We shared a whole lot of 'life happening' on CG and I promise you that's not going to change here.

You'll still see the same faces popping up here and there

And the ongoing happenings in, (and out of), our humble home

This isn't a family life blog, but Cate and I are going to be real and honest here. Consider that fair warning... :)

We've got some goodies on deck this week which we're excited to share, including StyleMutt's first official reader-shared content! 

Thank you so much for stopping by!