Distressed white cabinet, ready for the guest room

Happy Friday, one and all! It has been a wild week complete with paint rolling, brushing, spraying, staining and jig-sawing. I'm pumped to show you the fruit of all that labor, but first, here is the first piece ready for my parents' guest room makeover!

Cate and I had been on the look out for a slim piece, (under 18" deep), that had plenty of storage and simple, clean lines. I snapped a picture of this cabinet, (measuring only 16.25"D), last week at our local Goodwill, sent it to Cate, and bought it after getting her thumbs-up.

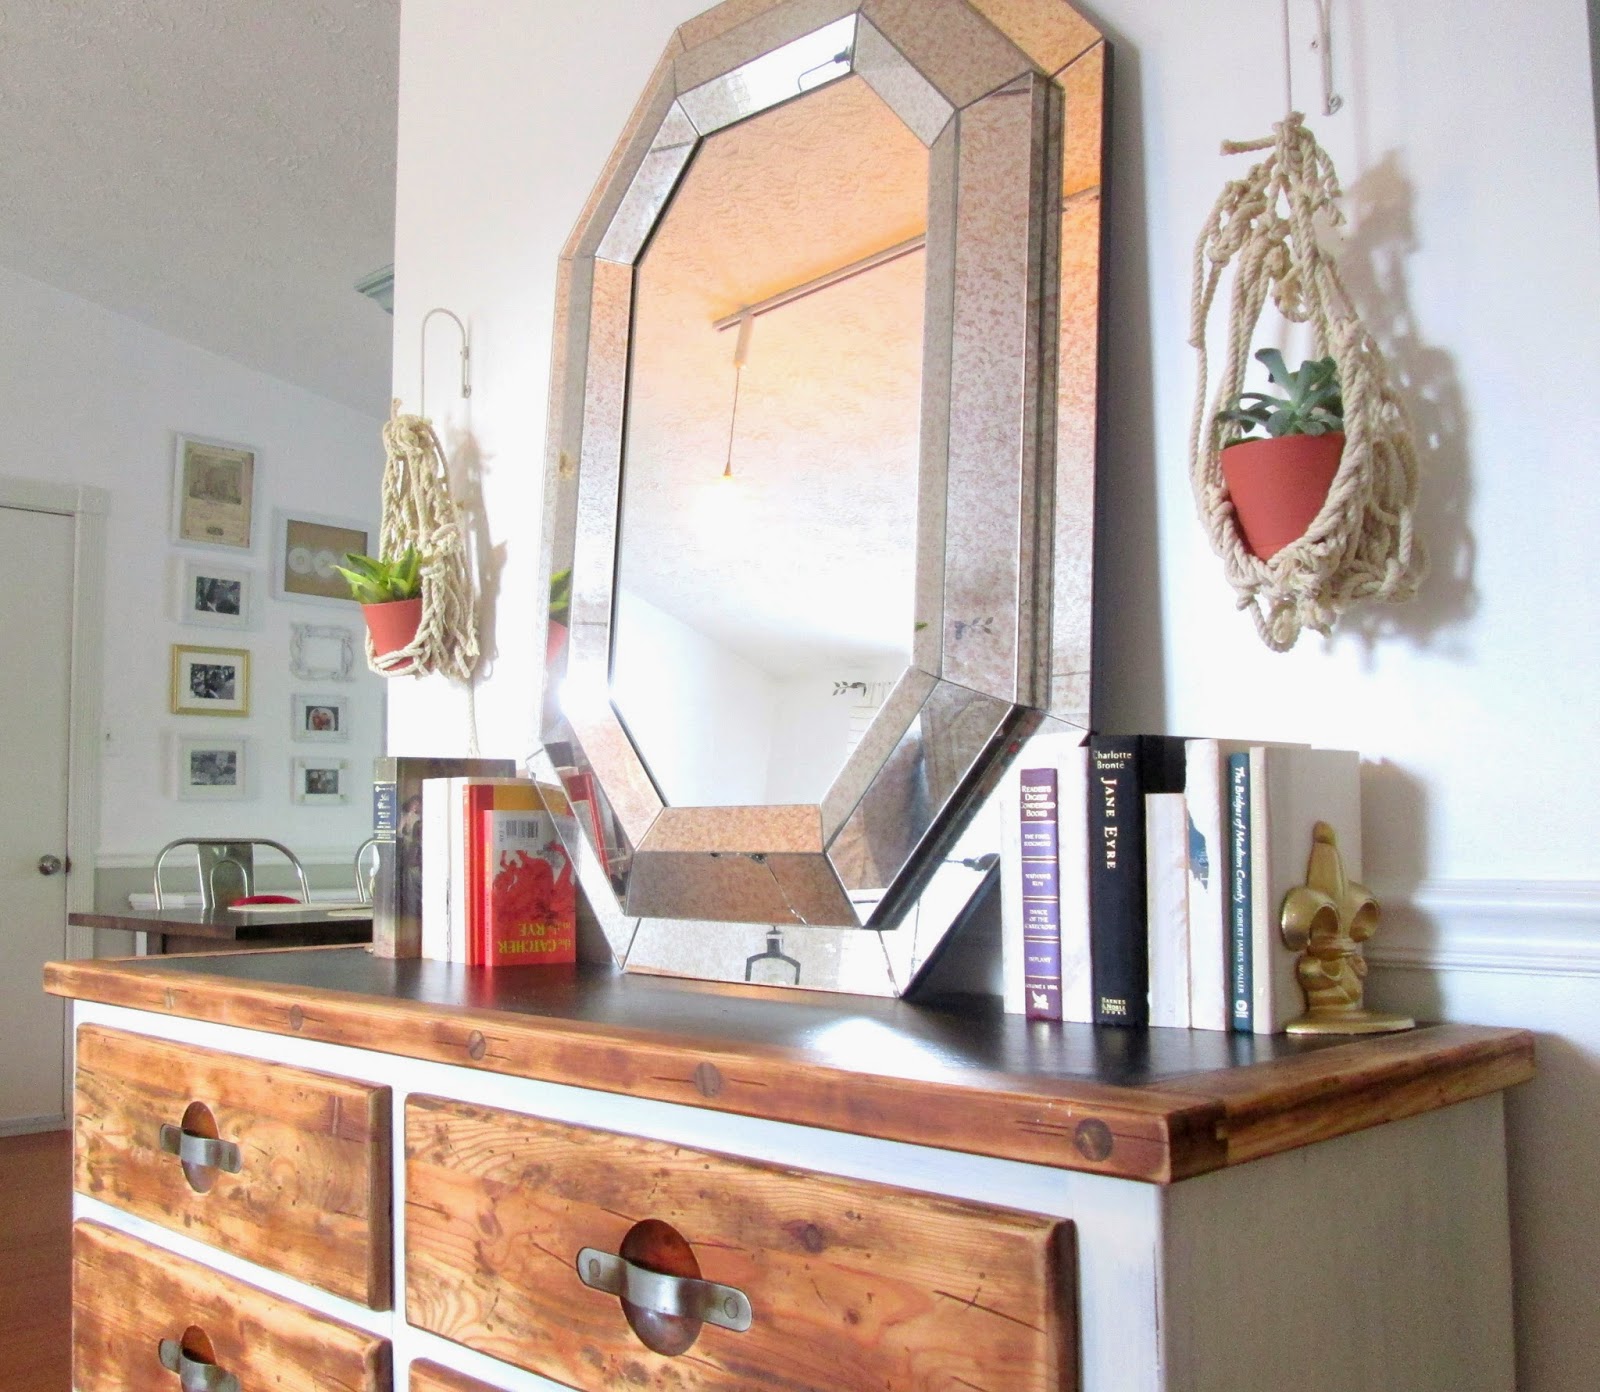
Sadly, one of the handles was broken, but I had exactly three of these cool rectangular pulls leftover from another piece, begging to be used. I love their slightly masculine contrast with the softness of this cabinet.

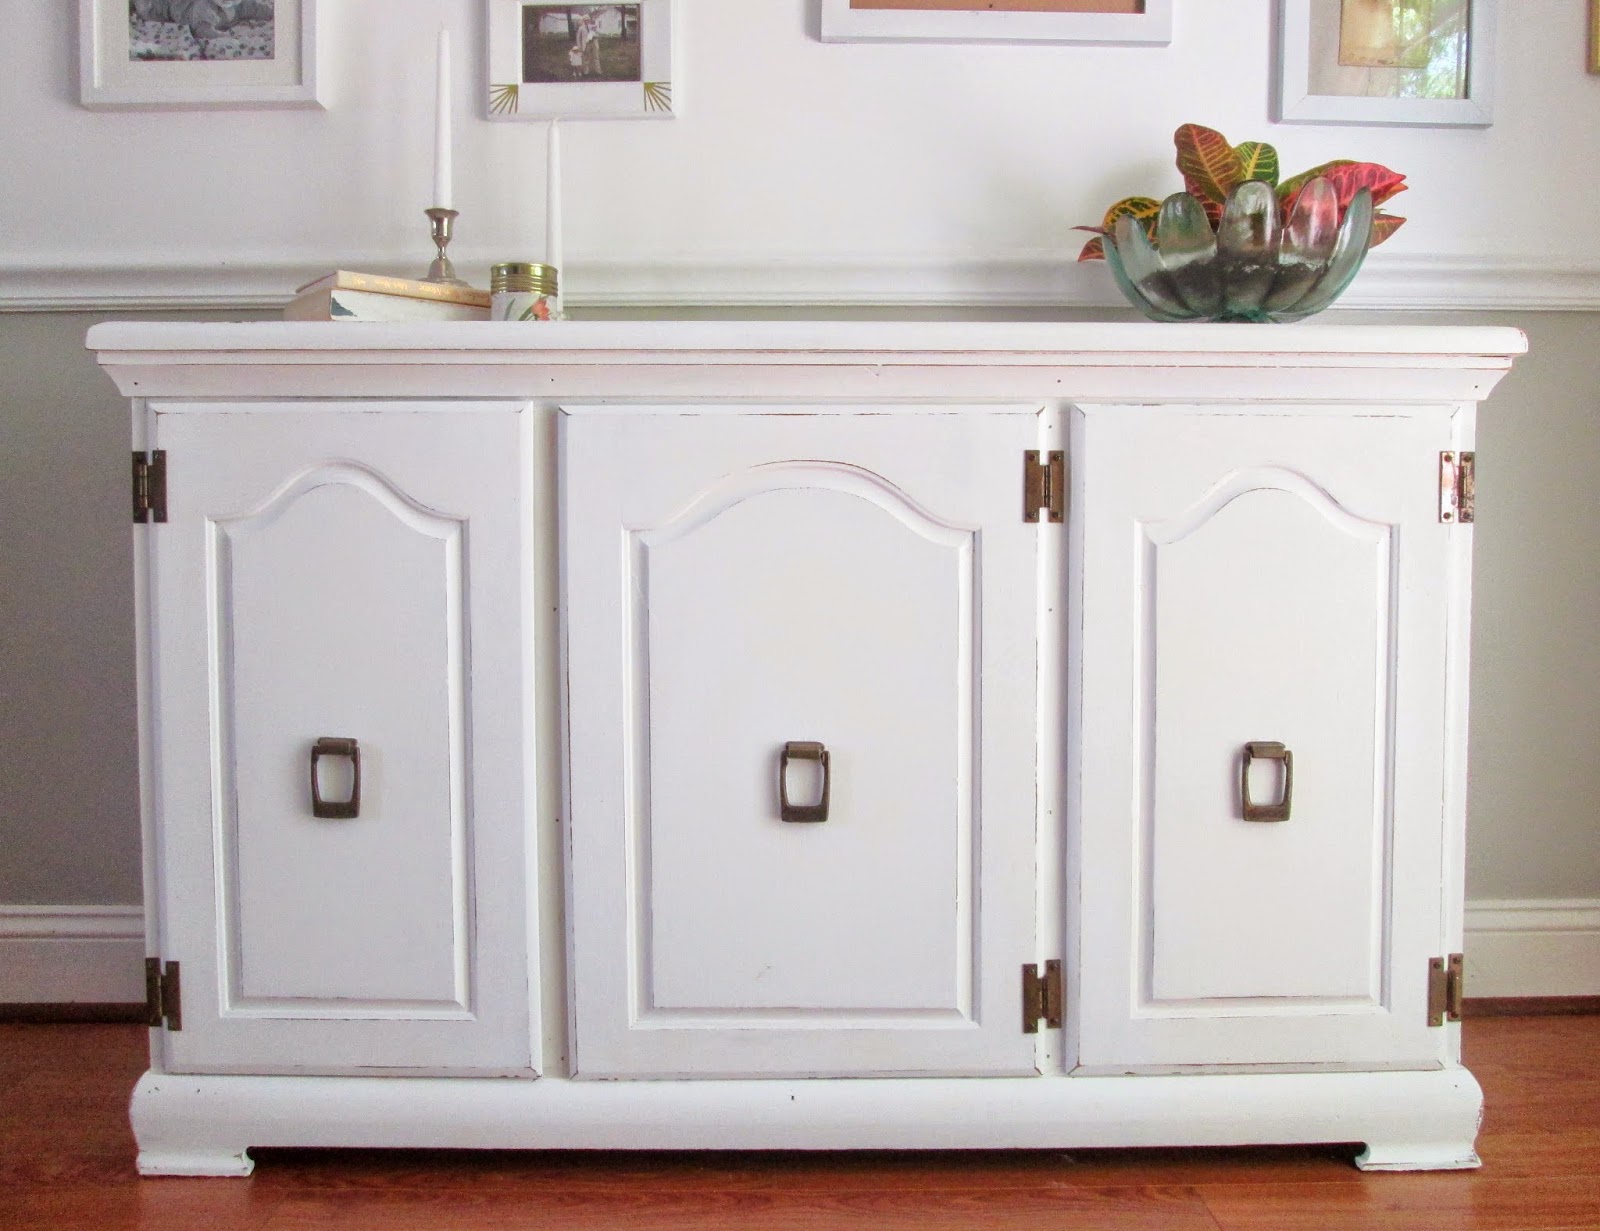
I used Pure White by Annie Sloan Chalk Paint to refinish this beauty. I can't believe I've never used it before - I'm in love! I've used plenty of Old White, (a warmer, creamy white), but Pure White is really kind of dreamy; like a cloud or fresh fallen snow. 

One thing about painting over old, real wood pieces - be prepared for bleed through. What is bleed through? Bleed through is a when you get dark, discolored spots coming through your finish after painting. It's ugly, can be frightening, ("did I just ruin great-grandma Violet's beloved china cabinet??"), and can rear it's nasty self unexpectedly. This isn't the first time I've talked about bleed through before, but just to reiterate, it's annoying! But fear not. There is an answer, (well, there are probably several, but this is my go-to):

Please meet my handy pal, Zinsser Clear Shellac, (found at most hardware stores)

Fortunately, I anticipated this piece being a 'bloody mess', and gave it 2 coats of shellac before beginning to paint. I still had lots of bleed through! No problem. This stuff is clear and dries super fast, so I just sprayed spots as I saw them popping through, let it dry, and painted over.

Now, this Pure White piece is 'blood-free' and ready for the my parents' guest room!

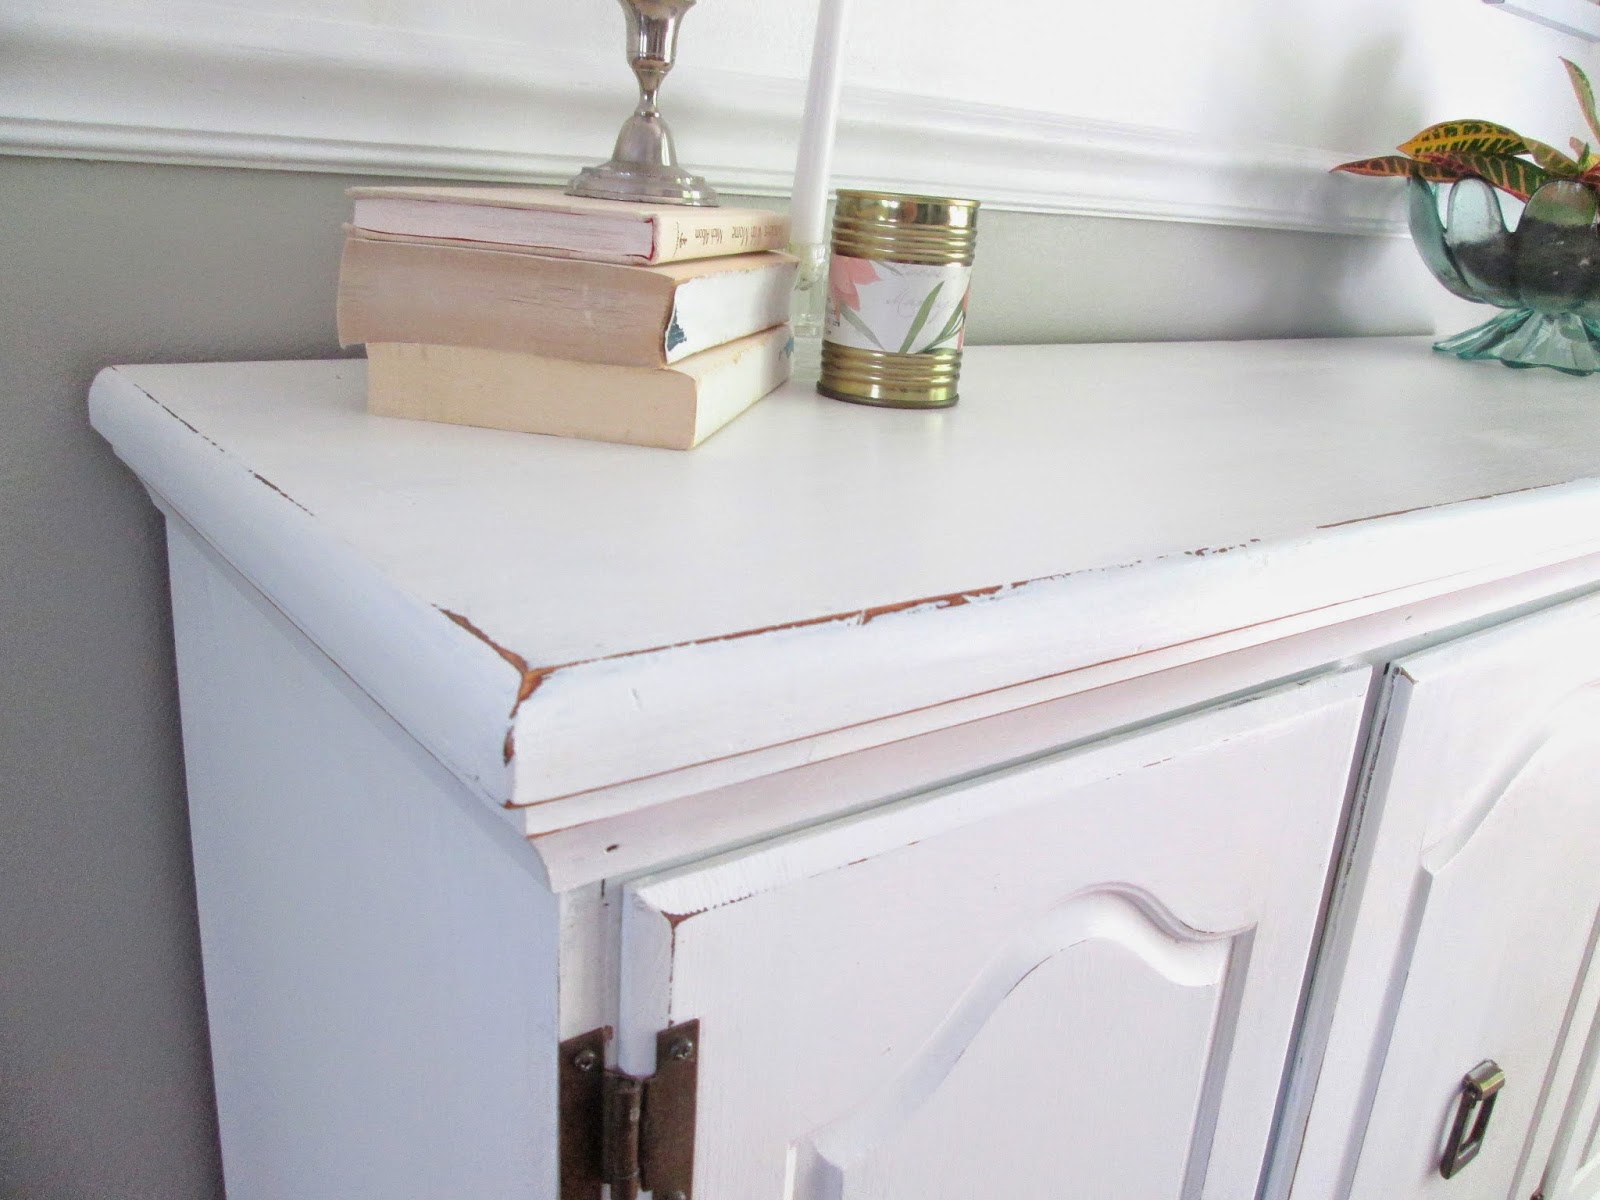
As you can see from some of the up close shots, I distressed this piece gently, just following the edges and corners. Always start there if you plan to distress a piece! It's the most natural looking. Then, if you want to rough it up some more, you can move inward to some unexpected areas, like the top surface, or down the sides. Distressing is my favorite part of refinishing a piece - it brings out the beautiful lines and curves and gives even the plainest of pieces a bit of depth and character. And if you're refinishing a true antique, distressing is a lovely way to maintain the character and age of the piece.

Next week I'm excited to share the spontaneous room makeover that happened here at our house! In the mean time, have a great weekend!

~Chelsea

This post was originally published by Chelsea's Garage, now affectionately known as StyleMutt.

Statement Wall... In a Bathroom?

It's just a bathroom - why bother?  Well I don't know about you, but I don't enjoy hanging out in unhappy places and the bathroom is just one of those spots you end up spending more of your day in than you'd think.  Thus after many weeks of using a sad and dreary toilet nook, I realized it needed sprucing or I'd be at risk of a permanent depression.  I didn't want to break the bank and I didn't want to hang anything irreplaceable that might succumb to steamy shower damage so naturally I started with IKEA.  

Here's my {not-so} secret formula: IKEA frames + FREE downloaded Art = affordable statement wall!

All of the prints were downloaded {FOR FREE} and printed at our local staples for about 50¢ a page.  We don't have a home printer, but let's face it: even if we did, quality of ink, the image resolution, and the color vibrancy is way better on those industrial copy machines.  If over time the art suffers from excess moisture, then I can always print more and replace!

The "Plumes" printable was one of my favorites.  You can get these prints and more from Graphics Fairy.

I liked the look of Chelsea's all-white dining room gallery wall {found here on her Gallery Wall Refresh post from last winter} so I kept my shopping monochromatic.  Some frames were rather large and unusual sizes to mat to letter-sized paper so I tore the trim off the printed pdf to get a more authentic "vintage print" look than the factory-edge paper.  I mounted it on some kraft wrapping paper I cut to fit the frame: giving my all-white frames some textural interest.

{ok, let's break it down}

11.75x15.75 {8x10 mat} - $10
8x10 {5x7 mat} - $5ea
2 4x6 {3x4 mat} - $2ea

13.5x17.25 - $4ea
8.7x11 {Document Frame} - $2ea
{pack of 2}  5x7 - $4 

11.75x15.75 {8x10 mat} - $8
4x6 {3x5 mat} - $2

8x10 {5x7 mat} - $7
4x6 {3x5 mat} - $4

All for a grand total of $65!

The pair of gold 3D art are simply two thrift store frames hung around floating objects.
{The top one is actually a gold broach in the shape of a feather.}

Here's a quick look at the rest of the bathroom.  As you can see I hung two more framed prints by the sink.

My {NEW} Happy Place!

What's your happy place?

~Cate

This post was published under Chelsea's Garage, now affectionately known as StyleMutt.

Macrame planters, sort of

Hello there! Today I'm sharing my version of a wildly popular fad going on right at this very moment. If you were born prior to the 70s, you may be familiar with macrame. Macrame has been around for centuries, both as a functional technique and an artistic one. Both sailors at sea and English royalty alike have practiced macrame. Macrame popularity faded a bit after the 70s craze, but it's back in full force!

There are hundreds of tutorials online that teach the art of macrame, especially for hanging planters. If you'd like to learn, you're in the wrong place. I totally cheated and am here to share how! Don't get me wrong; I would love to learn and plan to. But, I already had this one particular item that wasn't getting used, and I just hate seeing things go to waste.

So, I'd like to show you how to use a hammock! If you already have one that you're not using, great! If not, just hit up a few yard sales. You're bound to come across one quickly.

Lay it out straight, and cut 3 cords close to the wood piece they're coming through, (I found that garden shears cut straight through the cord, which makes the cutting much easier than even strong scissors). Then, cut straight down from your inside third cord. I cut about 18-20" down, then cut toward the outside edge, making a large rectangle. At this point you'll have lots of loose ends. Gather two up at a time, and tie them together in a simple knot. Do this until all the ends are 'partnered up' in a knot together Then, fold your rectangle up, bringing the long ends together, and tie your initial three cords that you cut into the opposite long end,, (I just used simple knots, nothing fancy). 

The end product is a really fun, slouchy, roped planter! I hung them on a pair of hooks flanking the mirror in our entry/living room, then just nestled the pots inside. 

I absolutely love how haphazard these turned out.

I've heard that cheaters never prosper, or so the saying goes. But in this case, I have a new pair of planters that I adore and took me all of 20 minutes. Isn't it fun to find exceptions to the rule?!

Thank you so much for stopping by!

~Chelsea

This post was published under Chelsea's Garage, now affectionately known as StyleMutt.