Peek-A-Week #2 {Rustic white table}

Hi All! I hope everyone had a splendid weekend! Ours went something like this:

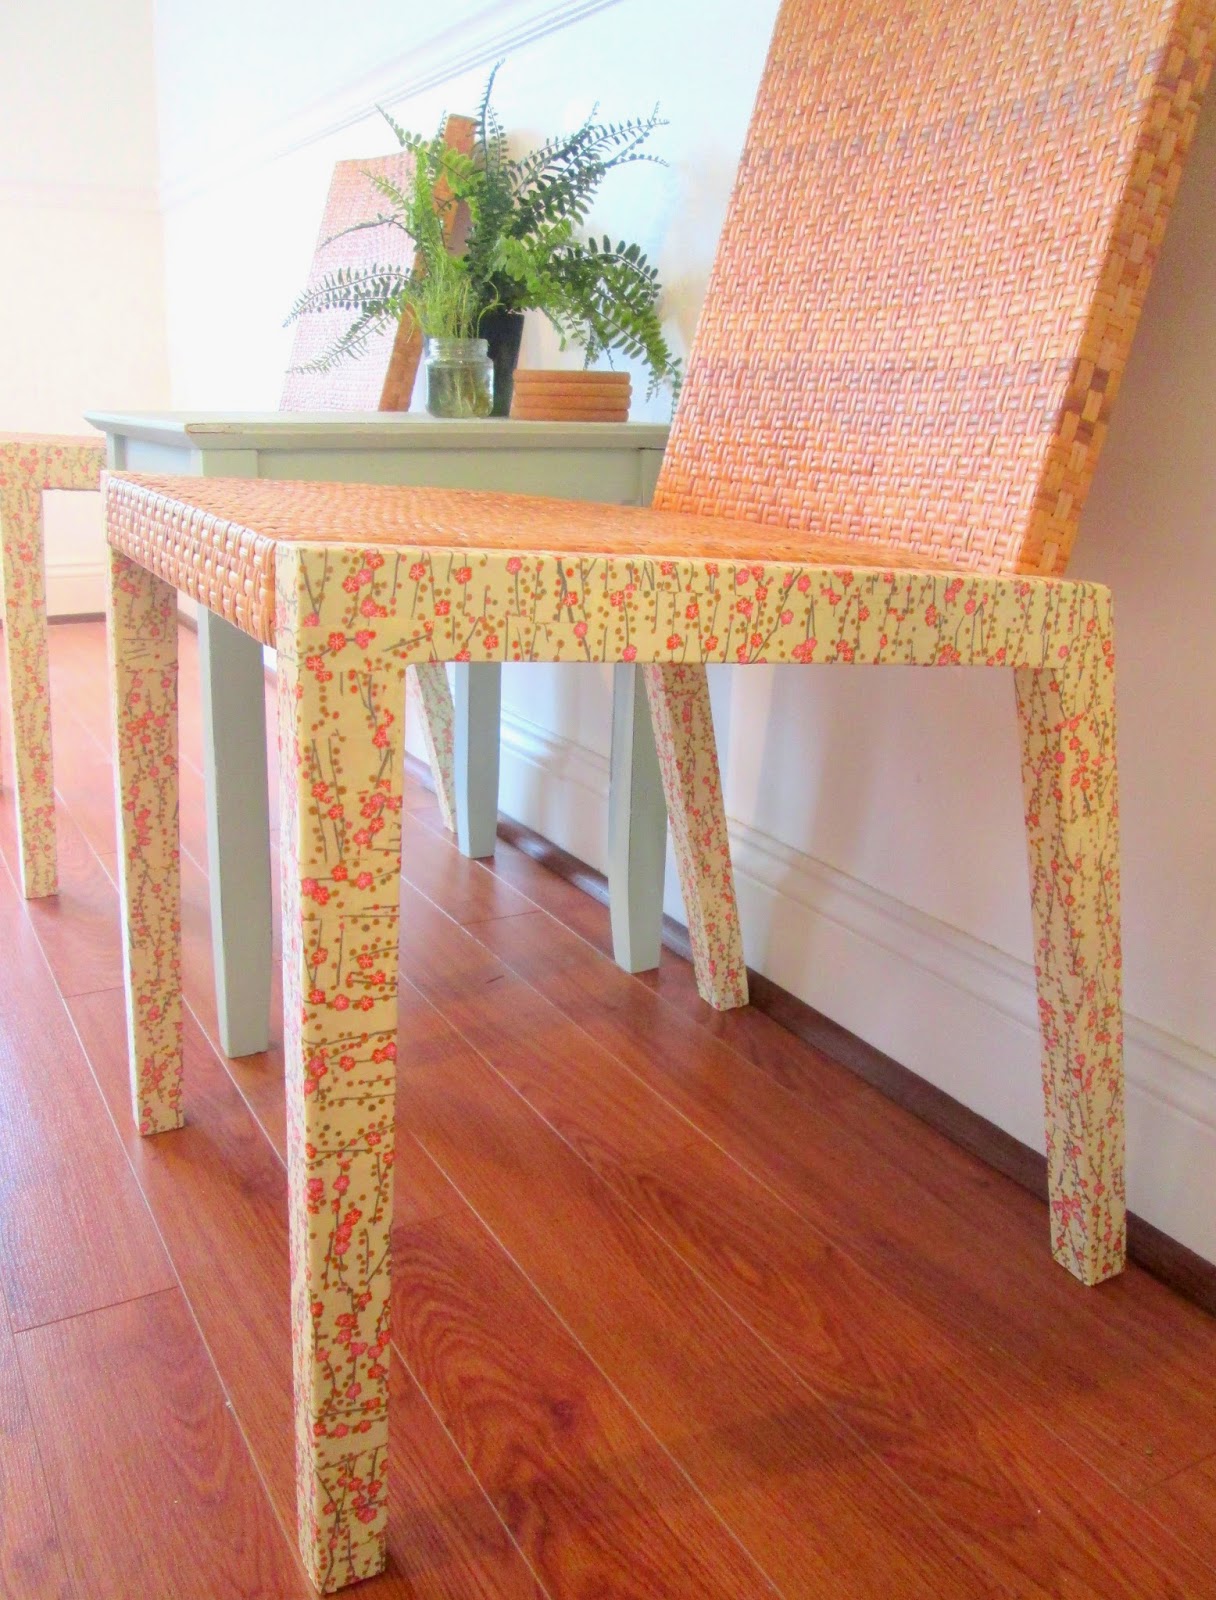
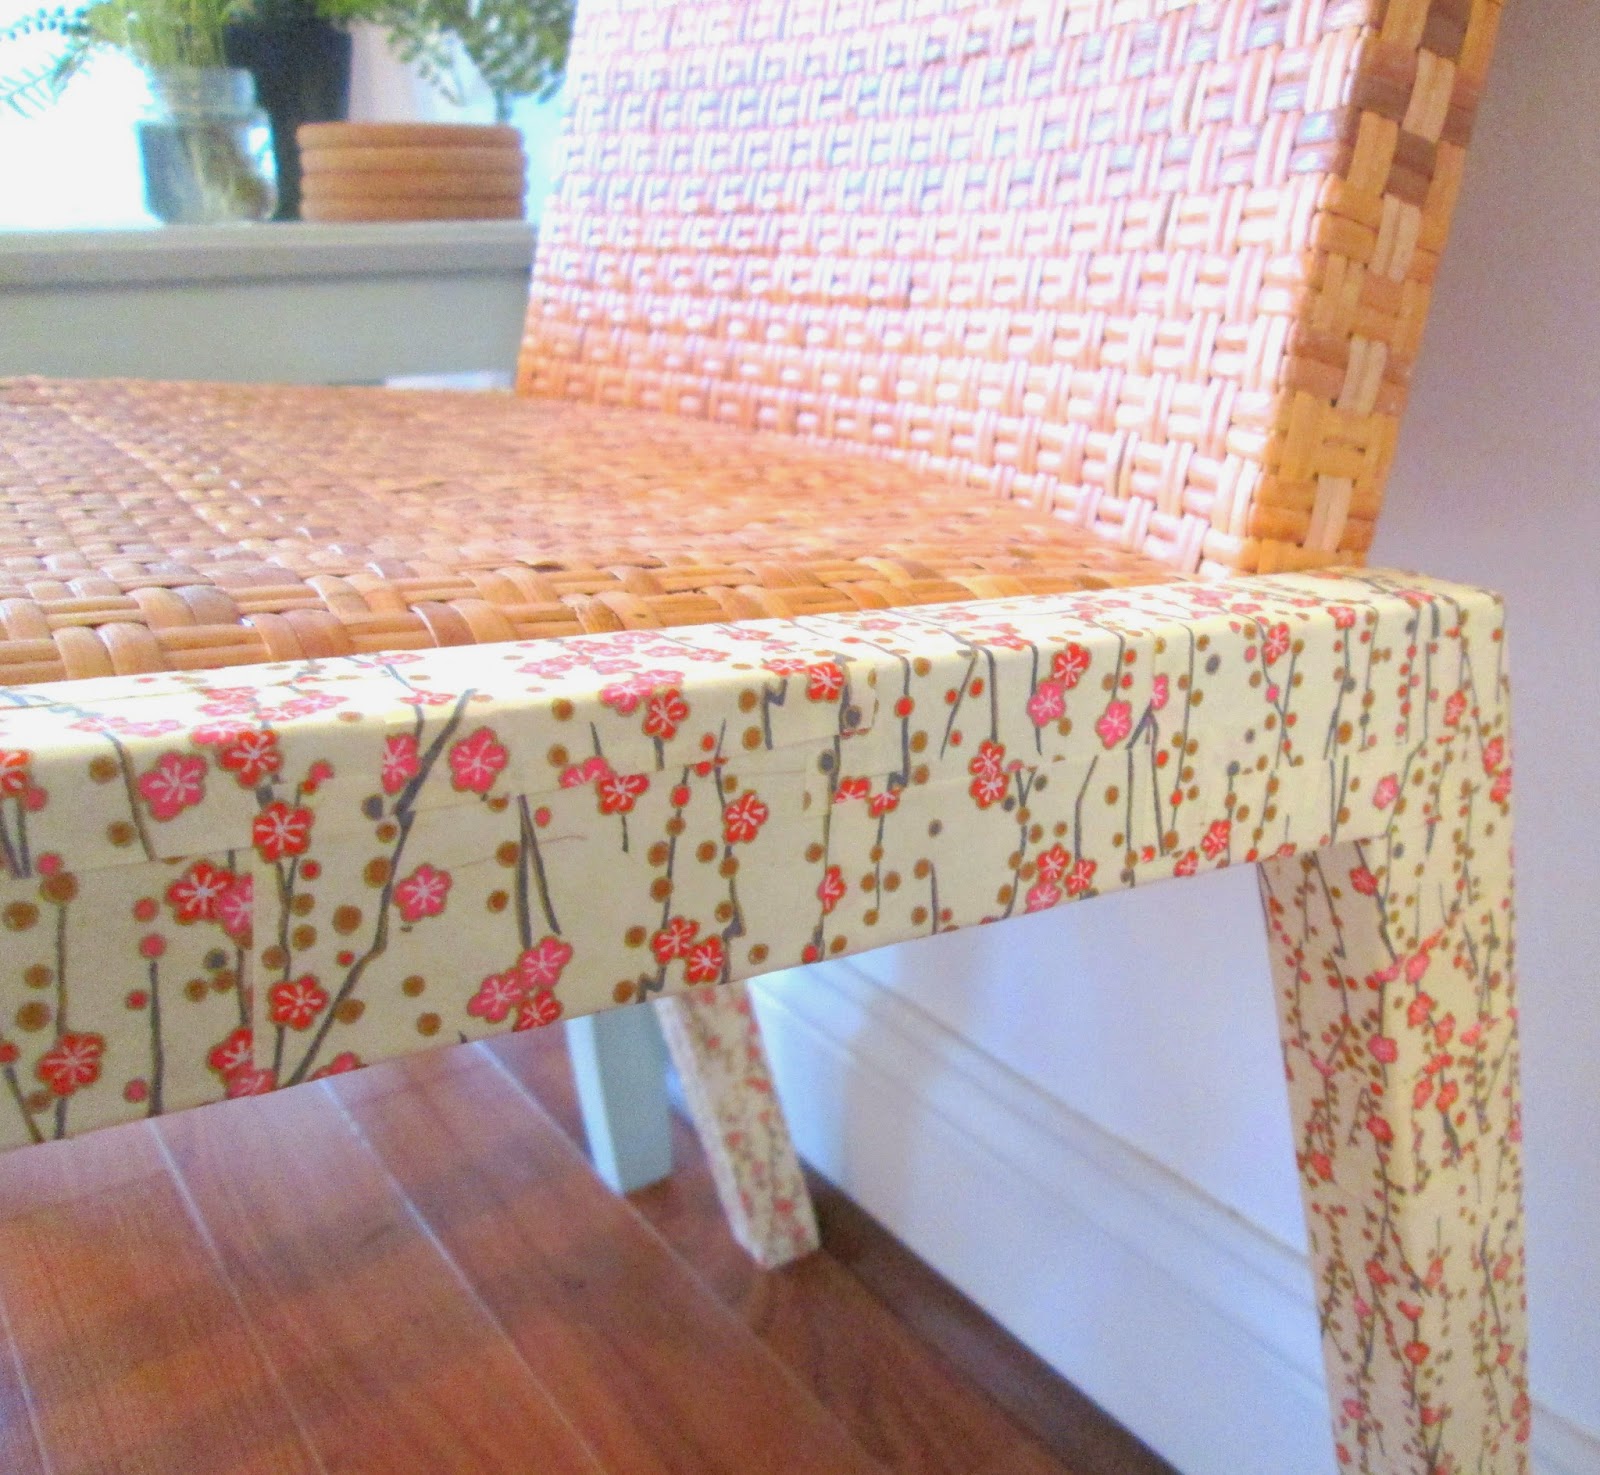
Furniture pick-up with my merry crew, (the piece is for the room makeover that Cate and I are working on)

My Shire, determined to save a lone Robin's egg from it's fallen nest.

And an up and back road trip to Philadelphia to celebrate my sister's birthday over a Phillies vs. Nats baseball game.

Displaying photo 1.JPG

Colin and Mason overlooking the Phillies ballpark

Displaying photo 2.JPG

Me, Mom, Casey, (sister), Shire

Displaying photo 3.JPG

Matt, (husband), and Mason

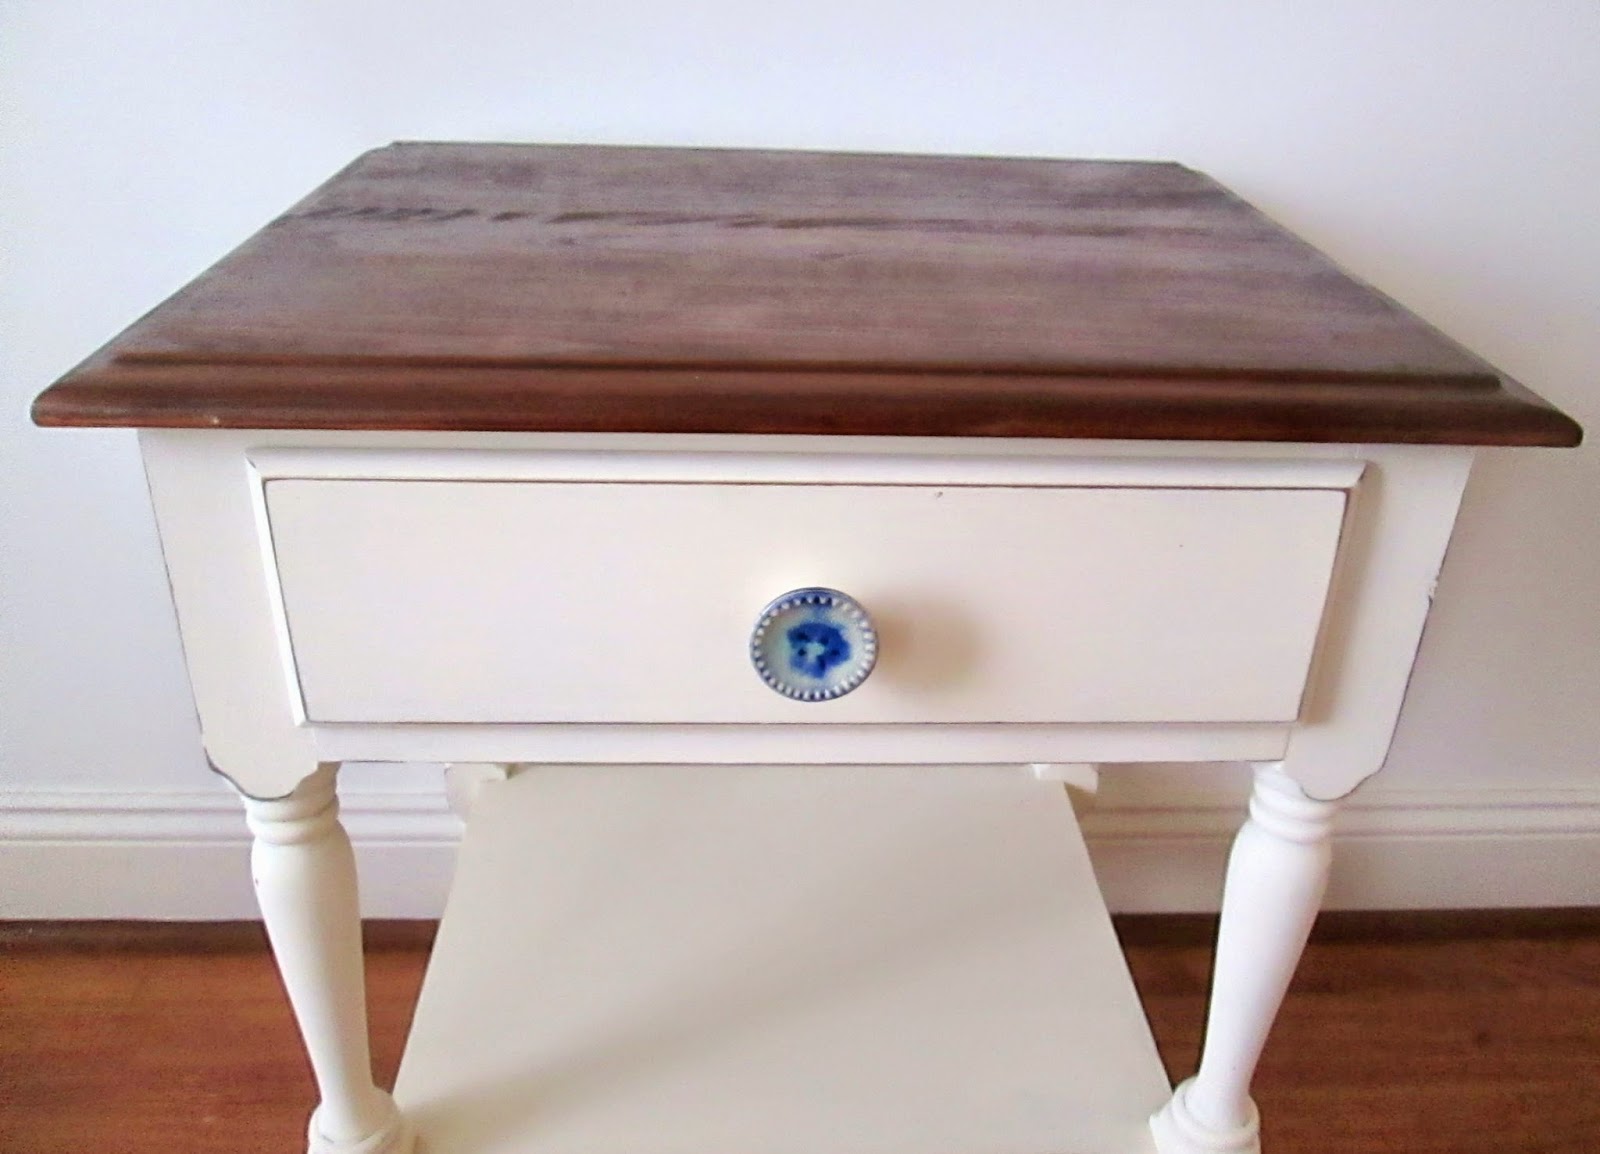
It was a beautiful weekend, indeed. Kicking off our new week is another Peek-A-Week piece I'll be selling at our garage sale on June 7! (see the first one here) Today's peek is of this adorable table refinished in Old White and gently distressed. I stripped and stained the top in Minwax Hickory and added a simple blue and mint watercolor inspired knob. Love the simple details that give this piece depth of character and interest!

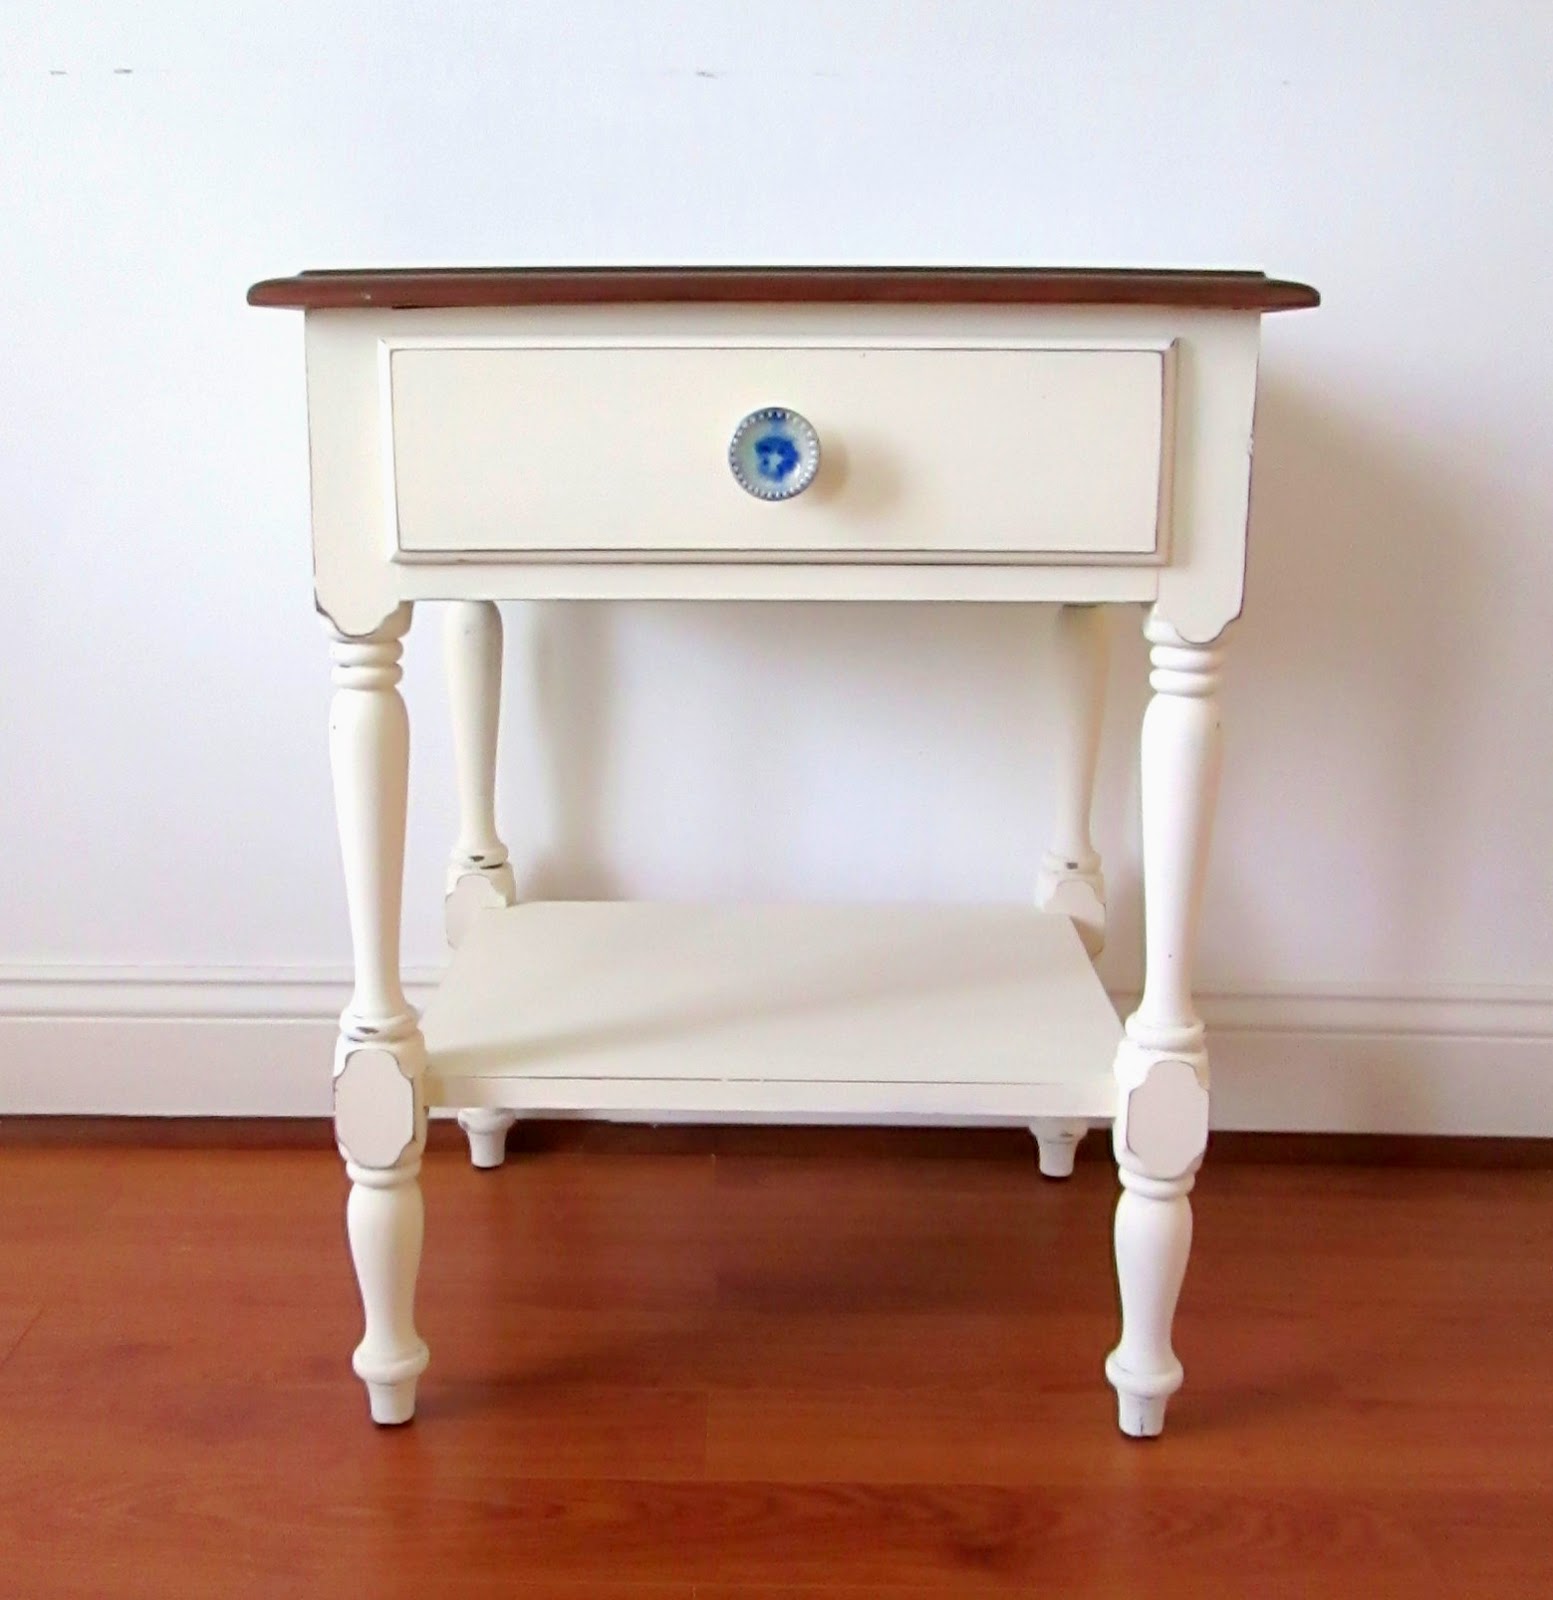
Just for fun, a before & after side-by-side:

Find this and other pieces at the fifth Chelsea's Garage sale!
June 7, 9am-3pm
My garage in Herndon, VA! (email me for address)
Stop by, grab a refreshment and find a treasure to take home!

On the agenda this week is refinishing that piece crammed in our van in the first picture, (for my parents' guest room makeover). I'm using an Annie Sloan Chalk Paint color I've never used before. Will be back soon with pictures!

Thank you for stopping by!

~Chelsea

This post was published under Chelsea's Garage, now affectionately known as StyleMutt.

Fresh IKEA hack, (without using paint)!

Hi friends! There are few things that motivate me like a good challenge. When PopSugar Select Home

asked for submissions of brand new IKEA hacks, I knew I wanted to try something a little different. I'm so excited to share this idea which they've selected to feature here along with a handful of other creative hacks! (And since this post, I also hacked two of IKEA'S ever popular Jennylund chairs - they went totally mid-century modern - check them out here!)

Decoupaged IKEA Bror chairs!

Want a fresh transformation that doesn't require popping open a can of paint? Today I'm excited share a brand new IKEA hack using the most gorgeous paper and a couple of plain IKEA Bror chairs. The technique? Decoupage with Mod Podge, (yup, that's just as fun to say as you might guess)! The art of decoupage, (gluing cut-out bits of colored paper onto objects), has been around for many centuries, and there's a reason it's still popular today! It's inexpensive, easy to do, and the sky is the limit with what you can do!

Now, painting furniture is another fantastic way to achieve dramatic transformation. However, sometimes painting furniture can be intimidating, (and the supplies can be expensive). And other times, paint simply doesn't do the trick. Such was the case with this pair of IKEA Bror chairs. The legs on these chairs were initially painted in a soft, chippy grey. Pretty, but it was a rather dull disappointment. Certainly not the fresh update that these chairs were begging for!

So, after a quick trip to Paper Source to pick up some pretty paper, (I chose the  Yuzen Cherry Branch  pattern), and then to Michaels for a small bottle of Mod Podge, (I chose the Hard Coat in the purple bottle), I set out to really transform these Bror chairs.

Here is the small list of the supplies I used:
Paper of choice
Scissors
Hard Coat Mod Podge
Small paint brush
Paper towel, (to lay my cut-outs on while applying the glue)

The steps for this project were very simple:

1. Cut the paper into rectangular strips, ranging in size from 2" - 4"

2. Lay each strip face down on the paper towel, dipped the brush in the Mod Podge, and applied a liberal amount onto the back of the strip, (do this one strip at a time).

3. Line the strip up to where you want it to be applied, and run your fingers across it so that it adheres to the surface.

4. Smooth out any 'bubbles' in the paper with your fingers for a nice, smooth finish.

Now this pair is echoing the blooming outdoors with their blossoming legs!

Using a paper with a smaller pattern helps create a more cohesive look across the finished product.

So there you have it! A fresh and sweet update for the IKEA Bror chair! 

Thank you for stopping by!

~Chelsea

This post was published under Chelsea's Garage, now affectionately known as StyleMutt.

Room makeover in progress!

Hi guys! I have GOT to share this note I received from my grandma yesterday, following my previous post, (which you'll need to read to understand):

"Chelsea, the only time cows stay out late (all night) is in the summer when its warm.  The cows come home around 4:30 PM. cause they get full, if u get my drift!!!  Gm L"

My grandma grew up on a farm; I just love when she shares little tid-bits like that. Isn't she hilarious?!? I love you, Gm L. :)

Today is just a quick pop-in to fill you in on some exciting things going on here! I have a bad habit, as a blogger, of not sharing things I'm working on until they're already finished and I'm able to share the oh-so-dramatic 'after' photos. But as a blog reader myself, I genuinely enjoy hearing what some of my fellow DIYers are up to, even if they're just in the beginning stages of a project. Even ideas are fun to read! 

So, that being said, there are some really fantastic projects going on right now - not just for Chelsea's Garage, but for One Kings Lane, (again!), POPSUGAR Home, (BTW, thank you guys for selecting me as your home blogger of the week over there! Check them out here and find more talented and creative bloggers), and a handful of clients. One near and dear 'client', in particular, who's project I'd like to share with you today: my Mom! 

Cate, (my friend, SIL, and clever guest poster here on CG), and I have been in cahoots planning the makeover of a guest room in my parents' new home.

Current room:

My Mom's style is so much cooler than mine. I'd describe it as very laid back and relaxed, but nowhere close to boring. She mixes raw, natural elements with funky, industrial pieces. And she's really good at adding a small dash of unexpected whim to keep things interesting and to prevent a room from feeling too serious. The coolest things in my wardrobe have come from her and my favorite elements in my home are inspired by her. 

After Cate and I had a chance to hear some of my Mom's hopes and desires for the room, we've come up with a key check list:

-Keep the Queen bed, (rather than replace it with a King), but make the bed appear larger in the room. Hard to tell from this photo, but it is a rather large room. The room could easily handle a King, but why replace a perfectly good bed in excellent condition unnecessarily? The Queen stays, but make it appear larger than it is.

-Find a storage piece that can also be used for the TV. It's just a small box TV with a VCR, (what's that?), and the only three guests that would happen to use it, (until there are others), are my little ones. But, my Mom loves putting a little video on for the kids up in that room when they're having trouble calming down for a nap. It's a nice room where all three of them can relax on the bed and at least have some quiet time, if not a nap, when we're all over there visiting for an extended period of time. The piece also needs to have a decent amount of storage, be high enough to watch the TV from the bed, and not be so bulky that it's difficult to walk around.

-Design the room around this piece of art which my Mom picked out at HomeGoods. Isn't it gorgeous?! It'll go right above the bed and serve as a central focal point for the room. 

This painting is our inspiration as we collect ideas for bedding, lighting, floor coverings, furniture, everything.

 How fun is that!!

-Comfortable seating area for guests to read, take a nap, feed a baby, (my Mom quite adores her grand-babies), or just kick-back, (while perhaps watching, yet again, the animated Robin Hood with the kids).

Those cover some of the main elements that Cate and I have been tackling and we are so excited about a few ideas that are both imaginative and stunning. Rather than wait until the room is completely done, I'm going to do my very best to take lots of photos of the room as it transforms and keep you updated on the progress. 

Now, should we try to keep my Mom out of the room until it's completely finished, (after the painting is done)? I vote YES!!

Thank you for stopping by!

~Chelsea

This post was published under Chelsea's Garage, now affectionately known as StyleMutt.