Hello! I'm Chelsea's favorite accent chair. That's right, number one. I'm big-time, baby!
What? You don't see anything special? Come take a closer look!
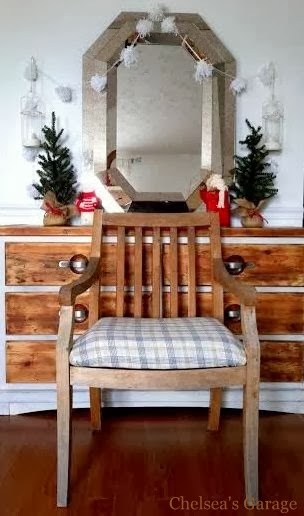
Just a little closer...
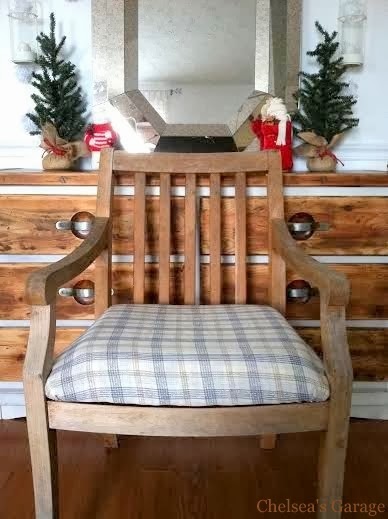
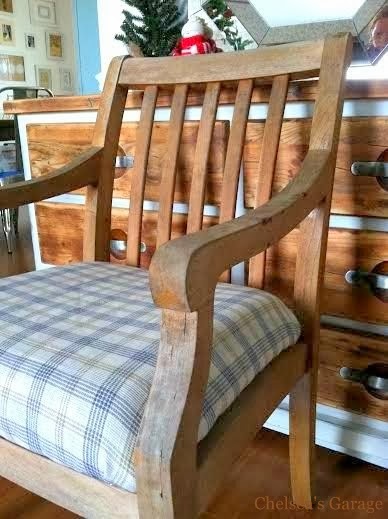
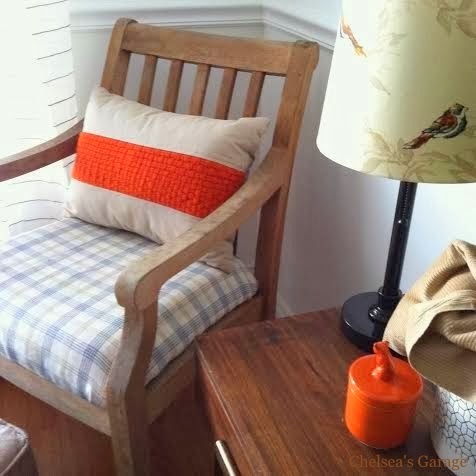
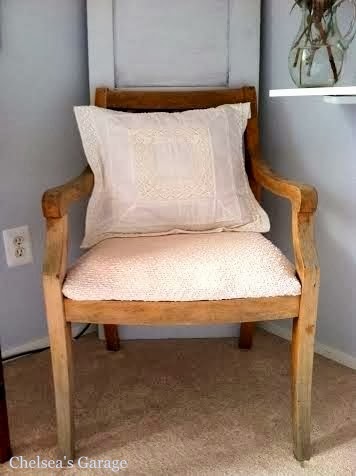
There! Just look at the grain of my faded, weathered wood. I was left outside for a long, long time before Chelsea found me, fixed my seat and brought me in.
But, there's still more to me than meets the eye...
Hi guys! Today it is an awesome pleasure to help out some friends over at One Kings Lane!
(okay, so maybe I'm over-thinking this relationship) When they contacted me to ask for some help introducing their new Home Decor Resource, (a useful tool for finding and using accent chairs), I was ecstatic! Not only have I been inspired by OKL for years now, they asked if I would feature my favorite accent chair in my home through using their Home Decor Resource. I love OKL and I love accent chairs; what an awesome project!
Since I tend to lean towards pieces that will give me the most function and versatility for my money, I've decided to share my favorite accent chair used in three completely different settings in our home: our living room, dining room, and master bedroom. Our home is not on the large side so it's important to me to find pieces that can hold more than one job and step up when needed here or there!
This solid wood armchair found on the side of the road is exactly the versatile piece I'm talking about! A chair with a removable seat that can be recovered is good as gold. Fabric does not have to be expensive, and when you only buy one yard at a time to recover a seat, it's a quick makeover that costs you less than $10 and 10 minutes of your time!
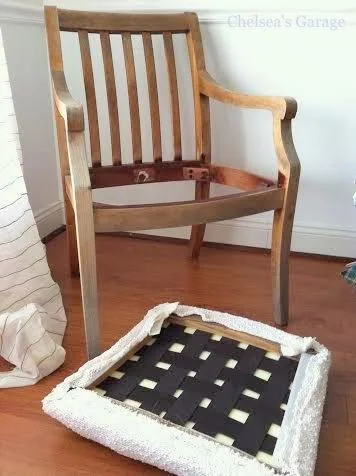
Invest in a staple gun and you can give your chair as many different looks as you'd like!

Living room
For our living room I covered the seat in a navy and gold plaid cotton fabric. The colors are warm, sophisticated and give the chair a cozy look for winter.
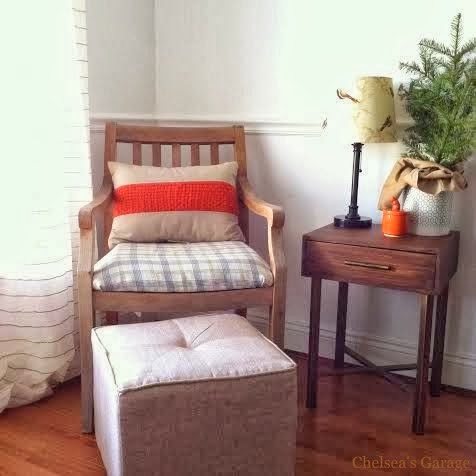
Paired with an appropriately proportioned lumbar pillow and tuffed ottoman, this simple armchair takes on a larger presence that invites you in to curl up with a warm drink and favorite read.

Accent chairs are wonderful pieces that can create a quiet little moment in a large and busy room. I love tucking them back a bit from the hustle and bustle of foot traffic.


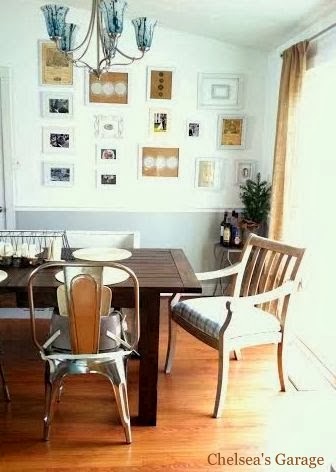
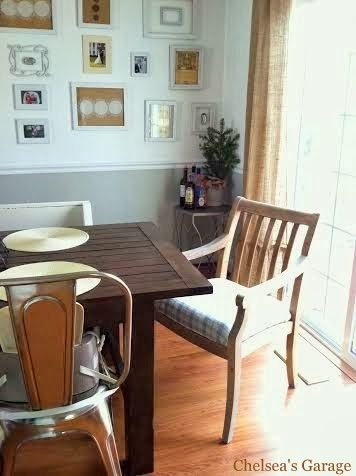
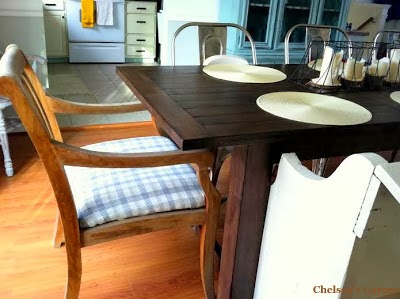
Dining room
Over the holidays we tend to need extra seats around our dining table - but I hate the idea of buying a dozen dining chairs if I am only going to use 5 for the bulk of the year! So, my handy armchair steps in as head of the table when we need to borrow a few extra seats from around the house. What a great fit!
Master bedroom
With a quick fabric switch my favorite accent chair is nestled in my favorite spot in our bedroom.

The fabric I chose for our bedroom is an ultra soft ivory chenille.


To learn more about finding just the right armchair, head over to One Kings Lane's Home Decor Resource! It's a wonderful tool for answering tricky placement questions, finding a chair from the right era appropriate to your home's decor, and browsing various styles. I think you will find it a helpful source for inspiration; I sure did!
And a huge thank you to One Kings Lane for inviting me to help them introduce their Home Decor Resource!
Thanks for stopping by!
~Chelsea
This post was originally featured under Chelsea's Garage, now affectionately known as StyleMutt.