Reader Design: Cate's Color-Clad Loft

I'm doing my Friday dance extra hard today because I get to share an extra special Reader Design - Cate's!!! Cate is actually moving today out of her and my brother's first apartment together. They moved in over a year ago after their wedding, and while it's on the small side, I absolutely adored everything they, (Cate), turned it into. 

It seems that it's a right of passage for your first place to be sub par, am I right? Do you remember your first place when you were just starting out and were supposed to have the world at your fingertips? Was it tiny and infested with vermin? Did you have to drag your groceries up three floors of stairs? Does anyone actually remember their first place and miss it?! And yet, that first place will always hold a sentimental place in your heart.

In honor of that sentimental place, I asked Cate if she'd mind me featuring their first apartment, (a studio loft), as our Reader Design today. It hasn't been the easiest place for them to live, but I know you all will be absolutely amazed at what she did with it!

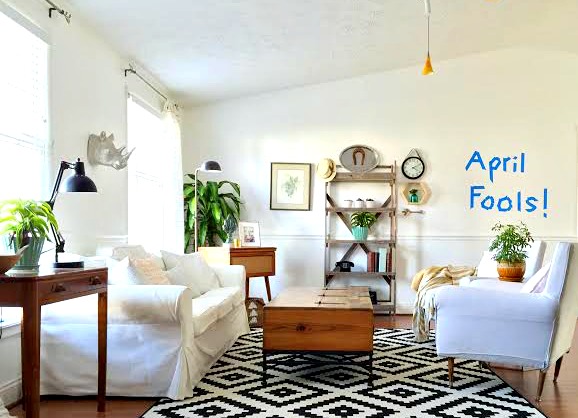
Living Room

From Cate:

"We are very proud of our newlywed nest;  I'm proud that I managed to make my extensive collection of roadside rescue furniture and DIY decor work for a small space.  And Caleb is proud that he found us an apartment that, although minuscule, still has more than one bathroom {1.5 to be exact} and a flight of stairs.

We have our extra storage in this faux-front apothecary chest from Kirklands.  Above it hangs another engineer print that was converted to a faux pull-down chart, (tutorial here)."

"On our walls hang some original artwork - two acrylic paintings and one art piece made using a photo-to-canvas transfer method from A Beautiful Mess. Suitcases on the wall provide extra hidden storage."

"Extra credit if you spotted the roadside rescue from Chelsea's suitcase table post!"

Yes, we often want eachothers' flips. :)

"Behind the floating sofa is an old metal file cabinet that I spray painted aqua.  It provides a great place to hold all my tools since we don't have a garage. Head up the stairs and you'll find the remnants of an old church pew from my childhood church in DC."

Not a typical first place, is it?! With singing colors at every angle and clever ideas from floor to ceiling, this is one of my favorite inspirational spaces. Just wait until you see the upstairs...

Bedroom

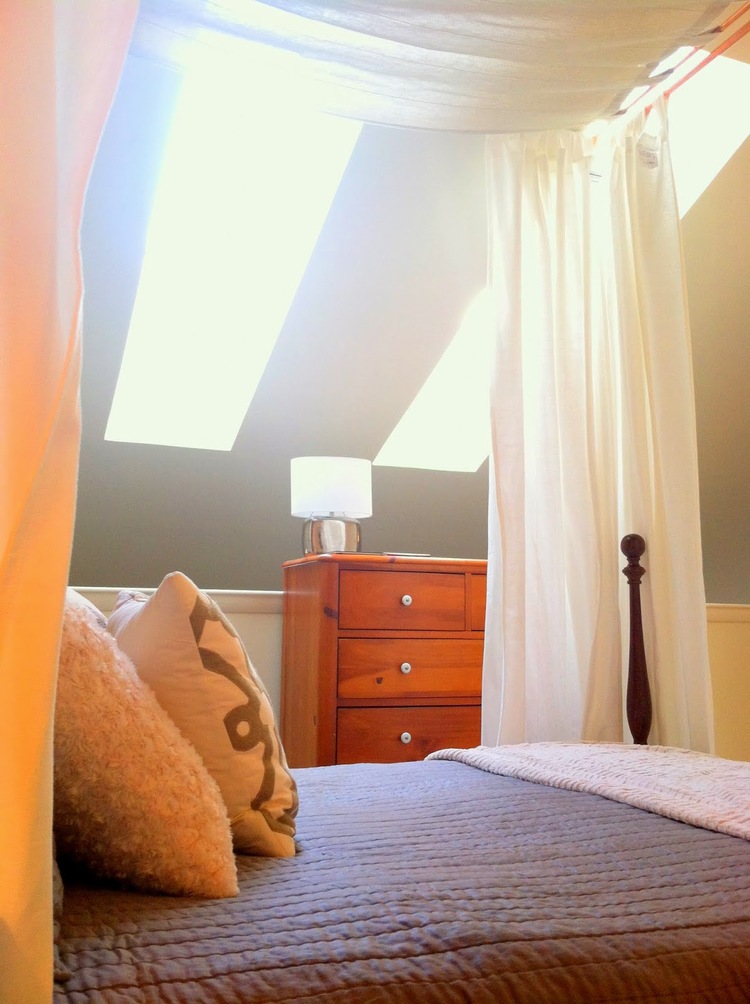
"Our bedroom is small and comes with some {BRIGHT} skylights.  After extensively researching my options for how to keep such strong sun out so that Caleb could sleep in, I decided on building a ceiling canopy around our bed.  The curtains are hung from a rectangular frame made from copper pipe and pipe fittings from Home Depot.  There are two curtain panels for the "headboard", one for the top canopy, and 3 pairs {6 total} for the remaining 3 sides."
 

I know. It's so gorgeous I can't get over it.

Hello, sun!! No wonder Cate had to come up with a solution to block those skylights!
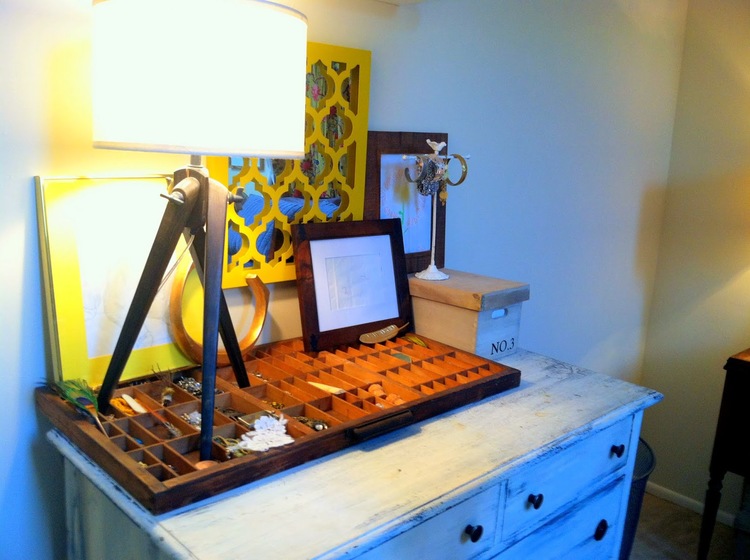
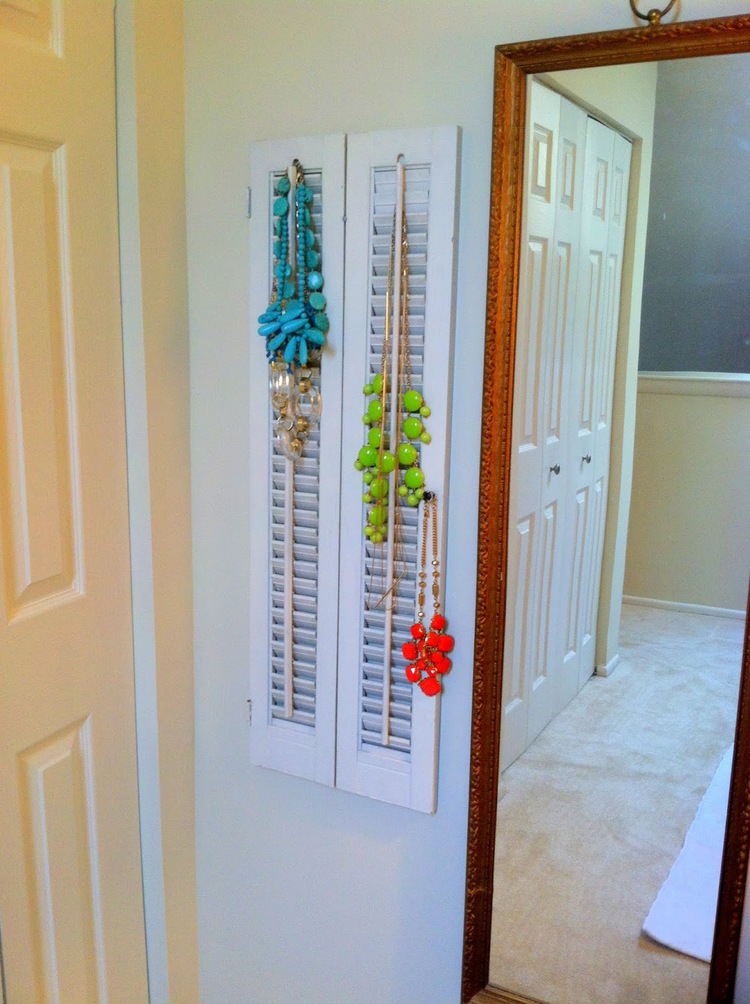
Check this post for more of Cate's creative ideas for organizing and displaying jewelry!
Let's see one more of that stunning living room:

Consider my inspiration tank FULL! Cate, thank you so much for letting me share this today. It's such a treat to get to work along side of you and be inspired by your passion for creating. You are such a blessing to me! Definitely looking forward to where God takes you and what you make of it in your next place! You can follow Cate's adventures on Instagram @cate_stylemutthome. 

Don't forget to submit your own spaces so we can share your work and creativity here! You can post right to our Facebook page, or tag #stylemuttspaces on Instagram. Every Friday we share one new Reader Design - there's no requirement to be a professional decorator or even a fellow blogger. The whole point is to share inspiration with one another and keep it all in one handy spot; our SPACES page, (I could seriously kill a whole afternoon thumbing through the gorgeous tours we've got stashed in there). 

Have a wonderful weekend and Happy Easter, everyone! He is risen!



DIY Tree Stump Tables - ||Full Tutorial||

You guys, Cate and I have been working on a little side project that we are so close to finally being able to reveal! It's our first full design job and we lucked out with the sweetest young client who just moved into an apartment in Washington D.C. Aside from her bed, a sofa and a chair, we are starting from scratch. We are at the point now where most of her large pieces are done and we're moving into the fun decorating stage! 

Our client is an eclectic gal who appreciates various design styles, (so up our alley), and when she mentioned a desire to include some rustic elements in her decor, our minds jumped right to tree stump end tables, (yes, Cate and I have this weird thing going on where we often think of the same thing at the same time. It's both cooky and awesome).

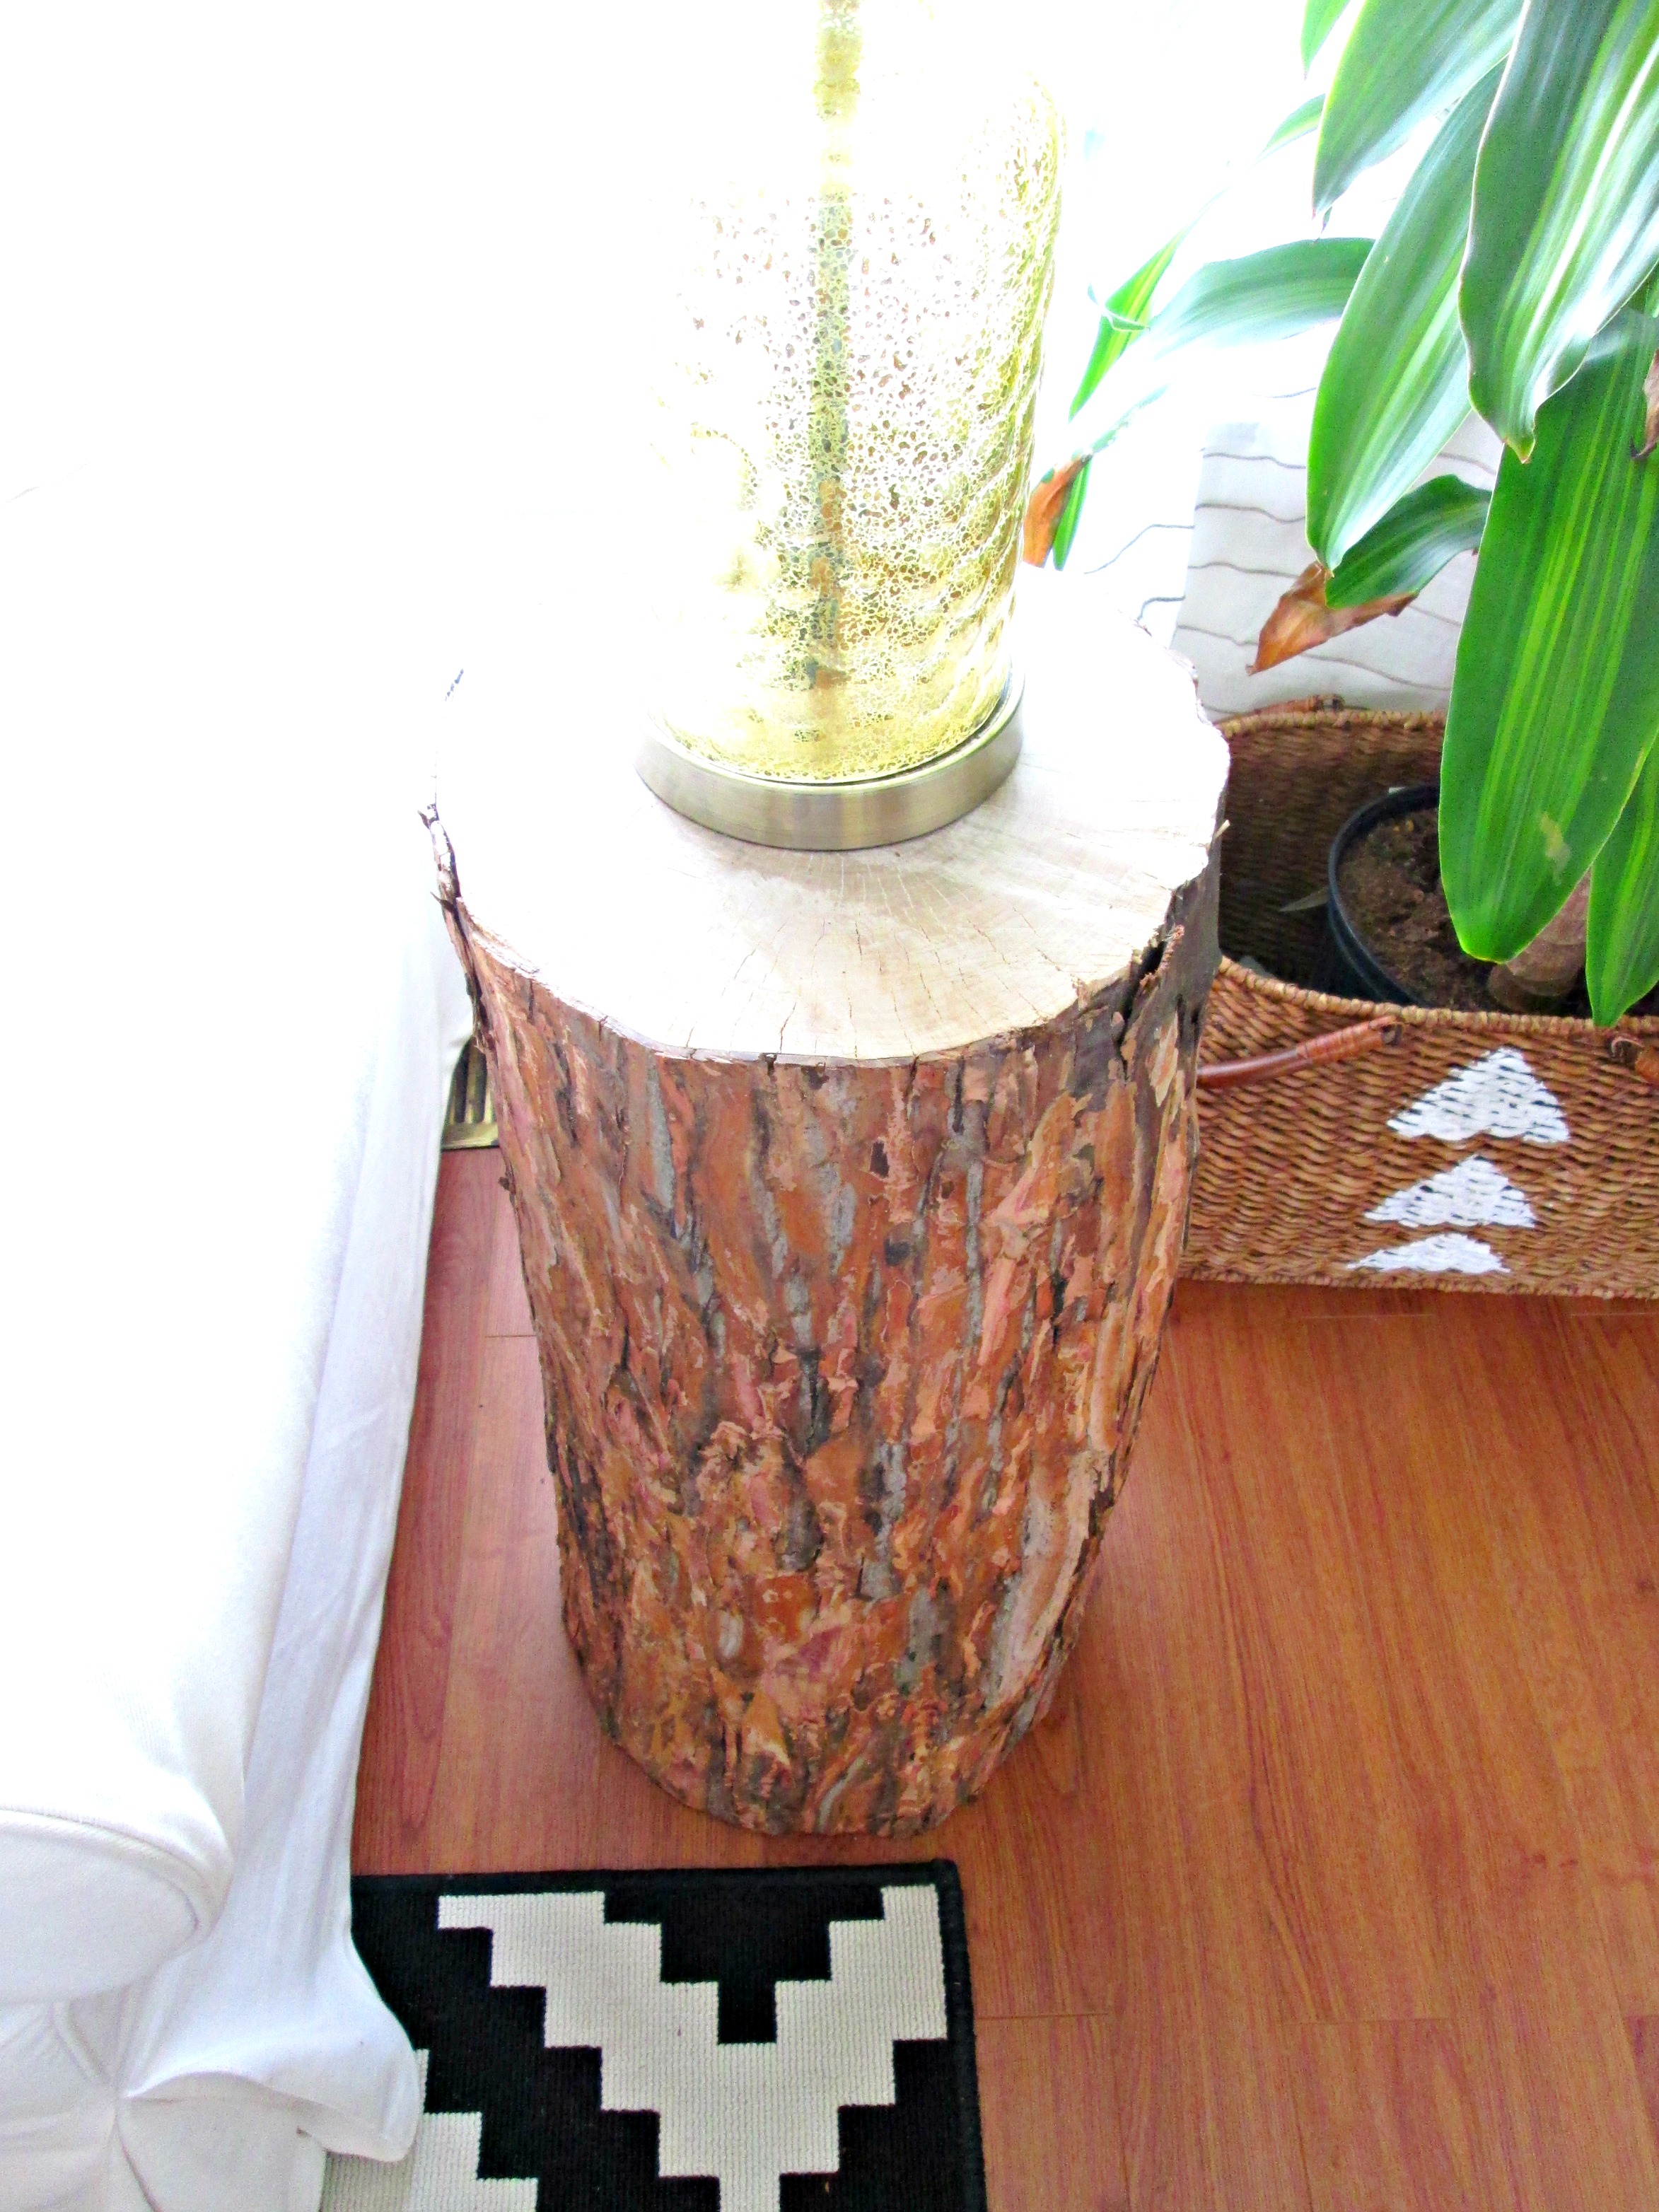
I took a few shots of one of the finished stump tables in my home to show you since we're banking suspense for a full reveal post of this secret apartment. ;)

This seemed like a quick and easy project, but once we got rolling there were a few more logistics to consider. Hopefully this information is helpful to anyone out there who wants to try this so it really is a quick and easy project for them!

The first consideration was which type of wood to use. Oak and Maple are both popular trees in our area, but with Oak being so heavy, we decided Maple would be a better option, (we're strong girls, but our client is in a second floor apartment with no elevator, so....). When we found a tree cutting service taking down some Maples in my neighborhood we hit the jackpot! They were willing to give us what wood we needed for free and even offered to cut the specific size we needed, which was 24", (although for some reason they cut us two 48" sizes, so in the end we had to cut them ourselves anyways).

The next task was bringing the stumps inside to dry out, (by inside, I mean a garage or some covered area that's not your house). This is important as it will make the next stage, (stripping the bark), a little easier, and also help get rid of any critters under the bark.

Here's what one of the stumps looked like before leveling off the surface and stripping the bark. We used a miter saw to shave off the top surface to get it more level, (thanks for taking that on, Matt).

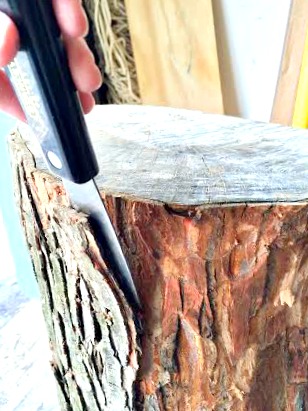
After a week or so of drying out the sumps, it was time to remove the bark! Cool as the bark looked on the stump, we wanted to warm the stumps up a bit and remove the cool grey toned bark. Also, not to deter anyone, but there are things that live in bark, so removing it will ensure a bug-free stump table. ;) 

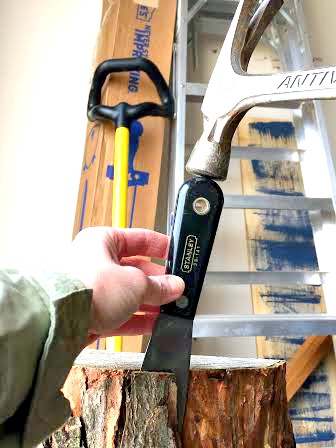
To remove the bark I used a spackle knife and hammer. I'd pry the spackle knife under the bark a bit, and then tap the hammer on the spackle knife handle to pull the bark up. Then I could just lift the bark off easy peasy.

Here is the difference between a bark and de-barked finish. Love the multi-toned warmer colors of the wood underneath the cool grey bark!

After all the bark is stripped and the top surface is sanded smooth, (I used a rough, 100 grit sandpaper followed by a fine 220 grit paper to get the top surface really smooth to the touch), it's time to seal! I sealed the entire stumps, top surface as well as up and down the sides, with Minwax Polyurethane Sealer.

And bodda-bing! You've got rustic end tables! 

We are so excited to share these tables in the context of the apartment we're working on! Soon, baby, soon. If you happen to try this project yourself, please promise you'll share with the rest of us! We love seeing and showing off your creativity and handiwork , (just post photos of your projects to our Facebook page). 

And don't feel confined to end tables - another idea for tree stumps is using them as stools - I used a chunk that we needed to cut off from the original 48" stumps to use as a little stool under our industrial shelves. It's the perfect height!

pipe shelves after1.jpg

Thank you so much for stopping by!


Latest and Greatest Design Trends of 2015

Hi All! Can you believe the first quarter of 2015 is officially behind us? Seems like it's gone by quick but so much has already happened in interior design that we've been excited to share! As with fashion, interior design style has a time traveling way of it's own, with particular decades making their way into current and modern interiors. However, there are still some trends that are cutting edge by their own right. Let's take a look!

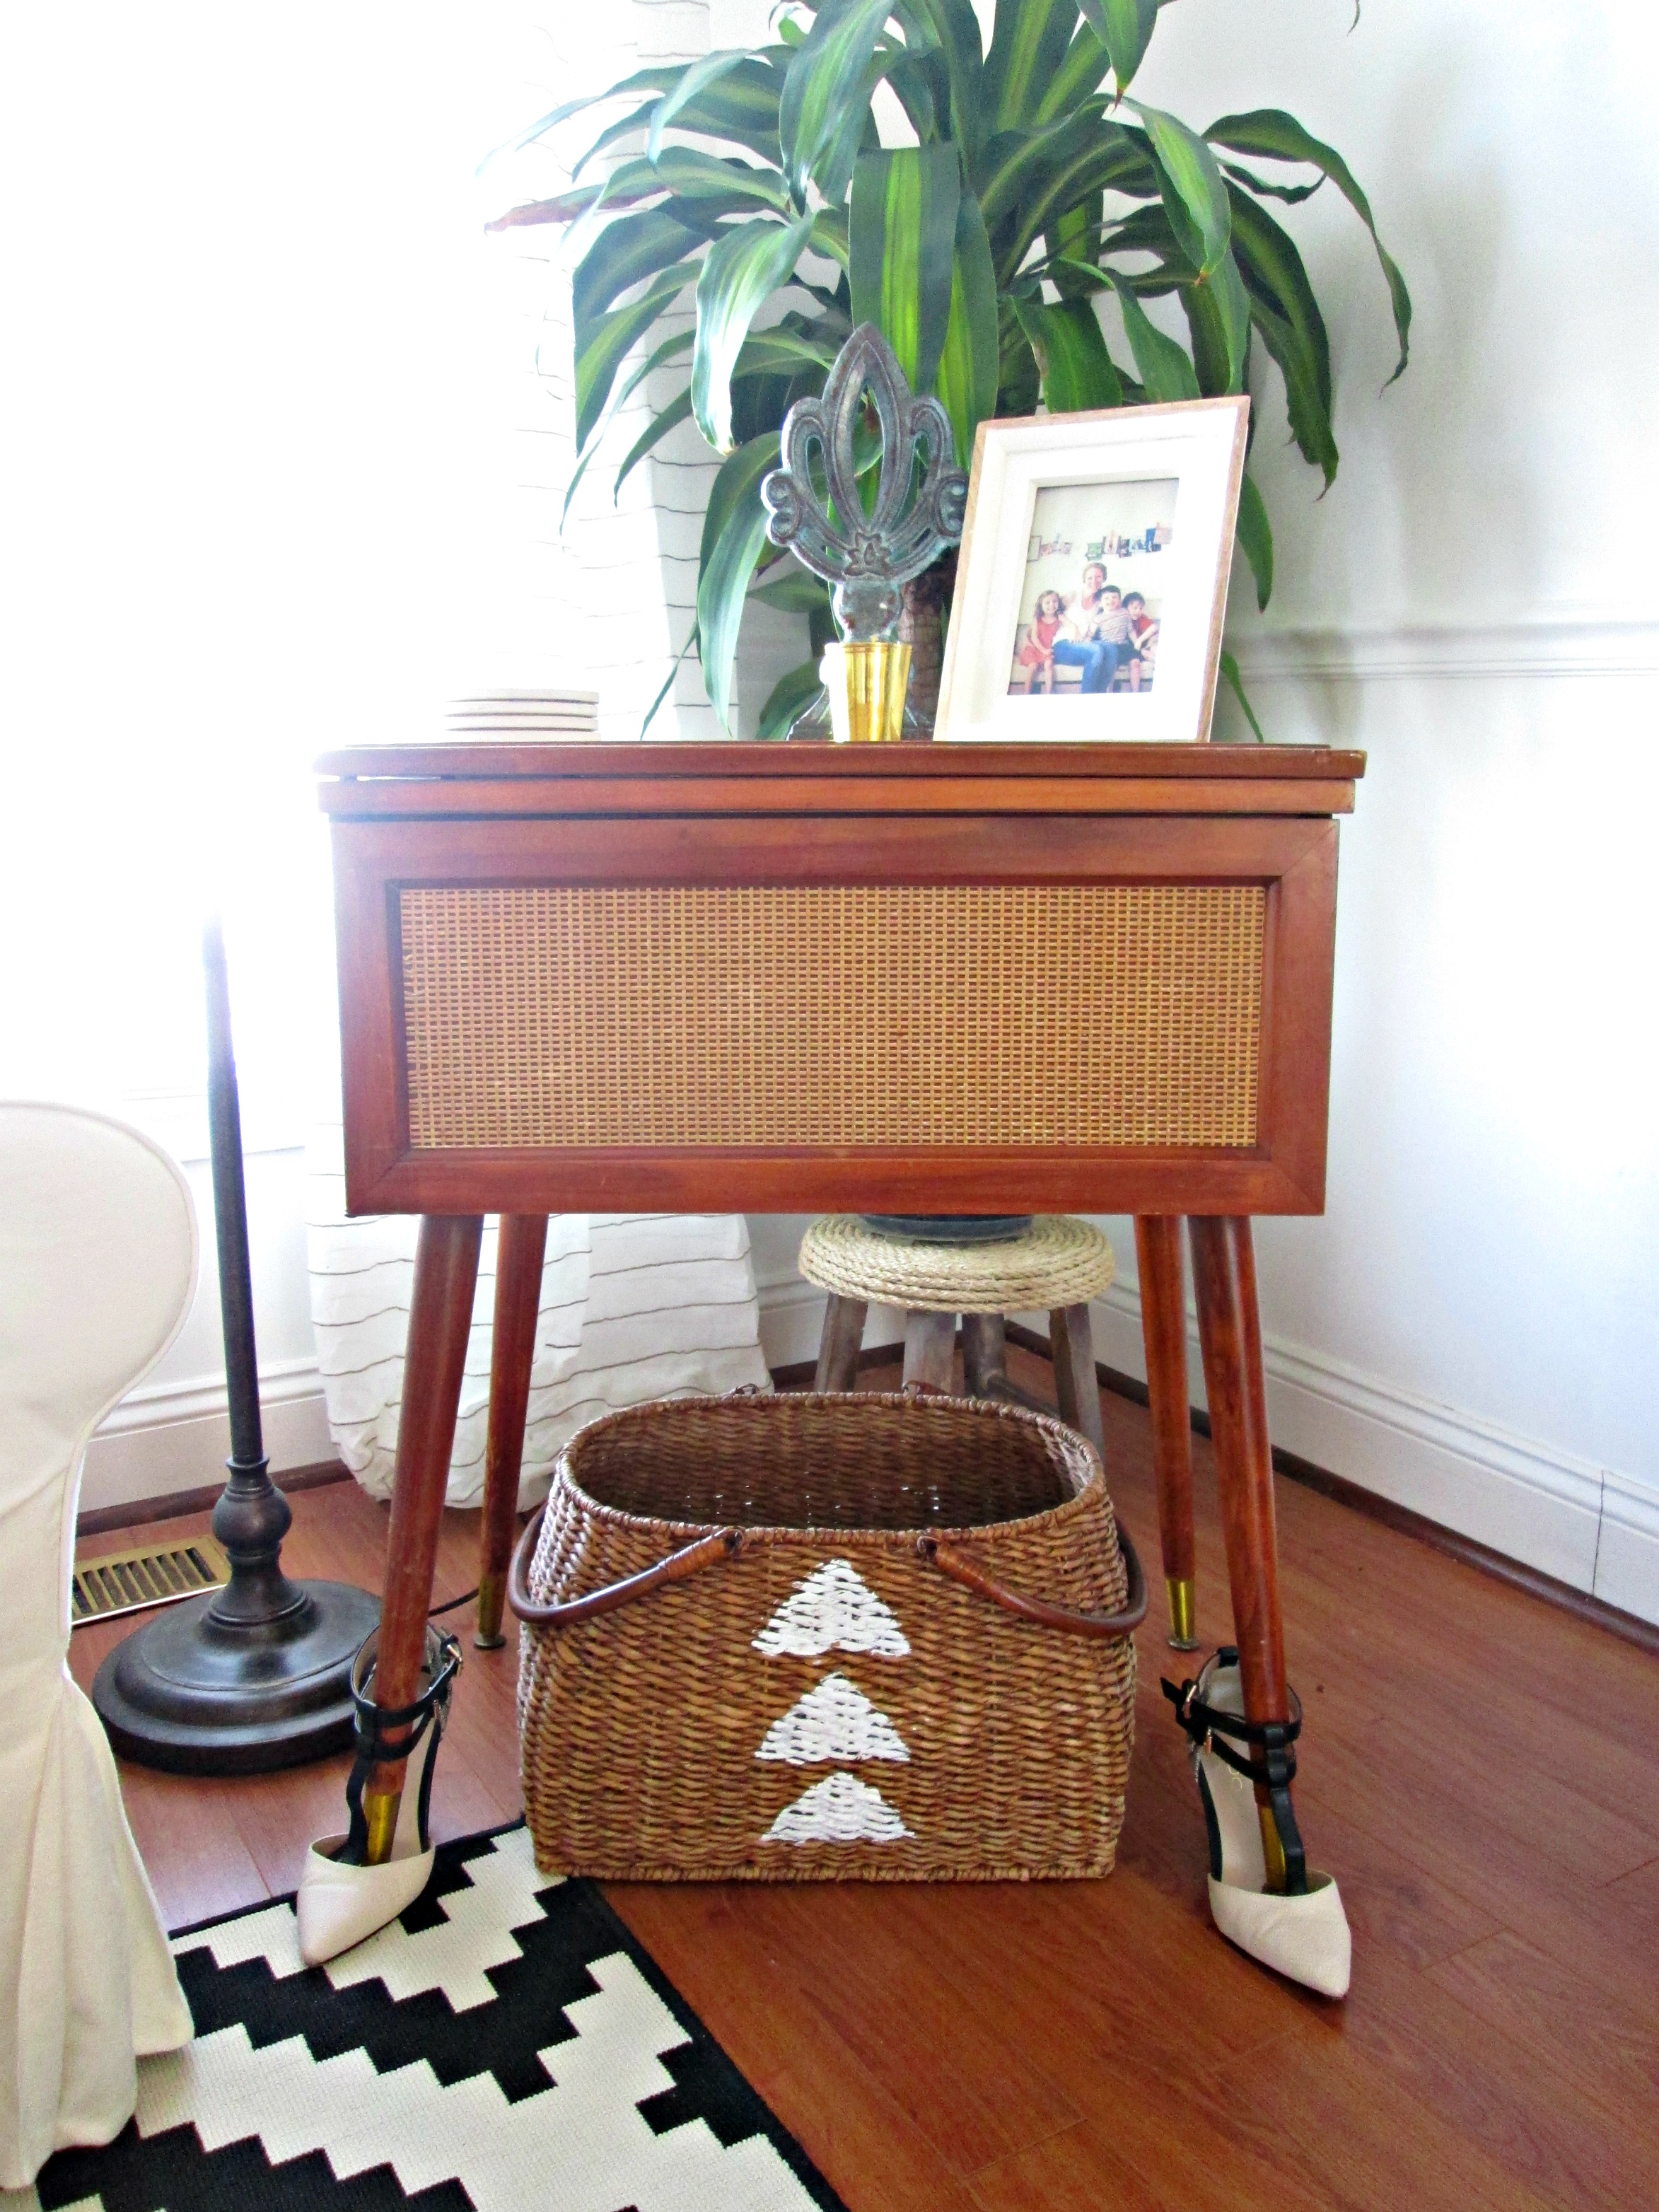
Trend 1: Furniture Shoes

Time to show off the gorgeous gams on your sofas, coffee tables, end tables and the like! The best part is you can switch the shoes out depending on occasion and season!  

Boots for the winter add an element of cozy to any room in the home!

Trend 2: Large Scale Grocery Lists

Here's a design trend for all! Everyone makes grocery lists, and now we're seeing them turned into large scale wall art. Once all items on the list are bought, just tear the tape down, throw it away, and start again! It's real living art, always evolving and changing.

Trend 3: Messy Drawers

Why hide the brilliant display of color in your wardrobe inside dresser drawers? Let your clothes breath and leave those overly full drawers open a smidge. The snap of color adds instant whim and vibrancy to the room. This is one of the most consistent trends we've seen in all the decor publications!

So what do you think? Ready to give any of these new trends a try? Let us know if you do - we'd love to see how you incorporate these ideas into your own style!

Thank you all for stopping by!