Reader Design: Shima's Clever Re-design

Hi friends! As promised, we're serving up another hot Reader Design on this long-awaited Friday! Last week Cate mentioned we'd be cutting Reader Designs down to one a week - a fun Friday Special to kick off the weekend! This gives these special posts some breathing room and allows readers, (and us), to thoroughly enjoy and be jealous of each one. :) 

You can find all our Reader Designs on our SPACES page - as you can tell, we've got quite a range of styles already! Thinkin about sharing your own? Mull no more! Reader Designs are an open invitation to share your unique design and creativity.  There are no requirements to be a professional decorator or even a fellow blogger. The purpose of Reader Designs is simply to share incredible rooms with fresh ideas and document these features in our SPACES section to use as a reference of inspiration.
Shima1.jpg

This Reader Design is certainly near to our hearts as Shima is from our neck of the woods! She's an interior designer serving the DC/MD/VA metropolitan area, and worked her magic on this gorgeous living room update! 

From Shima:

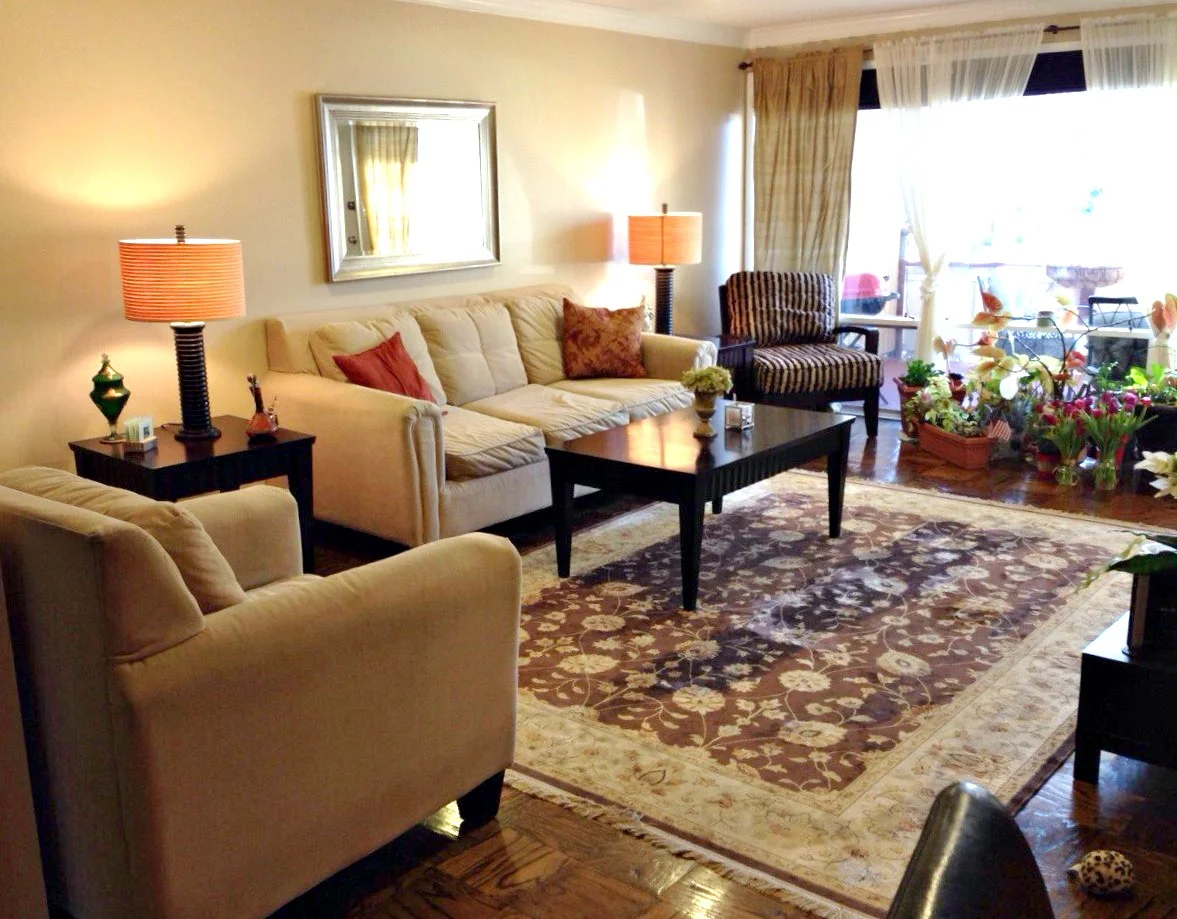
"My client wanted to update her living room as her existing furniture was not comfortable. She desired new sofas and chairs (especially a grey colored sofa), and wanted to keep her existing mirror, side tables, coffee table, and beautiful rug."

What a fantastic Before shot! Usually Befores are so utterly detestable that you imagine even the slightest bit of work would be a huge improvement! This room has great bones already! But we can't stop here. :)

Before: 0 After: 923,497,190

"The first thing we did was find a sofa that she liked, and we found this great sofa from Macy's that was comfortable and firm to sit on. Then we had a fun shopping trip to Home Goods where we picked out the arm chair, 2 high back chairs, and other decor items. She liked the color turquoise so I made that the accent color."

"The entire house was painted in this beige color, so what I did next was simply add vertical stripes.  Since the wall was very long and bare, this helped to dress it up.  I used Behr Paint, Marquee line, and the color is "varnished ivory" . Once the walls were painted, we had used the leftover paint for the lamp bases, bowl, and plant vases. These were also coated with a sealer. The main reason for painting these items was that they were dark brown and I thought the room had too much brown in it; I really wanted to lighten the look of the room. "

A personal favorite here at StyleMutt Home, too!

"Even though the main accent color is turquoise, I think it's nice to have the pops of fuchsia in there so that the eye does not get tired with the colors. I found this perfect artwork from Home Goods that had turquoise in it, along with a cute candle and fuchsia flowers.  I found vase fillers that had turqoise in them. I used the vase fillers to decorate the coffee tray (3 green moss colored balls) as well as fill a bowl for the side table."

"Since we had a grey sofa with a very strong shape to it, I wanted to soften it up with a chenille faux fur throw over one of the arms-- this also provided a nice texture and tied in the brown color of the throw with other browns (such as in the rug) so it tied it all together. "

That spot. Right there.
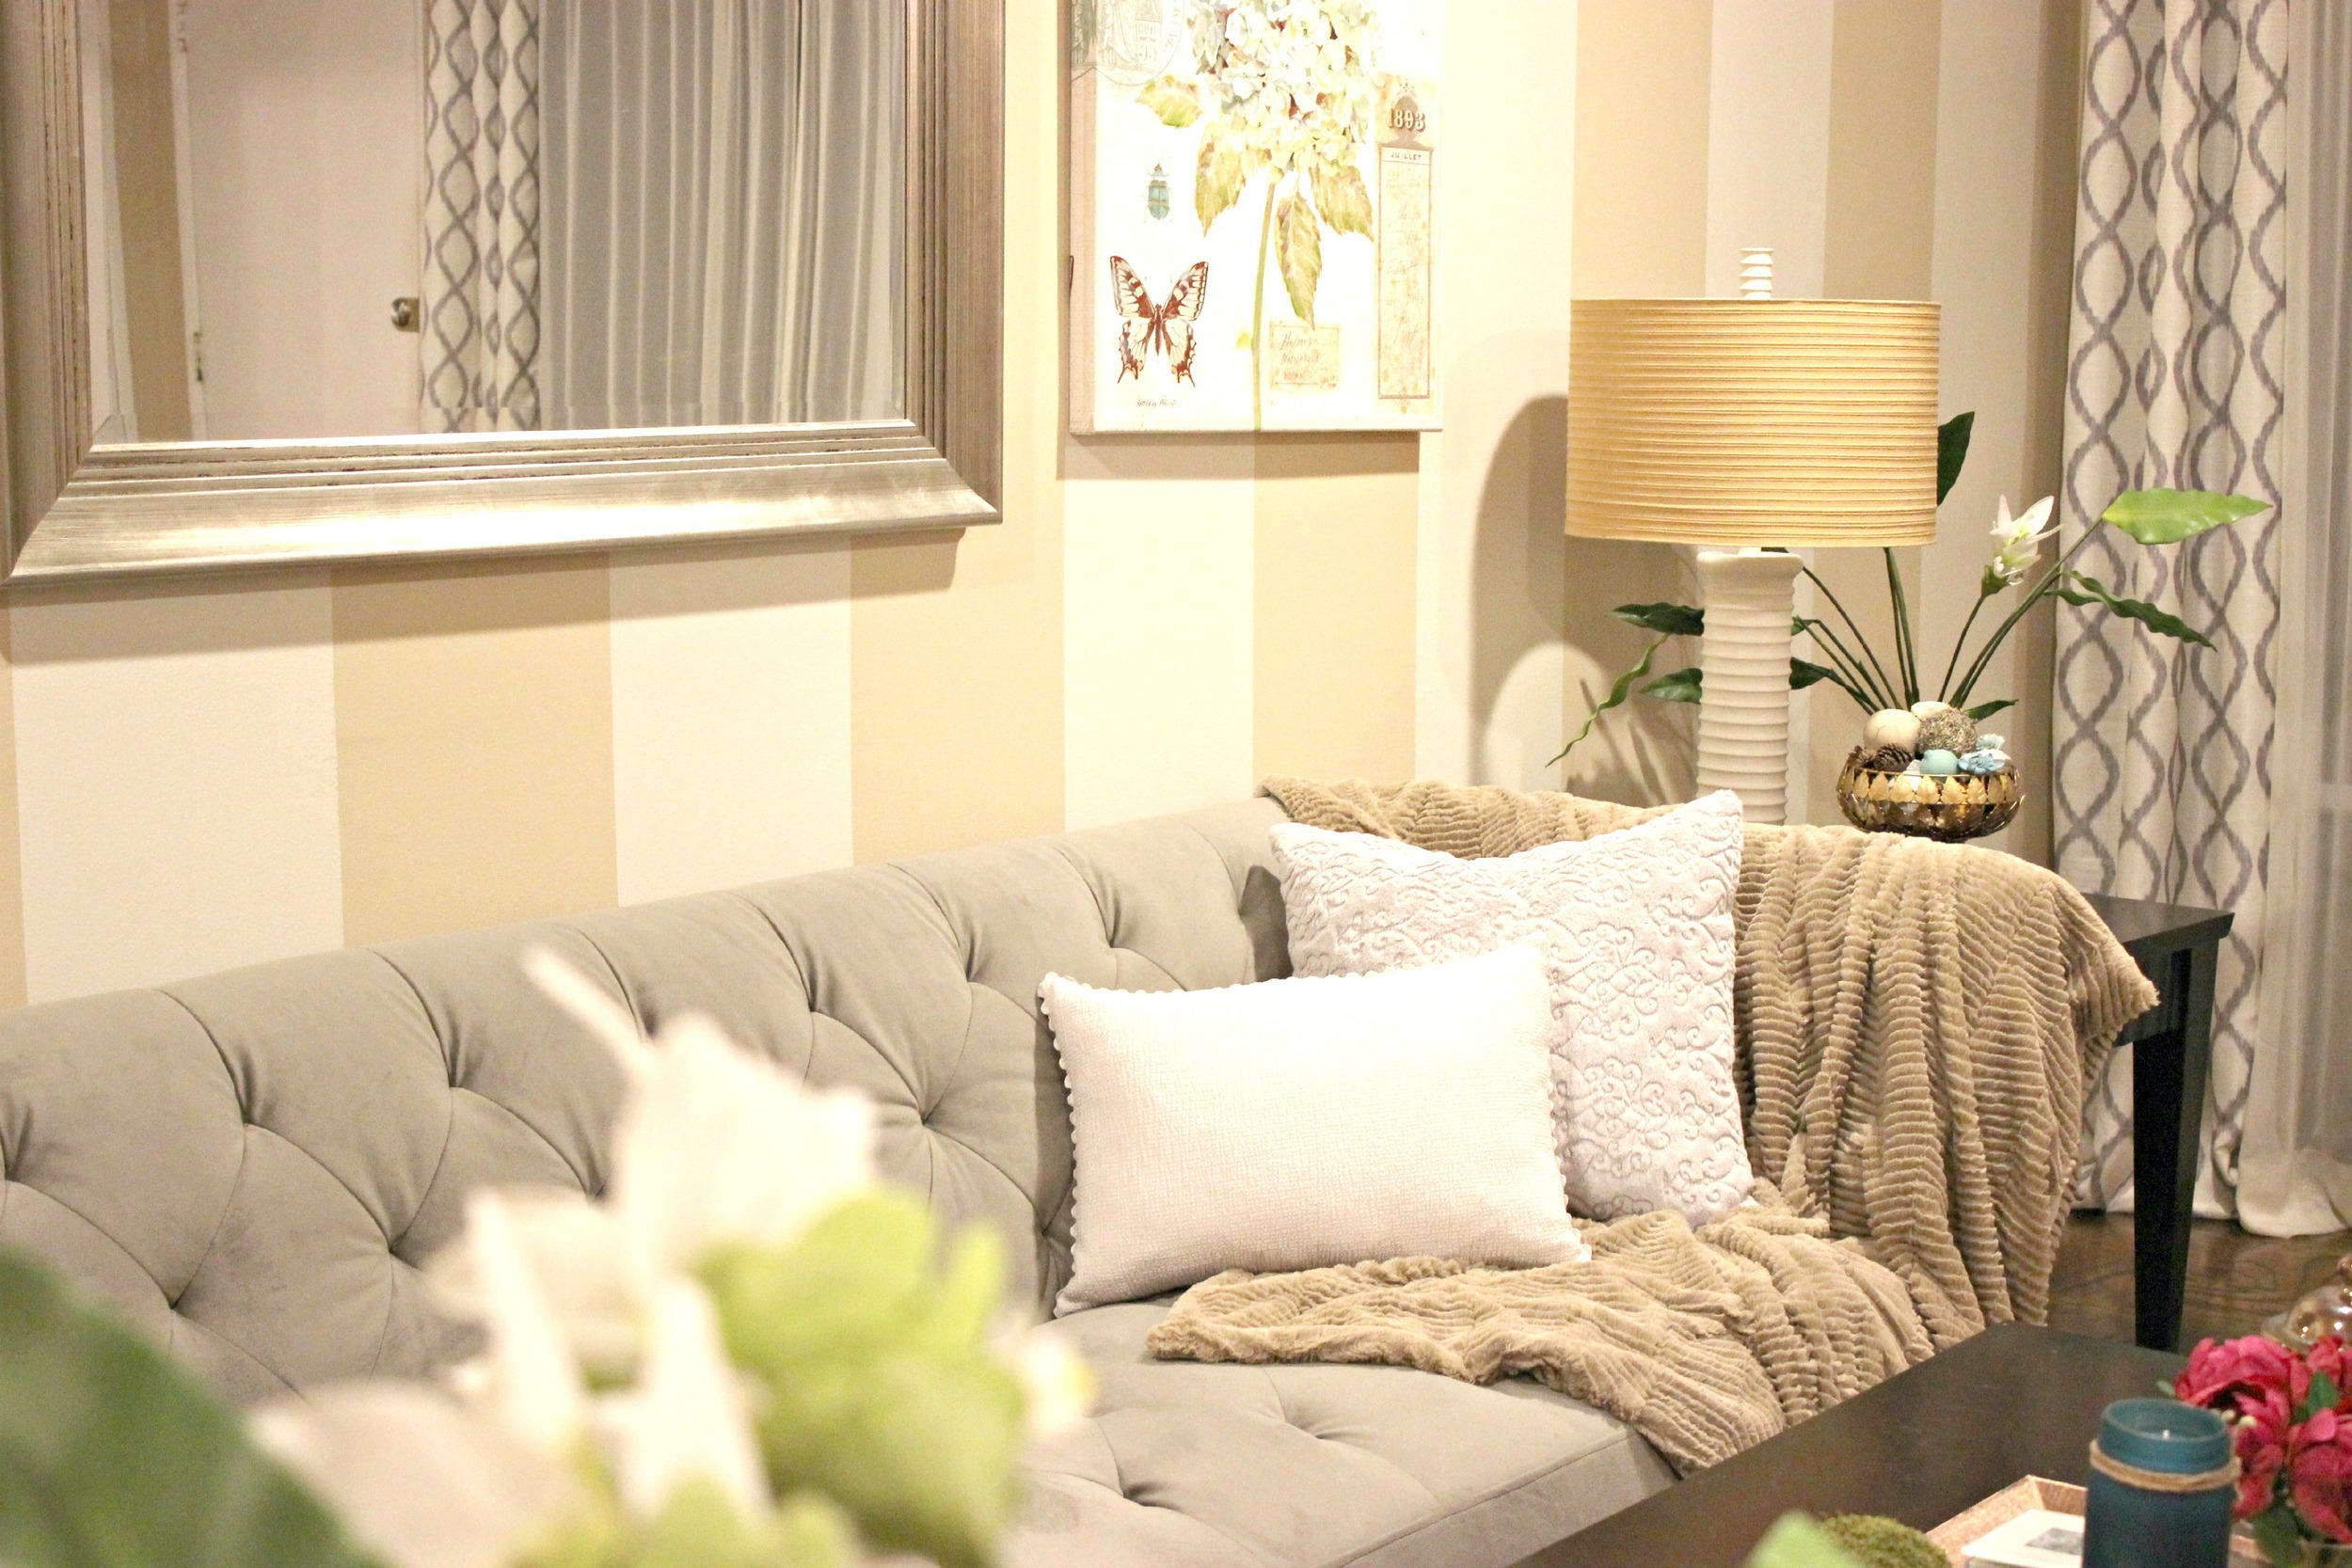
"Lastly, we bought the patterned curtains from Home Goods and worked on the ottomans.  My client already had two unused ottomans (also dark brown!). I went to the fabric store and found left over fabric marked down 75% and used that to reupholster the ottomans. I used only scissors and a staple gun. It was a fun project! The ottomans can be stowed under the coffee table when not used and they add a fun pattern that coordinates with the other grey colors in the room. 

All of these DIY updates to the existing items saved my client a lot of money (which was one of her objectives!) and gave these items new life and purpose."

Talk about upgrade! This makeover is nothing short of impressive, but it's especially inspiring given the number of items that were kept and reused! We often talk about working within budget here and it's amazing to see how others creatively stretch theirs. 

What a blessing this was to your client, Shima! Way to work it out, girl! You can follow Shima's brilliant work @house_of_shima on Instagram!

Have a wonderful weekend friends and thank you for stopping by!

Don't forget to share your own unique space with us by tagging #stylemuttspaces on Instagram or share photos directly to our Facebook wall! 

Reader Design: Jen's Fresh Crush Camper

It's finally Friday!  Can I get a Fri-Yay?!  We've been so pumped about the flood of Reader Design submissions that we can hardly contain ourselves.  But we've decided we want to give everyone their full moment in the spotlight and save these juicy reveals for the end of each week.  Lucky for you, it's the weekend and we've got an alternative space for your viewing pleasure.  

Ok like me, you may have noticed that decking out an itty-bitty-living space is all the rage these days.  But tiny cabins and converted school buses are just the hipsters of the movement: catching on to the trend after it's been around for a good long while.  Let's not forget the origins of tiny living dates back to the 1920's with this little number:

The Camper

Ok.  It's not much to look at.  But that's because this was before Jen from Fresh Crush got her magical hands on this diamond in the rough.  

You remember Jen right?  I mean how could you forget her master bedroom & foyer Reader Design.

WHAT?!?  You don't know what Reader Designs are?  Shun the non-believer!  I bet you even have an entry of your own to share.  Why would you deprive us of your unique point of view?!?!  Reader Designs are an open invitation to share your unique design and creativity.  There are no requirements to be a professional decorator or even a fellow blogger. The purpose of Reader Designs is simply to share incredible rooms with fresh ideas and document these features in our SPACES section to use as a reference of inspiration.

Oh, I see!  That's not the issue.  The issue is you don't know how to enter your space.  Well that's an easy fix.  Just tag #stylemuttspaces on Instagram or post your pics right onto our Facebook wall! 

Ok, now that you're in the loop - back to today's sensational space:

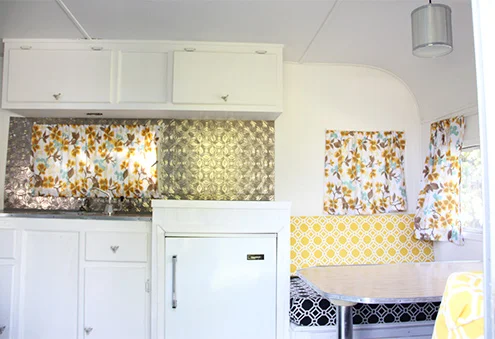
The Glamper

BAM!  Betcha didn't see that coming!

It used to be that when I thought "camper," I pretty much pictured what Jen initially found when she acquired hers: 

A big, smelly, mysterious pile of YIKES.

Jen, how you could see this jewel somewhere in of all that I shall never know.

From Jen:

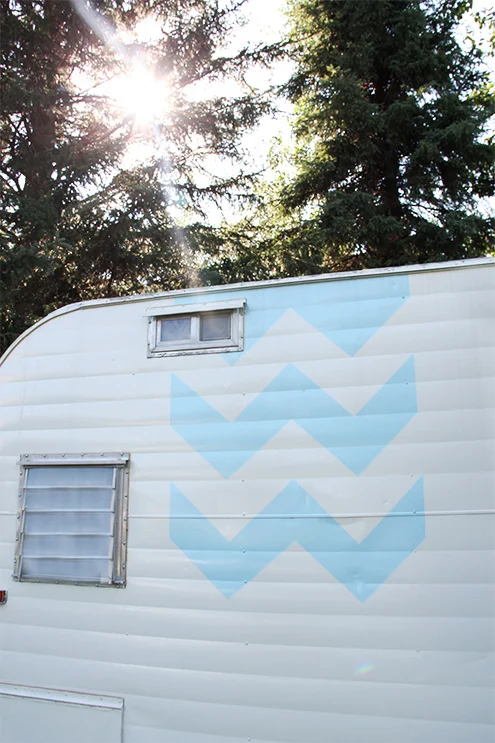
"This project was around for a few Summer seasons! But it was so much fun. The goal was to keep a vintage retro look, but modernize it a little... and keep it cheery! My husband and I had a blast figuring out every little detail from new exterior paint, to new upholstery and lighting. There isn't a square inch we haven't touched and updated, and we love every minute we spent in this beauty, all Summer long with our family. A big step up from tenting!"

I'll say!  I'd like to check into my room please.

I can't imagine what kind of spring cleaning it took to strip it down to the bare bones.  Unrecognizable!

And Jen didn't bottle up her personal touches on the inside:

  She gave it some glam on the outside too.

How inviting!

And polite too!

Yup, Jen's got herself a keeper with this camper.  Thank you so much darling for sharing such an epic space!  Don't forget to pop over to Fresh Crush to see the complete camper reno and to what else she's cooked up.  

We hope you have an inspired weekend my friends!  Ok maybe not to go camping in this weather we're having.  But if I had myself a glamper... 

Jen, if it's not still parked outside tomorrow...

Alternative Bedside Ideas

Hi All! Last week our sweet friend, Iris, (Around the Watts House), alerted Cate and me of a fun opportunity to submit some refinished work to HGTV and we couldn't wait to spread the word to you! (Thanks for lookin' out, Iris!!!) The call is for all madeover bedside tables and nightstands - they're asking peeps on Twitter and Instagram to tag their new and improved bedside pieces with #HGTVmakeover for a chance to be shared in one of HGTV's upcoming blog posts! How fun! You have until this Friday, 2/20 to tag your work if you've got something to share!


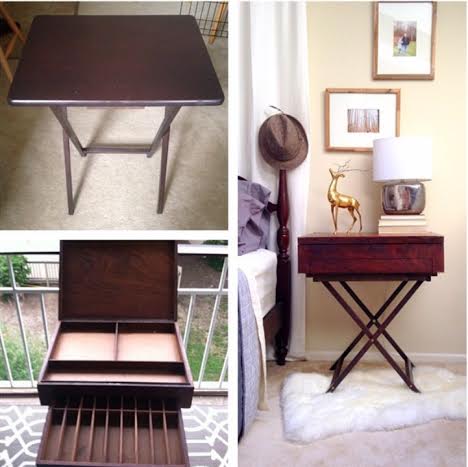
I think our girl, Cate, has a pretty good chance with these beauties, yes?!

Interesting fact: My home has not a single bedside table! I actually never thought about it until Iris shared this HGTV contest for bedside tables with us! Here's why we've skipped traditional nighstands: The boys need about as little furniture as possible in their room. We've got their beds, a bookshelf and that's it. The rest of the space is spared for wrestling. And by keeping their decor simple, I'm pretty confident we've spared ourselves some emergency room visits. :)

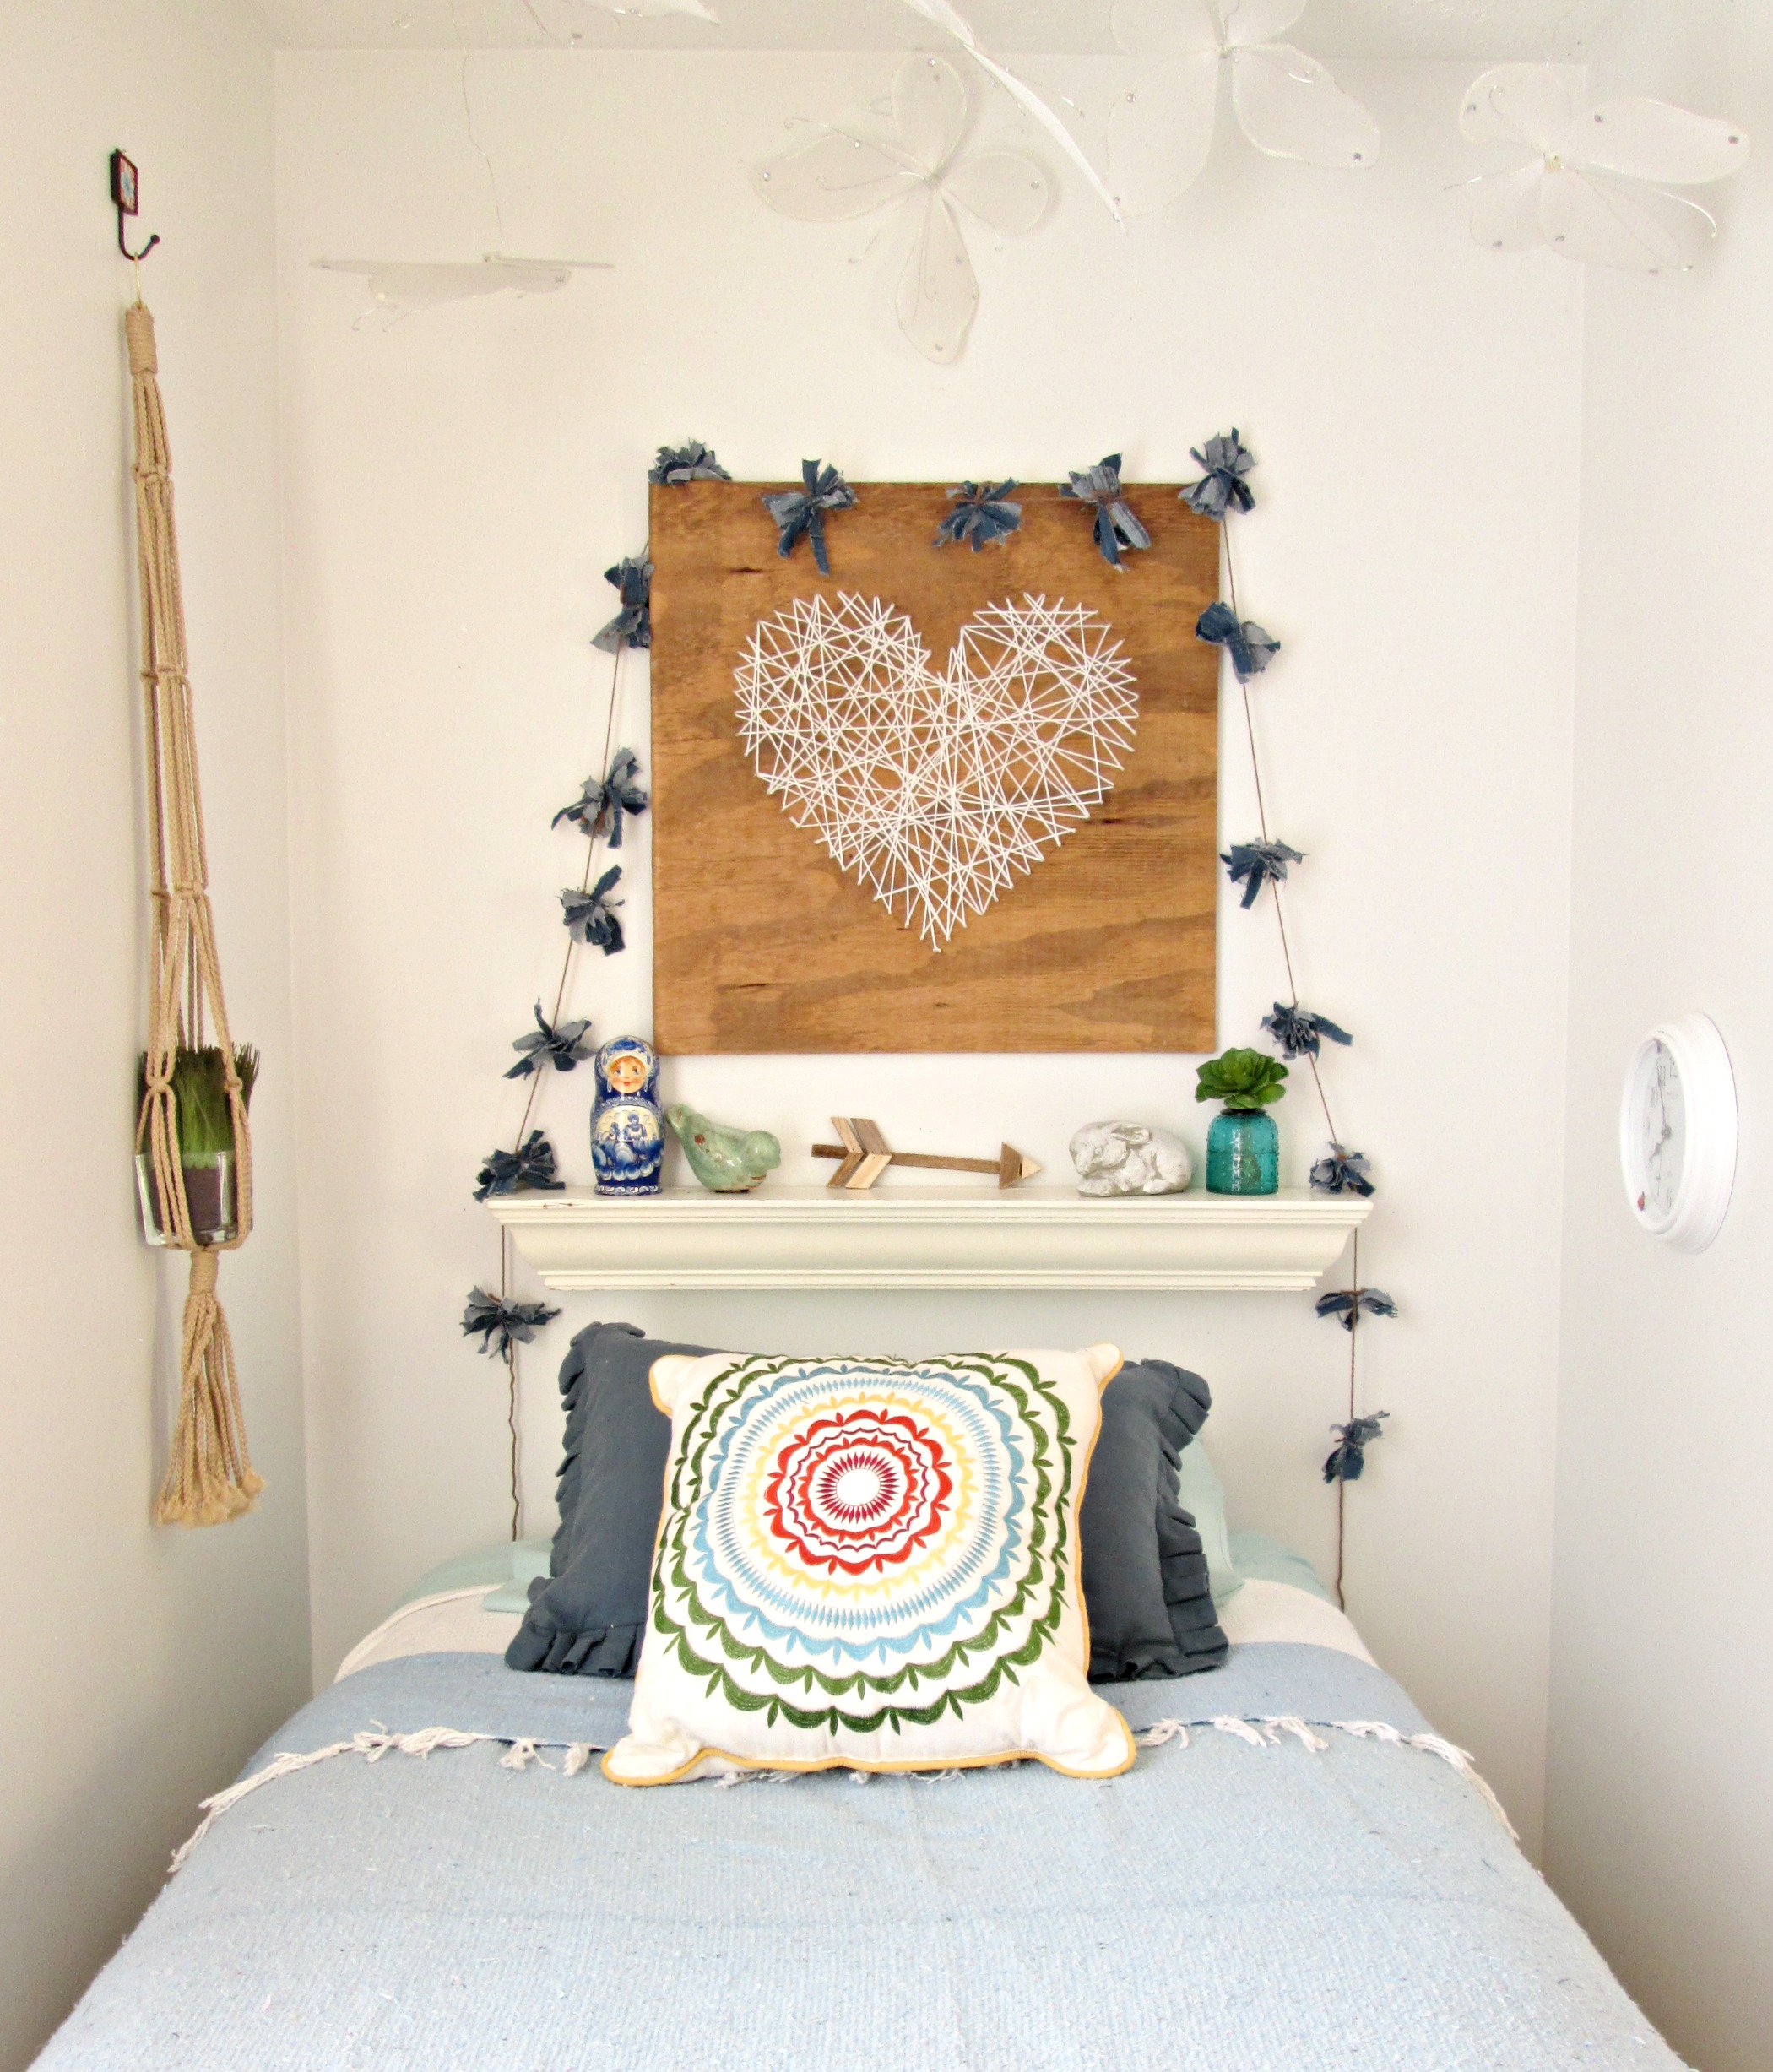
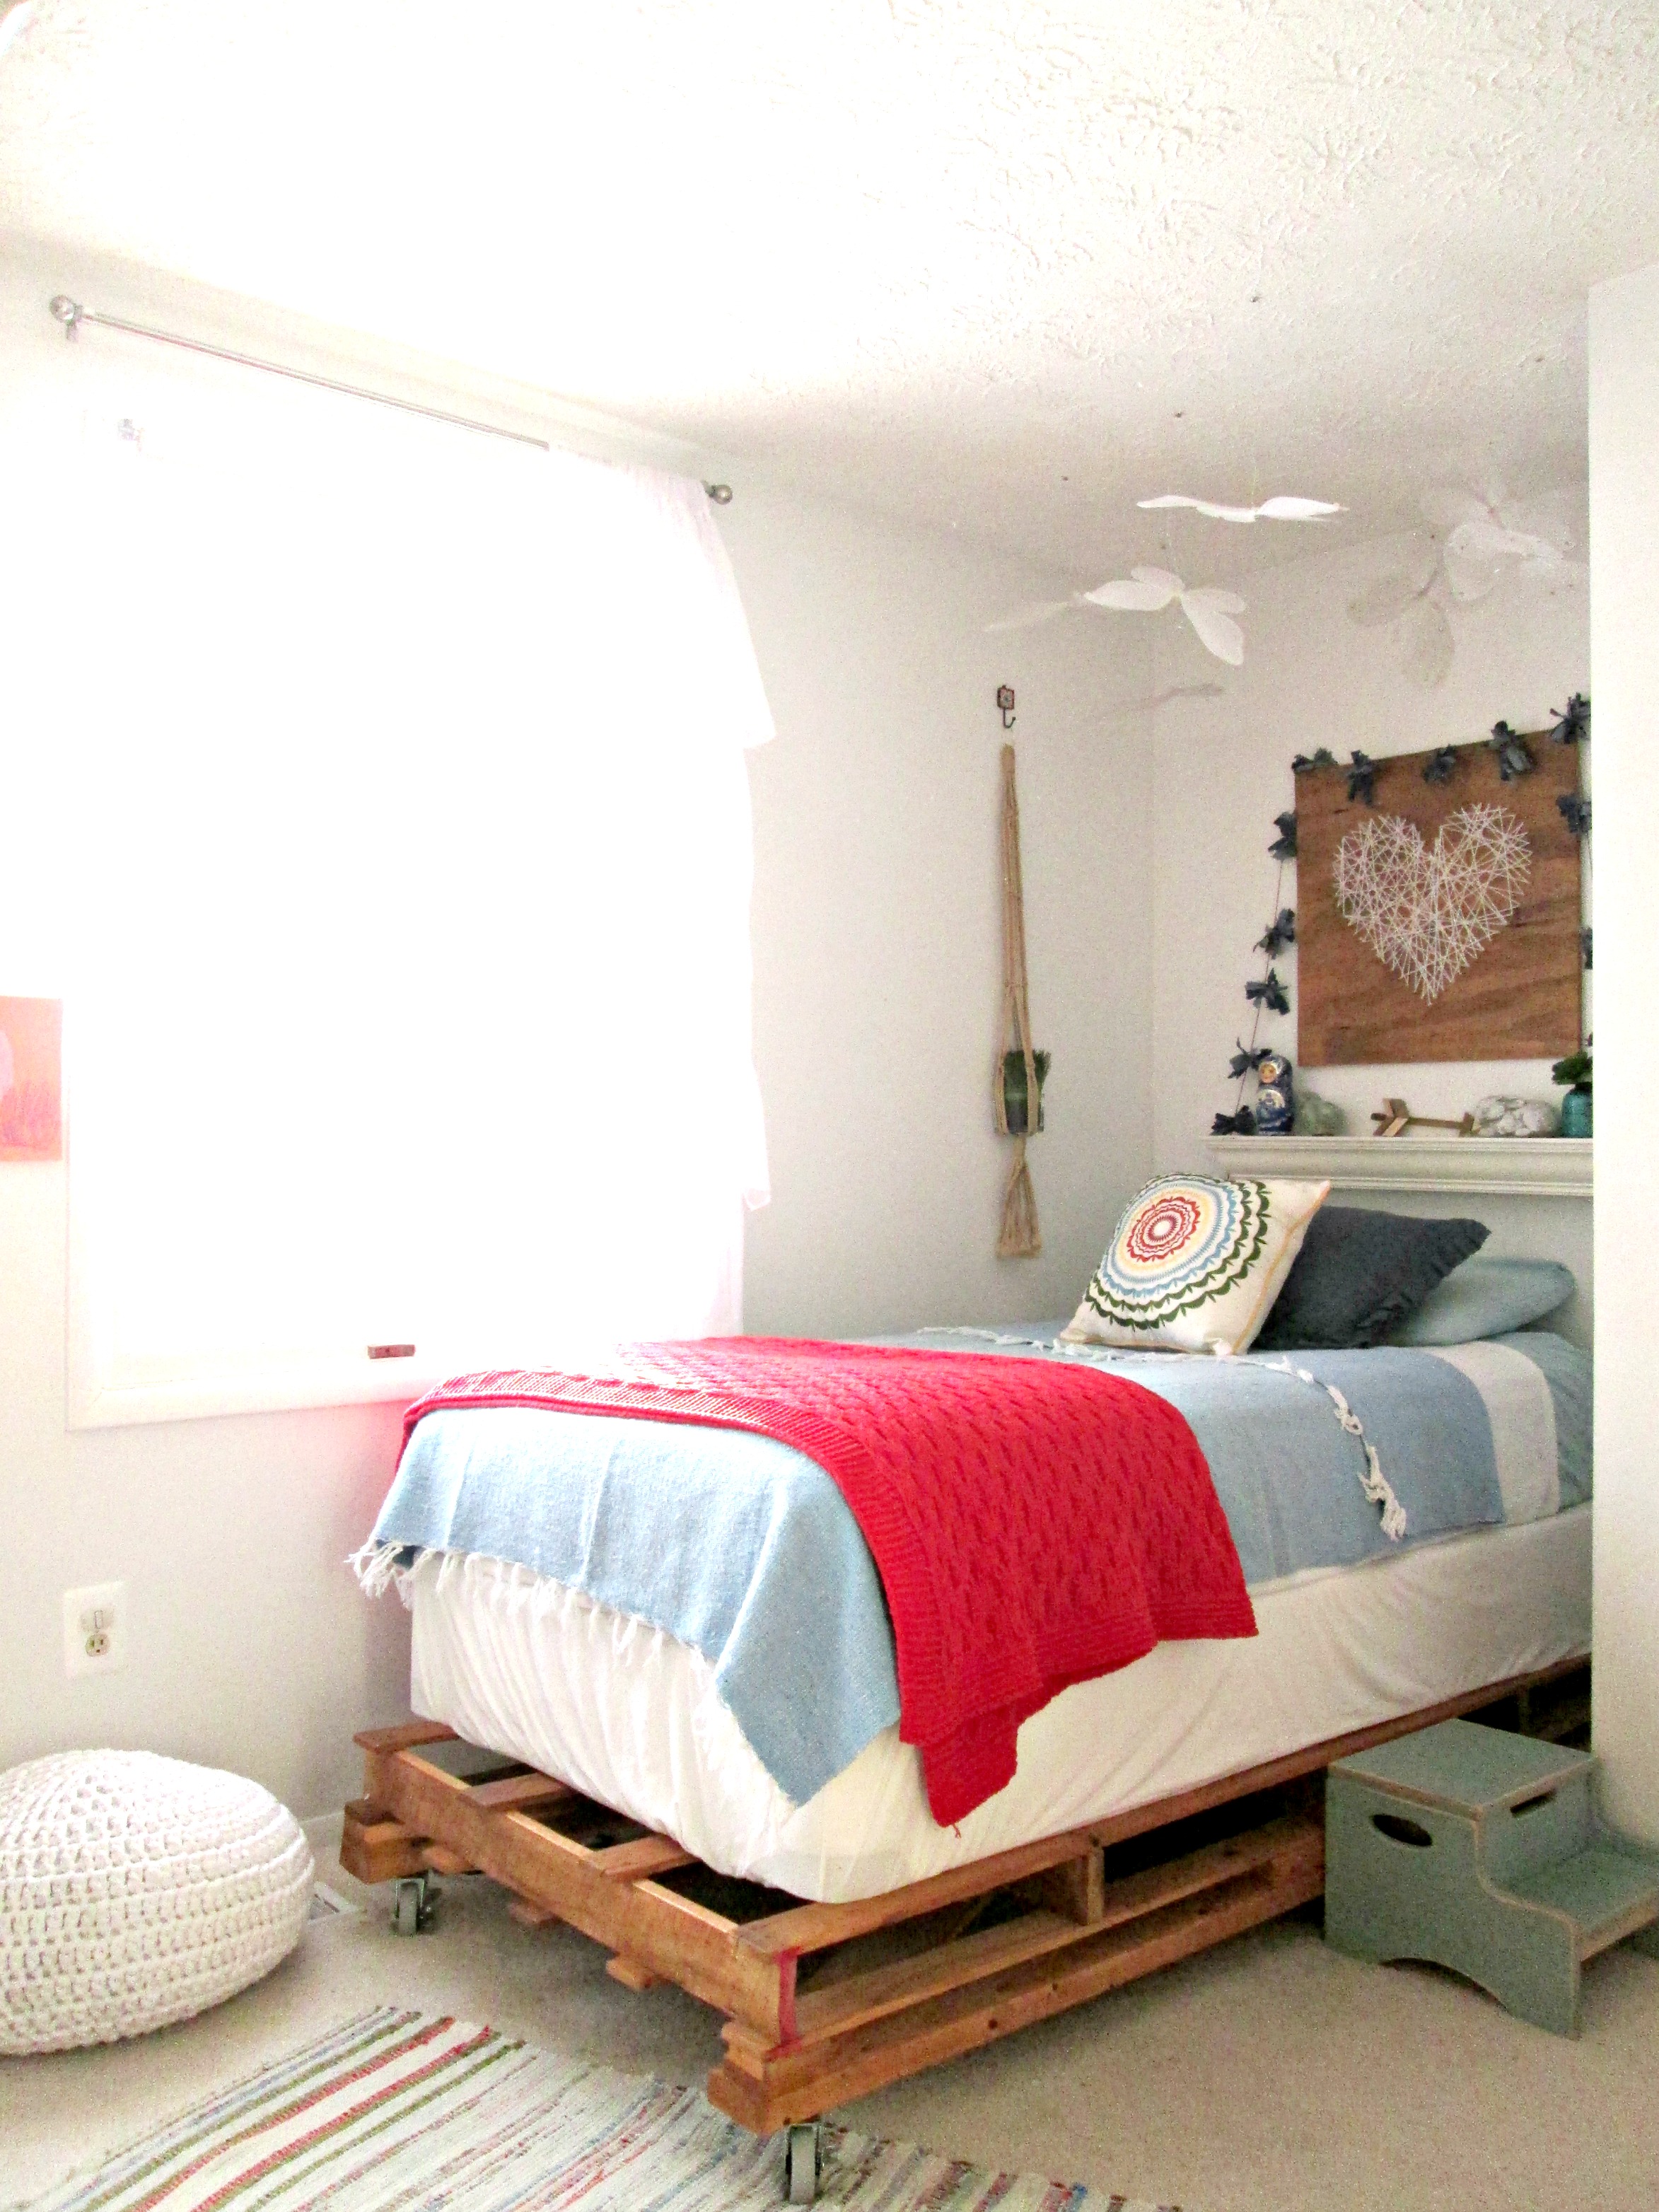
Our girl Shire's bed is snug inside a little nook in her room. It's a cozy spot that fits her twin bed, but with only a few inches on either side there's simply no room for a table. So we placed a shelf above her bed! This acts as both surface space for her water bottle at night, a spot for her beloved knick-knacks, (she's a true bowerbird), and topped with a piece of art, it's also her 'headboard'.

DONE3.jpg

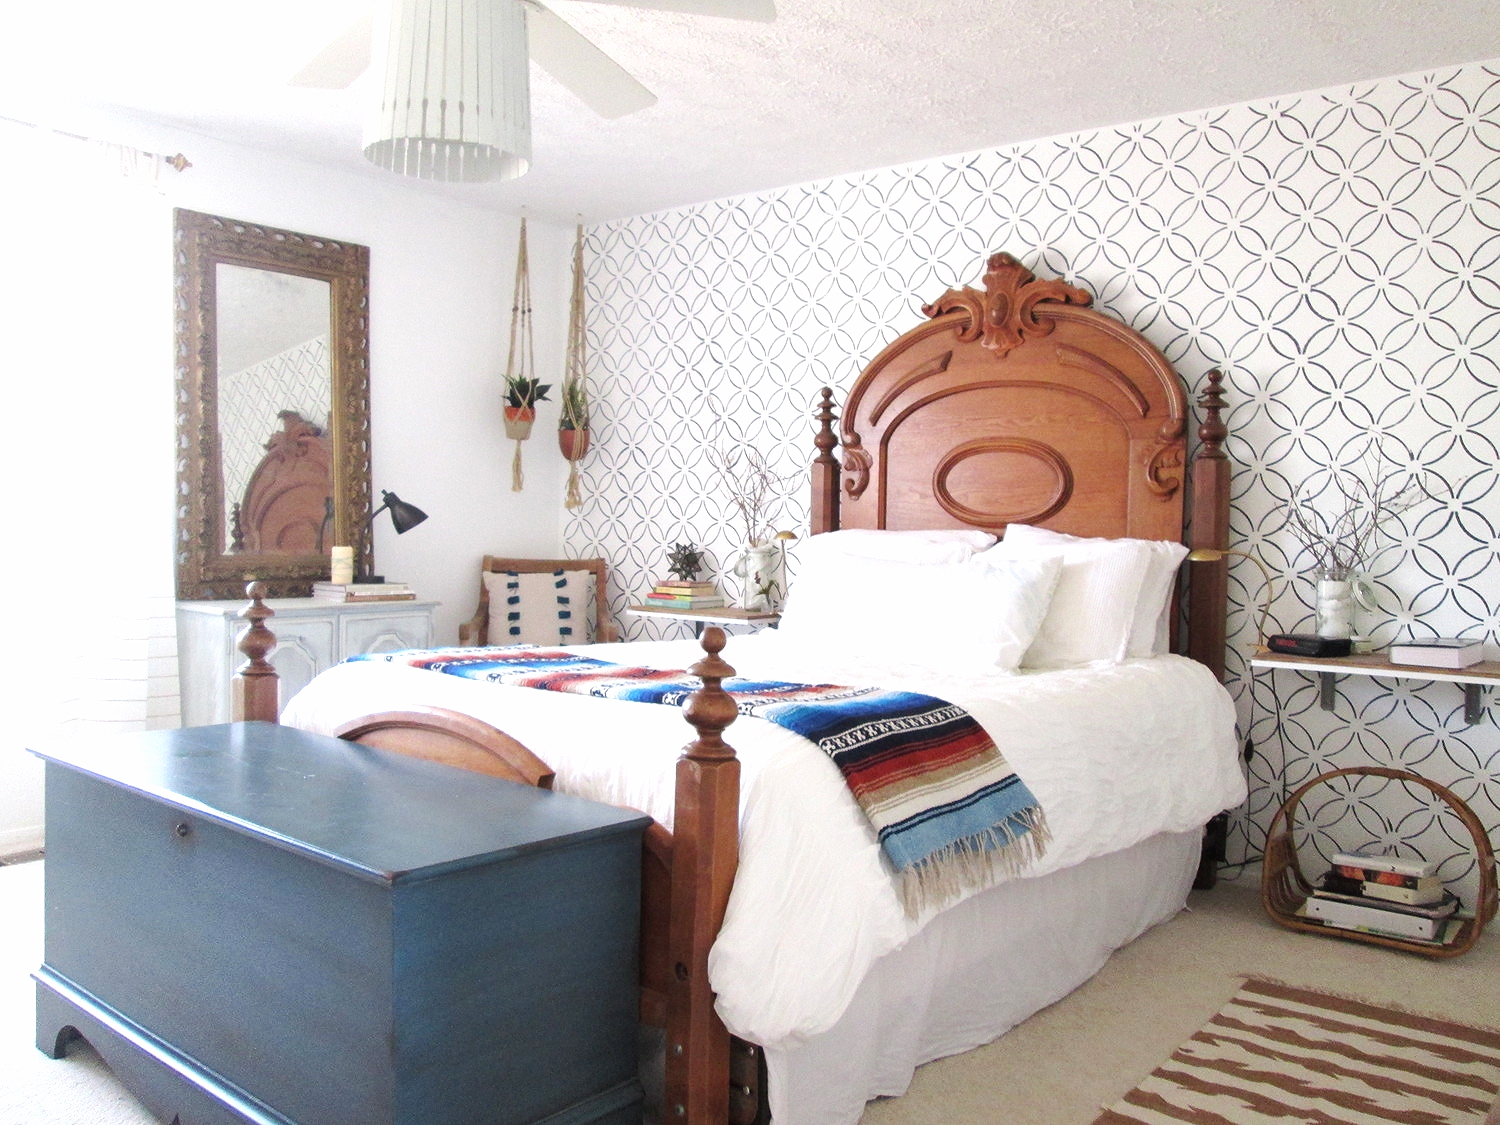
And then there's our master bedroom. A couple weeks ago I shared our bedroom after stenciling the accent wall behind the bed, but I didn't talk about any other details in our room. If you caught that stenciled wall post, you might recall me saying the bed is an antique family heirloom which has been passed through my family over several generations. With my bohemian driven style, I just couldn't see anything holding it's own right next to that headboard. So, I decided to do something minimalistic and just float a pair of shelves! 

We used basic white laminate board shelves from Lowes, but topped them with a piece of stained particle board cut to the exact same size for a customized two-tone look, (which we echoed on our floating wall shelves as well).

These shelves meet our surface needs and we never feel like we need more storage. I love how using something simple at either side lets the bed shine!

DONE6.jpg
DONE1.jpg

I'm not sure if our bedside solutions meets the criteria for the #HGTVmakeover contest, but I thought them worthy of sharing for anyone else who might be stumped on bedside surface space! 

Thank you all for stopping by!

Don't forget to tag your refinished bedside tables and nightstands with #HGTVmakeover on Twitter and Instagram! We'd love to hear if any of our friends get featured, so keep us posted!