Starter Stories: Our First Home ||Before + Now||

Hi Friends! Whew - we made it to the weekend and we're kicking it off with a little trip down memory lane today! I was inspired to share this post by the up and coming NYC based company, Compass, who works to connect NYC apartment hunters with their ideal neighborhood based on personality. They're currently running an awesome campaign called Starter Stories! Starter Stories is an opportunity for bloggers to share how they turned their first place into a home, and Compass will share these stories on Twitter to help inspire new home owners and renters!  How cool is that?!

For my Starter Story I'm sharing our first, (and current), house! Here's an endearing picture of my daughter, Shire, and husband, Matt, on move-in day. On this day in September 2010, our twins were 10 months old and we were 2 months pregnant with our third. In my memory, our move-in day stands out as wonderful, exhausting, beautiful chaos.

I've always been a nester; I recall getting so excited to settle into my first dorm room in college and make it 'home' - all 8 sq feet that were my side of the room. Settling into a full house was overwhelming! We started out with a bunch of mismatched hand-me-downs which we are still so grateful that we had. Our furniture was comfortable and functional, just not very 'us'. Little by little we replaced used, handed down pieces with...more used pieces. I familiarized myself with the ways of Craigslist and all the local thrift stores and turned this house into our unique second-hand home! I'll do my best to include the links to the DIY projects for each room, but if you have any questions about anything you see, don't hesitate to ask!

LIVING ROOM BEFORE 

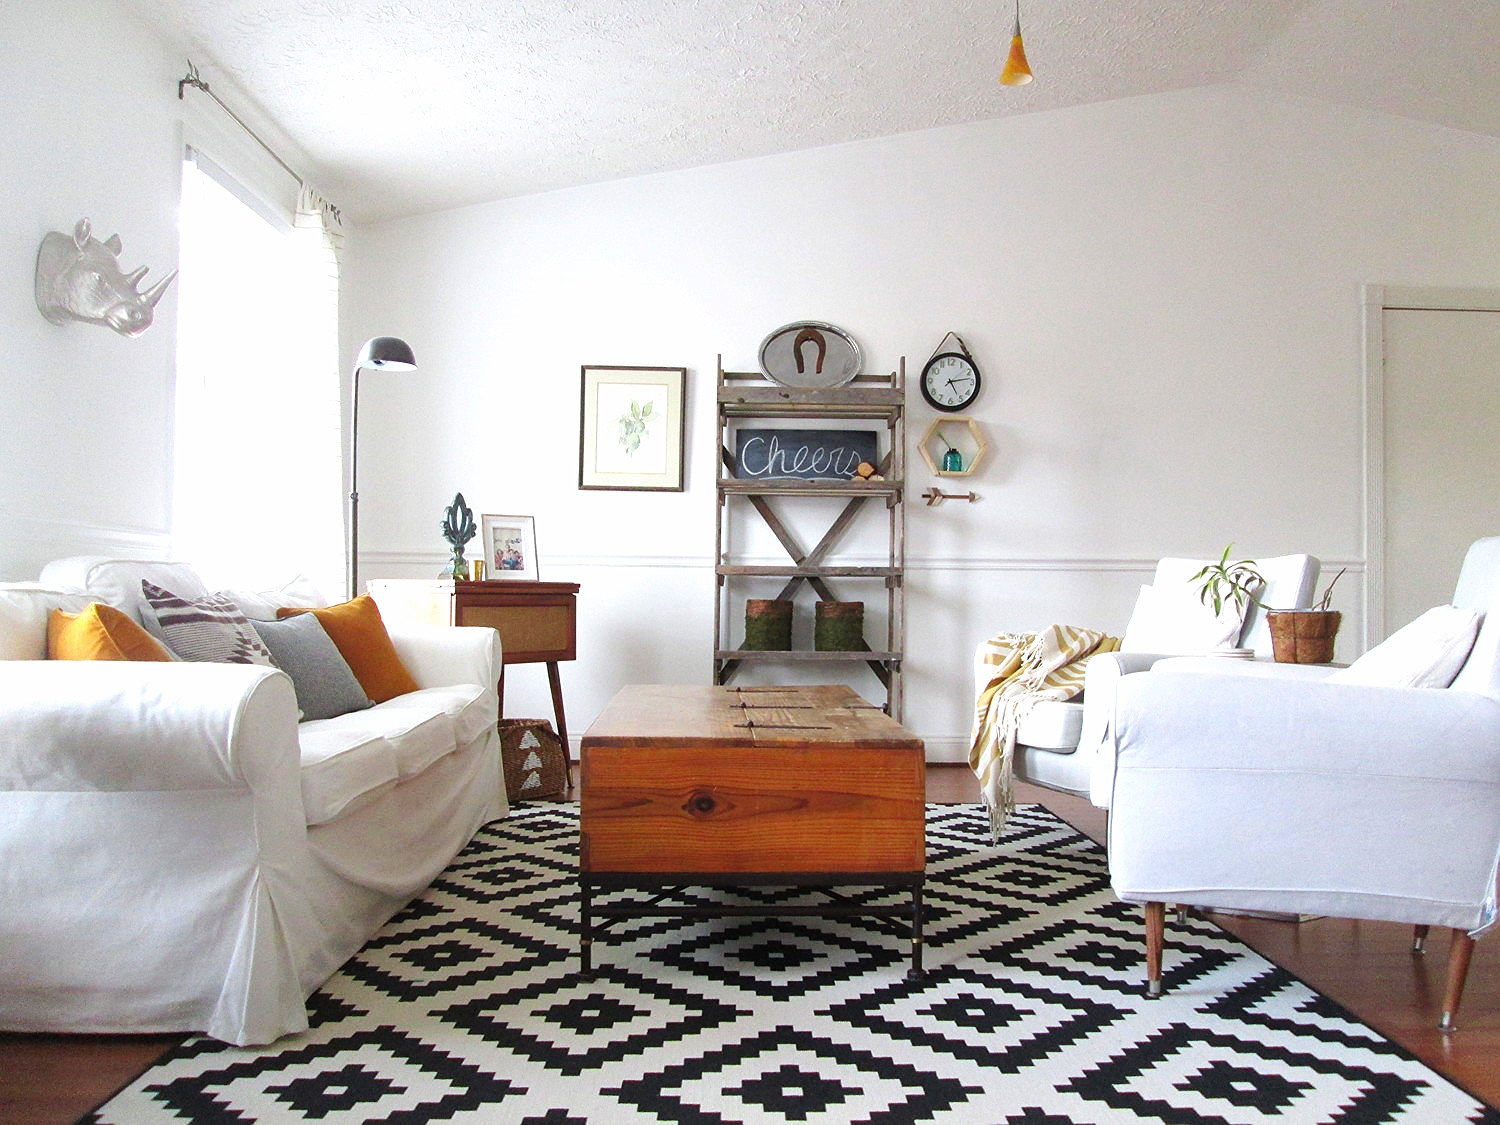
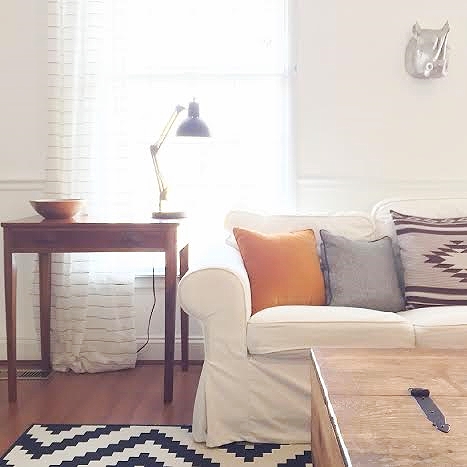
LIVING ROOM AFTER

The trial: This large, airy space is shared with our dining room and I wanted to keep the entire space as open, and sociable as possible. When we have large family gatherings and the company spills over to this side, I didn't want it to feel like everyone was in two separate spaces.
The triumph: By anchoring the sofa against the wall, that is a solid focal point for the living room. Floating the IKEA hacked armchairs between the two areas blurs the line from one side to the other, enabling guests and ourselves to interact between the two rooms.
DIY Links: IKEA hacked armchairs, Belted wall clock, Painted basket
DINING ROOM BEFORE

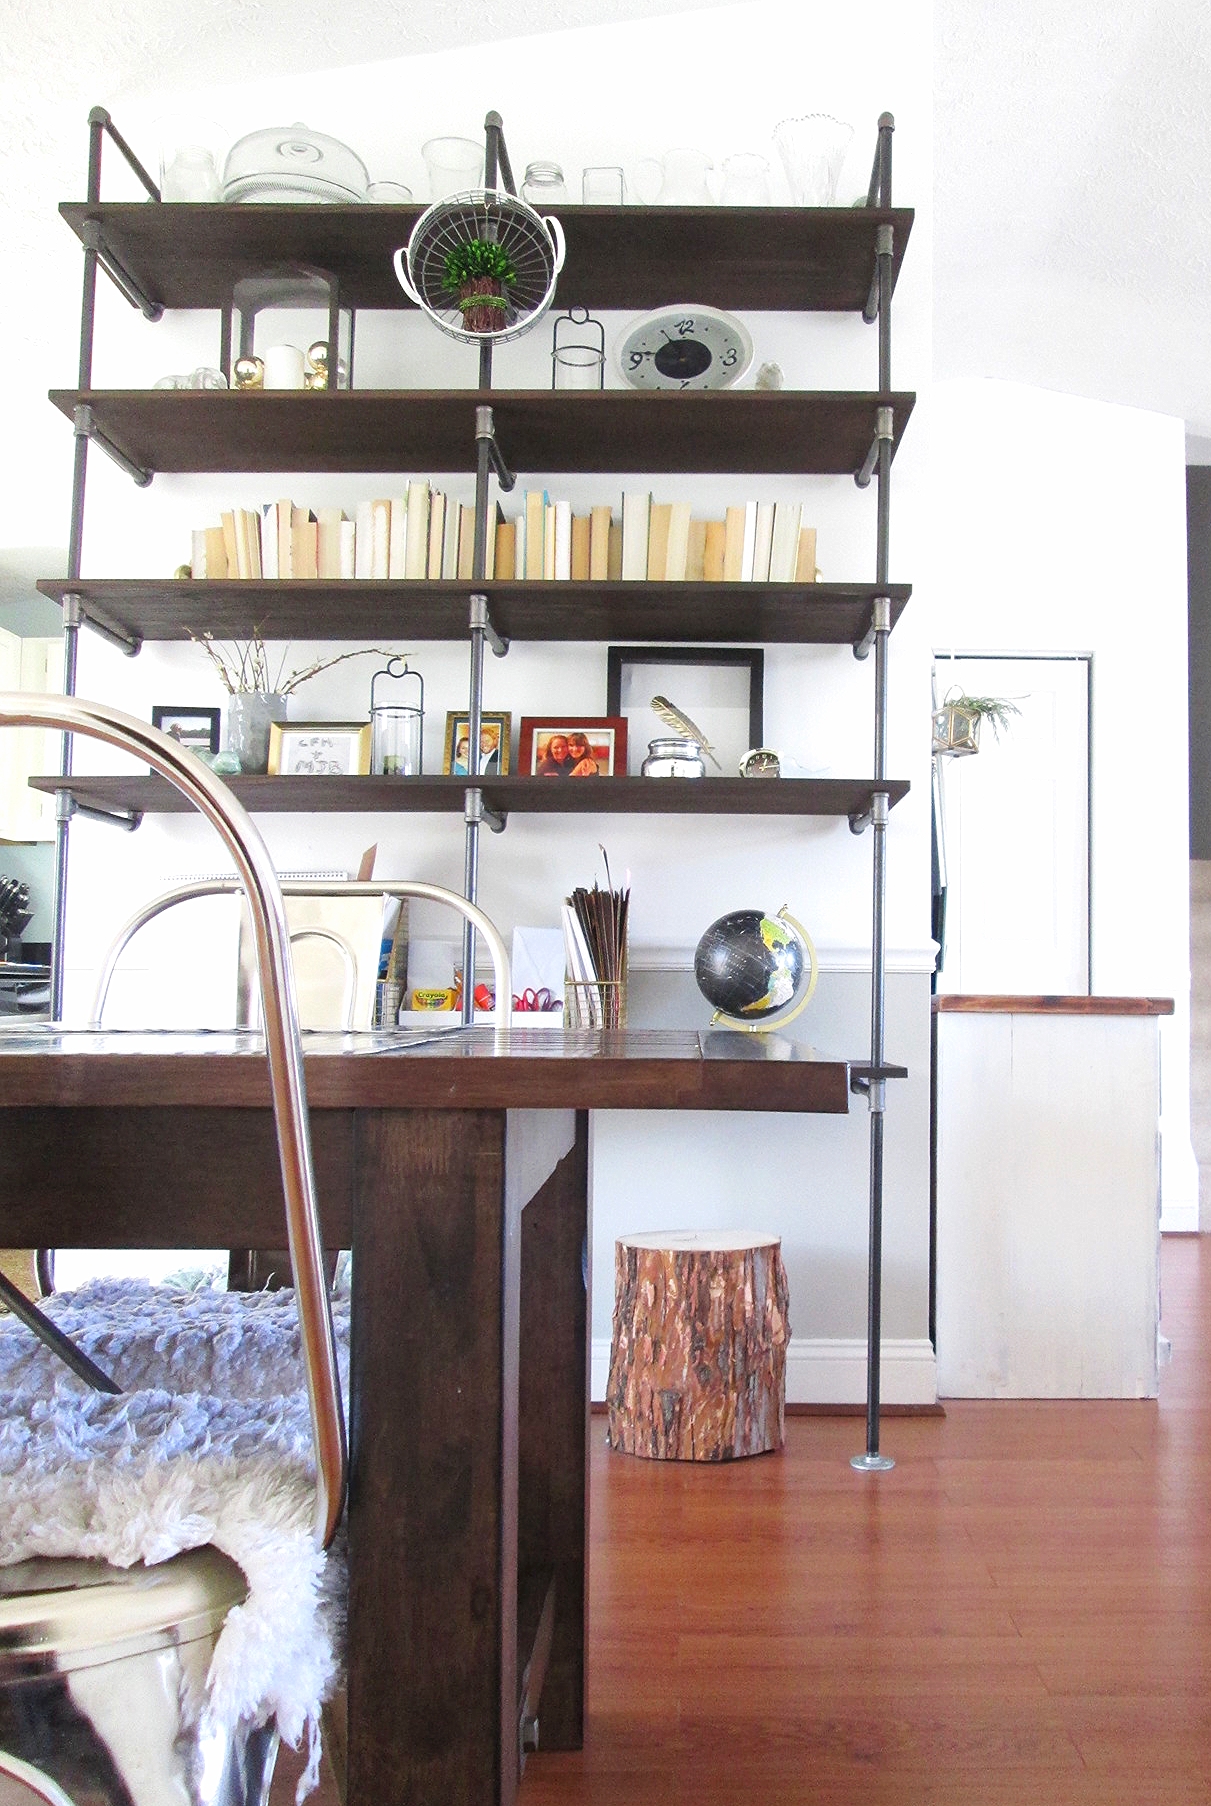
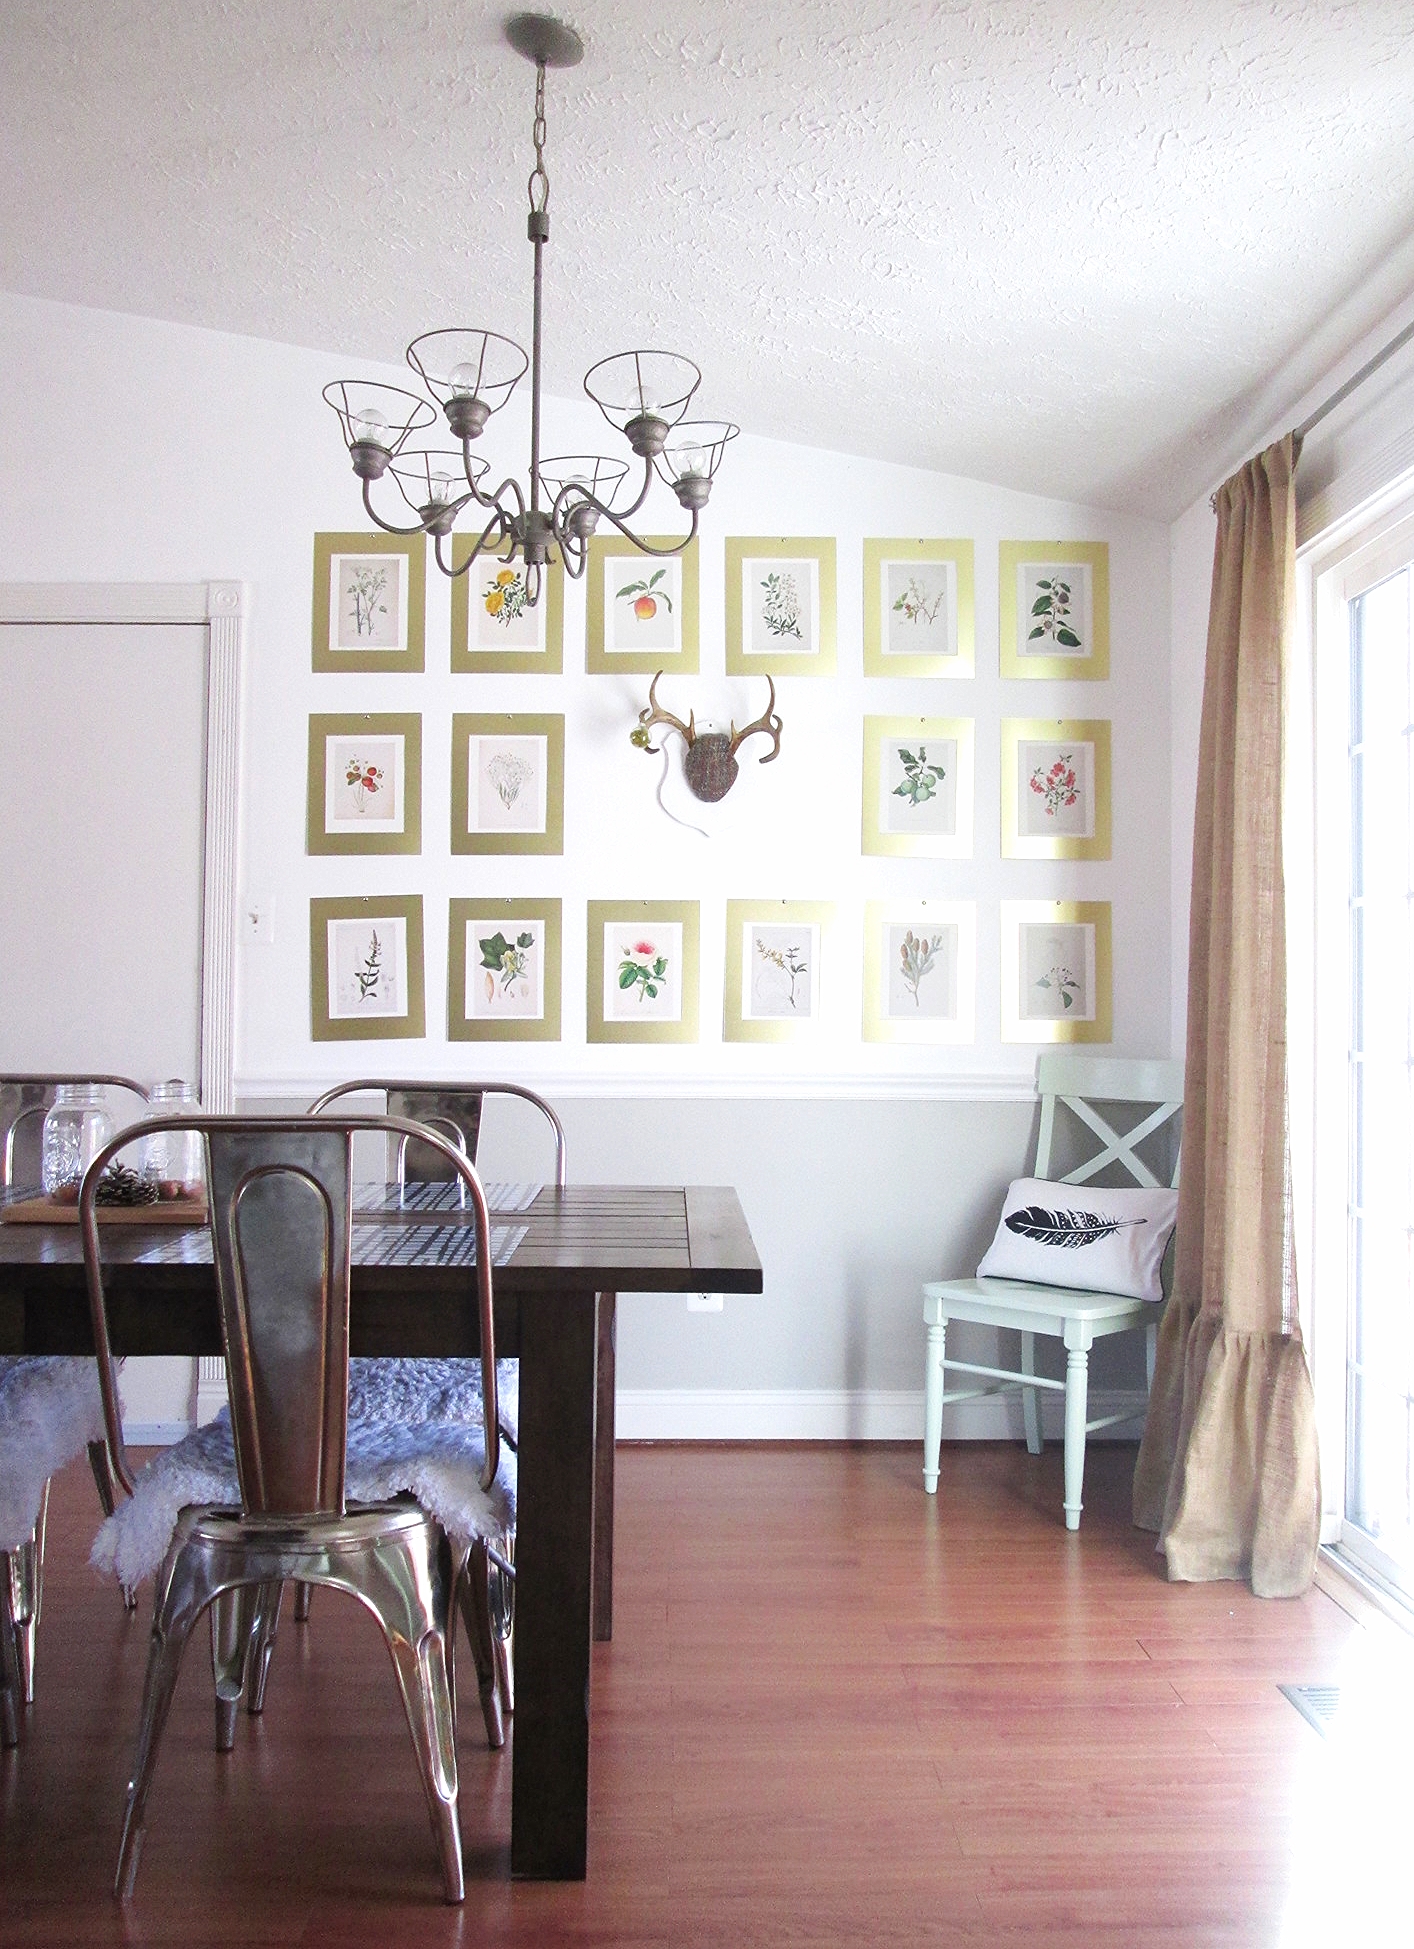
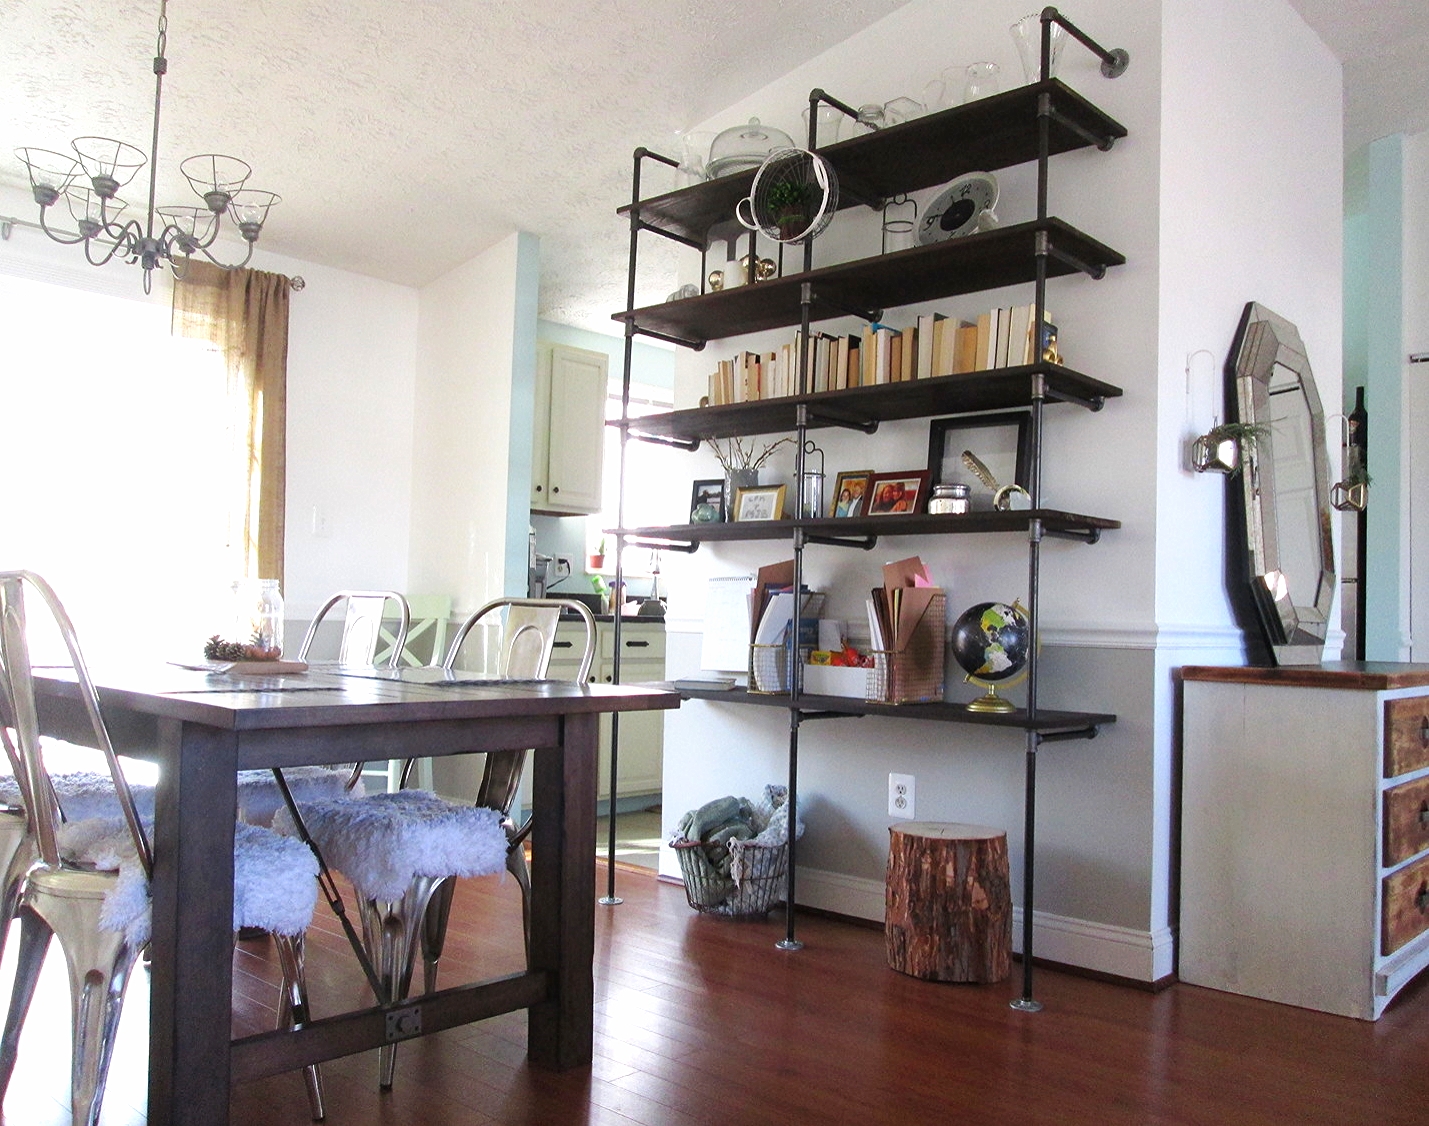
DINING ROOM AFTER

The Trial: As we are not very formal people, it didn't make sense for us to have a formal dining room. However, our family is too large to do without a sufficient dining table. We needed a place to eat meals together that was still comfortable and casual enough to hang out in, play games, and pull out school activities and crafts.
The Triumph: A very mixed dining set consisting of a heavy dark stained table, (World Market), metal cafe chairs, (Restoration Hardware), thrifted and painted corner chairs, a thrifted and re-designed chandelier, and custom built industrial shelves, definitely takes our dining room into the comfortable, laid back territory we desired for this space. While function takes center stage through the large presence of our industrial shelves, (the lower shelf serves as a command center and desk area for the children), I threw in a snap of glam with a gold matted botanical print wall. And no, they are never all completely straight. As it appears here, someone must have run through the room and upset the lower left corner. The beauty of hanging by tacks is they're easy to straighten, (if you notice...). :)
DIY Links: Gallery wall, Industrial Shelves
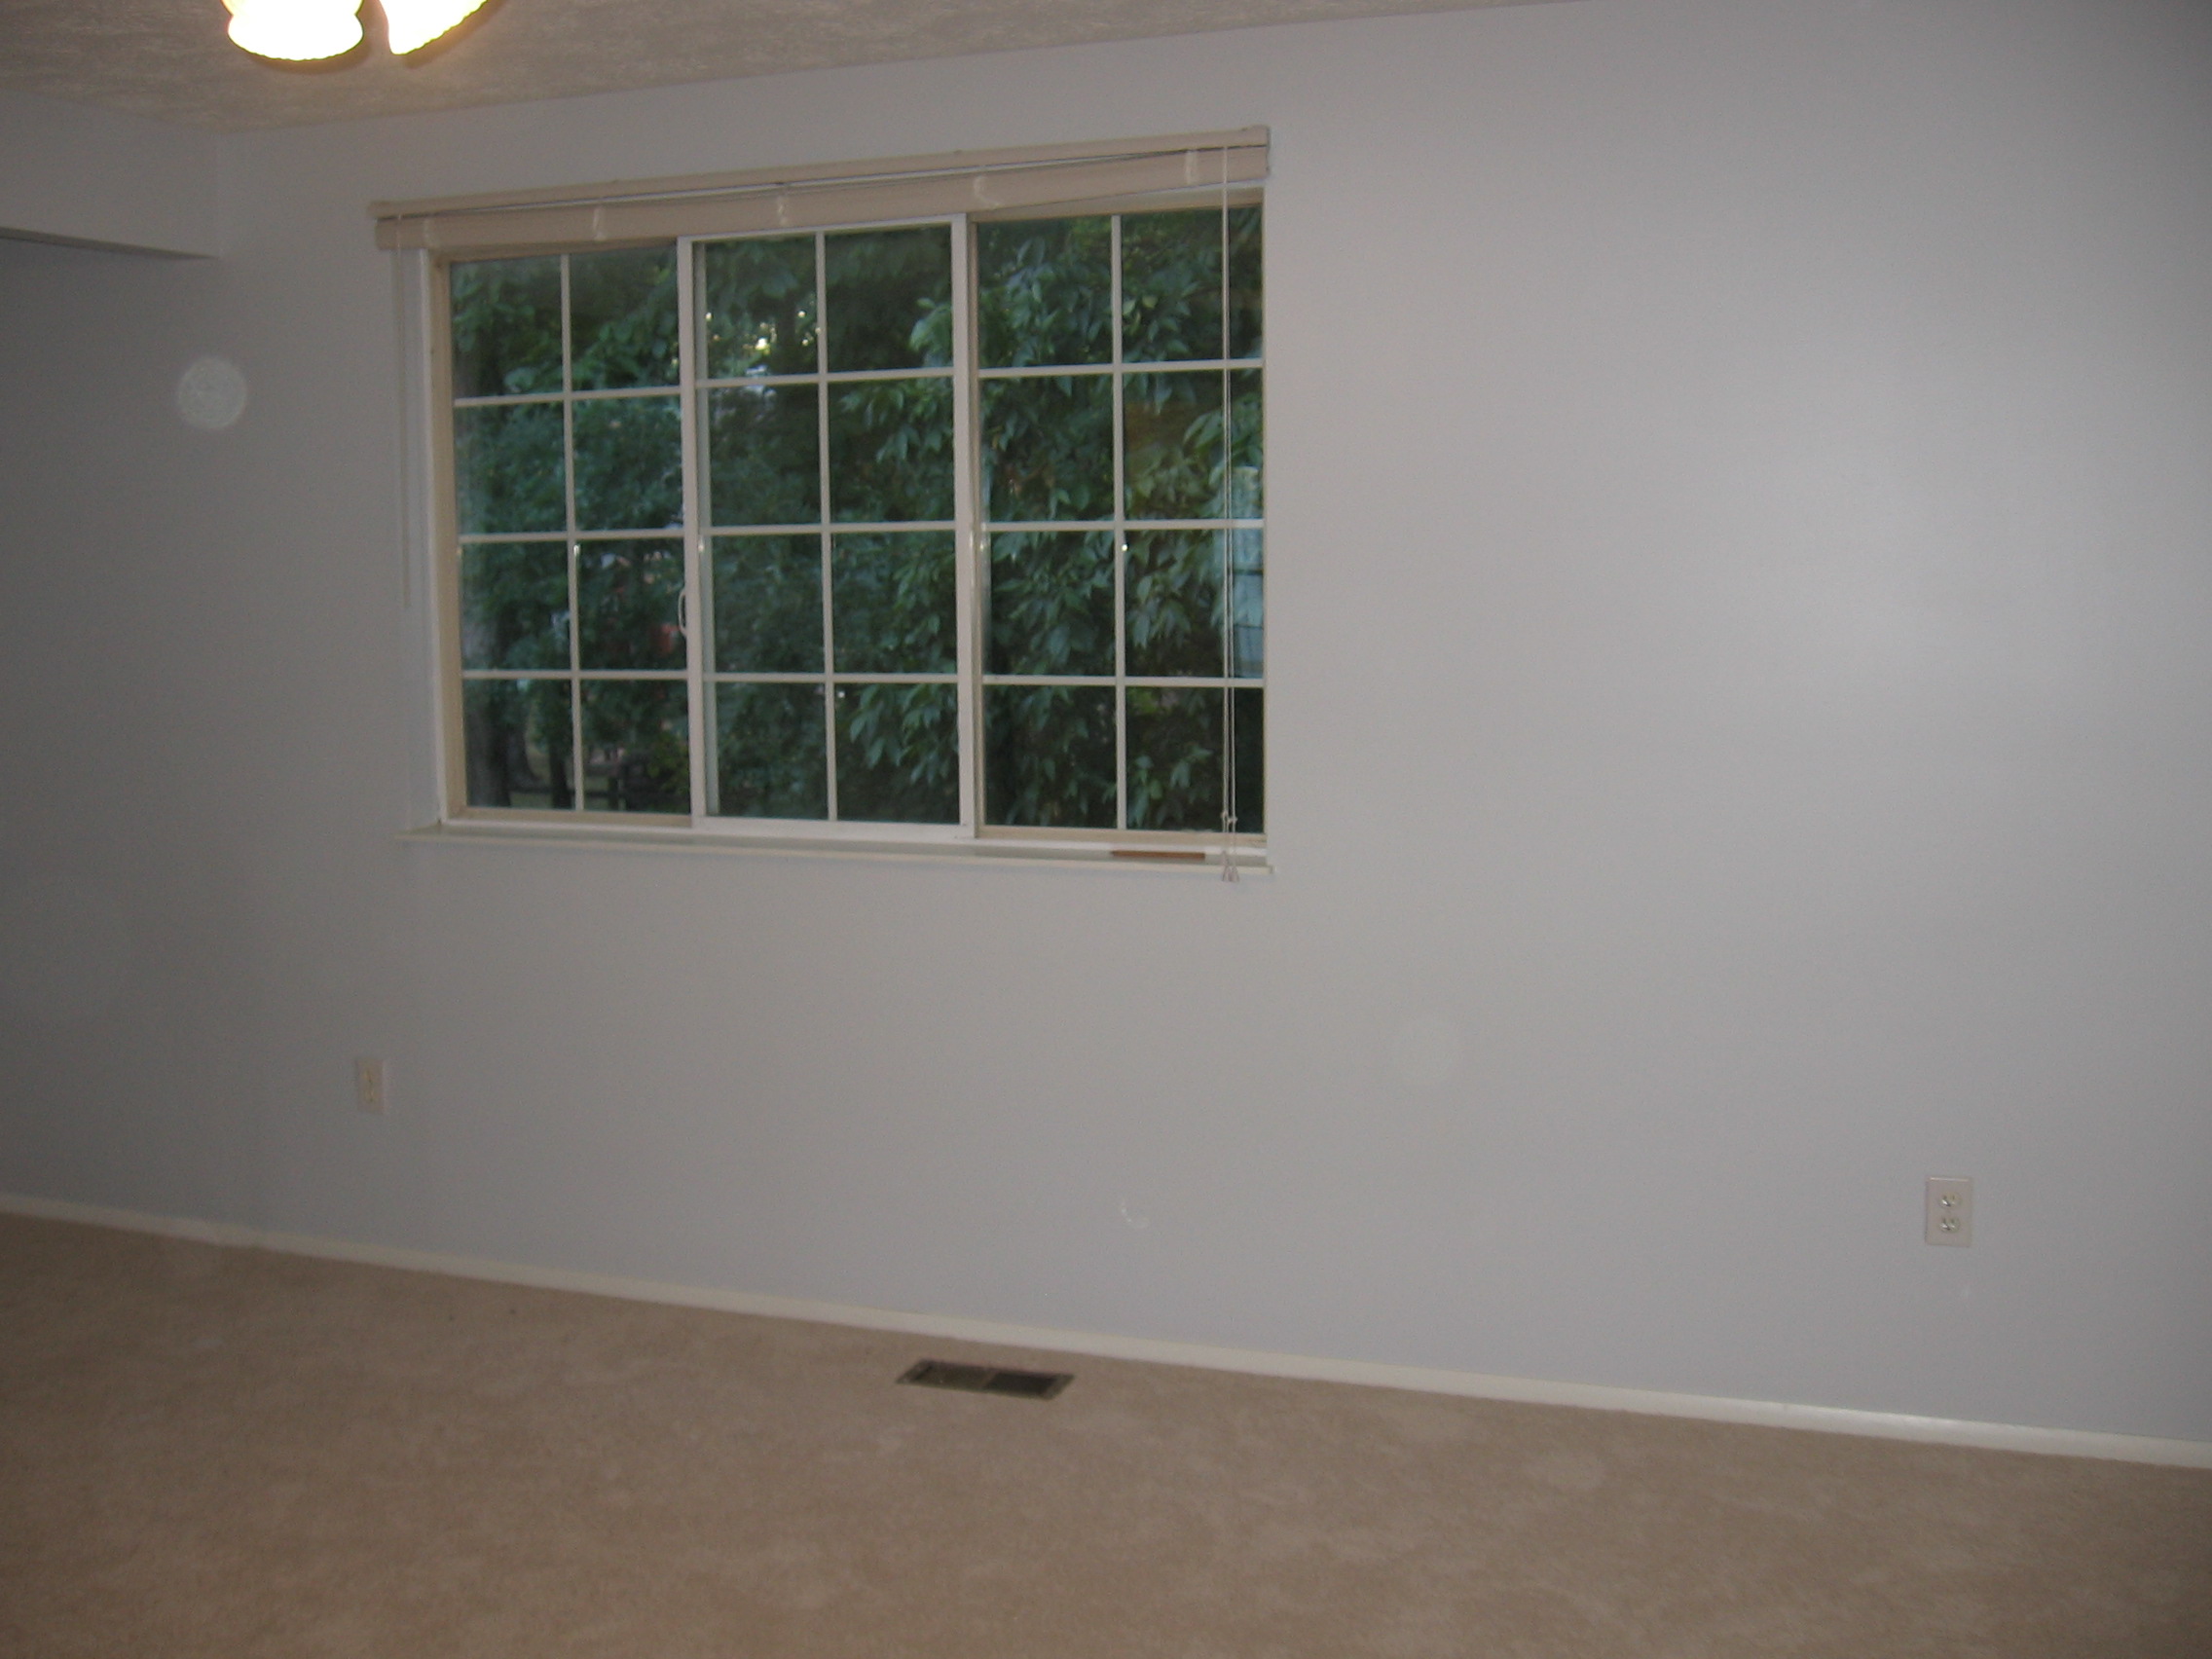
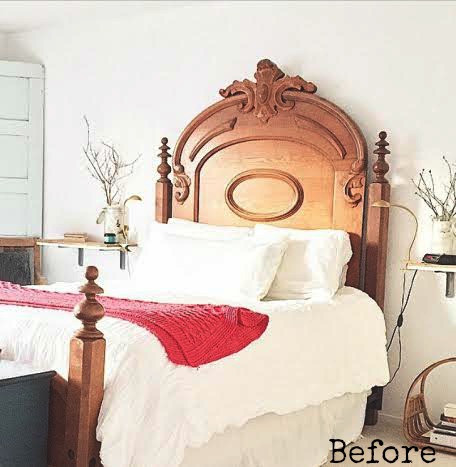
MASTER BEDROOM BEFORE

3587.jpg

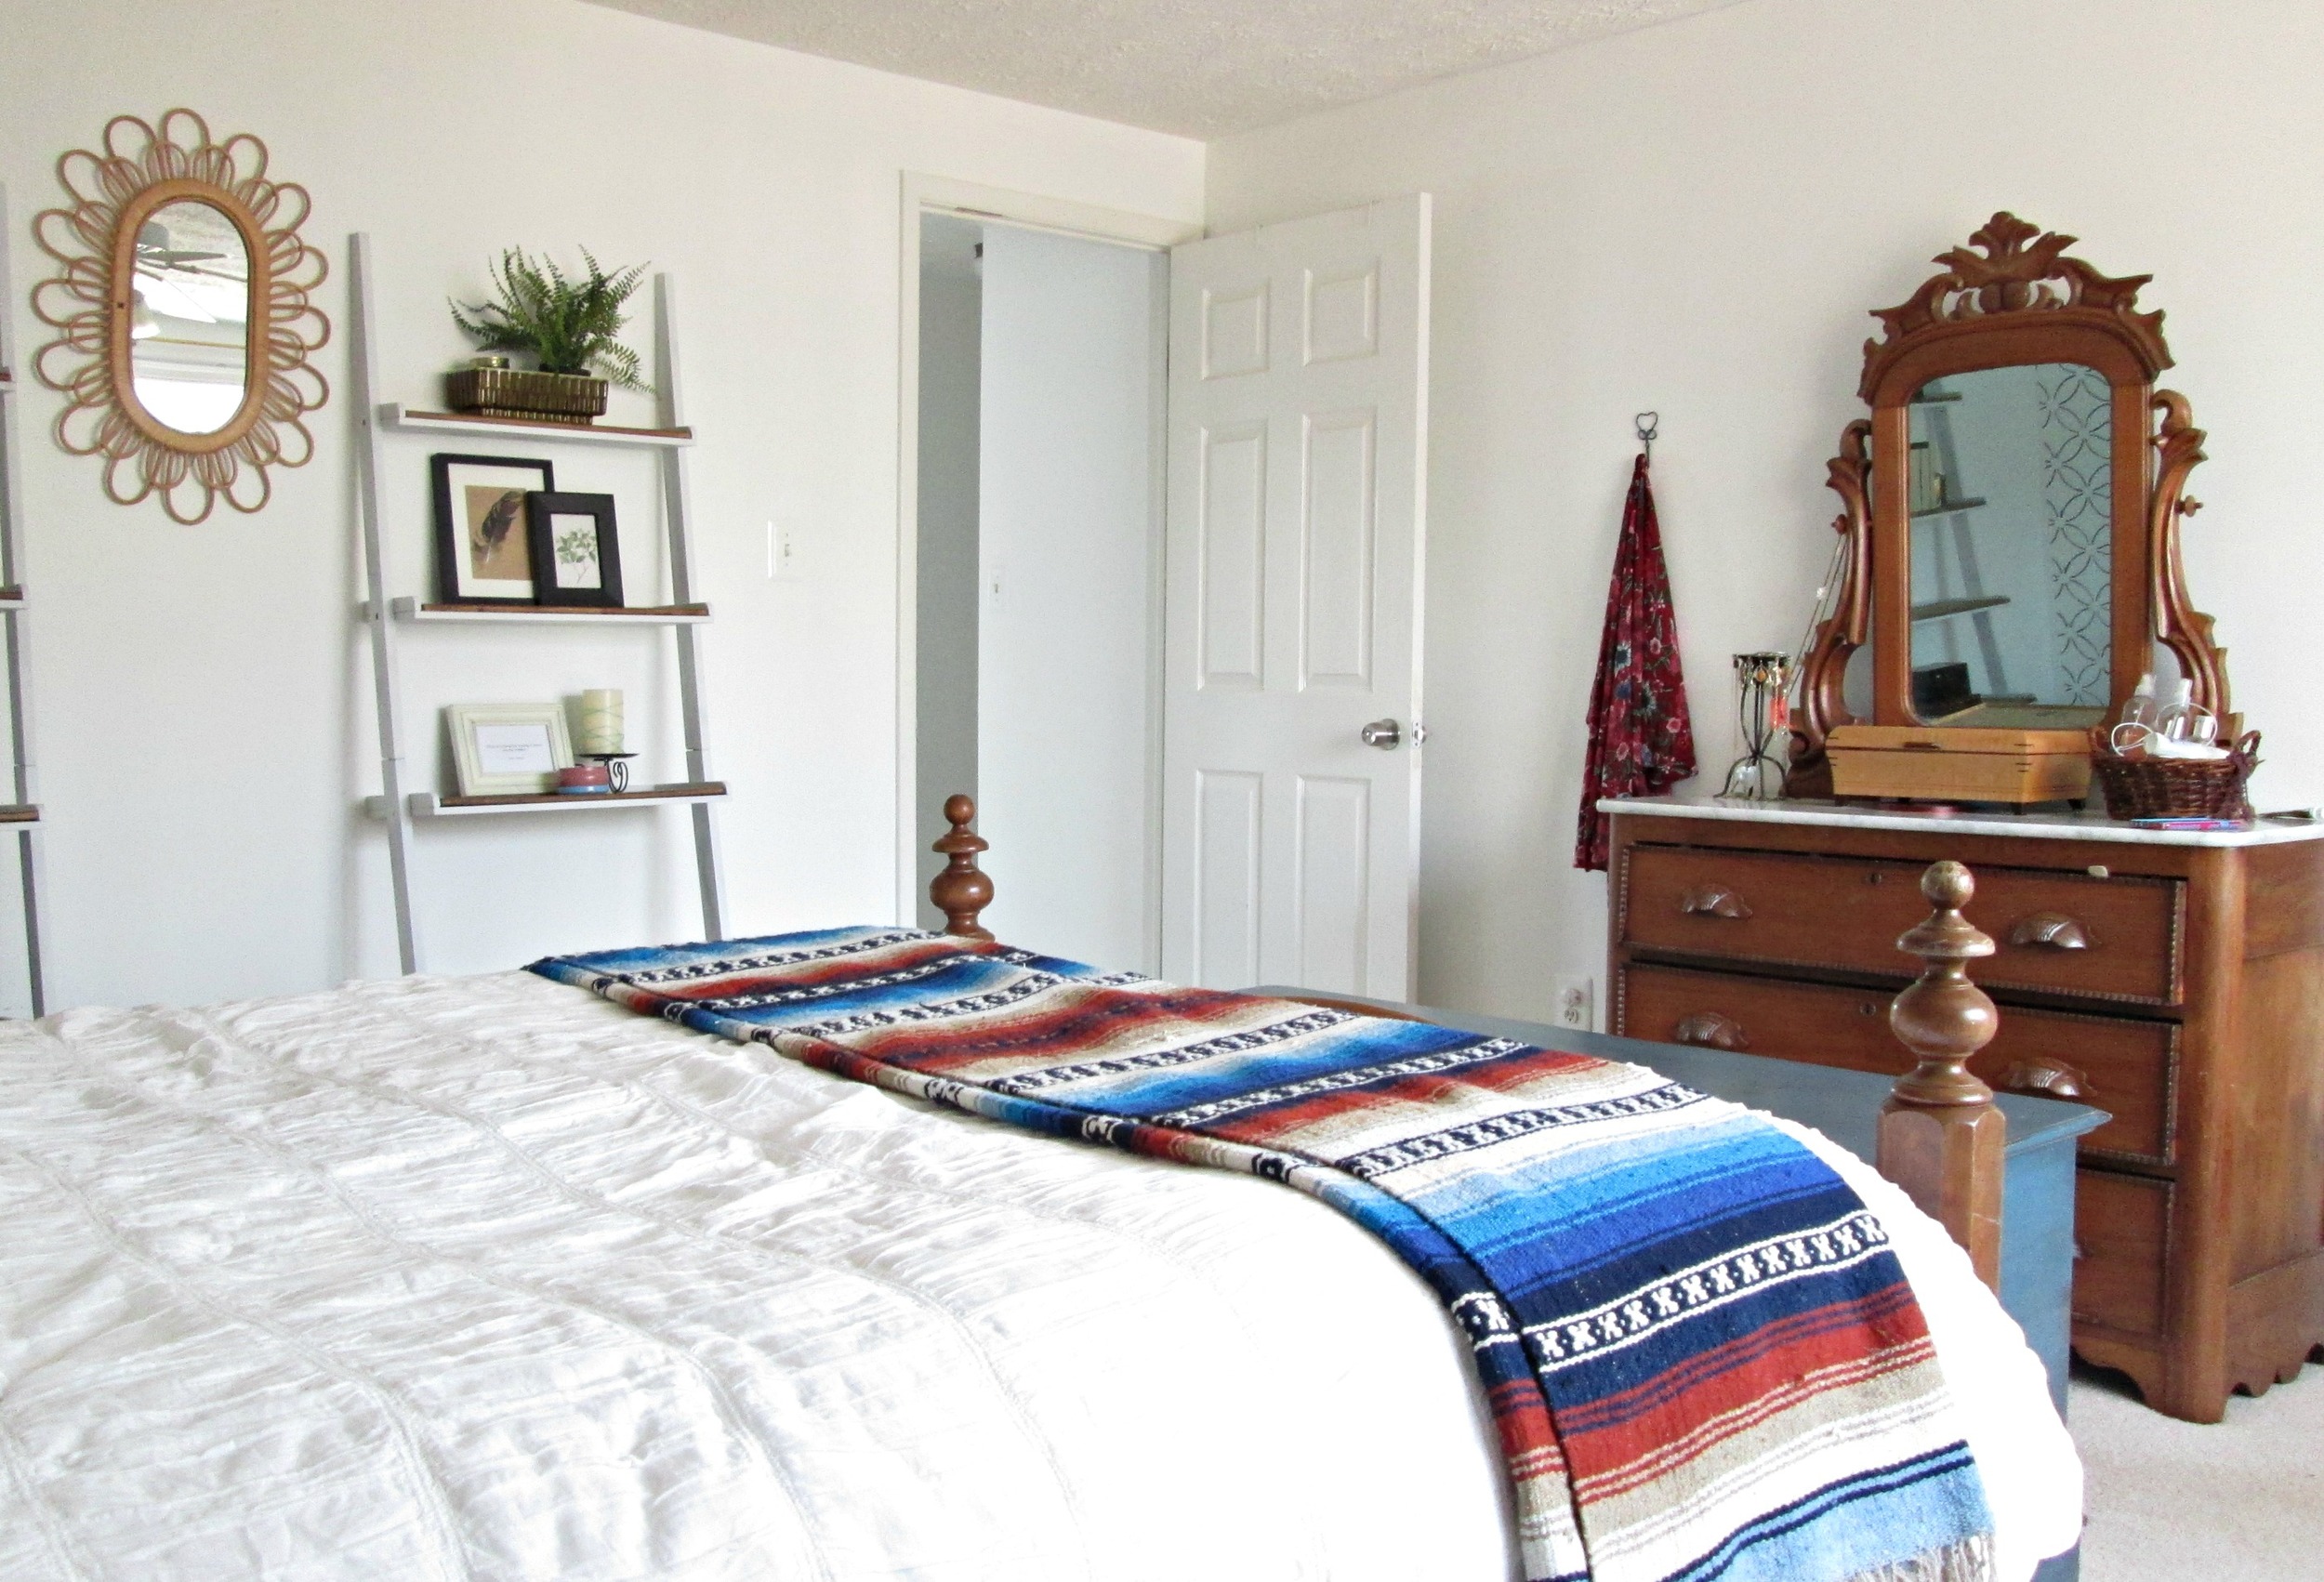
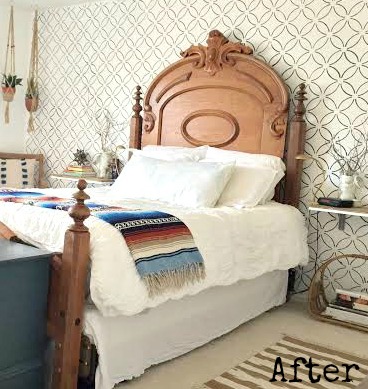
MASTER BEDROOM AFTER

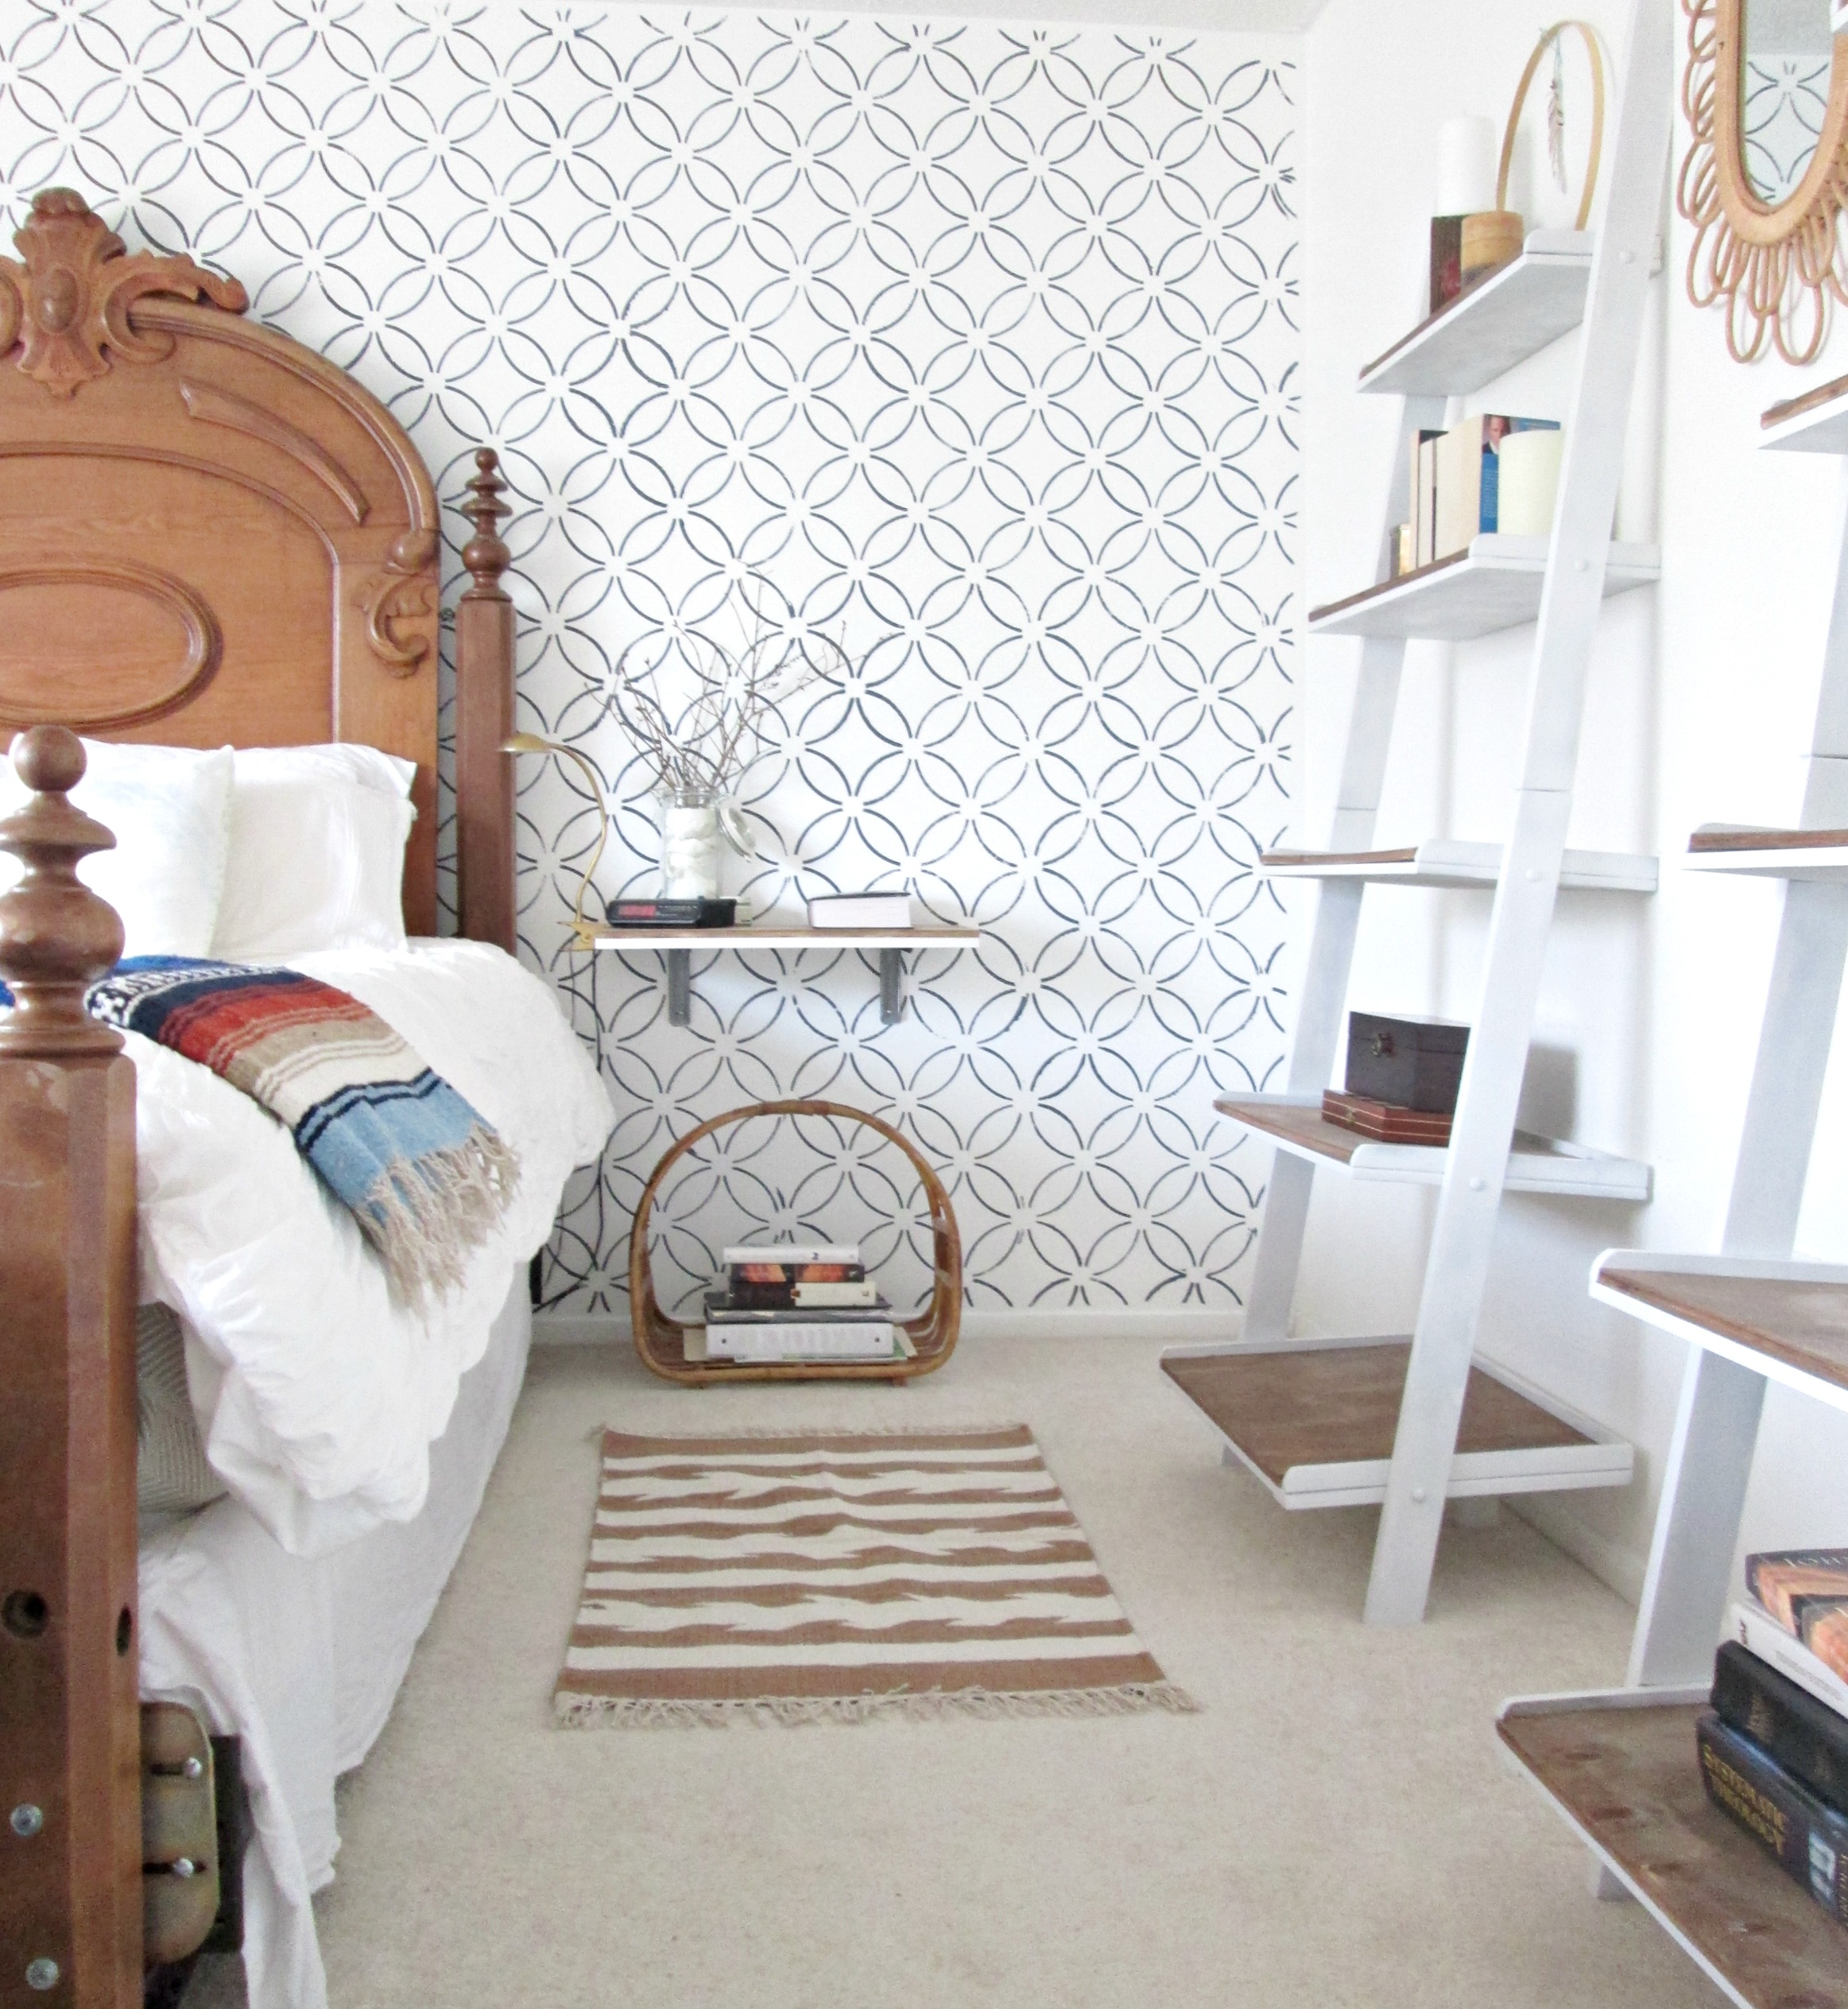
The Trial: My biggest challenge with this room was actually that bed! It's an antique family heirloom piece, along with our dressers, and while we are so honored to keep these pieces in our home, they are quite unique in their style and I found them difficult to decorate around.
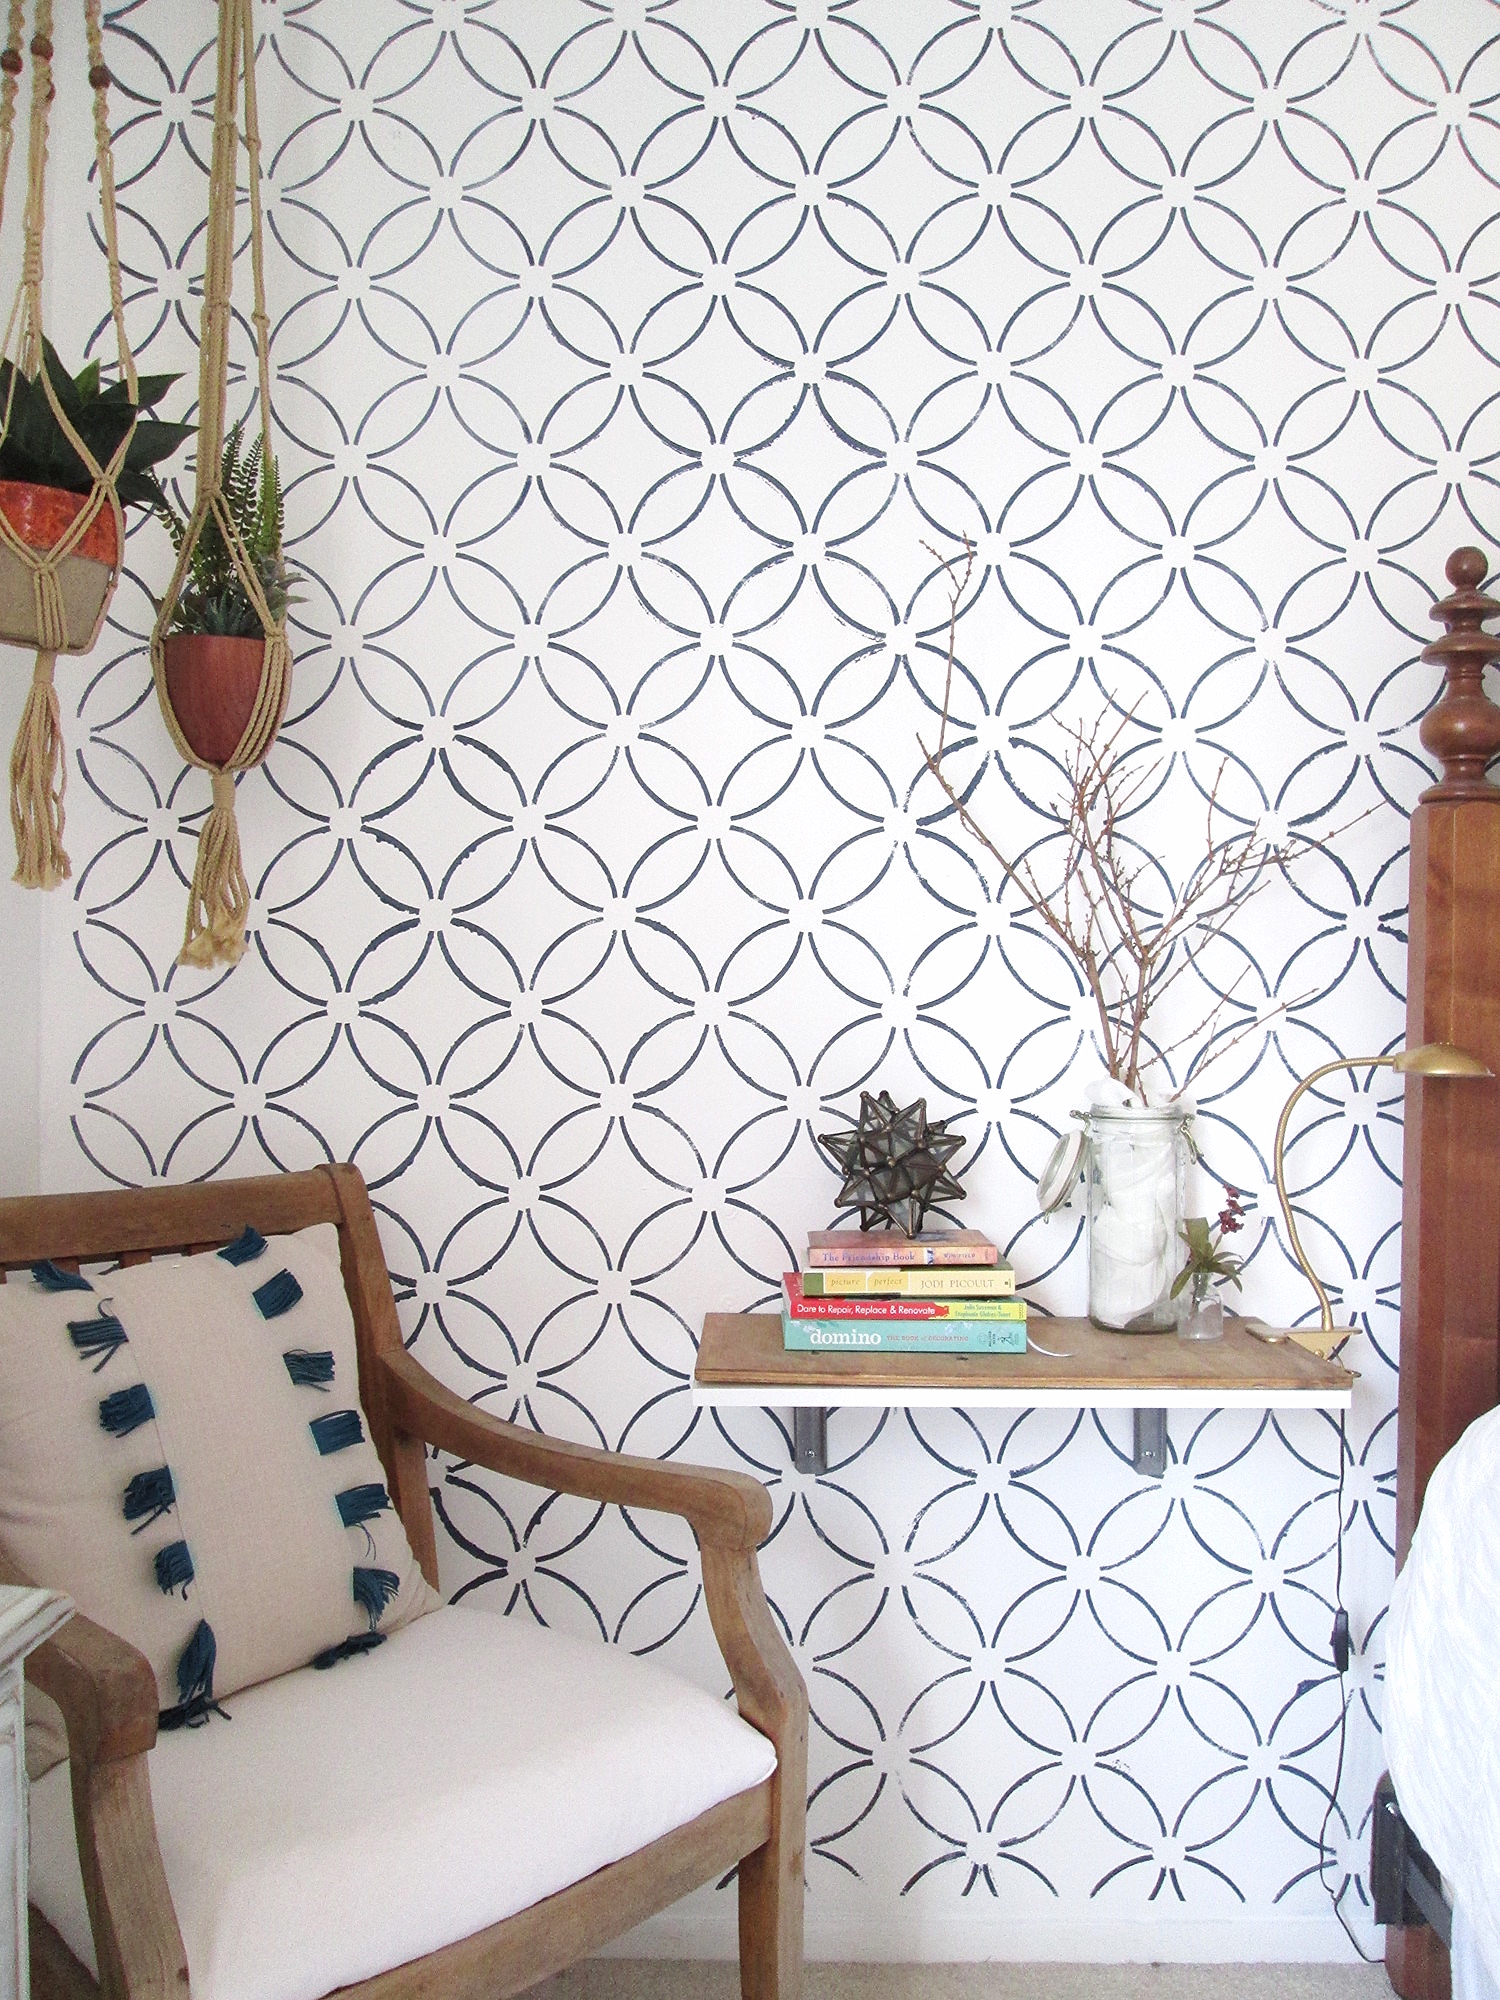
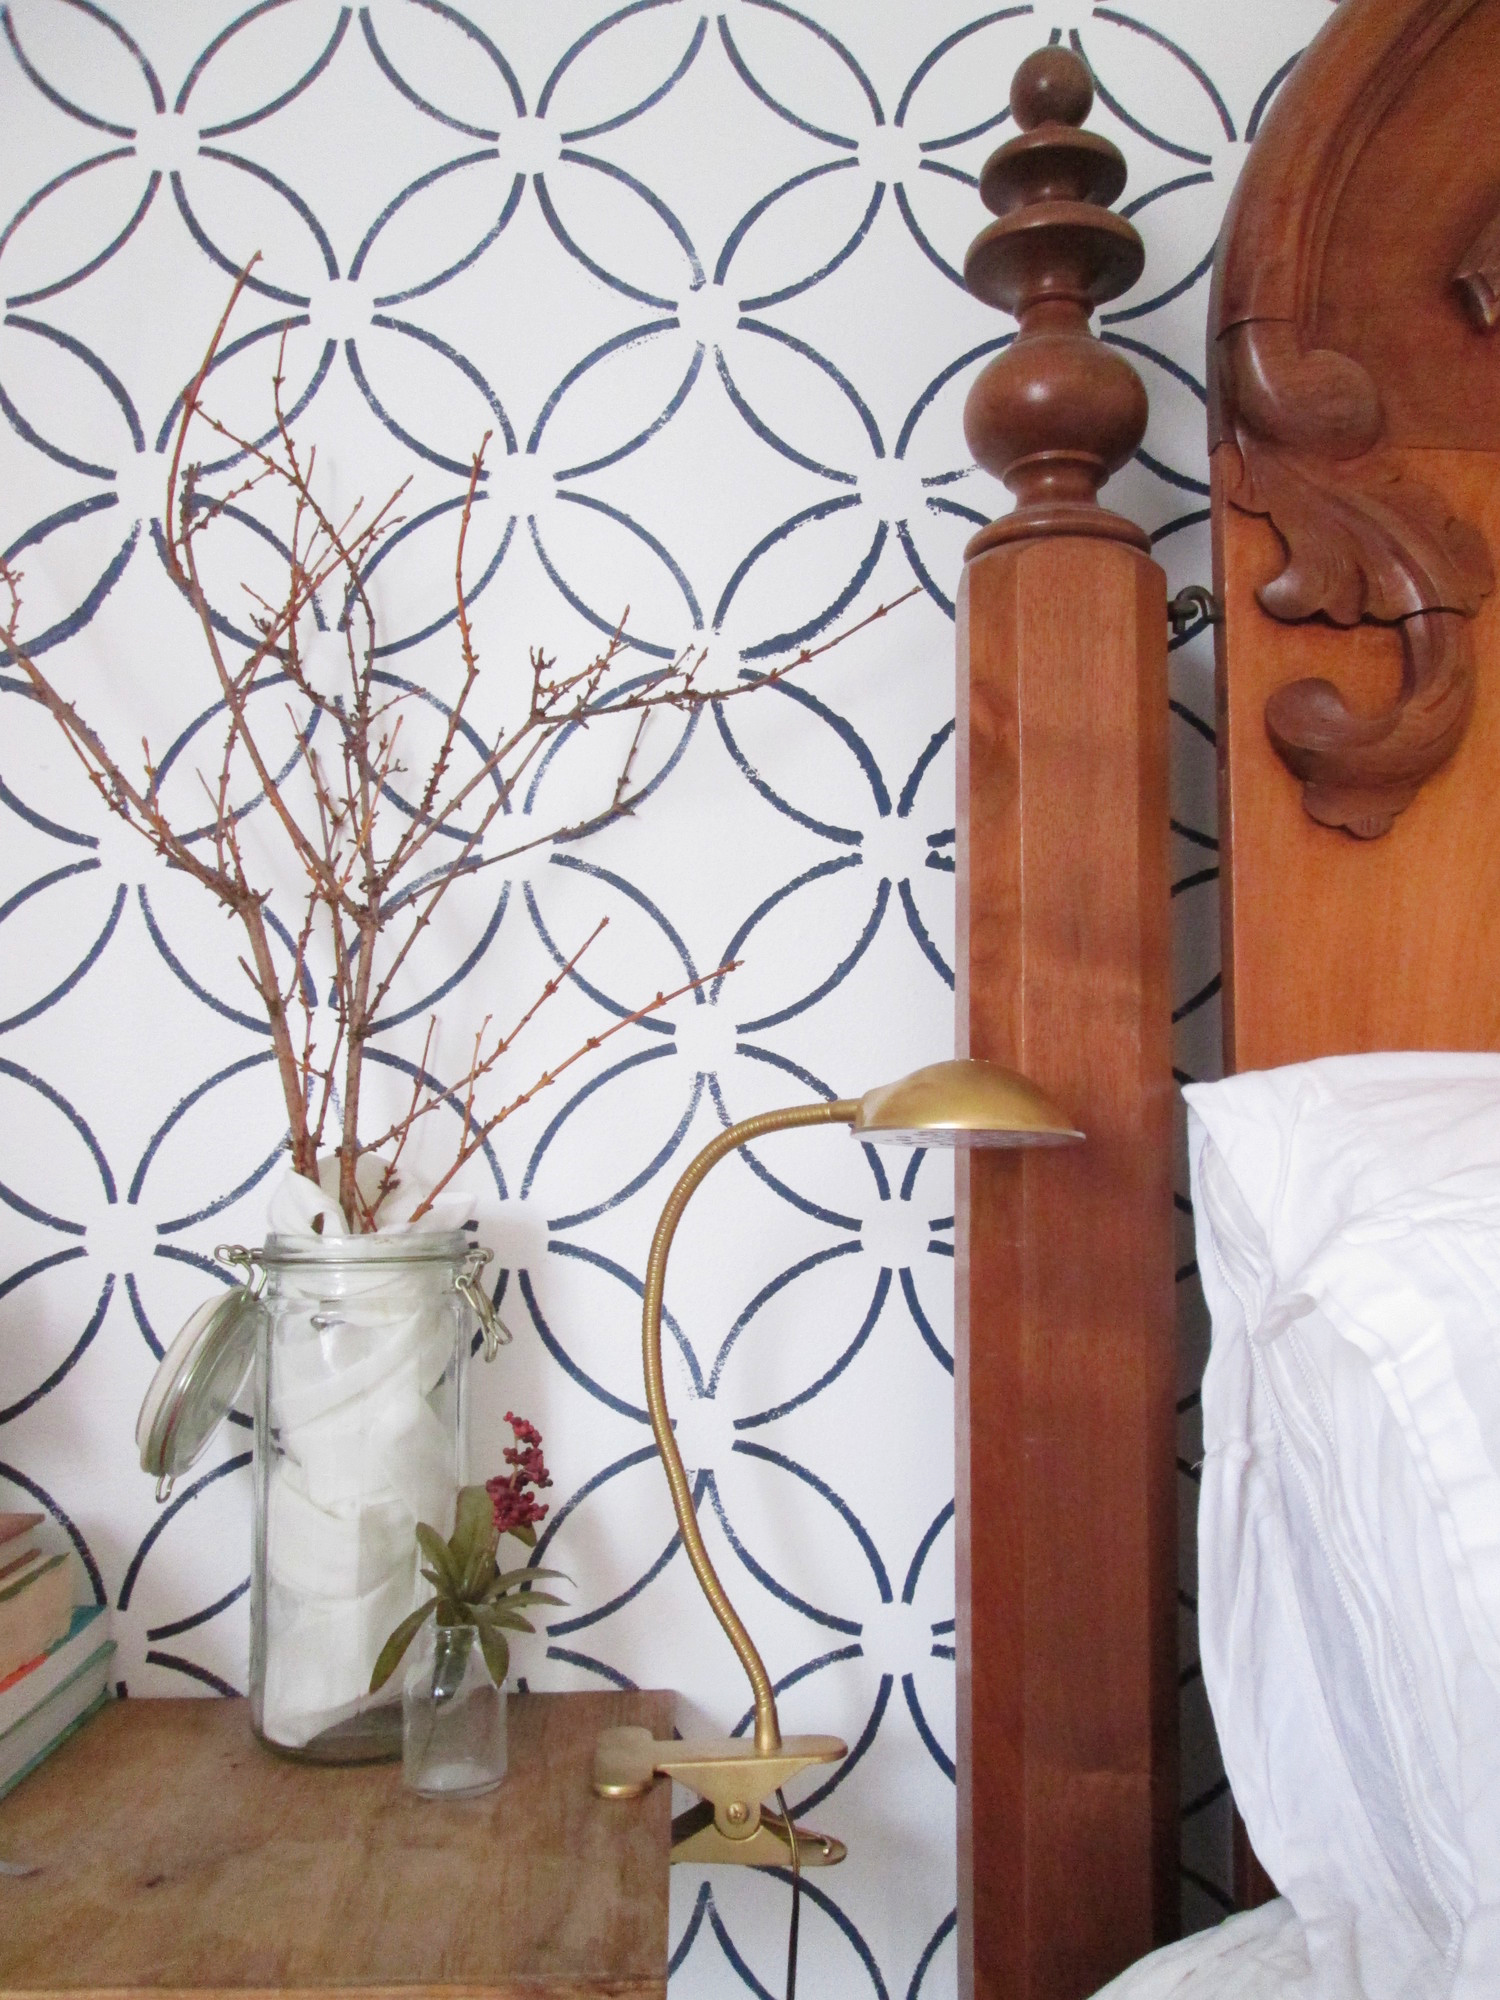
The Triumph: Who would have thought that adding a patterned accent wall behind such an ornate headboard would do the trick?! I stenciled the entire wall behind our bed as a way of modernizing the old character of the piece. Once that was done I felt free to introduce my bohemian tendencies with the addition of some macrame planters, a flea marketed mexican blanket, a large antique mirror from my husbands side, and the small runners on either side of the bed, (they're actually just 2'x3' rugs but suite the floor space flanking the bed perfectly).
DIY Links: Stenciled wall, Corner chair, Ceiling fan drum shade, (coming soon)

Whatever you call home, whether it's a large house or half of a dorm room, it's your space. Make it unique to you! Everyone deserves to love where they live. One of my favorite quotes is by the infamous tennis pro Arthur Ashe, who once said, "Start where you are, use what you have, do what you can." Your starting point and resources may be different from others you know. Your current situation might not be your ultimate dream. But you, my friend, deserve to love your home! What can you do? Give it some thought and then do it!

blueprint.jpg

If you're not sure where to start or need help with some ideas, Cate and I love this sort of thing and are always available as fresh eyes to help you get rolling. Feel free to email photos of your space to admin@stylemutthome.com and spill your heart out with your hopes and dreams for your space. We'll be happy to share our ideas!

A huge thank you to Compass for inspiring this Starter Stories project! You can find more Starter Stories posted on their Twitter!

We've got a divine Reader Design for you tomorrow on Valentines Day so be sure to drop in at some point!


Thank you so much for stopping by!


Reader Design: Jen's Fabulously Functional Home

We are so pumped to have so many inspiring entries to #stylemuttspaces.  Chelsea and I want so dearly for StyleMutt Home to be a resource for our readers and we certainly don't believe the buck stops with us.  We pine for input from you all!  And we hope you never shy away from reaching out to us with your own ideas.  You don't have to be a professional designer or blogger to have your voice heard here.  Love your space?  Then...

Work It.png

(or boy ;)  and share it with us!

Ok, I need to reign in my sassy snapping fingers and get back to serving your double helping of juicy inspiration from our next reader design.  Are you hungry?  Because dishing it out hot is our first international feature from Alberta, Canada: Jen from Fresh Crush.

From Jen:

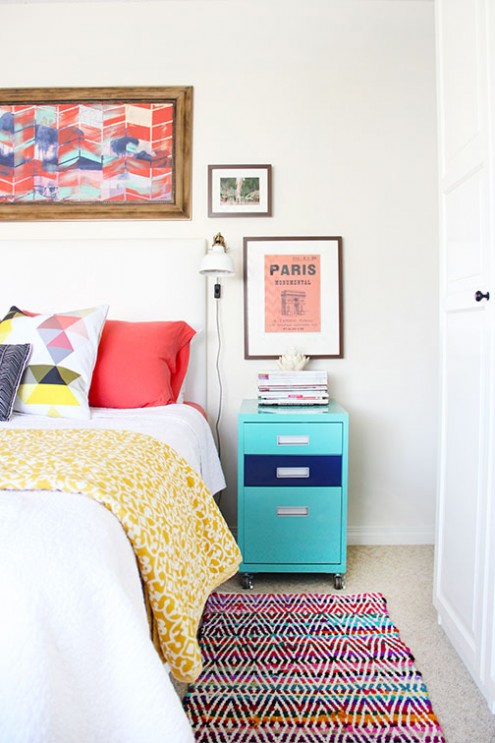
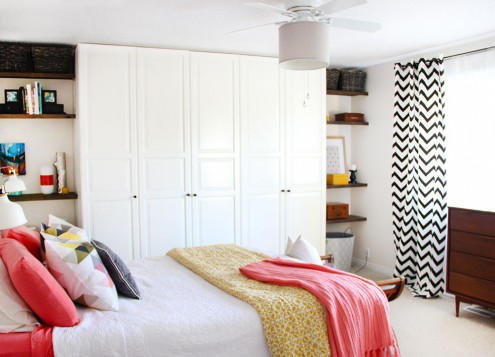
"The goal was comfort and colour!  I was crazy for coral while doing this project, and pairing it with neutral walls, a little black, aqua, and yellow was the perfect match."

Fun fact!  I have a filing cabinet that I painted this color aqua.  Jen - great minds eh?! 

Jen's wall-mounted clip lamps make the best use of surface space without sacrificing style.

"A few simple DIYs brought everything together, the easiest (and cheapest) of which had to by my addition of a drum shade to our ugly old (but needed) ceiling fan.  And custom shelving added a lot of pretty for very little cost, but huge comfort impact.  Definitely a great space to unwind at night." 

Did you even notice there was a ceiling fan?!  I didn't!

Don't those shelves masterfully maximize the dead space in the corner?

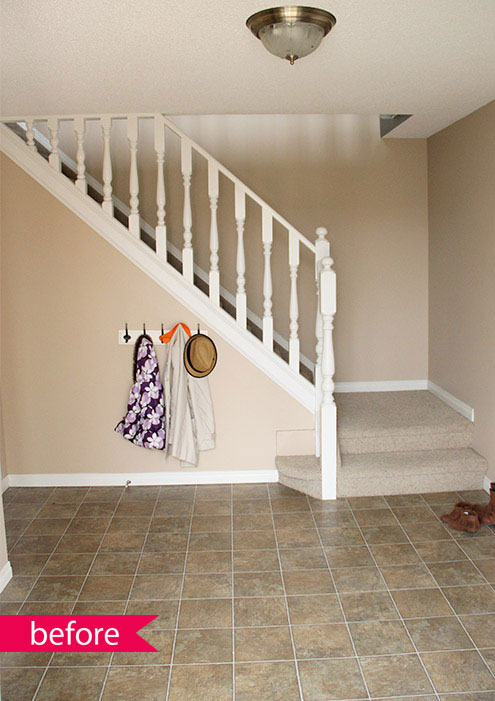
Jen's marriage of form and function does not stop here.  Wipe the drool from your mouths and let's go gawk at the before-and-afters of her foyer:

"Our foyer needed a serious update, but on a budget..."  

You're speaking my love language here Jen ;)

"The goals were to make it welcoming and warm, get it organized with easy to use storage, and make it easy to clean.  The open concept of the foyer [makes] it easy for our little one to help out.  The previous heavy doors [on the hallway closet] were too hard to operate and kept everything hidden and hard to find.  The new flooring and neutral paint warmed everything up..."
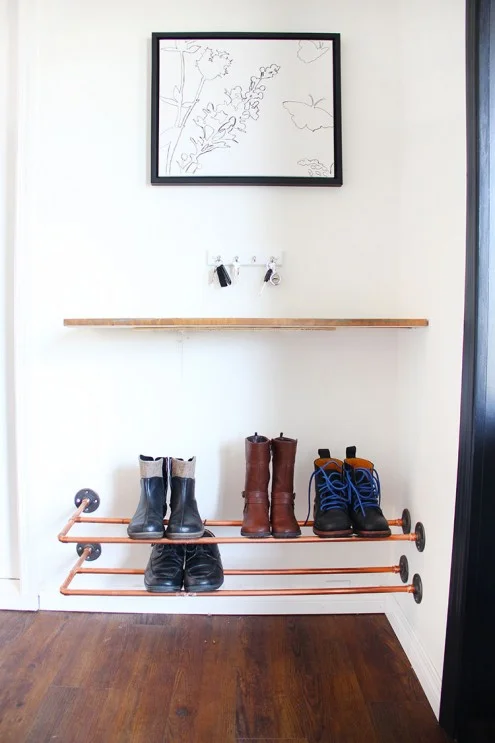
"...and new lighting, along with a few DIY projects and accessories kept everything on budget.  My favourite project from the space was my DIY copper shoe rack."  

Me too Jen.... meeeeee too.

Read about more of Jen's bedroom makeover and foyer transformation on Fresh Crush,  Thank you Jen for sharing with us all the way from Canada!

So what do y'all think?  You crushing on Fresh Crush yet?  

Don't forget, we want to celebrate your individuality with you!   So don't hesitate to tag #stylemuttspaces on Instagram or post your photos onto our Facebook wall!  The whole point of Reader Designs is simply to share incredible rooms with fresh ideas and document these features in our SPACES section to use as a reference of inspiration.  These submissions are seriously the jewels in the StyleMutt Home crown.  

​You never know who else will be inspired by your space so don't deprive us of your unique YOU people!

Stencil or Wallpaper? ||Can you tell the difference?||

Hi friends! Christmas is behind us, (or really far ahead, depending on how you look at it), but I'm here to bring you good news of great joy. If you've been searching high and low for an affordable wallpaper and have discovered that your wallpaper taste is quite expensive, you might want to consider stenciling! (And at the bottom of this post, we've got the deets on a free stencil giveaway)!

Obviously stenciling walls is nothing new. People have been adding borders and full wall patterns to their rooms for centuries. But, did you know you can purchase large sheets of a stencil pattern now, making the process a gazillion times easier and less time consuming? I know! It's unbelievably life changing, right?! Well, it was for me! 

I really wanted to give our master bedroom a more boho chic look and modernize our family heirloom bed. The headboard is quite stunning and grand, but it's not a look even remotely seen anywhere else in our home. I don't need or care to have every room in our home looking the same from one to the other, but I like there to be some continuity in the mix of styles. Our bedroom was previously  a one-style show with the headboard taking center stage. And it was a bit of a diva. I couldn't figure out how to mix anything else into the room until I finally thought about adding an accent wall right behind the bed! 

So I searched and searched for the right wallpaper to do the job and fell in love with a gorgeous print - at $225/roll. Given the size of our wall, this would have cost $900. I kept looking around, trying to forget the one I'd fallen for, and ultimately decided no paper was going to come close. So, I changed course and decided to go the less expenisve route and stencil!

I happened upon an amazing shop on Etsy called Cutting Edge Stencils. They sell most of their stencils by 2'x3' sheets, and include border and edger sheets as well! For less than $40, I got a gorgeous 2' x 3' stencil sheet, an edge/corner stencil sheet, and incredibly helpful instructions for the best supplies and paint to use for stenciling. 

This was my first experience stenciling a wall, and the process couldn't have gone smoother - and it was completed in less than 2 hours! 

Here is a side-by-side of our bedroom before stenciling and then after.

I can't believe I didn't do this sooner! Our room looks much more 'us' now - so eclectic and laid back. Definitely snapped up!

IMG_2863.JPG

To get this wall finished in 90 minutes, I added blue tape to the corners of my stencil sheet, stuck it in the upper right corner of the wall, and got to work with my small roller. The key to keeping the paint in the stencil and not smudging was NOT overloading the roller with paint. A tiny bit really goes a long way. Then, I'd gently peel the stencil sheet away from the wall, line up the pattern, and re-stick to do the next section. 

This whole section (plus another column I cropped out), was done with one sheet in about a minute. Stenciling for the win!!! The hardest part of this project was moving the furniture away from the wall, (and that is included in the 2 hours I said this project took me). 

Fun fact: I found that chair outside of an auto shop when the kids and I were waiting on an oil change. When I asked about it, the shop owner didn't even know it was there! It just needed a good scrub and a new seat.

IMG_2847.JPG
IMG_2849.JPG

Quite the transformation for $40 and less than 2 hours of time!

Shire approves!

A full tour of our updated boho bedroom can be found here!

If you've been considering adding a patterned wall to your home, my recommendation for Cutting Edge Stencils is sky-high. And guess what?! They're offering one of our readers a free stencil! Enter here for your chance to win a stencil of your choice from Cutting Edge Stencils!

Thank you so much for stopping by!