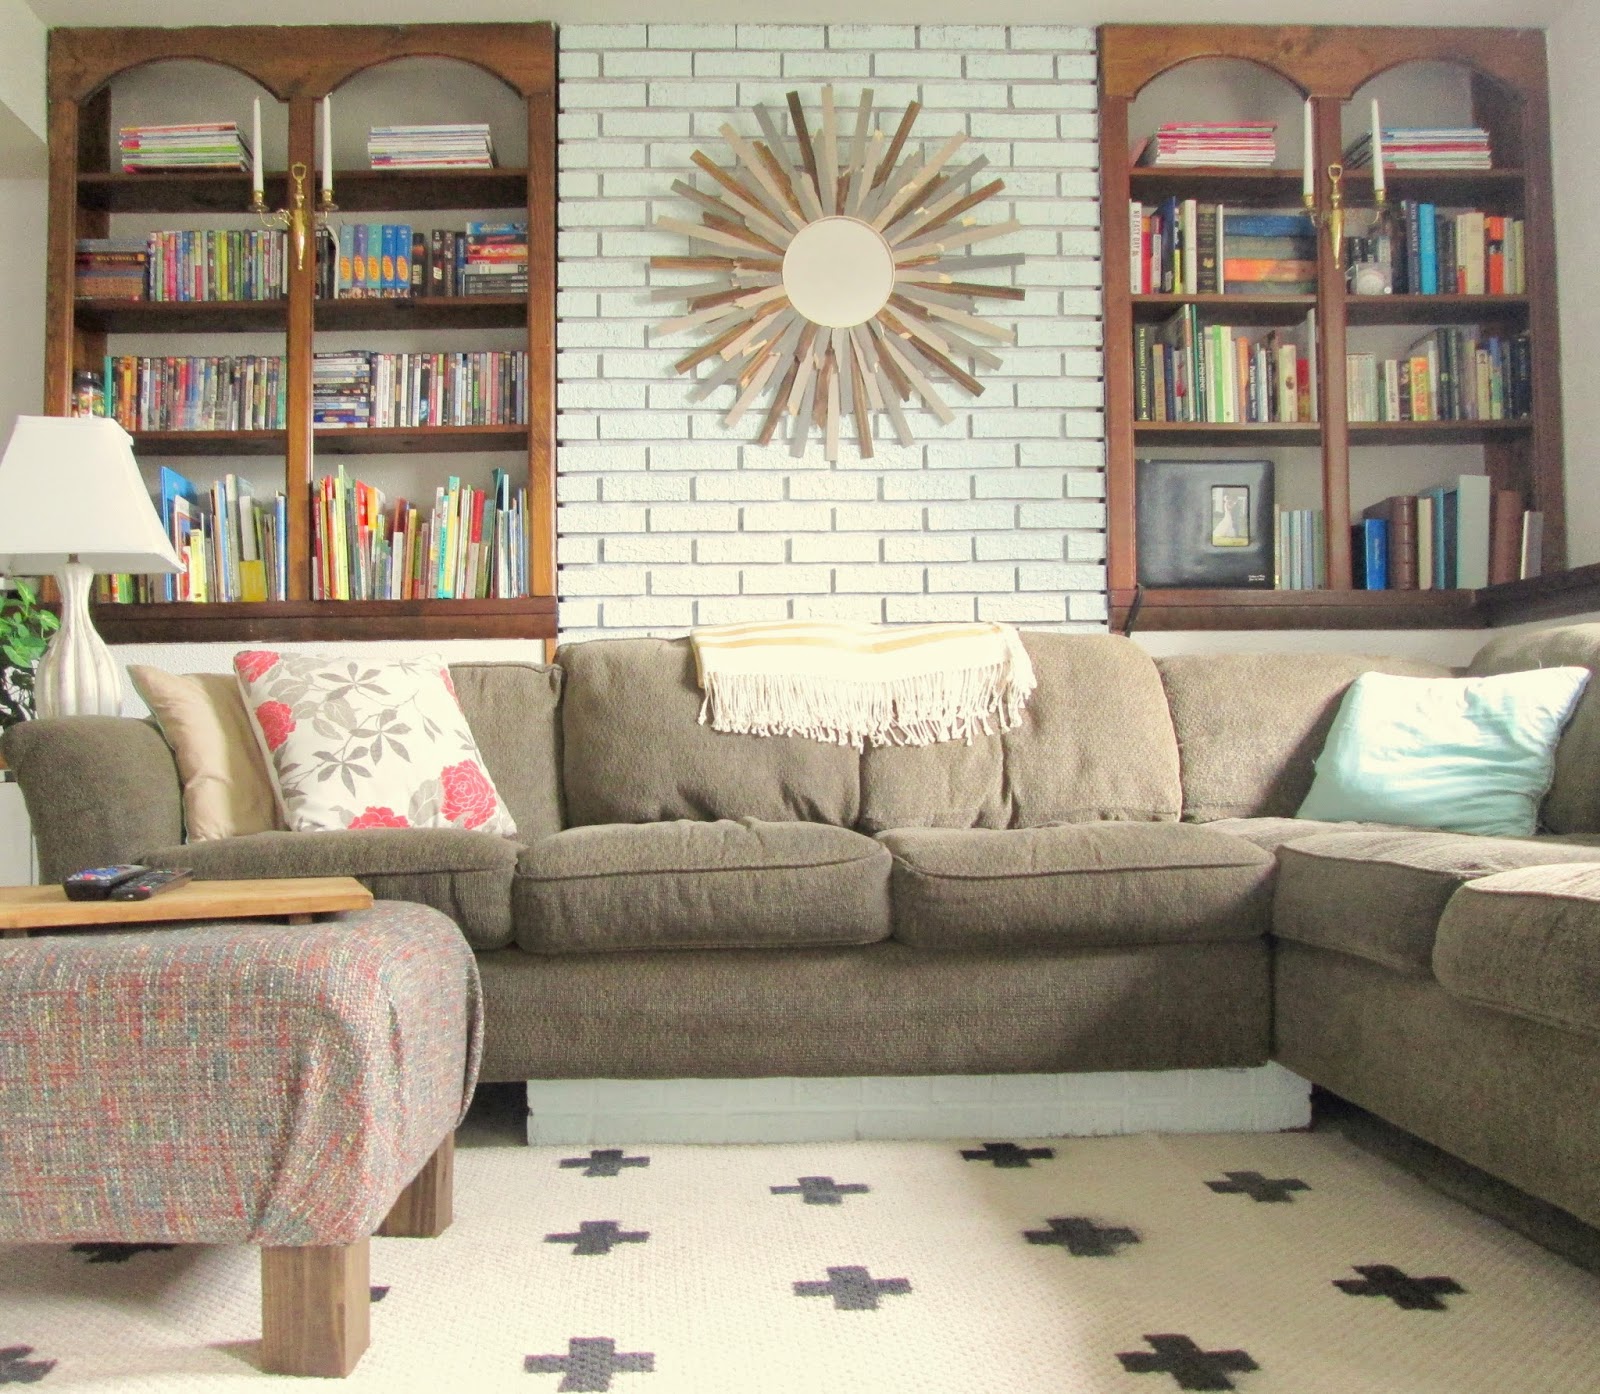
I just love heading into the weekend with a little DIY fun. :) I mentioned in our Basement Therapy post that there were a couple DIYs floating around the space, but my favorite one is actually grounding the whole room altogether.
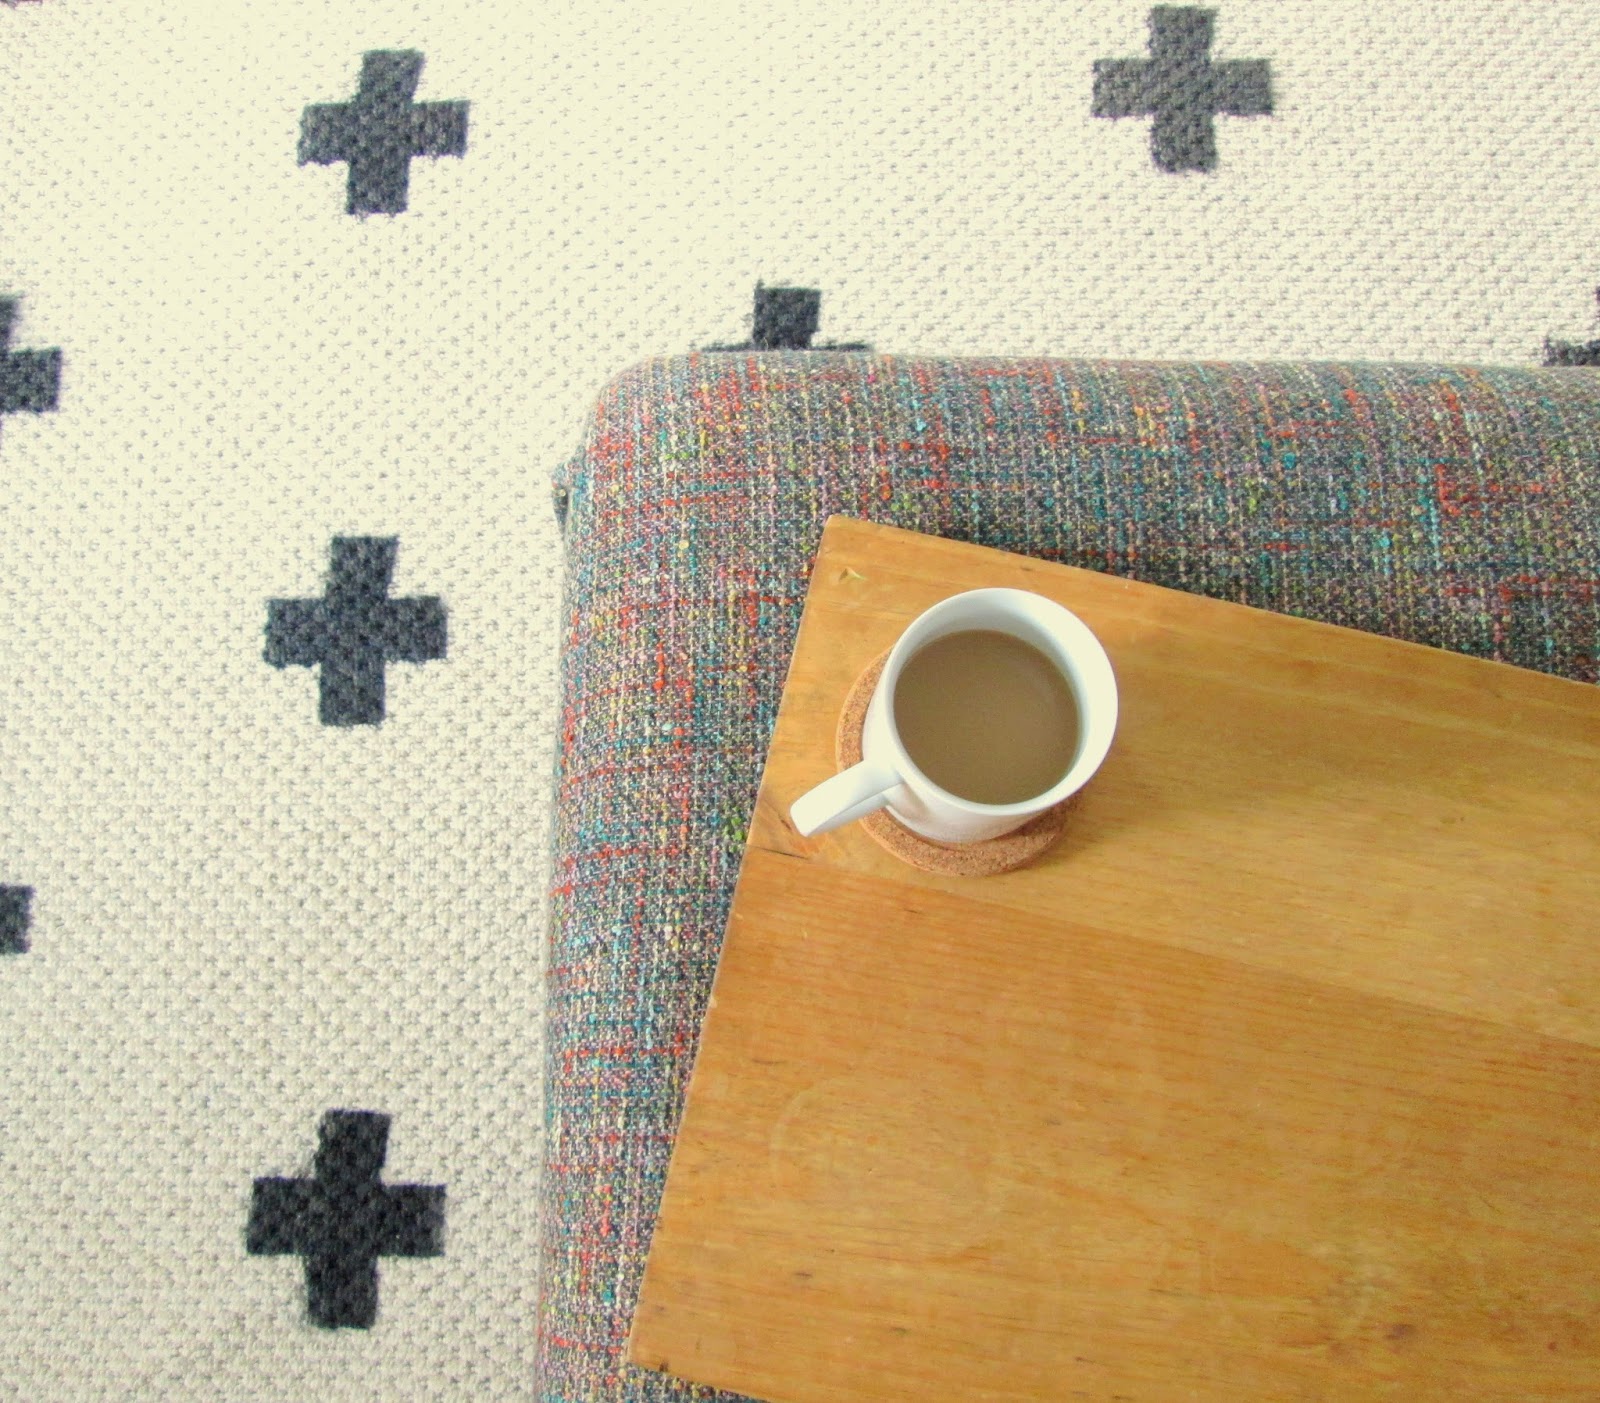
Take a good look at the rug. Can you tell that it's a DIY?

So fun, right!?! I've been smitten with the Swiss Cross for a couple years now and just couldn't get it out of my mind. I looked online for Swiss Cross rugs but couldn't find the design in the form of a rug, (lots of pillows and throw blankets). I was hoping to see one that I could use for inspiration before making my own, but alas I couldn't find a single one. Is it possible that this is the worlds first Swiss Cross rug?!?
Doubtful. But here is how I made ours in case you've been crushing on the Swiss Cross yourself. OR this technique could easily be translated to any pattern and colors you could possibly want - Multi colored hearts for a girls room, gold stars, triangles - think about it, you guys; the sky is the limit with this one!!!
Supply list:
Plain, solid rug
Can of spray paint or water diluted paint
Cardboard
First, you need a plain, solid color rug. I found our oatmeal-y grey one at Home Depot for $20 during a brief sale - the original price was $30, and it is oh so soft. Then you need a can of flat black spray paint, (or whatever color you want). Spray paint is wonderful for this project because it's already diluted a bit, so it won't dry stiff. If you decide on a using a brush and can of paint, just be sure to mix the paint with a bit of water to thin it out.
Then take a large piece of cardboard, (mine was about 18-20 square inches), and use a box cutter to carve a Swiss cross in the middle, (or whatever shape you'd like). How large you want it is up to you. The most important thing is that it is exactly centered in your piece of cardboard so it's easier to equally space the pattern.
Yup.

Bring the rug outside and lay on a smooth, flat surface. Lay the cardboard flat on the rug and spray from about 5-6"" away, being careful not to get over-spray onto the rug. The way I got my crosses all equal distance apart was by lining the cardboard up on the crosses I'd already done. I'd line the top of the cardboard up with the bottom of the crosses on the row above, (see below), and one side up against the tip of the previous cross sprayed right next door. Spacing and arrangement is all up to you!

All finished!

Now we are off to do some Friday thrifting! If you're on Instagram you can follow all our freshest finds, ideas, and projects at @chelseasgarage. I really think our relationship is ready for this next step!
I so appreciate you stopping by and have a splendid weekend!
~Chelsea
This post was published under Chelsea's Garage, now affectionately known as StyleMutt.