Basement therapy

Hi All! Question for you: Regardless of how long you've lived in your home, have you ever wondered if the way you've arranged a certain room or area is making the absolute most out of that space? Or maybe there's a space you are not in love with, but you live with it as-is because you can't see it any other way. I think we've all been there at some time or another.

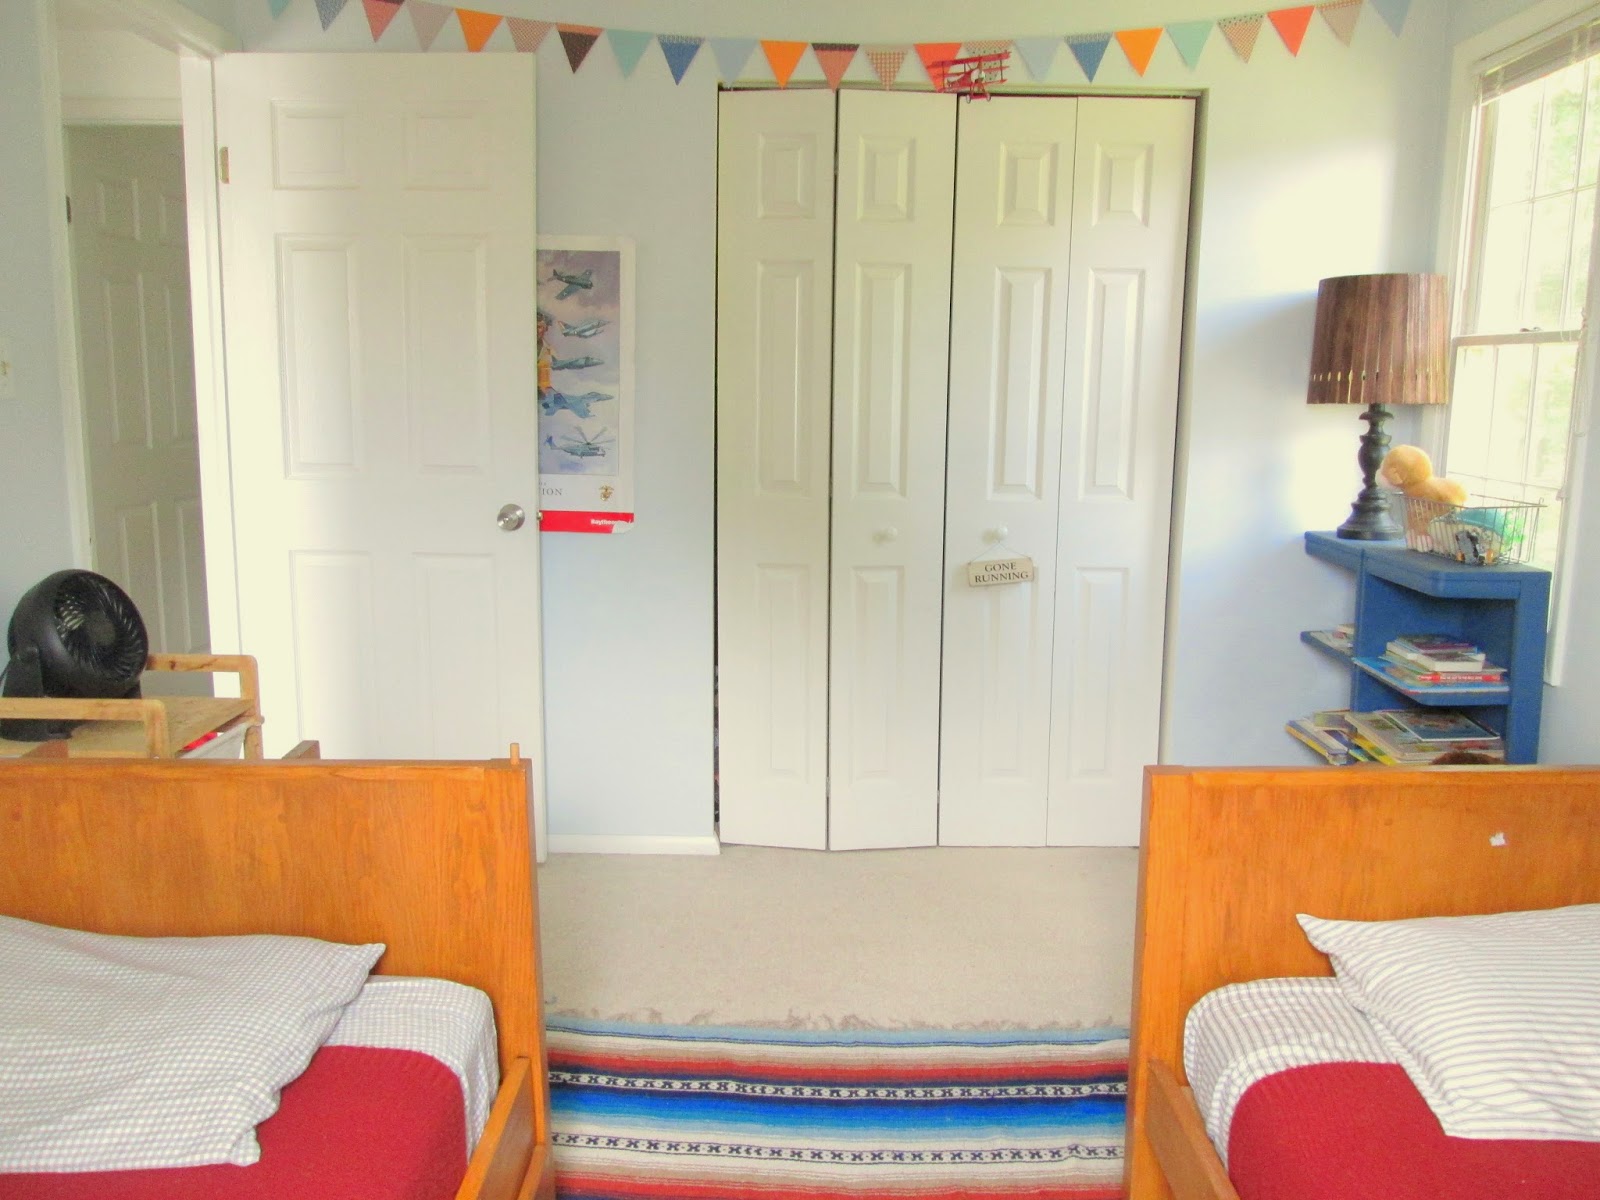
This was our basement three weeks ago: At the time of this photo, I thought our basement was as good as it could be. I didn't love it, but I didn't see it any other way.

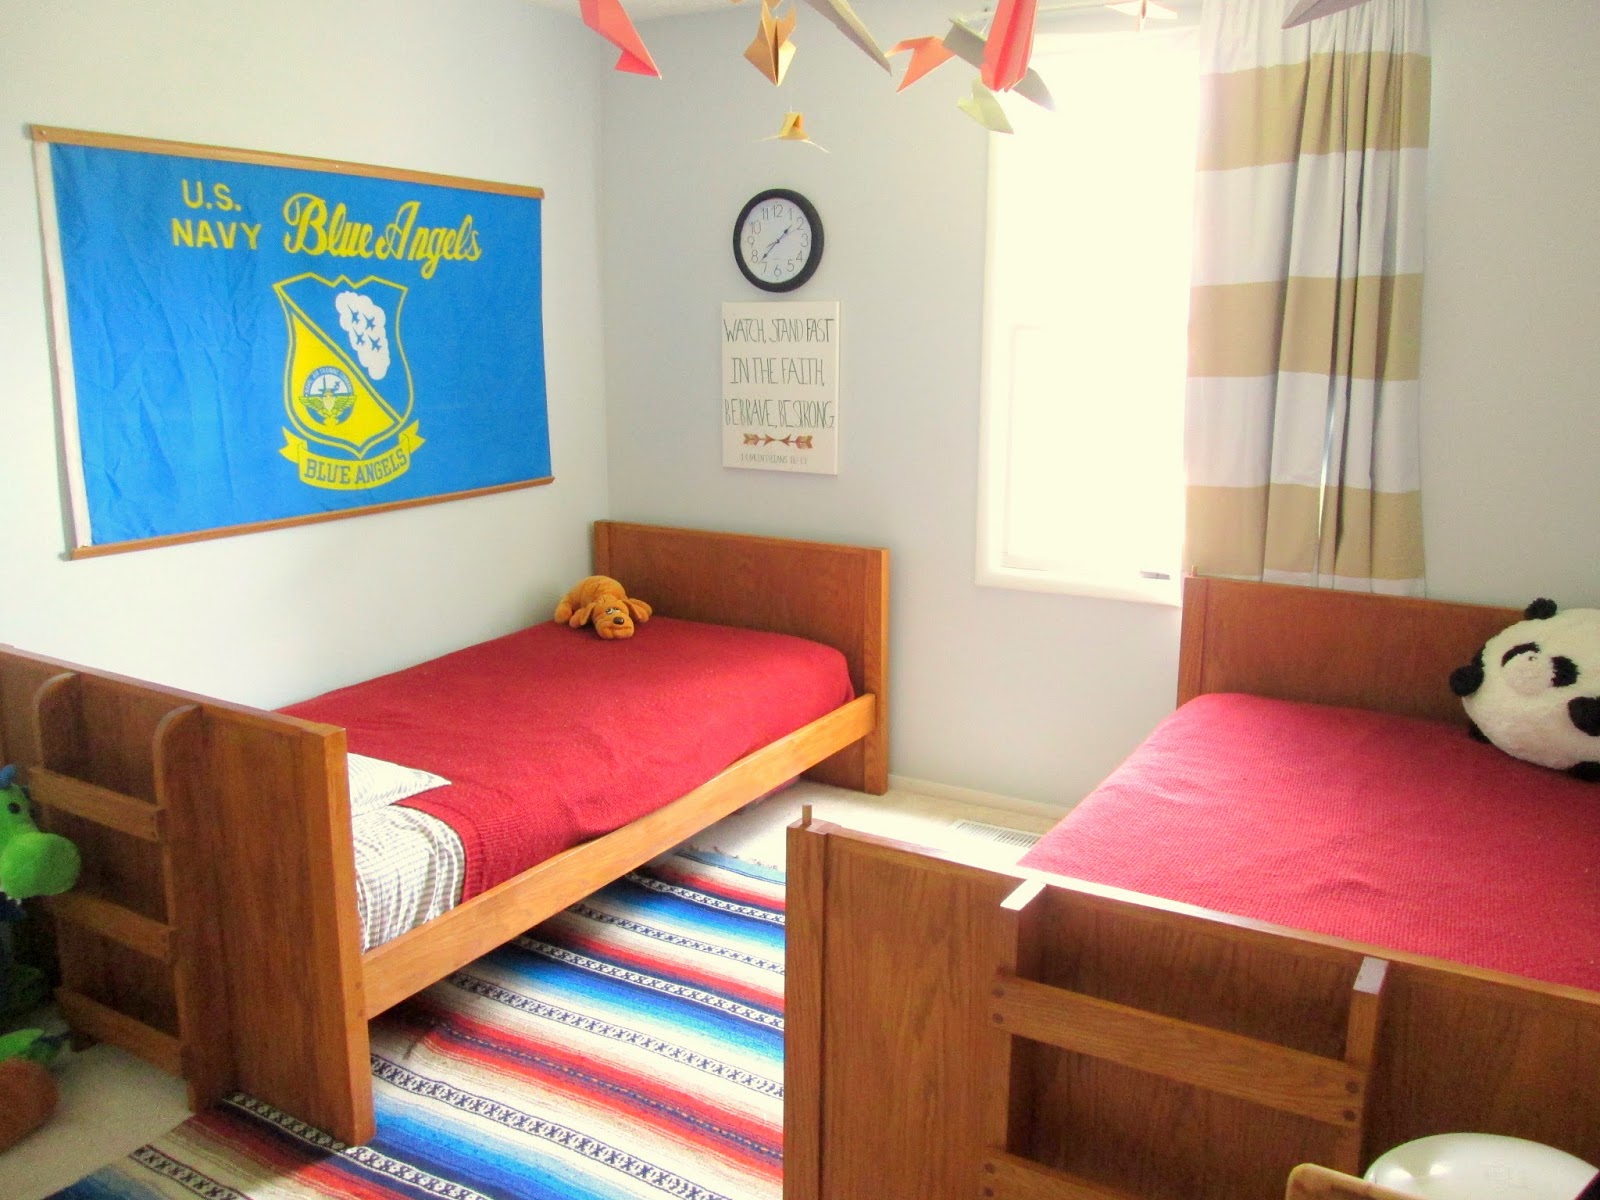
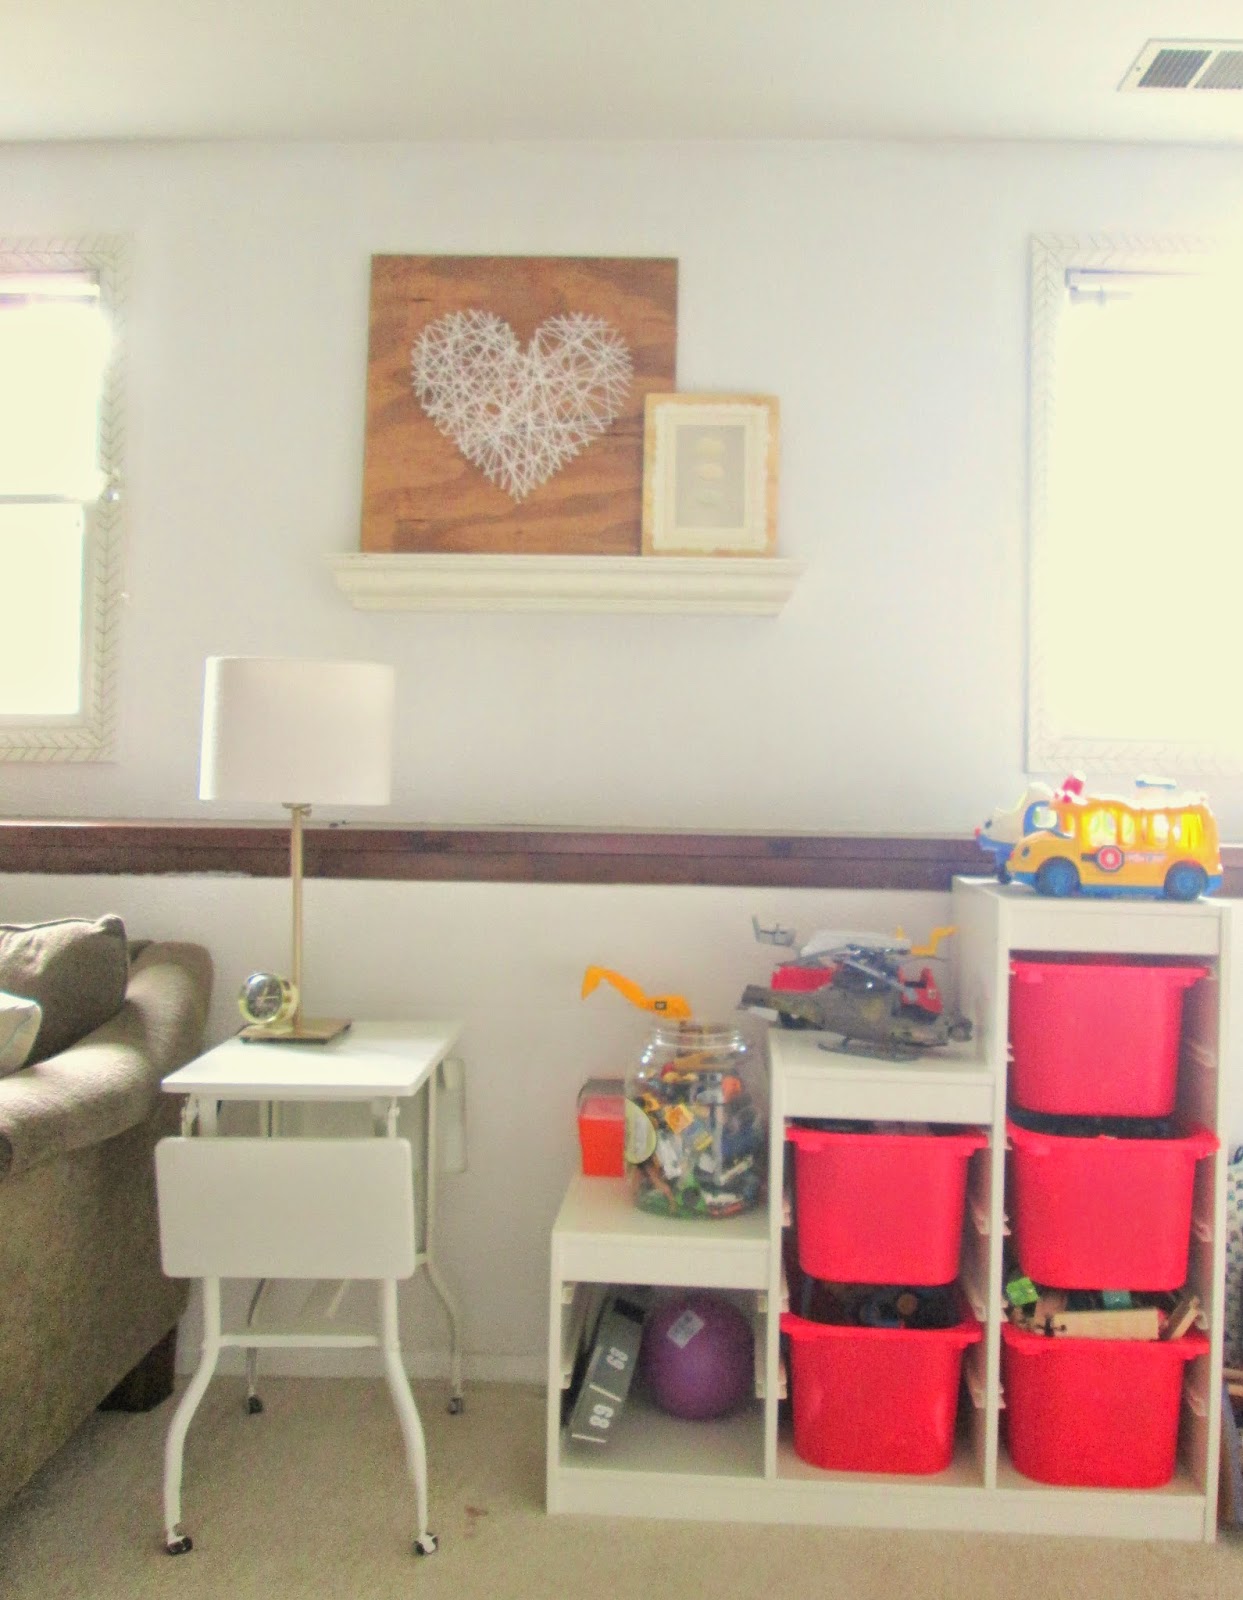
And around the corner, our guest 'nook'.

Our basement is an awesome space which we are SO grateful for. We've watched all three of our kids learn how to walk down there. We love hosting friends and family for board games, movies, and football games. There's a full bathroom, windows, a laundry / storage room, and lots of floor space.

And yet...

With the position of the sectional sofa, we were splicing the floor space in half. It was making the space really choppy, with no real open room for the kids to spread out and play. Our kids, now 4, 4, and 3, take up a bit more room than they did when they were babies, and the space was just feeling smaller and smaller for them to play.

But...

Because of the exposed brick you can see in the first picture,(the remnants of an old wood-burning stove that this home had years and years before we ever moved in), we didn't really see another option for our TV. The weird panel of brick seemed like an obvious focal point for the TV to go, but that left half of the sectional sofa floating in the middle of the room, and the other half was way too close to the TV. 

So we moved some things around, you know, just to see...

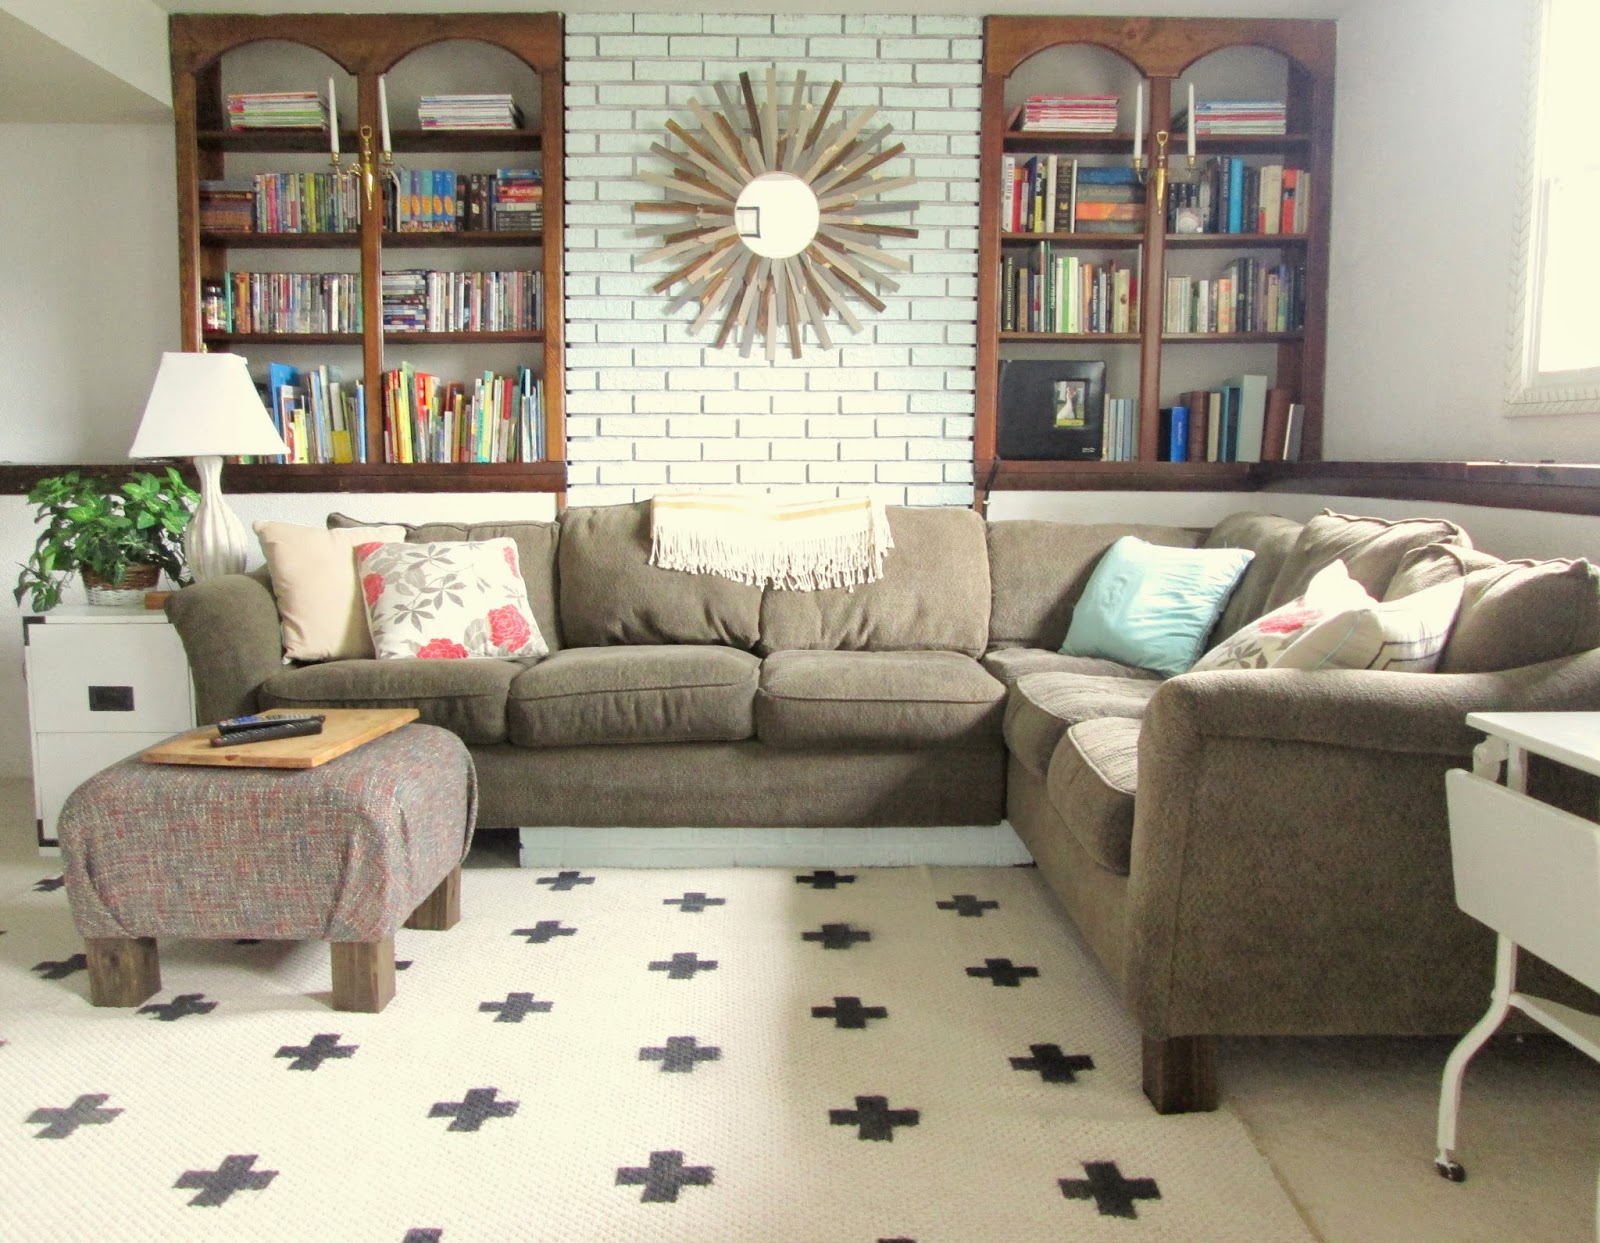
We moved the TV across the room. And guess what?! Not a bad seat in the house now!

The guest nook looks just about the same, (more on that space and how I planked a wall with a Sharpie here). I'm considering adding curtains that could be anchored on either side so that when we do have overnight guests, they can have a tiny smidgen of privacy.

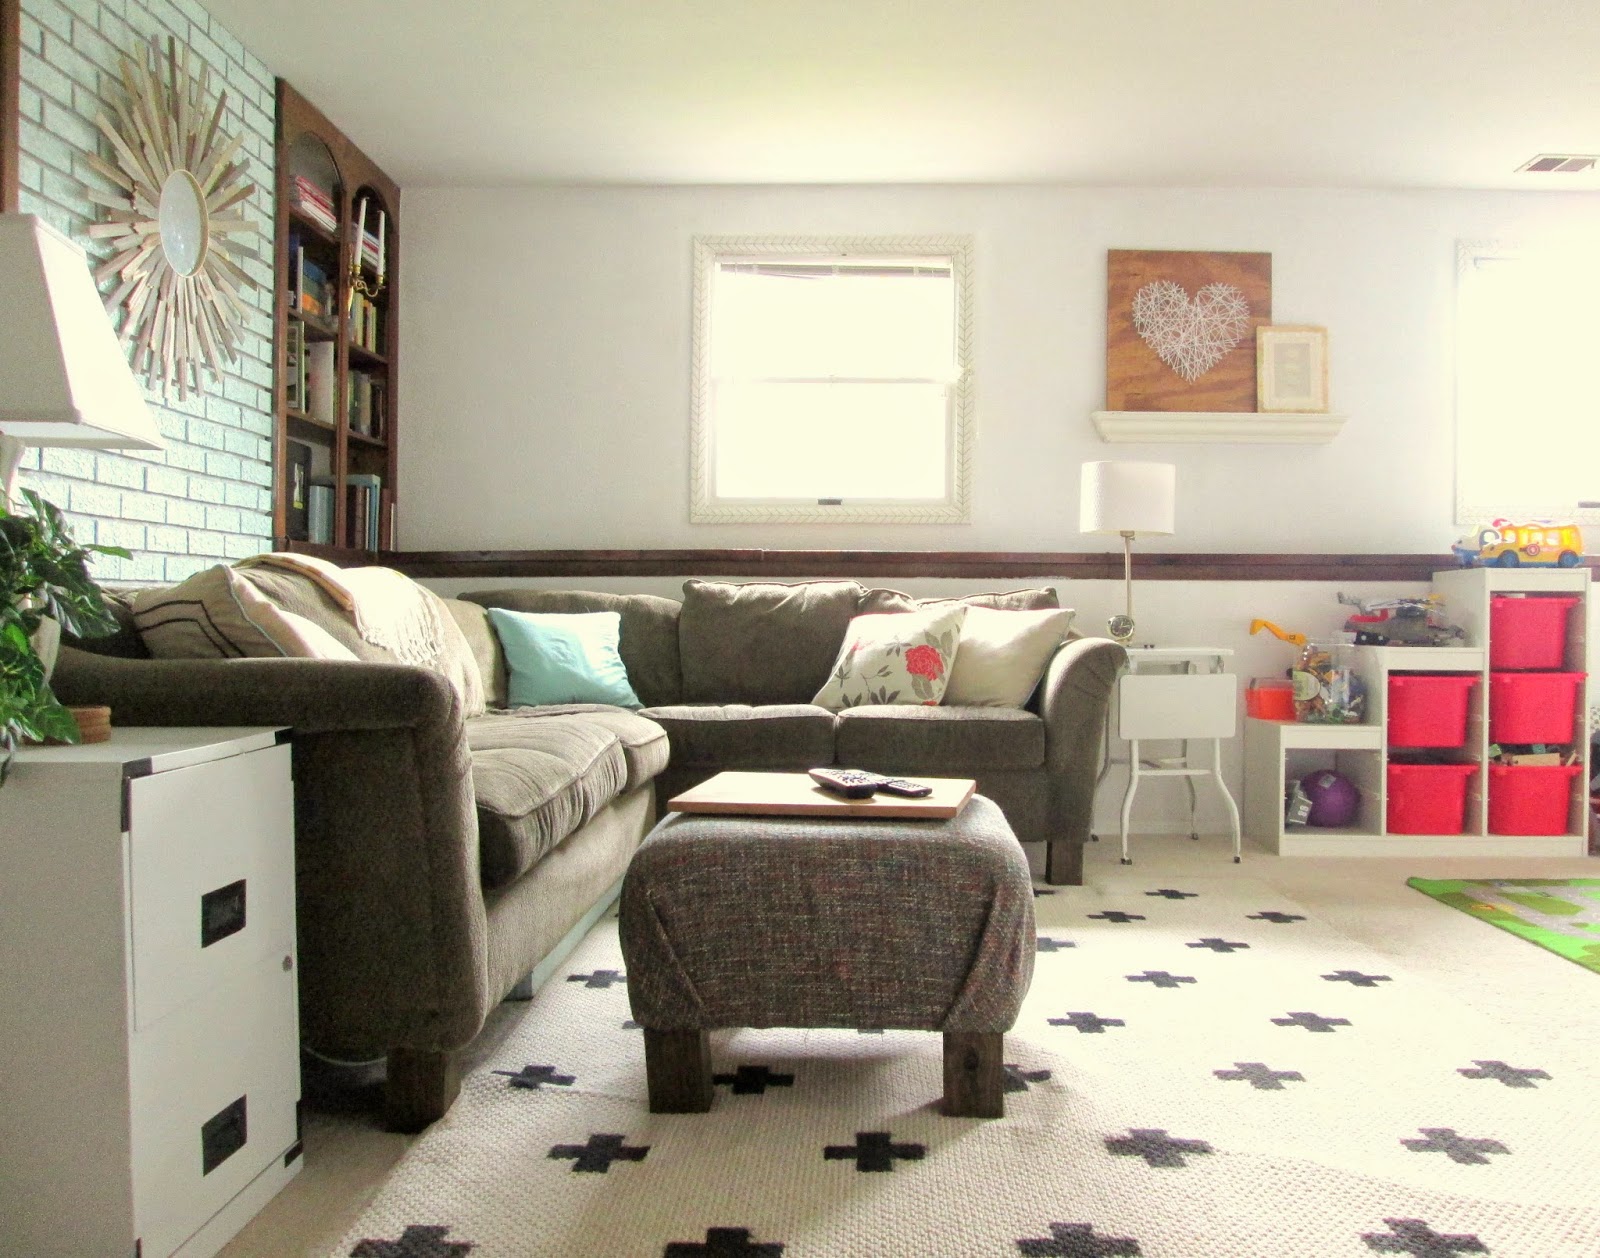
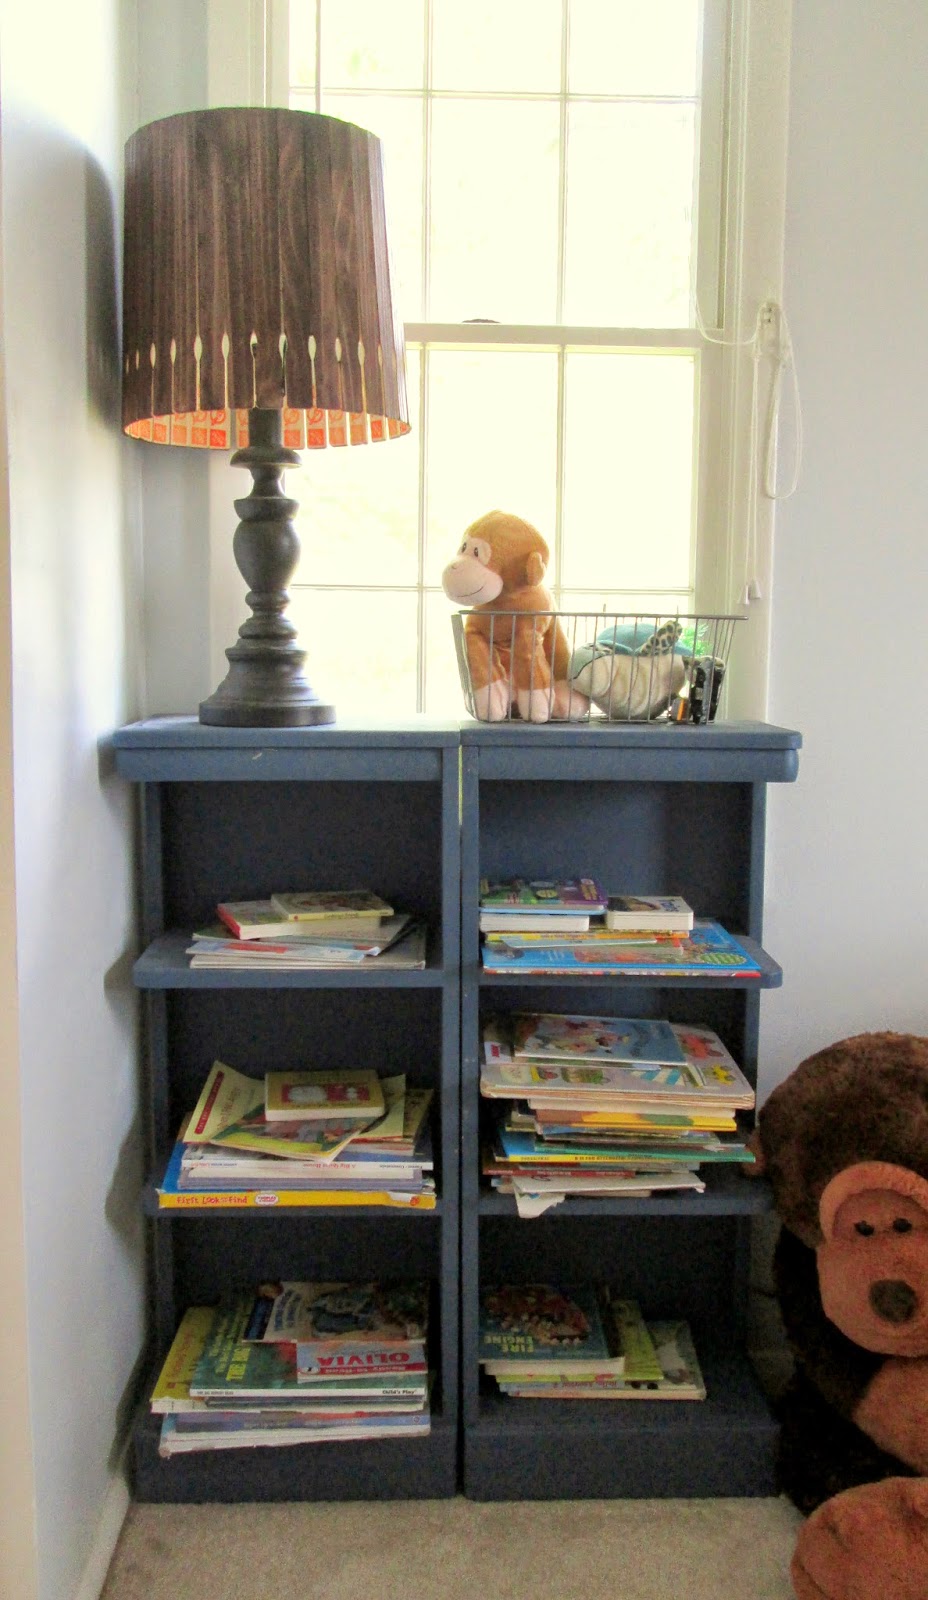
And there are the toys. Let's talk about toys for a sec. I know there are tremendously creative options for hidden toy storage out there and we've used a couple ideas in other areas of our home. But the truth is, I just don't mind seeing them. I'll miss them some day. I love the random arms of excavators sticking out, the inclined ladders atop the firetrucks, the rotors of helicopters, the fuzzy scarves for dress up - all those things that are really tricky to keep out of sight are okay with me in sight. We didn't have kids on accident, (well, not all of them - our third was a...pleasant surprise), so I don't try to pretend that their toys don't exist all over our home.

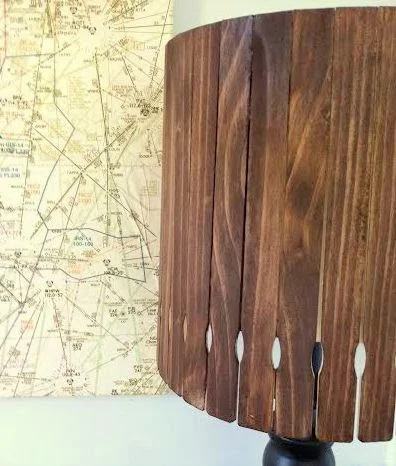
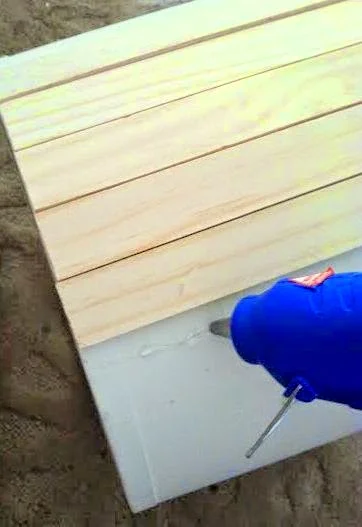
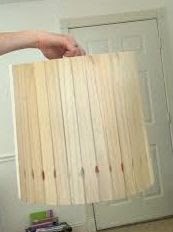
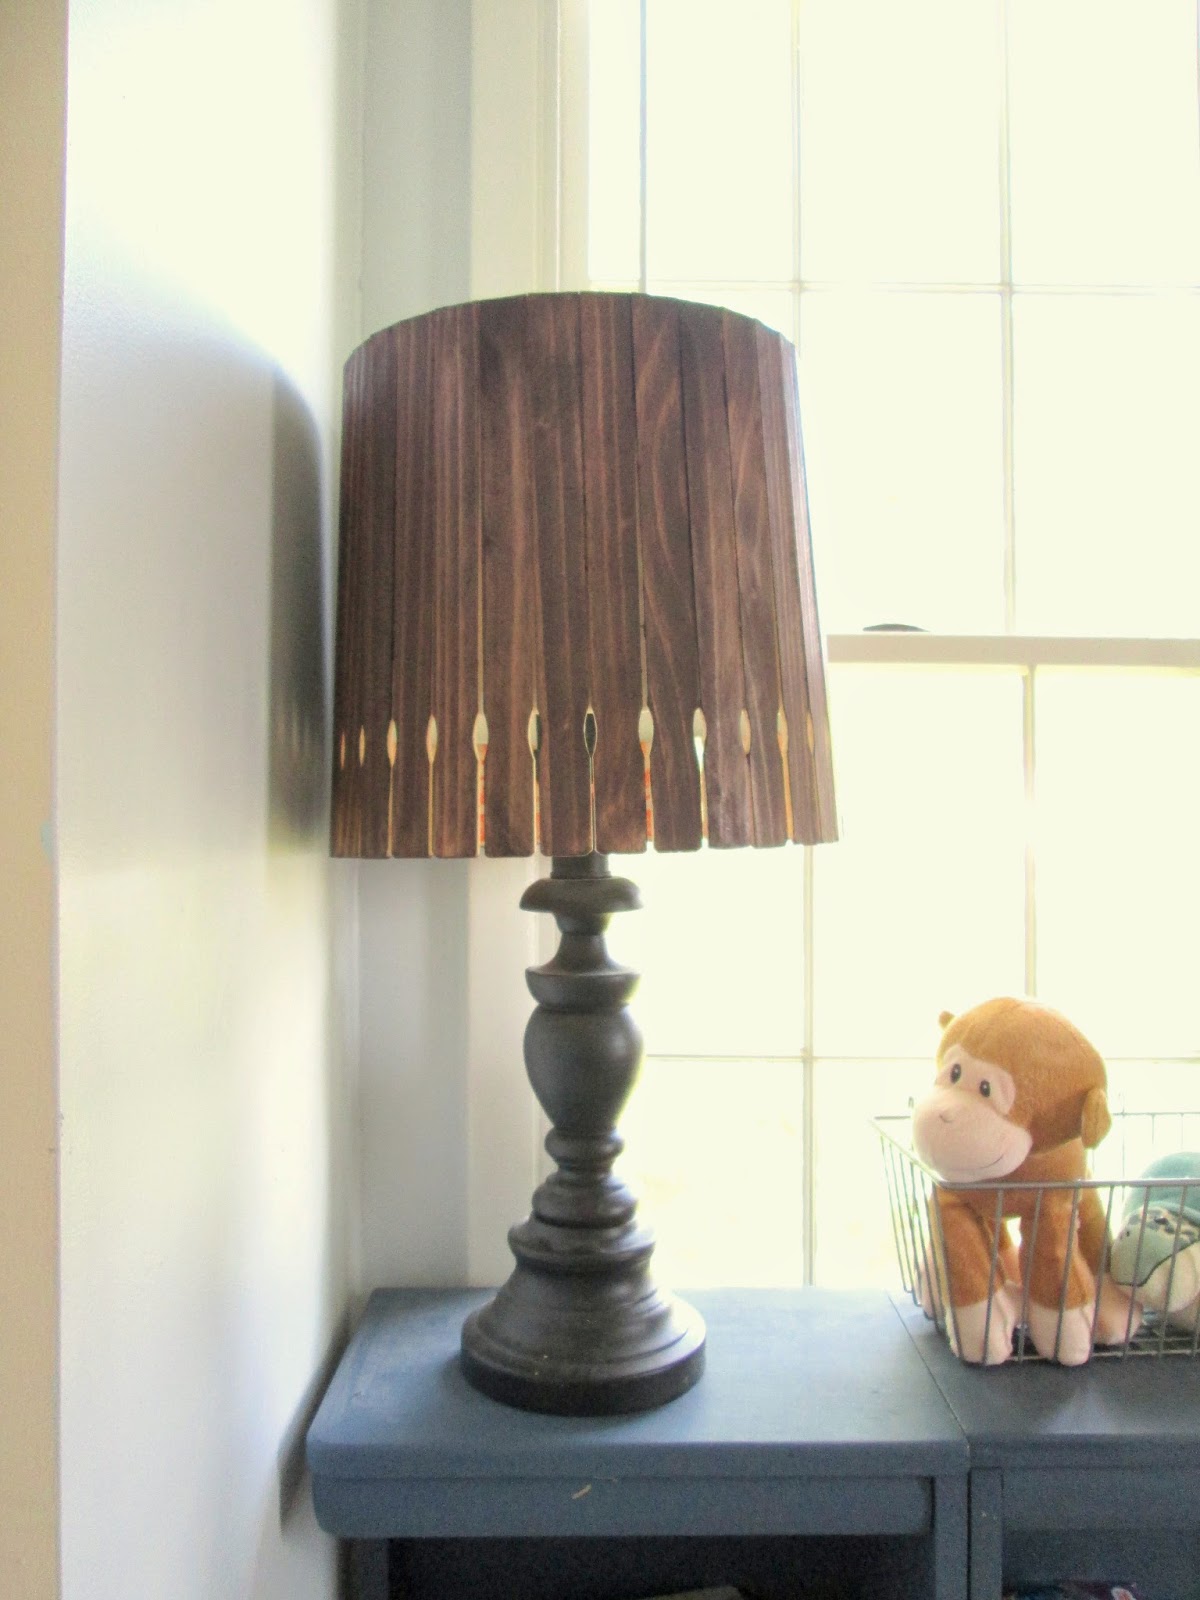
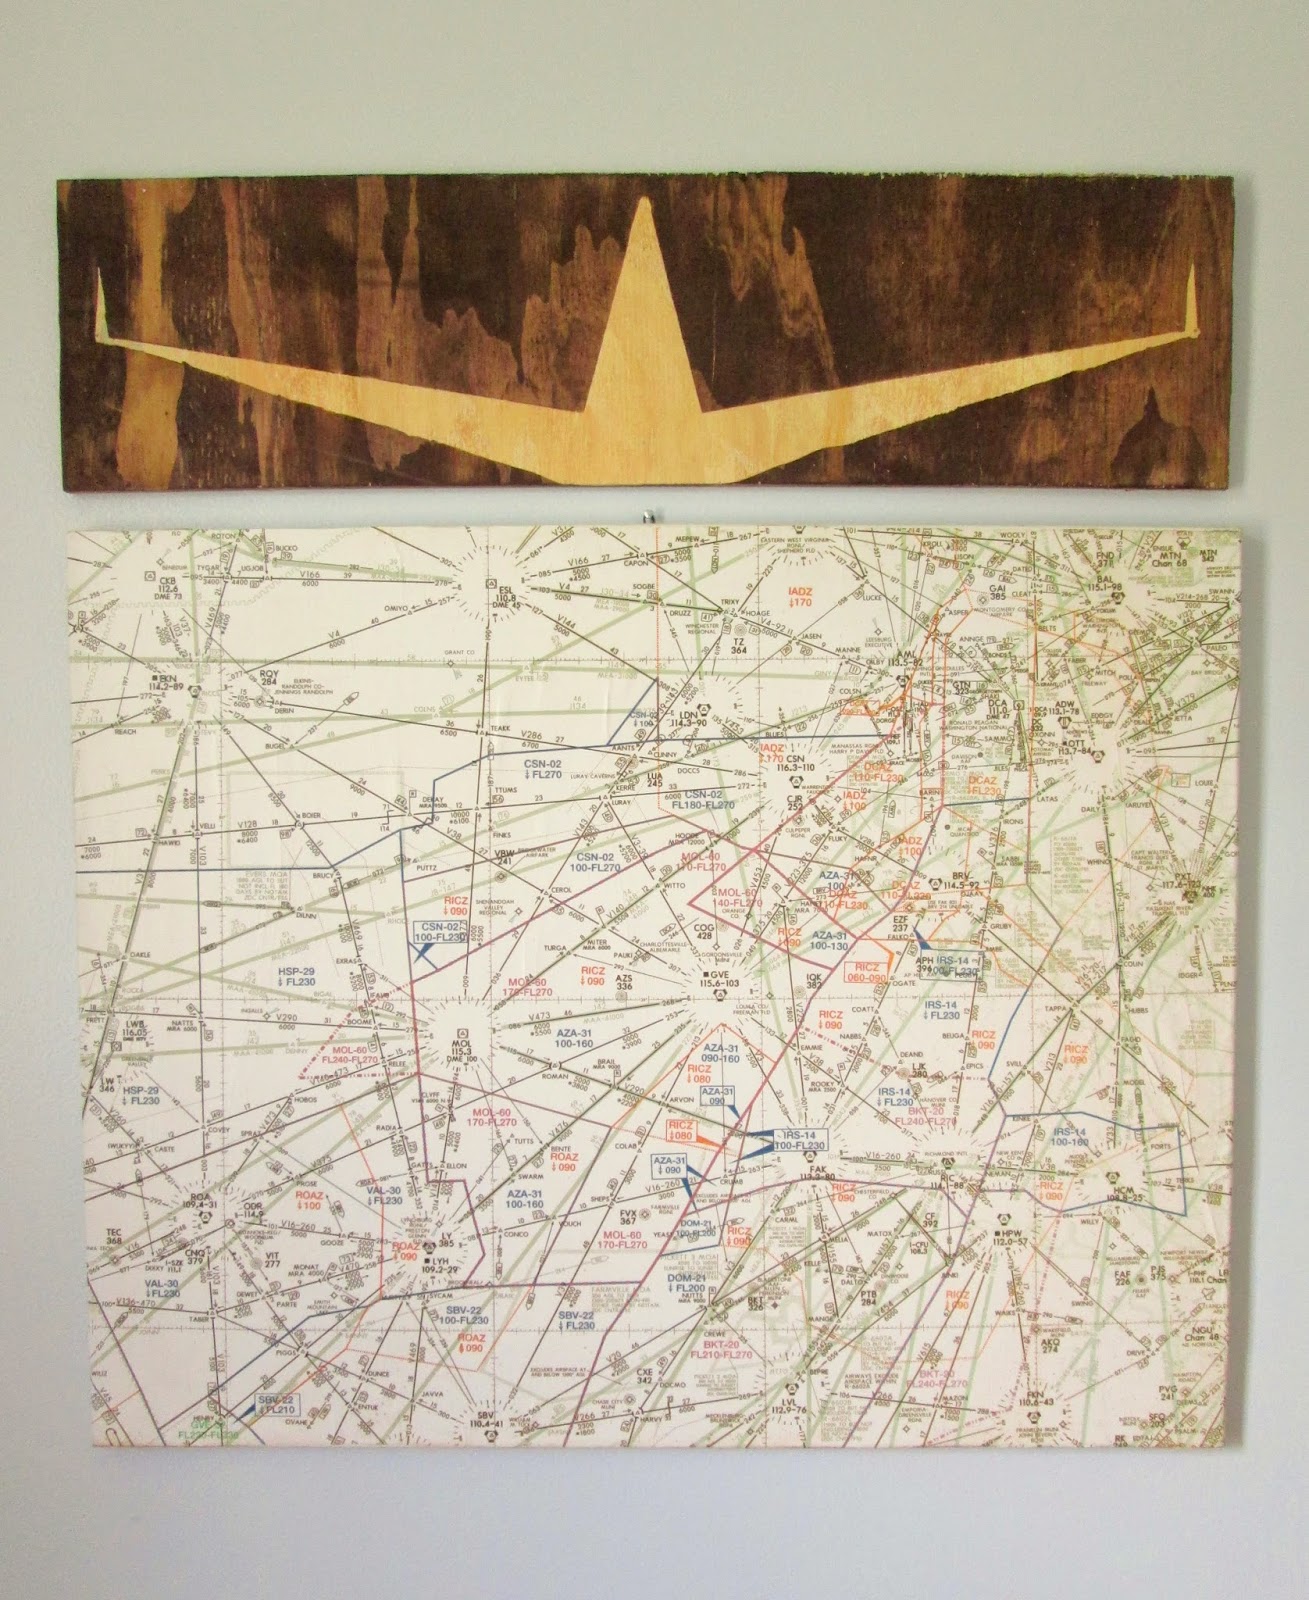
The sunburst mirror is the second DIY I can't wait to share from my paint stick hoard! (See the first here: The rustic wooden lampshade). I also painted the brick a very light aqua, which is way more fun down here than the previous poorly painted white.

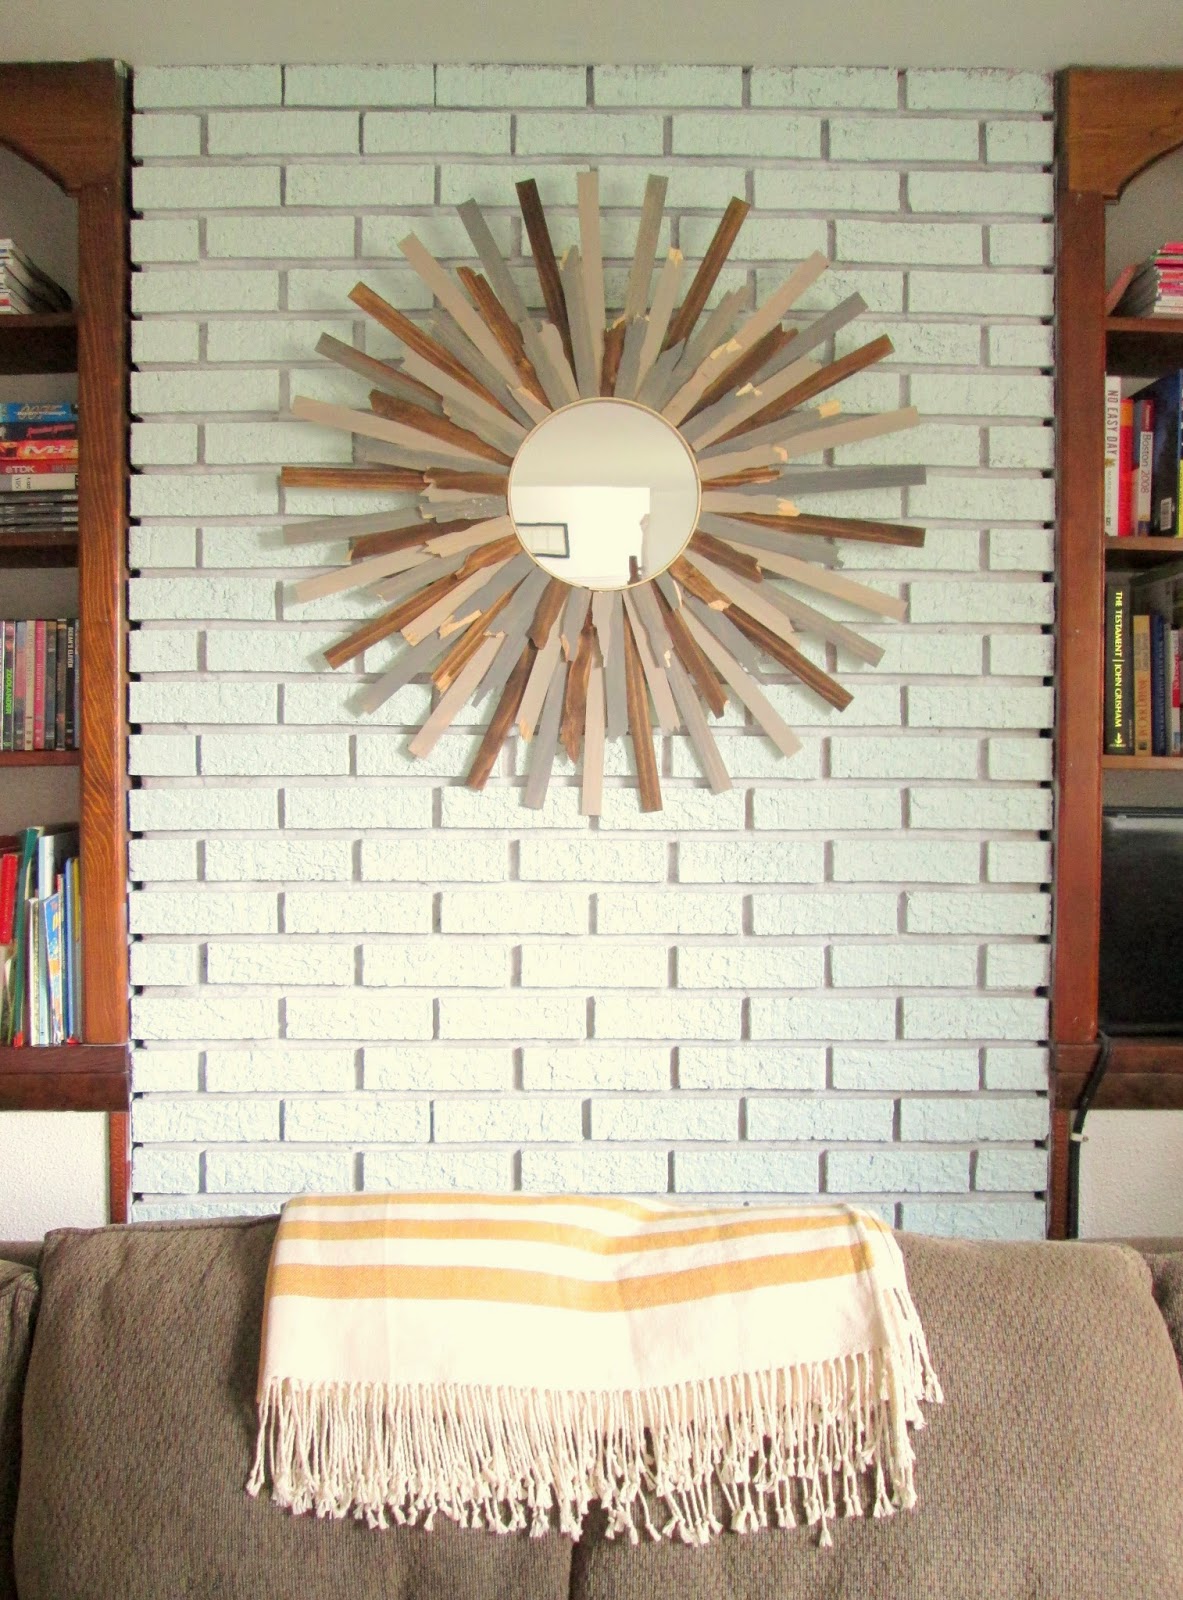
This ottoman, which I found at Goodwill last year for $5, has seen 4 fabrics now. But this gorgeous rainbow tweed, (from JoAnns), is the tops. Here to stay. Matt even made new legs for it, (which he did for the sofa as well so that it could fit over the brick jutting out on the floor).

And this rug is my dream rug. I've wanted a black and white Swiss cross rug for a nice long time. This one cost nothing. Check out how I made it later this week!

I titled this post 'Basement Therapy' because ever since we changed the layout to what we have now, things have been different. We've hardly turned on the TV for the kids, I've heard far less arguing during their play, (which has grown even more imaginative), and the space just makes me feel peaceful and calm. I have sat down here almost every morning enjoying the early sun, listening to my children play with my Bible and journal in my lap. I don't know how else to describe it other than I am delighted by this space. Delighted by the moments that are happening because it's working far better for our family than it was before.

It took us over 4 years to try something different, but I'm so grateful for what it is now. A huge thanks to my husband for coming up with this idea and making it happen, (he worked his tech magic to reroute all the TVs cords).

Coming up, I'll be sharing some of the special DIYs that have gone into this space, as well as a couple more that are still up my sleeve. :)

Can anyone relate to today's post? Any spaces that have thrown you off a bit? I would love to hear your experience!

Thank you for stopping by!

~Chelsea

This post was published under Chelsea's Garage, now affectionately known as StyleMutt.

Smuggled paint sticks and two DIYs

DIY no.1

So there I was. With one of those 'car' Home Depot carts with steering wheels, packed with three kids. Other than the kids, my cart was empty. To save a tiny bit of dignity I grabbed a few cans of wood stain, then proceeded to prowl around the paint counter. Both my children, and innocent standbys, were all blissfully chatting and going about their business when I reached my shaking hands out and picked up their entire bucket of paint sticks. A quick look around to be sure I wasn't caught, then I walked. When I felt safe, about 5 aisles away, I dumped the bucket of paint sticks into my cart and ditched the bucket. Obviously I went through the self-checkout to pay for my stains, avoiding all contact with anyone wearing orange.

Paint sticks are free folks. Clearly I've never stolen anything in my life because walking out of Home Depot with what turned out to be 100 free paint sticks was a serious rush. My palms were sweaty, heart was racing - all over something that was free to begin with. What. A. Wimp. Home Depot store #4602, I'll see you again

never. 

But alas, it wasn't a rush I was after. I smuggled all those paint sticks in the name of DIY! (...nope, that really doesn't justify it as much as I was hoping it would). However, I was actually able to use them for two projects, one which I'll save for Monday. The first was to give the boys a significantly more awesome lamp in their room than they had before. What they had before was my poor attempt at painting cabana stripes on a thrifted lampshade. Not awesome when the light was on... I really wanted something that measured up to the rustic, casual, All-American boy / Aviation theme that we had going on. After settling in the two flea market finds, their room was looking so good! So I came up with this:

It's just paint sticks glued to a cylinder shade and stained, but it totally works!

Want to see how it was done?

First, you need a cylinder shade. Just keep checking your local thrift store, it'll pop up. Then you need about 40 paint sticks, give or take depending on the size of shade, and hot glue. Staining is optional - the natural blond wood would look really cool with some decors!

Using a hot glue gun, glue one stick to the shade at a time. I found it easiest and most accurate to apply the glue directly to the shade and then lay the stick on top.

Press firmly.

Voila! Your shade is done! There are, of course, options with this project. Like I said, you can stain or not stain, up to you. I chose to stain this shade in Hickory, which I wiped on with a staining sponge, (found at Home Depot), after the shade was assembled. I also chose to leave the sticks longer than the shade, but you could always cut them down to size if you don't want any extra hanging off.

All finished! The lamp base was another thrift store find from a couple years ago which I spray painted in flat black by Rustoleum.

For our boys' room, the beautiful orange Home Depot stamp that you can see on the inside of the sticks really doesn't bother me. It's kind of fun! We're there often enough so it's only fitting that Home Depot be represented somewhere in our home.

I love this lamp - and how cool would it be as a hanging piece?! (whatdaya think, Cate?)

DIY no.2

This one was in my head as one thing and then turned into something else. I was wanting to make some sort of angular, geometric airplane art to go somewhere around the aviation chart I found at the flea market. I bounced around a few ideas, one involving string, then a Sharpie, and finally landed on doing something with wood stain to balance out the use of  wood around the room.

To make this, I used a scrap sheet of plywood from our garage, ScotchBlue Edge Lock tape, a box cutter, and wood stain, (Hickory again).

First, I found the middle of my board of plywood and made a light mark where I wanted the tip of my painters tape to be. Then I crossed the pieces, one over the other, so that both were intersecting the middle mark.

I used a box cutter to trim off the excess tape that I didn't need.

Then I made a light mark on each side where I wanted my wings to reach, and laid a strip of tape on either side, meeting that mark.

Again, I used the box cutter to trim off the excess tape I didn't need; in other words, forming my desired shape.

Then I dipped my staining sponge into the stain and wiped it all around the blue tape. 

As soon as I finished the stain I removed the tape right away.

All finished!

I would almost call this abstract art. My test was asking our kids, ages 4, 4 and 3, if they knew what it was. One said "airplane" right away. Another said "I don't know". The last wouldn't answer the question. Soooo, the jury is out on whether this really looks like an airplane or not. I think it does; my husband thinks it does but he thinks it's a rear view, (I'm looking at it from the front...or at least I thought I was). I guess we all have different perspectives!

Happy weekending, folks! As always, thank you so very much for stopping by!

~Chelsea

This post was published under Chelsea's Garage, now affectionately known as StyleMutt.

Flea market finds, meet The Boys

Hi All! The other day I shared an eclectic collection of recent thrift store, flea market and Craigslist finds. Two of them ended up in our boys' room, (along with a couple DIYs coming up tomorrow)!

Actually, ALL of the boys' room is a second hand collection of sorts, like the blue bookshelves, below, which I found at the Lucketts Spring Market a few years ago.

But, if you look close, you can see the two newest additions which both came from the big D.C. Flea a couple weeks ago.

See the Mexican blanket on the floor? We're using it as a rug! These blankets are always thicker than a typical throw blanket and are easily durable enough to handle the heavy use of little boys.

And there's item no. 2: The aviation chart!

This was exactly  what I was looking for to stick above the second bed. The sweet woman who sold it to me at the flea market, (she decoupaged the map over a large canvas!), told me that she was hoping it would be taken for some boys. Clearly meant to be. We even found where we live!

Coming up tomorrow are two DIY projects that I whipped up for this room, (but could easily be translated for any room of the home). See you then!

Thank you so much for stopping by!

~Chelsea

This post was published under Chelsea's Garage, now affectionately known as StyleMutt.