Herringbone dresser {Available for sale}

Hi friends! How's everyone doing out there; warm and safe, I hope? We are buried inside the house today and I cannot be more thankful for the countless blessings that have kept my family warm and safe through this winter storm. My thoughts and prayers keep returning to those who are without.

Since the temps have not been ideal for furniture painting I've had to bring my work inside, (an especially challenging task with three little ones literally running laps and going stir crazy)! A compact mid-century dresser was the first one finished and I've been anxious to show you my experiment with a herringbone pattern!

This was not a hard pattern to apply once I figured out what I was doing...(easier said than done)! Here is what the blue tape looked like before I painted on some Old White by Annie Sloan Chalk Paint.

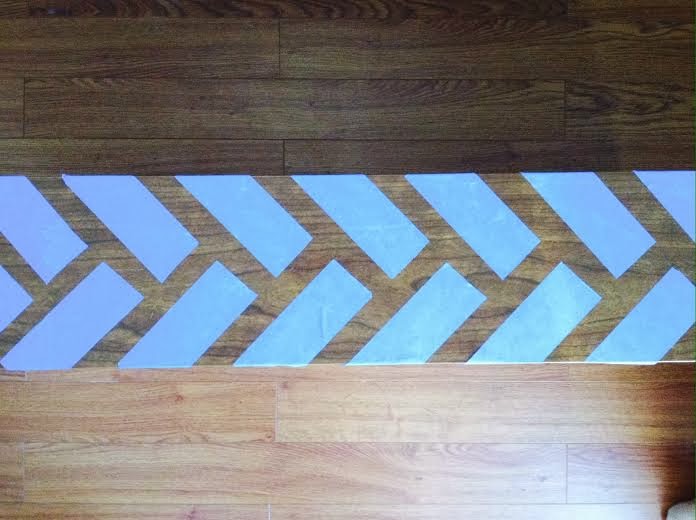
If you're looking for a perfect herringbone pattern tutorial, this is not the right stop. I've seen intense measuring in other tutorials to get the pattern just right, but I really just eyeballed mine and think the imperfection is so charming on this piece. 

Once I painted the pattern on I removed the blue tape almost immediately. Then once the paint was completely dry, I took a fine grit sanding sponge and rubbed over the pattern in a back and forth motion until there was enough fading to give it a time worn feel.

The body of the piece I also gave a few coats of Old White, by ASCP, and then gently distressed the edges.

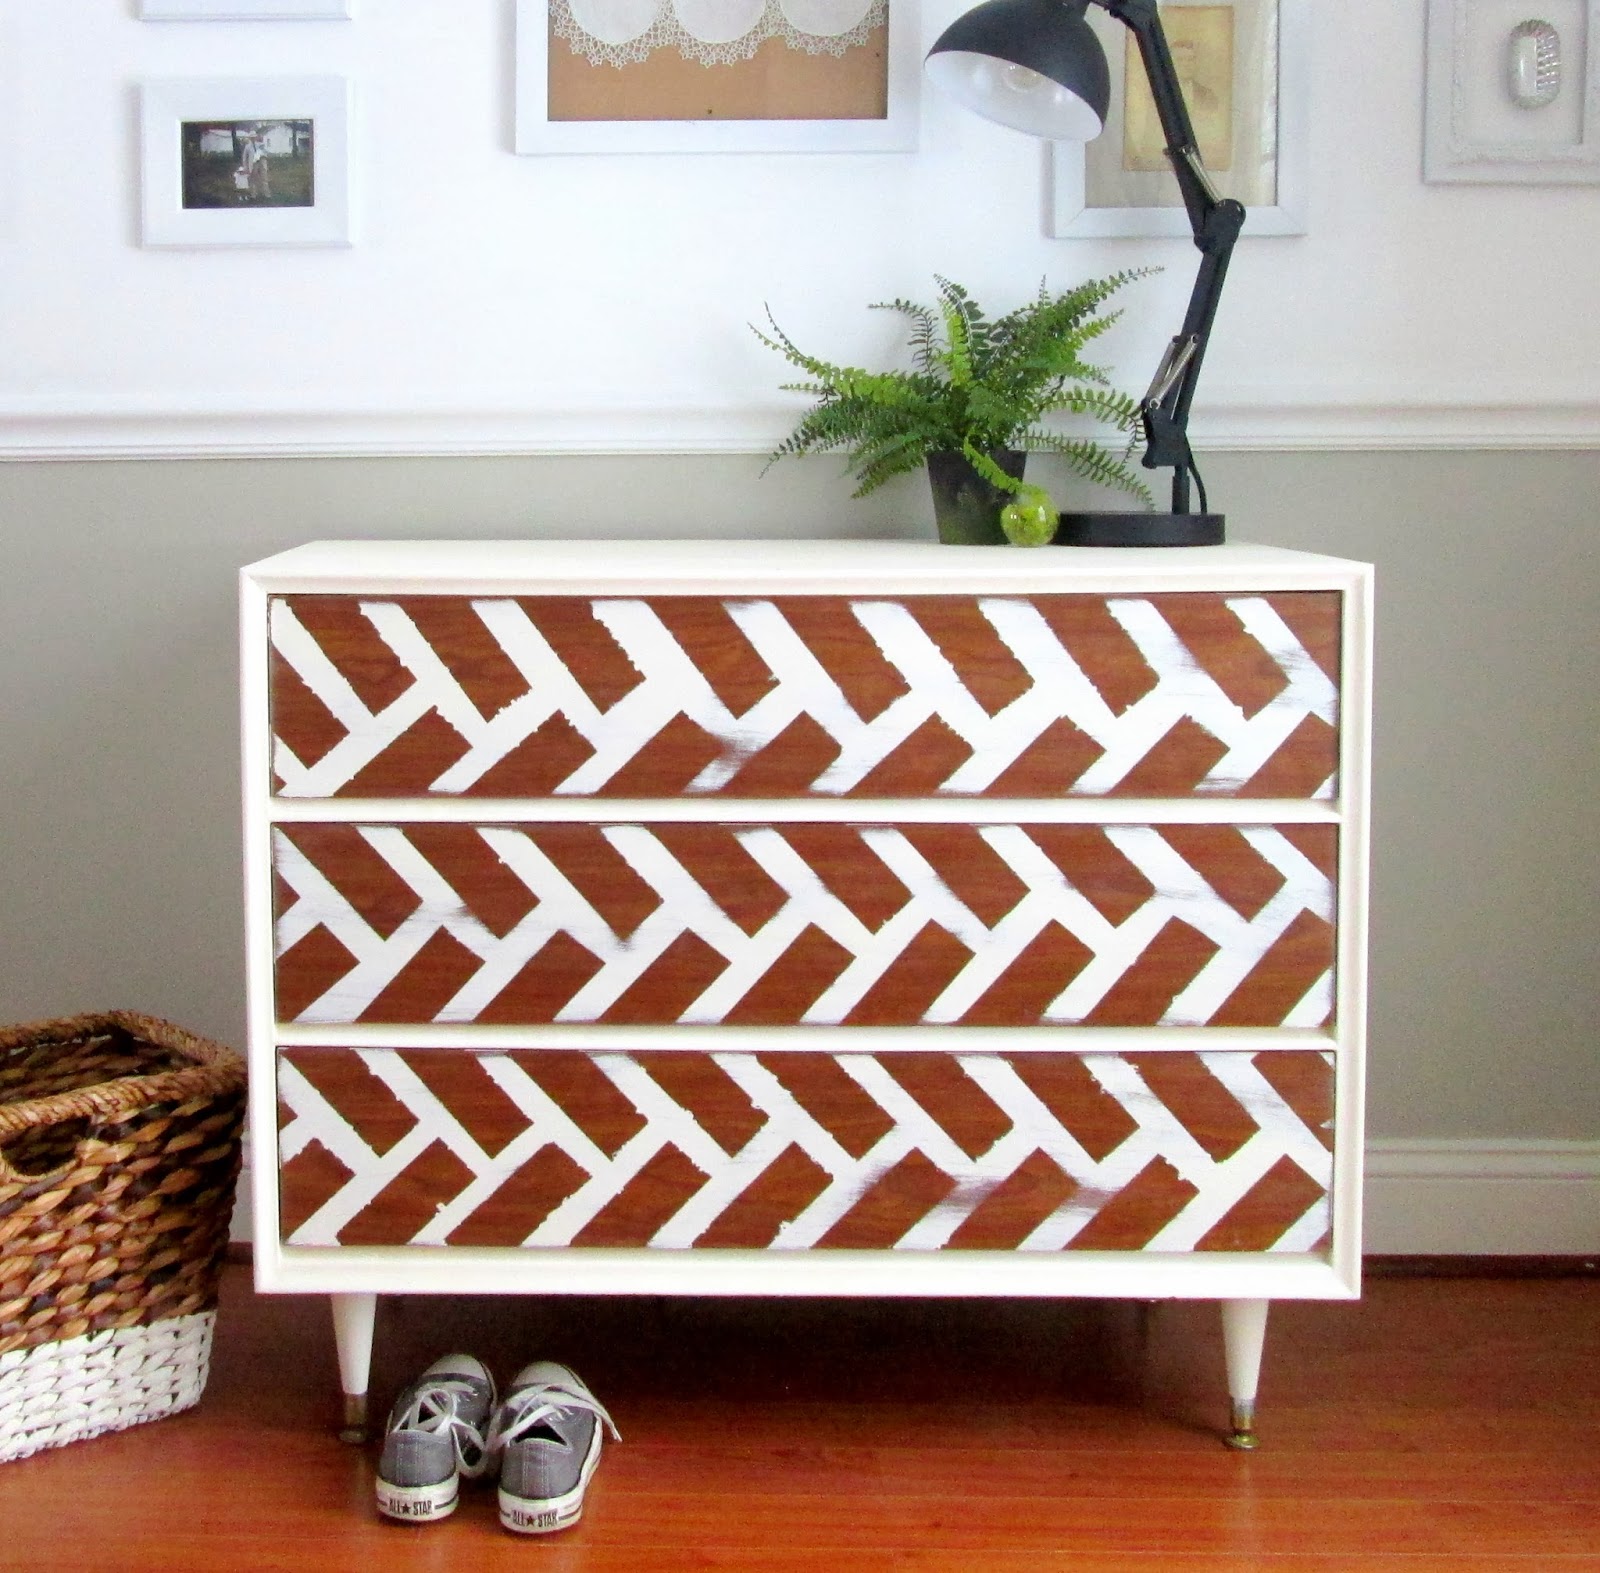
This piece has such exciting possibilities! It would make a welcoming entrance piece, or put a whimsical spin on a child's room, (and the dimensions make it compatible with a contoured baby changing pad), or an edgy buffet in a dining room. I can't wait to see who it ends up with!

36"L x 30"H x 19"D
SOLD

Thank you for stopping by! 

~Chelsea

This post was originally published on Chelsea's Garage, now affectionately known as StyleMutt.

DIY headboard {With coffee filters!}

Ok coffee lovers, I've got a good one for ya: a DIY headboard made from dyed coffee filters! This was super easy and I love the airiness it brings to our eclectic bedroom.

To begin, you'll need at least one hook and two nails, or 3 hooks to create a triangle above your bed. I actually already have hooks screwed into my bedposts so I used those and then a wire heart hook from World Market, ($1.99). You definitely do not need bed posts for this project! You can attach your lower hooks, (or just use a nail for each side), right into the wall. Tie the ends of a length of twine to each side, looping it over your upper hook in the middle, (top of the triangle).

Now you're ready to work on your filters! First, grab as many coffee filters as you think you'll use, (I used 11), and let them sit for an hour or so in a sink or pot full of warm water that is brown with either tea or coffee, (I used a bunch of tea bags from a few teas that I don't care for...see, careful what you throw away)! **This first step, (and the one following), is definitely not necessary! You may want to keep the coffee filters white depending on the colors in your room, your style, etc. I wanted to give the filters a deeper, aged look for our headboard, so I dyed them in the tea.

Second, as you pull each one out give it a good squeeze over the sink to remove excess water and then either lay them out to dry, (I spread them out over a couple cooling racks), or hang them on cabinet knobs.

Once dry, you are ready to make your florets. Simply pinch your filter from the middle, fold a bit until you have something resembling a flower, and then pierce where you pinched with about 1.5" of floral wire.

Finally, attach your filter florets by wrapping the wire around the pre-hung twine above your bed!

Instant headboard!

Have you ever made a headboard? What did you use?

Thank you for stopping by!

~Chelsea

This post was originally published on Chelsea's Garage, now affectionately known as StyleMutt.