Hi there! Continuing with the One A Week DIY Christmas decoration series are some pretty little homemade ornaments! If you missed them you can check out the previous projects if you'd like:
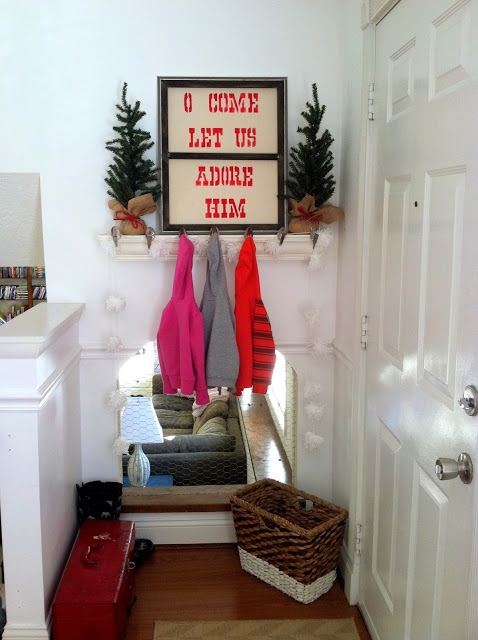
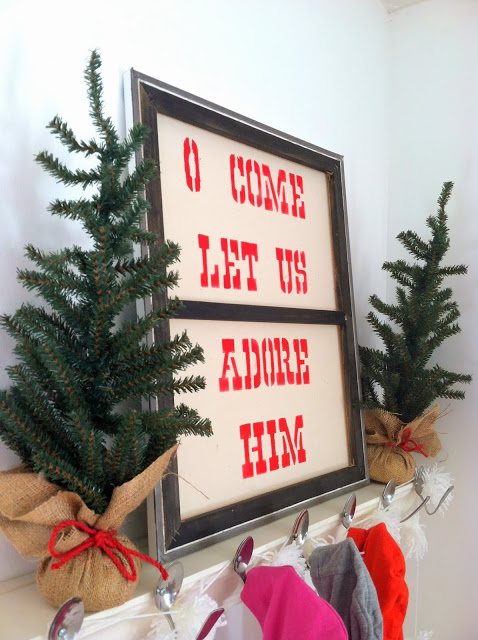
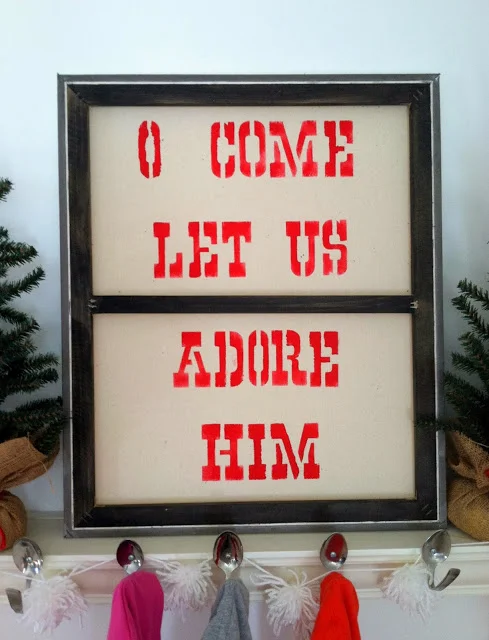
Pom-pom wreath, crepe flowers wreath, pom-pom garland, and a vintage sign!
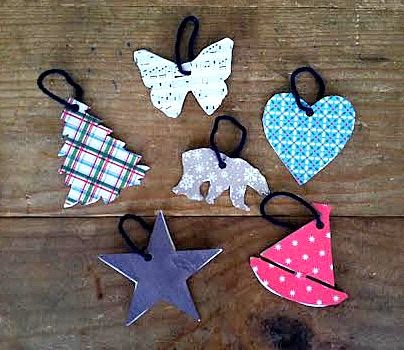
Supplies for today's homemade ornaments:
Cardboard to cut your shapes (I used a cereal box)
Scrapbook paper (or wrapping paper or construction paper)
Scissors
Glue
String/Yarn/Ribbon to hang ornaments
Hole punch

I traced some shapes onto the cardboard and cut them out. Then traced them onto scrap paper, cut them out, and glued onto both sides of the cardboard shapes. Punch a hole and tie a short length of yarn through the hole. Trim the tree!
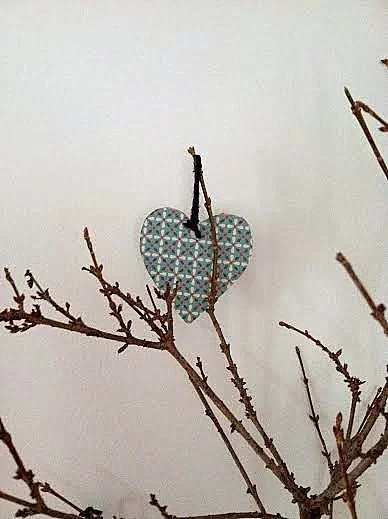
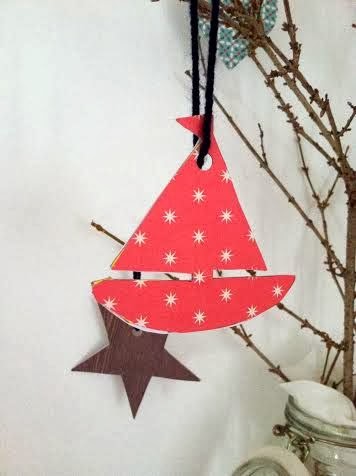
Decorating trick: I just grabbed these twigs from our back yard, wrapped them together in a long strip of white scrap fabric I had on hand, and stuck them in a glass jar! It's a fun way to group a specific collection of ornaments that you may want to keep together!


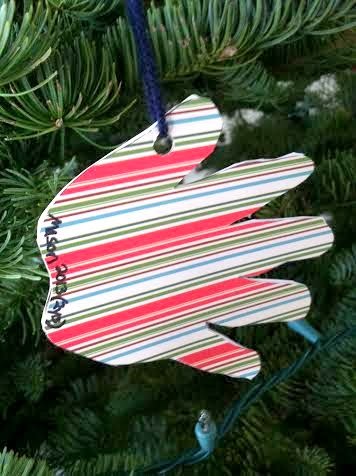
I had some fun making ornaments of my kids hand prints, too! Weird Mom thing, I know, but I look forward to pulling these little hand prints out in 20 years, holding them up to my own hands, and remembering these days.

Lovin' the short, round fingers of my little meatball, Mason!
And hello?! You guys are so creative!!! I've totally been enjoying seeing the photos some of you have sent of your own DIY Christmas projects! Please, please share any of your projects with me via email! I think I'll compile your handiwork into one post to share with all!
In other news, I've had the incredible opportunity to work with One Kings Lane on a crazy fun project! They contacted me early last week, I got right to work, and have something fun to share with you on Wednesday. Can't wait!!!
Thank you so much for stopping by!
~Chelsea
This post was originally featured under Chelsea's Garage, now affectionately known as StyleMutt.