Confession time. Serious confession time. When Matt and I were pregnant with our twins and we found out they were a boy and a girl, for a few weeks longer than I'm happy admitting, I wanted to name our daughter Garland, (I'm a huge Judy Garland fan). Don't judge me. I had a double dose of pregnant brain and I honestly thought it sounded pretty! Needless to say I'm in debt to my husband for saving our daughter from that one. But this story has so little to do with today's post...
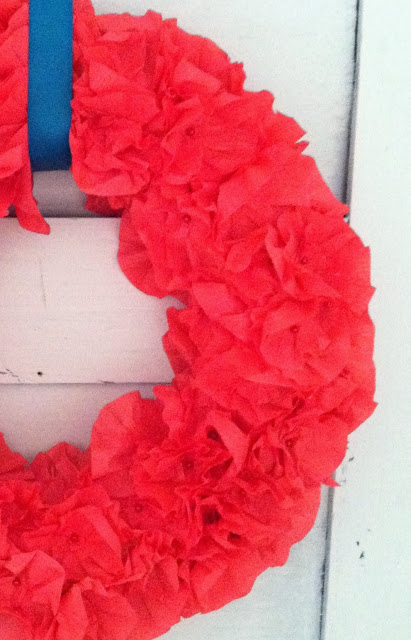
Today's is the perfect touch of whimsical if you like a little twist on a traditional decoration. I happen to like garland of every kind used in almost every way. Garland is so versatile and lots of fun to string any which way you want! This week is how to make Pom-pom garland! The steps are identical to the Pom-pom wreath, so if you tried that one already you're an old pro!

Supplies:
1 spool of yarn
pair of scissors
Step 1: Wrap yarn around your hand about 30-40 times...it doesn't really matter that you do it the same every time.
Step 2: Remove the bundle from your hand but keep it together, like a donut, and snip the yarn about 7" from your bundle.
Step 3: Snip the 'tail' right at the bundle. Lay the tail out flat and then place your 'donut' bundle right on top of it, (sorry the picture for this step is inaccurate. You want your 'donut' to be right in the middle on top of your snipped 'tail'. I must have been so engrossed in my sappy reality show that I wasn't paying attention to the other side of the camera lens...)

Step 4: Tie the tail around the center of your bundle. Tie it tight and in a knot
Step 5: Weave your scissors through the loops and cut them open. Repeat on both sides
Step 6: Snip any extra length from your 'tail' and now you've made a pom-pom!

Step 7: (not pictured) Tie your pom-poms down a length of yarn, equal distance apart. Now you've got pom-pom garland! Happy decorating!
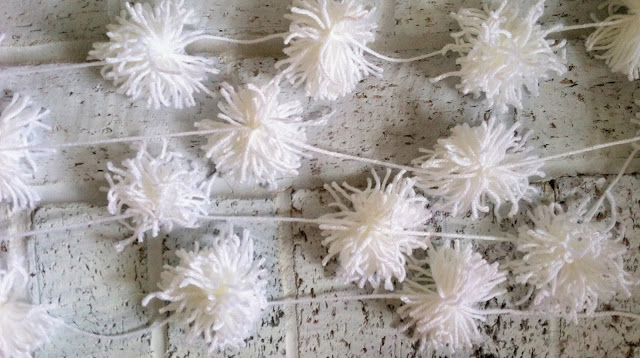


This garland would definitely add some winter fluff entwined with any real or faux green garland, too! If you try any of these One A Week Christmas decor projects please feel free to email me pictures; I'd love to see what you do!!
Thank you for reading!
~Chelsea
This post was originally featured under Chelsea's Garage, now affectionately known as StyleMutt.