From Drab to Dapper

Dapper is the first word that came to mind when I finished flipping this dresser found last week:

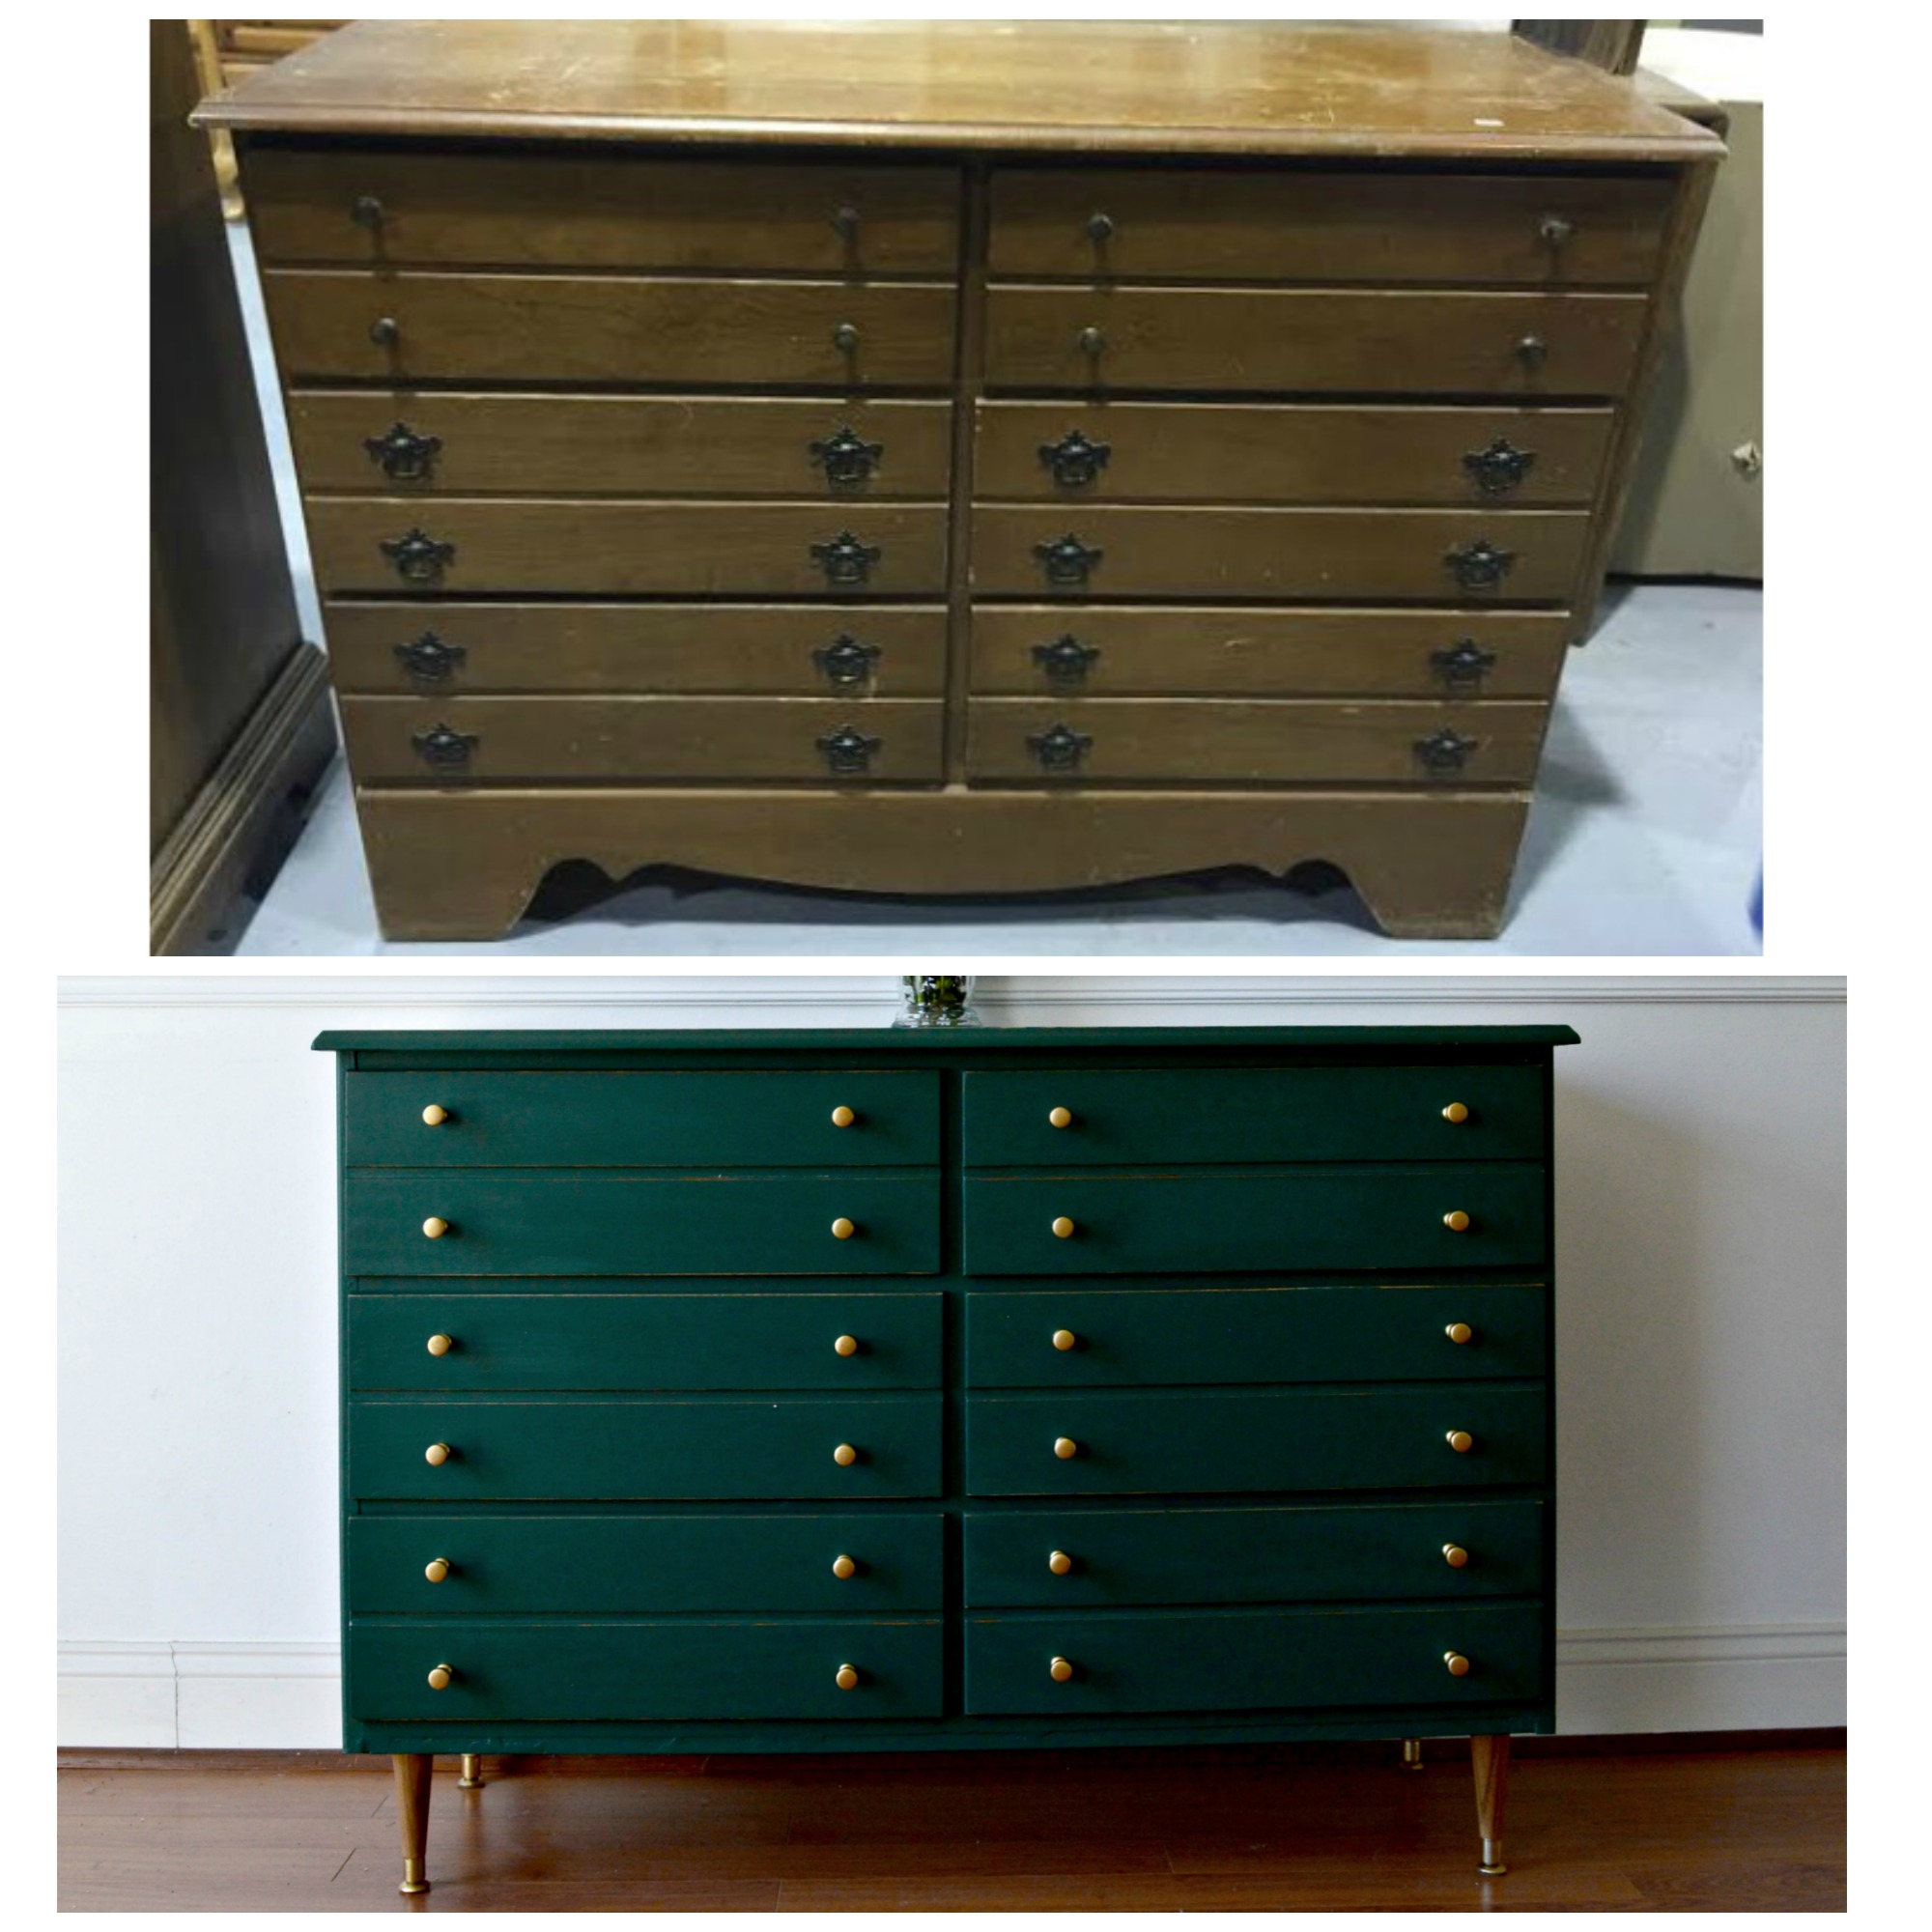
First - I found this piece the same day that Cate shared her Hairpin Legged Map Chest. I was so inspired by her flip that I snatched this one right up, (although mine is not a map chest; the drawers are deep wannabees)! I really wanted to do this in a rich tone which is not an inclination I typically have, (maybe I was channeling my inner Cate in more ways than one!) But there is something so suave about this hunter green ('Secluded Woods' by Behr), paired with brass; it makes me think of my husband when he's lookin' sharp! (Always) 

But this flip was anything but snappy! By first look I figured it would be easy enough to remove the scalloped piece at the bottom of this thing. And it was:

Okay, so this photo shamefully portrays how horribly out of order I do some things. I did remove the scalloped trim first, but then I painted away and added the hardware before I solved my biggest problem: What next?

I shared this photo with Cate telling her my latest flip and I had some major unfinished business to tackle together. And boy, did we! This shot doesn't show the magnitude of what was underneath but it took me several days and sleepless nights to finally figure out how to deconstruct the underpart of this dresser without ruining it. After solving the puzzle we gave our friend here a new base:

Now I could add the sleek legs I'd imagined when I saw this piece in the thrift store!

Oh - and a chair lying in a heap outside a thrift store found me. But that's a story for another day.

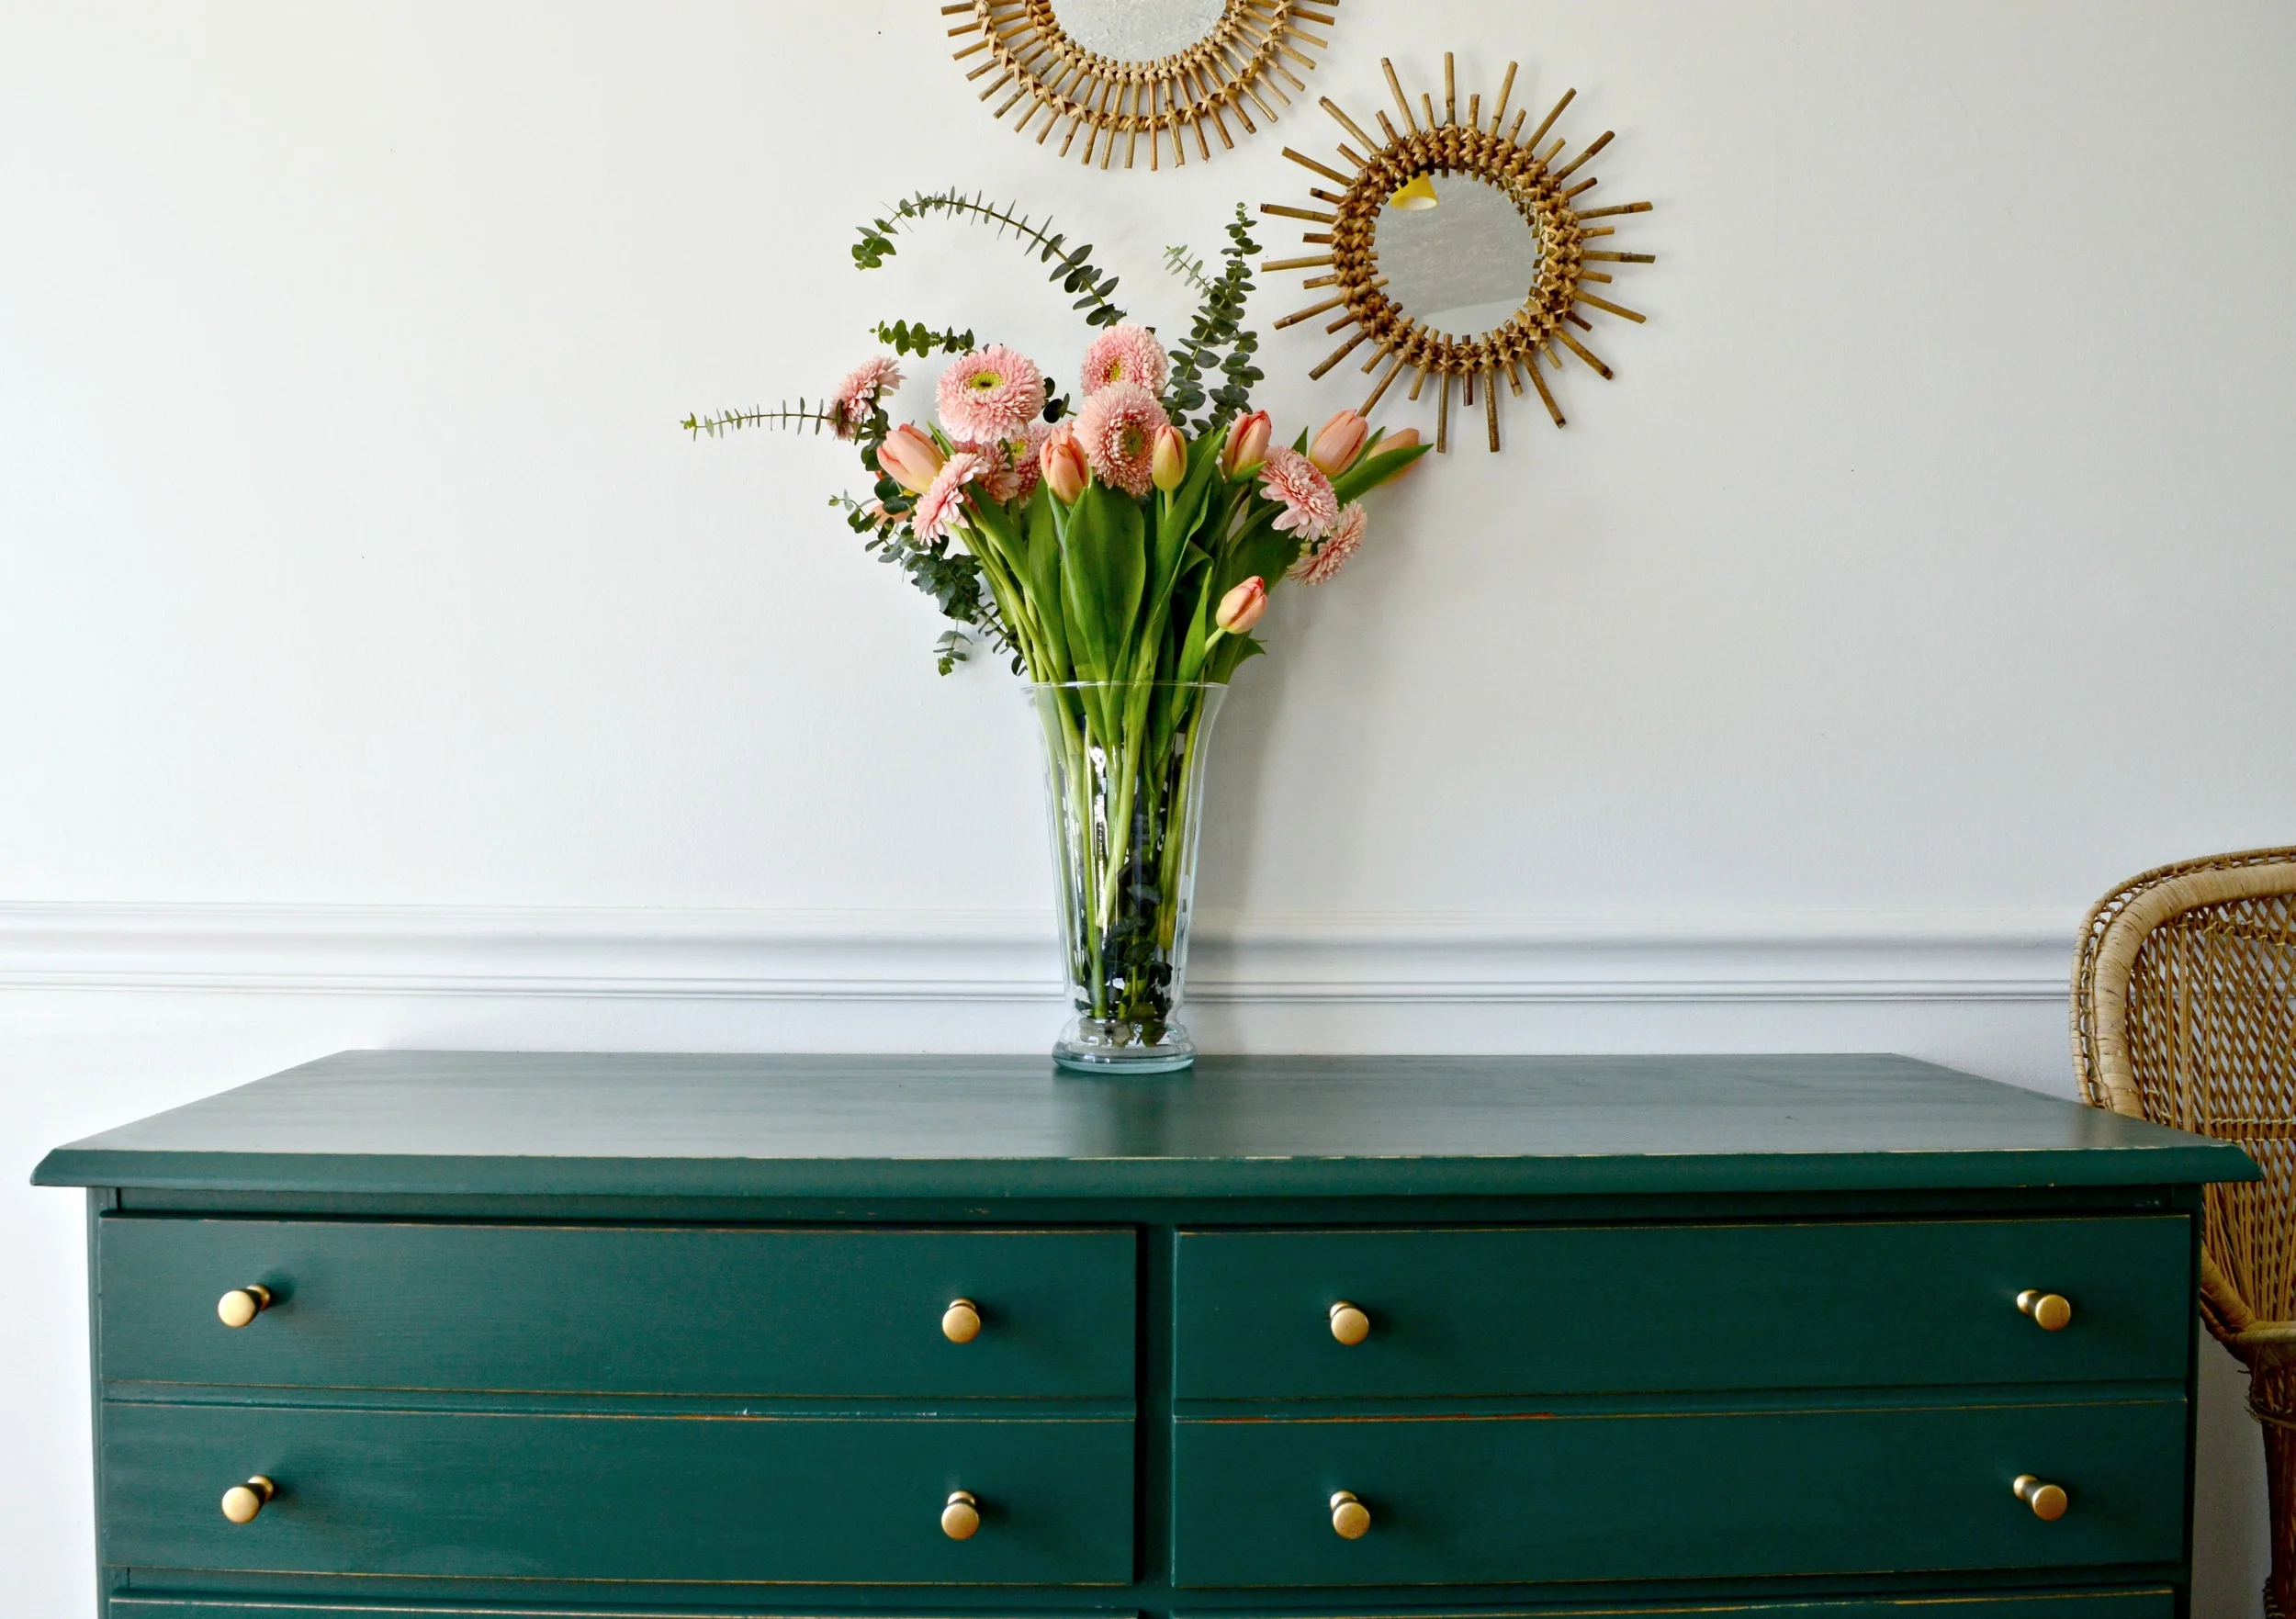
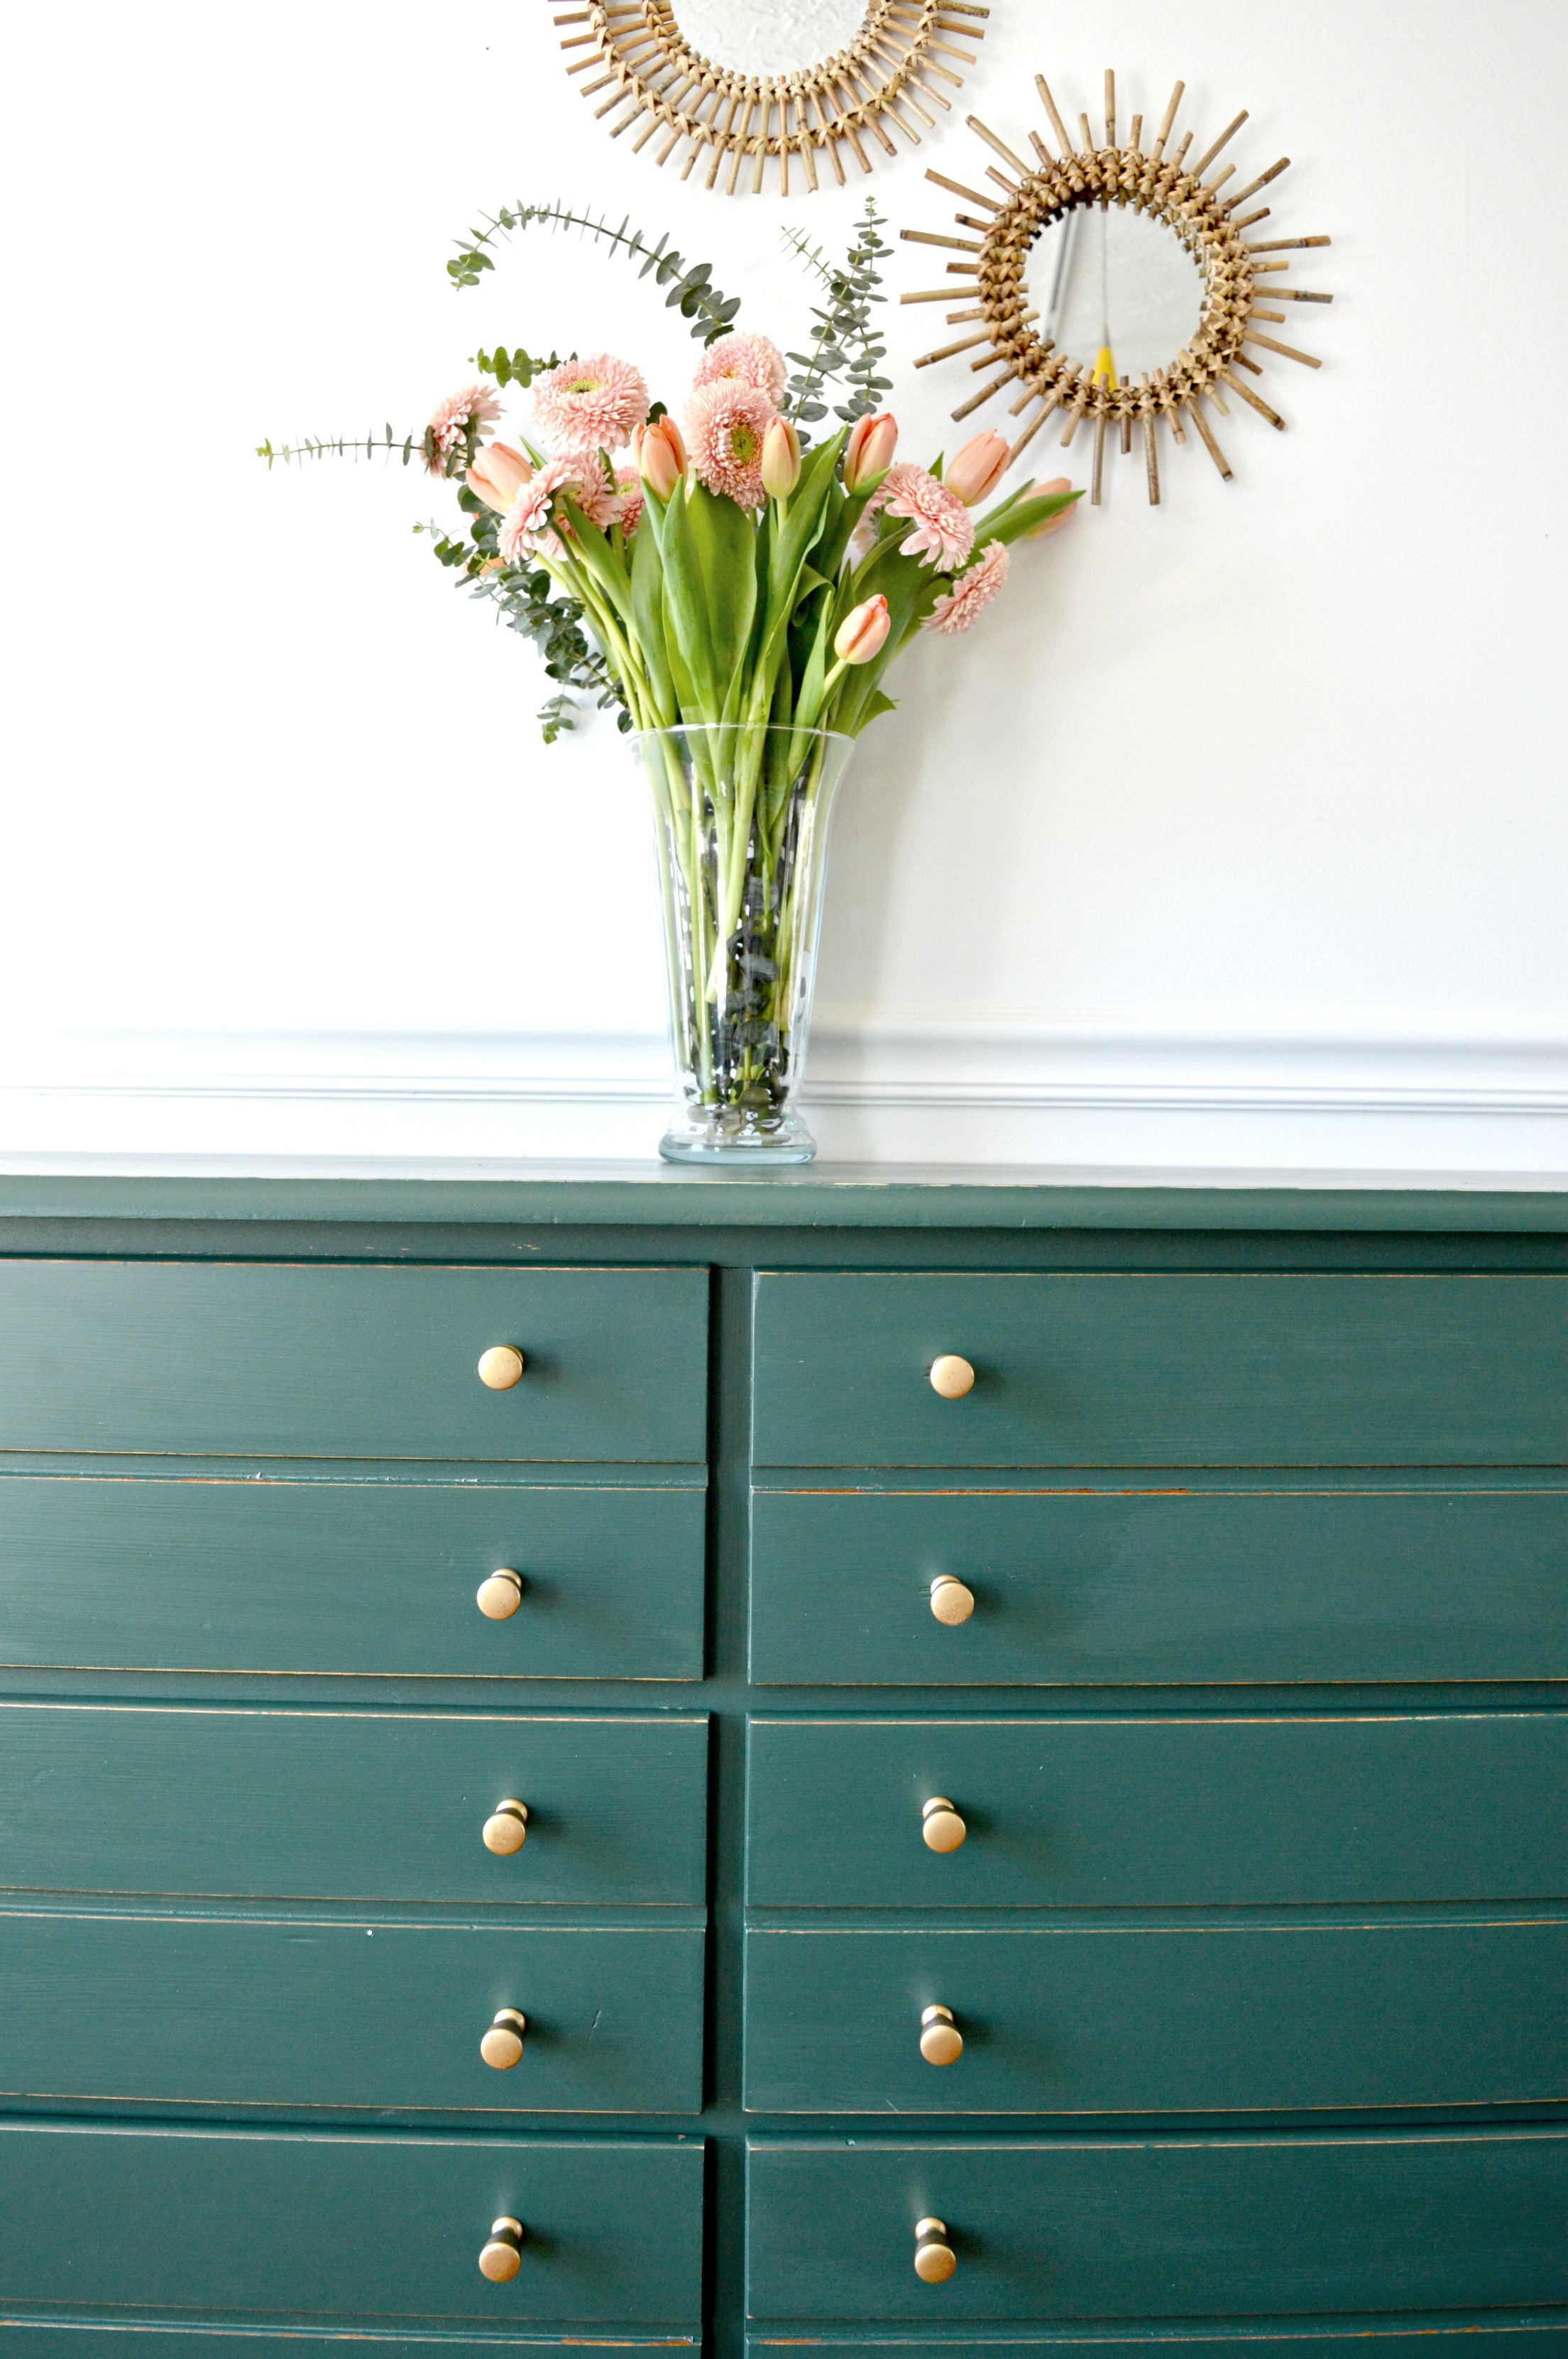
While 'dapper' is how I would describe this piece I wanted to style it with a more feminine presence and contrast that green with something sweet - peach! Hunter green and peach are a favorite combination at any time of the year, but seem especially fresh in the Spring. If a pastel palette doesn't work for you, try mixing deep rich tones with softer colors at the opposite side of the color spectrum. I found just the colors I was looking for during an early excursion to Trader Joes where I had the first pick of the days' stock:

My jolly green pal here is now available for sale to DC area locals!
45.75"L x 32"H x 17.5"D
$350
Please contact me at chelsea@stylemutthome.com if interested in this piece or a similar custom order!

Thank you guys for stopping by and have a wonderful weekend!

Fleekest Design Trend of 2016

Well wouldn't you know, body alignment trumps feng shui! In a recent study done by the chiropractic school at University of Phoenix Online, the human spine does not like to be in a reclined position. In fact, the hours that we spend leaning back into our sofas and chairs every day is causing irreparable damage to our body alignment.

Instead, it is advised to turn your seating around and drape your body over the backrest. This will prevent further damage being done and keep our backs and core strong!

A reversed couch or chair even promotes fitness by forcing you to stretch for the remote when it's being held captive by your family's remote hog.  

And allows for you to truly reflect on whether you should be spending your free time watching TV.

Especially when there's nothing good on.

This news is sweeping through home design world-wide as professionals are encouraging their clients to turn their seating around. It's a concept that may seem strange at first, but once you are draped over the backrest of your favorite sofa to catch up on the Walking Dead, you'll never remember why you ever reclined in the first place. This is so much better!

April Fools3.jpg
April Fools2.jpg

Be ahead of the trend and turn your seating around before your next dinner party.  This new configuration will undoubtedly encourage better and more meaningful conversations between you and your house guests as you prop for a chat in the living room.  And your guests will thank you for saving their backs!

You heard it here first,

A Vvvvery Interesting Piece, Indeed

Hi friends! I posted this stack of pieces the other day that we collected after a particularly lucky weekend on Craigslist a few weeks ago. I've already shared how the mid-century cabinet in the middle turned out, and how Shire flipped those accent tables on top. If you're an Instagram pal you may have seen a teaser of that bottom piece already. Well here it is, done and ready for a new home!

I really wanted this piece to be something unique when it was finished. It didn't need hardware as there is a deep lip underneath each drawer for easy opening and closing, but even before I began painting it just seemed to fall a little flat. As soon as I saw it I wanted to add some visual interest here. I sketched a few things out on paper, and while my drawings are at the artistic skill level of a 1st grader, seeing them side by side made the decision easy!

There was just something about these 'V' pulls that was so unique, but not in a 'what in the world are those' kind of way, (unless I'm missing something). So I measured out some 3/8" wood trim and cut all the pieces I'd need. Each individual pull is made up of two pieces, which you can see below. My '1' marked pieces were 4", and my '2' marked pieces were 3.6". I made 9 pairs in total, one for each drawer.

I used a very small nail to tap the pieces together as shown. It didn't really matter that they be attached well at this point, since I would ultimately attach both pieces to the drawers. At first I thought I would attach the pieces to the drawers facing down, as shown below. I didn't hate it but wanted to see both ways. I really loved the pieces opening upward; I can't explain why, but it just looked better!

V piece 2.jpg

Gentle distressing, (with my go-to tool, a medium grit sanding sponge), along all the edges and corners of the piece brings out the shape and lines without being too distracting.

Now available for sale!
66"L x 29.5"H x 18"D
$625
Contact chelsea@stylemutthome.com if interested in this piece of a custom order like it!

Thank you so much for stopping by and have a wonderful day!