Shire's Room Makeover: The mission & the plan

I absolutely love playing with our home. It's a chance to try some different things and experiment. Playing around with arrangements, layout, colors, pattern, lighting, textures - it helps me learn in an environment where mistakes are accepted, and I can really get some experience under my belt.

But back to the mistakes. Our daughter, Shire's, room has probably been my greatest mistake yet. It's the smallest room in the house and when we moved her in here, I gave no thought to smart, functional space planning. I shifted things around on a whim, built her a bulky pallet bed platform, (leaving no under-bed storage), snagged a giant used wardrobe from Craigslist in mediocre condition, and called it good enough.

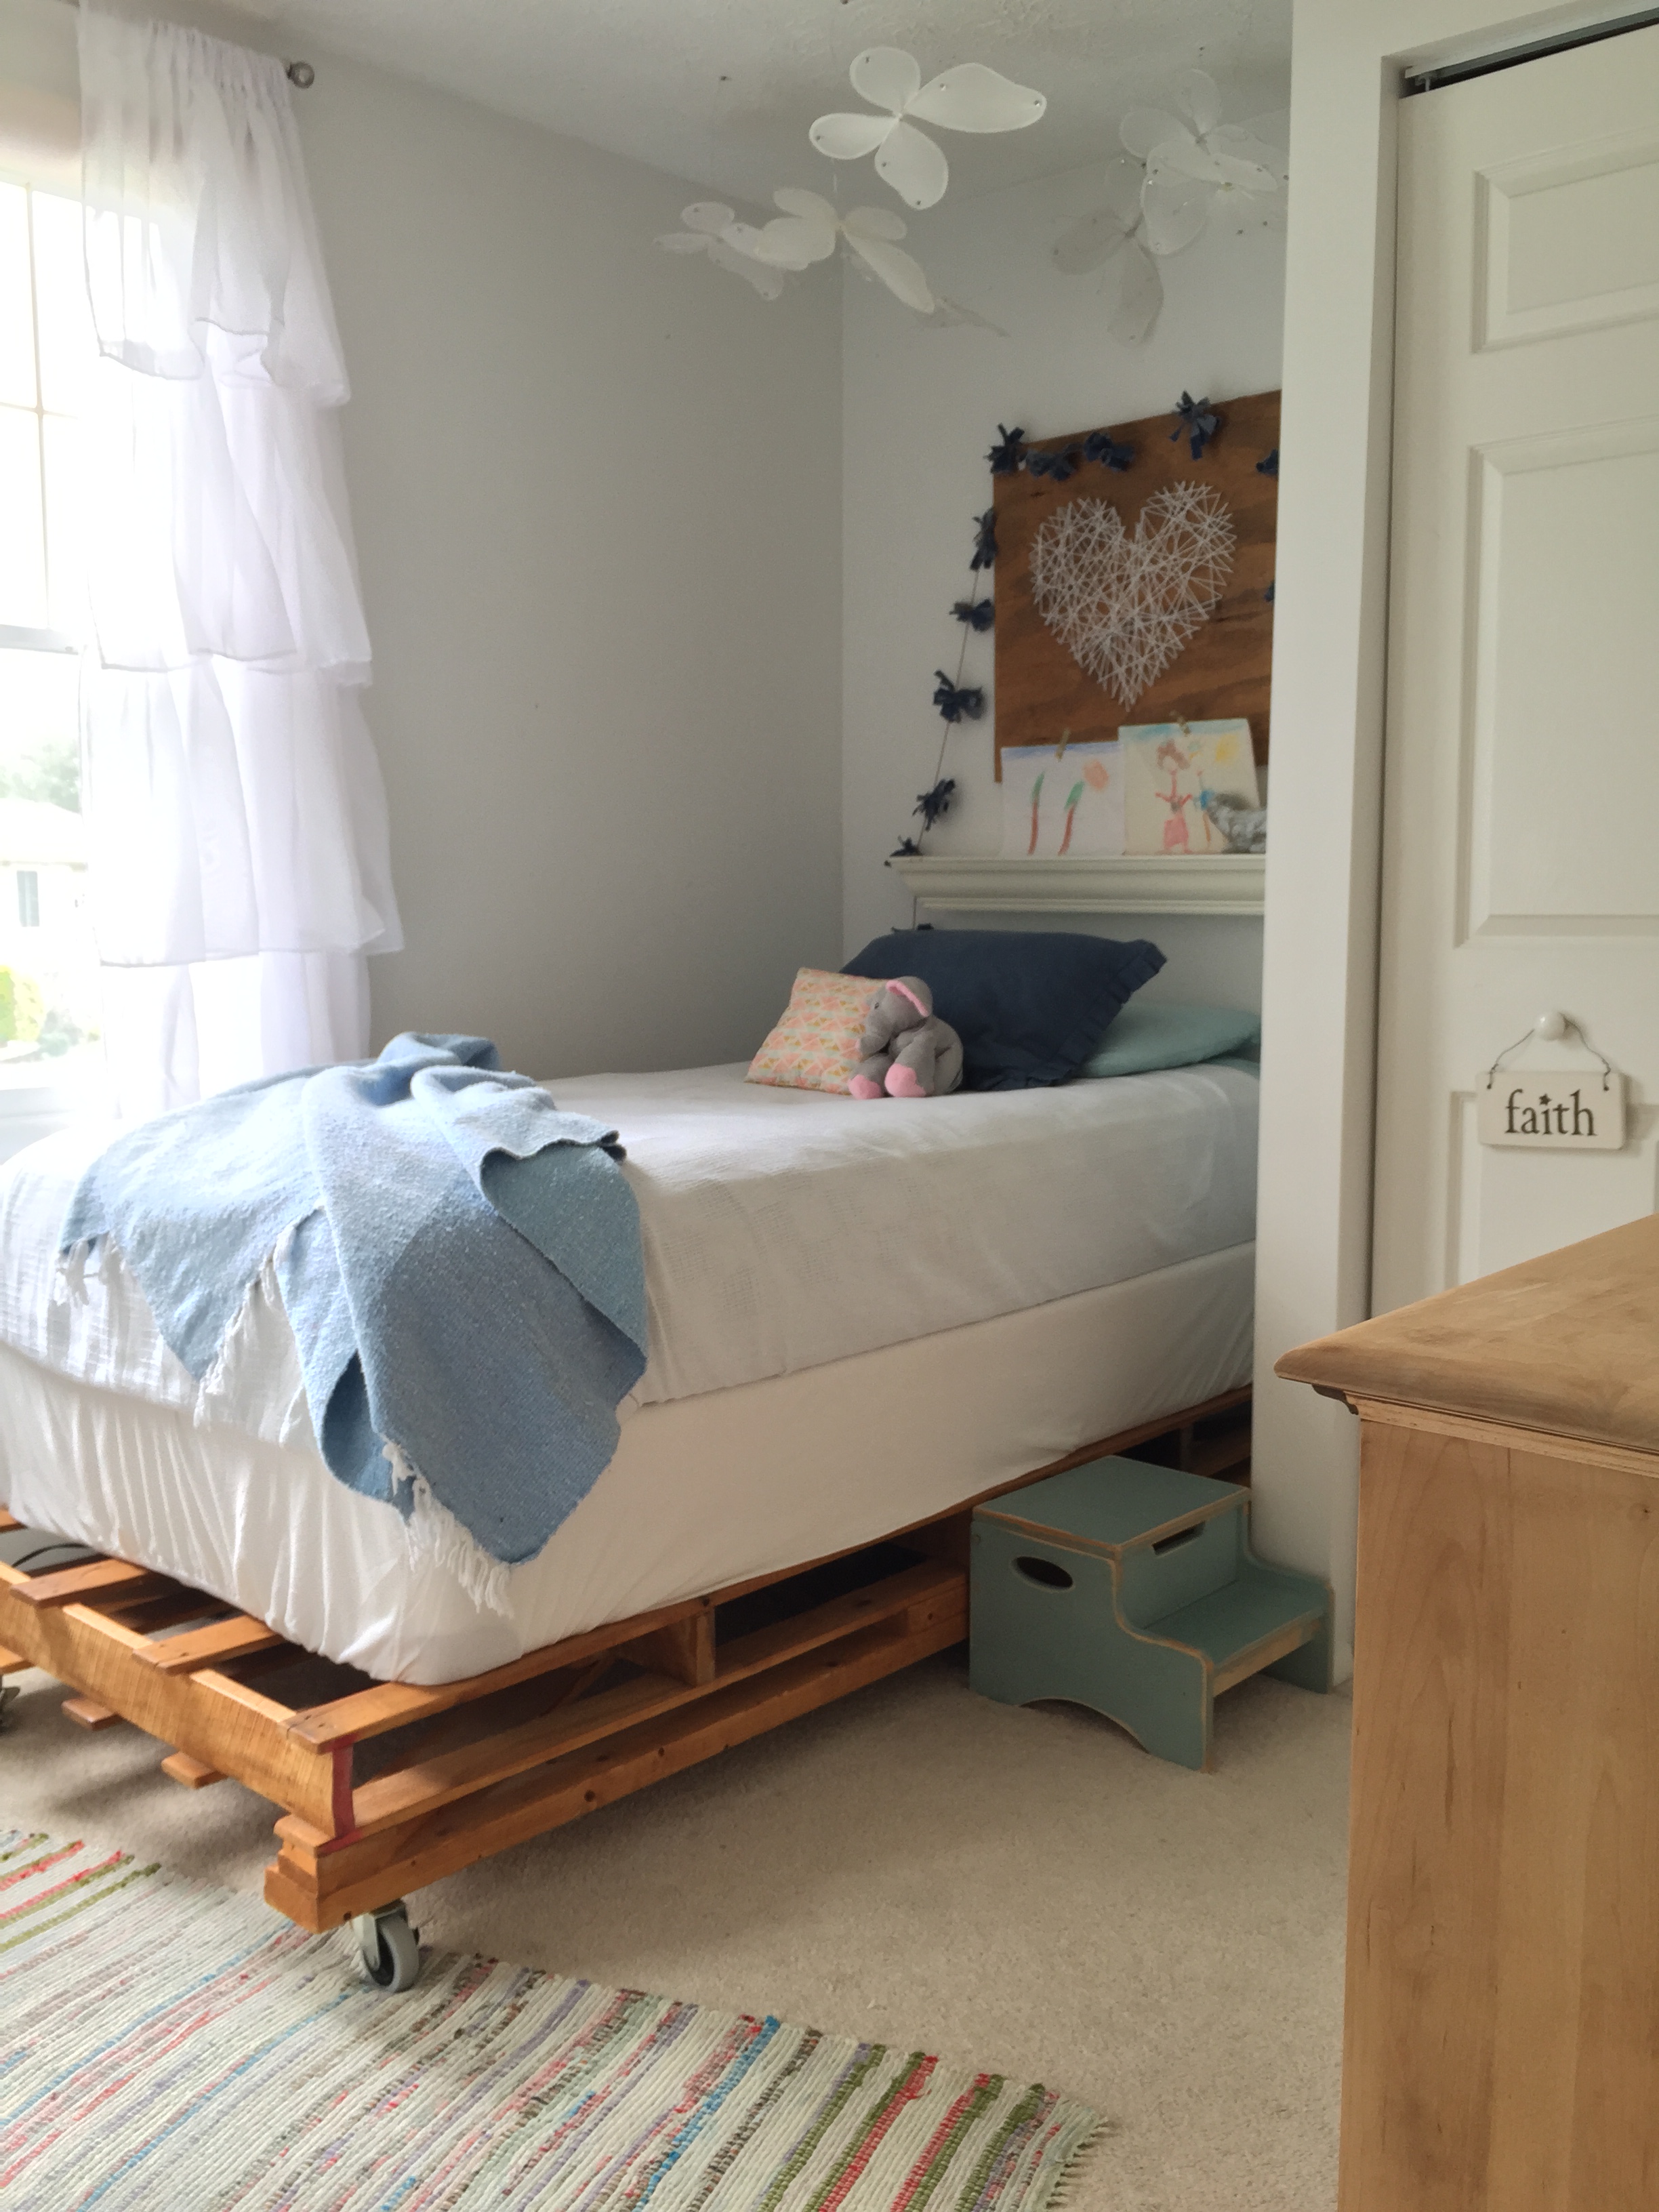
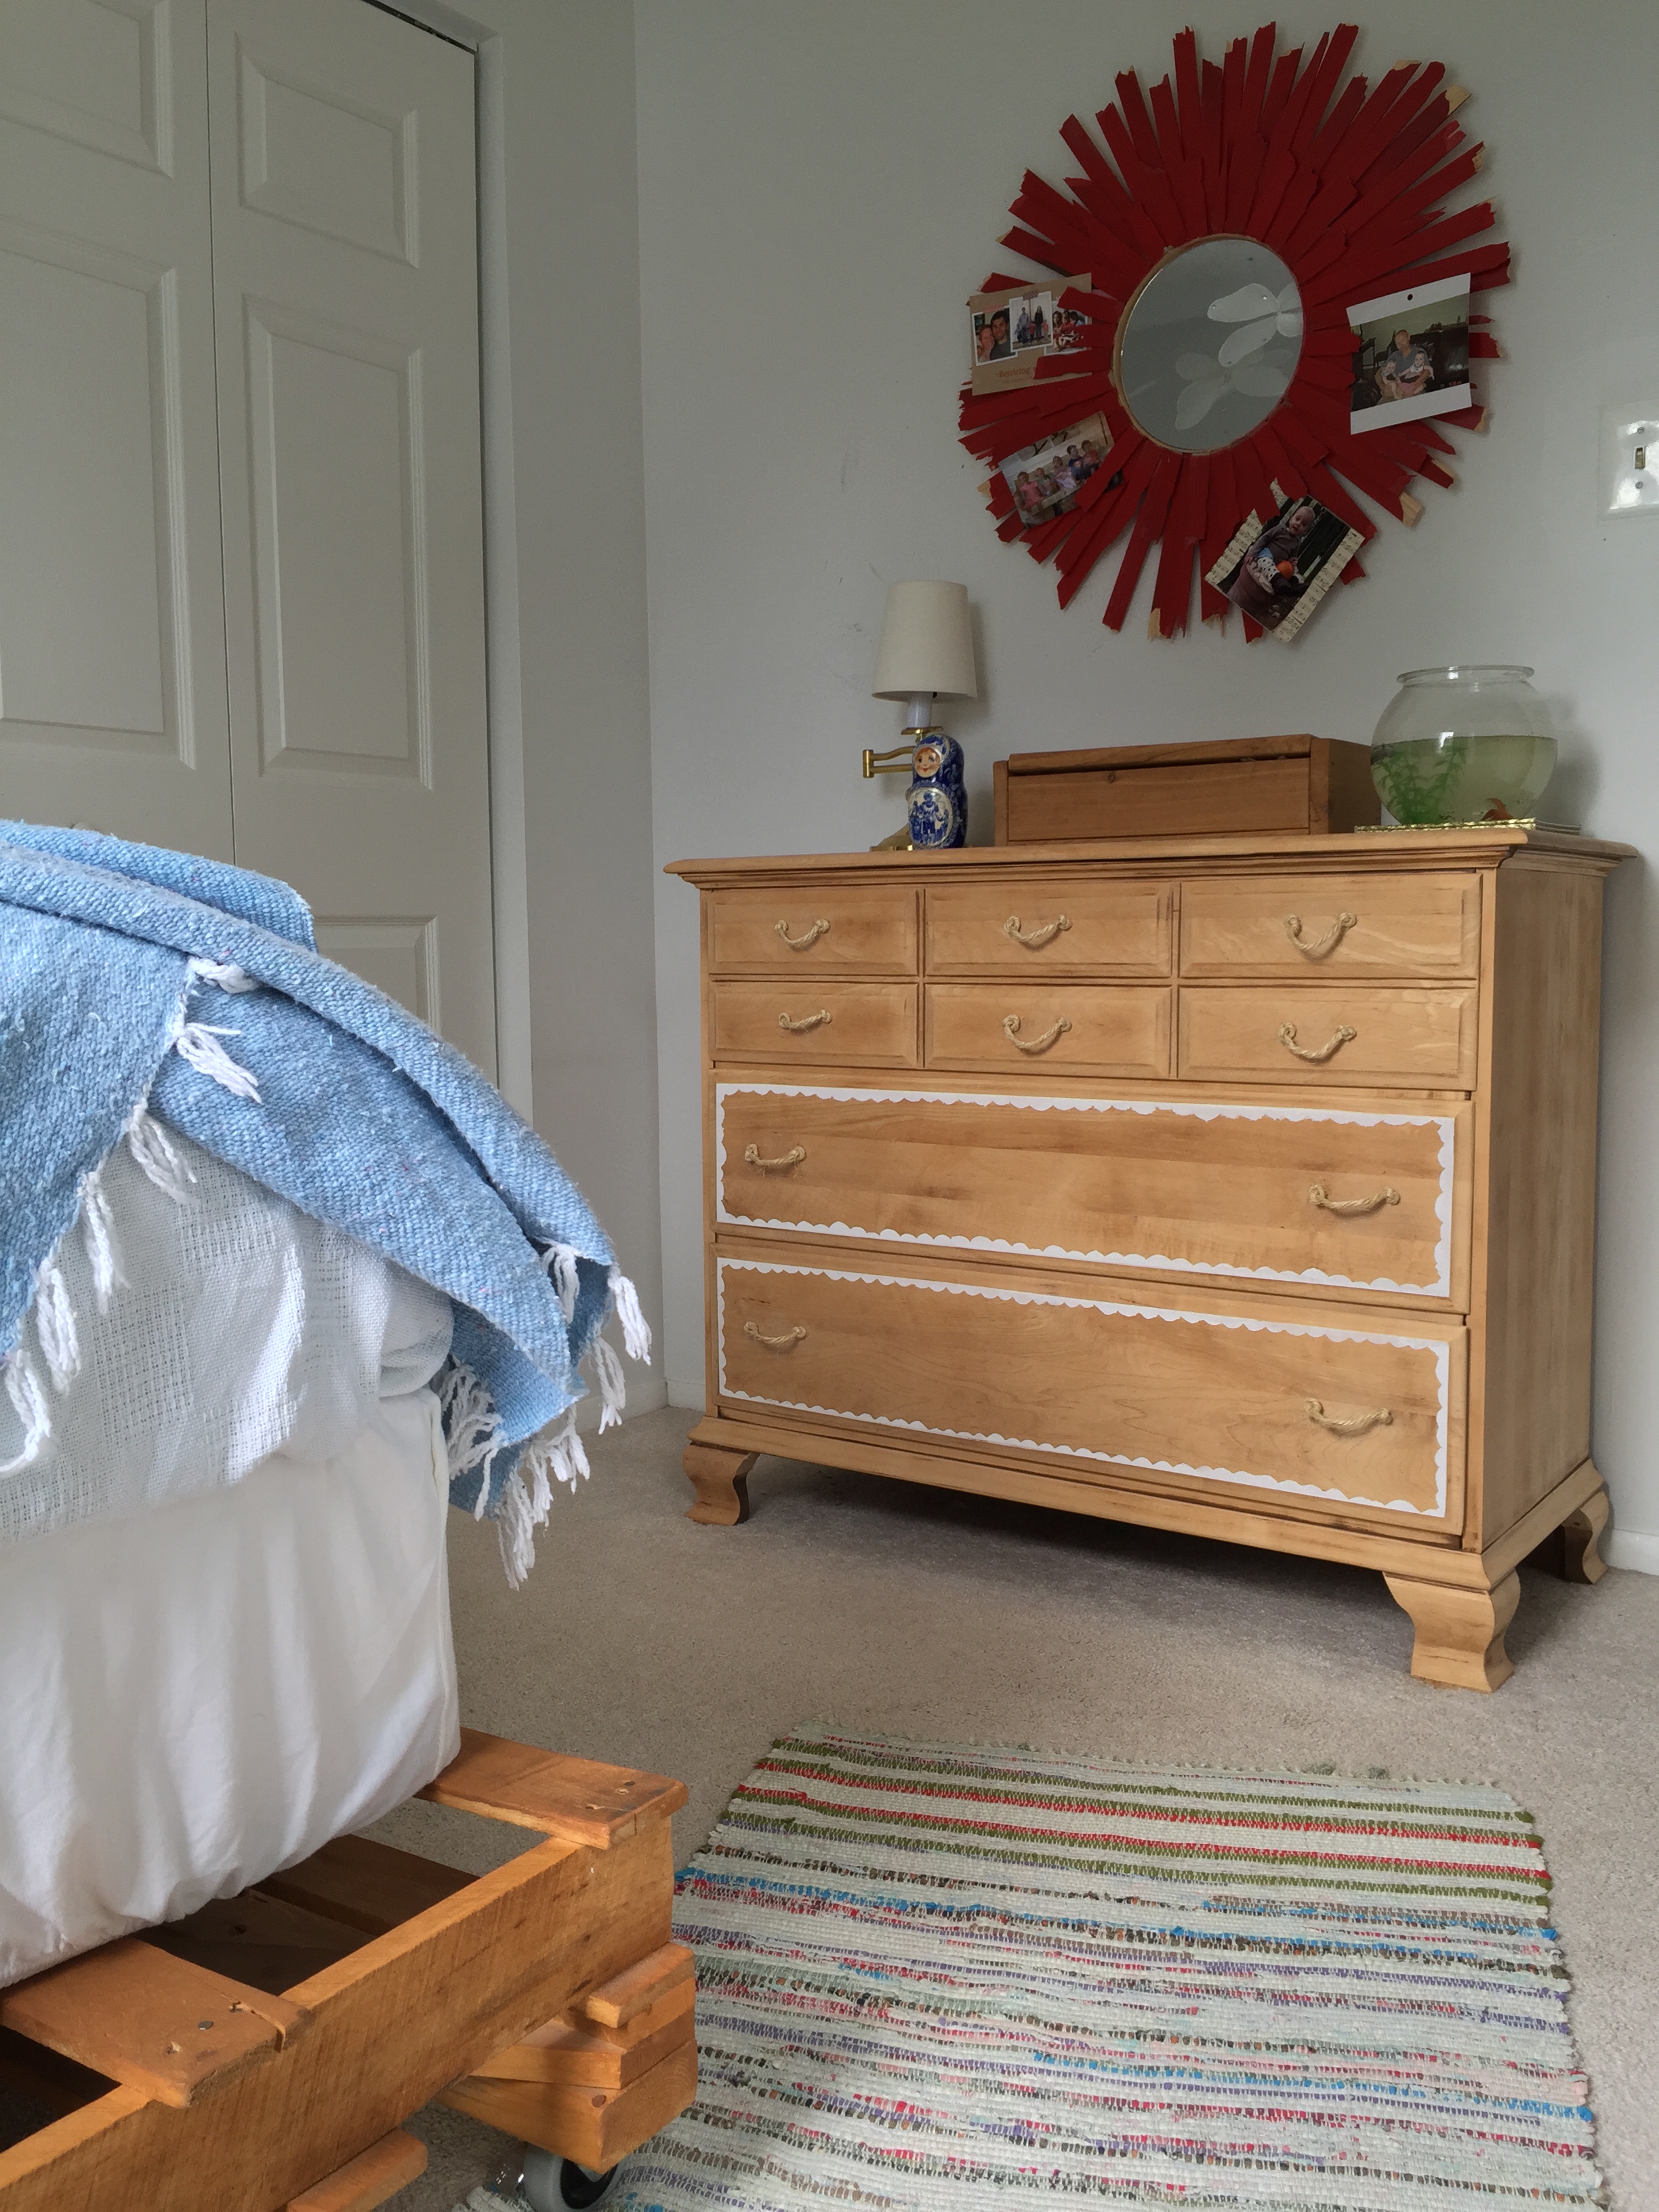
As the only girl under our roof, my heart went out to Shire. While she said she really liked her room, she never played in here. Not even once in a blue moon. Her dolls and doll clothes and puzzles were stashed messily in the wardrobe, (not pictured but just about 20" from the foot of her bed), and because the thing had become so disorganized she rarely opened it's doors, (which were hard to open anyhow because there was hardly any room left). After updating the boys' room when we bunked their beds, I saw how smart space planning really increased the use of their room for play time. Our three kids are all the same age so they naturally play with the same things and always together. It's hard to get alone time here; everyone's interested in the exact same things at the exact same times! This past summer it occurred to me that the kids bedrooms could be used for quiet, alone play time. And to get them that way they needed to be spatially planned better than they were.

So as soon as I was done with the boys' room, I turned my attention to Shire's. The mission was to spend nothing on her room makeover and this was the plan I designed on Olioboard:

olioboard.jpg

The thing about a room makeover rather than a room design is that a makeover implies that you at least have existing stuff in a room. And the thing about having existing stuff is that you can either reuse it in a different way, or try to make a profit from it. And if you can make a profit from it, you've got yourself a little extra $ for your makeover! So up went the pallet bed and a few other things for sale, and with the money I invested in a few things I thought would really make this a special place for our girl.

A few players in the plan above include:
-Black twin metal bed frame from 9 by Novogratz

Sahaj Jute Curtains from World Market, (which would actually just be traveling across the hall from our room to hers)

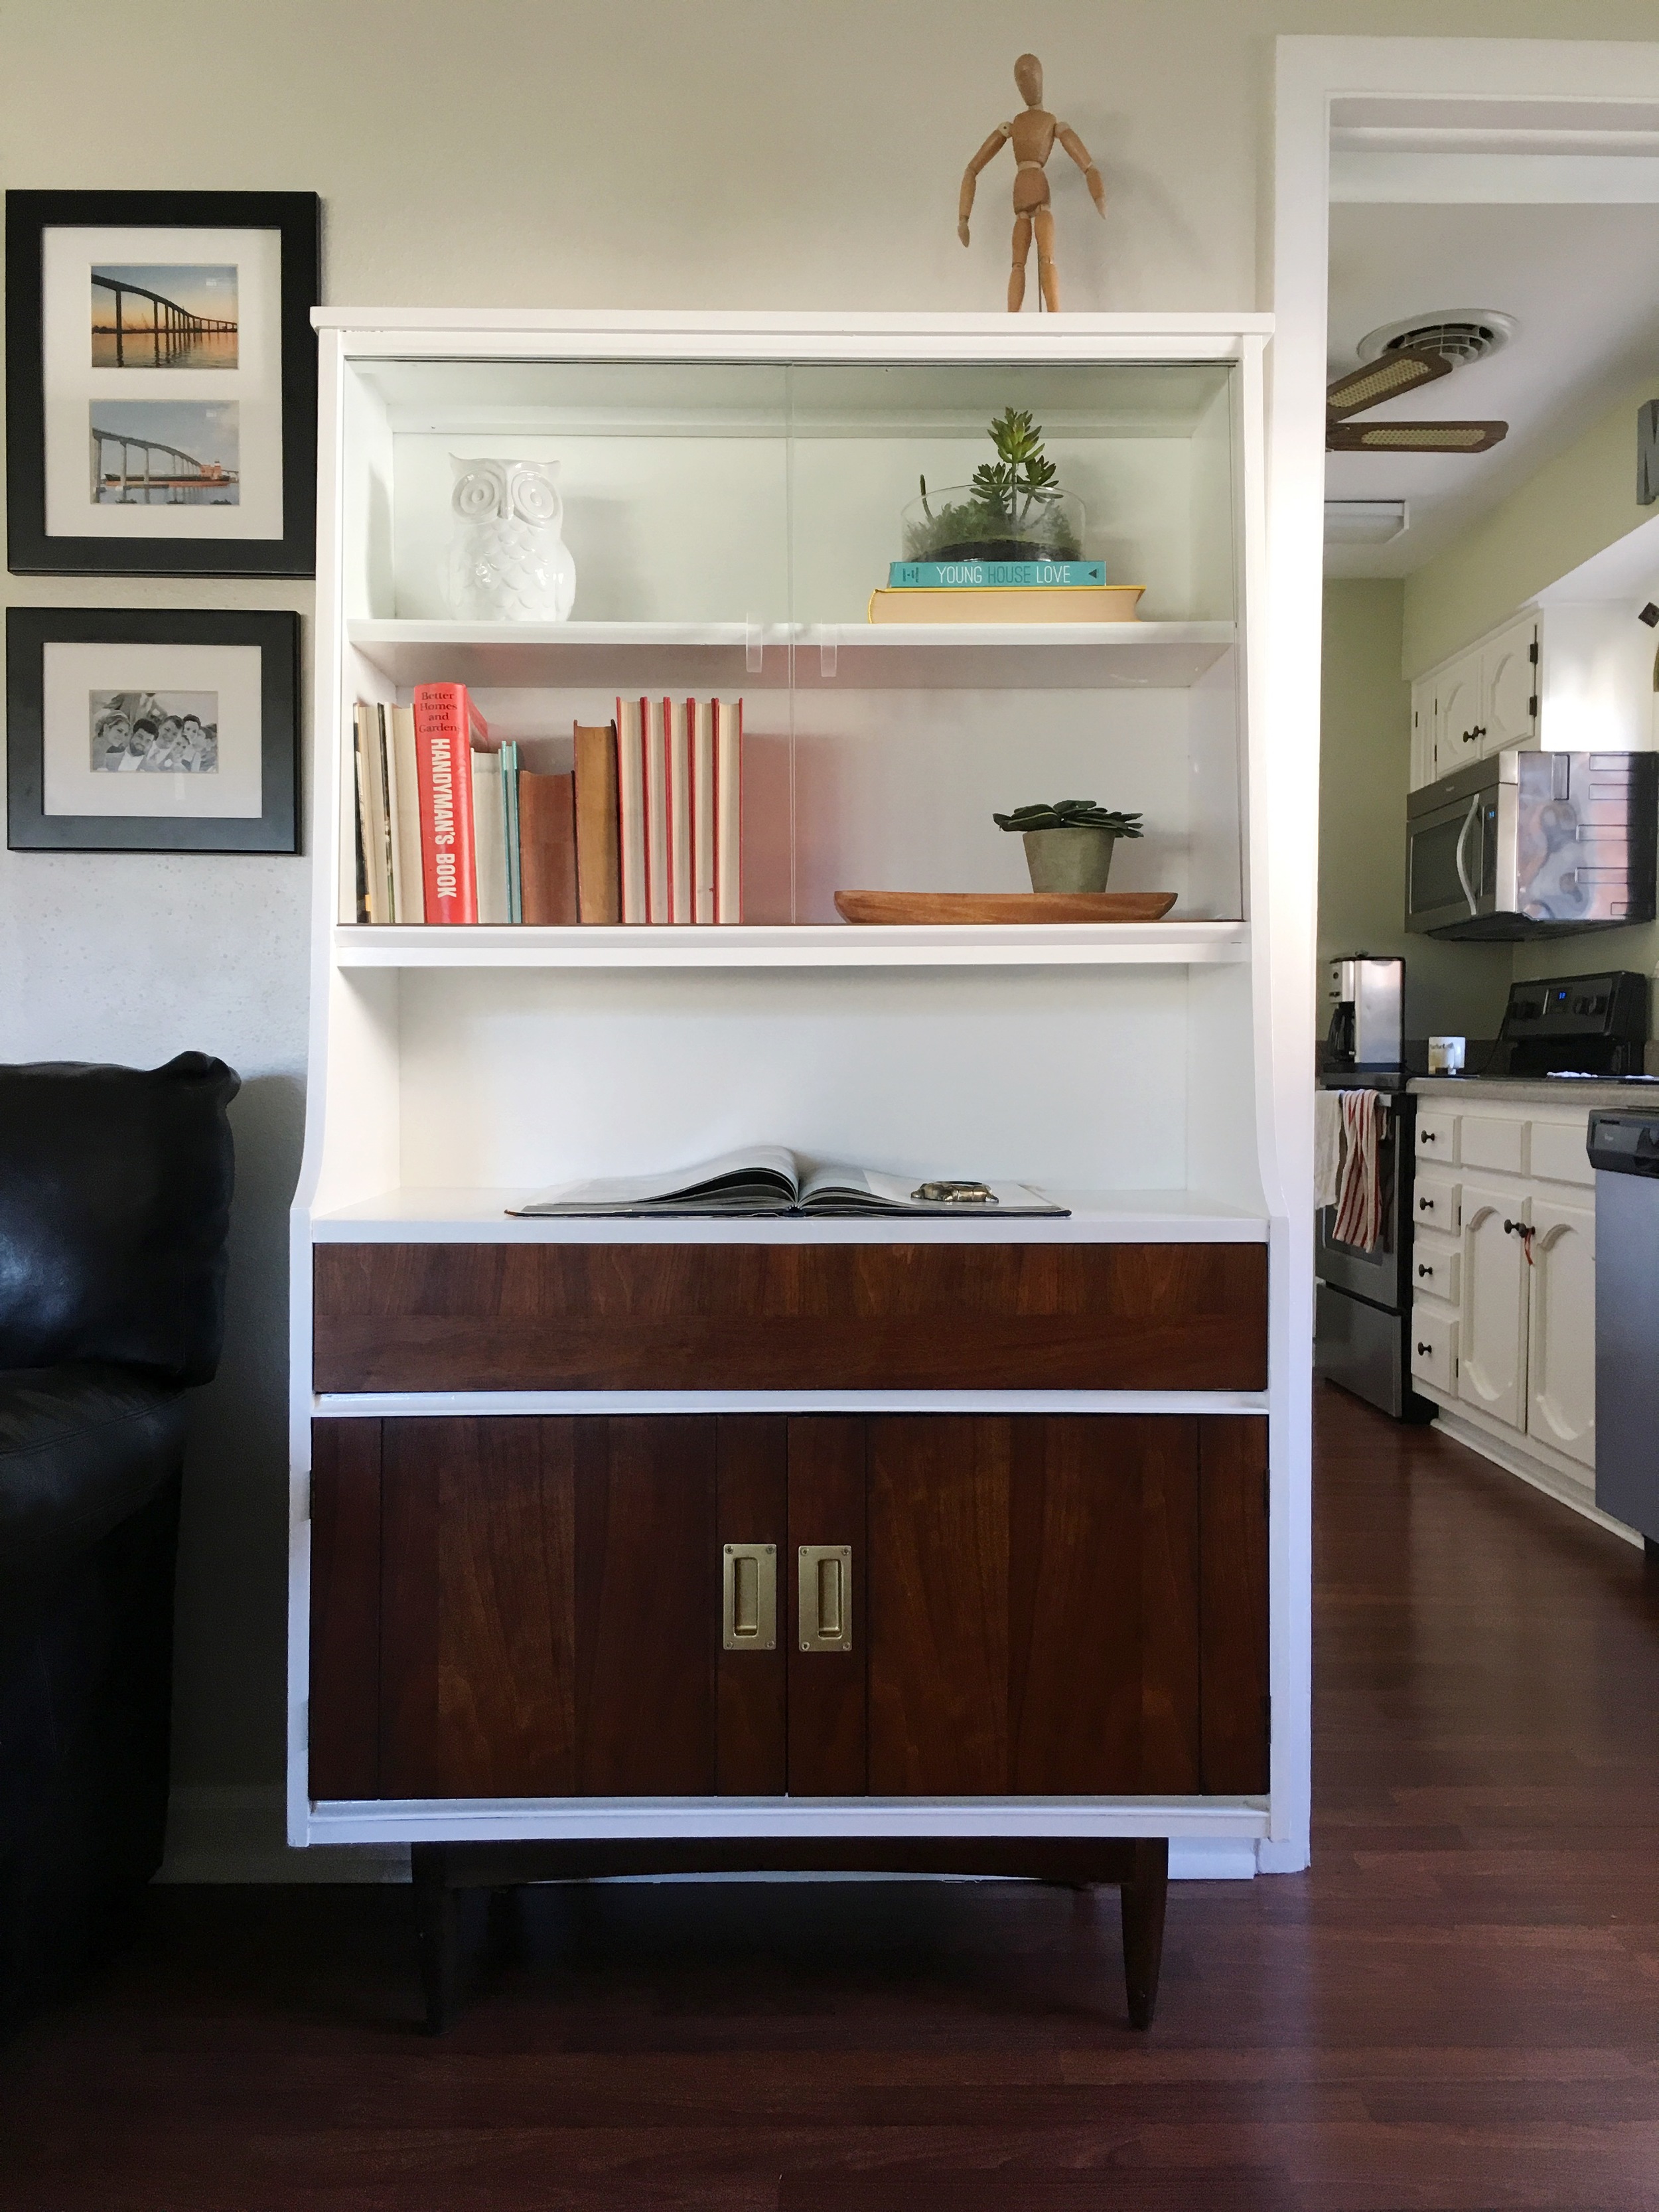
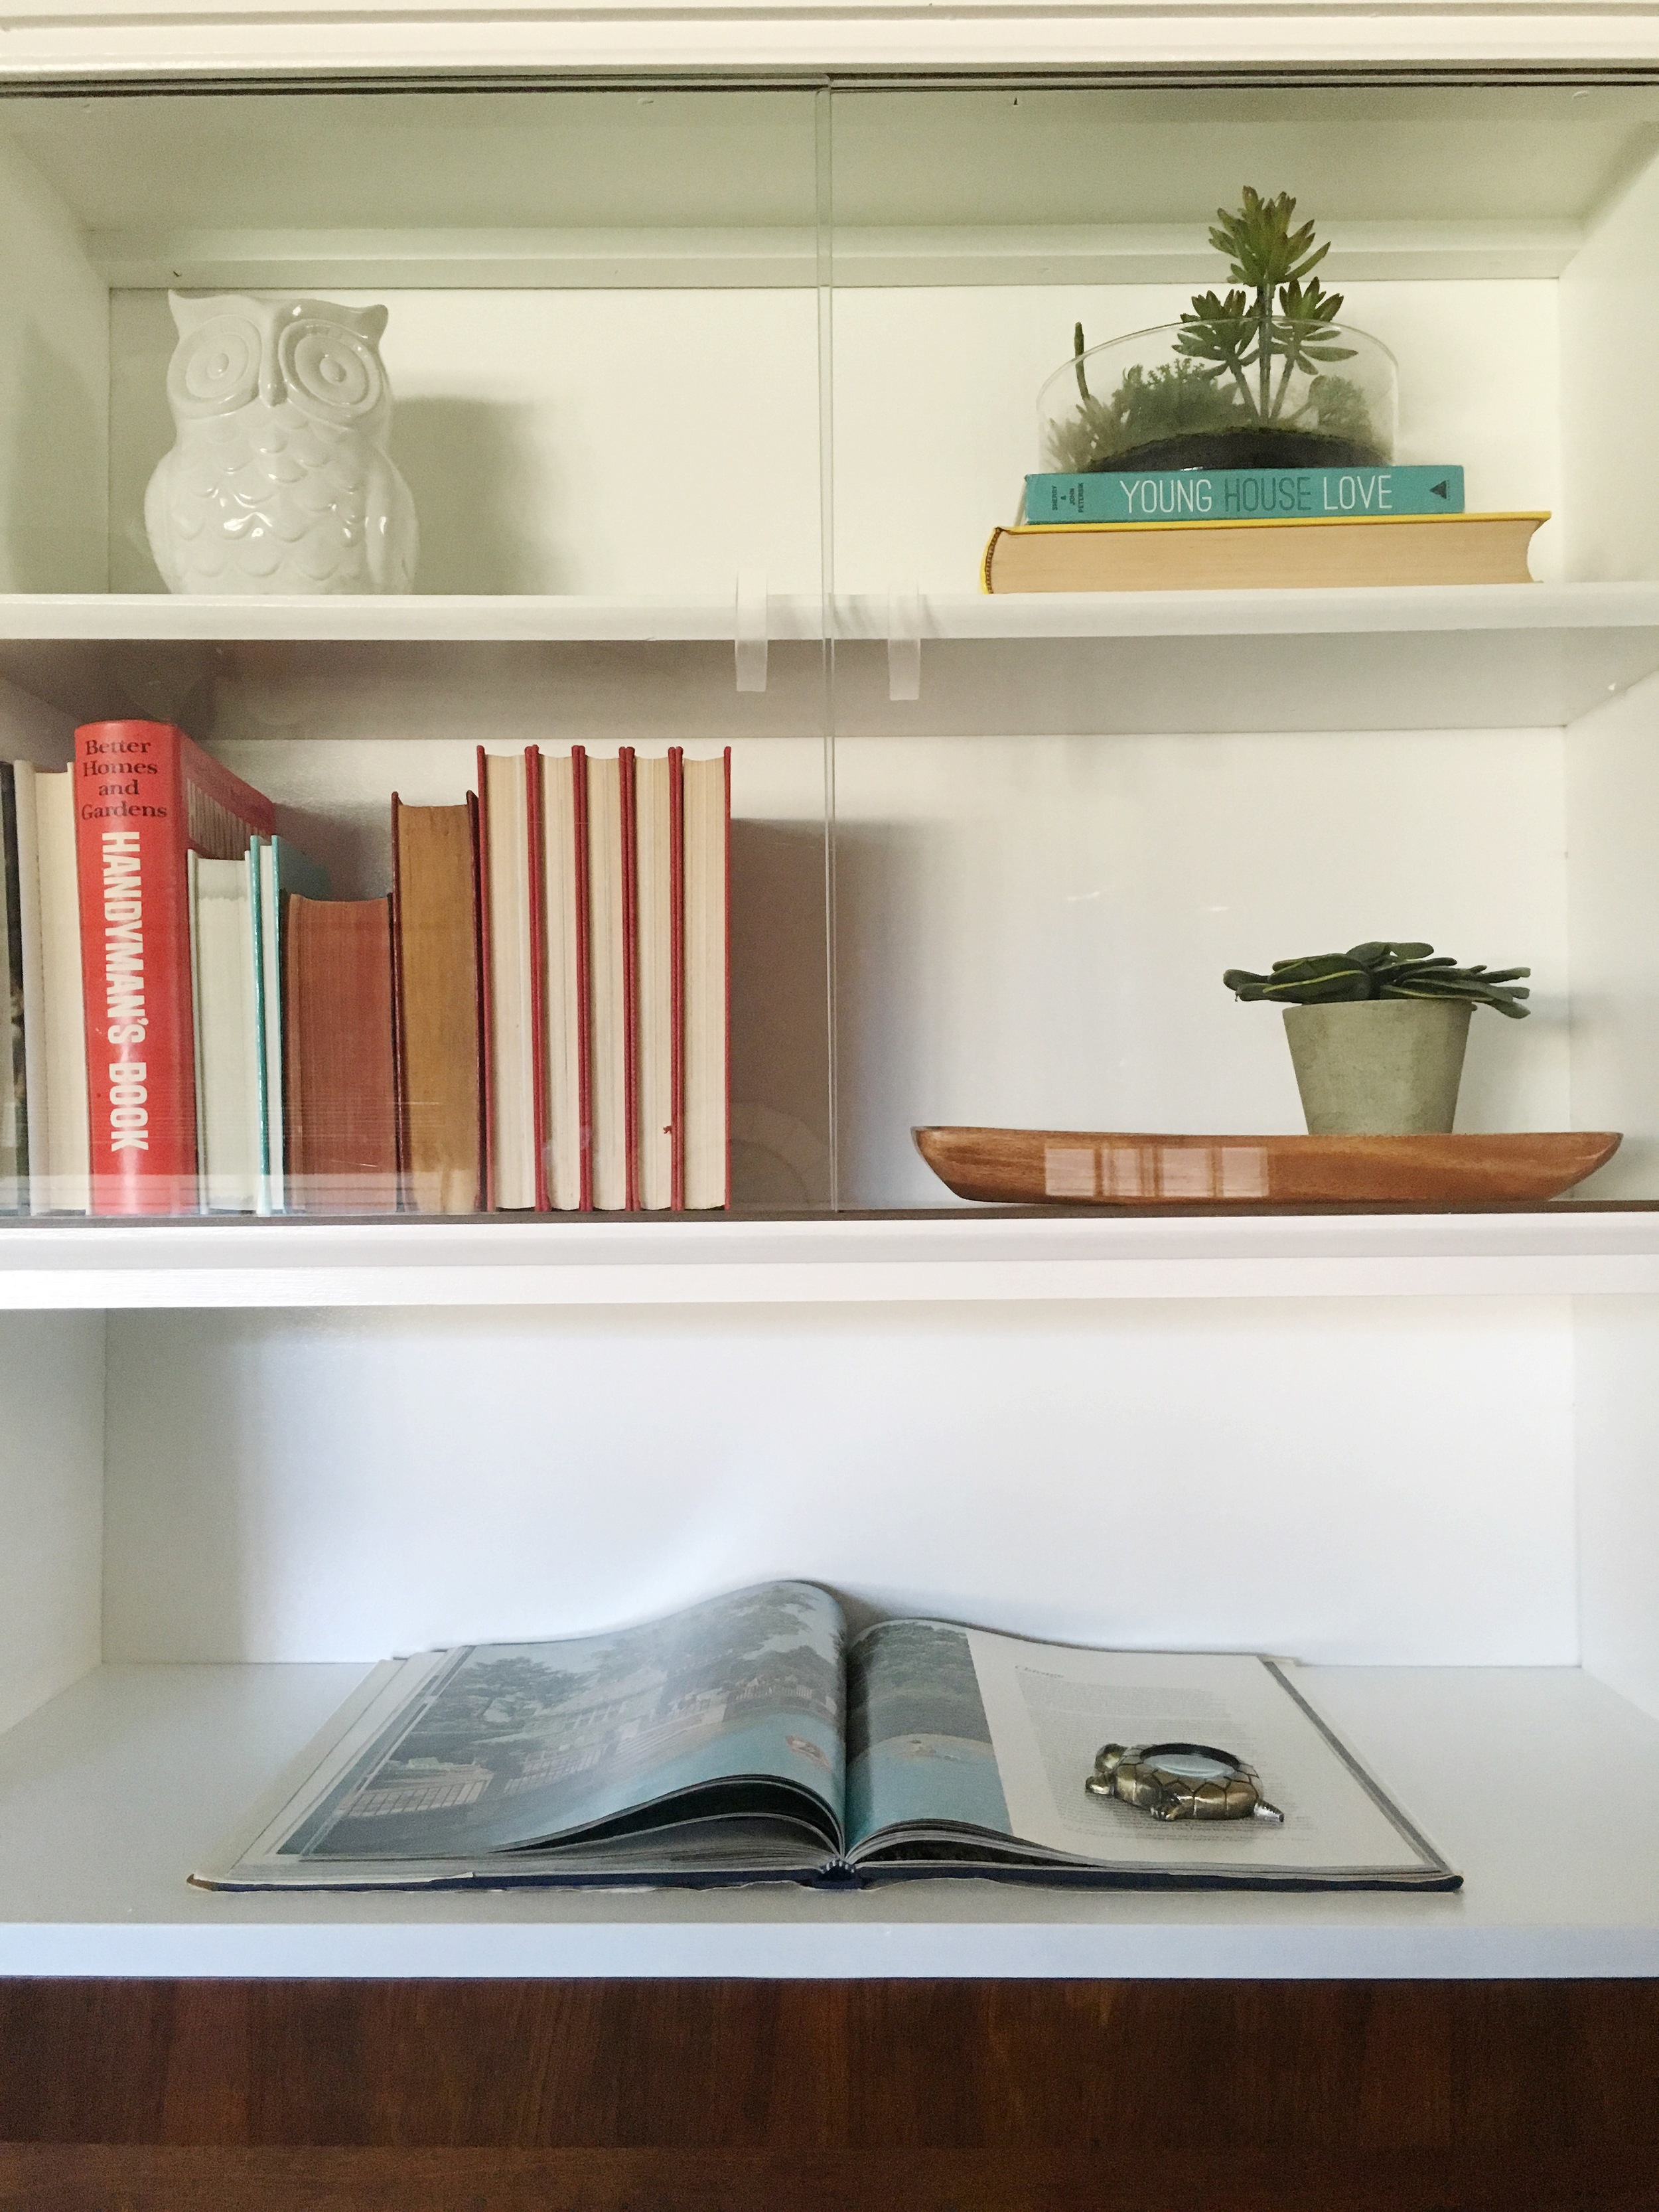
Paint an unused bookshelf in our basement white, move it to her room

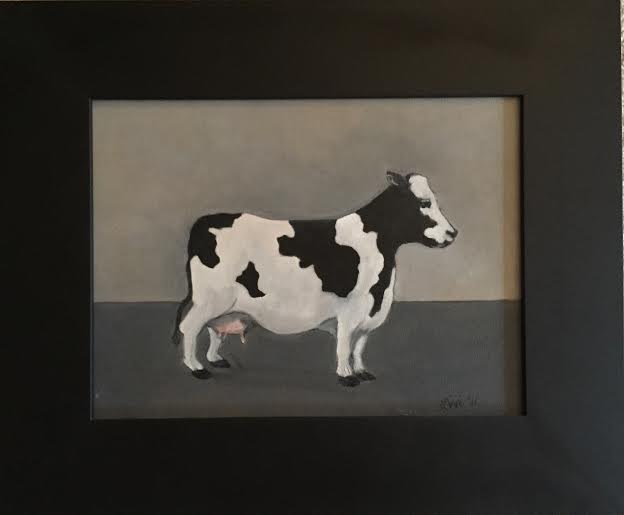
Move this painting by my grandmother above the bed

My goal has been to shop our house for pieces that make better sense for this room and use the extra cash from selling pieces we don't need on items that will compliment the room better. Aside from creating a room that makes better sense functionally and feels special to our Shire, the hope is to have a completely madeover space without spending a dime!

I've got a little ways to go and have deviated from the Olioboard design above just a bit, but will be coming back next week to reveal the full room makeover in it's entirety! Stay tuned, friends!

Thank you for stopping by!

Featured Project: Kaitlin's Evolved MCM Cabinet

By show of hands, how many of you fancy a solid before and after? Keep your hands up if your heart skips a beat when you find a gem for a steal on Craigslist. Alright, you're all in the right place then. :) It's such a treat to get to share the work of a friend from the great world of Instagram today who just refinished a disheveled MCM china cabinet. She sent me this photo of the piece which she had just scored off of Craigslist and totally made my day when she invited my thoughts on refinishing it.

Well let me tell ya, this gal didn't need any help, that's for sure! After hearing her gorgeous two-tone plan for it, all I had to offer was, 'Keep an open mind - you never know what surprises a piece has in store for ya!' Hah! Some help. Geeesh!

It turns out this piece did have a few up it's sleeve, but Kaitlin rolled with it and cranked out this stunning transformation!

From Kaitlin:

My initial plan was to leave the doors, drawer, very top shelf, and base (legs) the original wood stain and paint everything else white. I removed the drawer and cabinet doors and taped off the top and bottom. After several good wipe downs (this piece came from a smoking home, which I didn't discover until I had already traveled 45min to go pick it up), I sanded it down, wiped clean again, then started applying my white paint. I used Behr hi-gloss enamel. I went with the enamel because I wanted a glass-like durable finish and had heard that applying poly over white can cause it to yellow.

Truth. Oil based sealers over white paint result in a lovely pee-yellow discoloration. This can be avoided by just going for a protective enamel paint as Kaitlin did, (another brand is Rustoleum's High gloss protective enamel which you can spray or brush on ), or use a Polycrylic WATER BASED sealer over your paint, rather than oil based.

After two coats there was still a dingy yellow color coming through the white. I decided I definitely needed a primer (which I should have used in the first place!). I went with Kilz 2 Latex primer. Two coats of that, and then I could apply my finishing coat of the enamel paint. When removing my tape, I realized some of the paint had gone through and gotten on the top shelf. I just decided to go with the flow and paint the top white as well.

The yellowing that Kaitlin experienced is a chronic furniture condition called 'bleed through'. It's very common with old pieces like this, but don't be alarmed! If you're going to refinish an old piece, it's better to expect it to 'bleed through' and take the precautions before you start painting to seal that jank in with either an oil based sealer or latex primer. Seems backwards to seal your piece BEFORE you paint it, but trust us; it's worth the time you'll save from not having to stop a bleeder!

The original wood stain parts were in very good condition, so I just applied some Restor-a-finish and they looked brand new!
When I got the piece it was missing one of the original wood cabinet pulls. It had a very unique shape, and I didn't think it could be easily duplicated. I decided to remove both and replace them with a recessed pull. The only pull I could find to fit was stainless steel, but I simply sprayed it with Krylon Gold Leaf to give it the brass look I wanted.

In. Love. with these recessed pulls, Kaitlin - what a match made in heaven!

I really love how versatile this piece is! Maybe one day I'll use it as an actual China cabinet, but for now I'm enjoying it in my living room as a display cabinet.

Doesn't this just make you want to pour over Craigslist and see what you can negotiate for with $20 and then restore it to 10 status?! Well, go get em'!

A HUGE thank you to Kaitlin for sharing this most stunning transformation! Your hard work has more than paid off, lady. Enjoy it for years to come!

And thank you all for stopping by and making Style Mutt Home a part of your day! We sure appreciate you.