Snaps for StyleMutt!

Hi friends! I had another post scheduled for today, (a fabulous Reader Design for our Spaces section which I'll share tomorrow), but thought I'd interrupt our regularly scheduled program just to say THANK YOU! Yesterday was a gift for Cate and me. Within the same hour, Apartment Therapy shared a fabulous makeover by Cate, and Design Sponge, (Grace Bonney has been my design hero for years), shared my stenciled bedroom wall on her Instagram.

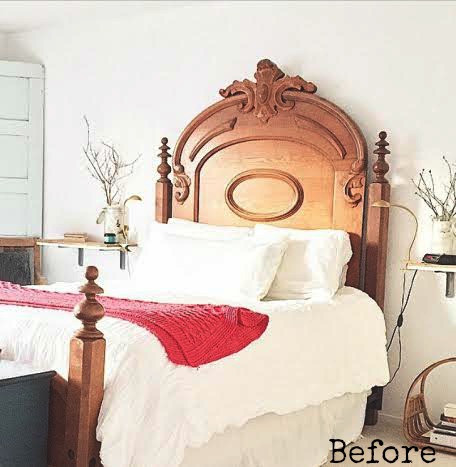
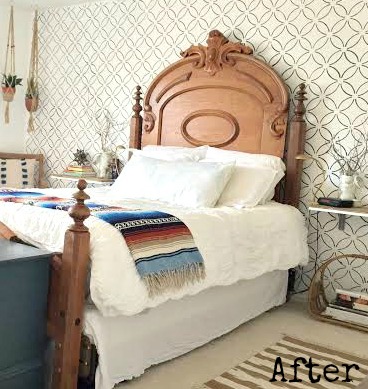
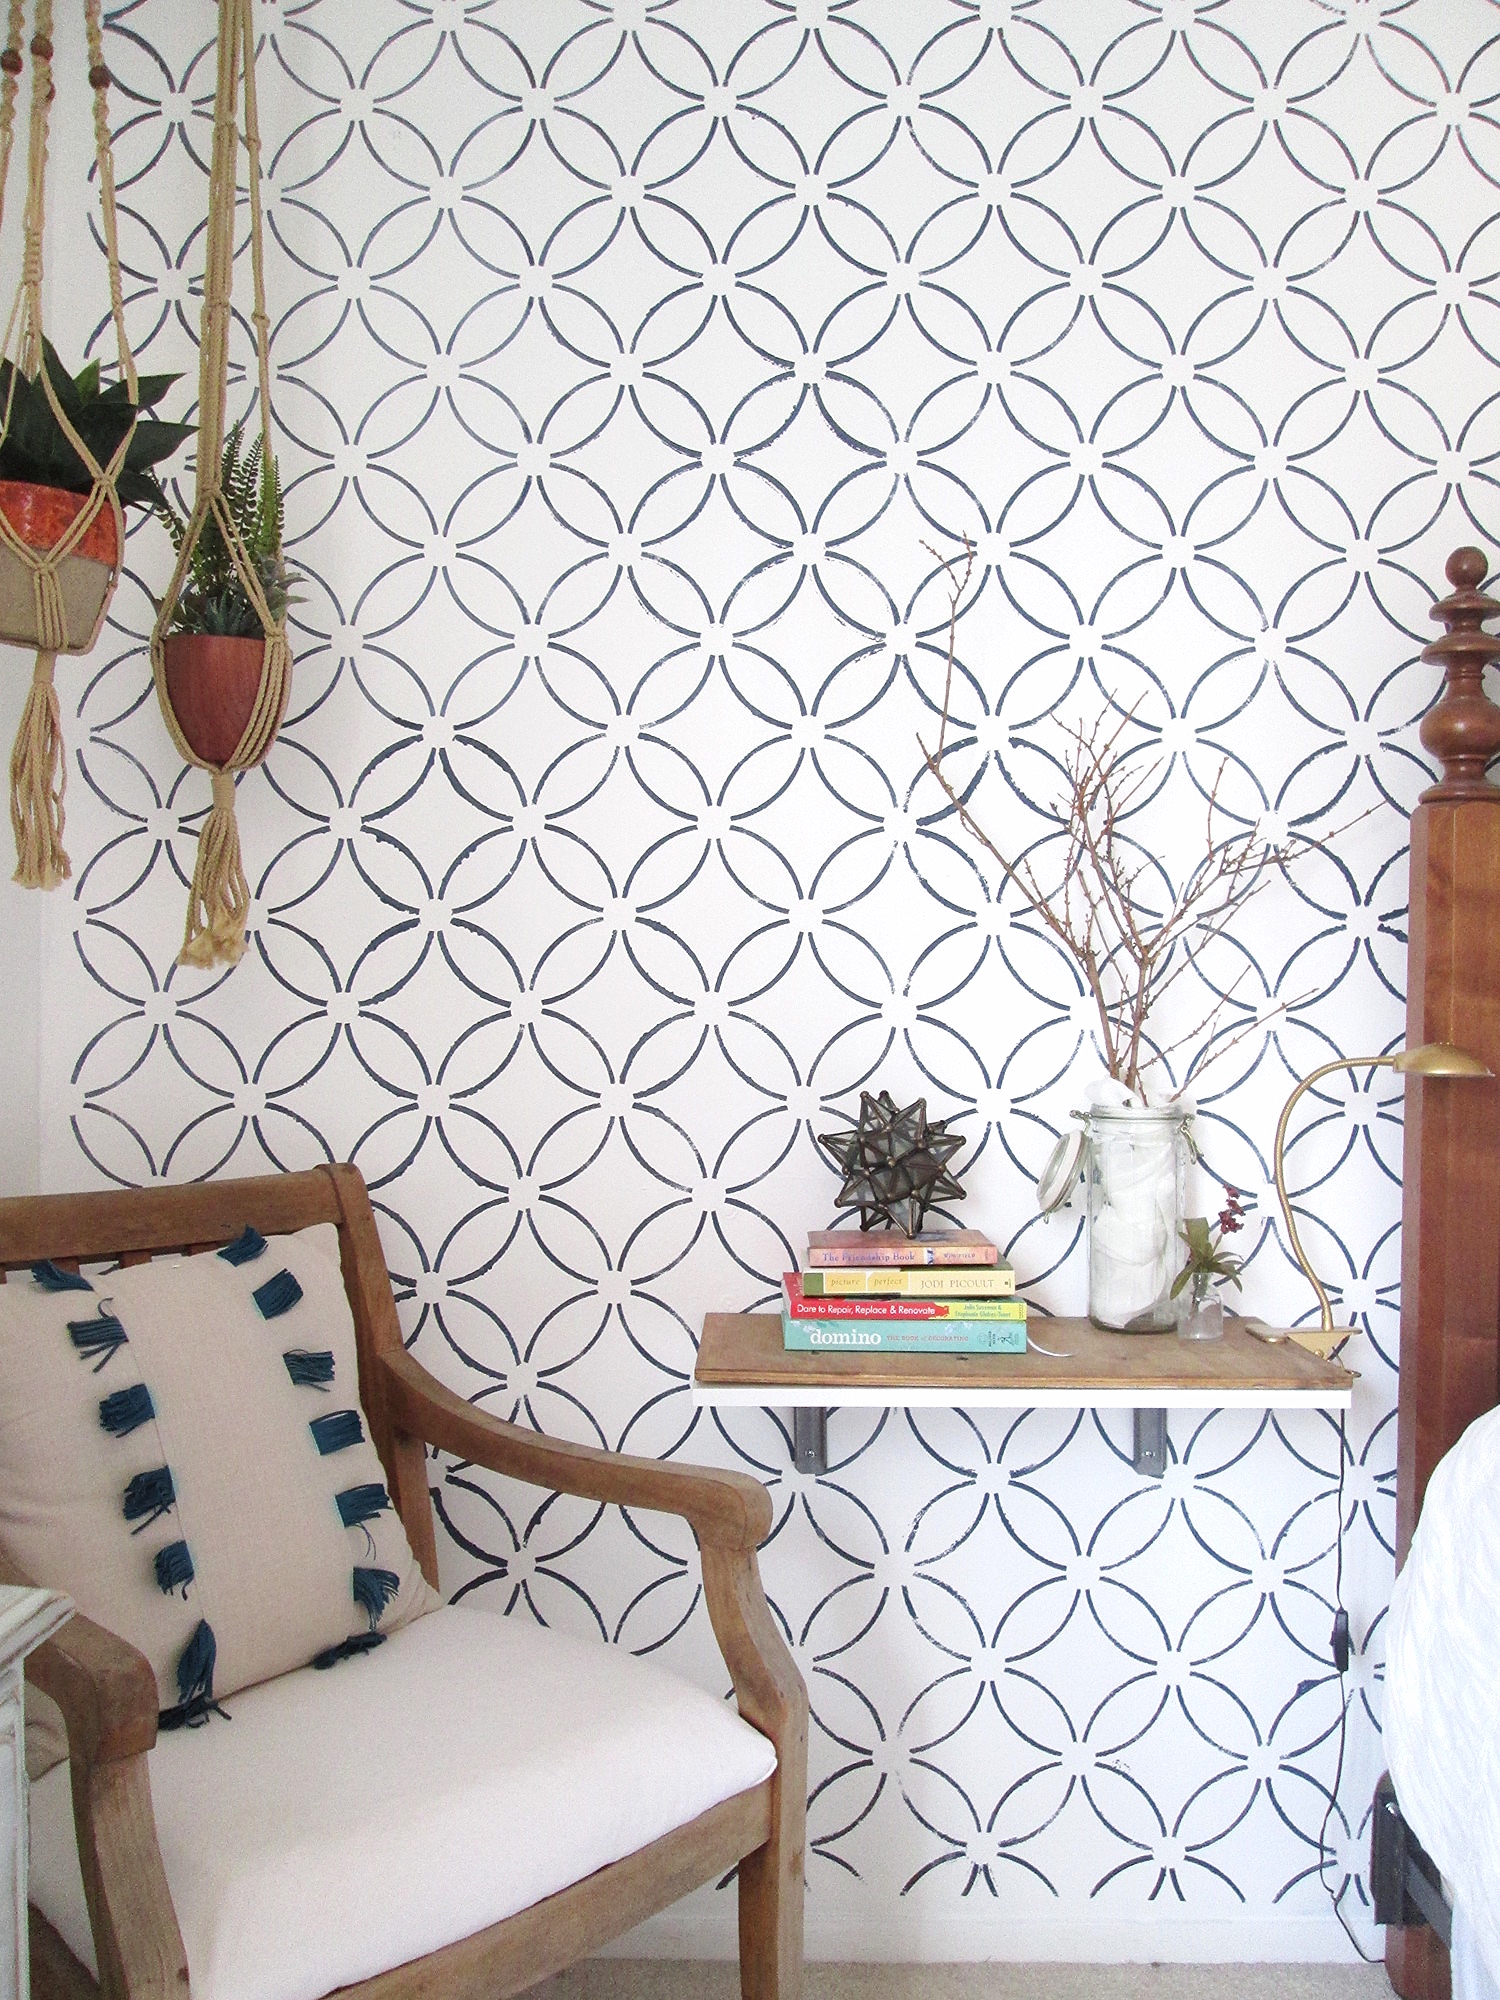
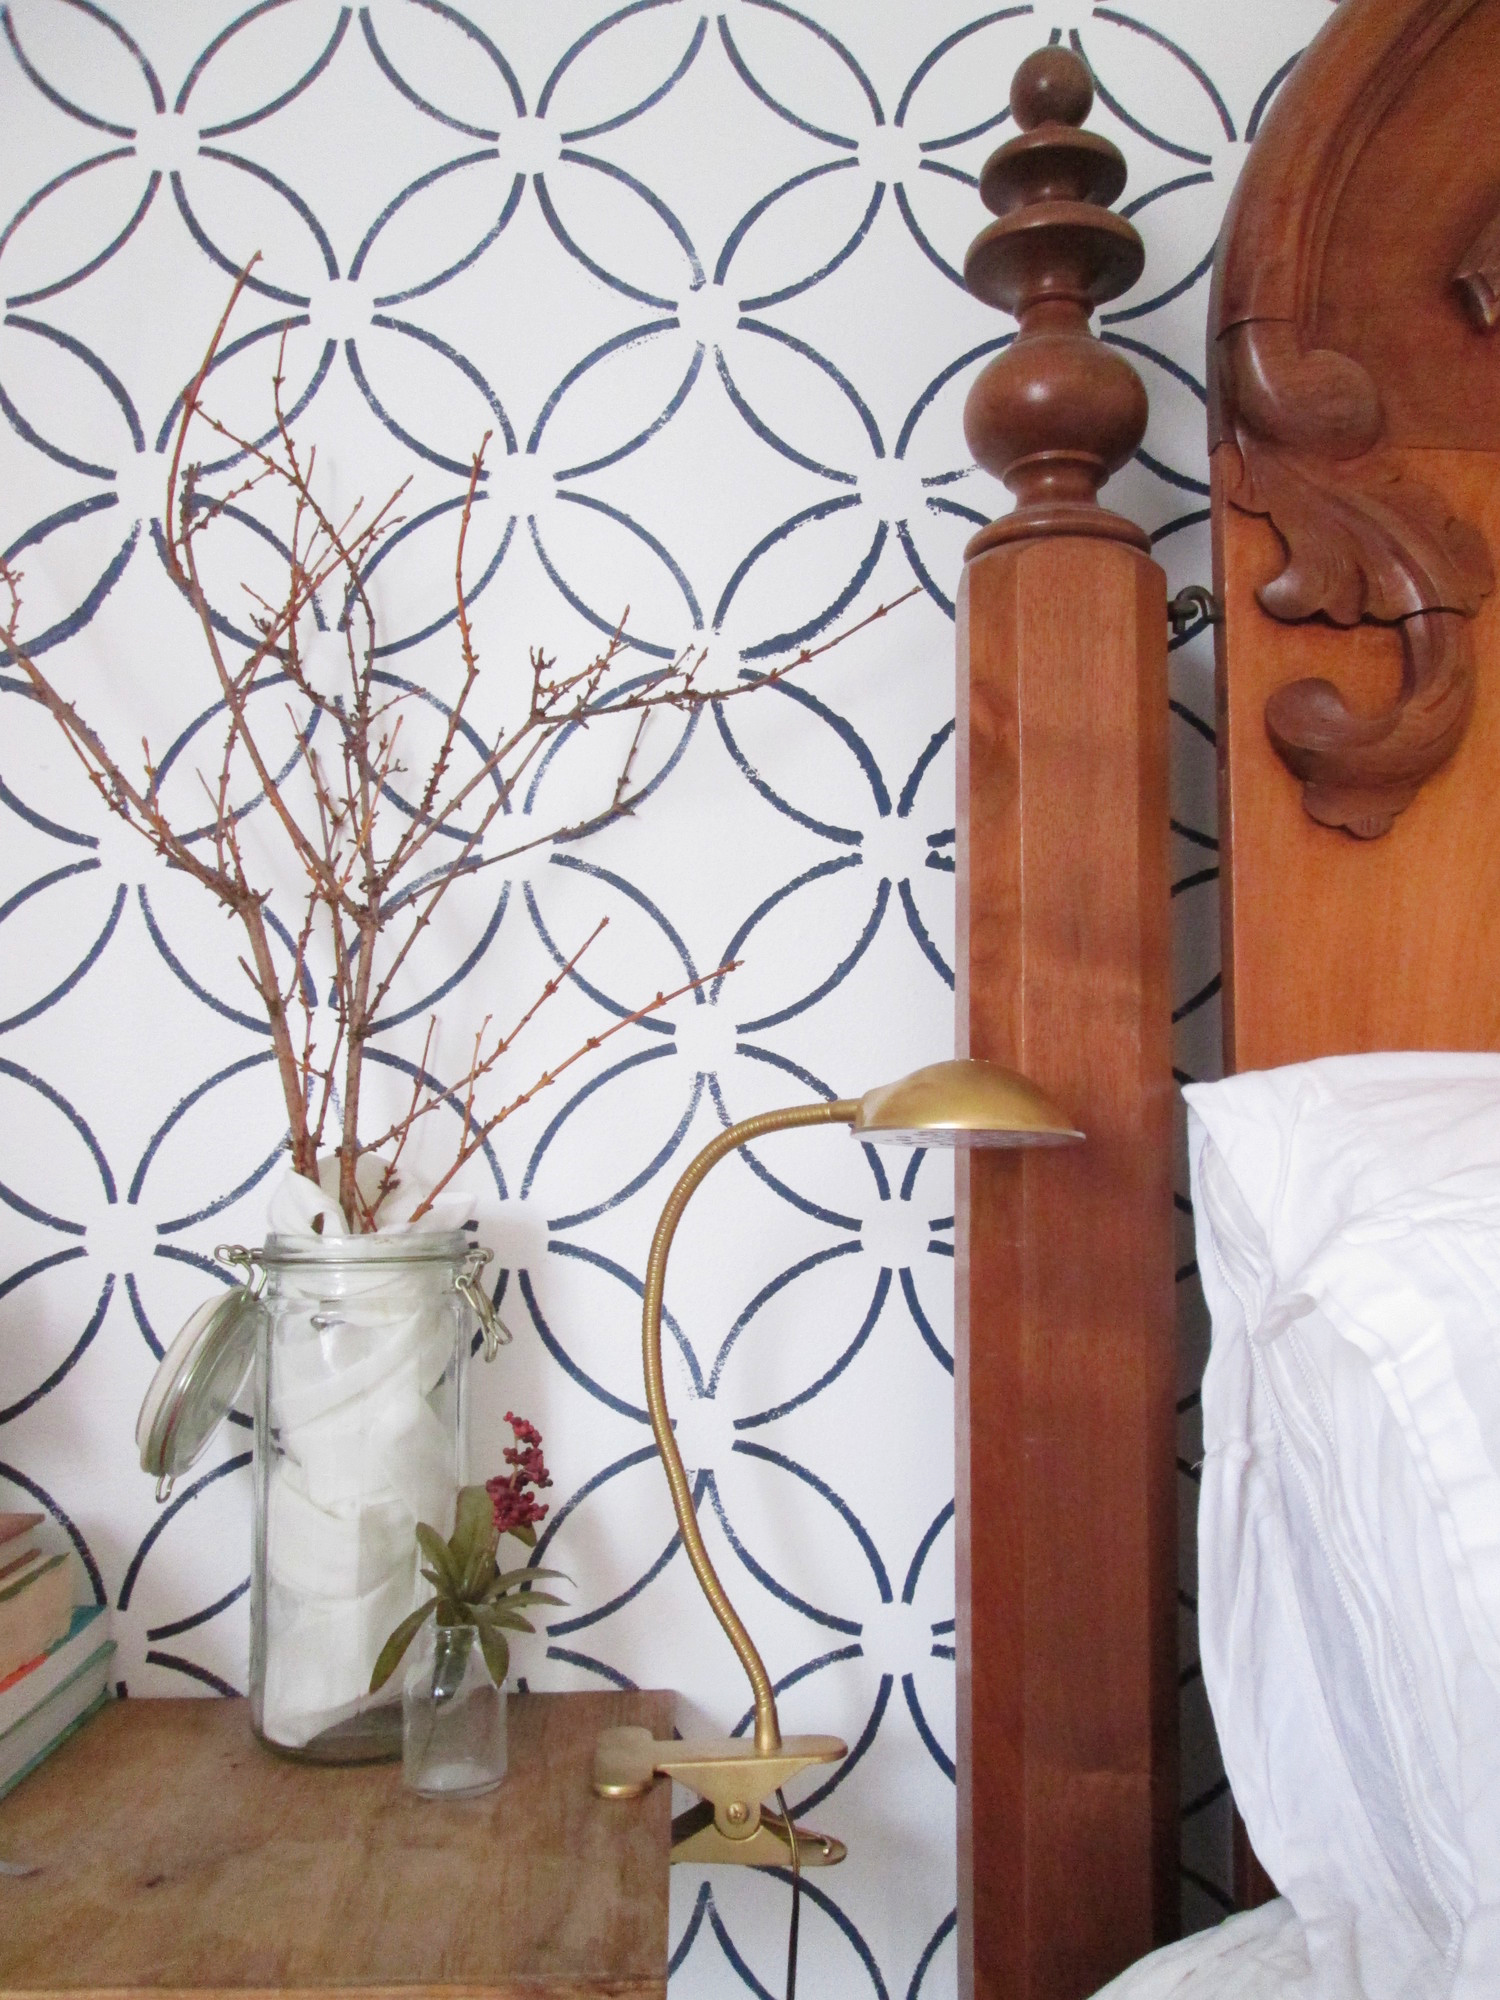
Here are the two StyleMutt projects as they were featured, (click on the photos to go right to the source)

These back-to-back features have just overwhelmed us with encouragement. The countless comments, emails, and new friends here to StyleMutt mean so much to us. Just last fall Cate and I invited our old Chelsea's Garage buddies, (the blog we previously posted under), to join us on a new adventure called StyleMutt. Now, 5 months later we feel confident that the Lord is driving this ride that we're on and we are absolutely having a ball. No matter how long you've been with us, we are so grateful for you. Your support means so much.

Whether you're a new friend or an old pal, we invite you to check out our new About page. It explains who we are, what we do and why we do. And when we're not doin', we're usually sipping wine and cracking each other up! We hope you'll continue to join us here at StyleMutt; we sure love your company and this inspiring community! You guys knock our socks off!

Thank you all so much for stopping by! Be sure to check back tomorrow for a Reader Design you won't want to miss!


Stencil or Wallpaper? ||Can you tell the difference?||

Hi friends! Christmas is behind us, (or really far ahead, depending on how you look at it), but I'm here to bring you good news of great joy. If you've been searching high and low for an affordable wallpaper and have discovered that your wallpaper taste is quite expensive, you might want to consider stenciling! (And at the bottom of this post, we've got the deets on a free stencil giveaway)!

Obviously stenciling walls is nothing new. People have been adding borders and full wall patterns to their rooms for centuries. But, did you know you can purchase large sheets of a stencil pattern now, making the process a gazillion times easier and less time consuming? I know! It's unbelievably life changing, right?! Well, it was for me! 

I really wanted to give our master bedroom a more boho chic look and modernize our family heirloom bed. The headboard is quite stunning and grand, but it's not a look even remotely seen anywhere else in our home. I don't need or care to have every room in our home looking the same from one to the other, but I like there to be some continuity in the mix of styles. Our bedroom was previously  a one-style show with the headboard taking center stage. And it was a bit of a diva. I couldn't figure out how to mix anything else into the room until I finally thought about adding an accent wall right behind the bed! 

So I searched and searched for the right wallpaper to do the job and fell in love with a gorgeous print - at $225/roll. Given the size of our wall, this would have cost $900. I kept looking around, trying to forget the one I'd fallen for, and ultimately decided no paper was going to come close. So, I changed course and decided to go the less expenisve route and stencil!

I happened upon an amazing shop on Etsy called Cutting Edge Stencils. They sell most of their stencils by 2'x3' sheets, and include border and edger sheets as well! For less than $40, I got a gorgeous 2' x 3' stencil sheet, an edge/corner stencil sheet, and incredibly helpful instructions for the best supplies and paint to use for stenciling. 

This was my first experience stenciling a wall, and the process couldn't have gone smoother - and it was completed in less than 2 hours

Here is a side-by-side of our bedroom before stenciling and then after.

I can't believe I didn't do this sooner! Our room looks much more 'us' now - so eclectic and laid back. Definitely snapped up!

IMG_2863.JPG

To get this wall finished in 90 minutes, I added blue tape to the corners of my stencil sheet, stuck it in the upper right corner of the wall, and got to work with my small roller. The key to keeping the paint in the stencil and not smudging was NOT overloading the roller with paint. A tiny bit really goes a long way. Then, I'd gently peel the stencil sheet away from the wall, line up the pattern, and re-stick to do the next section. 

This whole section (plus another column I cropped out), was done with one sheet in about a minute. Stenciling for the win!!! The hardest part of this project was moving the furniture away from the wall, (and that is included in the 2 hours I said this project took me). 

Fun fact: I found that chair outside of an auto shop when the kids and I were waiting on an oil change. When I asked about it, the shop owner didn't even know it was there! It just needed a good scrub and a new seat.

IMG_2847.JPG
IMG_2849.JPG

Quite the transformation for $40 and less than 2 hours of time!

Shire approves!

A full tour of our updated boho bedroom can be found here!

If you've been considering adding a patterned wall to your home, my recommendation for Cutting Edge Stencils is sky-high. And guess what?! They're offering one of our readers a free stencil! Enter here for your chance to win a stencil of your choice from Cutting Edge Stencils!

Thank you so much for stopping by!


Reader Design: Ashley's Airy Master Bedroom

Hey guys! Cheers to Friday! I'm pumped to be closing the week with another Reader Design. It's been a wihle, eh!? In case you've forgotten what Reader Designs are, (or are a new friend to StyleMutt), here's a quick recap: Reader Designs are an ongoing series on our blog where we share short tours around other decor enthusiast's spaces. There are no requirements to be a professional decorator or even a fellow blogger. Our goal is to share incredible rooms with fresh ideas and styles and document all of these features in our Spaces section, (on the top menu bar). Who doesn't like peeking inside beautiful homes?!  It's inspiring to see the intentional and creative work someone has put into their own home. And that's the root of it; to pass along some inspiration.

I put out a little request on Instagram for folks to share their favorite rooms, (or entire homes!), with us here at StyleMutt by hashtagging their photos with #stylemuttspaces, and let me tell you, we were not disappointed in the least. The response was awesome and I've got some amazing Reader Designs lined up to share with you!

Today it is such a pleasure to share the gorgeous bedroom created by Ashley of Bigger Than The Three Of Us. I was thrilled when she tagged her bedroom because when I saw it for the first time, I literally just stared at it in awe. It's light and airy, and yet so full of life!

From Ashley:

"For our master bedroom it was really about layers and adding them over time. I don't have the "eye" when it comes to decorating or the extra cash to just buy what I love. So, our stuff is always trial and error."

"I love mixing high and low pieces to get the look that I want. For example, the bed frame was a West Elm clearance find as was the the three drawer dresser and the corner chair. The nightstands were a steal from the Goodwill. The sunburst mirror and headboard were both DIY's. I happened onto each of these pieces over the course of a year and during that year, my style for the room really evolved."

So, so cool...Do you guys have a hundred ideas for your own homes running through your mind right now too? If you'd like to hop over to Ashley's full bedroom reveal, you can find more fabulous photos and details here. Next week stay tuned for Ashley's beautiful dining room! 

Ashley, you rock. Thank you so much for sharing all this goodness with us! If you'd like to follow Ashley on Instagram, you can find her at ashley_biggerthanthethreeofus

Thank you all for stopping by and have a wonderful weekend!