Aqua chair, yellow table, and things on deck

Hi All! I hope your week is rolling along well and you're soaking in some time outside! I can't recall a summer going by quite as quick as this one. Maybe it's because this is the first summer that will have a definitive end as our twins start school for the first time this fall! Whew. I can't let my mind go there...it's too sad!

For us here this is one of those weeks with so many good things to share and just not enough time to share them! Here's what's up: aside from a couple new custom orders on deck, we are in the process of making a built-in home office under our basement stairs, (which, in and of itself will have a handful of super fun DIY projects to share), re-configuring the entire layout of our basement, painting an accent wall, painting more randomness, settling into our home a handful of goodies found at a flea market last weekend, and editing my waxing video tutorial, (the sequel to this video tutorial which made the tiniest plop on YouTube yesterday. Not even a kerplunk. It was a plop). ALL of this will be shared here in whichever random order things are completed. But for today, here are a couple of before & afters for ya.

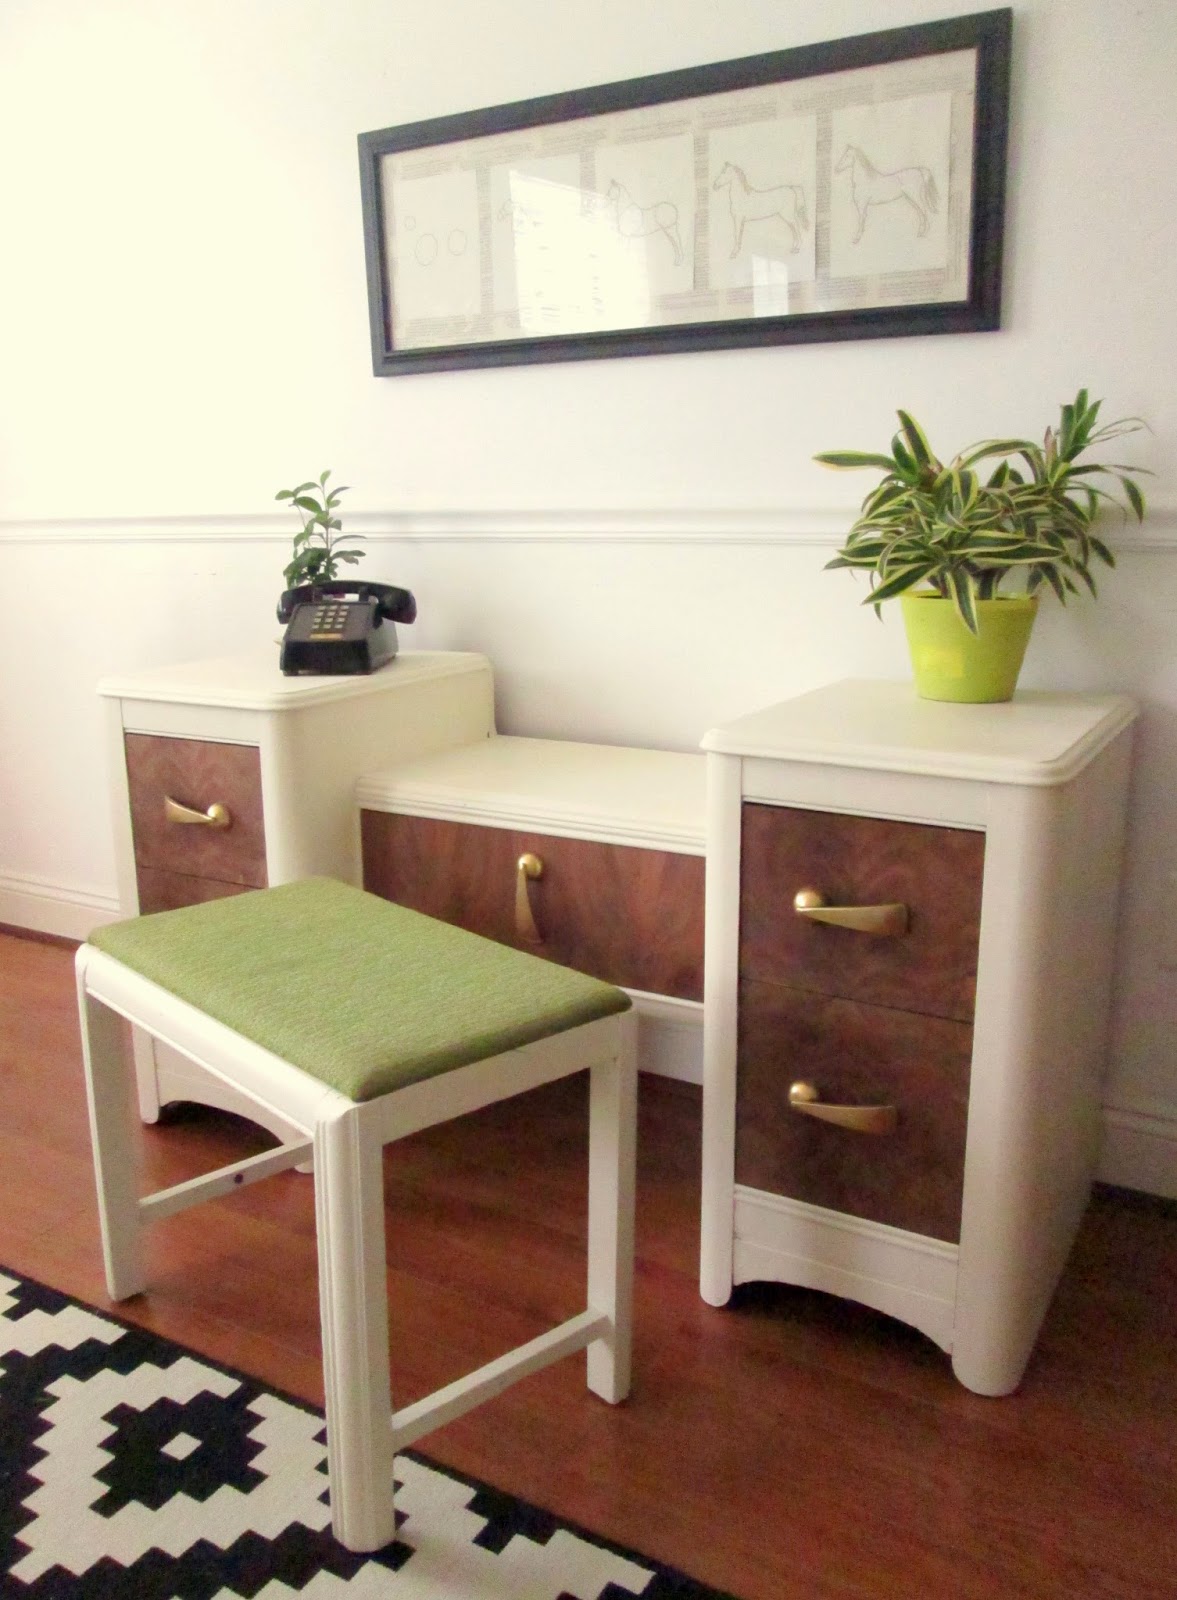
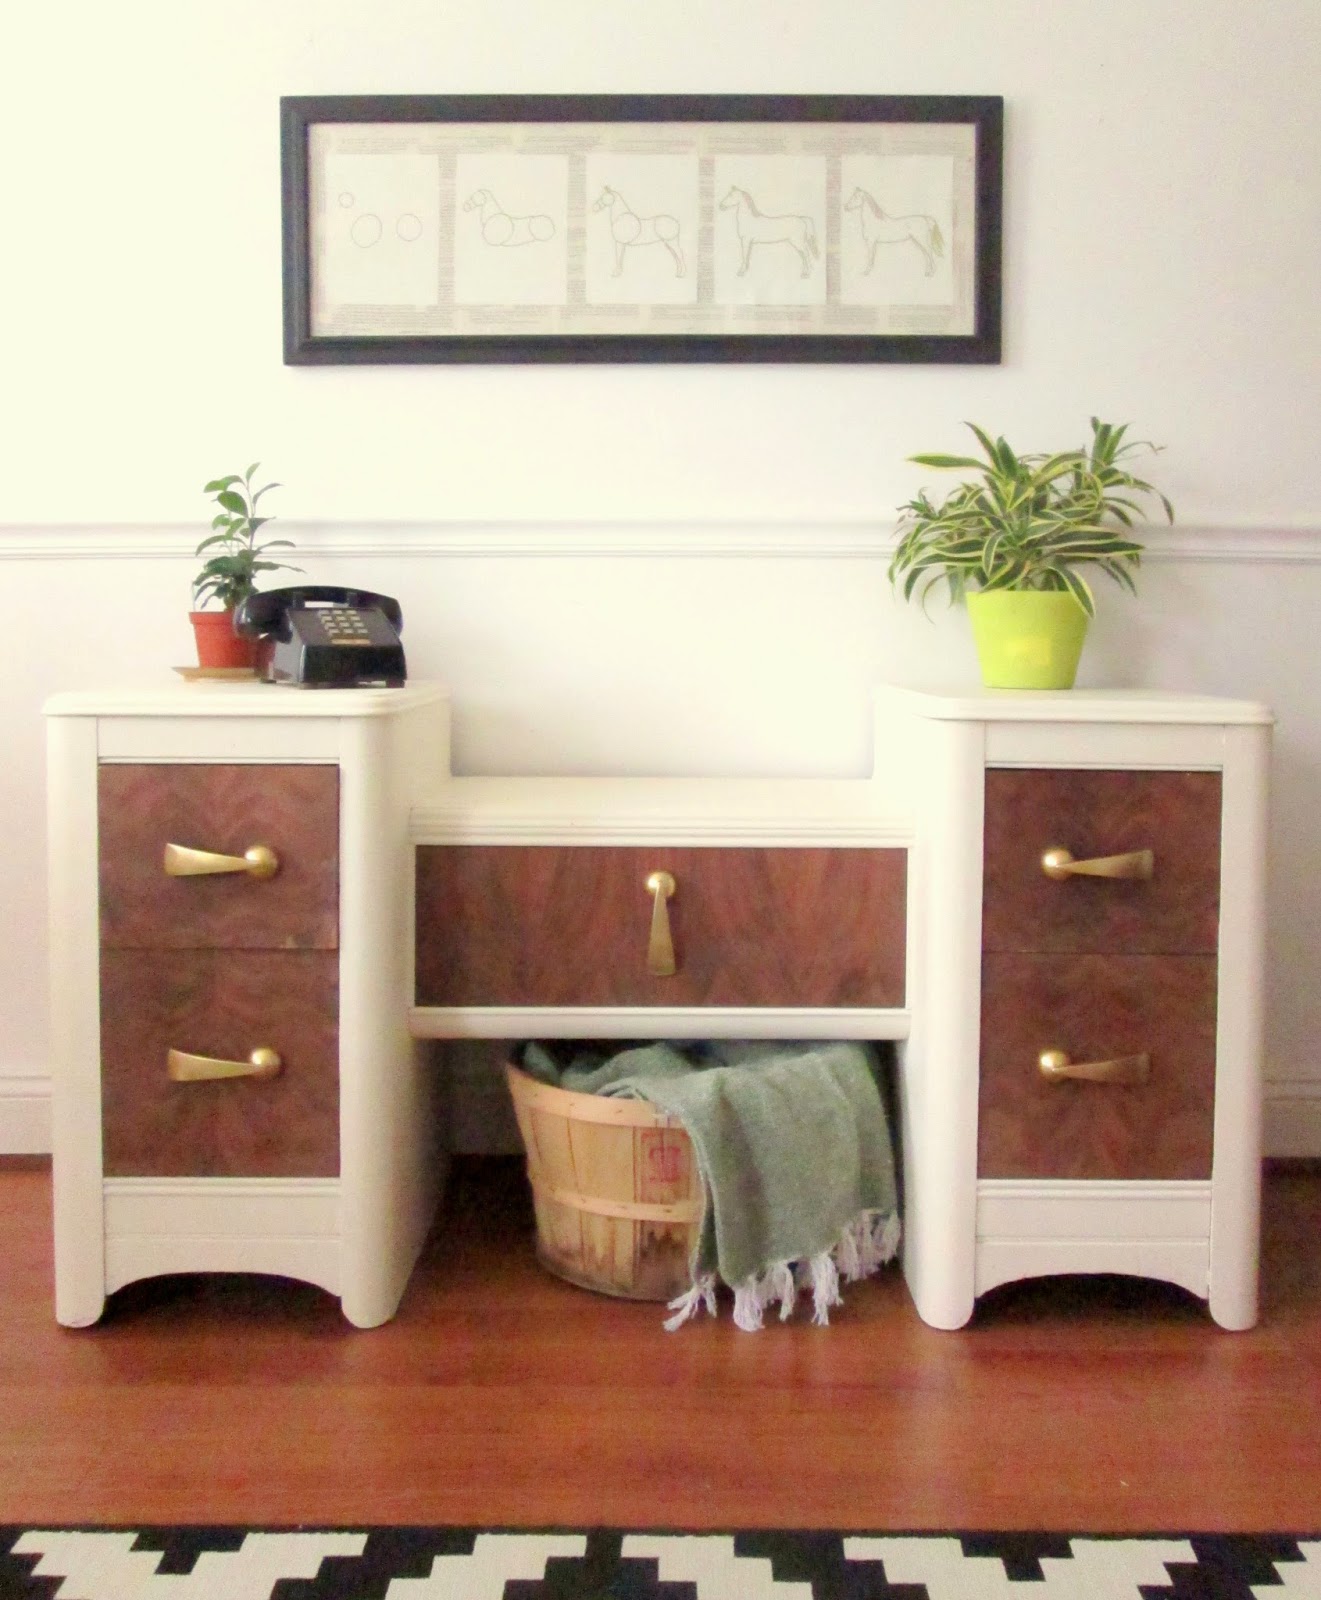
First up, the chair from yesterday's tutorial video! As I mentioned in the video, this piece came from my husband's grandparent's trunk of junk on it's way to the garbage. I rescued this and a small handful of other bits and bobs that were just too good.

Before

After

{Chair painted in 1 part Duck Egg mixed with 3 parts Pure White, both by Annie Sloan Chalk Paint}

And this cutie pie - a table my Mom brought over to have woken up with a new coat of Arles, (also by ASCP), for one of her guest rooms.

Before

After

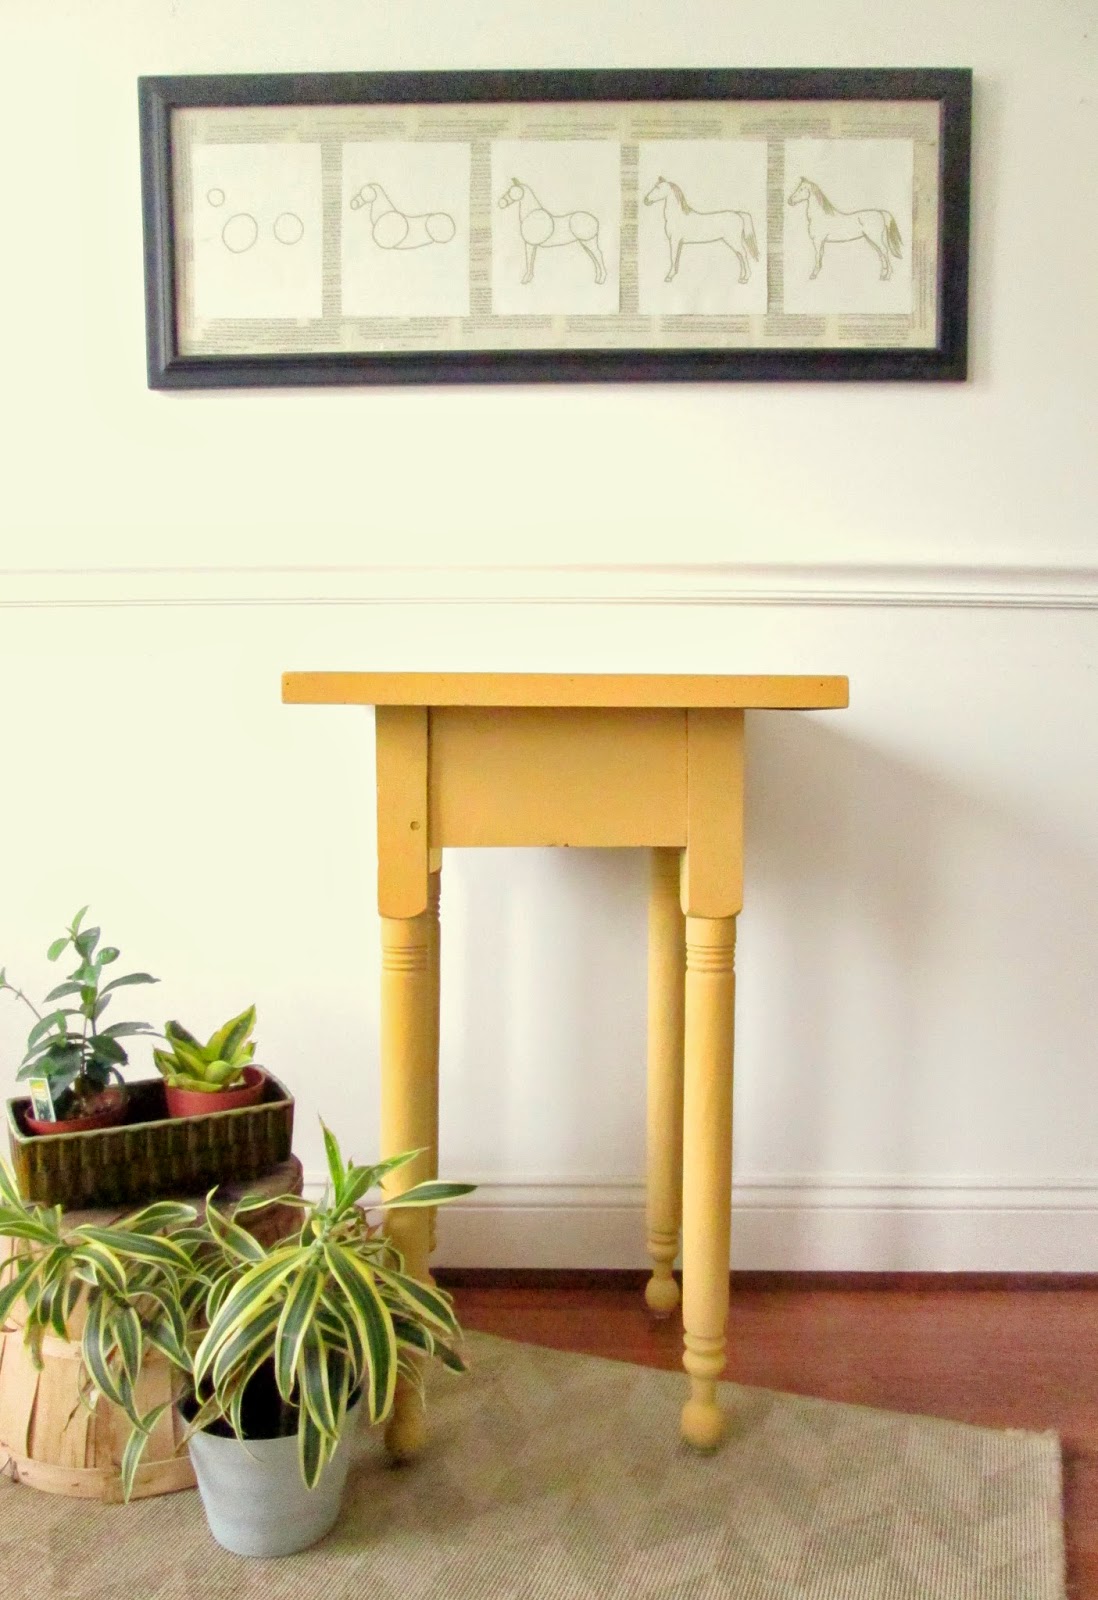
Nothing like a poppy color to bring a little life into a room, eh?! 

Alright! I'm off to paint and staple and glue and cut and find a time to get to the grocery store. :) Cate's on deck for tomorrow, (aren't you LOVING her Wednesday posts?! I've already tackled one of her tutorials for something special going on in the boys' room), so I'll be back on Thursday!

Thank you for stopping by!

~Chelsea

This post was published under Chelsea's Garage, now affectionately known as StyleMutt.

Video tutorial #1! {Chalk painting a chair}

Hi guys! Last week I finally jumped on the video tutorial train and cooked up a couple how-to videos! I've had a lot of interest from the sweetest clients and friends to organize a chalk painting workshop. With summer schedules being so difficult to juggle I decided to put together a couple video tutorials instead to help get those visual learners started.

For my first tutorial I decided to paint a chair. Chairs are one of the most common pieces to refinish as they are found all over the place, often quite cheap, and are easy to throw in the back of the car. However, they are also one of the trickiest pieces, in my opinion! There are so many angles to cover on a chair; getting even coverage can be difficult and tedious. But through a couple simple techniques, painting chairs doesn't have to be so painstaking!

I hope this video, and the ones that follow, are helpful and easy to follow. Please, please, please send feedback!!! I'd love to know how I can improve my tutorials. And I also want to hear what you'd like to see! If there's a specific area of refinishing that you'd like to get some visual guidance with, (or even a specific type of piece you'd like to watch getting painted), let me know! Following this video I have one coming up for waxing a chair, (and it's much shorter).

Thank you for stopping by!

~Chelsea

This post was published under Chelsea's Garage, now affectionately known as StyleMutt.

Mid-century vanity

Hi friends and happy Friday! I've got a couple of items I'm so excited to share with you today, but first things first...

My youngest, Mason. He's three, free and wild at heart. This view, when I ducked out to call my kids in for lunch yesterday, absolutely made - my - day. Afterall, why have kids if not for a few laughs now and then?! :)

Moving on, (to more appealing things - I hope). A few weeks ago I posted this photo from the thrift store on Instagram and Facebook, unsure whether to purchase or not. 

This mid-century era vanity was in fabulous condition, but it's matching mirror was no where to be found and the whole thing looked a little 'Jetsons' to me. But it was so intriguing I ended up sitting on it, literally, for about 10 minutes. Thanks to those who happened to be on Instagram and Facebook at that moment  and encouraging the purchase, I brought it home with no reservations!

The first step in this makeover was finding out what was underneath the stain. The stain on the drawers, especially, was showing a little wear, so I just took my sander and removed the stain in about 15 minutes using 100 grit sandpaper.

How awesome is that wood grain! And so much easier to see without the orange-y stain!!

Then I painted the entire body of the piece in Old White by Annie Sloan Chalk Paint, and sprayed the hardware gold. 

All spiffed up and new again!

The piece does happen to have a matching seat, which would be easy to recover.

$295, (bench included)
SOLD

Enjoy a wonderful weekend, friends. Thank you so much for stopping by!

~Chelsea

This post was published under Chelsea's Garage, now affectionately known as StyleMutt.