Rustic DIY photo holder {hint, Father's Day is Sunday!}

Hi friends! I had another post ready for today but am cutting the line-up with this last minute DIY gift idea for Father's Day! So sorry it's this late; I didn't think of it until yesterday! This project is one you could certainly keep in your back pocket year round, (think Christmas gifts, hostess gift, birthday gift, just because)!

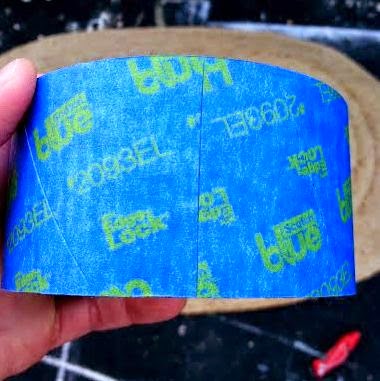
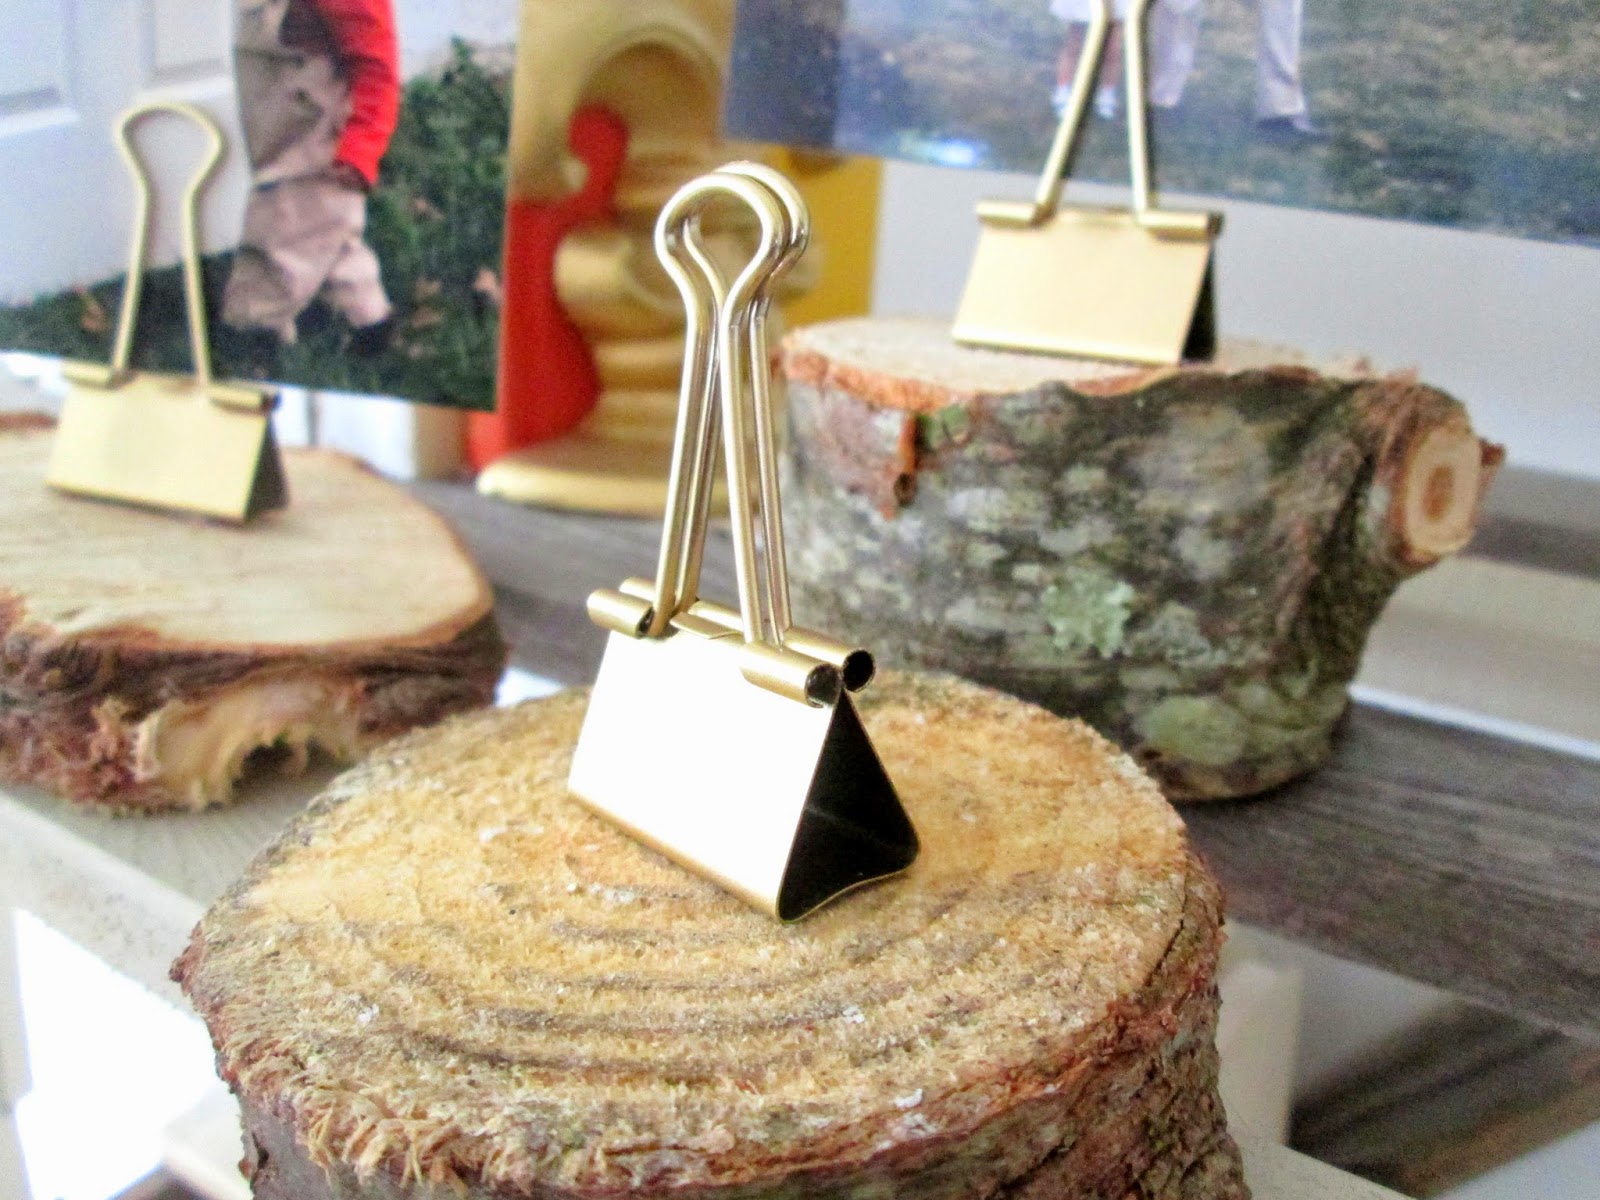
The idea blossomed as I was reorganizing the garage after last Saturday's garage sale, and I uncovered a handful of these tree stump disks that I used as votive candle pillars over Christmas. They're just so interesting; I knew there would be some way  to use them again. Given the small amount of space they take up, I thought they'd make perfect photo holders for a desk, bookshelf, or dresser!

Supplies:
-tree stump disks, (you could even turn over a small bowl or glass!)
-paper clips
-gold spray paint
-hot glue

How-to:

-Spray paint the paper clips and let dry -Hot glue the bottom of the paper clips and stick onto whatever surface you're using as your base -Stick photo between the metal arms of the paper clip -DONE!

Given my late timing on this project and the fact that tree stump disks are a little hard to come by in June, (seriously, Chelsea, get with the program!), this would be a super project to pin and remember for the holiday season! These shaved tree stumps are free and found in plenty anywhere Christmas trees are being sold. Remind me to re-post in about 6 months, will you? :)

Have a wonderful weekend, all, and enjoy celebrating the loving, admirable men in your life. Happy Father's day!

~Chelsea

This post was published under Chelsea's Garage, now affectionately known as StyleMutt.

DIY painted rug tutorial #2

Hi guys! Stopping by today to share another painted rug tutorial that I tried recently, (see the first here). To be honest, I wasn't sure how in the world this would turn out, but I'm crazy about the final product!

What you need:
--A natural rug, (braided, jute)
-Scotch Blue Edge Lock 3M tape, (#2093EL)
--Box cutter
--1 can of spray paint, flat finish

1. Lay your rug on a flat surface

2. Use your box cutter to carve deep cuts into your tape.  These are the pieces you'll peel off and stick on your rug.

3. Peel your carved tape pieces off the roll and stick them randomly on rug.

4. Stop to receive the most beautiful weeds in the world picked just for you by a sweet little boy (optional)

5. Shake can of spray paint for about 20 seconds and spray entire rug, holding can ~12" away

Let dry and bring inside!

You don't HAVE to use spray paint for this project, but what I love about spray paint for stuff like this is that it's already watered down for you, and already in spray form. The reason this rug works, aside from the fact that I love the print, is that it's not sticky or stiff in the least. Since the black spray paint is already diluted in the can it sort of seeps into the fibers of the rug rather than settling on top, as straight up paint would. SO, if you prefer to use regular, undiluted paint from a can, you'll need to transfer a portion of it to another sealed container where you can dilute it with water. Then just brush it on a few times over. If you happen to try this out please send a pic of your masterpiece! I always love seeing your own twists on ideas and how you incorporate them in your home.

Thank you for stopping by!

~Chelsea

This post was published under Chelsea's Garage, now affectionately known as StyleMutt.

Sale recap!

The 5th Chelsea's Garage sale this past Saturday couldn't possibly have fallen on a more beautiful day!

Cate and I squeezed in this shot together right before the day got rolling. She managed to look effortlessly fresh and beautiful throughout the entire ordeal. I was already sweating at this point. Like a guy.

Luckily, I went through and snapped some pictures of the garage the day before, because once we opened the door, it was game on! As with the previous sales, there were guests waiting at the front of the house an hour early, (hence, my sweating).

Here's a little tour around the 'shop', as it looked on Saturday:

My favorite part of the day, and really, the whole reason I host these garage sales every now and then, was getting to meet and mingle with the friendly faces who came out. Some old friends, some brand new. This was one of our younger guests, practicing excellent patience while his Mommy and Daddy looked around. So, so sweet. :)

We've said goodbye to a hefty handful of pieces since opening the garage door last Saturday morning, but there are still some beautiful pieces left waiting for a new home! Please check both of the Available for Sale links on the right hand side under, 'New? The fun starts here!'. Those pages will be updated frequently as new pieces become available and old pieces go, so check back often! And of course, custom orders are always an option if you have a piece of your own that you'd like to refresh!

Coming up tomorrow and Friday I've got a brand new DIY rug tutorial, as well as an amazing online retail shop selling gorgeous handmade items, (for home, little ones and you), for a great cause. You're gonna love it; I can't get enough!

Thank you all for stopping by!

~Chelsea

This post was published under Chelsea's Garage, now affectionately known as StyleMutt.