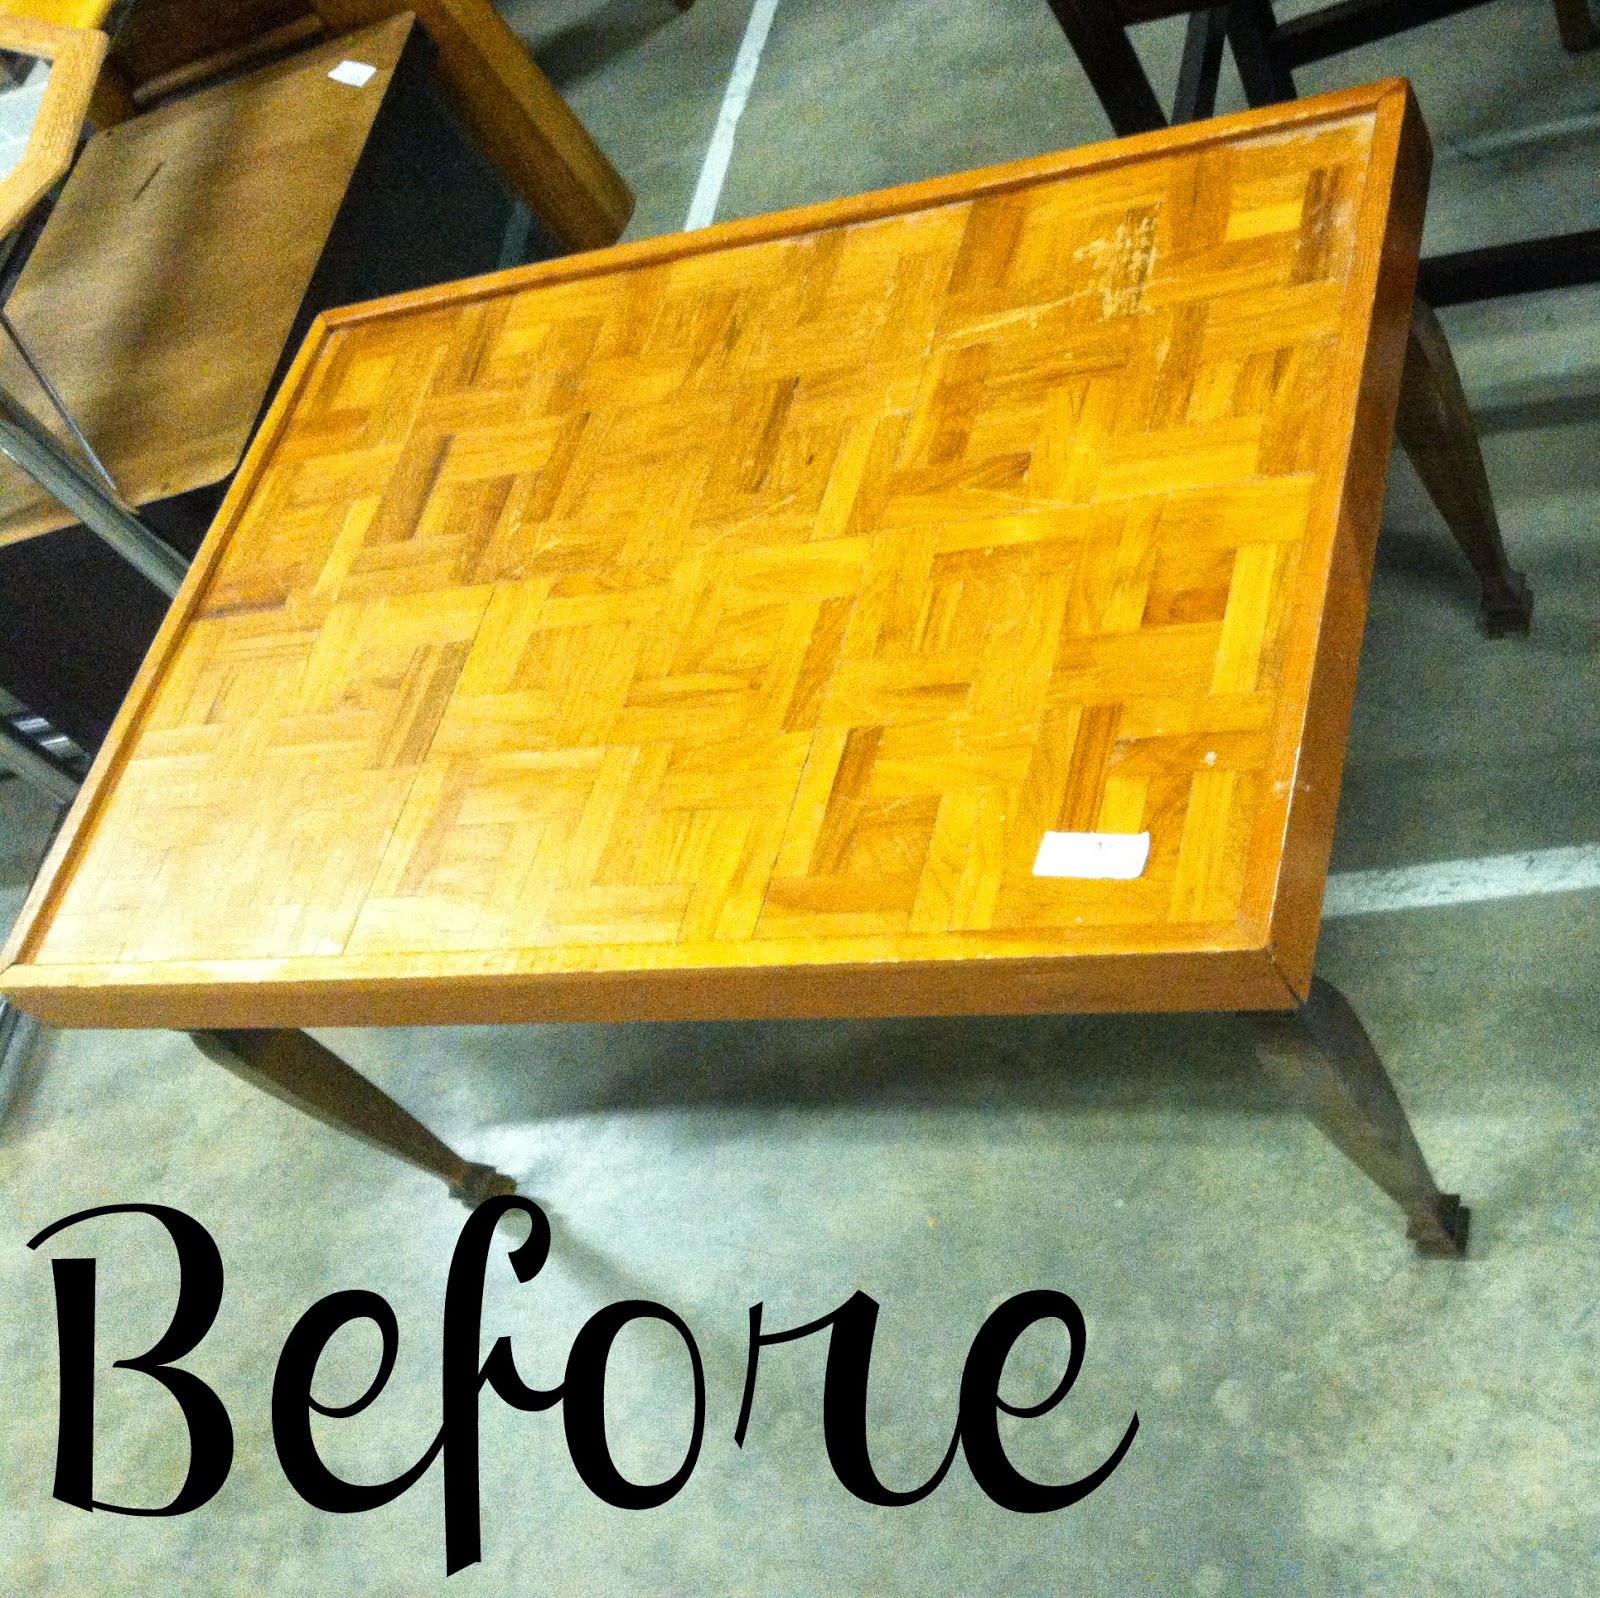
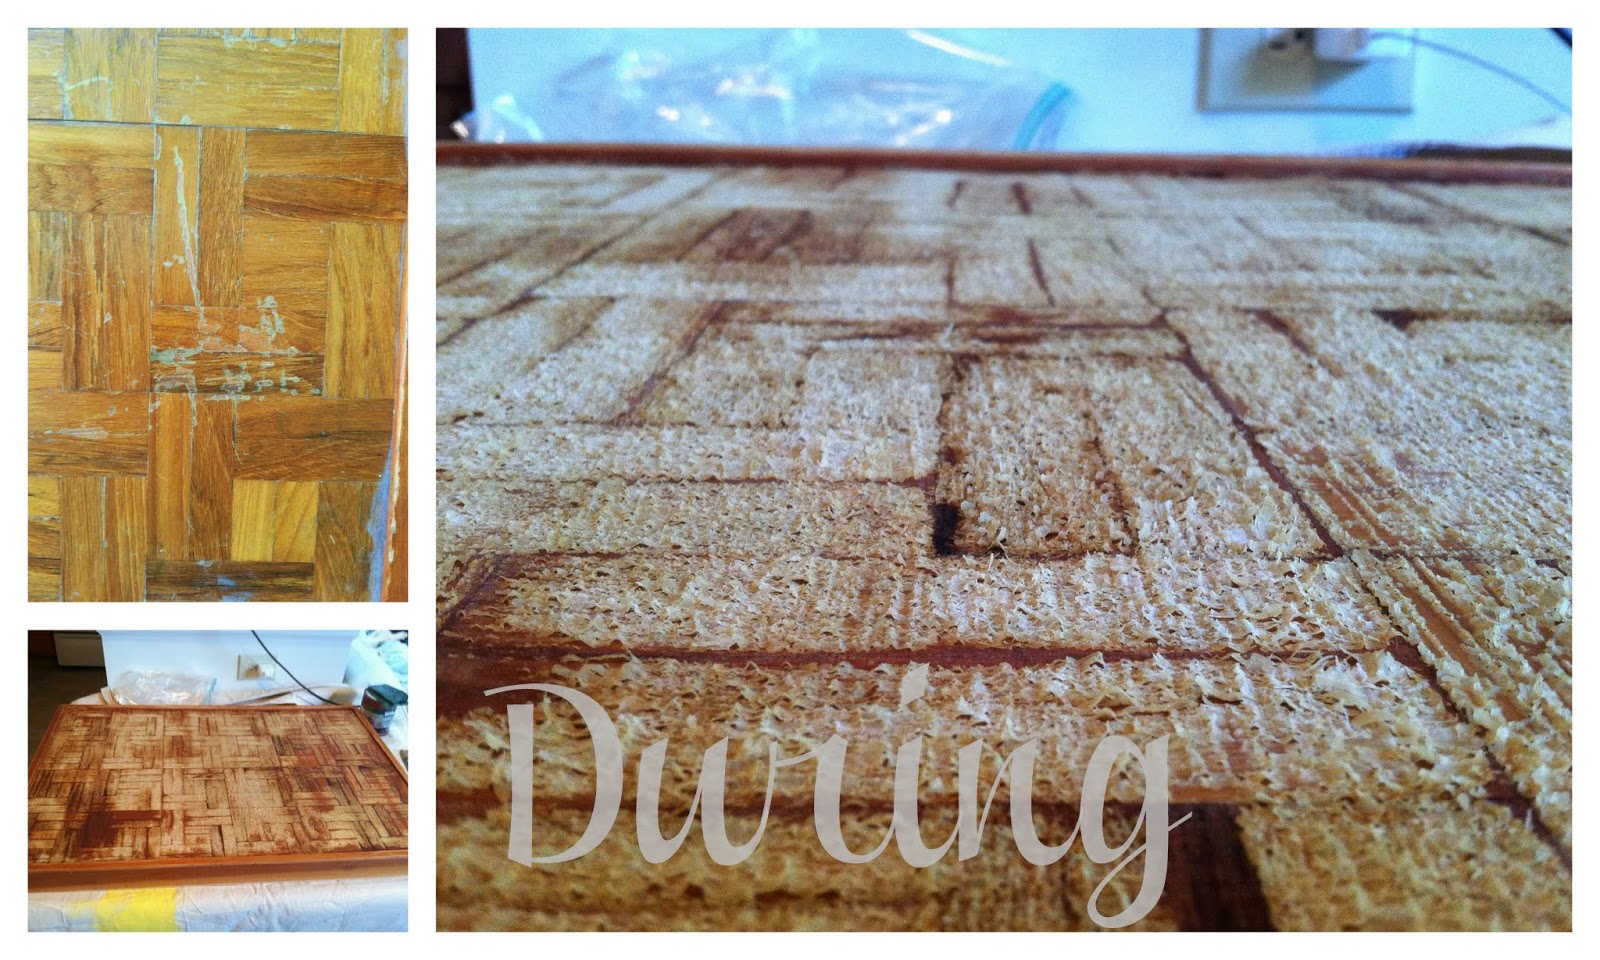
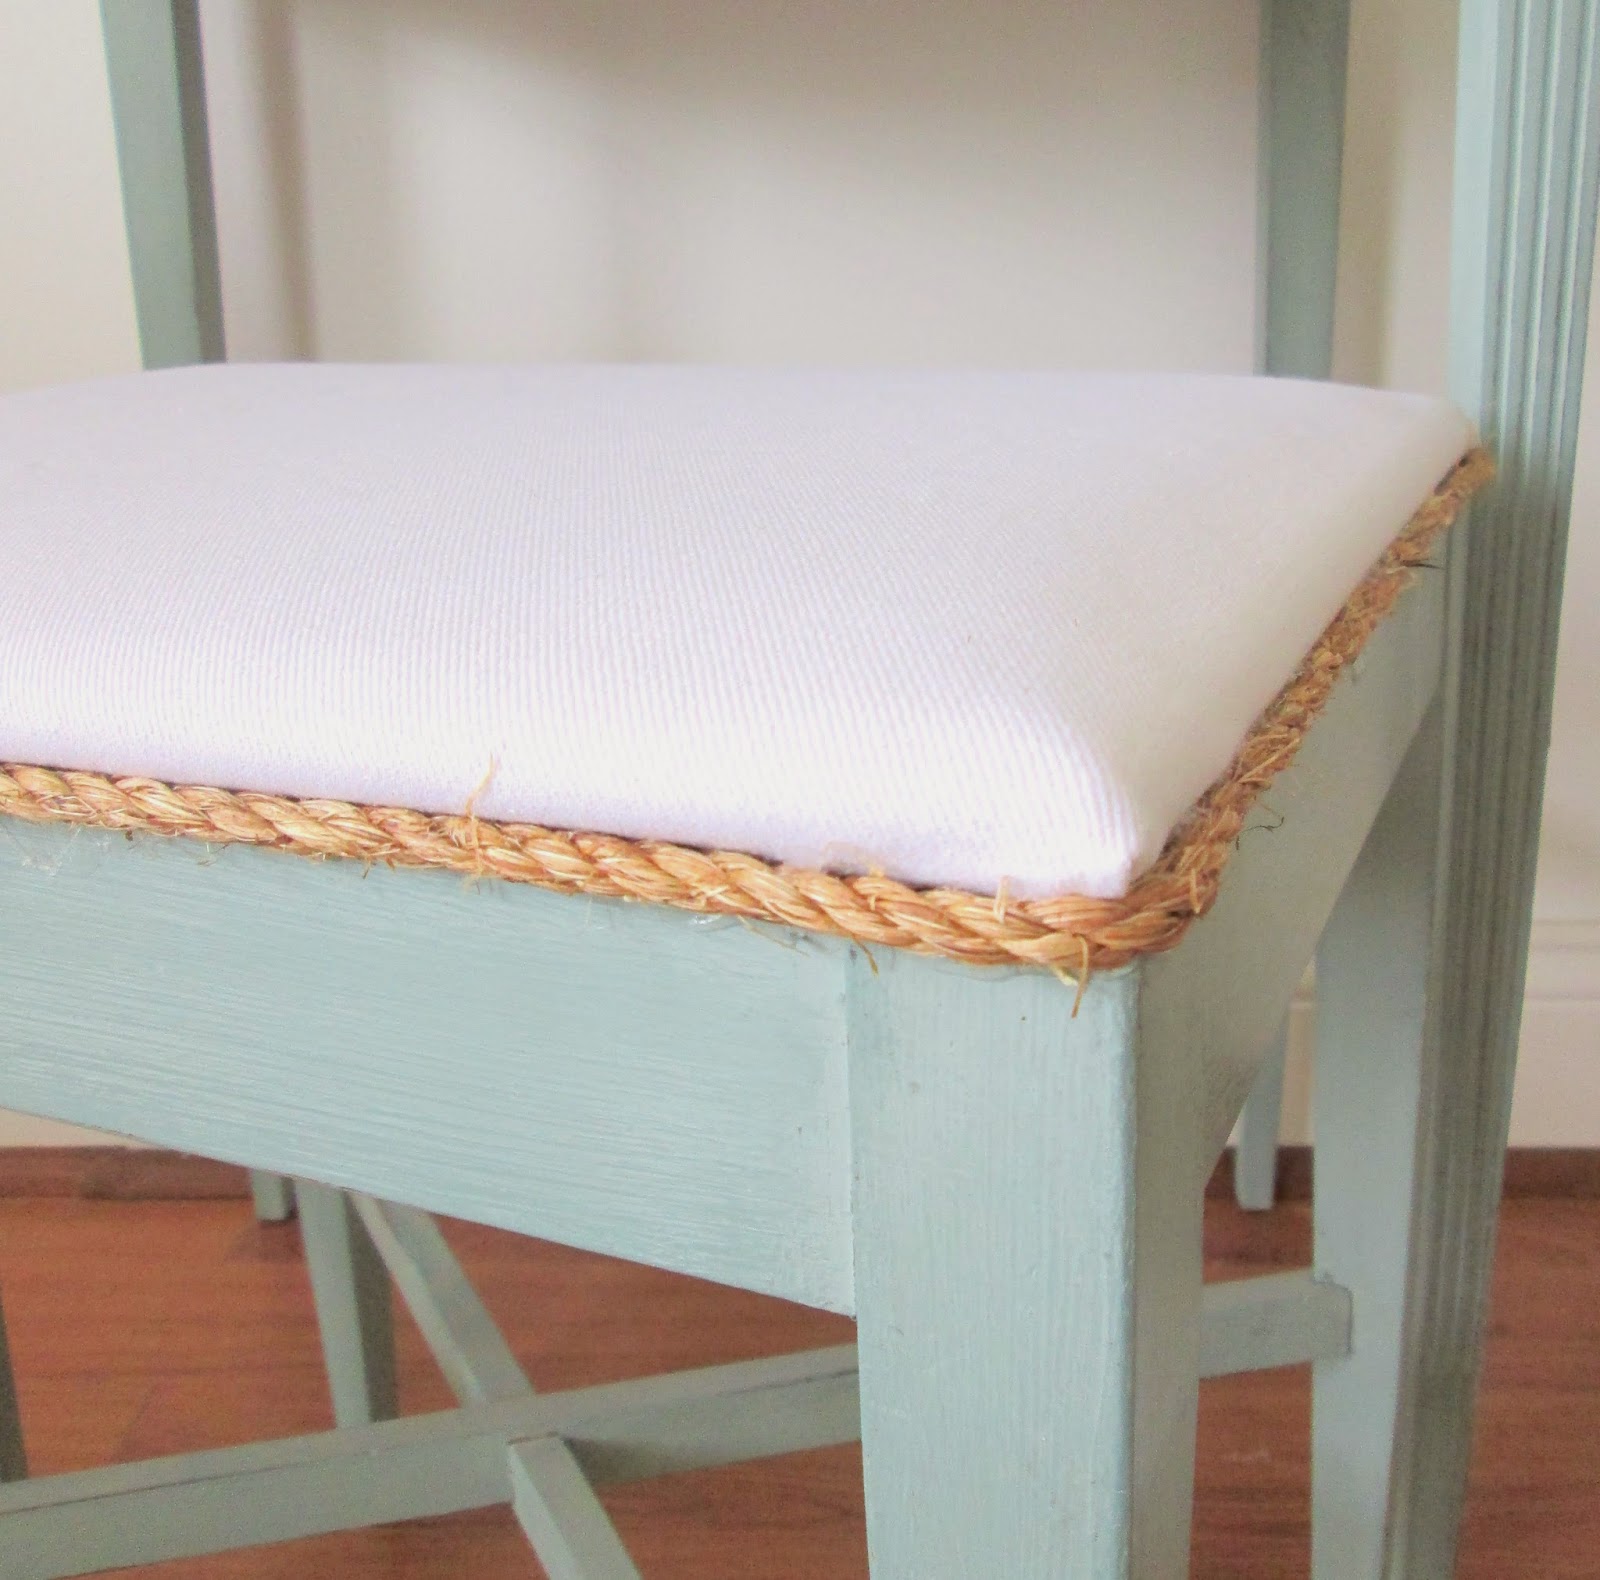
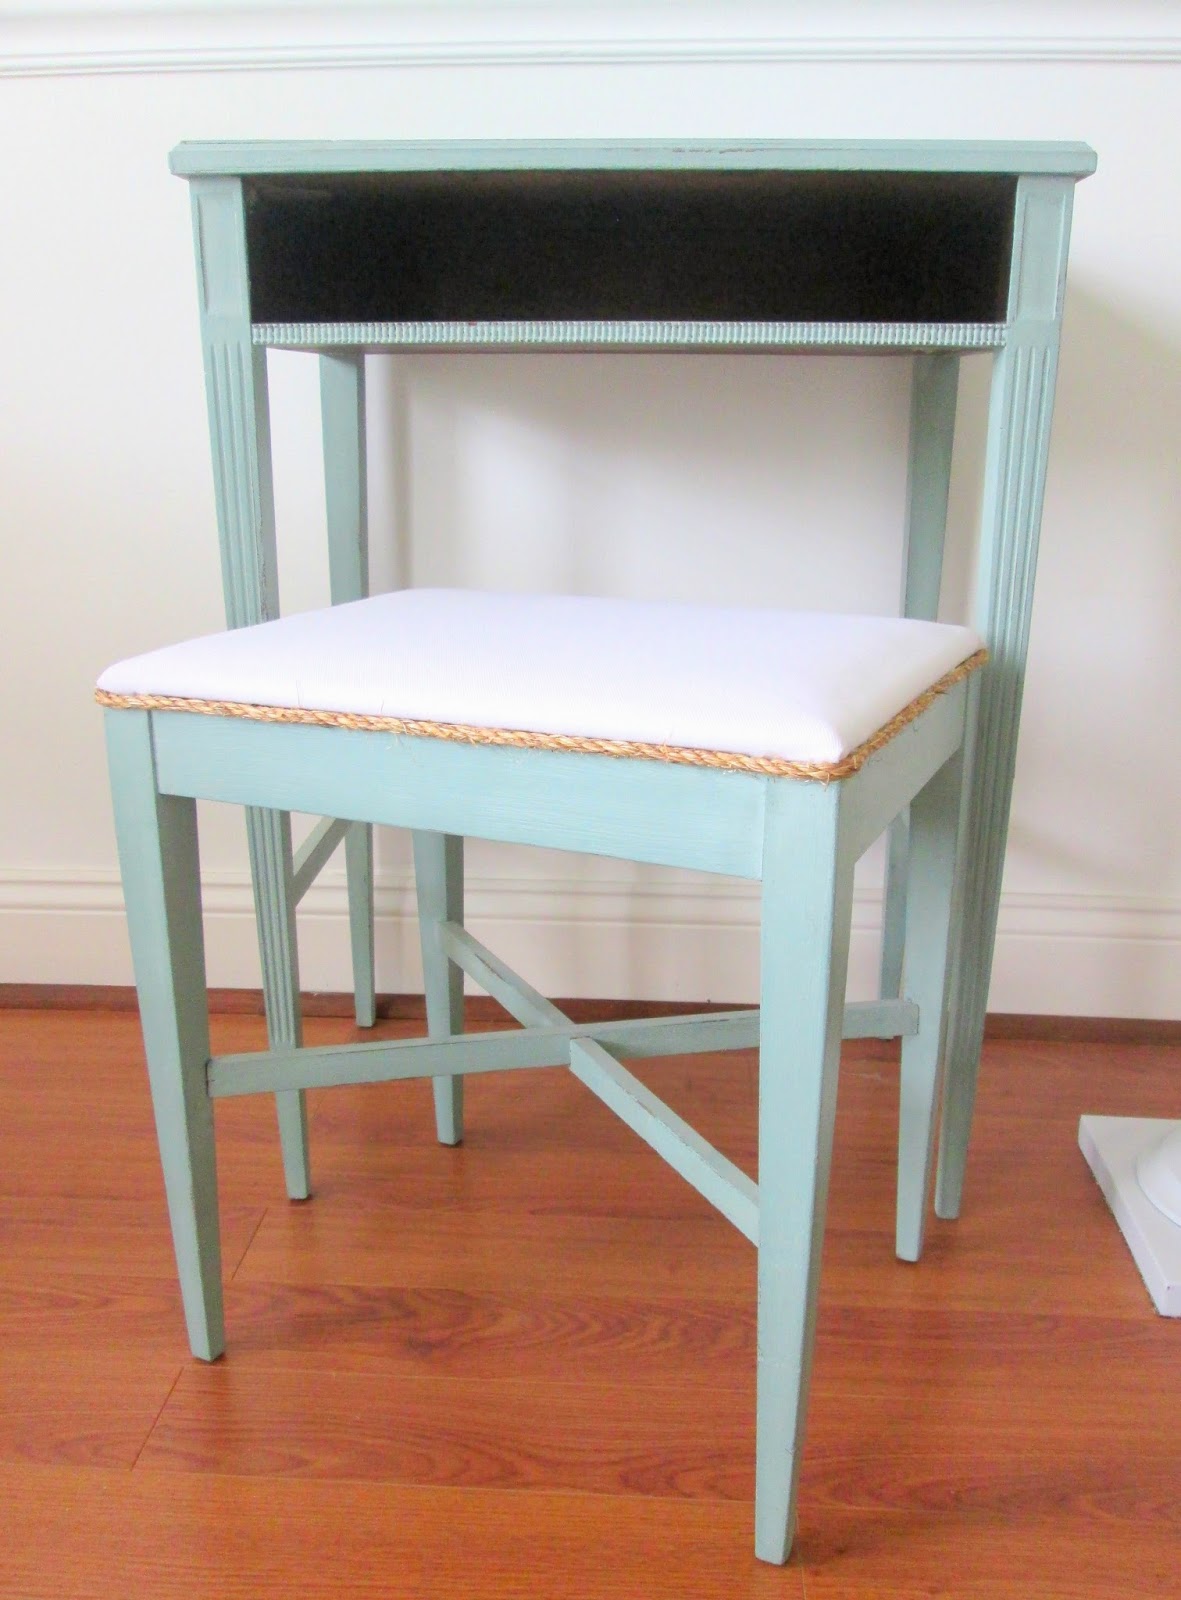
Hi friends! The topic for this post hit me hard the other day when I was staring at these two pieces, (both for the sale on June 7!), pondering how to refinish them.


Even those pieces which I intend to refinish and sell typically have a clear direction in plan from the moment I see them. It's either, "Oh yes. This will be a stunner in French Linen!" or "Spring Mint. Hands down." But every once in a while I'm as torn as trying to decide on which Ben & Jerry's masterpiece to bring home from 7-Eleven, (we've all been there; I'm not ashamed).
And I know a lot of you have had this predicament as well. I get this question weekly: What color? Whether it's your great-Aunt Nillie's curio cabinet or a worthless dresser you found for nothing at a yard sale, you face a big decision if you intend to have the piece refinished or refinish it yourself.
What color???

Source: shopstylesociety.com
For anyone out there asking that question right now, or perhaps in the near future, here are a few tips off the top of my head that may ease your decision making process. Here we go, in no particular order:
1. Take some good photos of your space
and spend a bit of time looking over them. I think we see our rooms differently through pictures than in the day-to-day passings from room to room. The question of what color to paint a piece should start by assessing the space it will go. You may have seen a smear of Orange Sky by Benjamin Moore in House Beautiful and think it's a lovely shade of yellow, but can your space handle such a powerful color? Show your photos to a trust-worthy friend, (whose style and taste you admire), and ask their opinion. Fresh eyes are always helpful.
Source: Chelsea's Garage
Helpful tip: Chelsea's Garage is a great source for fresh eyes. Send a photo of a space you'd like advice on, (whether it's help trying to decide on a paint color for a new piece or even furniture arrangement), and we'll reply quickly with our thoughts!

Source: inthefunlane.com
2. Do a Pinterest or Google Image search of similar pieces to yours, painted.
You may just see a photo that hits you deep within and you know that's the direction you want to go with your piece. When I saw this pink table by Holly of In the Fun Lane, I knew I wanted to do something similarly fun and bright in our otherwise neutral dining room, (keep reading)!
3. Give yourself a quick psyc exam:
Do you have a history of making big, bold style choices that have affected you positively and increased your confidence in your unique taste? If yes, then go bold! You can handle it so be brave and take the leap. If you're thinking, 'not so much', that's okay! Then there's no dilemma! Go easy on yourself and choose a soft neutral that you know you'll like. There is no sense in trying to like a look that you know isn't you.
For the neutral lovers out there, here are a few of my favorite Annie Sloan Chalk Paint neutrals:
Old White, (shown below), Paris Grey, French Linen, and Country Grey.
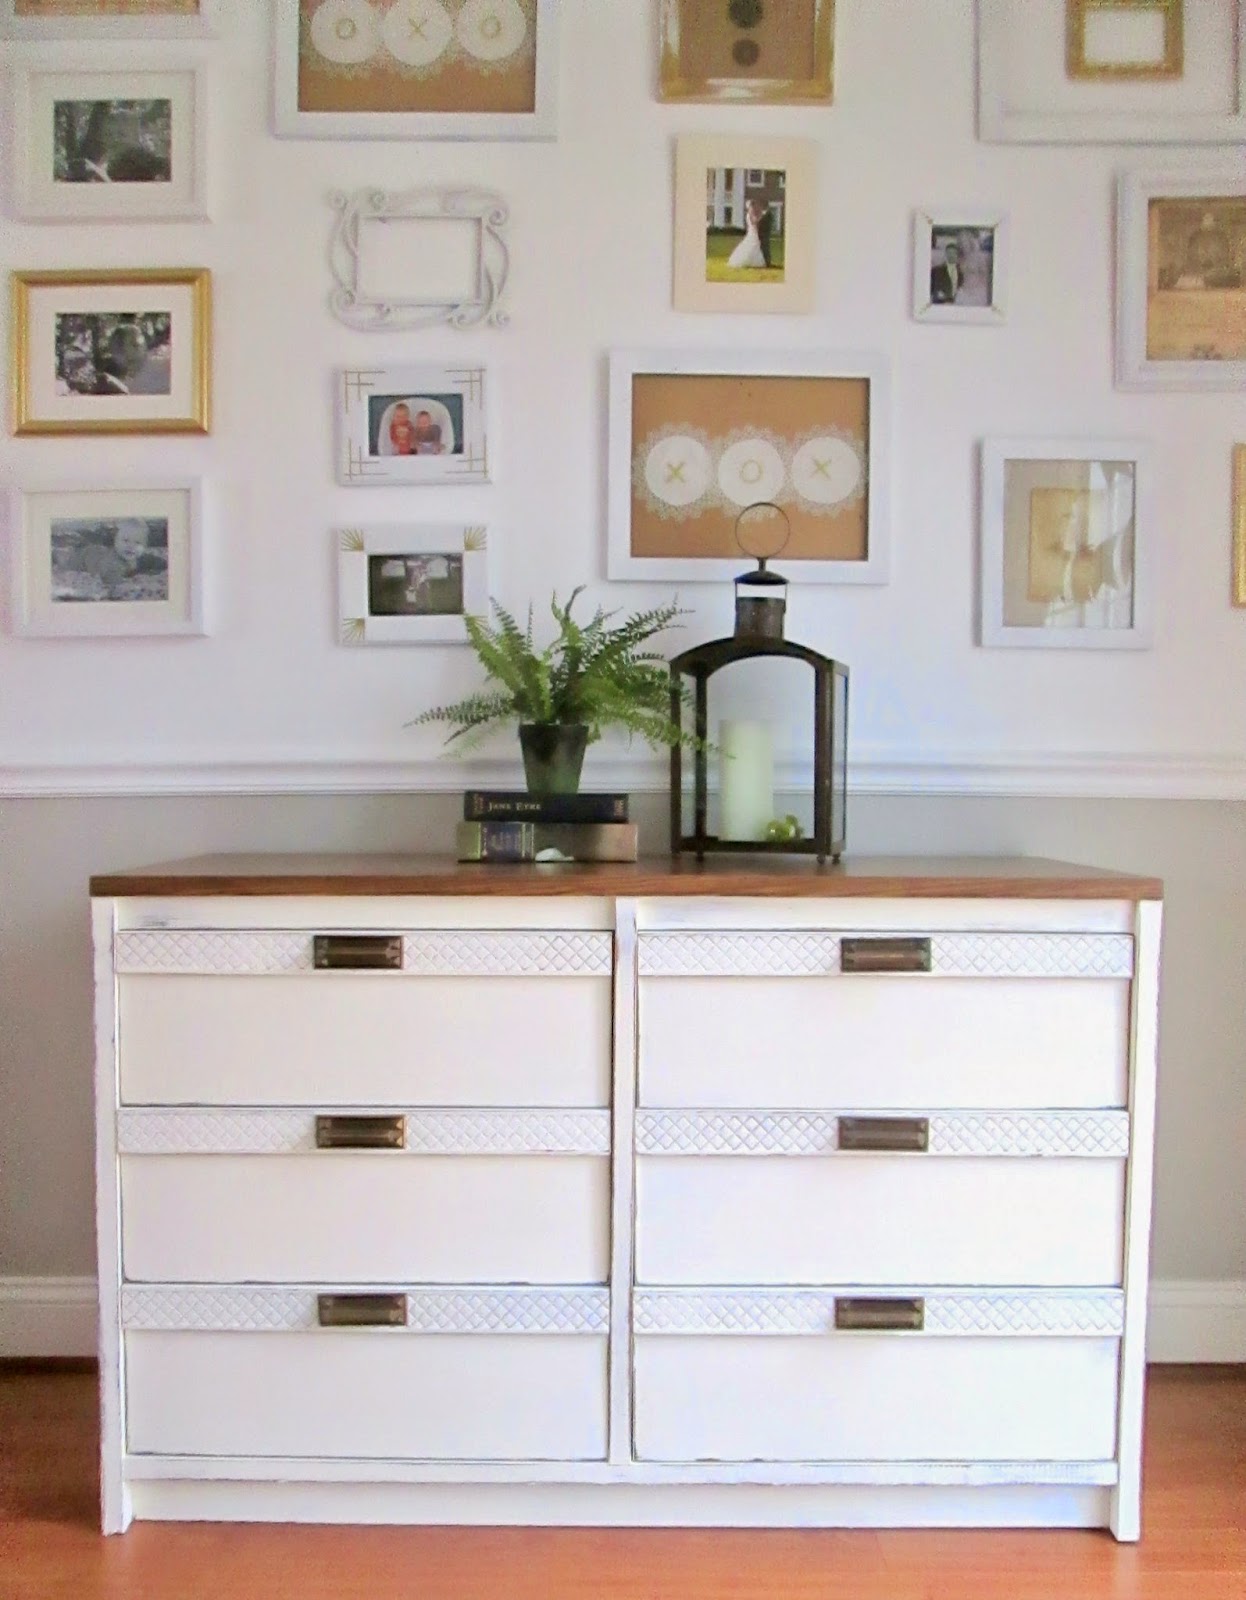
Source: Chelsea's Garage
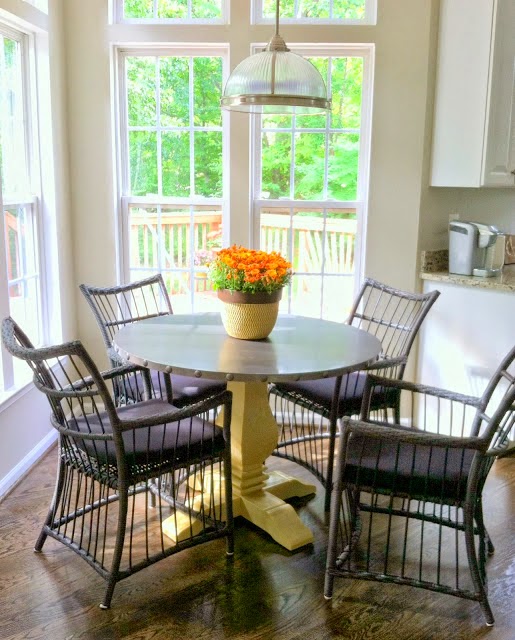
4. On the fence? Be bold and safe at the same time
with a color that works well as a neutral. When I decided I wanted to do a bright color in our otherwise neutral dining room, I chose this aqua, (Duck Egg by Annie Sloan Chalk Paint), because to me, it does work like a neutral. Colors that are very earthy and natural are like chameleons - you can slip them into just about any color scheme and make them work well.

Source: Apartment Therapy, (from our Home Tour)

Source: Chelsea's Garage
Another color that I love using as a neutral is Chateau Grey, also by ASCP. It's the color of moss; you can't miss with that!
5. Let the piece speak for itself.
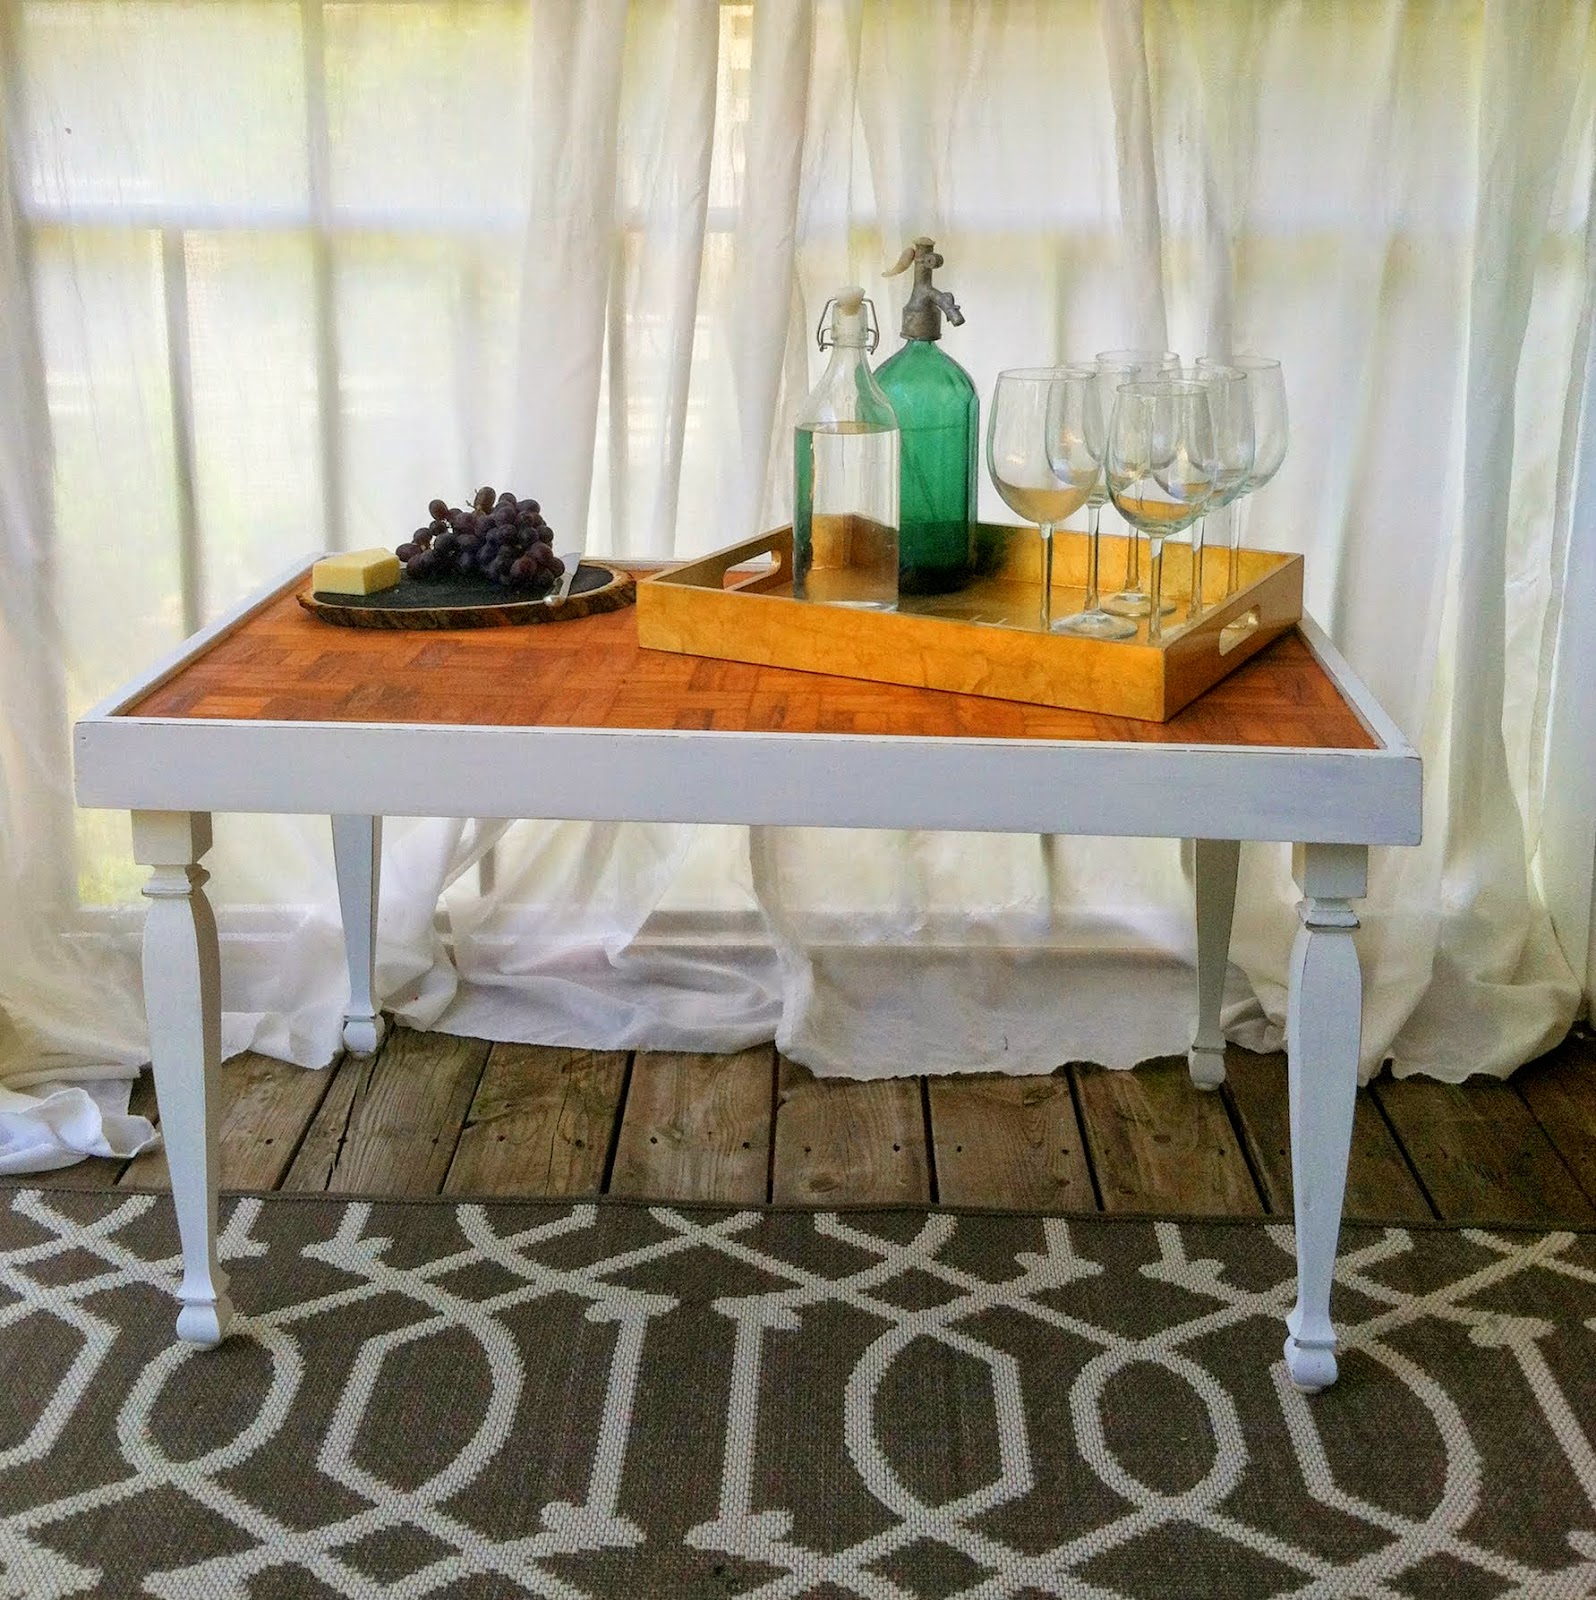
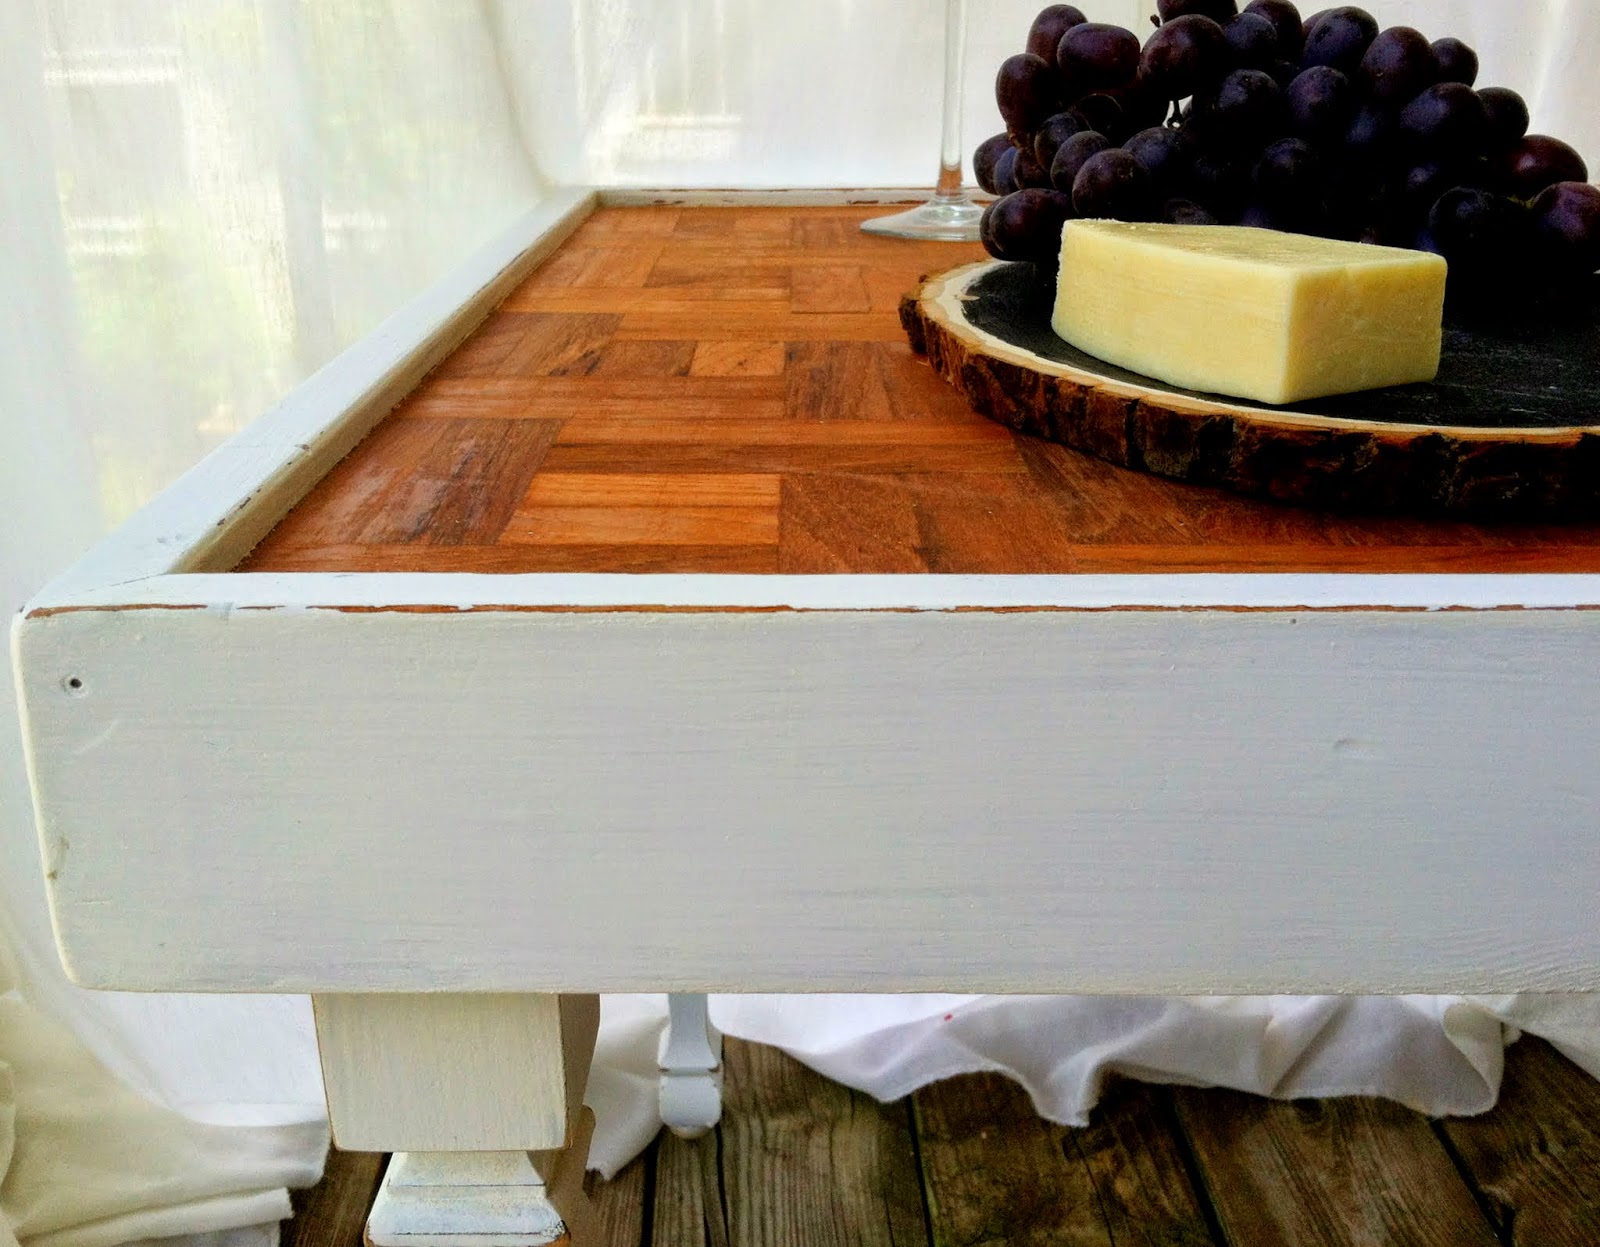
When I'm working on a true antique, I like to maintain its character by using a classic, soft neutral. This is one of the reasons I love working with Annie Sloan Chalk Paint. Annie Sloan has studied the history of color, primarily throughout Europe. If I'm going to paint over a rich piece that has stood the test of time, I like to respect the age and era it came from by using an equally rich and classic color.
Recognize this one from the first picture up top? It spoke loud and clear and I ended up using French Linen by Annie Sloan Chalk Paint.

Source: Chelsea's Garage
If you ever want some help deciding on a paint color for a piece of furniture, contact chelseasgarage@gmail.com; we're here to serve!
Thank you for stopping by!
~Chelsea
This post was published under Chelsea's Garage, now affectionately known as StyleMutt.