Roped in sisal {DIY desk and lamp}

Happy Friday, ya'll! We're workin' with rope again today! Yeehaw! I'd like to think I would have been a darn good cowgirl if, you know, I hadn't grown up in suburbia Northern Virginia. Oh, the what-ifs... (actually, I was responsible for two dozen horses by myself one weekend when I was 10 years old and working at a horse farm in exchange for riding time. The weekend wasn't a complete disaster)

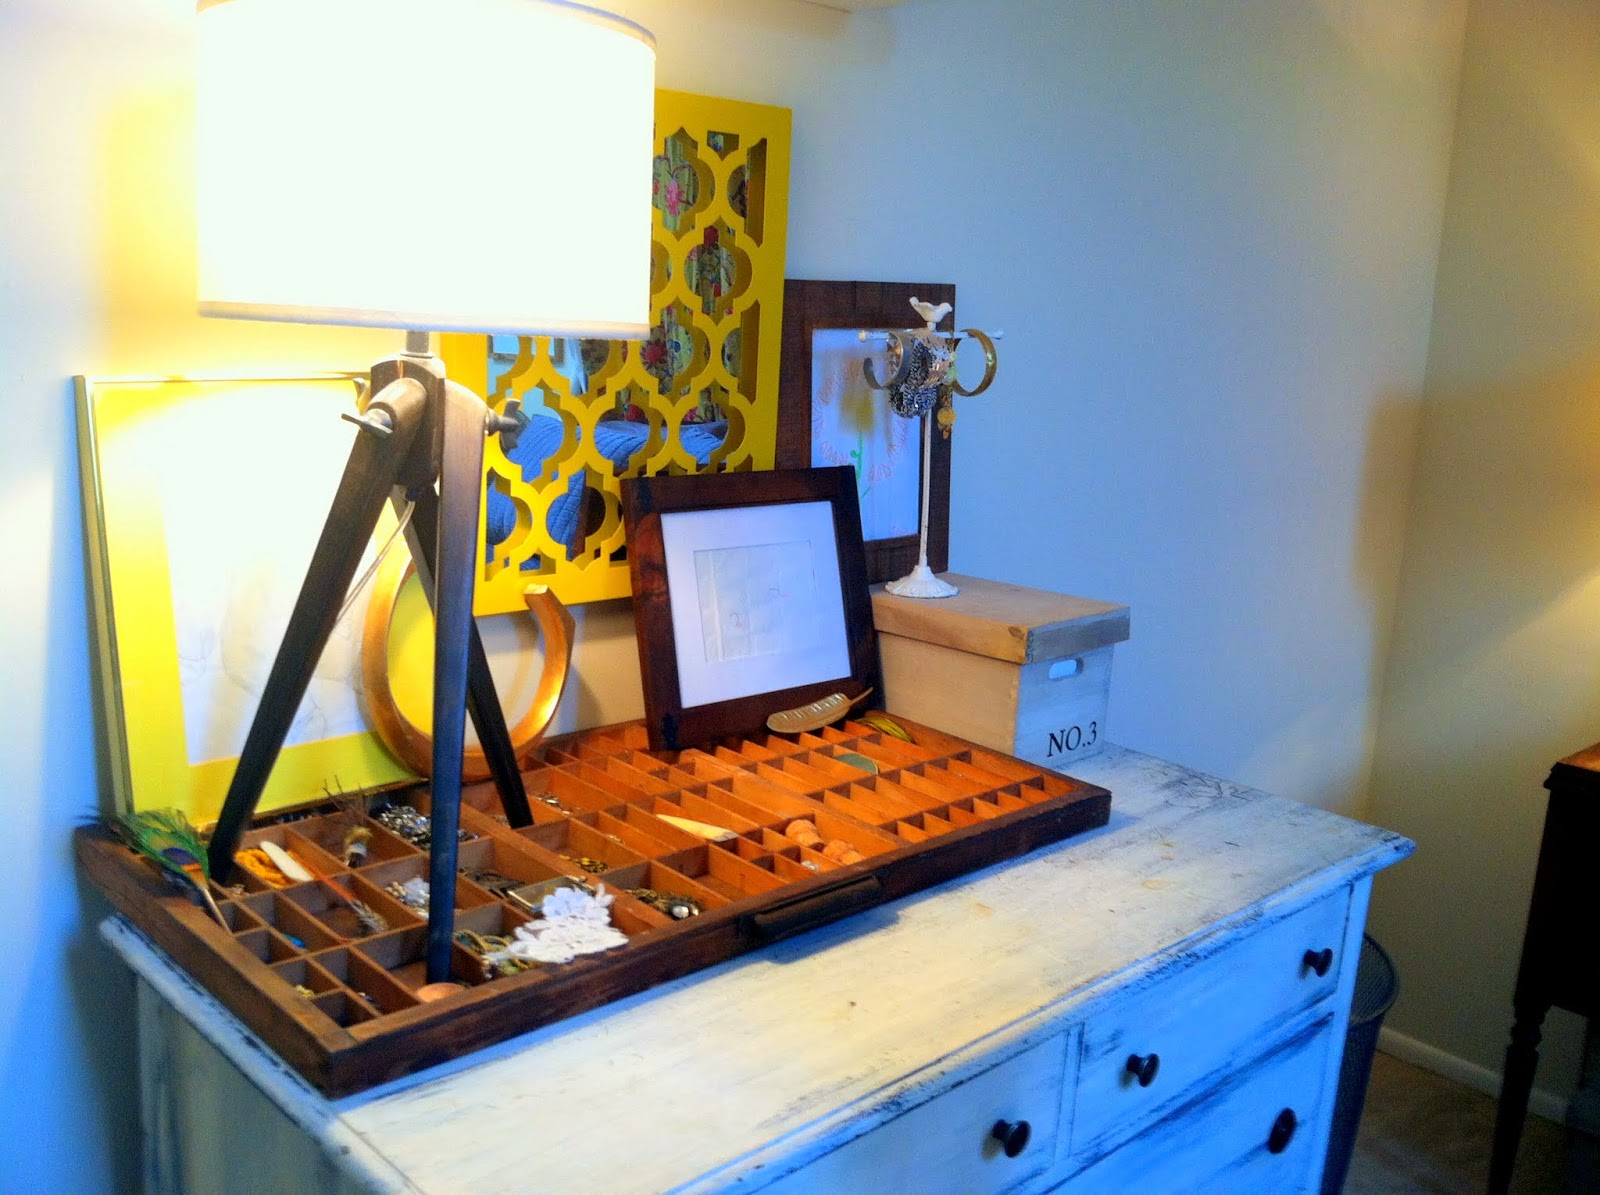
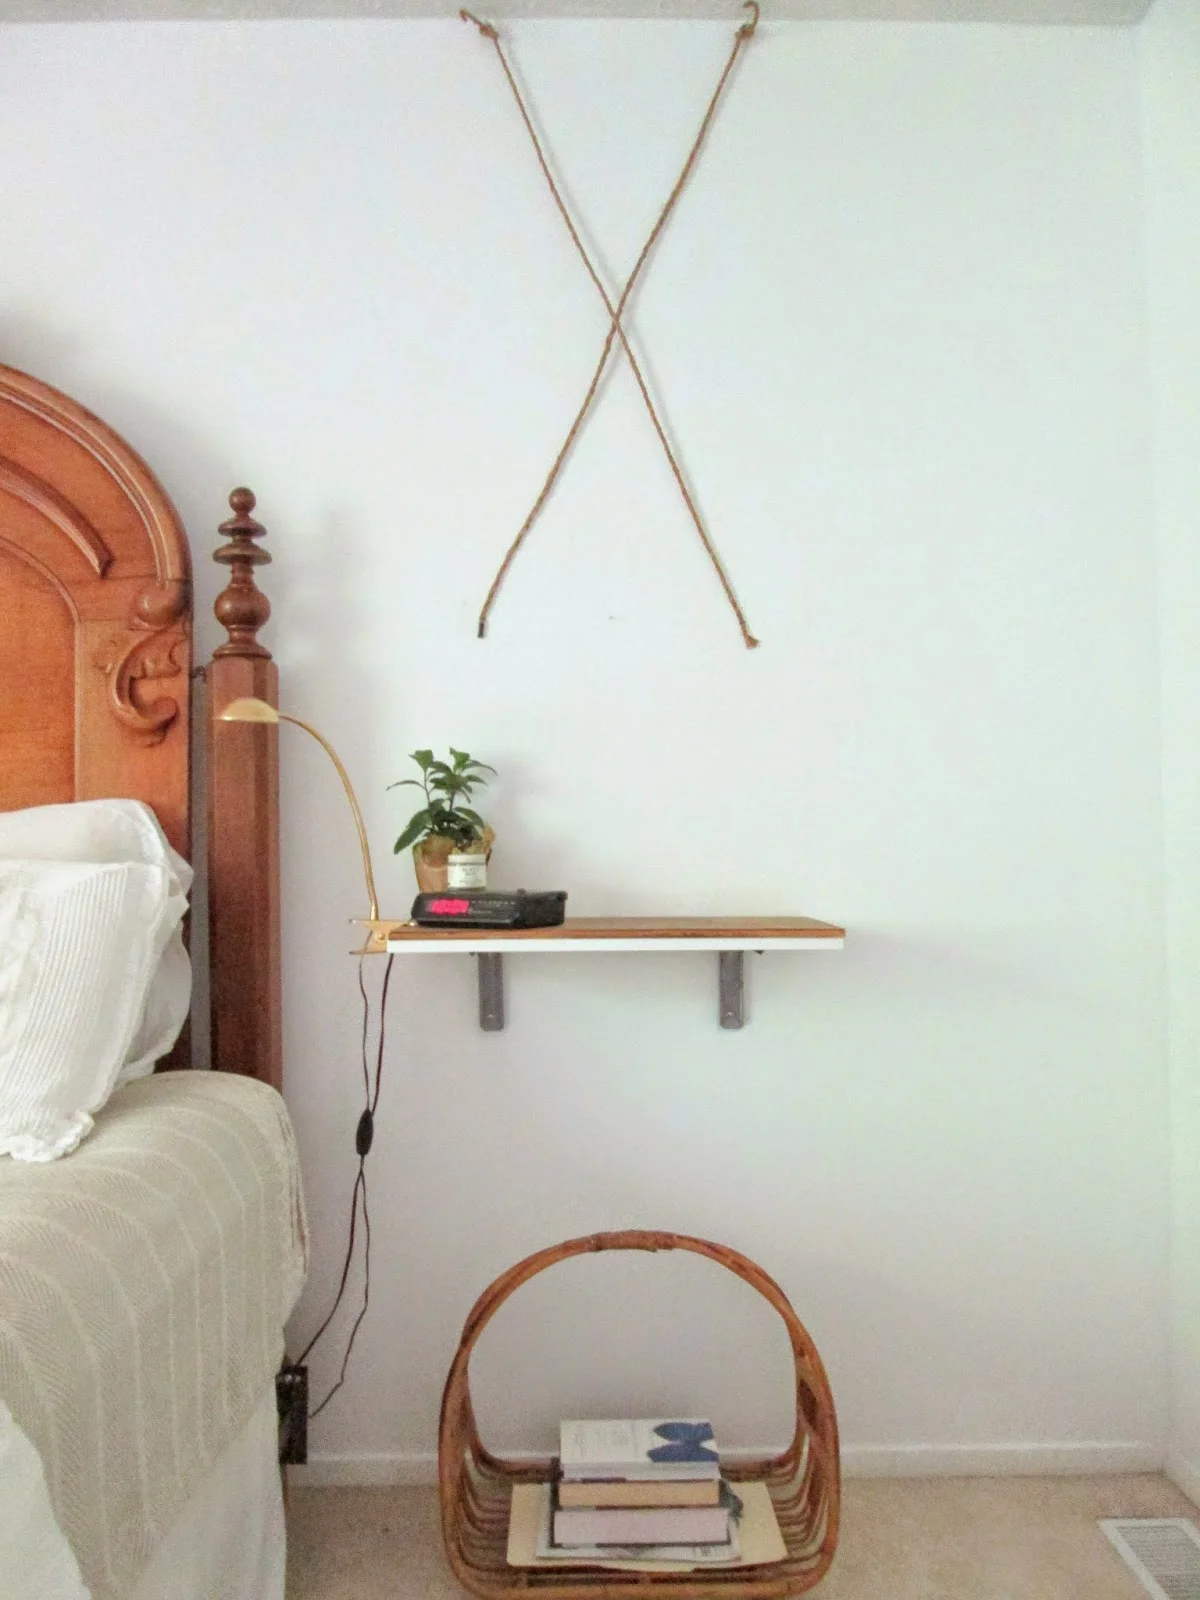
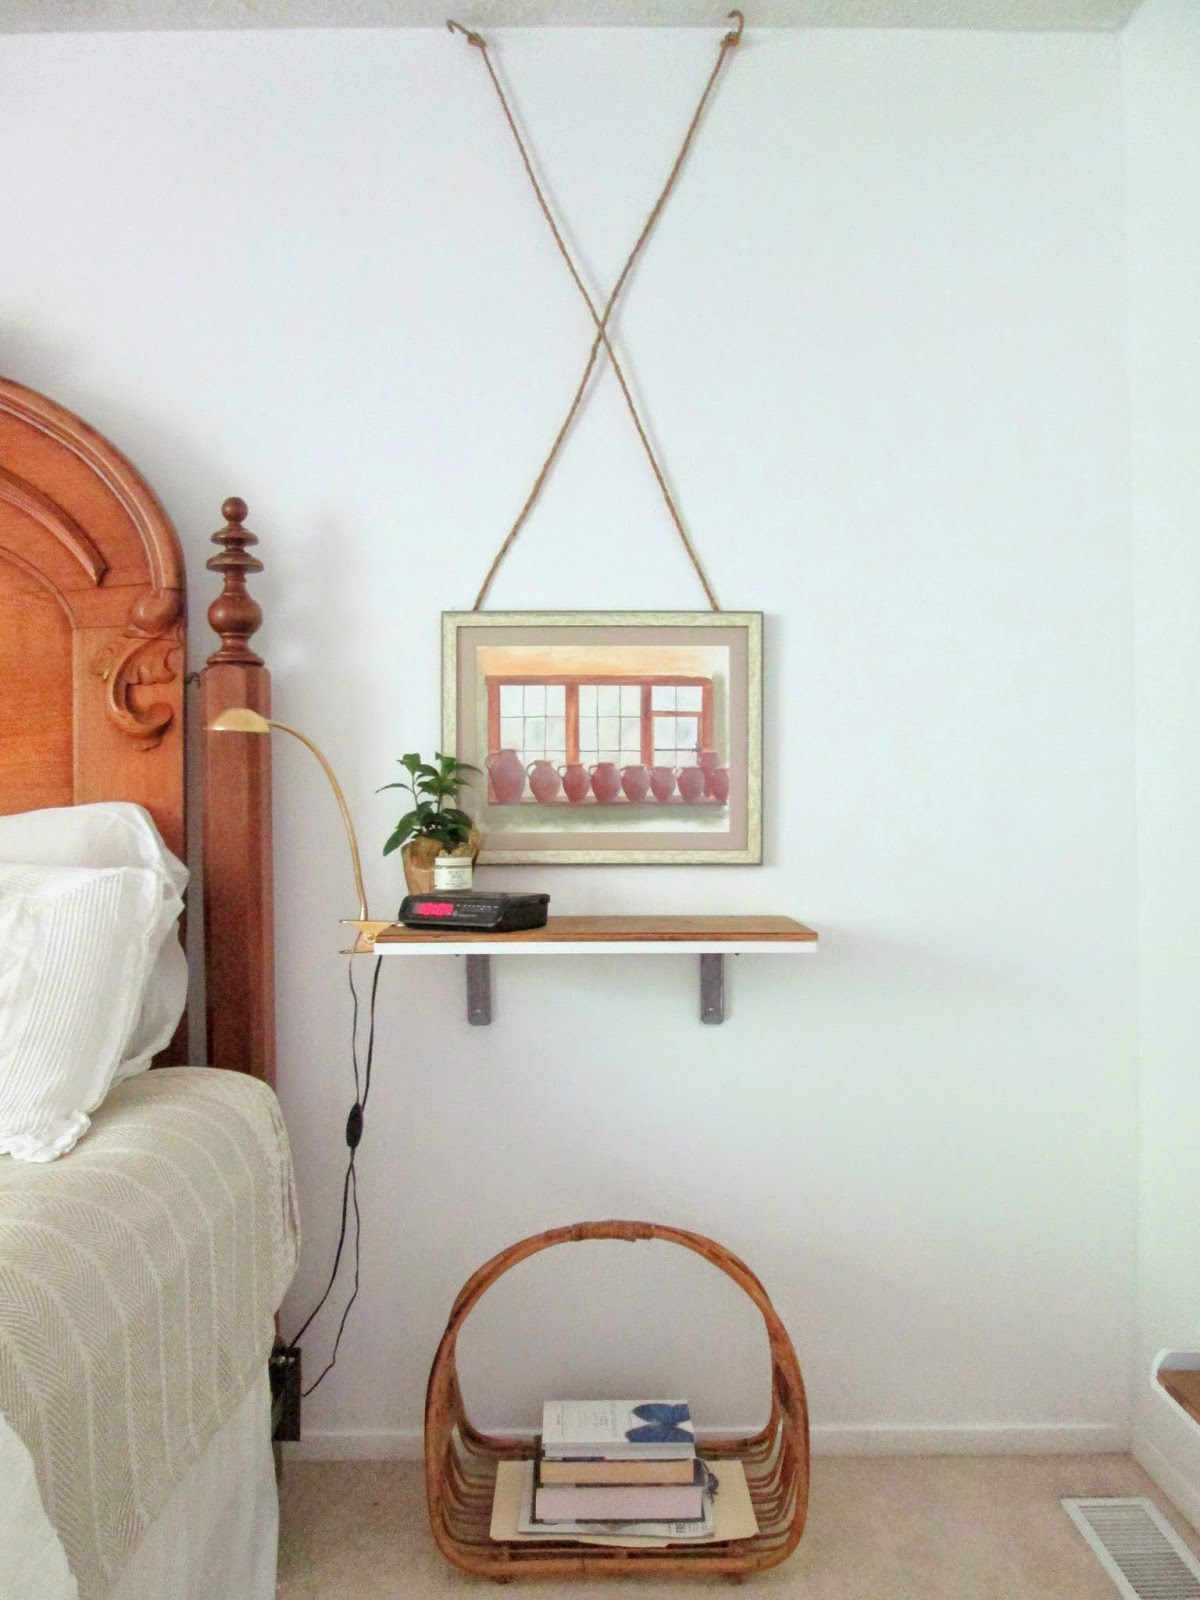
Earlier this week I shared how to hang art with sisal rope in order to add visual substance to an empty wall:

Moving onto furniture, I've got two more ideas for our handy sisal rope! 

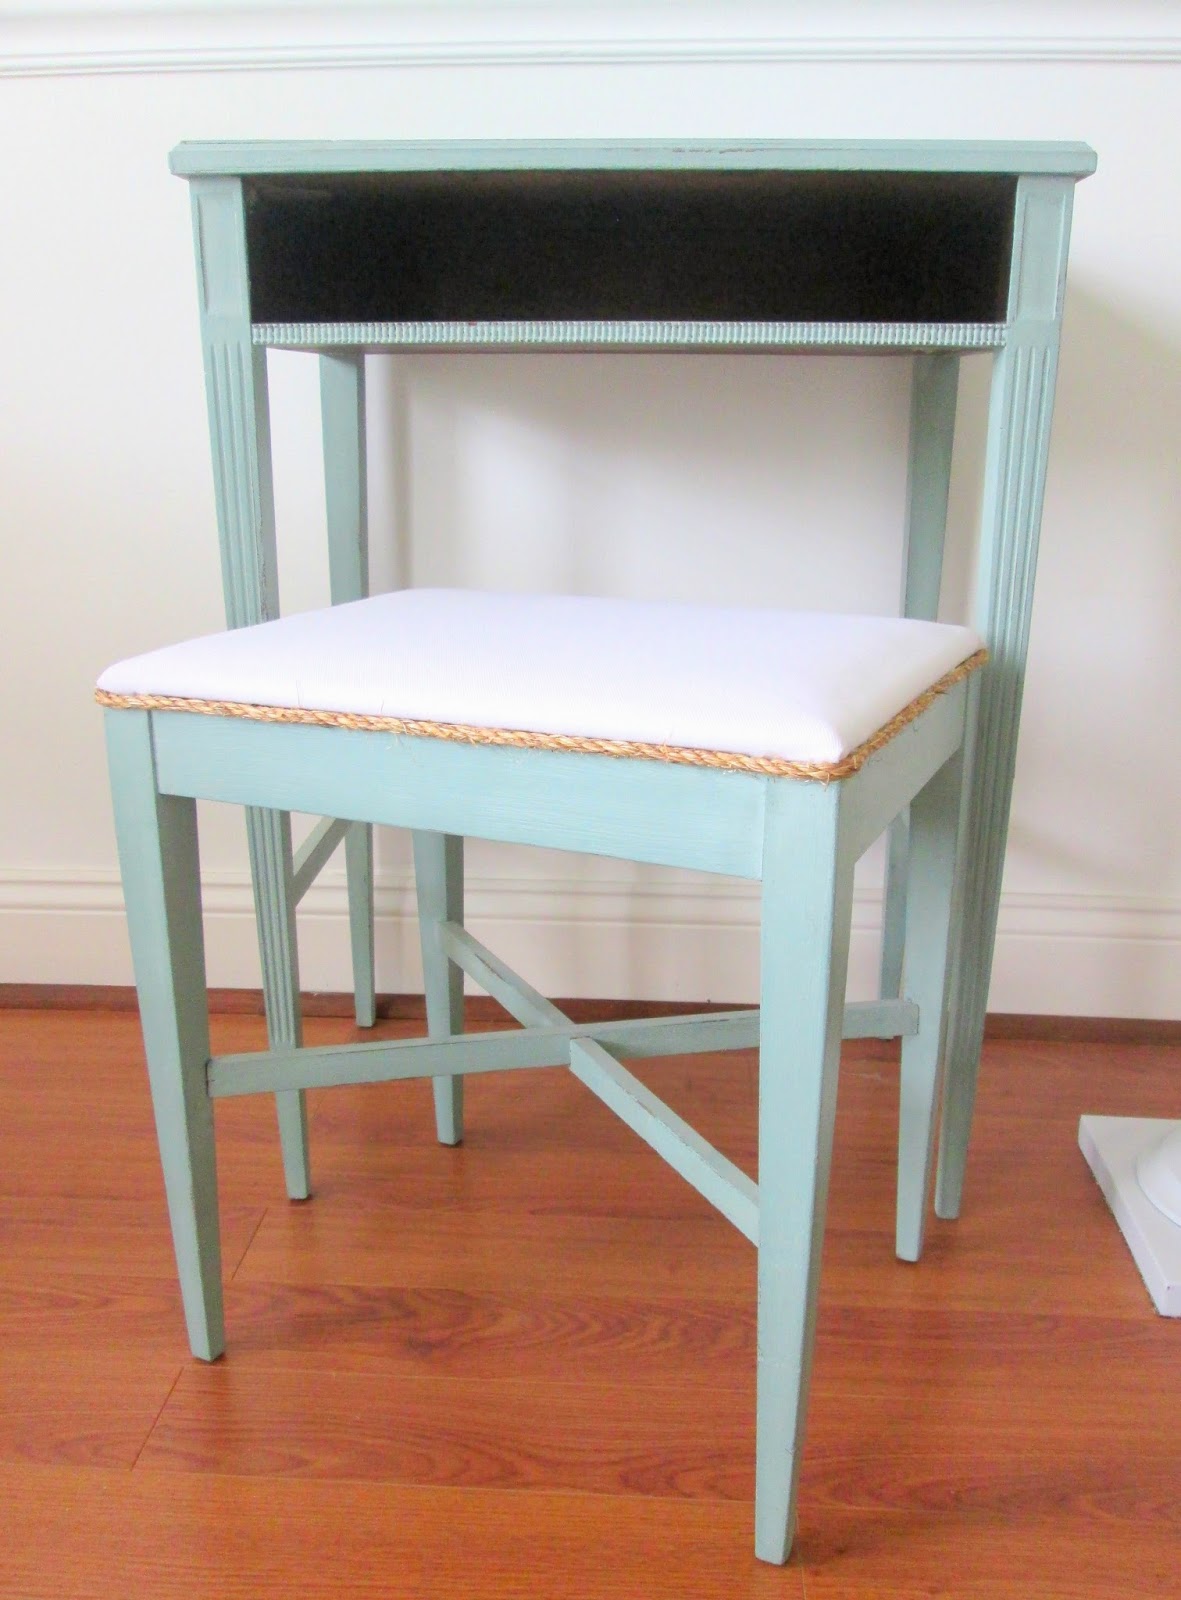
1. Trim a recovered seat:

One of the first DIYs I learned was how to recover a seat. My parents gave us an extra staple gun that they had, which is really the only tool you need. That, and a screwdriver to remove the seat cushion from underneath. Once your seat is off, you can remove the existing fabric, (though that isn't always necessary), and then place your seat top-down on the new fabric. Pull the fabric moderately tight over the edges of your seat and staple away! Once your new fabric is attached and you've trimmed off any longer edges and ends, you can screw the seat back on. This is where I wash my hands and call it a day since I don't know the first thing about making or attaching piping cord. Depending on your seat, sisal rope might be the perfect answer!

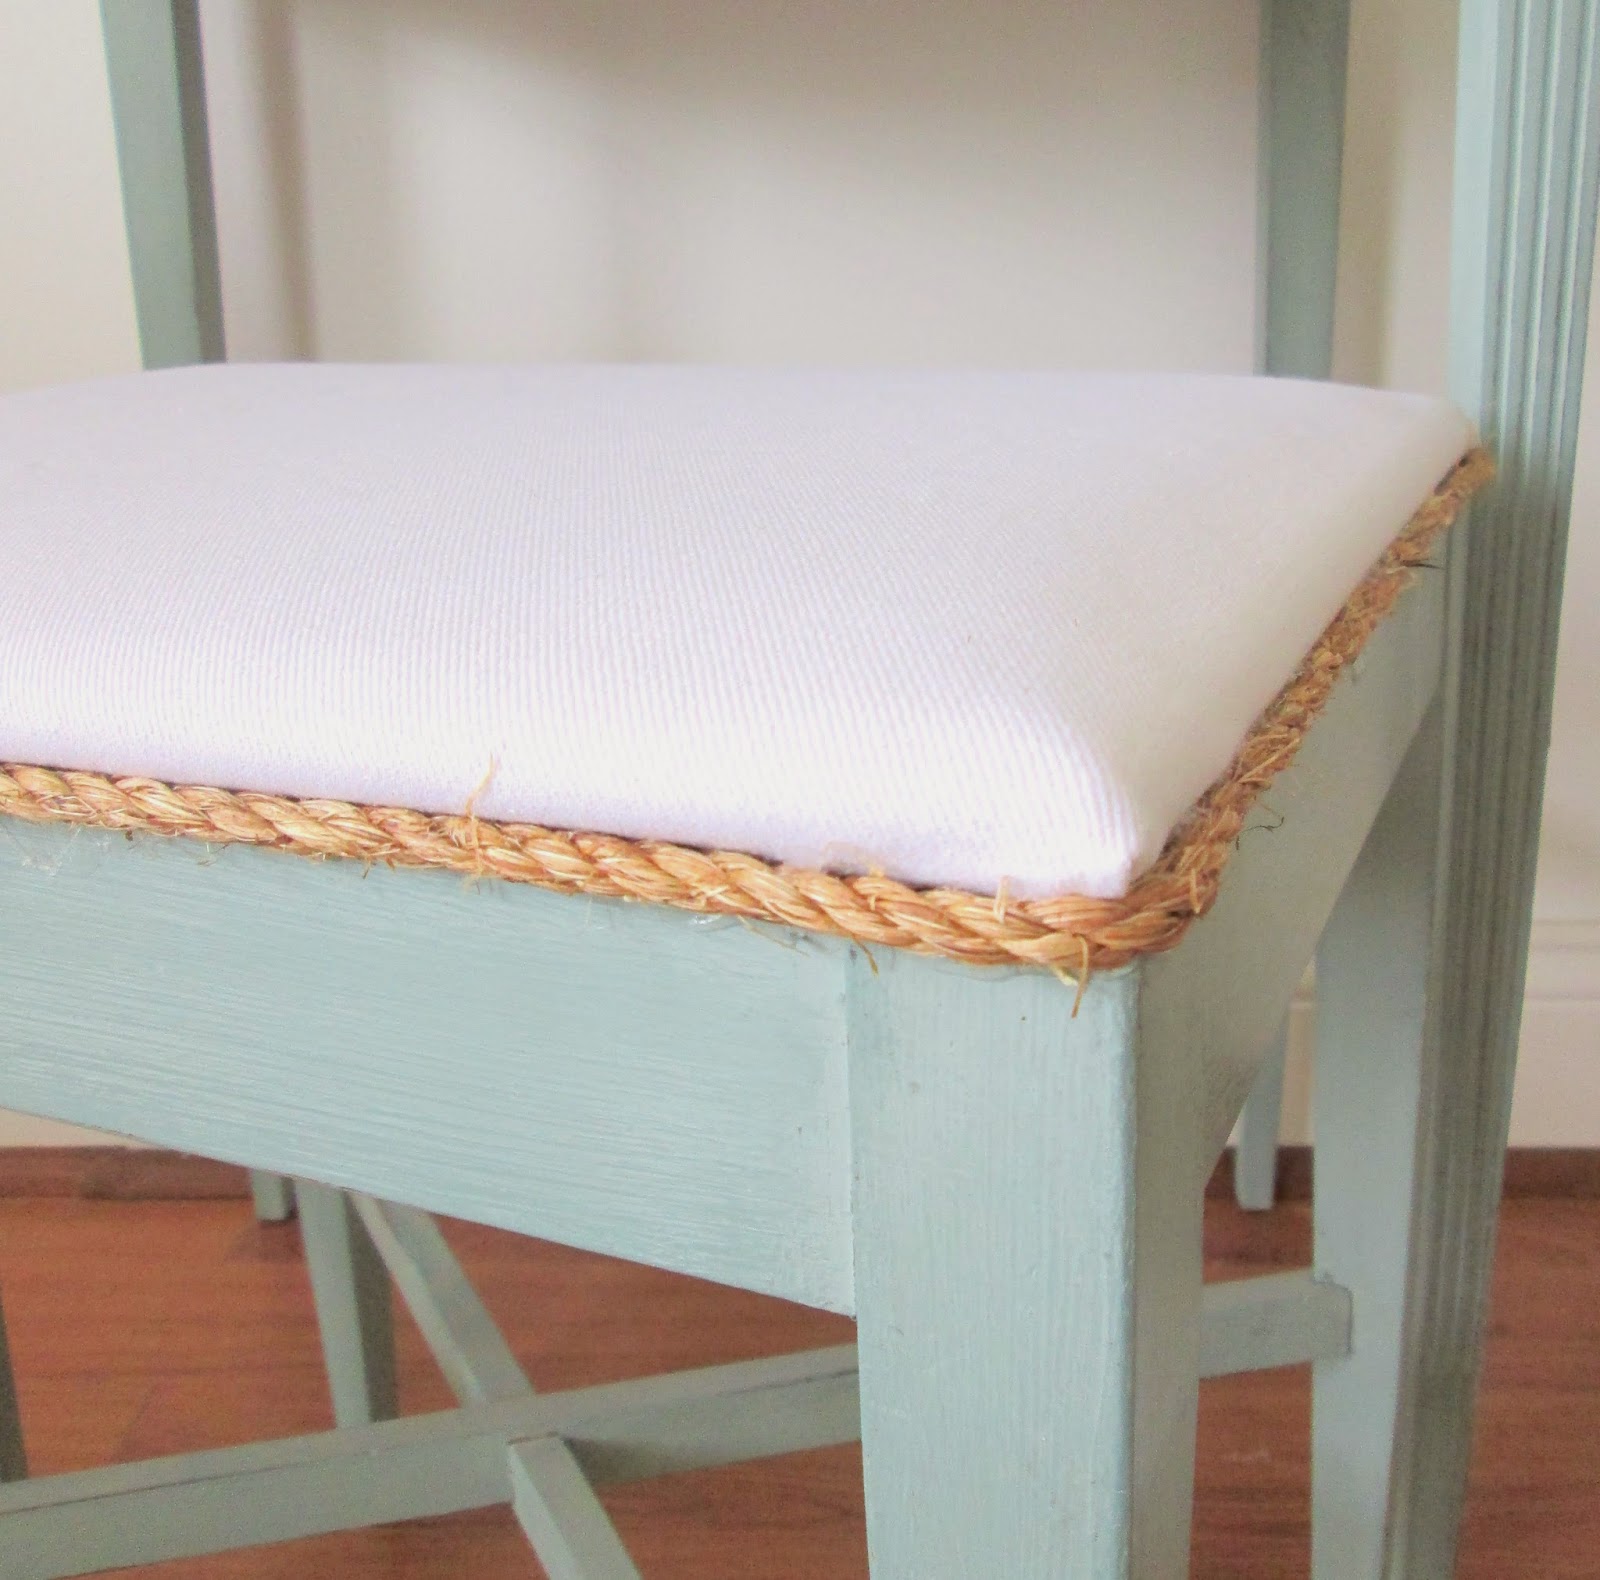
For this project I plugged in our hot glue gun to let it 'pre-heat' and then measured and cut the proper length of rope I would need to wrap entirely around the seat. After I was done cutting the rope, the glue gun was ready. It was best to work slowly in one small 4" section at a time as the glue dries so fast! I just made a 4" strip of glue along the seam of the seat and then pressed the rope right over the line of glue. I love this alternative to piping cord and it was super easy!

2. Rustic roped lampshade

While the glue was still hot I decided to experiment with this stripped lampshade that was collecting dust in our garage. I pre-cut all the pieces of rope that I would need and set them aside within reach, working in small sections at a time. This project was a little more tedious as I had to go super slow with the glue to ensure it didn't drip off the wire frame. The end result though looks so cool! It totally has that rustic-chic Pottery Barn vibe going on. Pop in a little Edison bulb and it's a unique, sophisticated floor lamp!

Surprise! These pieces will be available at the June 7 sale.
9am - 3pm
Contact me for the address if you'd like to stop by!

As always, thank you so much for reading and have a wonderful weekend! 

~Chelsea

This post was published under Chelsea's Garage, now affectionately known as StyleMutt.

Right-Brained vs Left-Brained: How I Organize Jewelry

A while back I read an article in Real Simple magazine called Organizing for Your Personality.  

The article diagnosed the difference between left and right-brained people and was illustrated with photos of how each differs in organizational style.  Left-brain organizers like order and each thing has its perfect place.  Right-brain organizers like to sprawl out, display, and draping pieces in unusual places.  I remember ripping out every-other page to save for future inspiration (this was pre-pinterest mind you).  And when I took their little "Which Side Do You Think With" quiz, I found out that surprise, surprise... I'm a mix of both.  So lets see with these 4 examples below just how this right-brained-left-brained-ness manifests in my own jewelry organization. 

Photos from Organizing for Your Personality by Deb Schwartz, Real Simple Magazine

1} Right-Brain: a hand-towel stand to display bracelets

When I found this towel stand at a thrift store it was originally brass.  At the time, I was not in love with brass like I am now but I liked the bird on the top.  So I spray painted it a glossy white to give it a ceramic effect.  Now it is a handsome holder for my bangles and caters to my right-brain need to drape my jewelry in an unusual place.

2} Left-Brain: a printers drawer to organize your favorite pieces

Printers drawers are multi-compartment trays originally used to hold the alphabetical character blocks for old printing presses.  The various compartments are perfect lefty organizational tool for small knickknacks of all shapes and sizes.  Growing up, I had one hanging on my wall displaying everything from found objects, to figurines, to my coin collection.  Now it proudly sits on my dresser and corrals all my jewelry in tidy little quadrants - keeping earrings in their pairs and organized by color.  Selecting the perfect accessory for my outfit is as simple as a quick browse.  Plus there's something soothing about seeing everything in its place.

3} Right-Brain: a window shutter to hang long necklaces

A few of my pieces were too chunky or would get tangled sitting in the dainty storage compartments of the printers drawer.  So to appease my right-brain, they drape willy-nilly off an old window shutter.  Found at my local Habitat for Humanity Restore, the shutter now shows off my biggest statement pieces.  Hang it next to a mirror to allow for easier accessory decision making ;)

4} Left-Brain: a file organizer to hold clutch purses  

Finally, my left-brain would like to present: the file organizer.  With all the cute desktop organizers out there, you really can't go wrong by teaming them up with a good purse collection.  And envelope clutches are the PERFECT size to sit in a file organizer.  Nice.  And.  Tidy.

I found my "ETC." vertical-standing desk organizer at a Home Goods. 

Which side do you think with?

~ Cate

This post was originally published on Chelsea's Garage, now affectionately known as StyleMutt.

Adding architectural interest to a basic 'box' room

Hey guys! Last week I revealed our Spring/Summer bedroom makeover which included a handful of DIY projects I promised to come back and share. The room-refresh kicked off with this tufted bench makeover, and today I'm going to show you how easy it is to hang art with chunky 3/8" sisal rope.

Our master bedroom

Rope hung art

There is nothing architecturally interesting about our bedroom; it's a square box. Totally fine! But, I wanted to add some unexpected height on the bed side to give that wall more visual substance and make it a real focal point of the room. At first I had the art pieces sitting on the floating bedside tables. That wasn't doing anything helpful. Then I hung them a few inches above the floating tables. Still, something was missing. So, I went out to Home Depot and bought a cord of sisal rope for $5 and had a little fun!

After playing with a few different options, I decided on this criss-cross. Ready to have your mind blown? I didn't actually hang the art by the rope! I tied two pieces of sisal rope onto two hooks I hung close to our ceiling, crossed them, and anchored the bottoms with wall staples I hammered into the wall. Then I hammered a nail right in the middle of the two pieces of rope, and hung the art on the nail.

Super easy! (Fun fact: my grandma painted the 'Jars in a row' piece shown above!) There are SO many fun options for adding a little height to a room and tricking the eye to make a room appear taller. I really like how this simple criss-crossing sisal rope not only does that but also creates a bit of architectural interest in our otherwise square box room.

Tomorrow Cate will be guest posting some unique ideas for storing and displaying jewelry. I've had some sneak peeks and let me tell ya, you won't want to miss it!

Thank you for stopping by!

~Chelsea

This post was published under Chelsea's Garage, now affectionately known as StyleMutt.