Time away and upcoming fun!

Hi friends! It's been a while, eh?! So grateful for some time away over these last couple weeks. And especially thankful for a beautifully creative friend and sister-in-law who shared her genius ideas with all of us while I was away! Just in case you missed them, you can see Cate's latest ventures herehere, and here.

Two weeks ago Matt and I packed up the van, loaded the kids and drove 17 hours down to sunny Florida to visit my in-laws. The time away spent relaxing and playing with my family was worth every minute of the drive. But still, I want to kiss the person who invented portable DVD players on the lips. On. The. Lips.

Here are some highlights from our vacation!

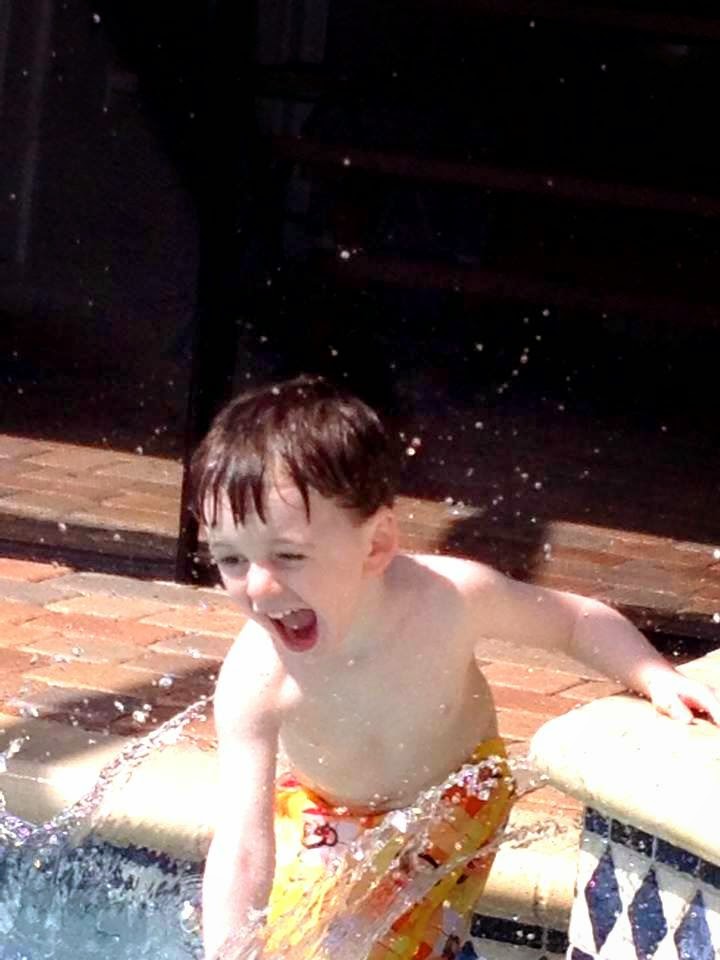
The water; I have a hunch our kids may be part fish.

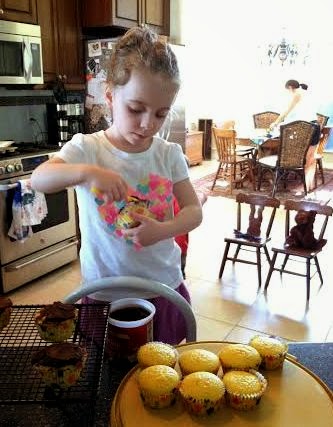
Helping Nana with everything!

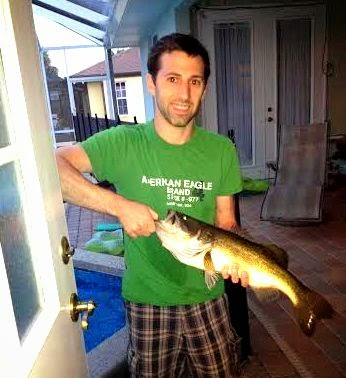
Catching beasts, (aka bass), in the canal behind the house.

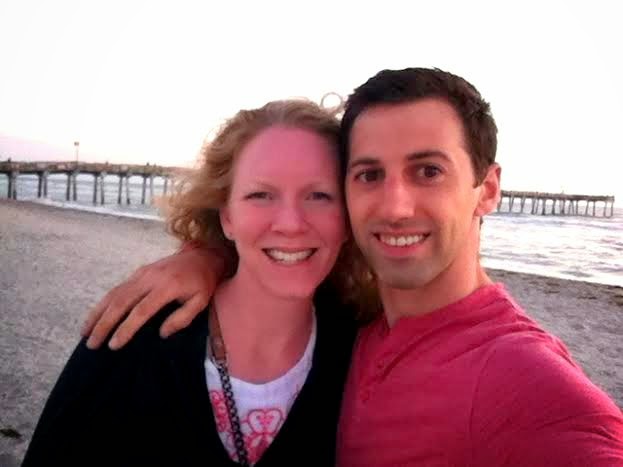
Sunset beach date with my Matt

Watching this little love, who doesn't care for the sand, be brave and make the most of our time at the beach.

It was wonderful. Praising Jesus for blessing us with a vacation. What a treat! 

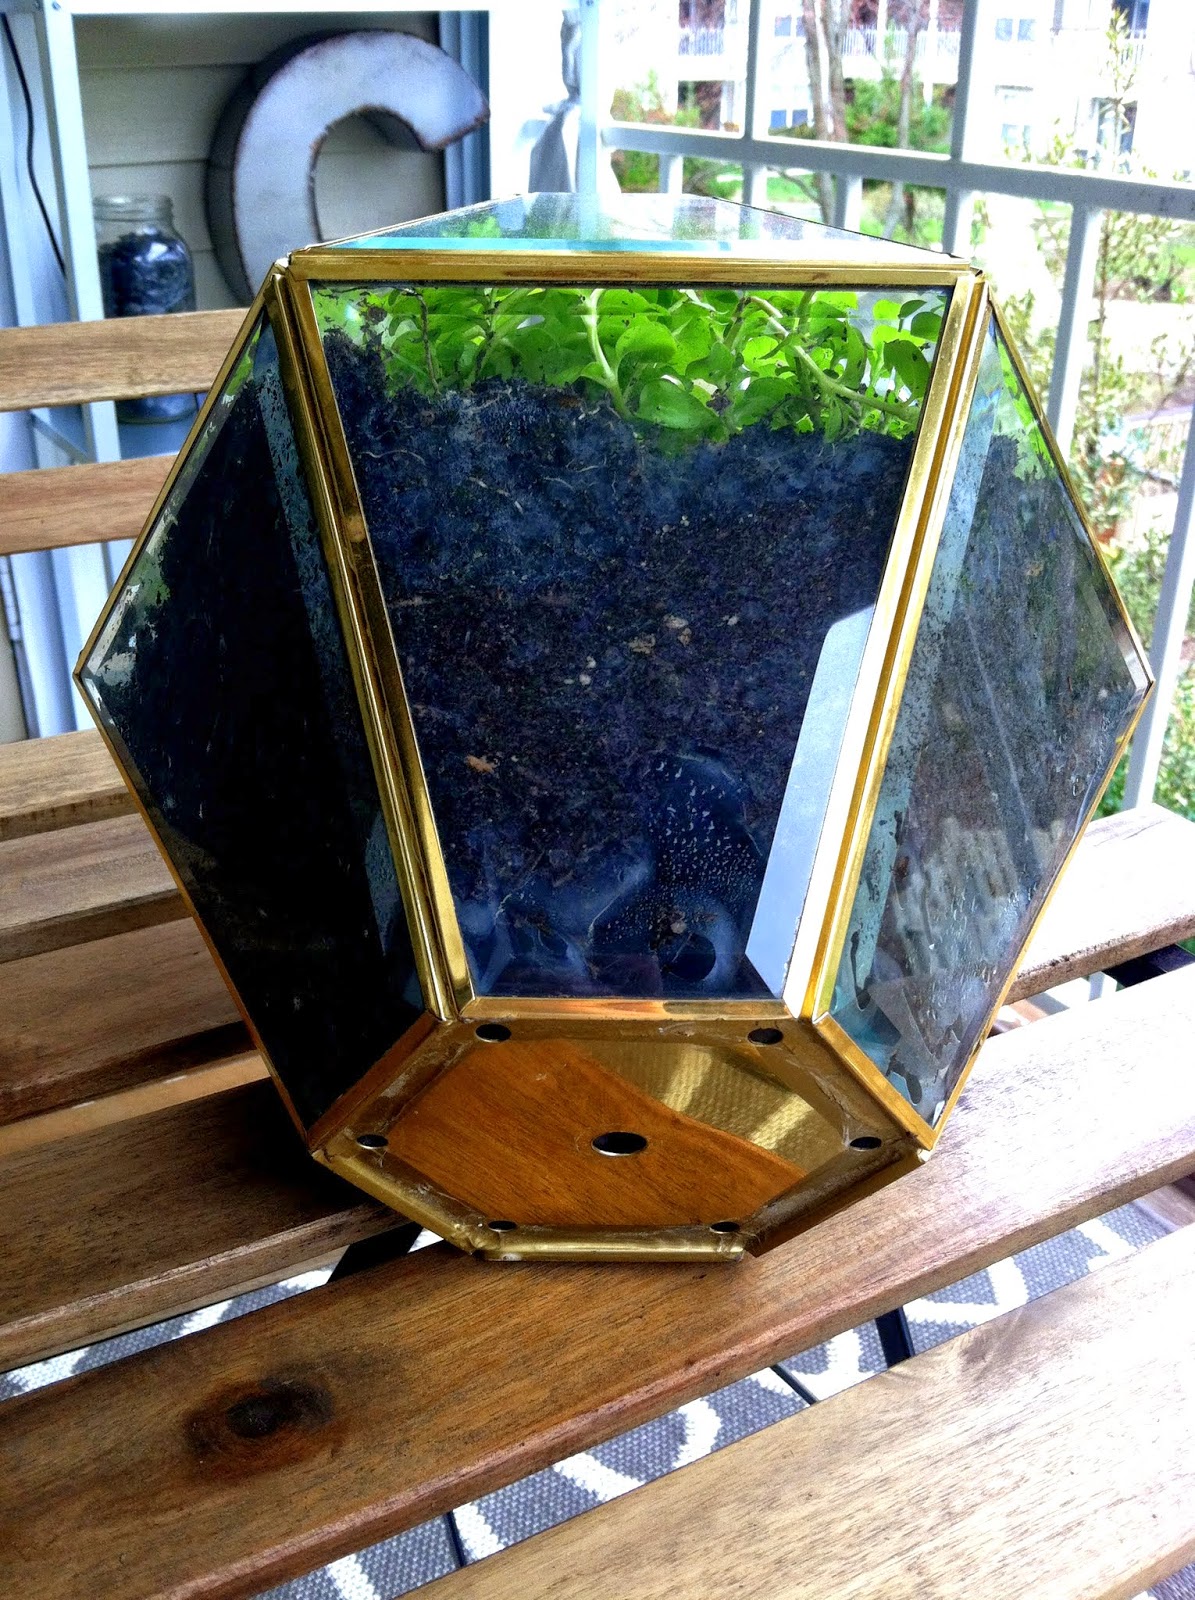
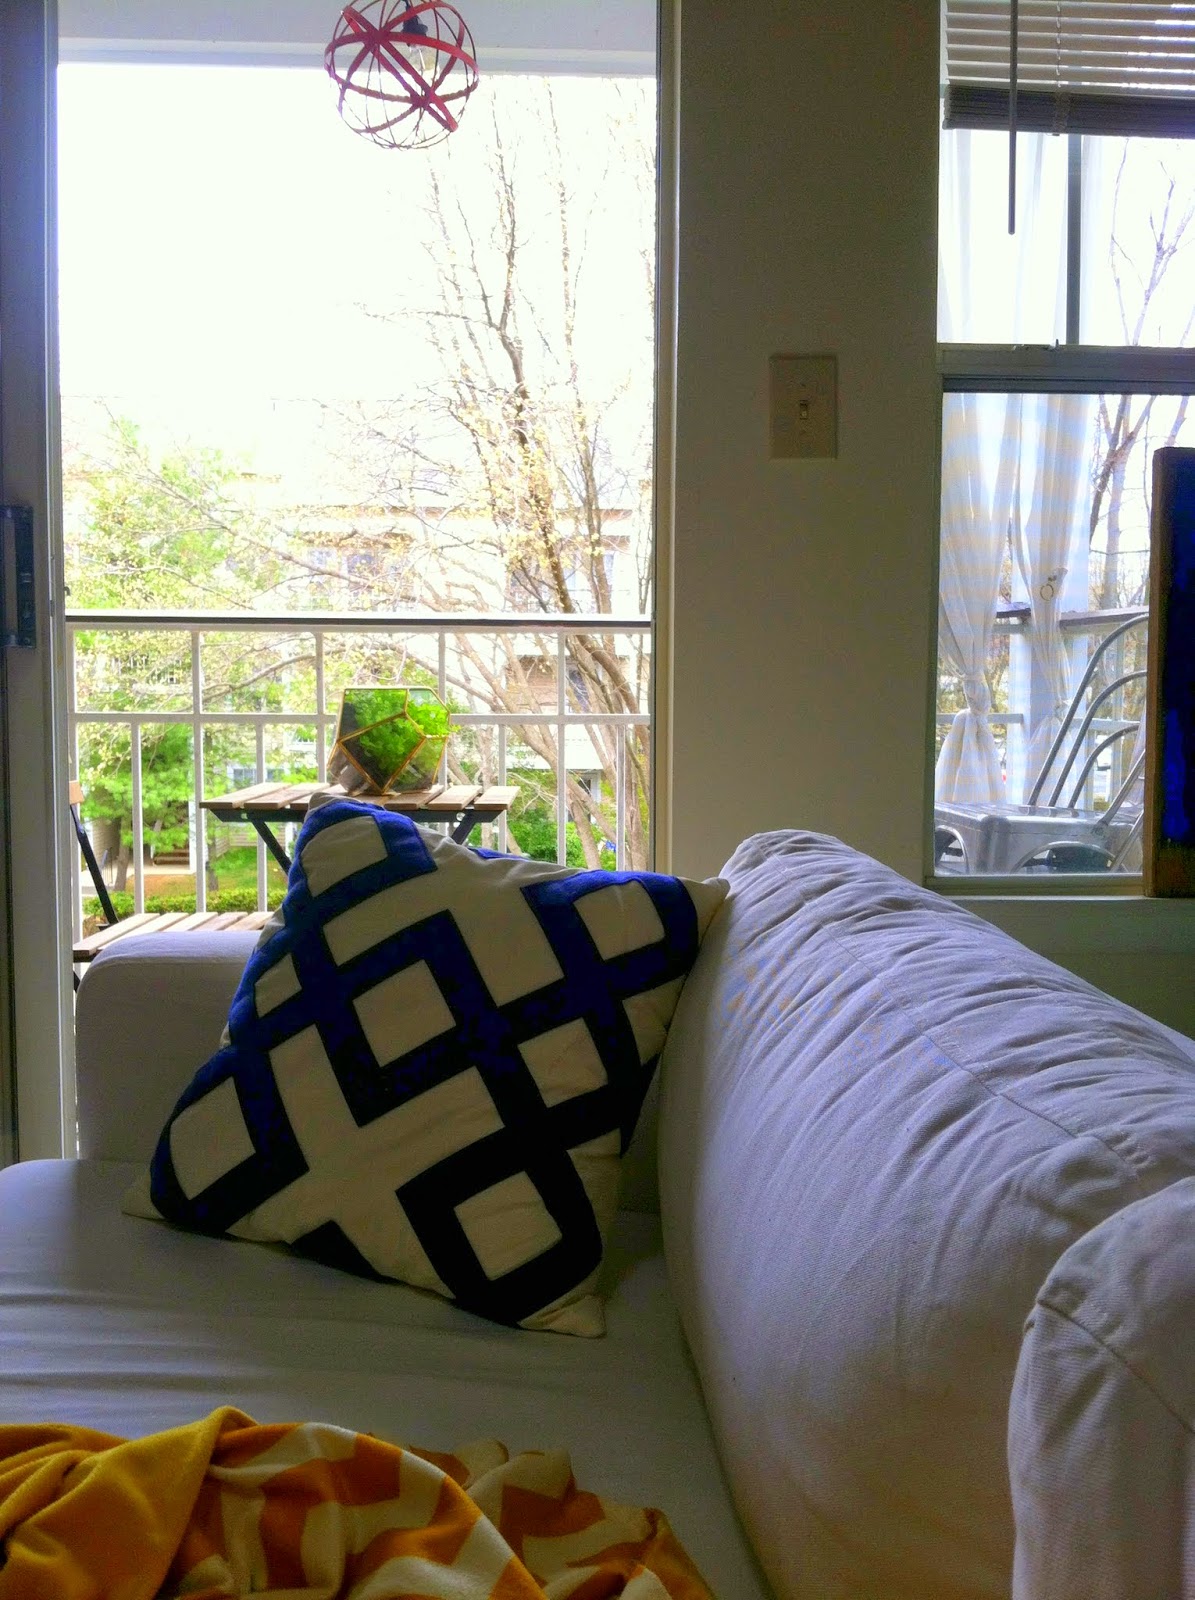
And while we were away I got an email from an Apartment Therapy photographer who was interested in shooting our house for the site! The only time that worked for both of us happened to be a day and a half after we got home. Whaaaaat?! It was almost a "Check please!" moment. But, Natalie, the photographer, was so kind and definitely helped ease my nerves about having the kids around, getting the house ready, etc. It was a push for sure, but Matt and I were able to use that short time to get the house cleaned and camera ready. What an honor to have our home featured on such an inspirational source! I can't wait to see it! Once it's up on their site I'll link up here on the blog so you can check it out!

Natalie was truly awesome. She showed the kids the camera and even let them take a few pictures!

Coming up; an exciting announcement from Cate and me that local friends won't want to miss! Hint, keep June 7th open.

Thanks for stopping by!

~Chelsea

This post was originally published on Chelsea's Garage, now affectionately known as StyleMutt.

Chandelier Terrarium {Part II}

Last time I posted on a chandelier terrarium that was in fact a terrarium - see it here at Chandelier Terrarium {Part I}.  Now let me show you another take on repurposing a chandelier: a potted plant "greenhouse."  Although not exactly a terrarium {which usually has rocks, soil, and rooting plants}, this glass geometric structure is a beautiful display case for your average indoor potted plant.  

{Before & After}

I removed the chain, suspended candelabra, and that crazy Alibaba topper thing.  The roundness of the topper just wasn't gelling with the geometric lines of the lantern.  It was frankly out-dating the look so... of with his head!  I did end up keeping the chandelier loop {which is the loop where the chain attaches to the lantern} and put it back onto the top by screwing it into the existing center hole. 

What is great about this size chandelier, is they usually come with a latching glass panel allow for easy light bulb changes.  Now it allows for easy plant watering.

Dusty brass chandelier?  Meet beautiful orchid.  No more hanging in lonely entryways for you mister.  Your job now is to protect your vulnerable charge while showcasing the delicate display.

The gold-glint chandelier case is almost as delicate-looking as the orchid.

 If you ask me, this orchid seem rather happy about its new living arrangements.  Don't you think?

Now it's your turn to turn something old new,

~Cate

This post was originally published on Chelsea's Garage, now affectionately known as StyleMutt.

Chandelier Terrarium {Part I}

We've all seen em' - those brass chandelier/lanterns hanging in hallways or entryways...  The mascot for all houses built in the 80's maybe... But brass is coming back and geometric is in so why not make the most of these old chandeliers and a new trend: make a terrarium!

ter·rar·i·umnoun  a usually transparent enclosure for keeping or raising plants indoors

There are several ways to build a terrarium.  West Elm has a great tutorial on how to create a terrarium - both succulent (dry) and fern (wet).  For my repurposed chandelier, I chose to build a wet terrarium.  

After gutting a boring brass entryway lantern, I turned it upside down and filled the base with river rocks for drainage.  After, I layered with potting soil and then planted some Moneywort {also known as Creeping Jenny}.  For a wet terrarium, you can plant ferns or moss, but I chose Moneywort because of it's vivid chartreuse-green coloring.

{Before & After}

I chose to place my terrarium on our little balcony bistro table.

  Oh hey there Thor {our new puppy}.

You can also position it on its side.  Love how it looks "spilling" out.

Here's a better look at the base of the terrarium {what was once the top of the chandelier}.  As you can see, there are holes so don't forget to put in on something for drips.

You can kind of see the river rocks layer a little better in this photo. 

 And here you can see it all together with the red orb light I posted about last week!

Visit us again soon to find out what will happen to this guy...

~Cate

This post was originally published on Chelsea's Garage, now affectionately known as StyleMutt.