Hi All! So happy to have at least one refinished piece to show you this week! Like so many of you, I am just itchin' for warmer days under the sun. It's been quite a long winter and I feel like Chelsea's Garage has been in a hibernation of sorts as far as furniture refinishing goes. Aside from the issues of frozen, crystallizing and crackling paint which have made refinishing chilly pieces a challenge, the majority of my attention has been called indoors with my babes. Coming up with new indoor activities to occupy my brood of energetic little ones has been a challenge I tell ya! But, Lord willing, soon are the days when we can all be outside together again, playing and painting.
So the piece I've got today, (and now available for sale), is one of my new favorites. If you're relatively new to my blog you should know that I'm always looking for versatile pieces to refinish. I love those pieces which can float around a home, moving from dining room buffet to bedroom dresser to living room media center. Versatility is what I look for to use in my own home, so that's what I typically feel compelled to offer to others. When I find a beautiful piece that is multi-functional, I feel like I'm getting that much more bang for my buck. And who doesn't want that?!

I refinished this beauty in Old White by Annie Sloan chalk Paint, and then gave the three drawers, (which open easily by a lower lip), two solid coats of Duck Egg Blue, (also by ASCP). I finished the drawers with a thin. dry-brushed coat of Old White and distressed along the edges with a medium grit sanding sponge. With previous pieces that I've painted this winter I've fixed and smoothed out the crackling before sealing. This piece, however, just became all the more beautiful in my eyes with the crackling, so I decided to let it be. The piece has been sealed in Minwax Polyurethane clear semi-gloss, so the crackling won't continue and chip away onto the floor.

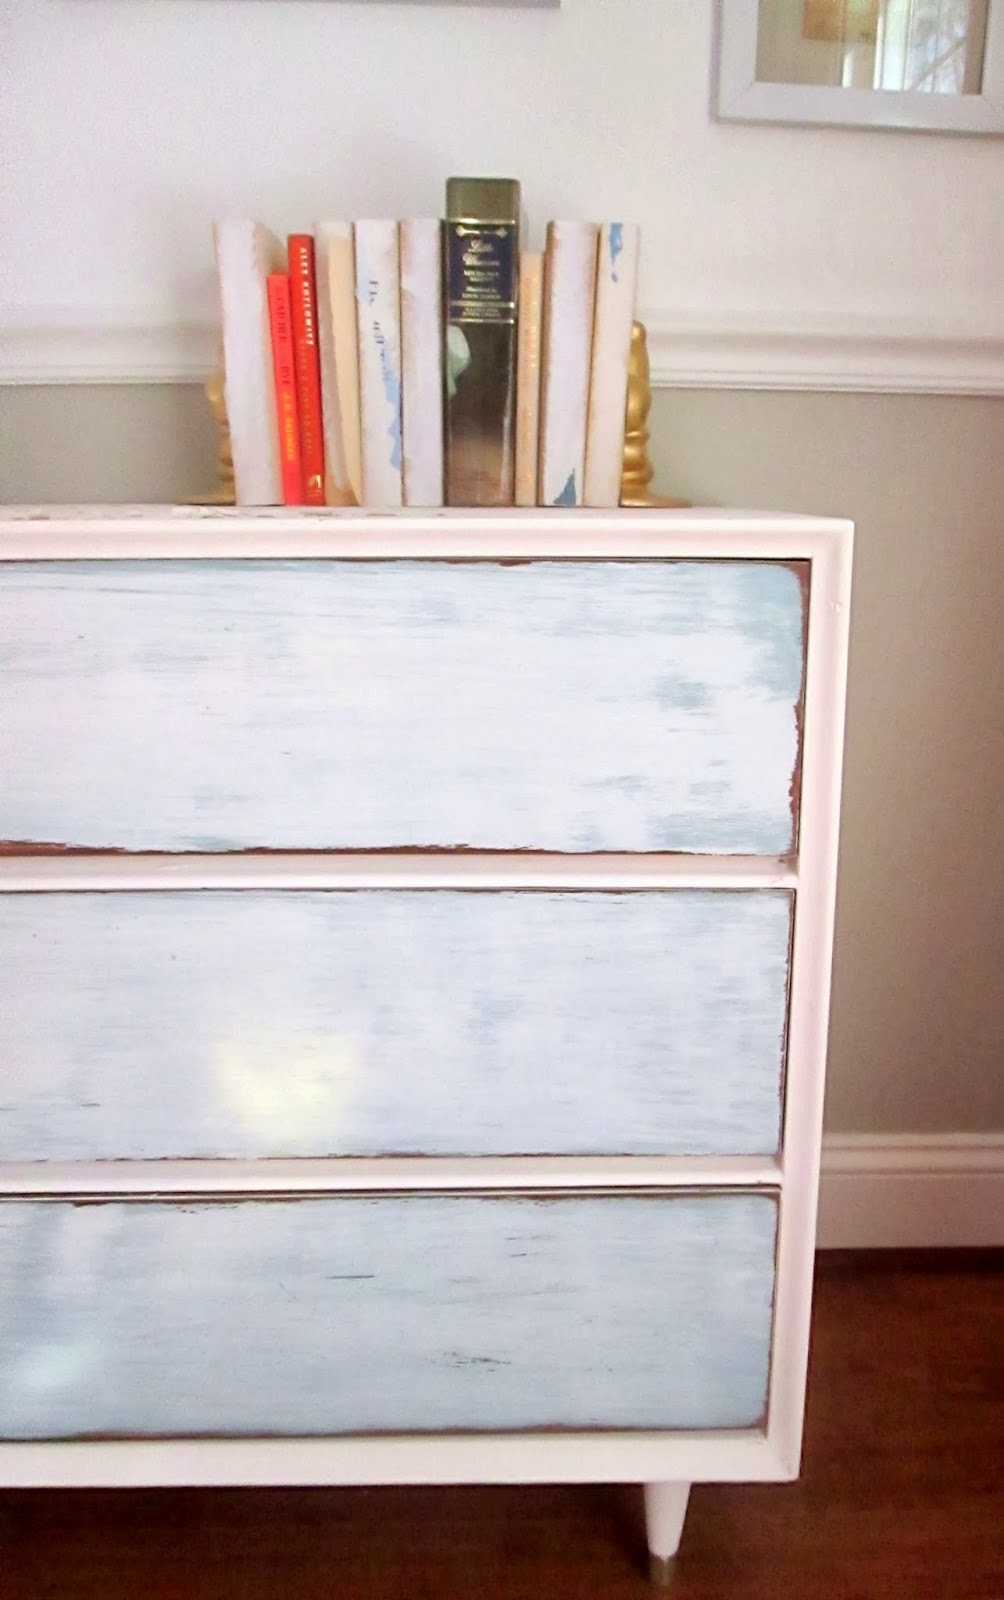
I'm completely enamored with chippy pieces and love what's going on with the sides of this one. It's so charming!


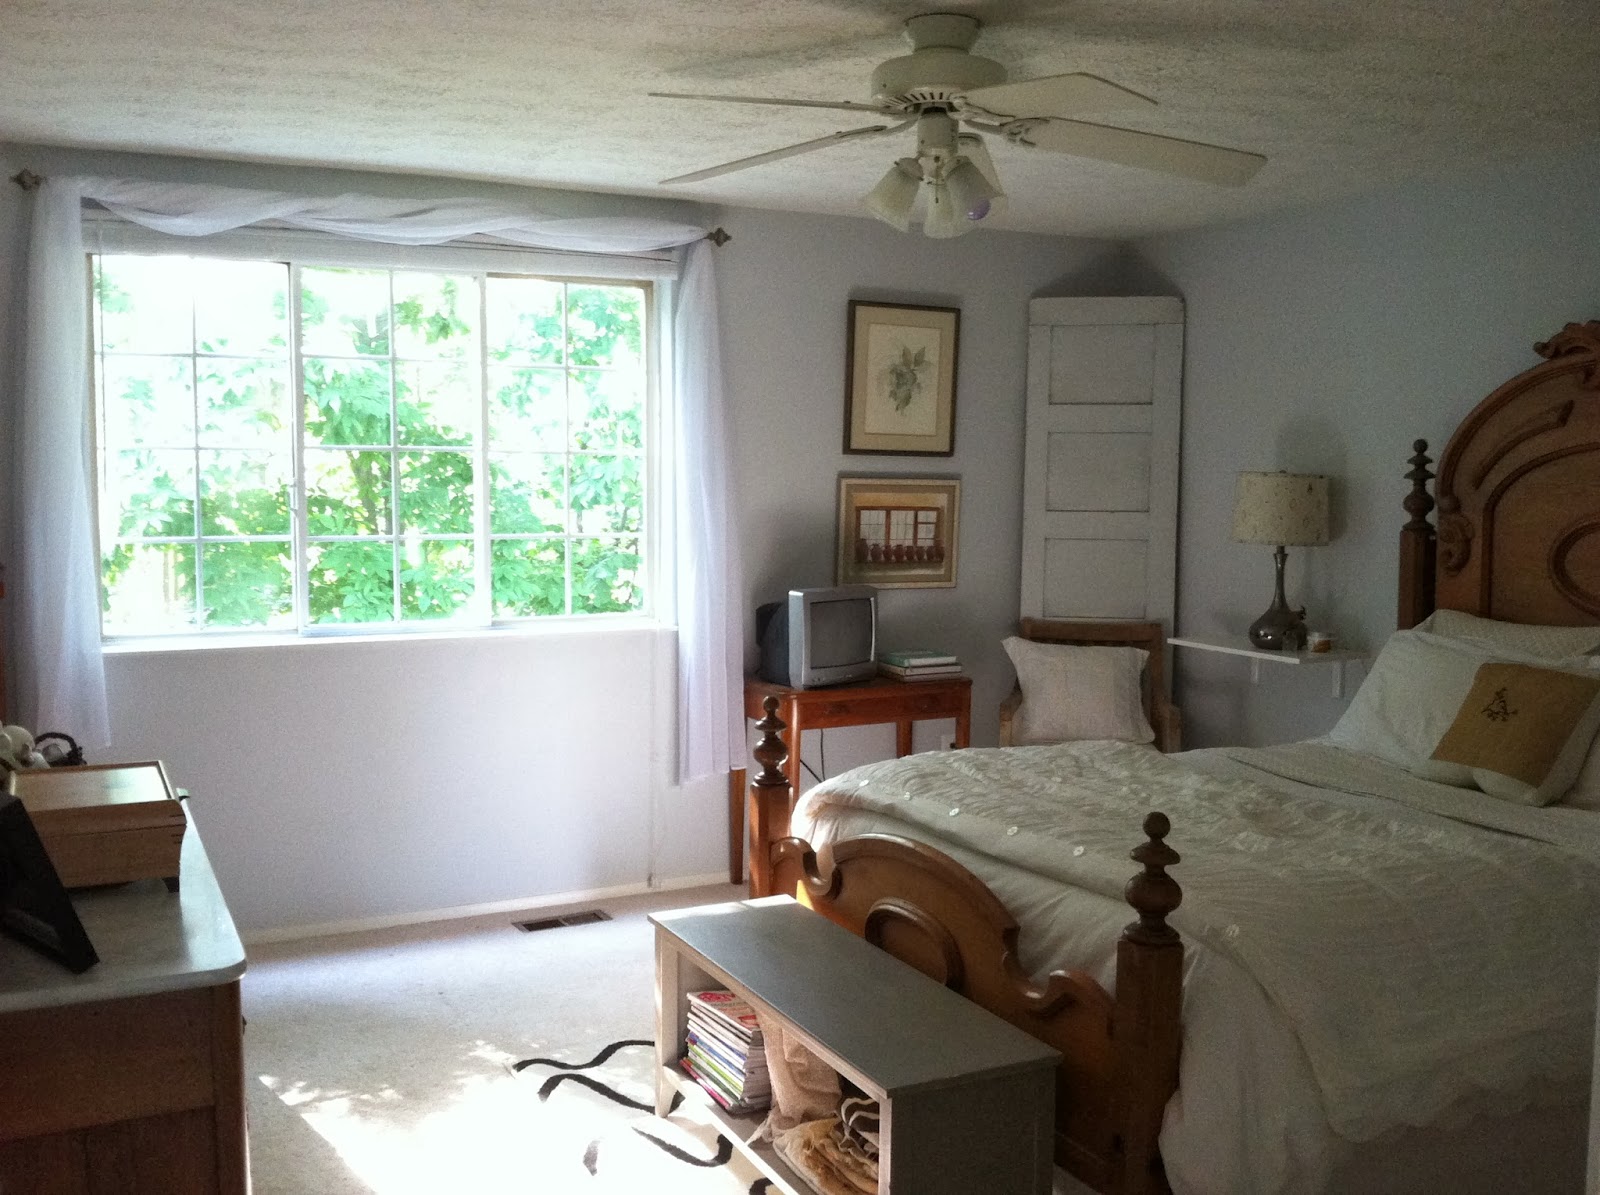
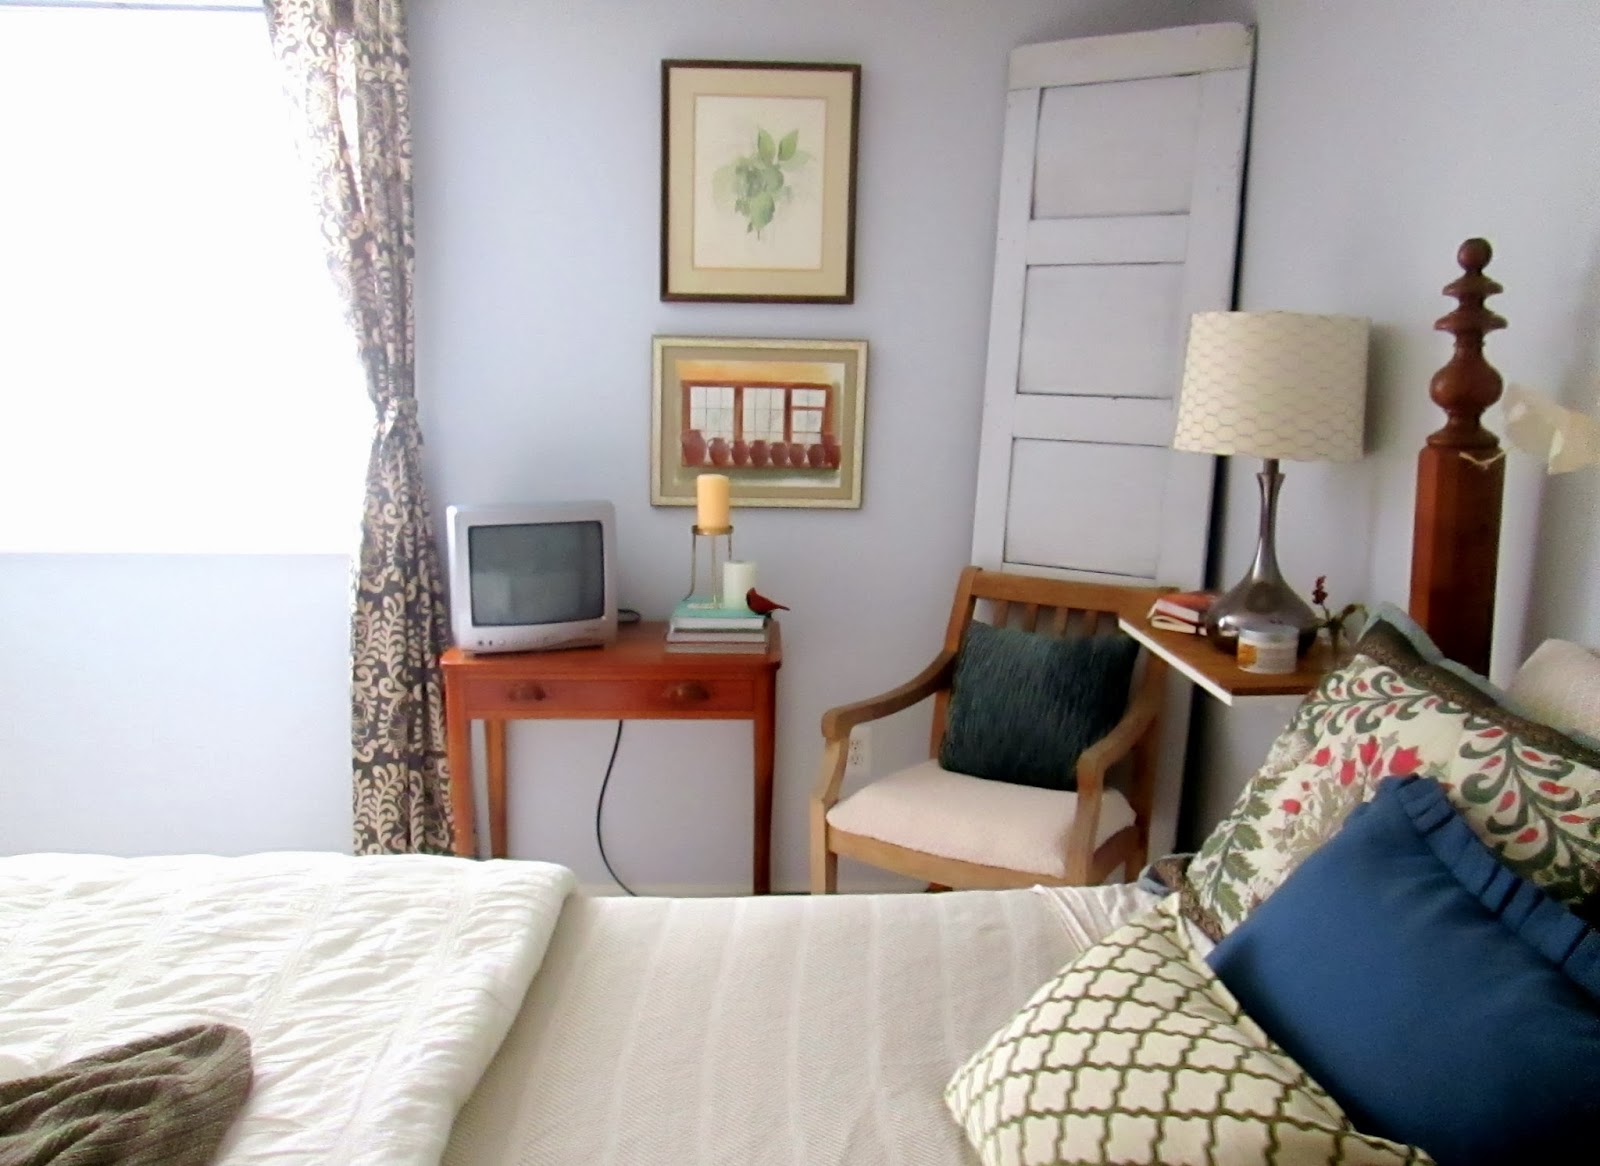
Before

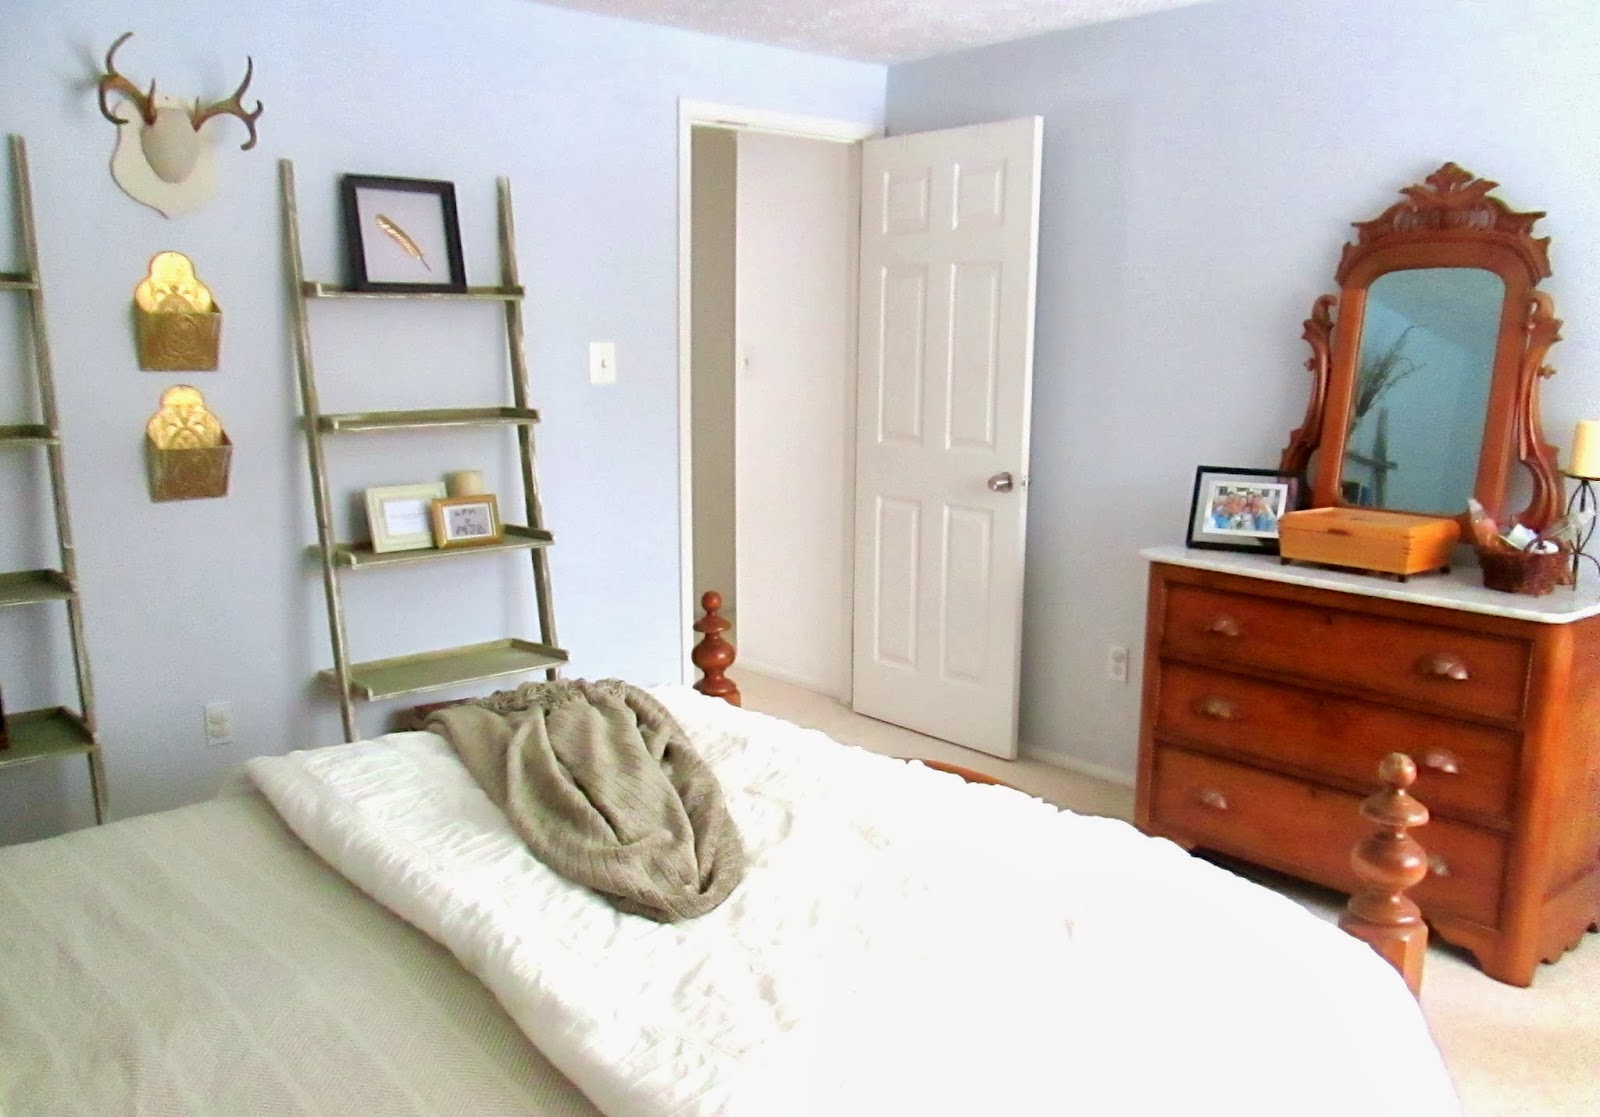
After


48"L x 29.5"H x 19"D
SOLD
Thank you so much for reading and have a wonderful weekend!
~Chelsea
This post was originally published on Chelsea's Garage, now affectionately known as StyleMutt.