Want a daring DIY? Paint a rug!

Hi all! So, here's a fun fact; boys are weird! If you married one, grew up with one, and/or are raising one of your own, this is no shock. If you are a man, this should also be no shock. Your kind is downright crazy.

Ridiculous.

We've bunked our boys, (ages 4 and almost 3), in one room together for the past year and a half, (not literally; they're in my husband's old bunk beds but for now they're not stacked). For the most part I've kept their room pretty simple for the obvious reason that putting two boys of this age together in one space is like cornering wild animals. Their sudden, desperate impulses to start wrestling are baffling. We'll say good night to them and they'll seem really tired, snuggling into their pillows, and then 5 minutes later it literally sounds like a zoo. I'll see one on top of the other rolling around, fighting for position and laughing. See? So weird!

But I digress. The point is, for their own protection I haven't decorated the room much. I made some paper airplanes to hang from the ceiling, painted stripes on the curtains, hung a couple pieces of art and called it a day. I love their room; I love seeing them play in and enjoy it, but sometimes it felt a bit sterile. Because I didn't want to put more up on the walls I figured an area rug would be a great way to add a bit of warmth. But let's be honest. They're little boys and I didn't want to invest in a nice rug for their room just to worry about it getting ruined. So, I found a simple navy rug on sale at Home Depot, (brand is Heavy Traffic, so perfect), and painted my own design on it!

For a 6' x 8' rug that cost $19.40 I felt pretty comfortable slapping on some paint. I started by taping off three stripes on the ends.

I used watered down white latex paint and a regular bristle brush, (2"), to paint the rug. After I painted between my blue taped stripes, I started free-handing the diamonds. I really didn't want it looking too perfect, so I let the paint go on unevenly and didn't worry about making exactly straight lines. I did, however, measure off where I wanted the points of the diamonds to be, (every 12"), and marked those off with a piece of blue tape to use as a reference.

Here is the whole rug before, (before I vacuumed, too)

And after!

Another little look around their room 

I painted the stripes on their white curtains using Country Grey by Annie Sloan Chalk Paint, (I used the same color for the stripes on their lampshade).

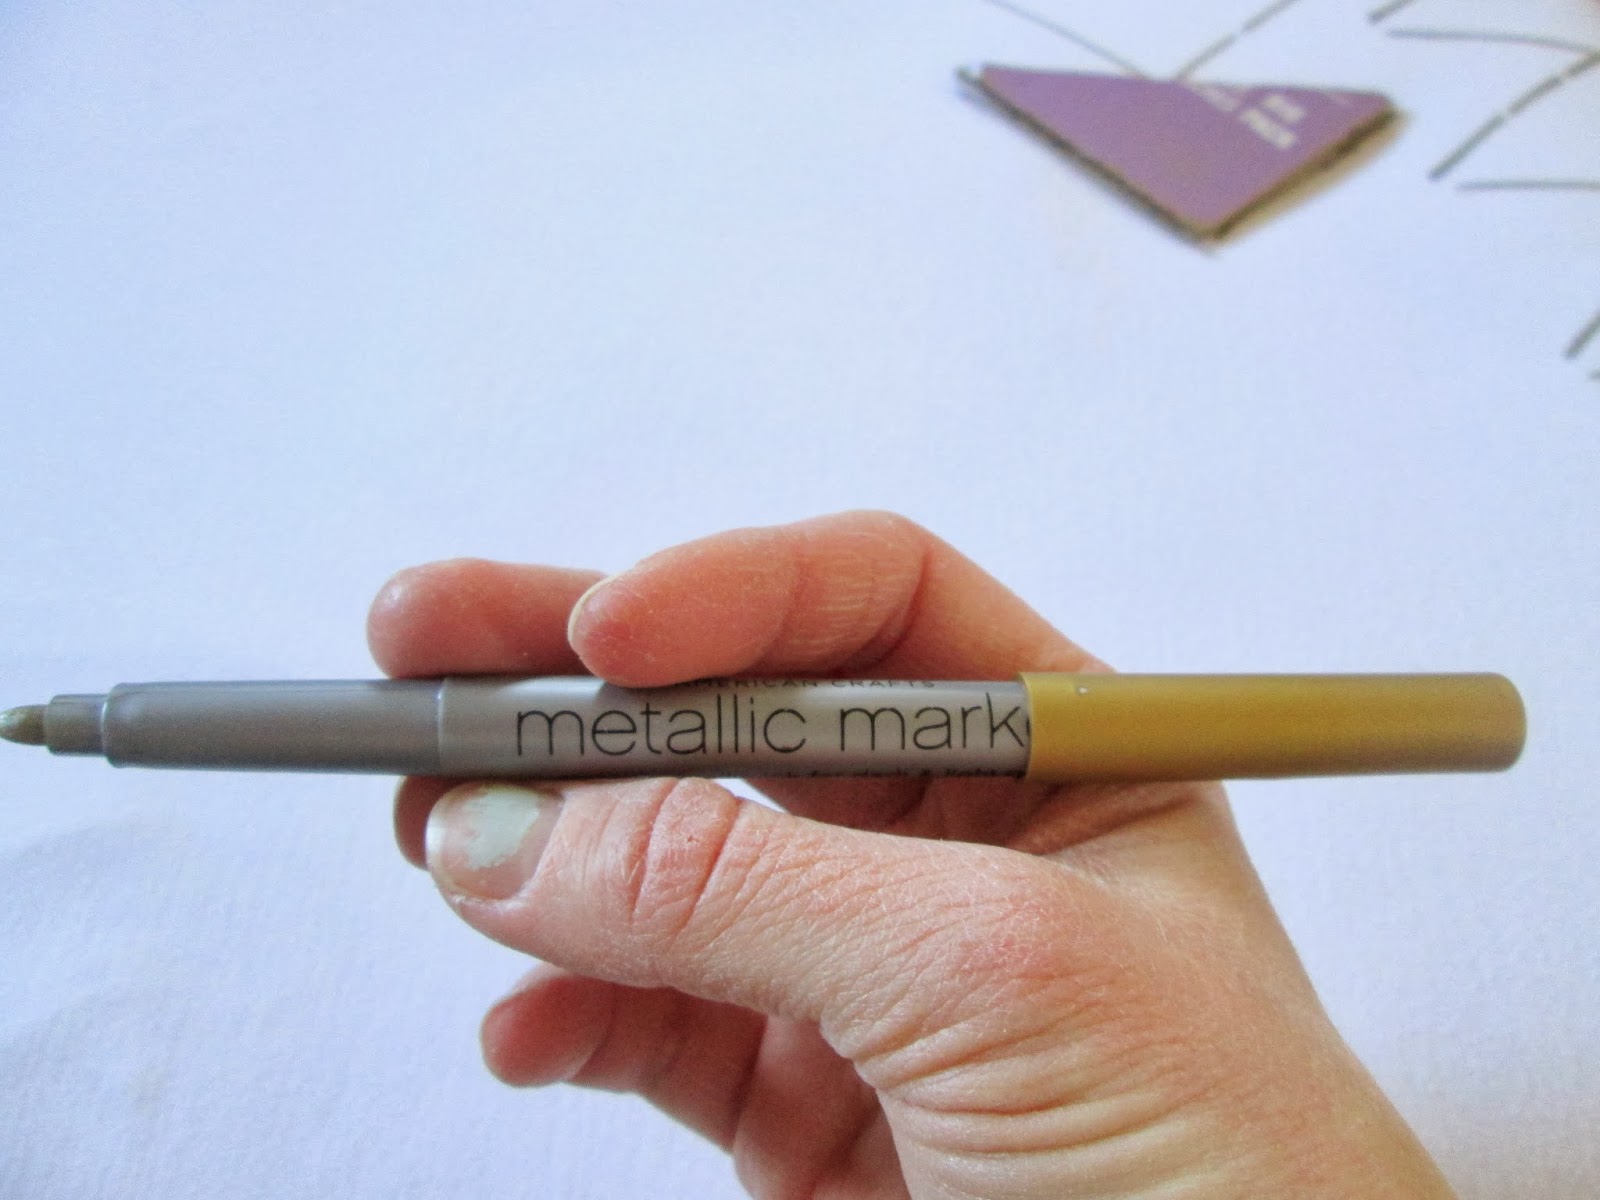
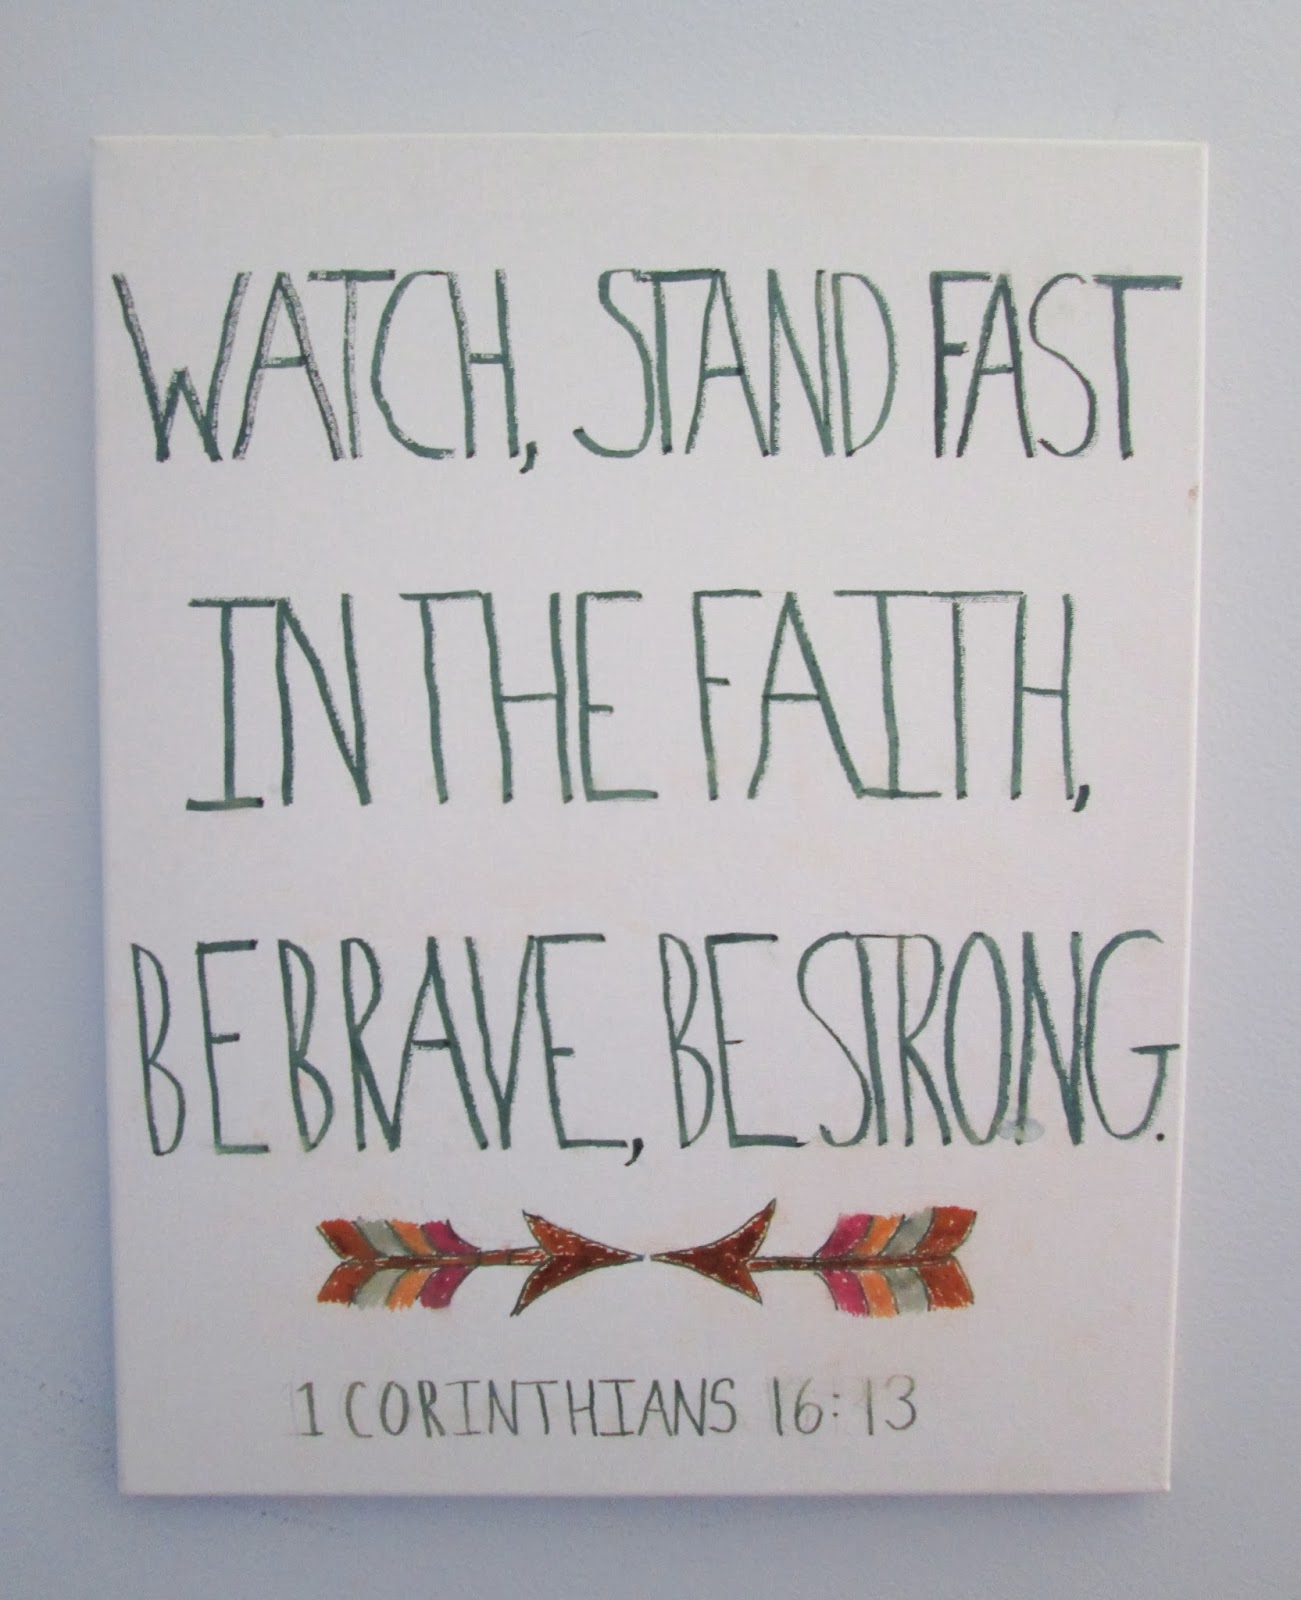
I used a black paint marker to write this verse on canvas. Don't use a black paint marker on canvas. Use a thick Sharpie. It won't smudge every time sweaty little fingers touch it and will save $!

The propped up xylophone has been in my husbands family for at least 50 years!

Paper flag garland was a gift found at Paper Source and my Dad put together the red model plane hanging in front of the closet.

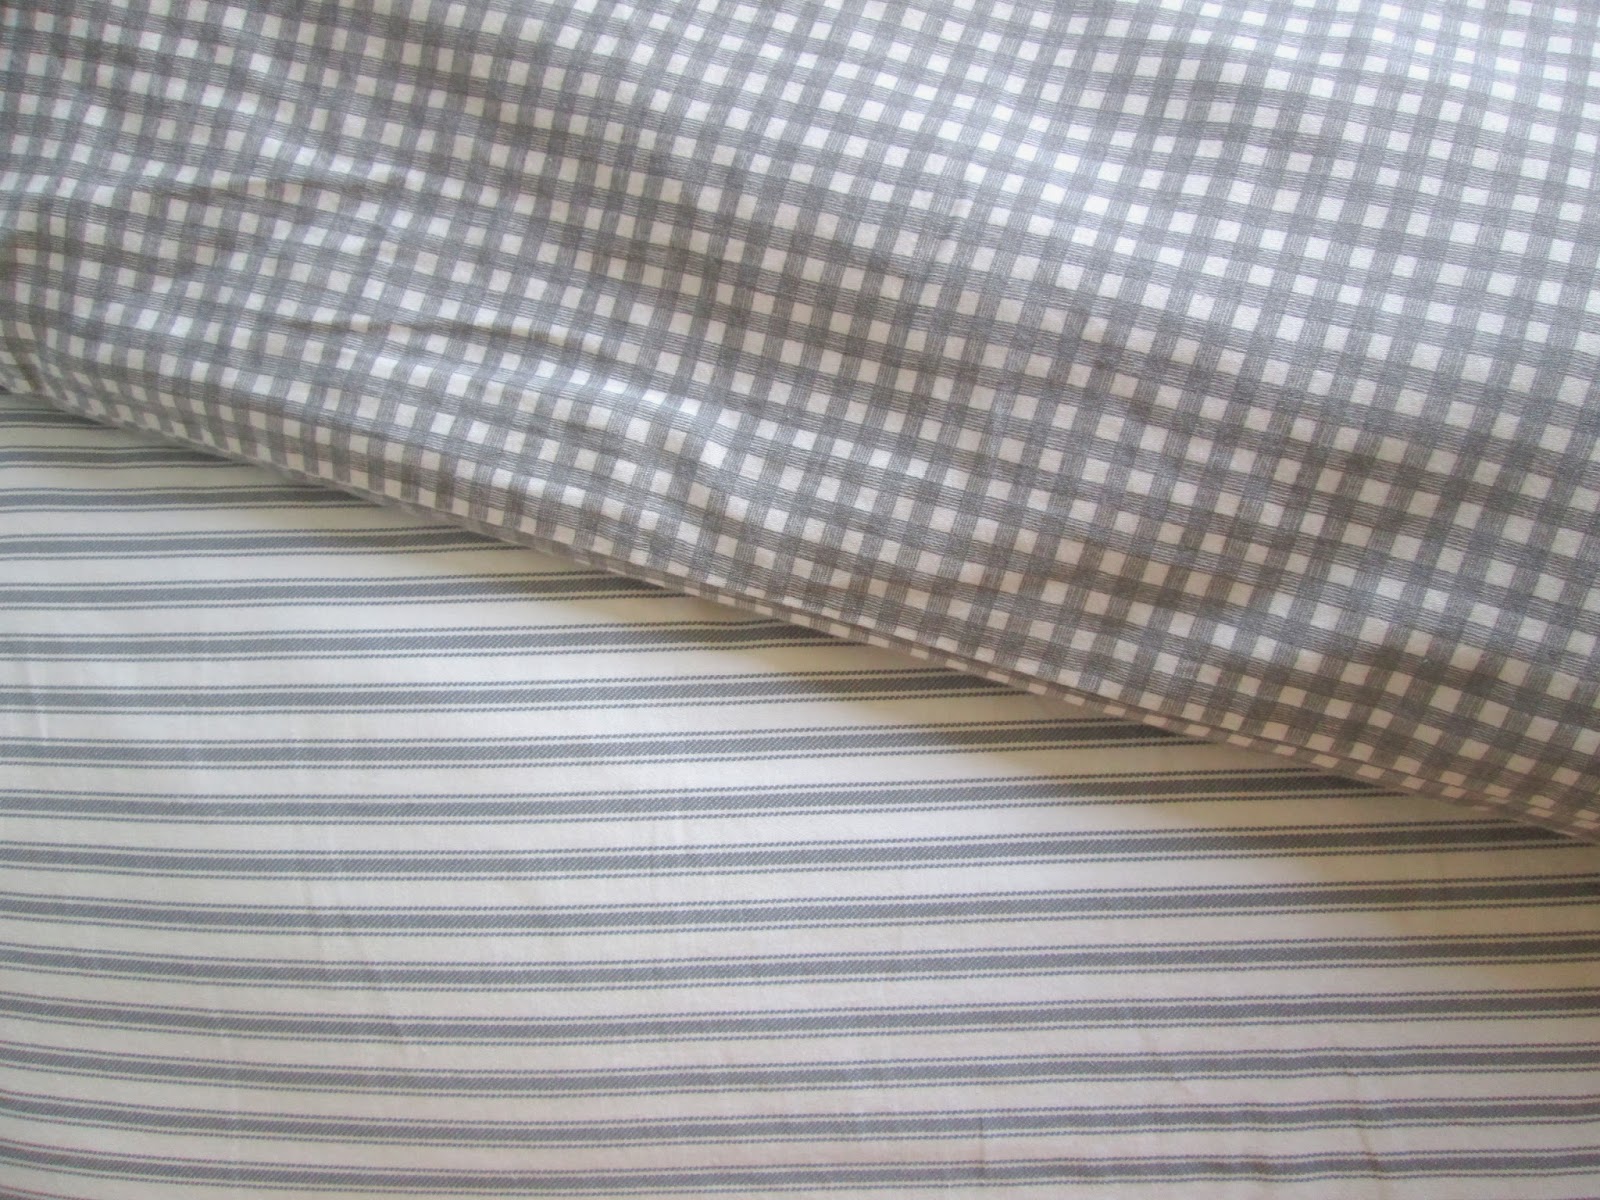
Final note: The bedding. Their coordinating gray sheets are from Target's Threshold collection, as well as the matching dark red knit blankets.

So there you have it! A painted rug. Could you, would you paint a rug? (Reading lots of Green Eggs and Ham lately).

Thank you so much for stopping by!

~Chelsea

This post was originally published on Chelsea's Garage, now affectionately known as StyleMutt.

Make your own pattern + recover an ottoman!

Hi friends! Today I've got an awesome ottoman transformation to share with you! It's a two-fer, actually - I'm going to show you how to recover an ottoman using your own homemade fabric pattern! The overall vision was inspired from browsing Urban Outfitters' Apartment section. I've been loving their use of geometric patterns and color!

I actually had recovered my ottoman, (a $5 thrift store find last year), once before. The first time around I used a curtain on clearance from Target, but the pattern quickly started to rub me the wrong way. I recovered it before I painted the walls in the space, before gathering accent pillows, before finding a decent rug, and after I accomplished all those tid-bits that pull a space together, the fabric just wasn't working. So, I decided to start over again! (Isn't it totally worth putting a bit of time into something to make it right for you and your home?!)

Here is the true before - hard to tell here, but that leather looks and feels more like a basketball and is tearing away at the seams. But it's so sturdy and such a fantastic size...and Good Golly, Miss Molly! It was $5!!! Which reminds me, I had a lot of comments about my Before / After feature on Apartment Therapy, (see their facebook page for the 100+ comments) about the $15 price tag of my piece. I have two things to say:

1) Prices like this on good, solid pieces are not frequently or easily found; it takes work, and 2) You do need to have a good eye. It's a bit of luck, yes, but with a little practice, you do start to see things that no one else does. You see things as they can be, not as they are. Such was the case with this basketball-made ottoman!

I keep this piece in the basement and we are in desperate need of some more color down there! Since the basement is in a bit of transition right now, (which is coming together so stinkin' awesome I can't wait to share with you), I brought my ottoman upstairs for some after pictures. Love how it looks in the living room, too!

Have you ever seen such a happy looking ottoman?!

Here's the whole low-down for this project:

The real step one for this project, (which I didn't get a picture of), is removing the legs. Just turn the piece upside-down and unscrew them. They should come off pretty easily.

Next, remove your tuft buttons:

Then, remove your existing fabric. Mine was in such bad condition it actually pulled off pretty easily, and where it didn't, I just used regular scissors to cut it off.

Next, recover the ottoman with your new fabric. I used a plain white bed sheet, folded over so its double layered. This is most easily done by placing the piece upside down on the fabric, then attaching the fabric to the underside, (which is facing up at this point), with a staple gun.

Okay, so I miss-numbered my steps. I was definitely putting this tutorial together while playing balloon volleyball with my three goofballs. Multi-task fail! Anyways, now you can apply your design! I cut a triangle of cardboard, (from a diaper box, go figure), and used a gold metallic marker to trace the design.

Gold metallic marker found at A.C. Moore for $1.39

 Almost finished!

Let's take a look back at the original piece....

And NOW!

Oh yes, and the legs! Right after I removed them I took them outside, layed them on cardboard, and gave them all a coat of spray paint. They were done drying by the time I was finished with the recovering!

This transformation was just too fun. Creating my own pattern on the fabric really makes the piece feel completely unique!

Thank you all for stopping by! Happy weekend!

~Chelsea

This post was originally published on Chelsea's Garage, now affectionately known as StyleMutt.

Paint inside the lines {DIY custom canvas}

Hi guys! As promised at the beginning of the week I'm sharing a really awesome DIY art project today! This will surely change the way you look at art when you're out perusing.

We bought these canvases at Ikea within a few months of moving into our home, (about 3.5 years ago). They were right for us at the time because, well, I had no clue what I was doing in our home and wanted something large scale for a wall in our dining room. They were neutral and soft and worked for a while.

Before - a little too timid for our updated space

Fast forward to now. I wouldn't say my style has changed so much as it has finally developed, (through lots of trial and error). Needless to say, these soft taupe-y lovelies just didn't have a place in our home anymore so I stuck them in the garage. They're just such a nice size, especially when hung together, so I held onto them in case something came to mind.

Then something came to mind. Paint over the painting! I needed some large scale art to hang over Shire's bedroom dresser, but wanted it to really pop. I picked a few paint colors, mixed a couple of my own, and painted 'in the lines' of these canvases.

Now customized and full of life!

(More pictures of Shire's room HERE)

Doesn't this just change everything?! If you can color in the lines you can do this project. One tip I have, as a non-canvas artist, is the larger the scale, the easier it'll be. Less room for error, (or is it more room for error??? I always get that confused). But really, all you need is a painting of a picture you like. Then just customize it with colors you want to see in your home!

Side by sides are always fun:

(A bit more abstract now, but I think that's charming in this case)

Doesn't this just make you want to run to your closest thrift store and find some lonely art?! I'm looking forward to trying this again for sure. 

And just to officially open the door, I always love seeing what YOU guys are up to! If you've finished something you're excited about in your home please share via email, (chelseasgarage@gmail.com). You're such a creative bunch and I love passing around inspiration. You may see your project featured here!

Thank you for stopping by!

~Chelsea

This post was originally published on Chelsea's Garage, now affectionately known as StyleMutt.