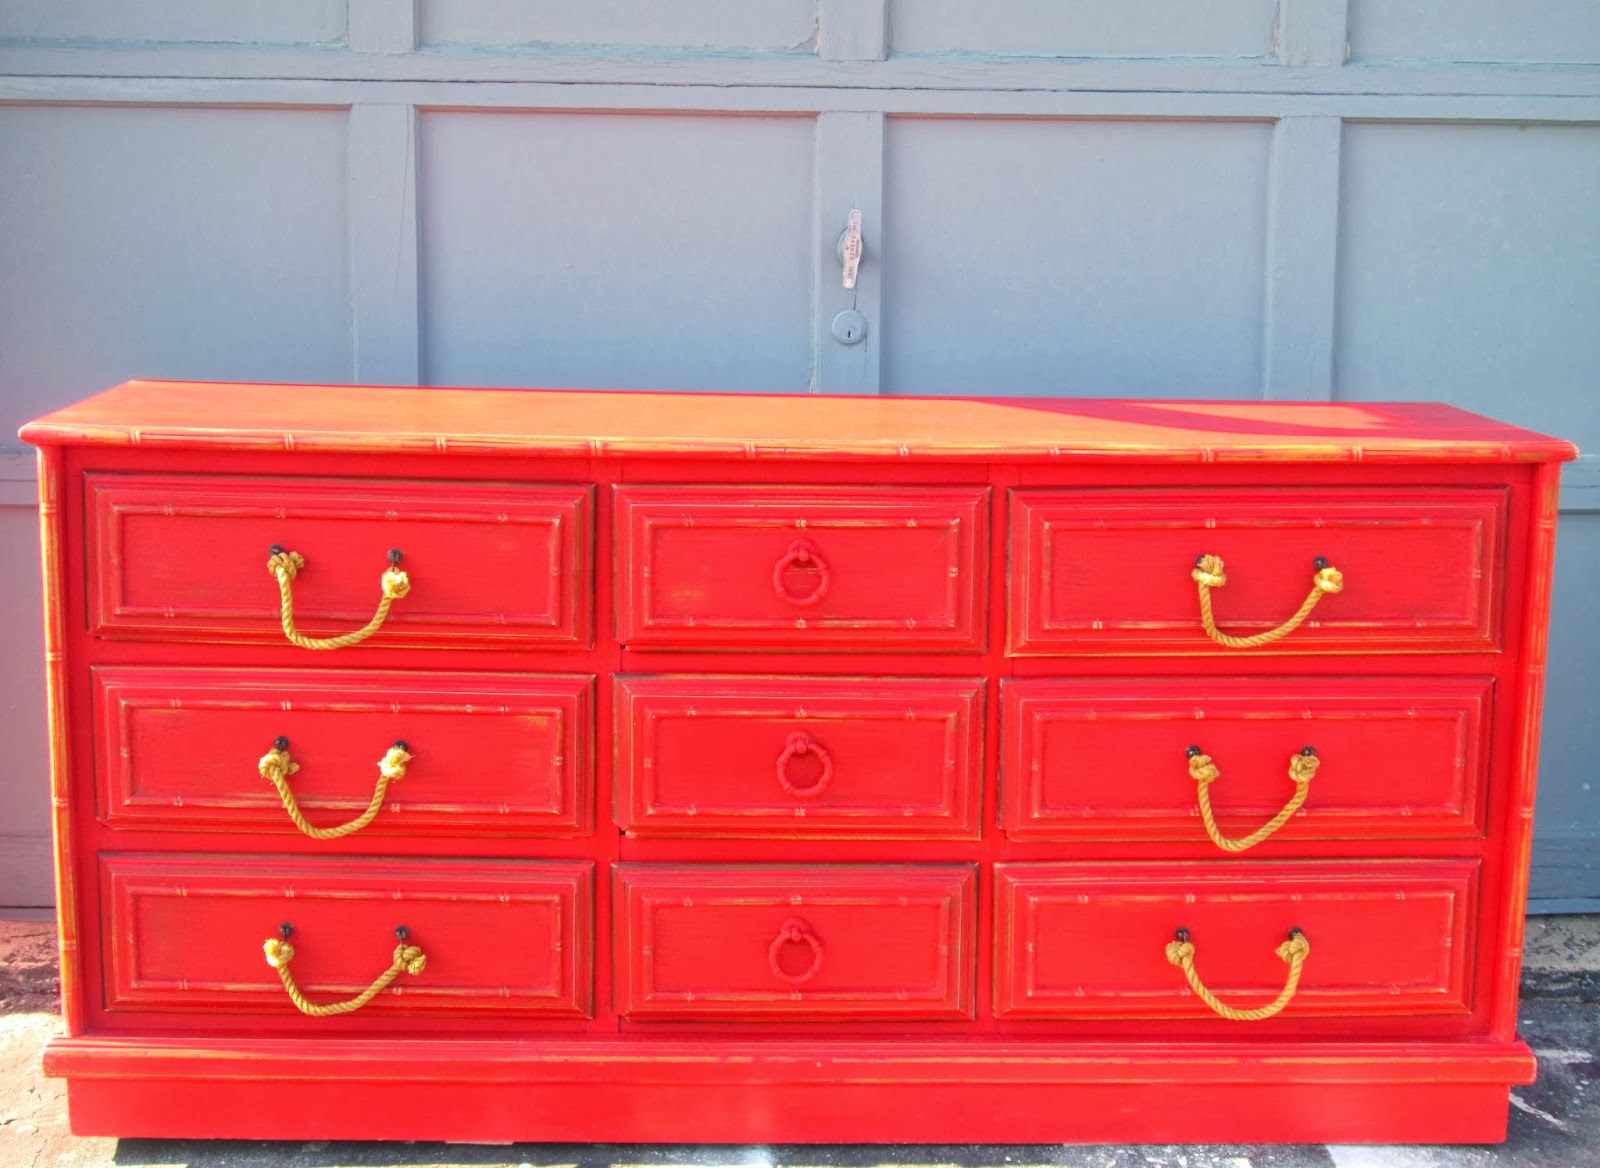
Hi friends! It's been a little while since I've had a custom order request for a child's room, and here's a little secret: Those are some of my favorites! If this red dresser doesn't scream 'little boy's bedroom', I don't know what does!
It almost went in a completely opposite direction when I started on it in Annie Sloan's French Linen, a warm, taupey grey. I went outside during a brief break from snow and got one whole coat of the soft color on, came inside, checked my email, and saw an urgent one from a very sweet woman who's first email never made it through the week prior! She wanted the piece for her 5yr old son's room, and she was thinkin' RED! So fun, right?!! Suddenly, the French Linen was just all wrong and I knew immediately that Annie Sloan's Emperor's Silk would be the perfect color. This pure, fire engine red is so classic, and surprisingly earthy.

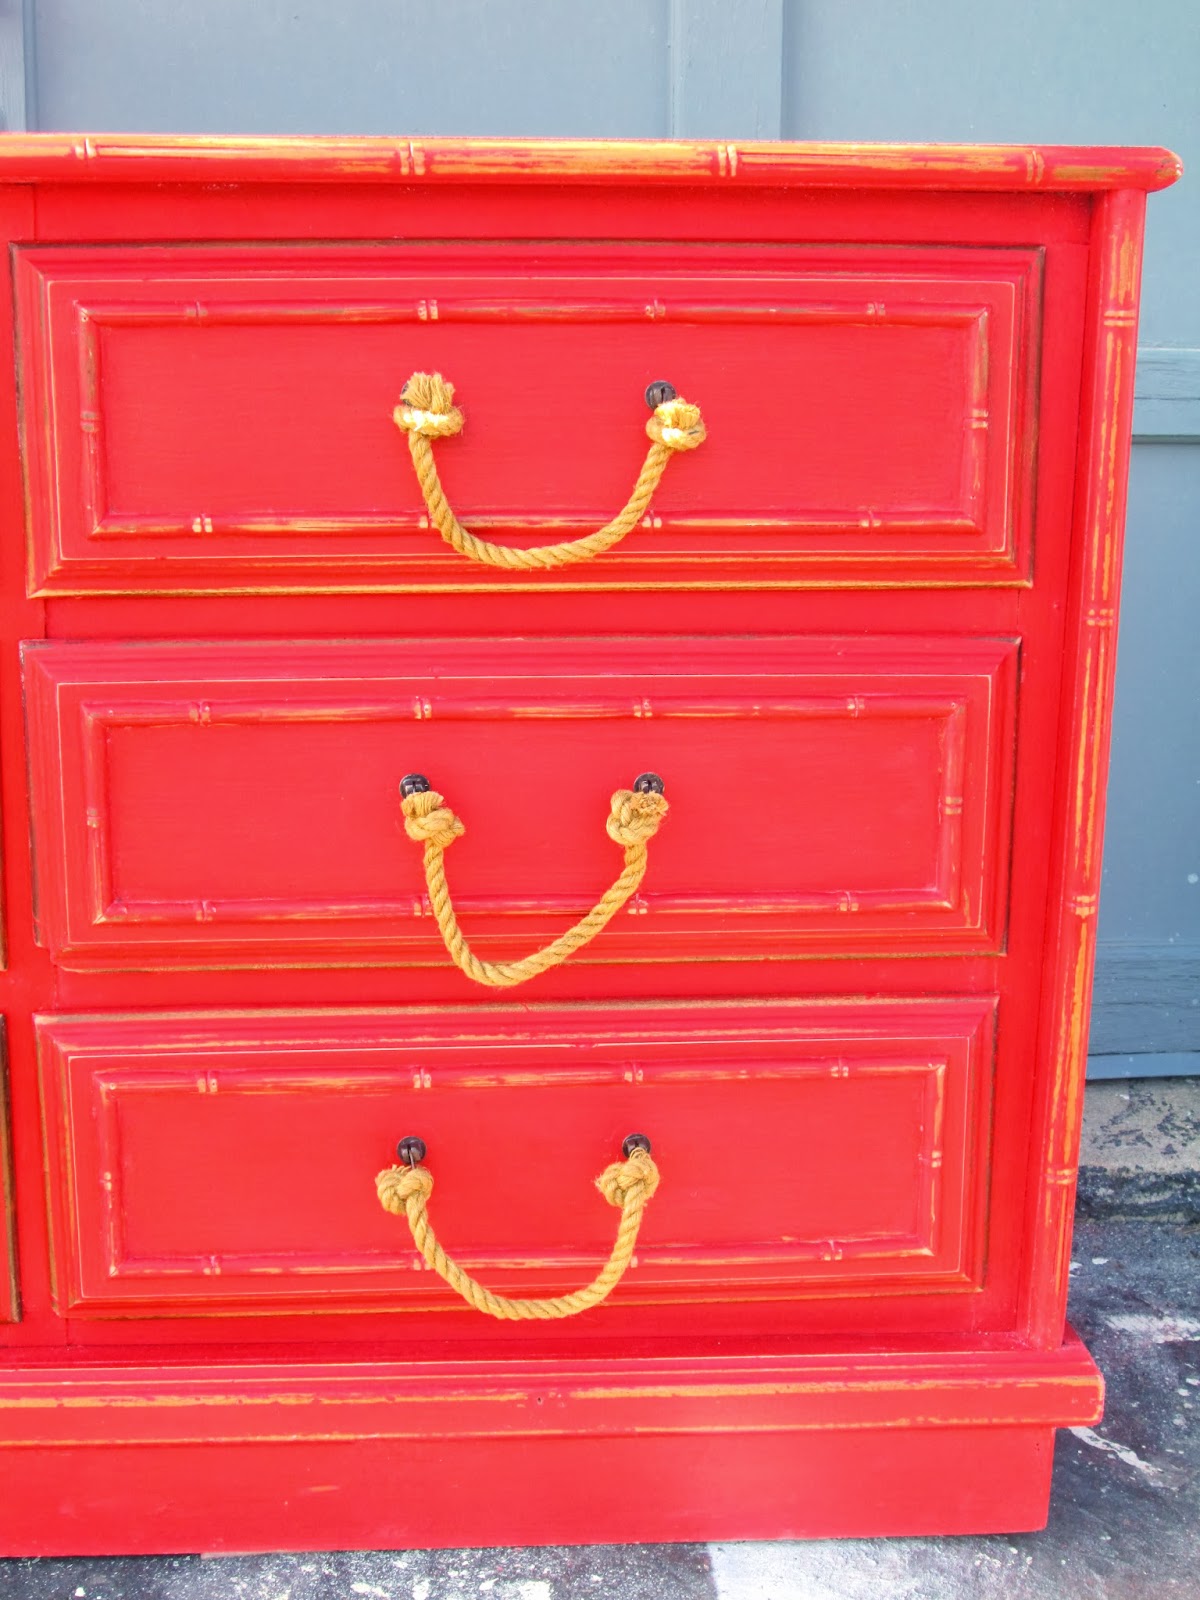
And let's talk about these awesome rope pulls, shall we? They are from Anthropologie, (find them here), and compliment the rustic nature of the distressed dresser SO perfectly. I don't currently have another piece to use these on but I may just go ahead and order another handful anyways. Love them!

When you're transforming a piece and aren't sure what to do about hardware, don't be afraid of giving the original pulls and knobs a little makeover of their own, too! For this piece, I painted the round pulls in the middle the same color as the piece, Emperors Silk. I've also frequently spray painted my hardware in flat black by Rustoleum - my usual 'go-to' if I plan to reuse original hardware.
Remember when I first showed you this piece?

Paint is incredible, isn't it?
Thanks for stopping by!
~Chelsea
This post was originally published on Chelsea's Garage, now affectionately known as StyleMutt.