Hi friends! It has been such a joy to see the pictures some of you have sent of your homes decorated for Christmas! Keep em' coming; your creativity has been so inspiring, (and I'll be compiling them to one post to share close to Christmas)! I finished all our decorating earlier this week and thought it would be fun to share a full tour!
I never decorate for the holidays with any particular theme or color scheme, but I like the decorating to feel fresh and unique year after year. Since I don't want to spend $$$ on brand new decorations, this stretches my imagination with what we already have - and gives me the opportunity to make new things myself! As you tour the rooms I have linked some of the DIY projects for you to check out if you'd like, and a few more will be coming soon!
Please come in and enjoy the tour!
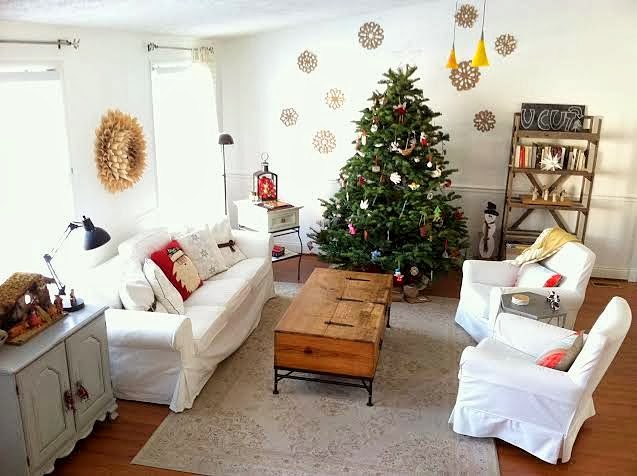
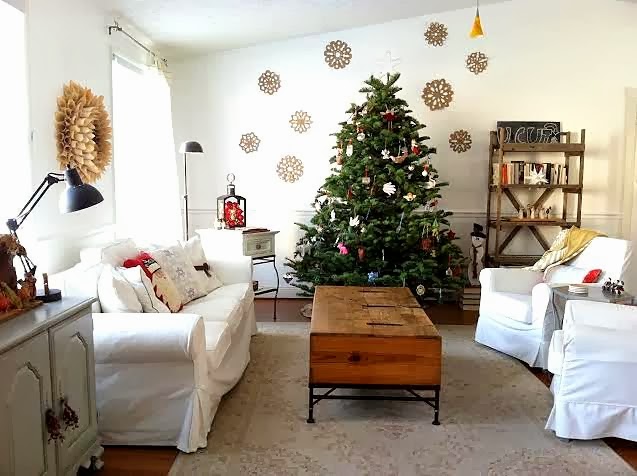
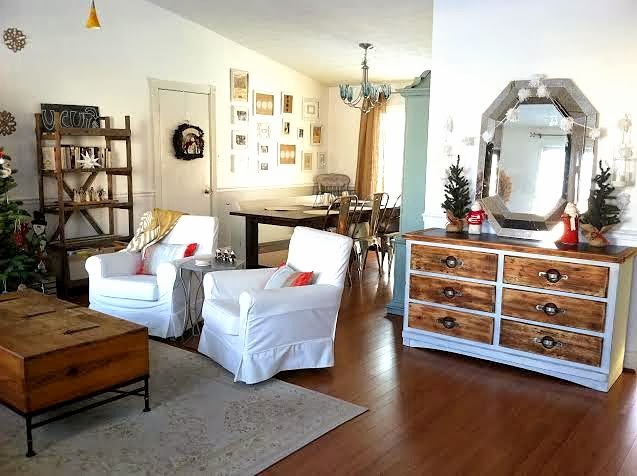
Holiday living room
Pom-pom garland tutorial here


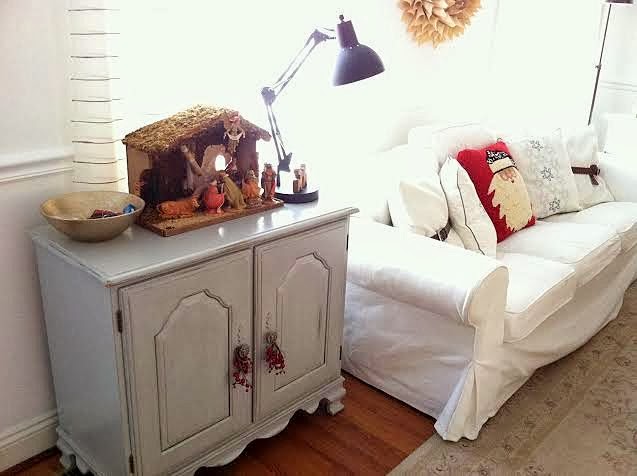
Our young children, (ages 4, 4 and 2), set up the nativity for the first time this year. I love that they huddled everyone around baby Jesus!


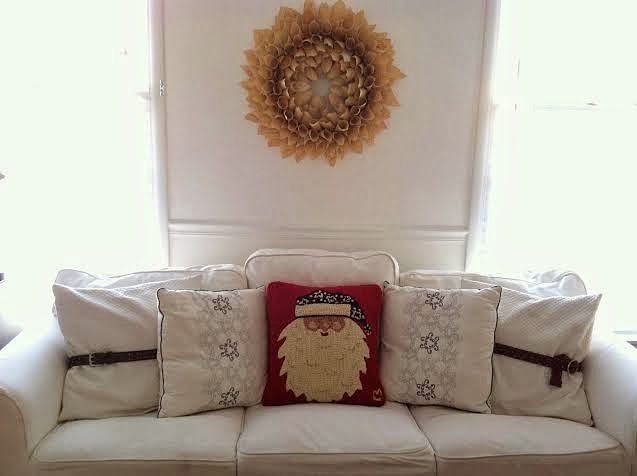
Rather than buy all new pillows for Christmas and the winter, I rummaged my closet and pulled out two brown belts to gather around my large white pillows!


During our snow days earlier this week the little ones and I got busy making some snowflakes of our own inside, (tutorial coming soon)!

I haven't made paper snowflakes in decades! What fun!

Sadly, the tree topper that my husband and I picked out together before our first Christmas broke earlier this week. I made this one from a wire coat hanger wrapped in twine! Tutorial coming soon.


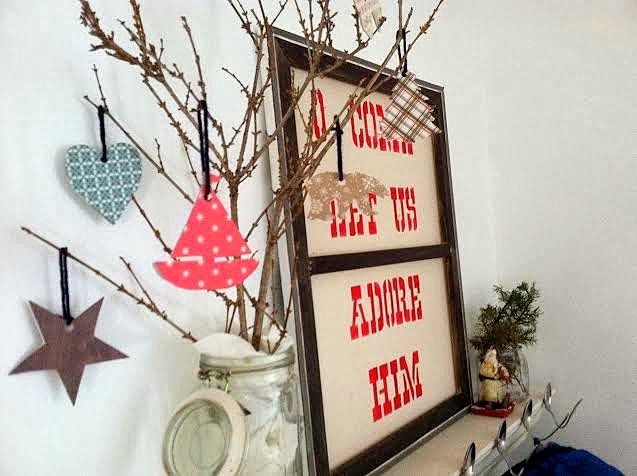
Front Entrance
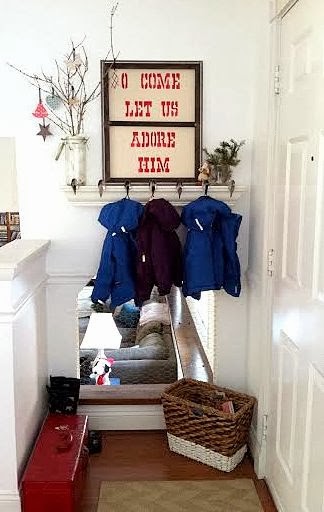
Homemade sign

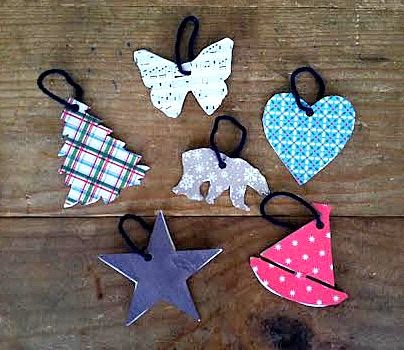
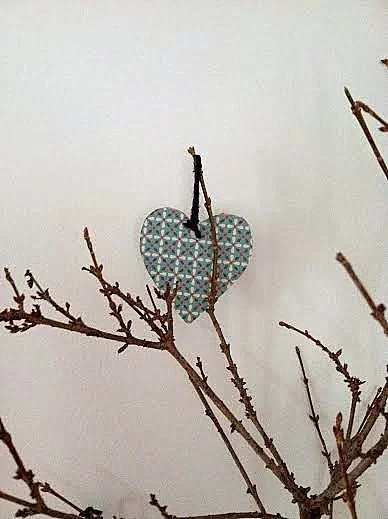
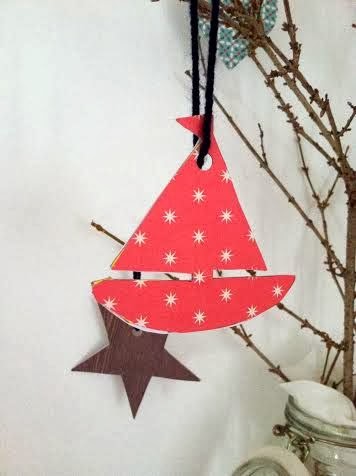
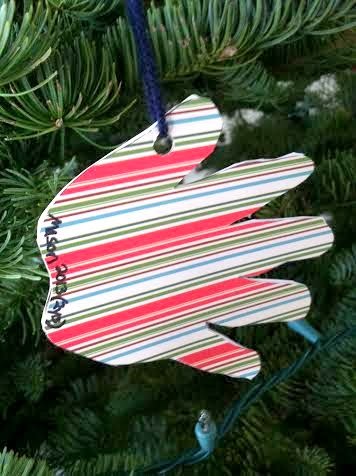
Cardboard ornaments
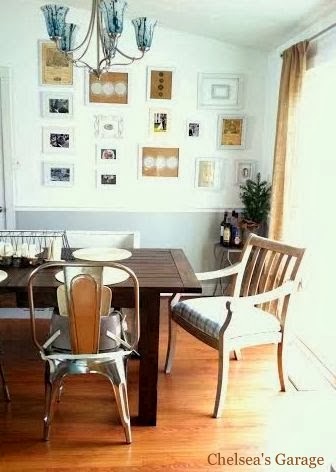
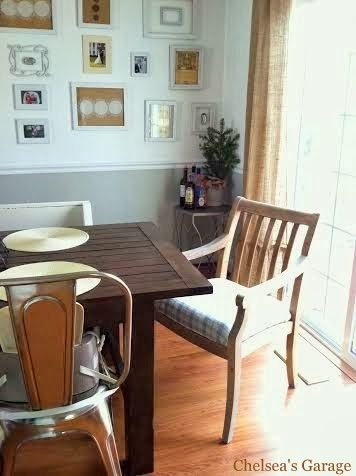
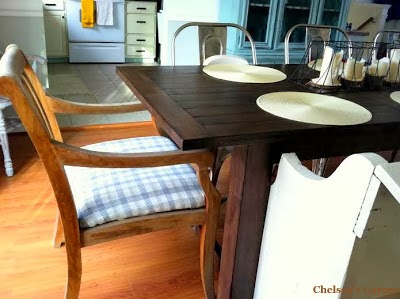
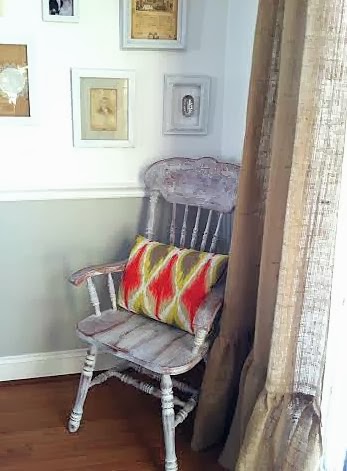
Dining room

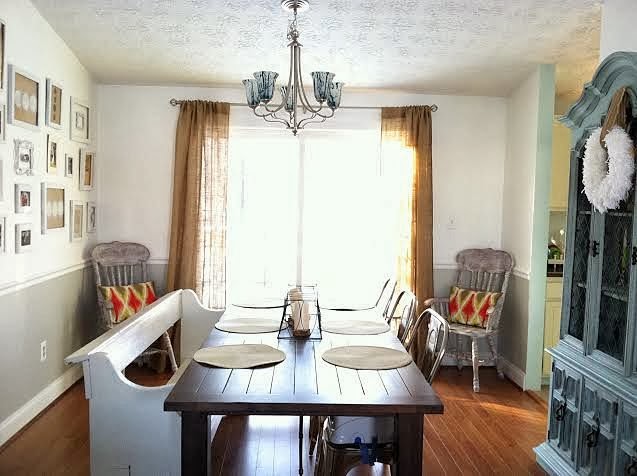
Lumbar pillows made from placemats!
Pom-pom yarn wreath

Trimmed Christmas tree stumps used as candle bases


Bedrooms

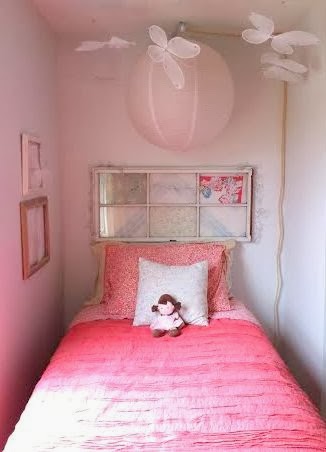
Welcome to Shire's room!

I just added a little 'ice' to her homemade headboard


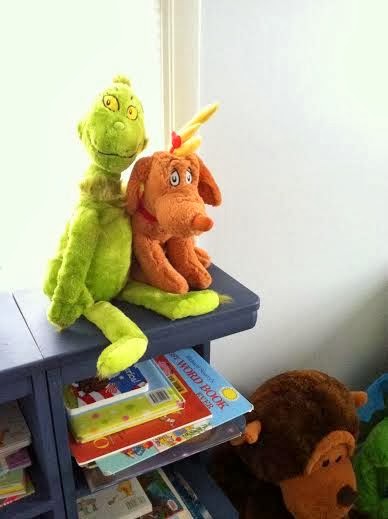
Welcome to Colin's and Mason's room!

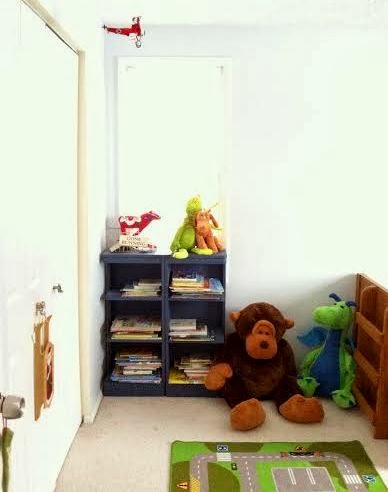
A couple familiar pals are droppin' in for the holidays


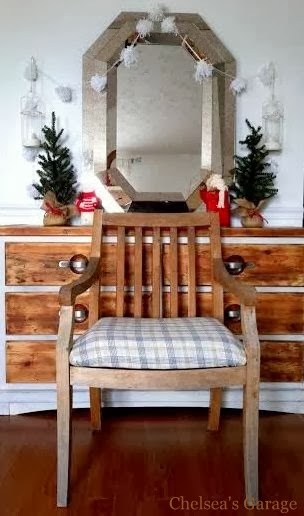
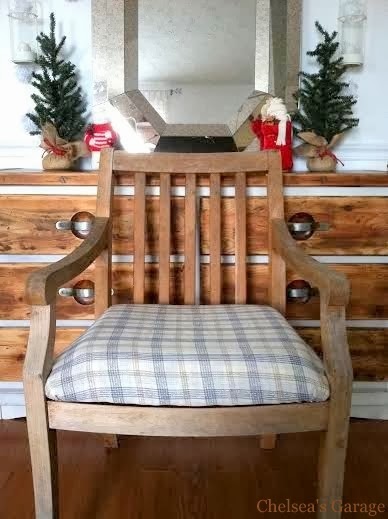
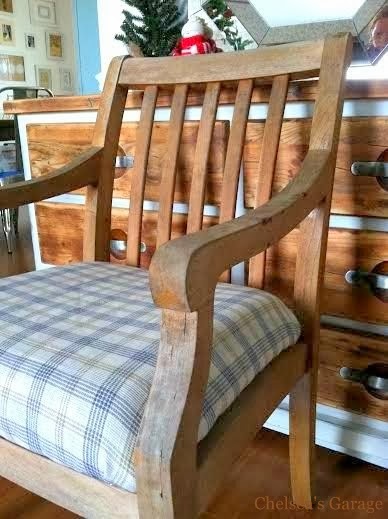
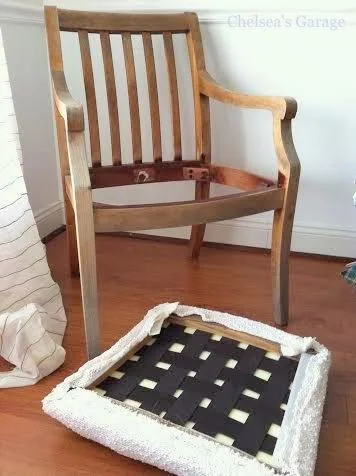
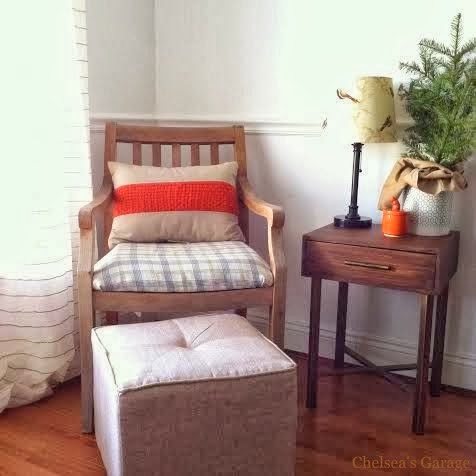
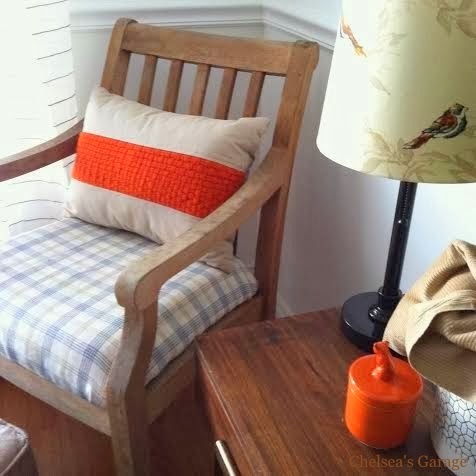
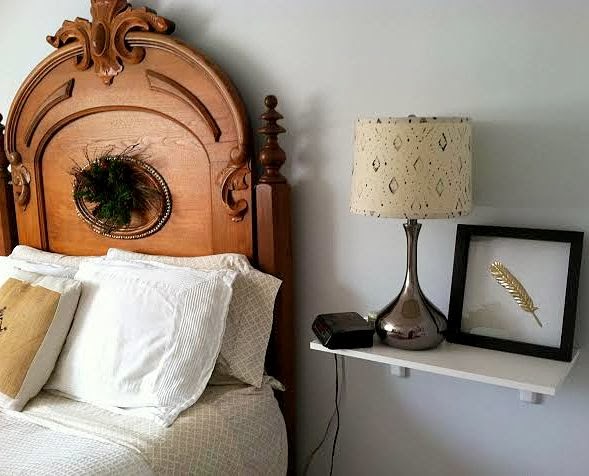
And finally, welcome to the master bedroom!


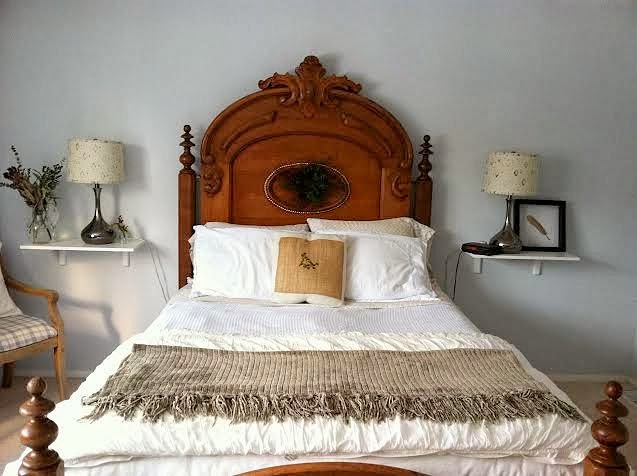
Block printed lampshade tutorial here


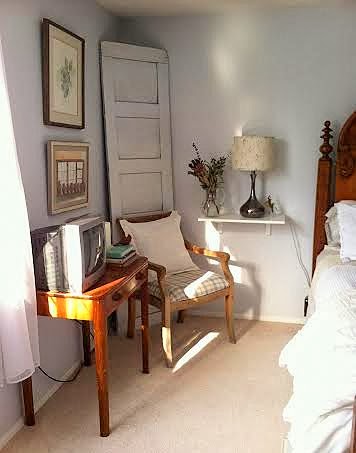
I recovered my corner chair with a soft navy and gold plaid fabric for the holidays and winter months!

A nod to our beloved home state: the cardinal; our state bird!


A few small sprigs from our Noble fir fit nicely in a pair of mismatched Mason jars


Merry Christmas, to all!


Thank you so much for coming by!
~Chelsea
This post was originally published under Chelsea's Garage, now affectionately known as StyleMutt.