Dining Room Makeover, Phases 3 and 4 = Done!

Today's post covers the high and low of painting; literally! Completing our dining room makeover was painting under the chair rail and then our chandelier. I know painting is not that fun of a task for most folks, but once you set aside a morning or afternoon and just dooo iiiit, oh my goodness, the feeling is awesome!

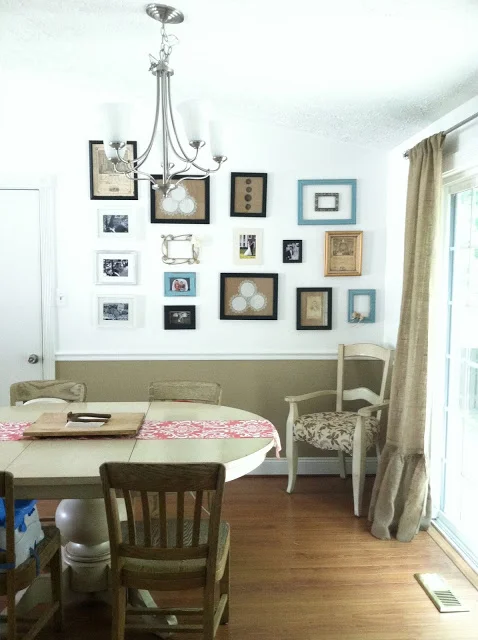
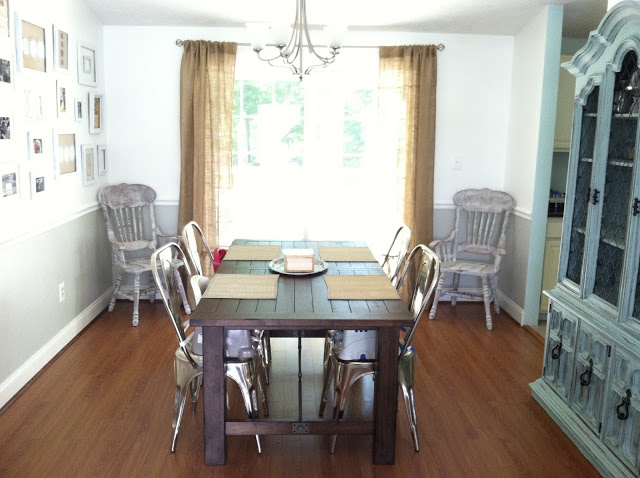
First, here is where we left off with phase 2, (which was replacing the dining set after we sold our old set):

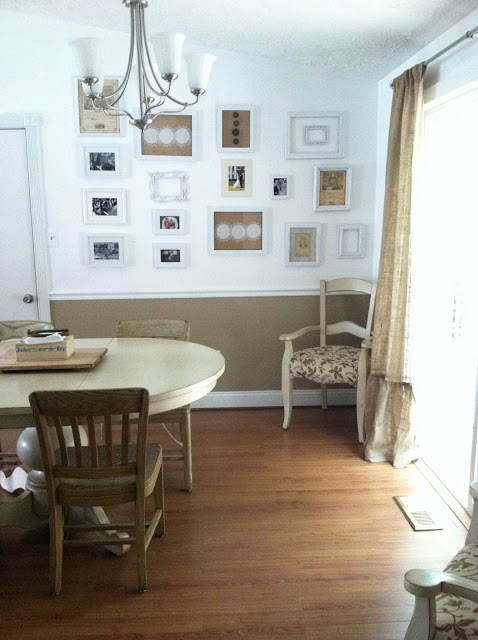
Phase 3: Painting under the chair-rail 

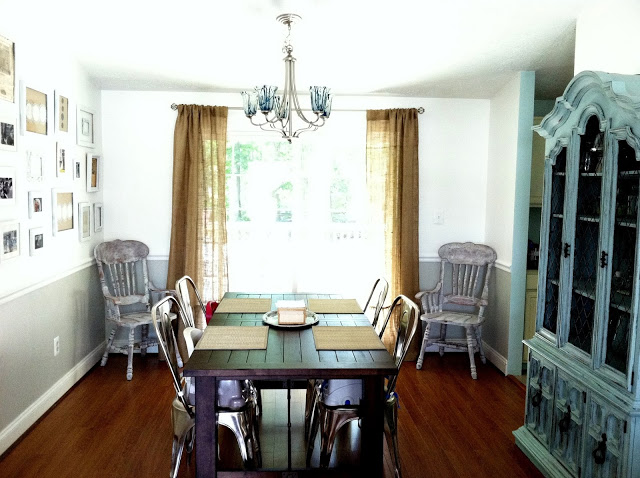
We chose the color Travertine by Valspar at Lowes

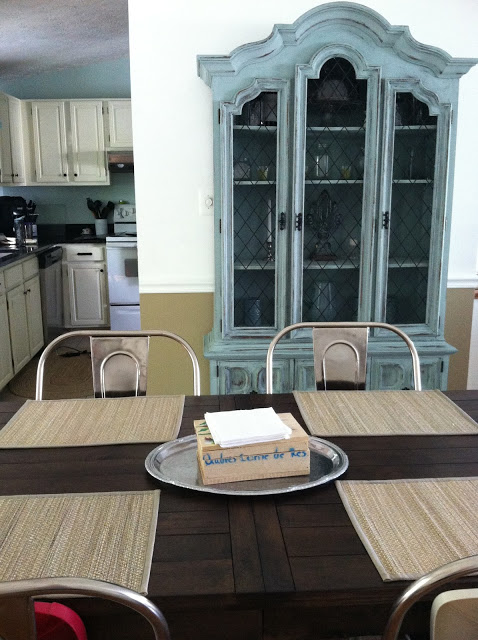
I especially love where it meets the soft minty aqua color of our kitchen! So fresh.

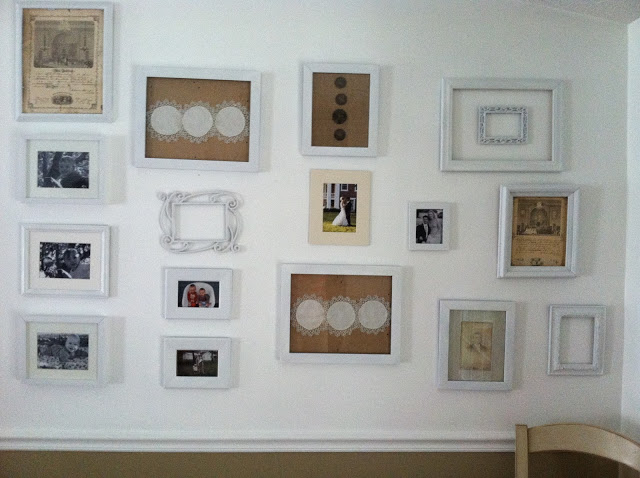
After I painted under the chair rail I was a hair away from dancing around our dining room and calling it done. Well, calling it done at least....the dancing part happens daily. Usually when I start getting impatient in my chair waiting for my kiddos to finish a meal.

Anyways, I loved the whole crisp and industrial look we had achieved, but knew I wanted the chandelier to be something funkier than it was....which brings us to Phase 4!

I spent some time researching clever chandelier makeovers since I wanted to keep the perfectly functional one we had rather than buying something else. While I did find lots of really cool before and afters, nothing was really what I was envisioning for our dining room. It needed to be vibrant, off beat, original, and youthful. My husband and I are, (for now), still in our 20s, and I wanted this space to reflect the playfulness of our young family. 

Here is what I came up with: Splattering paint!

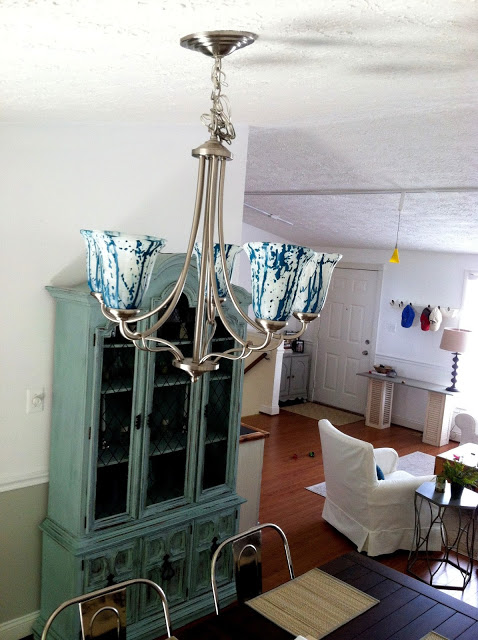
This was one of the most fun and easy home projects yet! I climbed onto the table and removed each frosted glass globe from our chandelier. After a good cleaning I turned each one over and placed a bit of blue table over the hole.

Then I filled a cheap spray bottle with my paint and added a tiny bit of water:

Next I just messily sprayed around the globes until they were evenly covered with splattered and drippy paint.

Finished product, finished dining room!

Thank you all for walking through our dining room makeover with me and have a wonderful weekend!

~Chelsea

This post was originally featured under Chelsea's Garage, now affectionately known as StyleMutt.

Dining Room Makeover, Phase 1 and 2

Before I took the month of August off from blogging, I wrote this post about our first change in the dining room: the gallery wall! At the risk of being repetitive, here is the before and after in case you missed it:

Before

After

Though I didn't blog for a month, I moved right onto the next phase of our dining room makeover - selling our old dining set and purchasing the new!

The table is the Garner Extension table from World Market, and the gun metal chairs are the Remy side chair from Restoration Hardware. When we decided on this table from World Market, I registered to be a 'member', just to get the 10% off coupon. For whatever reason, the cashier gave us 15% off. Didn't ask, didn't look back. At the moment, this table is on sale. Also, the Remy side chair from RH is on sale and is currently the best price for that style chair that could possibly be found, (we made it our mission to find that style as inexpensively as possible). An unbeatable, decent price at RH...guess anything IS possible!

The aqua blue china cabinet is one of my all time favorite pieces that I had the pleasure of refinishing about a year ago. I painted the piece in Duck Egg by Annie Sloan Chalk Paint, and spray painted the caging on the doors as well as the hardware in flat black Rustoleum spray paint. Matt built the shelves for the piece since they were MIA when I bought the piece, (used on Craigslist), and I painted those, as well as the inside of the piece, in Duck Egg. The piece is heavily distressed and is such a fun punch of color on our main floor. That piece, and our burlap curtains, (from Simply French Market on Etsy), are the only two things that did not change during our dining room makeover.

I wanted to shake things up with our arm chairs and found these two solid oak chairs on Craigslist at an amazing price:

Before

After 

I dry brushed Old White by ASCP using a thick bristle brush, then used fine steel wool to distress the spindles and a fine sanding sponge to distress everywhere else. I love the contrast of these warm distressed oak chairs with the sleek and modern metal chairs.

Thank you so much for reading! Tomorrow I'll wrap up our dining room makeover with the final details!

~Chelsea

This post was originally featured under Chelsea's Garage, now affectionately known as StyleMutt.

Dining room makeover

Okay, here it is! I really wanted to pick back up where I had left off a month ago and go through our dining room makeover. This transformation happened little by little over the course of several weeks. I had fun taking photos along the way to track the progress. Can you spot the change in each picture? 

The beginning:

The end!

That last photo is our final product and beyond what I imagined our dining room could be. The room is so on point with who we are and our style aesthetic as a couple. I'll take the next few days to give you a little spot-by-spot tour of the room so I can include all the DIYs and sources without creating a novel.

Thanks for reading!

~Chelsea

This post was originally featured under Chelsea's Garage, now affectionately known as StyleMutt.