Hi there! I'm pretty excited to show you this goody today:
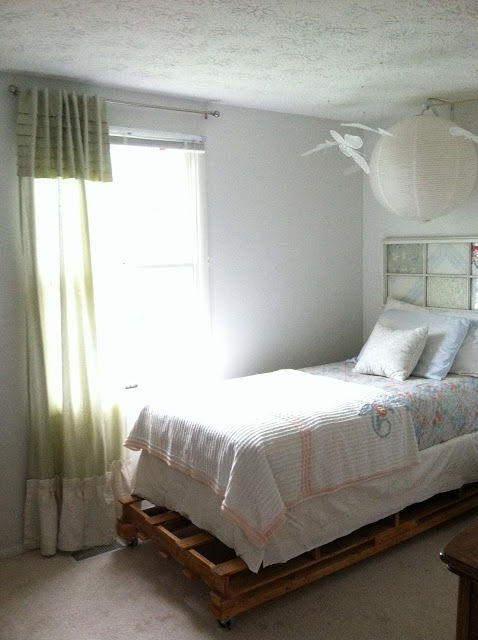
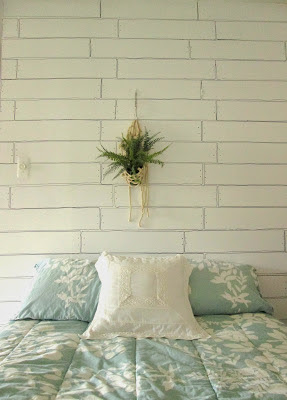
Shire's new wooden pallet bed!
I saw a picture of a wooden pallet bed in a Spring issue of Flea Market Style magazine back in April; I tagged it as one of those things that I thought looked amazing and super fun, but not sure if 1) my husband and handyman, Matt, would be as enthusiastic, and 2) how difficult it would be.
Silly me for doubting on both accounts! Matt loved the picture I showed him and, though there is a serious lack of pallet bed tutorials online, we both thought it couldn't be too hard to figure out. And I'm happy to report, it's not! I thought I would discuss the details of putting this bed together for anyone else out there who is interested in trying, but not sure where to start.
Here's what we started with: A scrap pallet from Home Depot that they gave us for free, (find a kind looking person with the good ol' orange apron and ask), 2 2x4s, 2 1x3s, and 4 medium sized caster wheels with locks, (not pictured).

Then we built this:
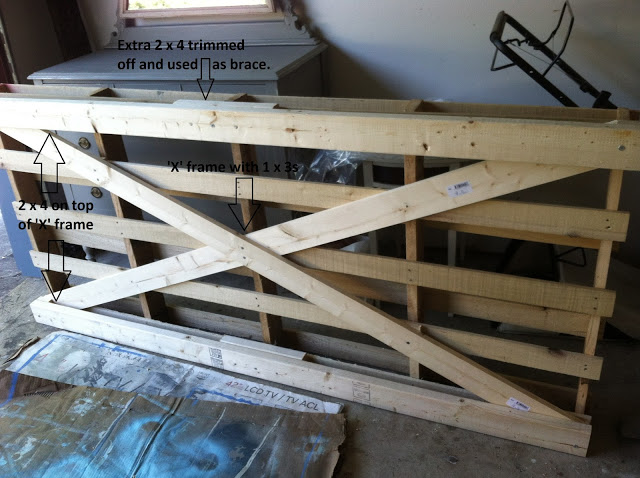
The 'X' frame with the 1x3s was first. Matt used the shaved off ends of the 1x3s as needed as support 'blocks' so the pieces would all lay flush. See here:

Top view:

Then it was my turn to sand and stain. I used 120grit sandpaper in my electric vibrator sander and went to town on the ends and edges, rounding them out so there would be no scratched ankles or splinters. Then I stained using Sherwin-Williams Golden Oak:

Love the difference the stain makes!

Then Matt added the casters to the outer corners of the 2 x 4s

And our little girl's bed was done!

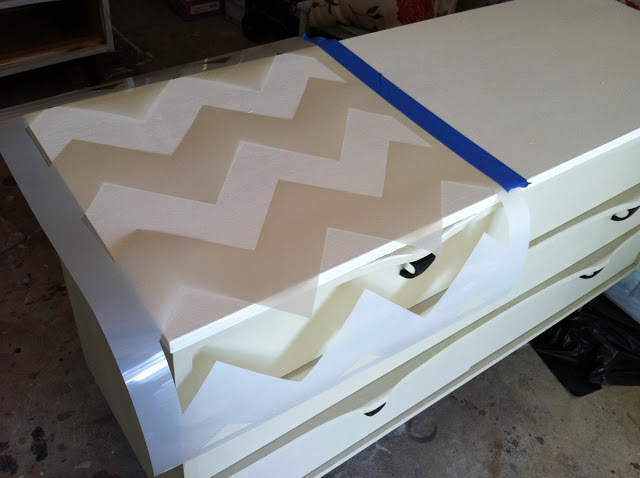
*These pictures were taken before I added the bed skirt you see in the first picture.* I am all about this bed. It was a work of love from beginning to end for our little Shire. It's so sweet to see how special it's made her feel.


Please see our 'Spaces' page for updated pics of Shire's room!
Thank you for stopping by!
Chelsea
This post was originally featured under Chelsea's Garage, now affectionately known as StyleMutt.