This week we got our craft on around here! I know I like to post a lot of DIY projects that I do around our home, but those are different to me than doing crafts. I don't consider the work I put into home decorating as doing crafts anymore than one of the designers at, say, Restoration Hardware. I'm not comparing the quality of my work to RH, but 1) I am very inspired by their style and 2) I cannot justify paying their prices at this point in my life. So, I do what I can with what I have and aim for that cozy, elegant, rustic vibe they've got going on.
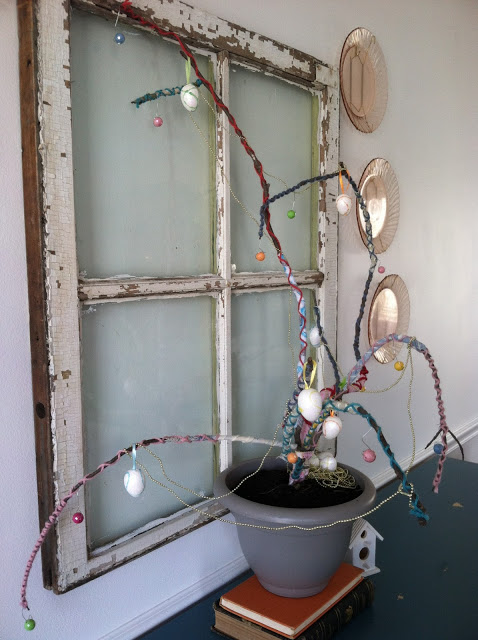
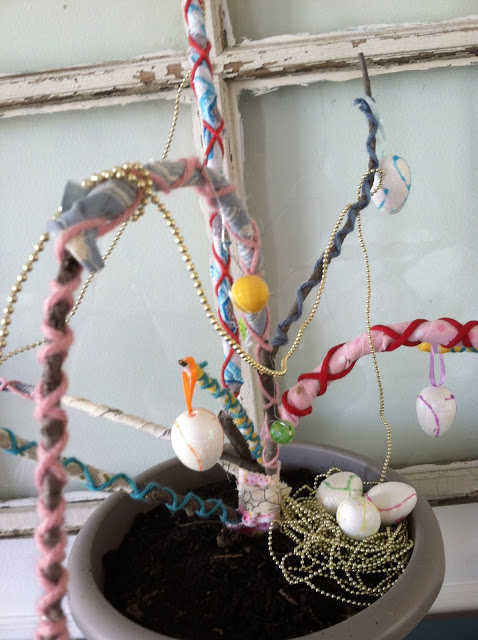
Crafting is different. Crafting with three little ones is a whole other business entirely. And it. is. awesome. My boy-girl twins are 3.5yrs old and for a while now have enjoyed time coloring and with play dough. But, their imaginations have exploded and I've been trying to think up clever ways for them to use their creativity at home. Last week I found a super fun craft at In the Fun Lane: a Spring/Easter tree! I just had to walk out our back door to find a plethora of perfect twigs and branches. We already had the planter, I had 3 bags full of scrap fabric and yarn, and we found a few more goodies lying around the house and at the dollar store. This whole project cost around $3 and it occupied my kids for almost 2 hours. Best $3 ever spent!!!
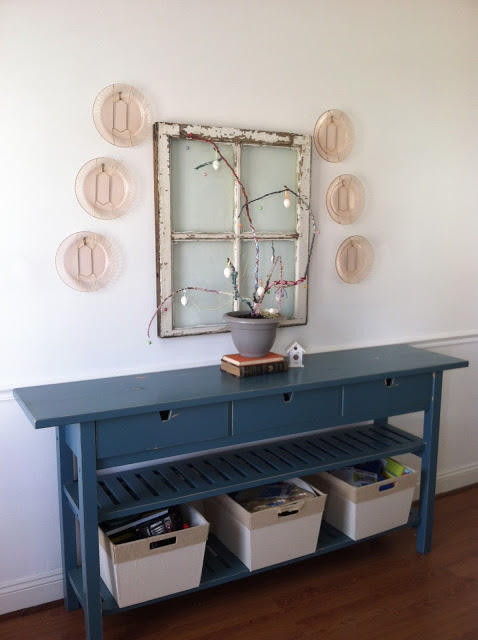
Here's our creation!

Look at all that hot mess....I love it!!!

The birdhouse was a dollar store find that Colin picked out and I spray painted white.
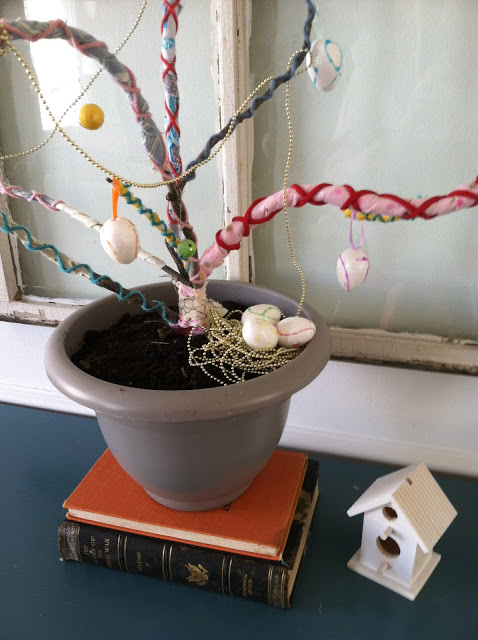


The styrofoam eggs drizzled with color were another dollar store treat that the kids picked out, (from a few options I showed them)

These tiny disco ball beads were from a necklace of Shire's that broke, (by her little brother's hands). I strung them through wire ornament hooks so they could be hung anywhere on our tree.

The gold beaded garland was also found at the dollar store. After stringing some of it around our branches I just let the rest gather in the pot to make a little nest for my 3 eggs; representing our 3 little ones.

Even my youngest, Mason, (who will be 2yrs old in less than a week), contributed, (see the floor):


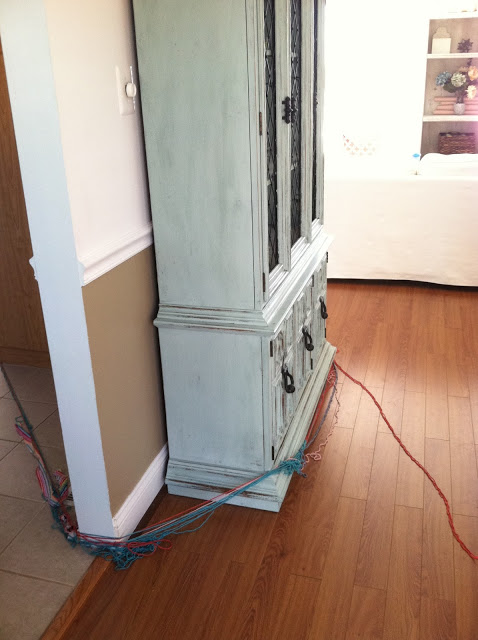

He wrapped that yarn 3 times around the wall! What a stinker!
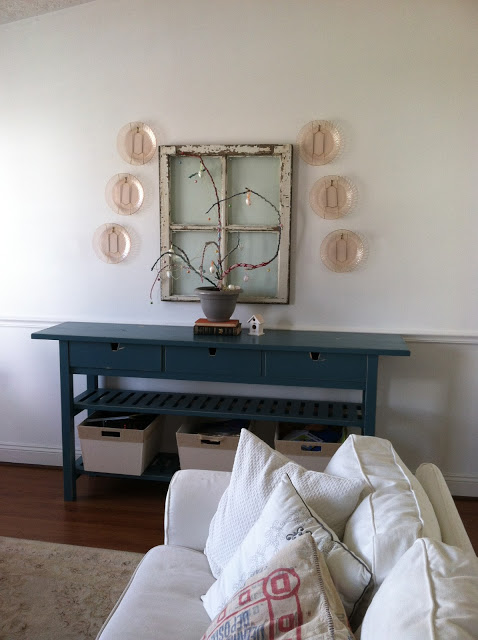
The system that worked for us in making the tree was for me to do all the cutting and gluing and the kids would decide which fabric and yarn was going to go where. They wanted it alllllll covered. It was fun! Not a decorative piece I will leave up year round, but for the colorful upcoming season I think it's perfect :)
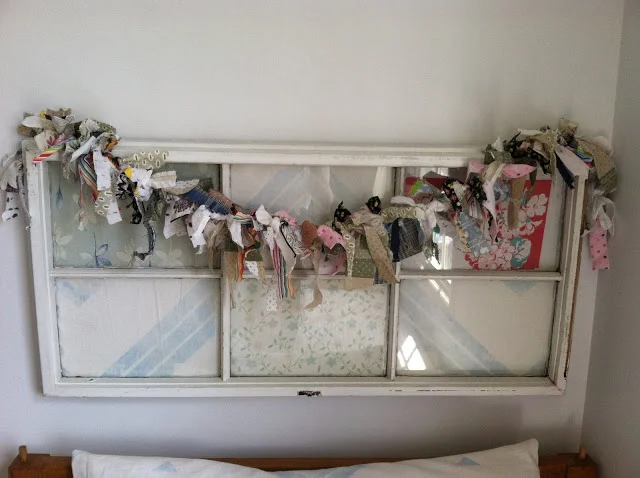
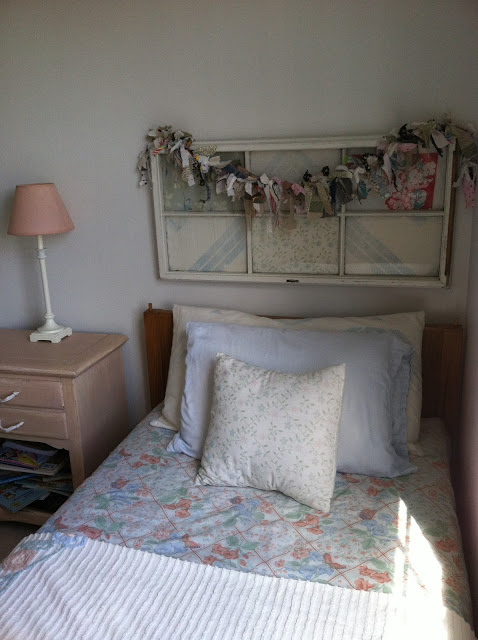
I still had a ton of scrap fabric left that I had already cut into strips, so Shire and I made a rag garland and stuck it in her room, (for now):

We just tied strips of fabric, (between 5" and 8"), onto a length of yarn then I tucked it behind the corners of her windowed headboard.

Have you done any fun fabric projects lately? Leave a comment and share your creativity!
~Chelsea
This post was originally featured under Chelsea's Garage, now affectionately known as StyleMutt.