Glazing: A darn good technique for donuts and furniture!

Glazing. I couldn't figure out why reading about glazing furniture made my mouth water. Then I remembered; glazed donuts. Something that tastes so yummy MUST do wonders for furniture, right?! So, today I mixed up a delicious glaze for a lovely little bookcase. 

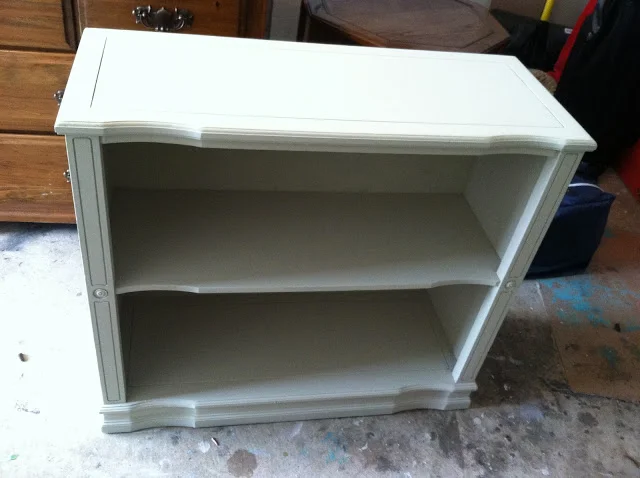
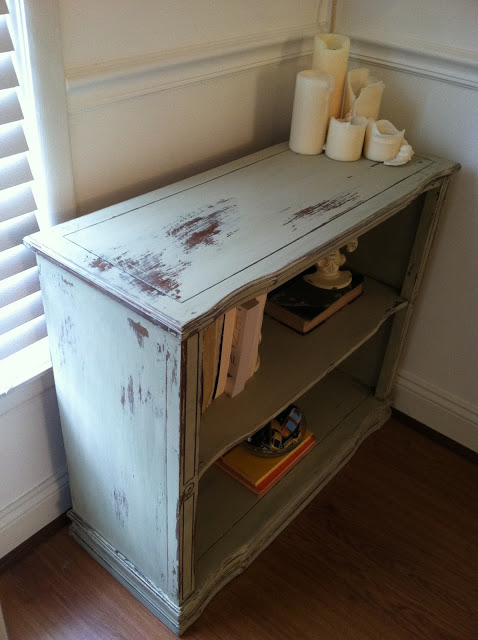
Here it is in a few coats of Country Grey by ASCP. I wanted really even coverage so I did 2 coats plus touch ups.

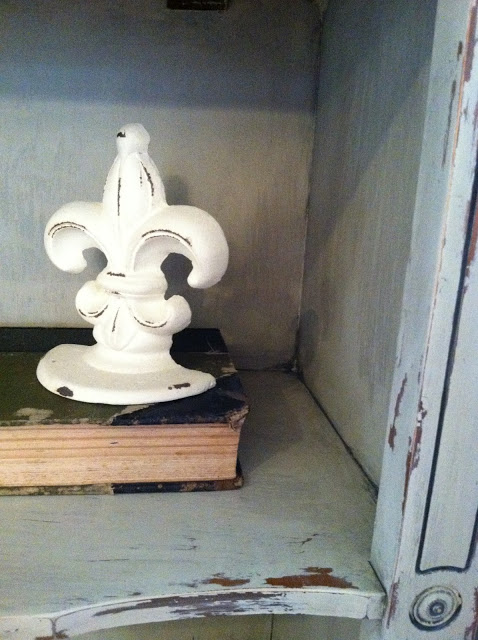
Next I went crazy with my glaze. Like, buck wild kind of crazy. I slopped it on like one of my 3yr olds would. I made sure that all corners, edges and crevices were nicely covered, letting it literally puddle in those areas. I covered the entire piece, waited about 2 minutes, then took clean rag after rag, (I use ripped up t-shirts), and began wiping it off. That's what I love about glazing; it allows you more time to get the look you want since it doesn't dry as fast. Just know that it will change the color of the paint!

After much wiping...voila! Our pretty little bookcase isn't so quiet after all!

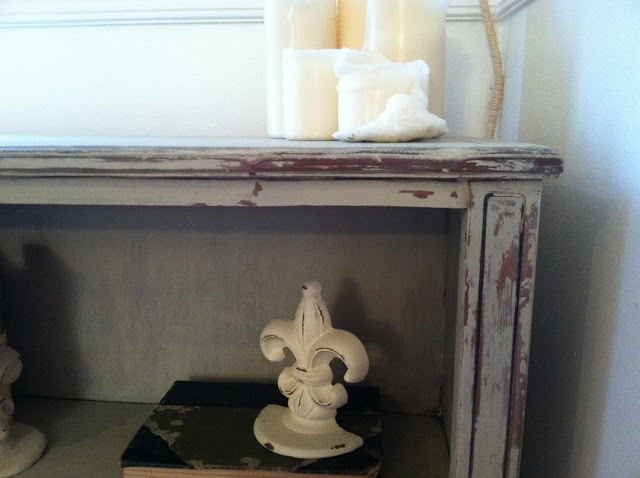
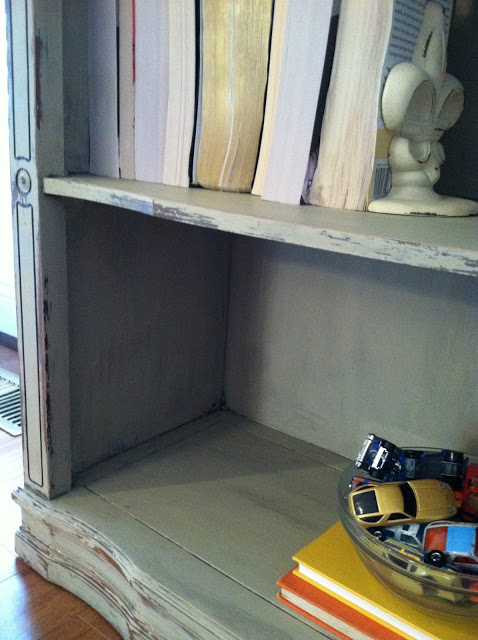
 Love how the glaze builds up in the back corners of the shelves

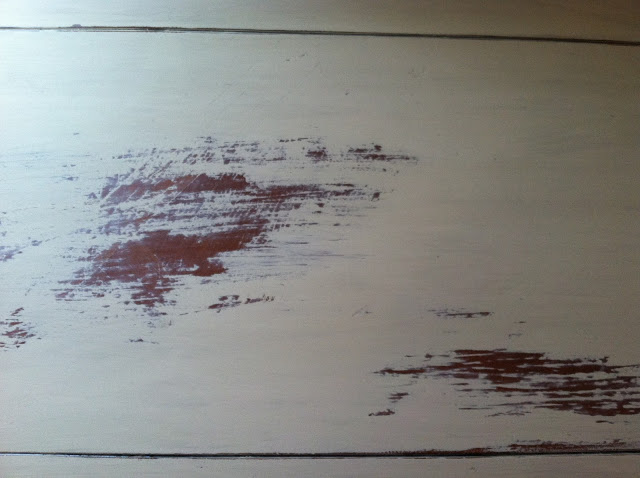
 There are no rules when distressing. Just start on the edges and corners of a piece and go from there. Sometimes that's just enough to pop out the lines and shape of a piece. Other times it's fun to  really take a piece quite a few years back and shake things up with some 'unexpected' worn areas.

"What is glaze and how can I obtain this most awesome concoction" you ask?

As long as you have Valspar Clear Mixing Glaze, (found at Lowes), the sky is the limit. Mix the glaze with wood stain or paint, (about a 2/3 part glaze to 1/3 part stain or paint ratio). Mix well until completely blended, then slop away on your piece, (I like using a brush)! You can even mix white paint with glaze for a beautiful whitewashed look. This is one of those things that is just super fun to try. I love the rich finish it gives to a piece, like it's a legitimate antique.

So there ya have it. Glazing is a fantastic technique to finish off a piece of furniture. Now....donuts anyone?

~Chelsea

This post was originally featured on Chelsea's Garage, now affectionately known as StyleMutt!

Chair-turned-shelf!

Funky shelf now...

...rickety chair just days ago!

The same lovely gal that dropped off the rusty door, (that we made into a bench), also brought this chair - and if I recall, one of her first instructions was "to go crazy with it" :) After a lot of attempted repair, I realized it was not going to be able to withstand much weight as a place to sit. I did some research to see how to best, (most tastefully), salvage the backrest of the chair since that's the most appealing part. I came across a couple options and my client really liked the idea of attaching a shelf - so that's what I did! 

{done as a custom order, happy to do more if there is interest!}

The Low-Down:

-Sawed the back rest of the chair where the vertical sides met the seat

-Measured the space between the vertical sides and cut an old piece of fence scrap wood to fit inside

-Nailed through the vertical sides to hold the shelf in place

-Attached nailheads around the engraved circle at the top for a little rustic elegance

-Attached a sawtooth hook at the top of the backrest to hang the piece on the wall

Do you have any objects in your home that you are using in an unconventional way? Please share! It's fun to learn how to use something you may have thought about getting rid of!

~Chelsea

This post was originally featured on Chelsea's Garage, now affectionately known as StyleMutt!

When one door closes, make a bench!

There is a special kind of thrill from building a piece of furniture from scratch. Designing, measuring  marking, cutting, nailing...it's serious business and major fun at the same time! I didn't know this when a dear client approached me about turning an old door that she found into a bench. I was leaning towards declining for fear of disappointing her vision. 

Thankfully for me she was persistent and open minded.

Before I knew it I was knee deep in something new and slightly terrifying!

{Before}

A little fear can be healthy, as long as it doesn't stop you from trying.

{After}

Because the painted part of the door was so flaky and chippy, I decided to use the unpainted side for the bench, but used the painted side up for the shelf underneath. Lots of sanding smoothed out the splintery edges, and polyurethane semi-gloss filled in and softened some of the divots. 

It was a somewhat simple project. The hardest part was figuring out which part of the door would be the bench, and which part would be the shelf underneath. Since it was such an old door it had some pretty good cracks that we wanted to avoid putting any weight on. Then when we decided on the sturdiest parts of the door to use, we had to figure out where to attach the legs, which was much easier said than done. The legs had pre-designed holes for the screws, and since the door is not a completely flat piece of wood, we needed to find the best flat parts on either end where the legs could be tightly attached. 

We played around with a lot of different options, but I am very pleased with the final product. I can assure my client that we didn't compromise on quality or her vision, and that is a great feeling as a furniture re-finisher.

This piece would not have been possible without 2 amazing sources: my Matt, (who has modestly kept his mad woodworking skills from me all these years, but now I'm on to him!), and an awesome Etsy shop called RusticLiving. Their trade is designing and making furniture legs out of steel. I did a lot of research before deciding on this shop and I would love to use them again! Their prices and quality of work are unbeatable. Check them out here!

Thank you to my dear husband, Matt, and my new friends over at RusticLiving!

I think I could get used to this piece in our bedroom... But, it's waiting out a weekend departure in our garage.

The next Chelsea's Garage sale is set for 

SATURDAY MAY 4! 

Hope to see you there!

~Chelsea

This post was originally featured on Chelsea's Garage, now affectionately known as StyleMutt!