Hi Friends - I hope you are having a wonderful week! We have finally been given some sunny weather today after a chain of gray and rainy days. My little ones were so grateful for a trip to the playground this morning to play on the "Tunnow, swide and sings!" =Tunnel, slide, and swings for those not fluent in tot talk :)
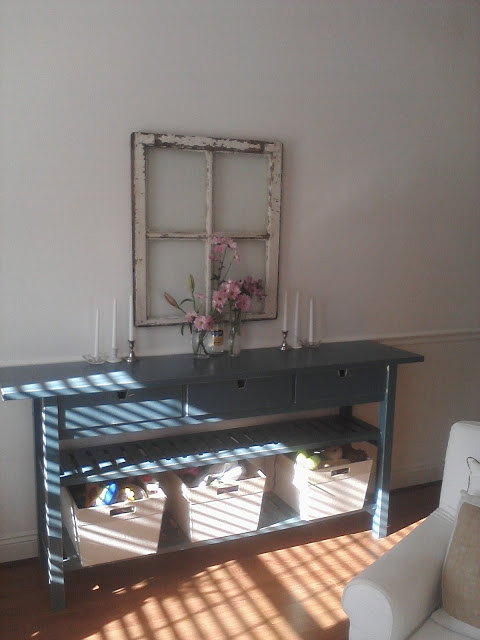
I , too, enjoyed some playing of my own this afternoon. Over the past few days I've been working on a new addition for our dining room. This sweet little cabinet was just the perfect height for our not-so-grand dining room!
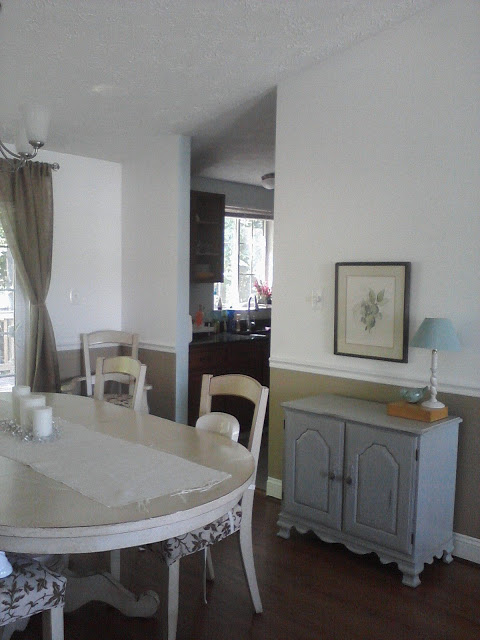
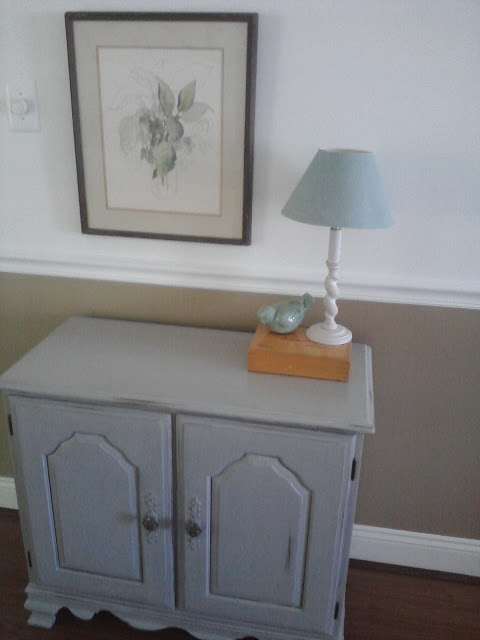
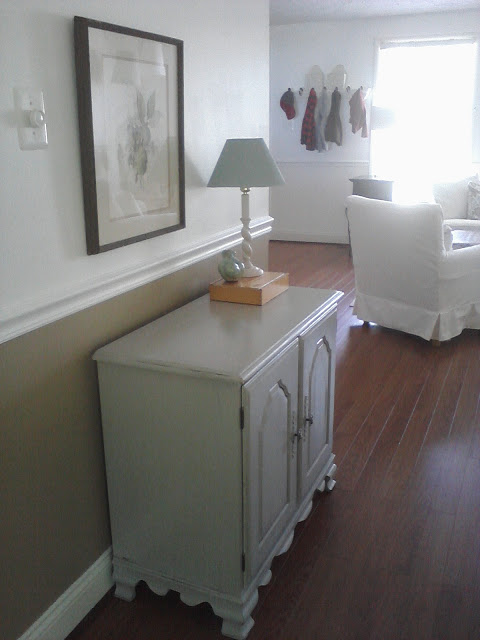
I have been wanting something for our short wall with a small 'footprint' that would still allow for plenty of walking space between the table/chairs. I say walking, but really, I mean running. Our main level is a high traffic area for our kiddos as they love to zoom around playing tag and hide and seek. While I wanted a piece with a bit of surface space, I also didn't want to sacrifice floor space for my kids. This fit the bill perfectly.


Much better; now, I can sign off. :) Thank you for popping by!
~Chelsea
The 411 on the Refinished Gray Cabinet
Supplies:
Paint, (custom blend), 4" paint brush, 120 and 220 grit sandpaper, Minwax Polyurethane clear semi gloss, extra fine sanding block, two cloths
Technique:
-Removed cabinet doors and hardware
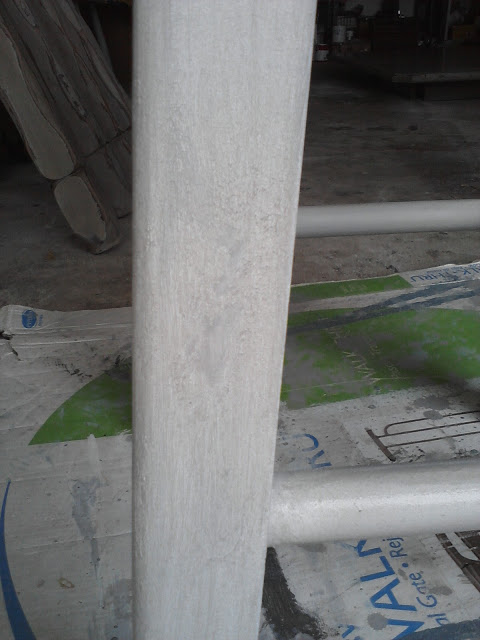
-Used 120 grit sandpaper, (with electric vibrating sander), to strip the surface down to a smooth 'raw' wood, (removing the 'shiny' finish)
-Removed all sawdust with a damp cloth. Then used a dry cloth to remove any excess.
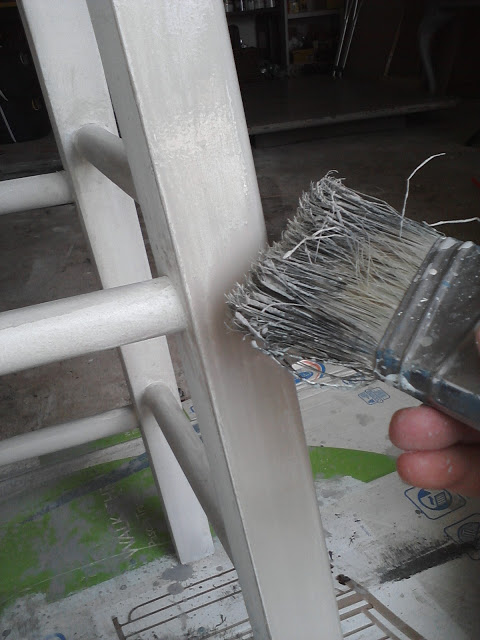
-Painted with a 4" brush, (I never paint insides of cabinets or drawers), let dry over night, smoothed surface with an extra fine sanding block and painted a quick second coat. Let dry.
-Lightly distressed using 220 grit sandpaper
-Sealed using Minwax Polyurethane clear semi gloss, (applied evenly with a slightly damp sponge)
-Reattached hardware and put the doors back on
I , too, enjoyed some playing of my own this afternoon. Over the past few days I've been working on a new addition for our dining room. This sweet little cabinet was just the perfect height for our not-so-grand dining room!
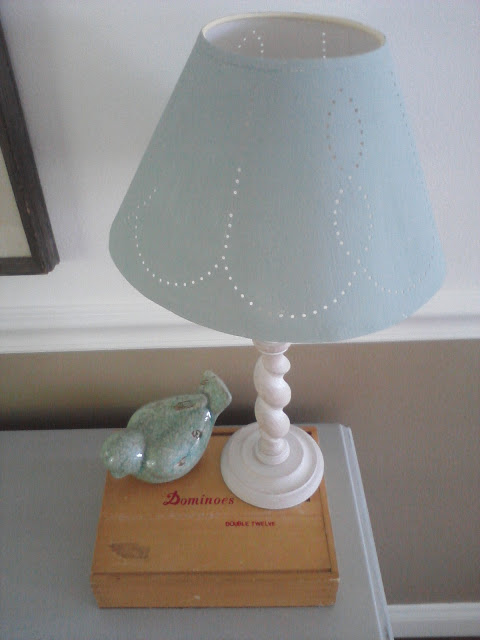
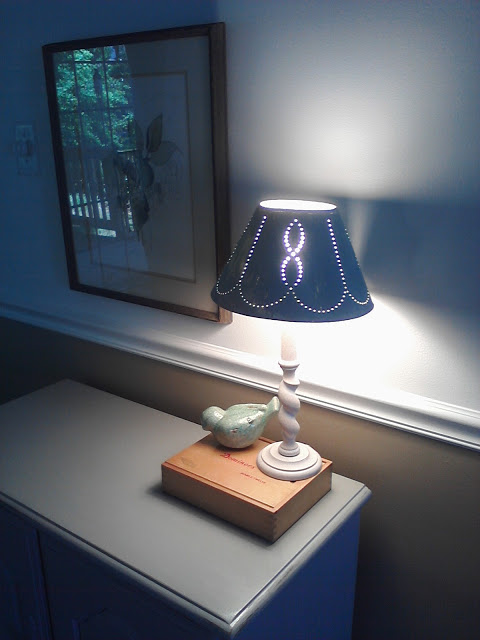
We have an outlet on that wall which I've been wanting to plug a lamp into since we moved in! I found this paper shade at Goodwill for 98 cents and painted it an aqua color to tie in some of the other blues/teals/aquas around this level.
What a sweet punch-out design! Not that ANYONE would ever notice this, but it reminded me of the celtic style knobs that I attached to the piece.
And our dining room would just not be complete without one of our family's all time favorite evening games: Dominoes! Now we've got a convenient spot to keep them, out of hiding and in the open. This antique set of Double Twelves was passed down to us from my husbands grandparents. How cool!
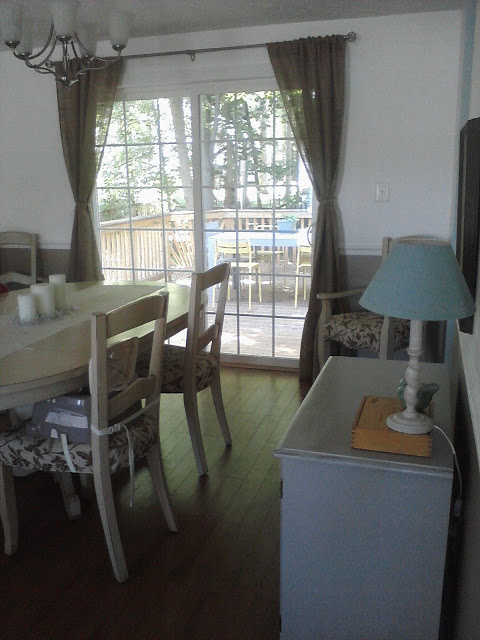
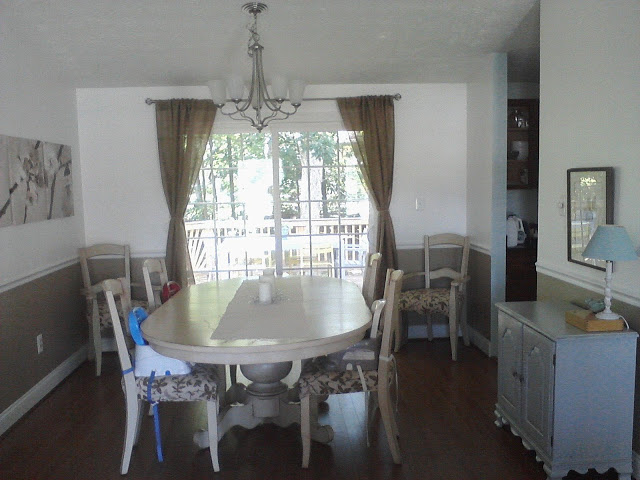
Our dining room; nothing fancy but we cherish our time around that table with dear family and friends. It's been a work in progress and seems to suit our {crazy} stage of life! 3 booster seats, (all Craigslist scores), for 3 wee hineys.
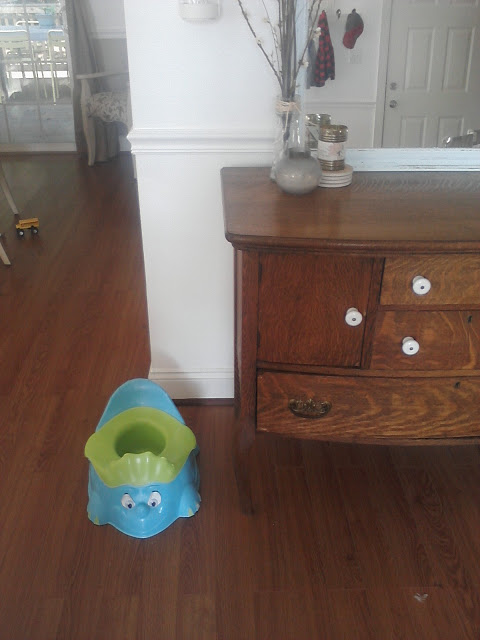
What? How did these pictures make it in?!? ;) *This* is my real project of the week:
Potty training.
The bane of my existence.
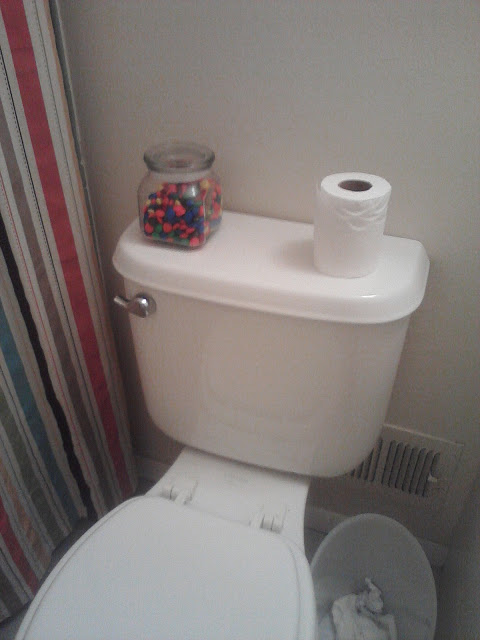
Our older two are twins, but I'm doing this one at a time. One's enough! Anyhow, I just thought I'd share some real pictures of what our house looks like at the moment. Dino potty on our main level and jars of m&m's lying around for 'successes'.
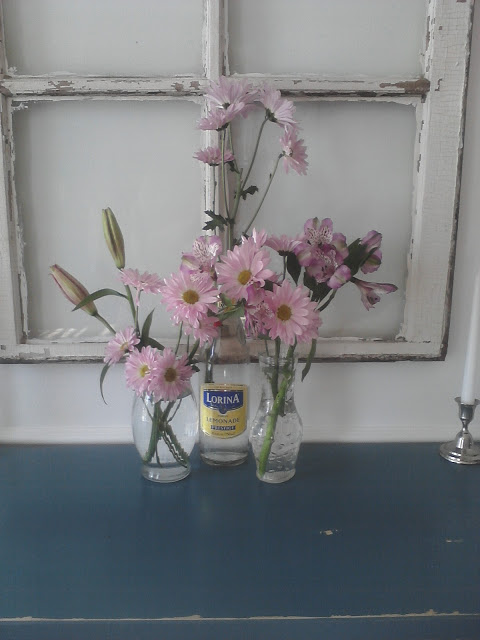
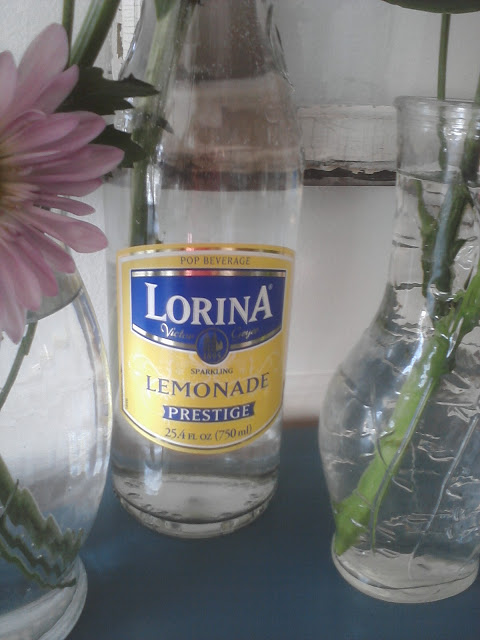
Okay, I can't leave you with a potty photo. Here's a pretty one, (or three). :) Matt got Shire and me a bouquet of flowers yesterday for all our hard work with potty training, (purple is Shire's favorite color). They took my breath away when i came downstairs this morning and the bright sun was beaming in. What a site to wake up to, huh?!
~Chelsea
The 411 on the Refinished Gray Cabinet
Supplies:
Paint, (custom blend), 4" paint brush, 120 and 220 grit sandpaper, Minwax Polyurethane clear semi gloss, extra fine sanding block, two cloths
Technique:
-Removed cabinet doors and hardware
-Used 120 grit sandpaper, (with electric vibrating sander), to strip the surface down to a smooth 'raw' wood, (removing the 'shiny' finish)
-Removed all sawdust with a damp cloth. Then used a dry cloth to remove any excess.
-Painted with a 4" brush, (I never paint insides of cabinets or drawers), let dry over night, smoothed surface with an extra fine sanding block and painted a quick second coat. Let dry.
-Lightly distressed using 220 grit sandpaper
-Sealed using Minwax Polyurethane clear semi gloss, (applied evenly with a slightly damp sponge)
-Reattached hardware and put the doors back on