What?! Where is our usual Friday Reader Design home tour, you ask? Our booty kicking intern, McKenna, is taking a much deserved week off, so I'm slipping in to share a little tour of my own! Hope you guys don't mind! We've got a fabulous line up of Reader Design tours that will resume next week, though. Promise!
A LOT has changed in our main living spaces since last fall; a result of HGTV coming to photograph our home and then casually letting me know our home can't be shared on our blog or social media until after it's printed next Fall....unless I change it all. Challenge accepted, HGTV! The day after the shoot I sold rugs, chairs, tables, swapped things from one floor to the other, deconstructed, redesigned and reconstructed our pipe shelves, and redesigned our main living spaces. It's been such a fun process but I sure am glad it's over. It's time to kick back. :)
We're going to go ahead and just call this tour 'moody', as opposed to, 'it started pouring cats and dogs during the 45 minutes I had to prep and shoot this thing before the kids came home from school, so I had no time to manually adjust the light settings on my camera before each shot'. Moody has a better catch, don't you think?
Well, come on in!


It helped me tremendously to lay the plan for this space out in a 3D rendering, (which I posted about here). Seeing it come to life confirmed that the shelves really belong in the living room, rather than the dining room where we built them originally. Along with moving them to this wall, I also wanted a bit more desk space. Matt cut two boards on the upper left side to make room for a piece of art, and we transplanted one of those cut pieces off to the right hand side as a desk!

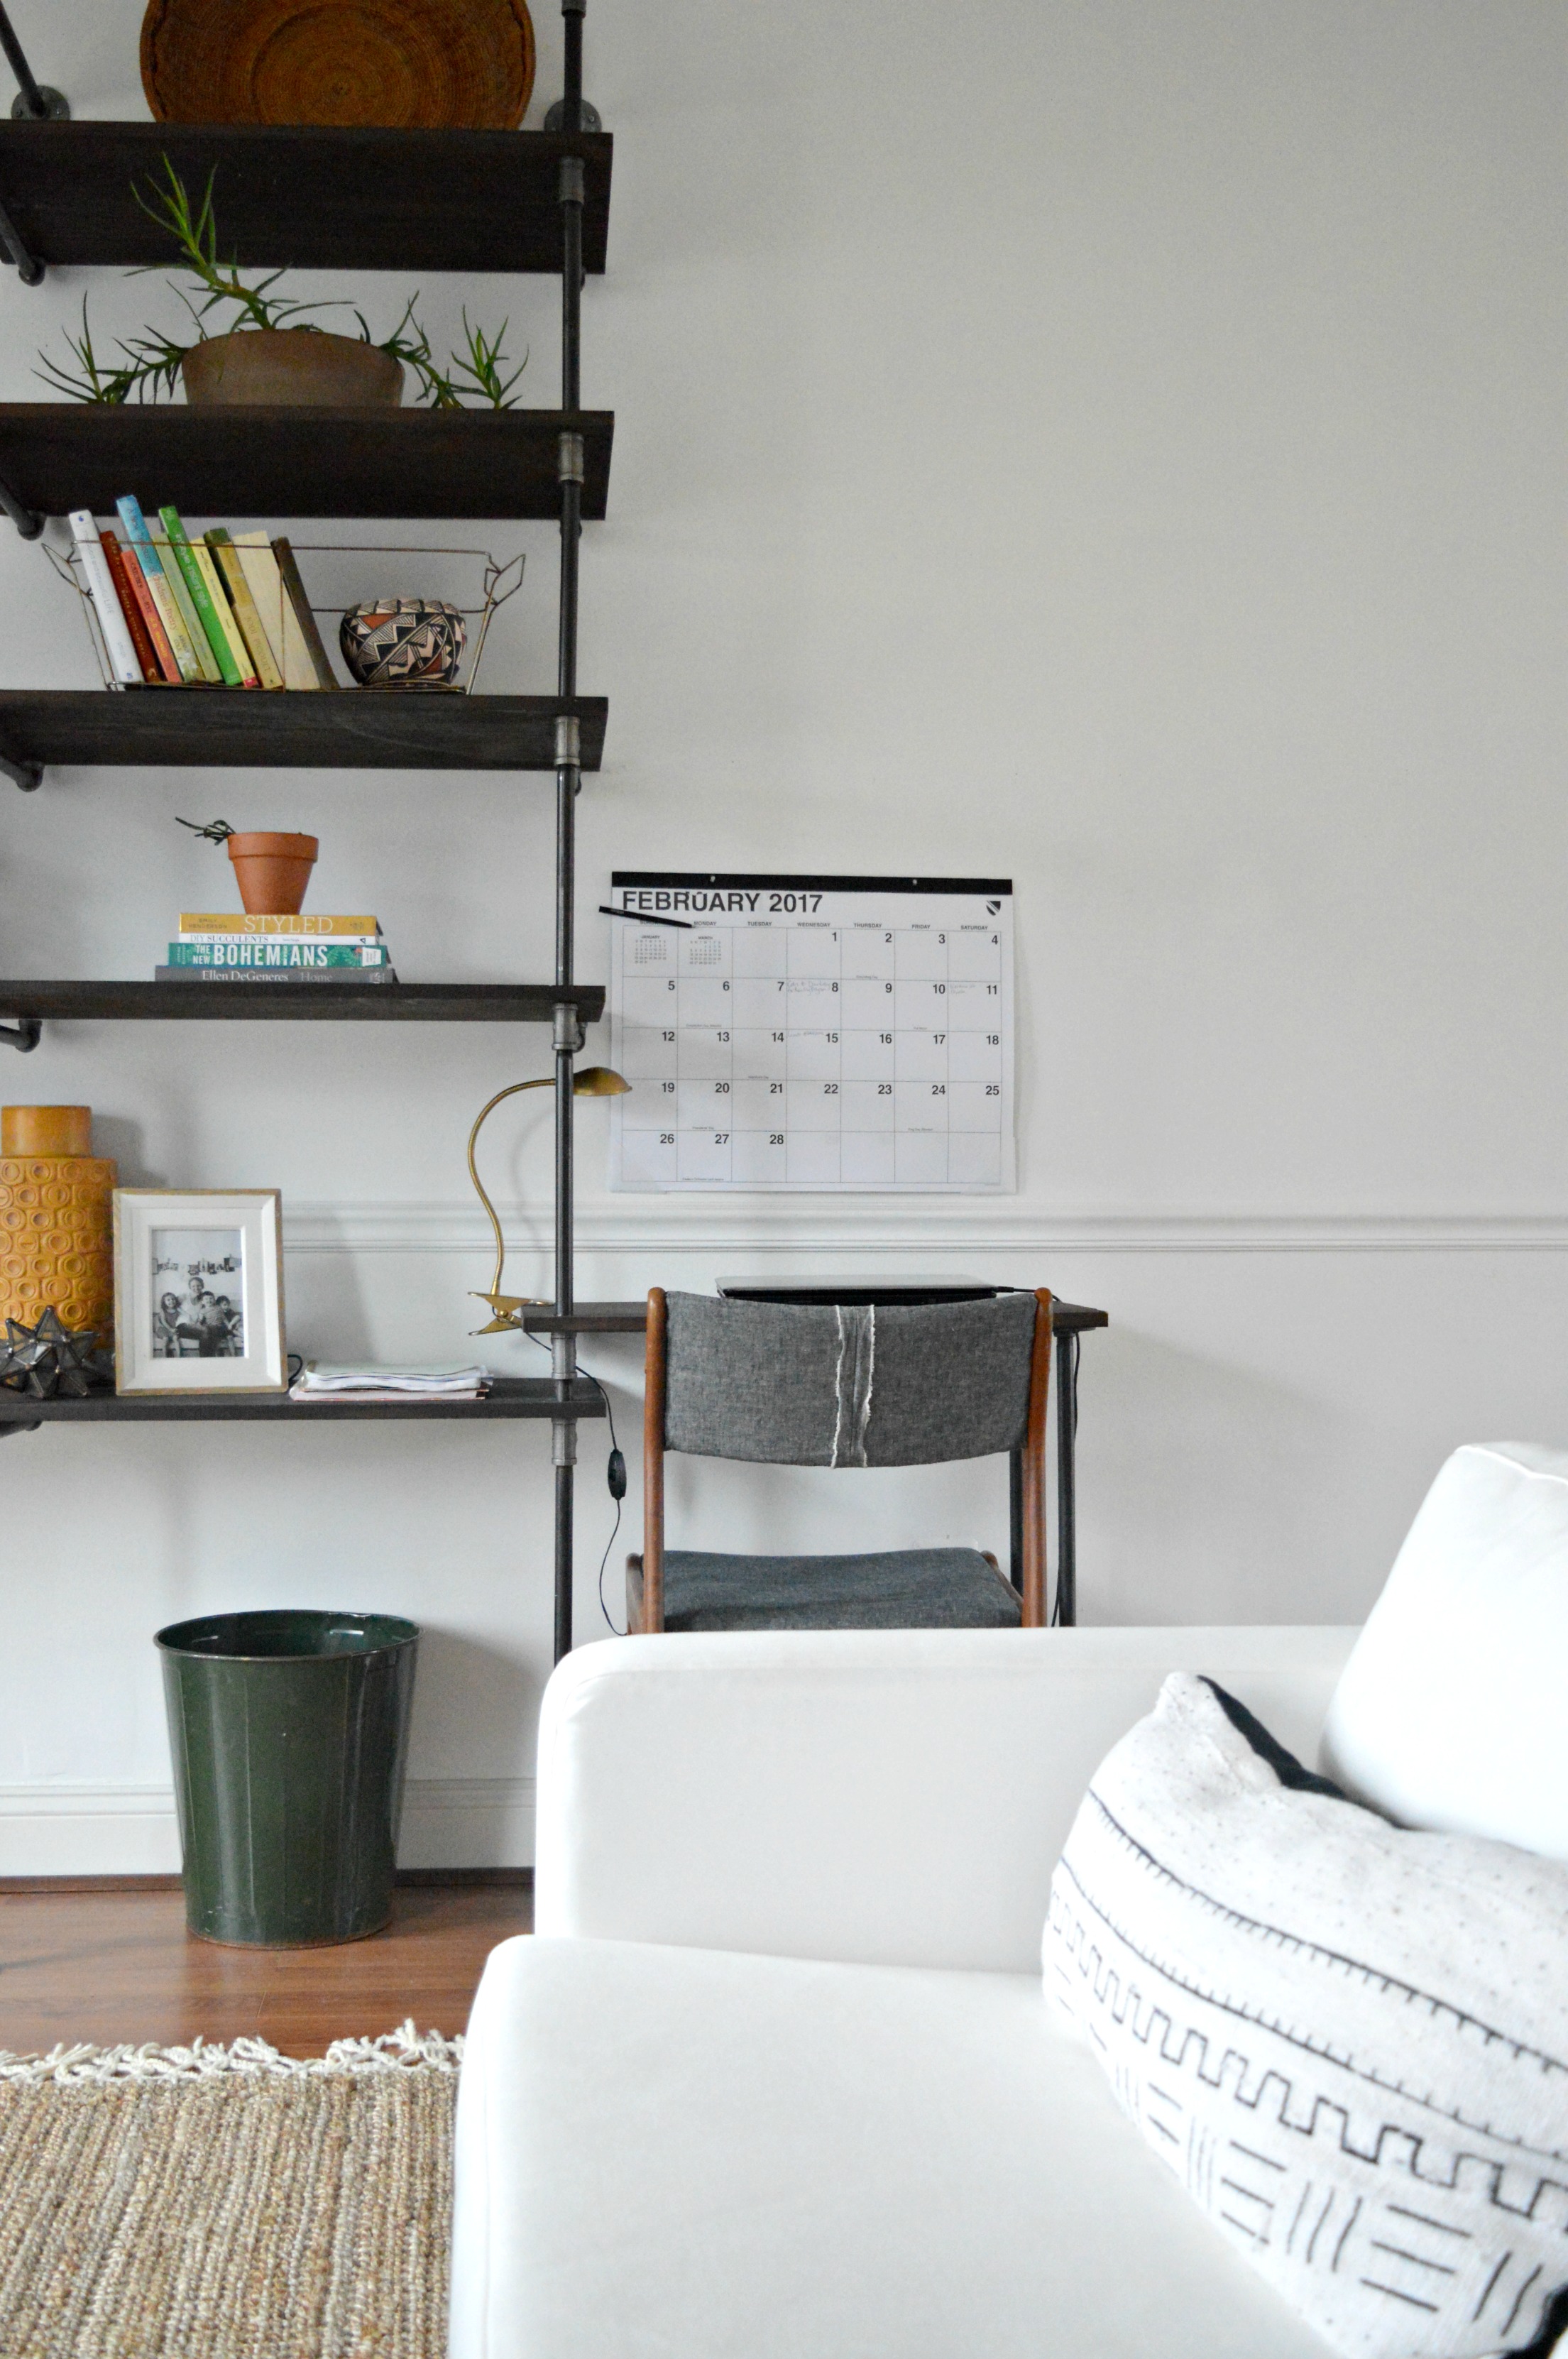

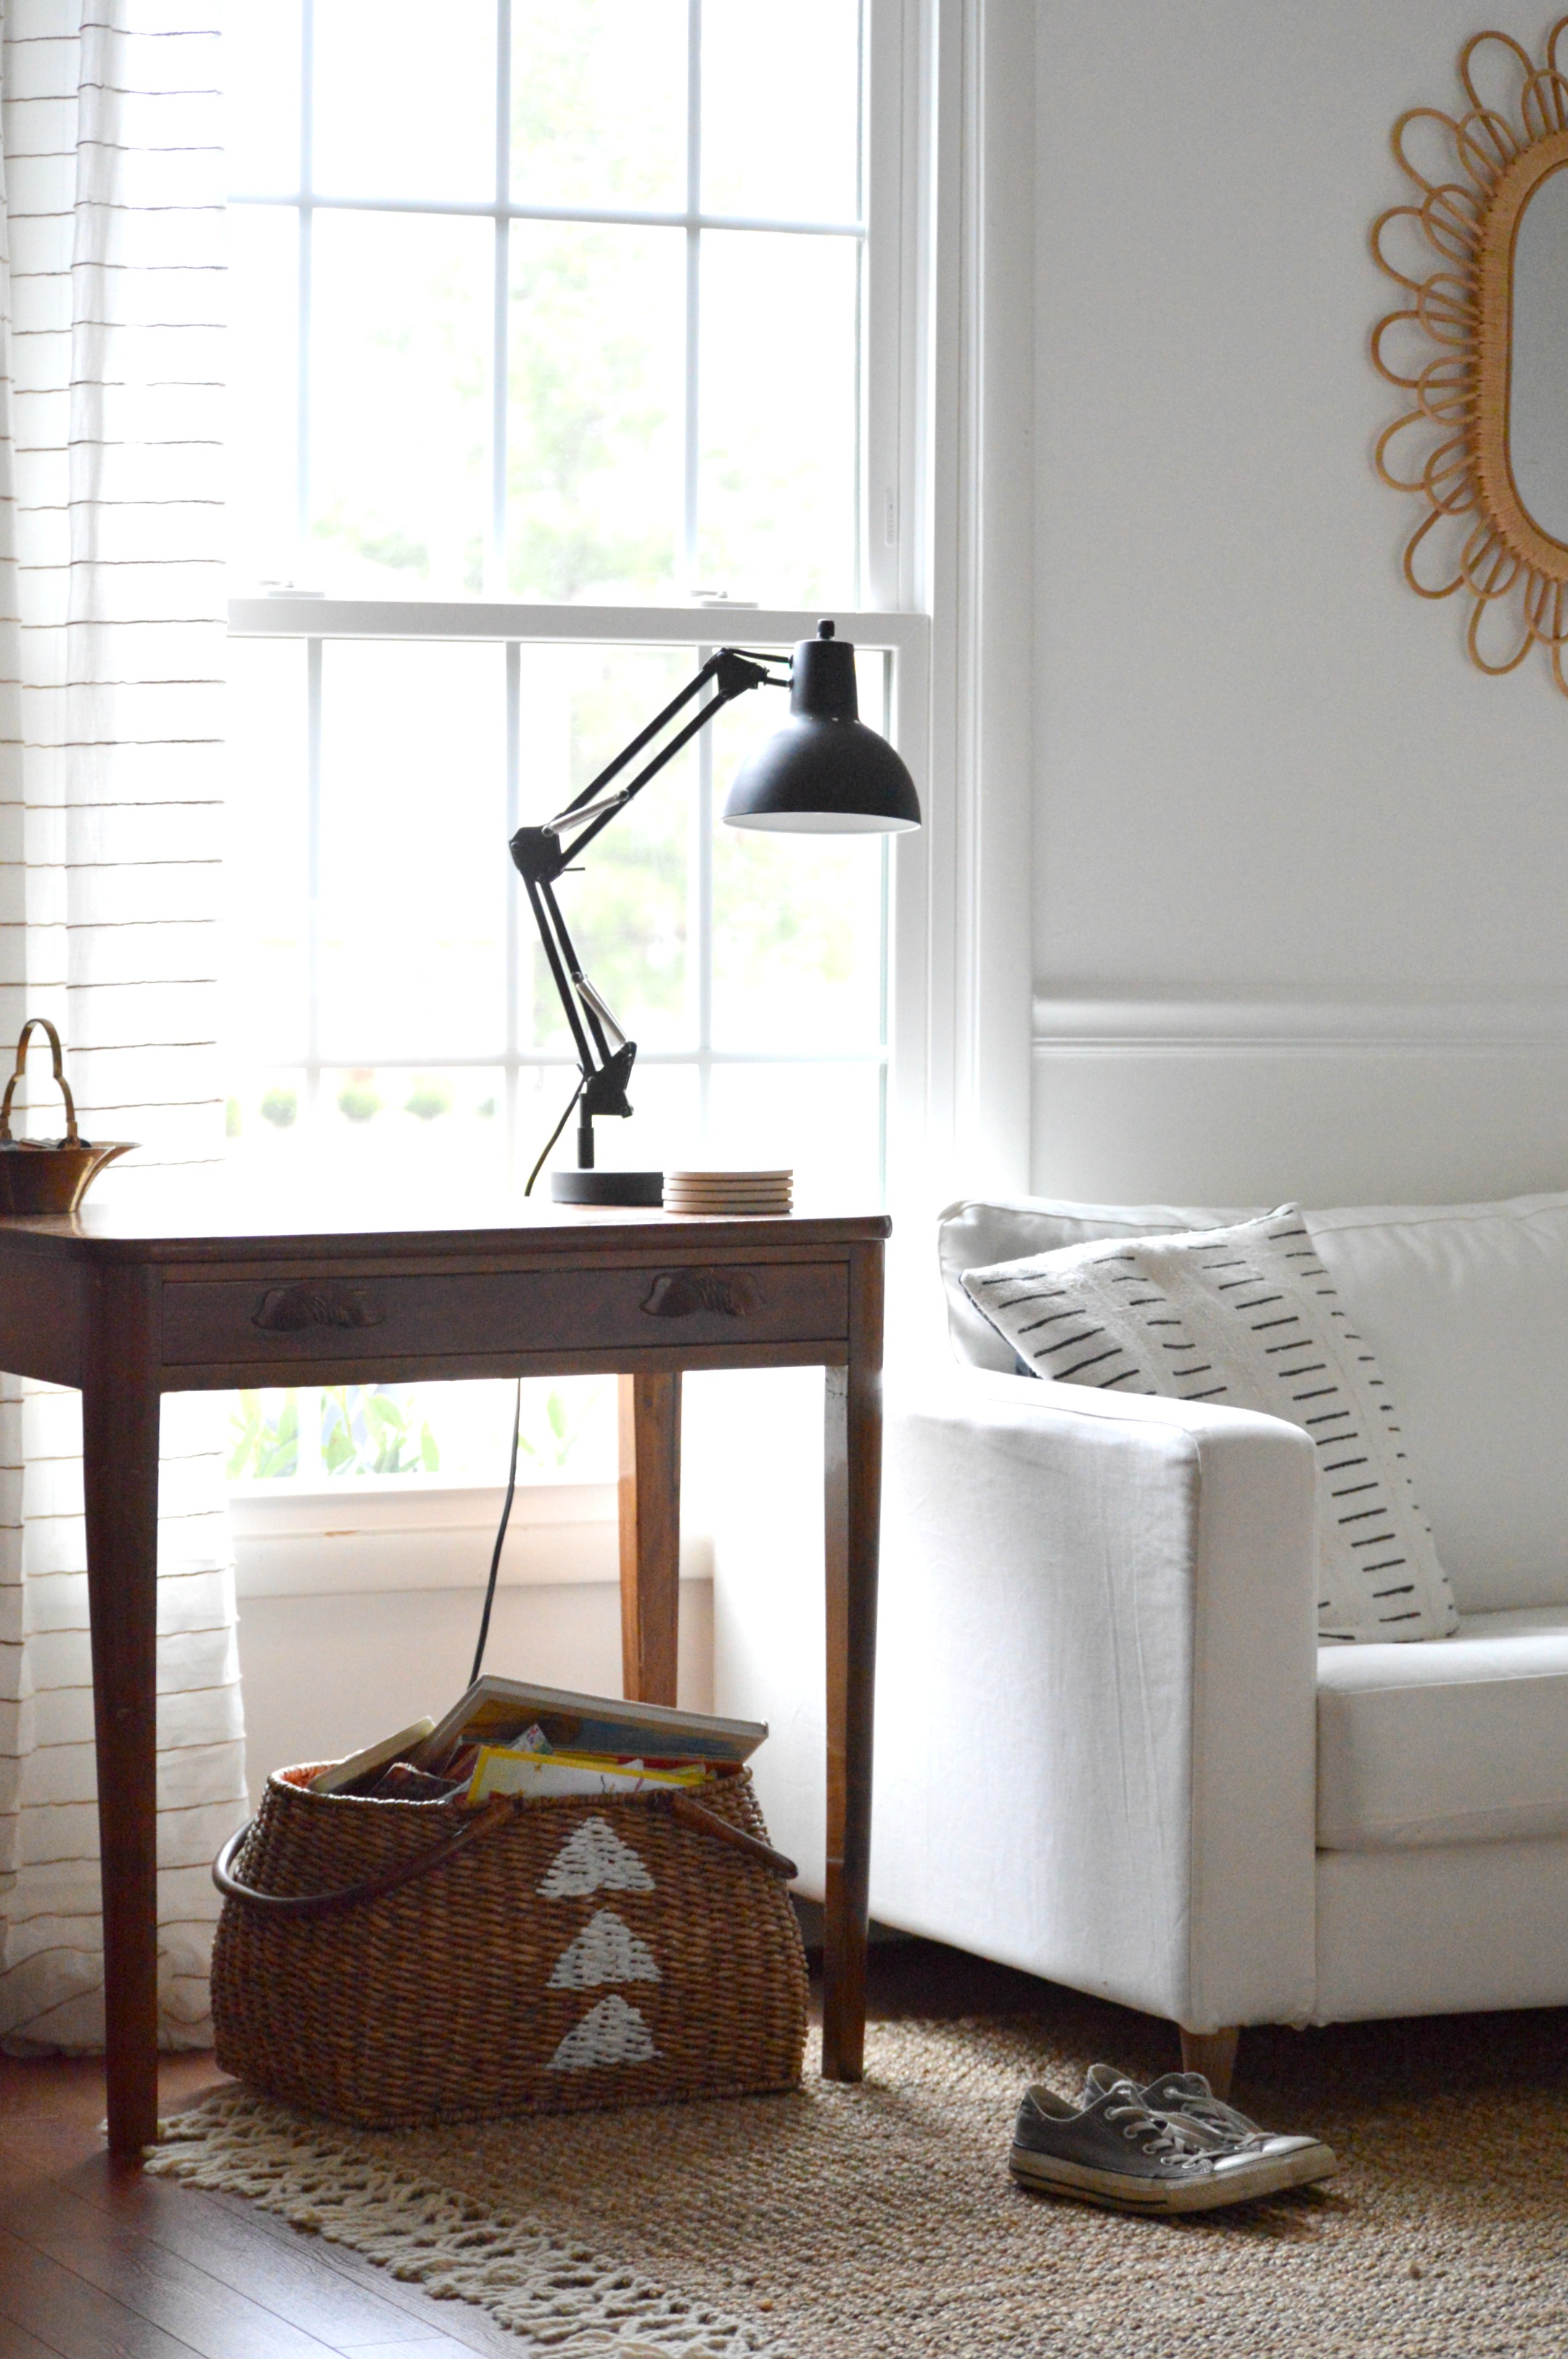
With the pipe shelves busy with books, plants, art, pottery and photos, I really wanted the rest of the room to caaaalm down but still be interesting, you know? This jute rug by Plush Rugs was the perfect unboring plain rug to compliment the space. The soft thick cream braided fringe on the ends adds that character I was hoping for, but the simplicity of the overall rug doesn't beg for attention, (linked here if you want to check it out).
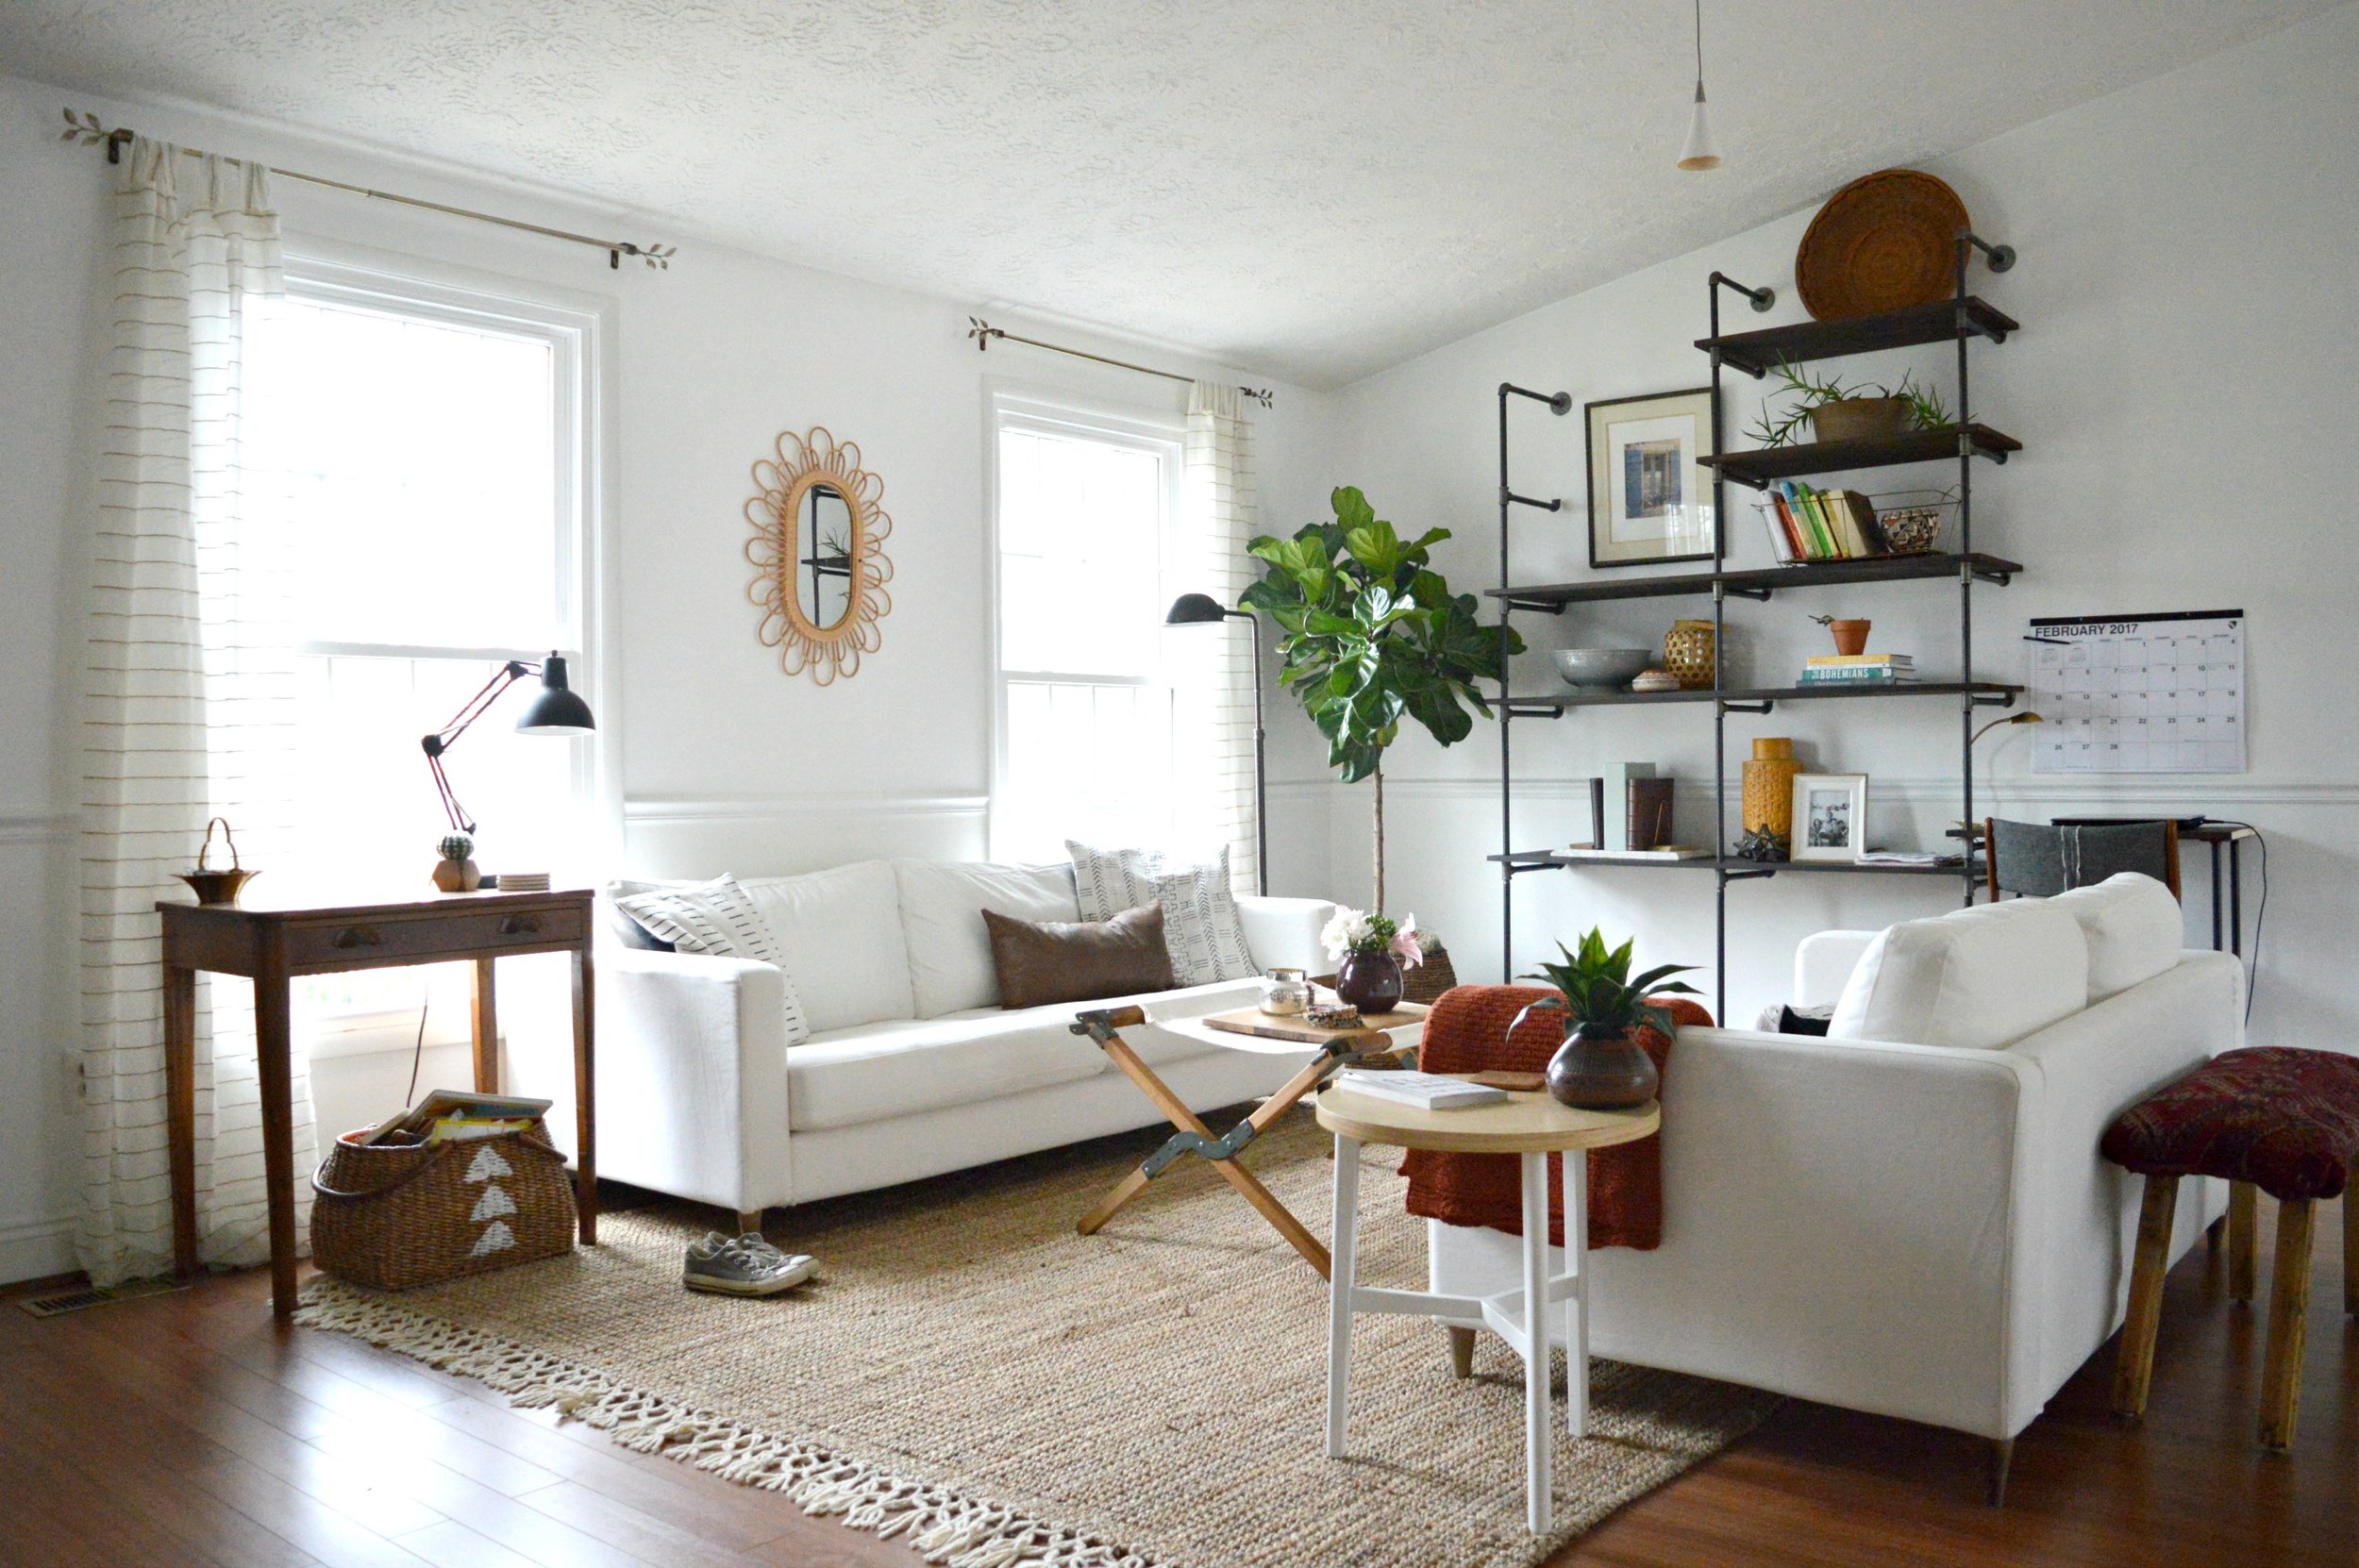
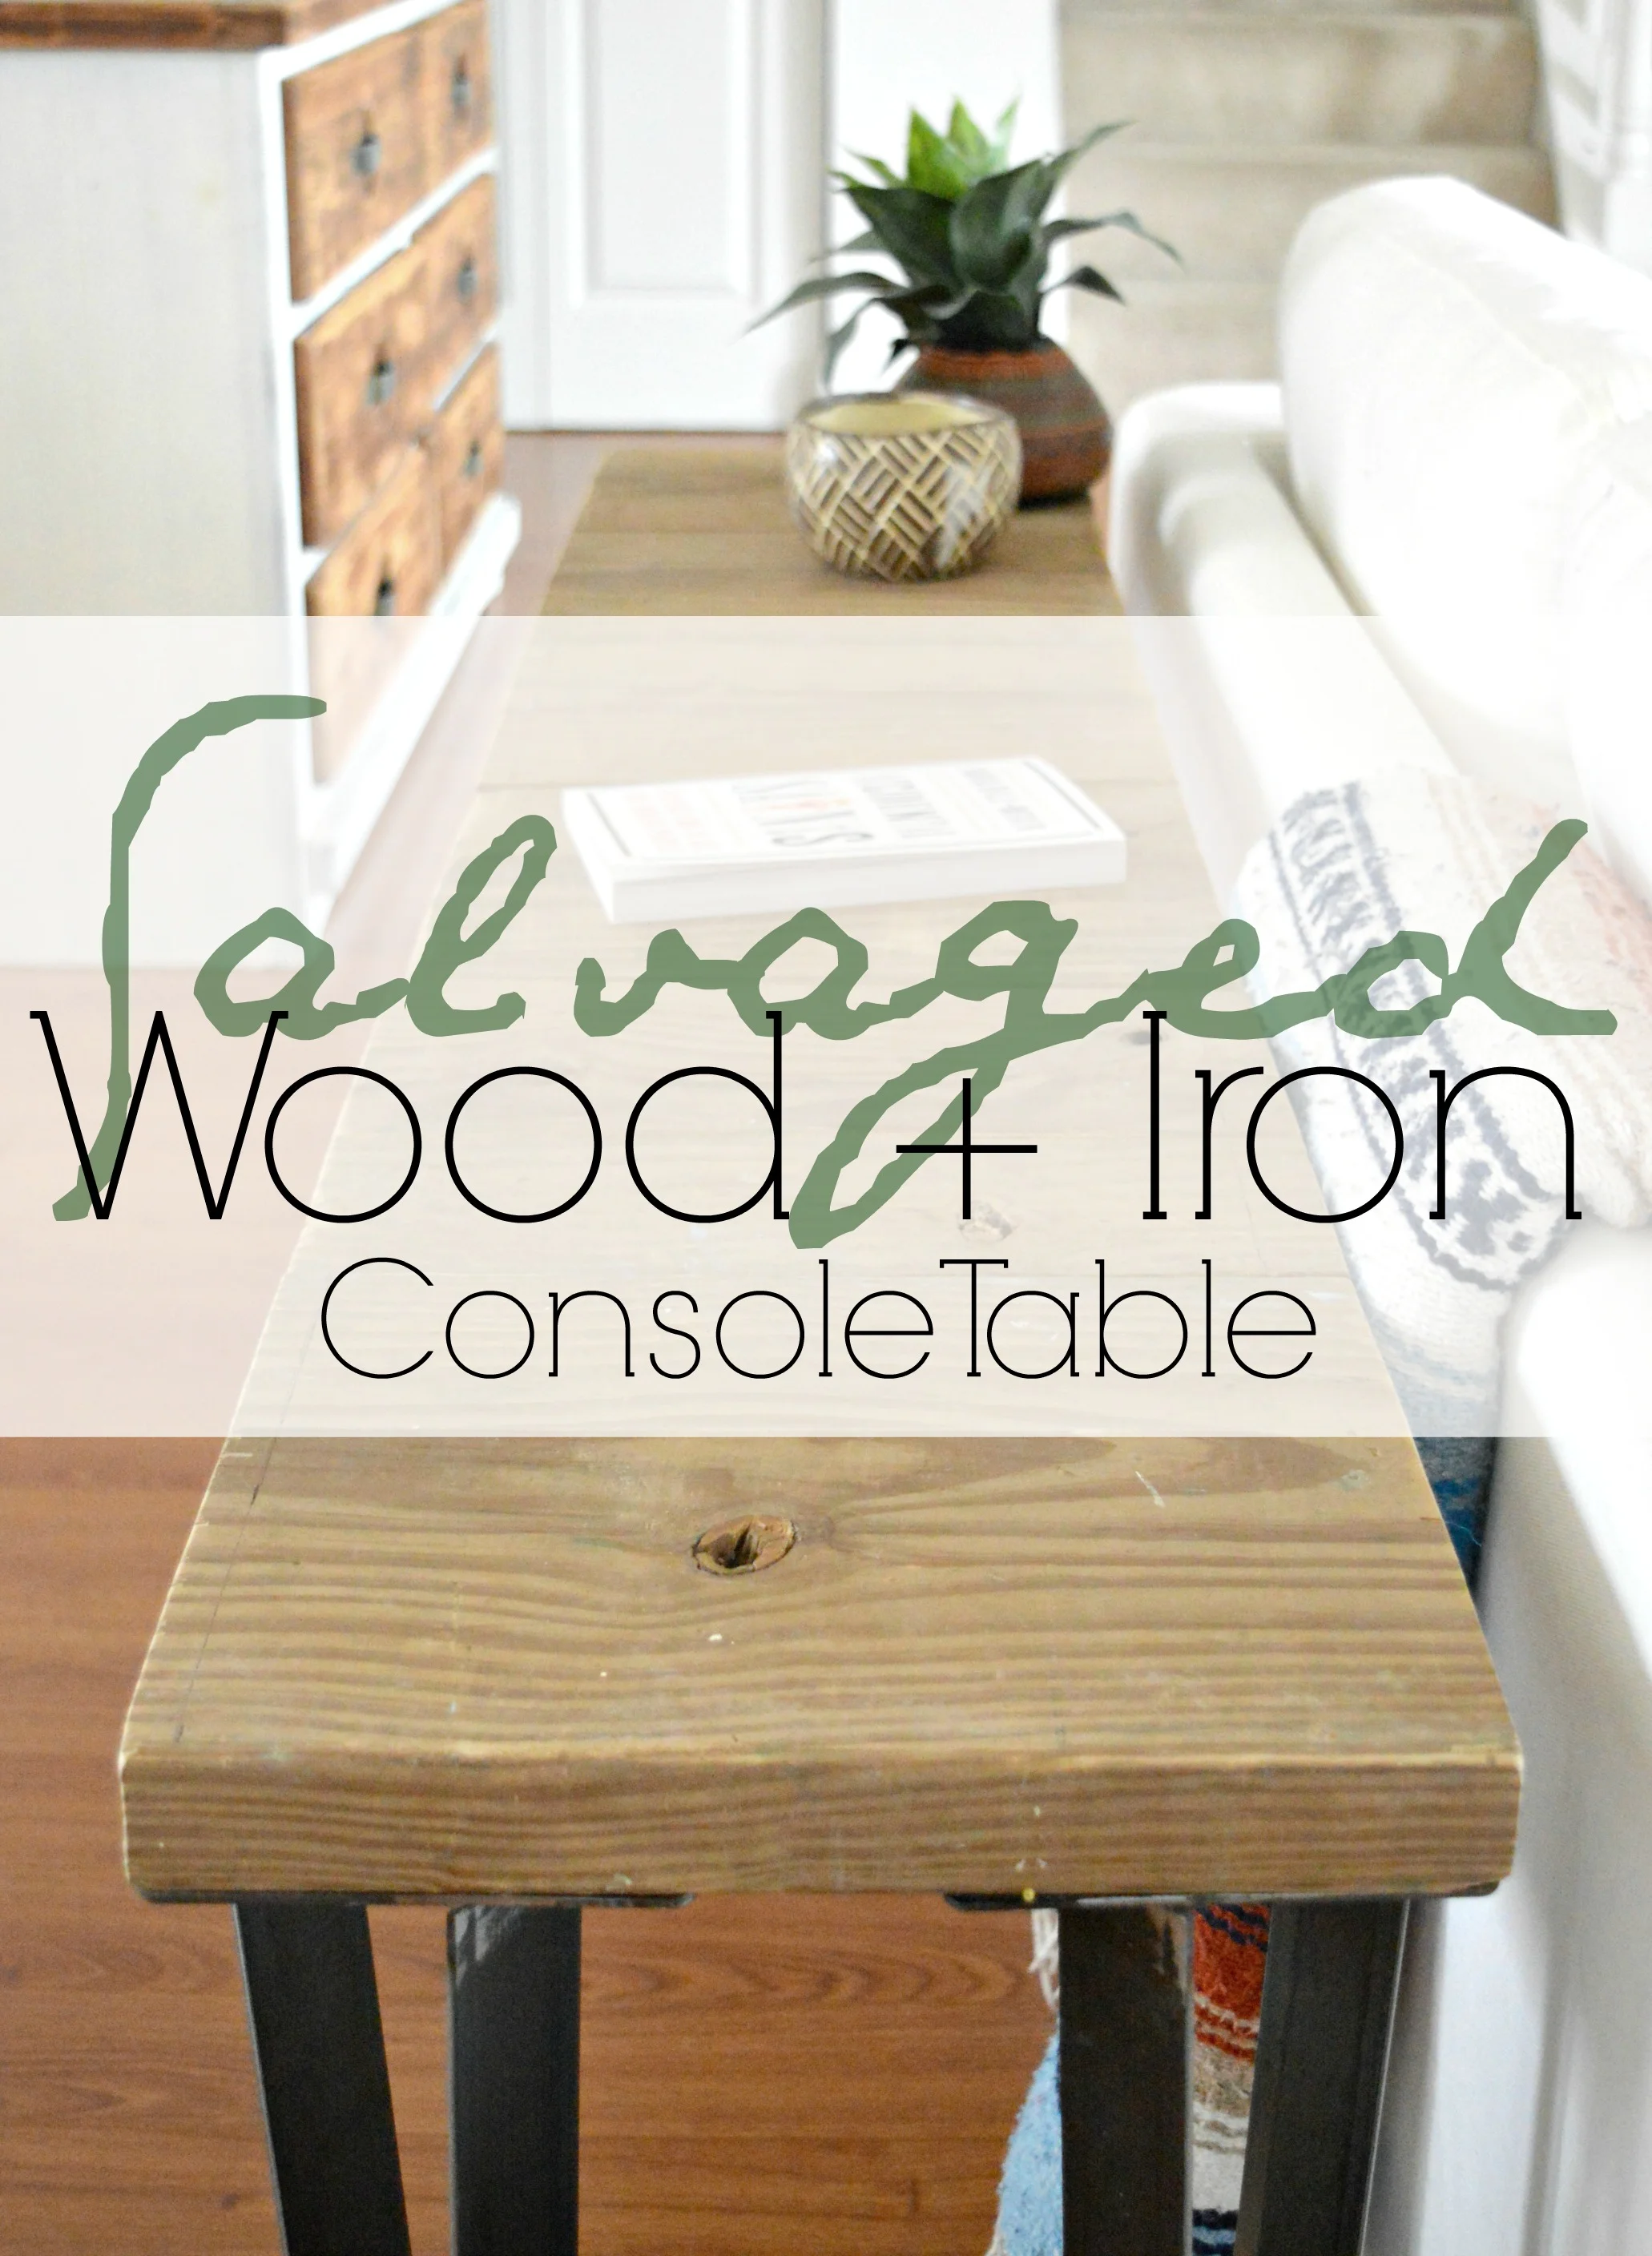
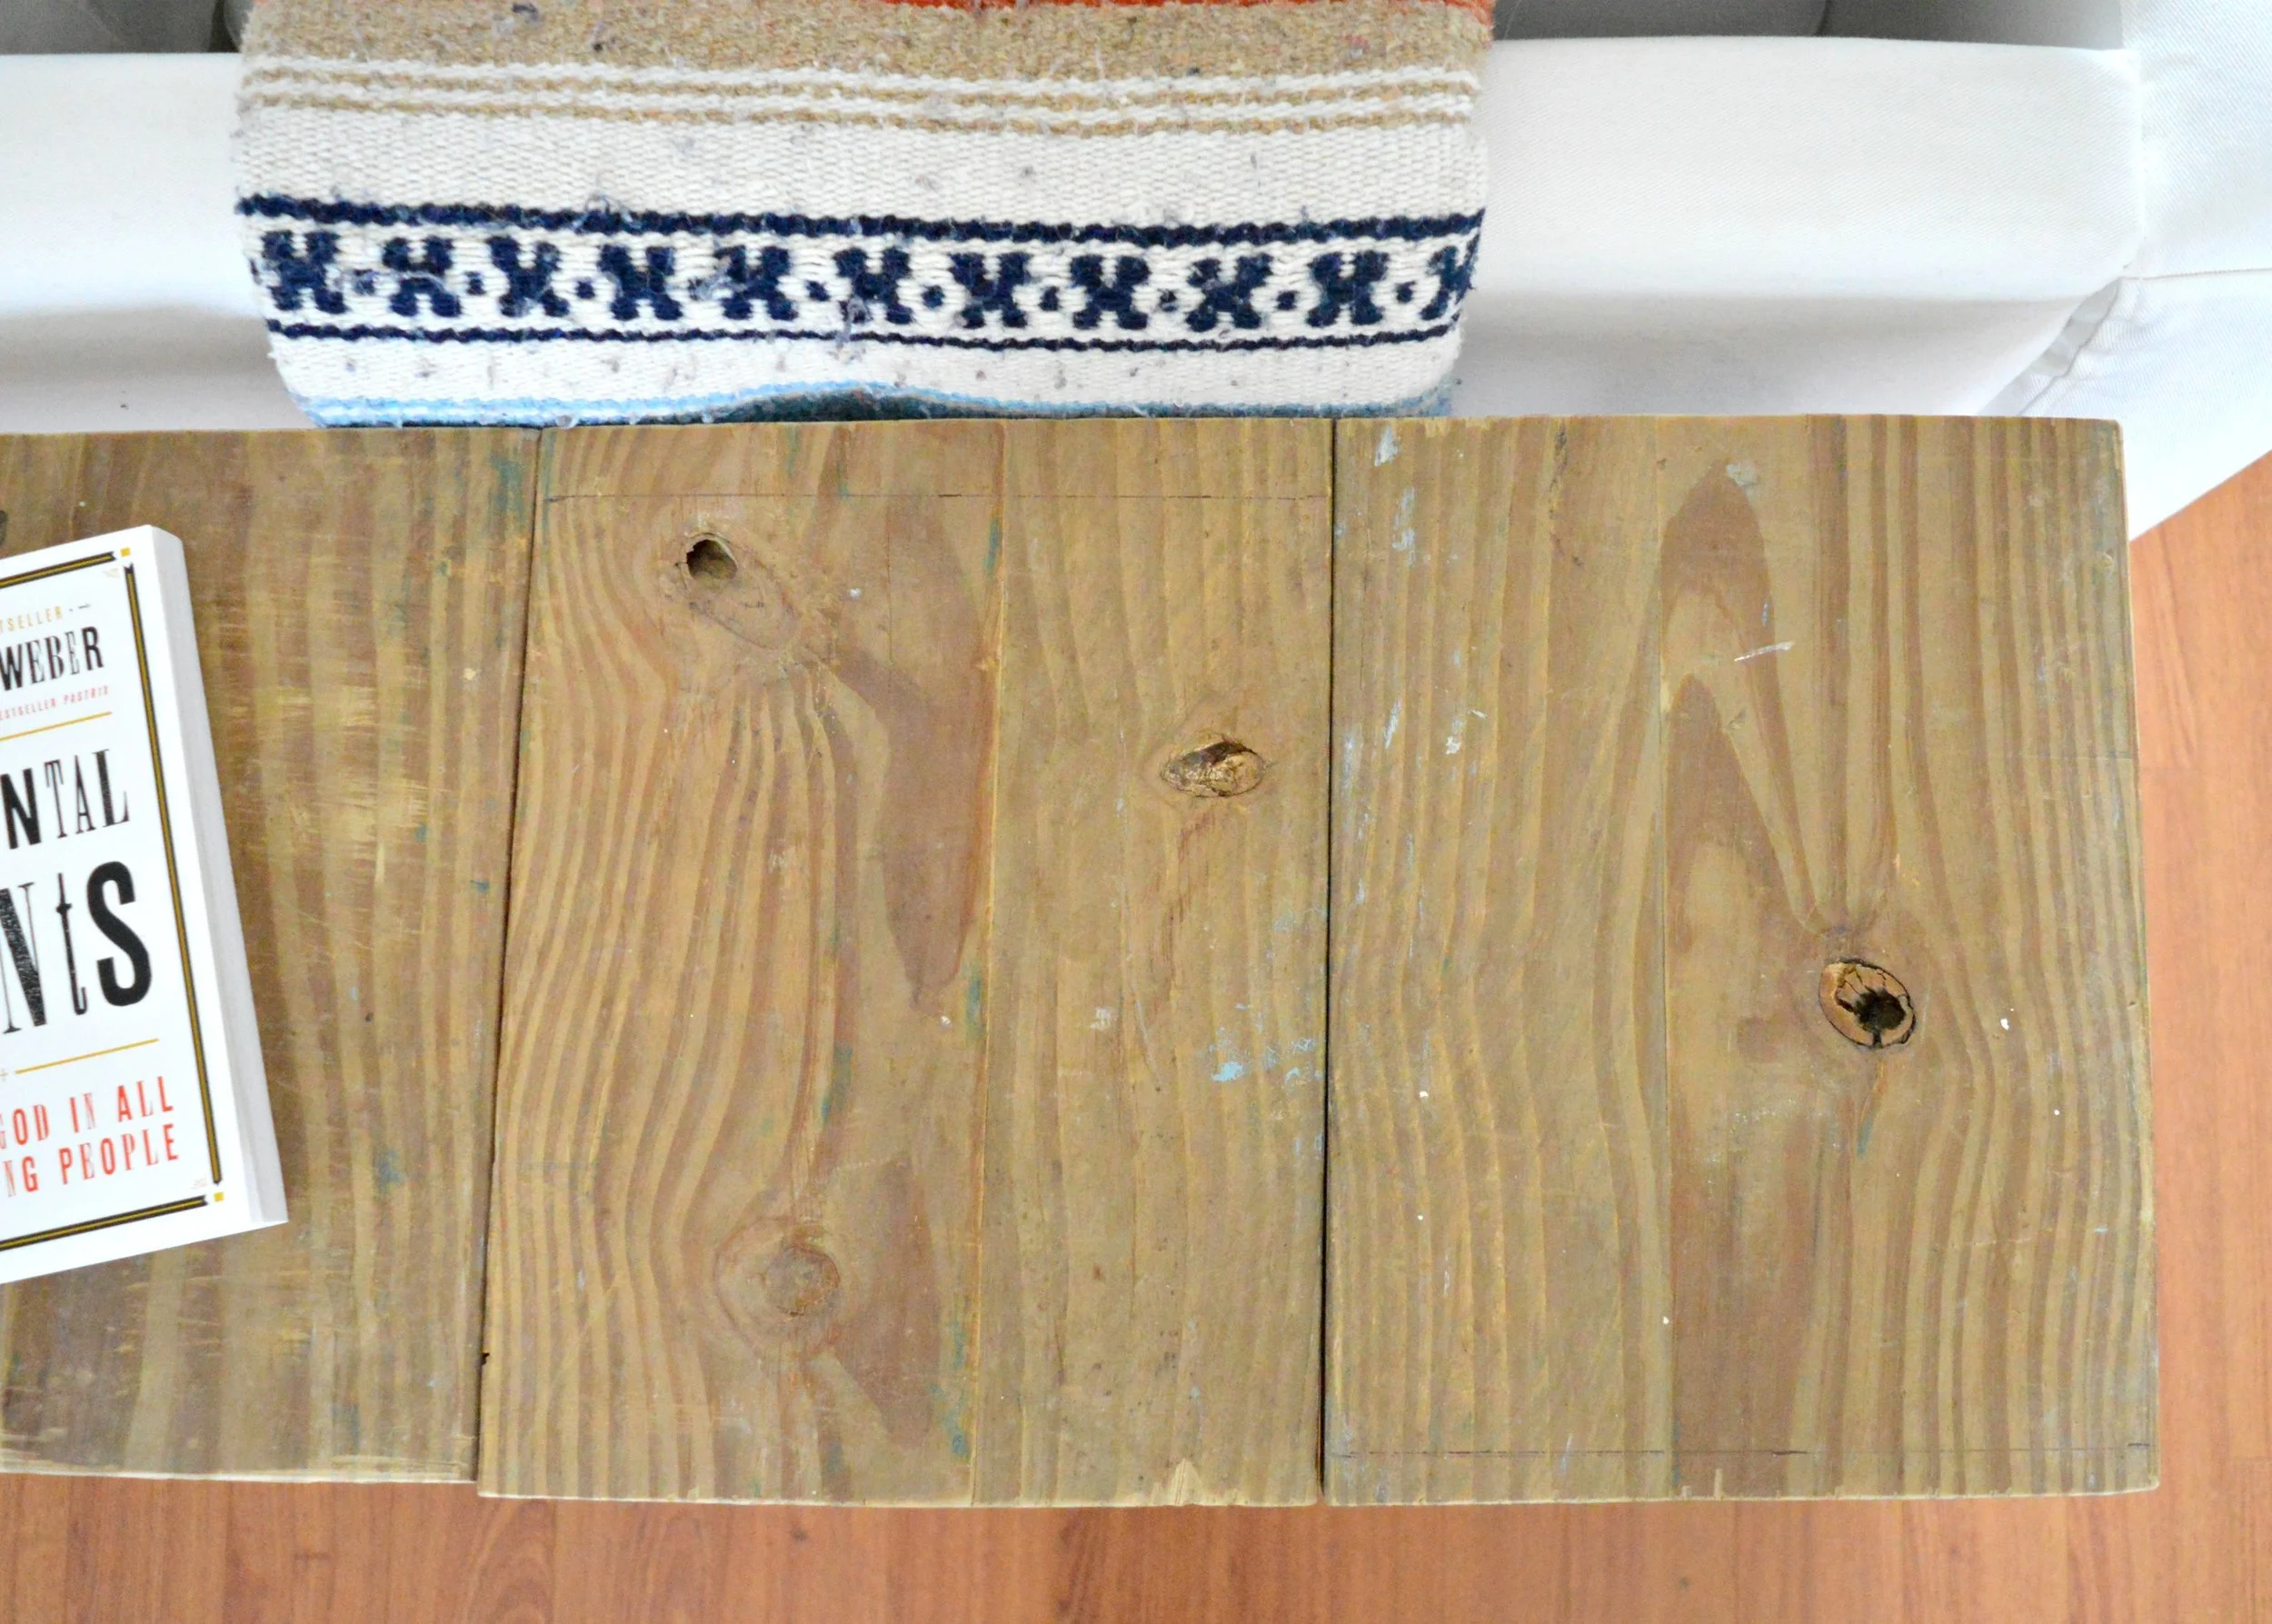
Our coffee table here was previously in the basement - the two rooms agreed to swap coffee tables and they've been the better for it! This piece was a WWI army cot in another life. It made a rickety bench; too wobbly for the babes to use, so I cut it down and turned it into two coffee tables! One table sold, and the other has been serving our home ever since. Once in the service, always in the service!


While finding pieces around your own home is fantastic, it doesn't hurt to keep your eyes peeled out of the home as well. While taking a few bags of old clothes to Goodwill several months ago, I noticed this beautiful old Persian rug rolled up and left by the dump. It was dirty and stinky, but I brought it home figuring I could re-purpose at least some pieces of it, just like the rug I made the tree skirts from. After airing out for nearly two solid months I cut it up, using one piece to cover this, (also found in a neighbor's trash), bench!

It's not an impeccable job; I wrapped that thing like a Christmas present and used a staple gun to attach the fabric underneath, (after stuffing in some batting I had on hand). But you know what? It's a sturdy little piece, my kids use it as a pirate ship, and it's a solid homemade job using totally free supplies. Ahoy, matey!


Let's meander to the dining room, shall we?

Of all the rooms in this home, our dining room is by far the most temperamental. We just don't get along, period. Every single move I make, it counters with something contrary. Here's a sample of our ongoing dialogue over the years:
Item 1: I replace a very wide table with a narrow table so we can reach across to help our, (then), three toddlers during meal time
Counter: NOW THERES TOO MUCH SPACE.
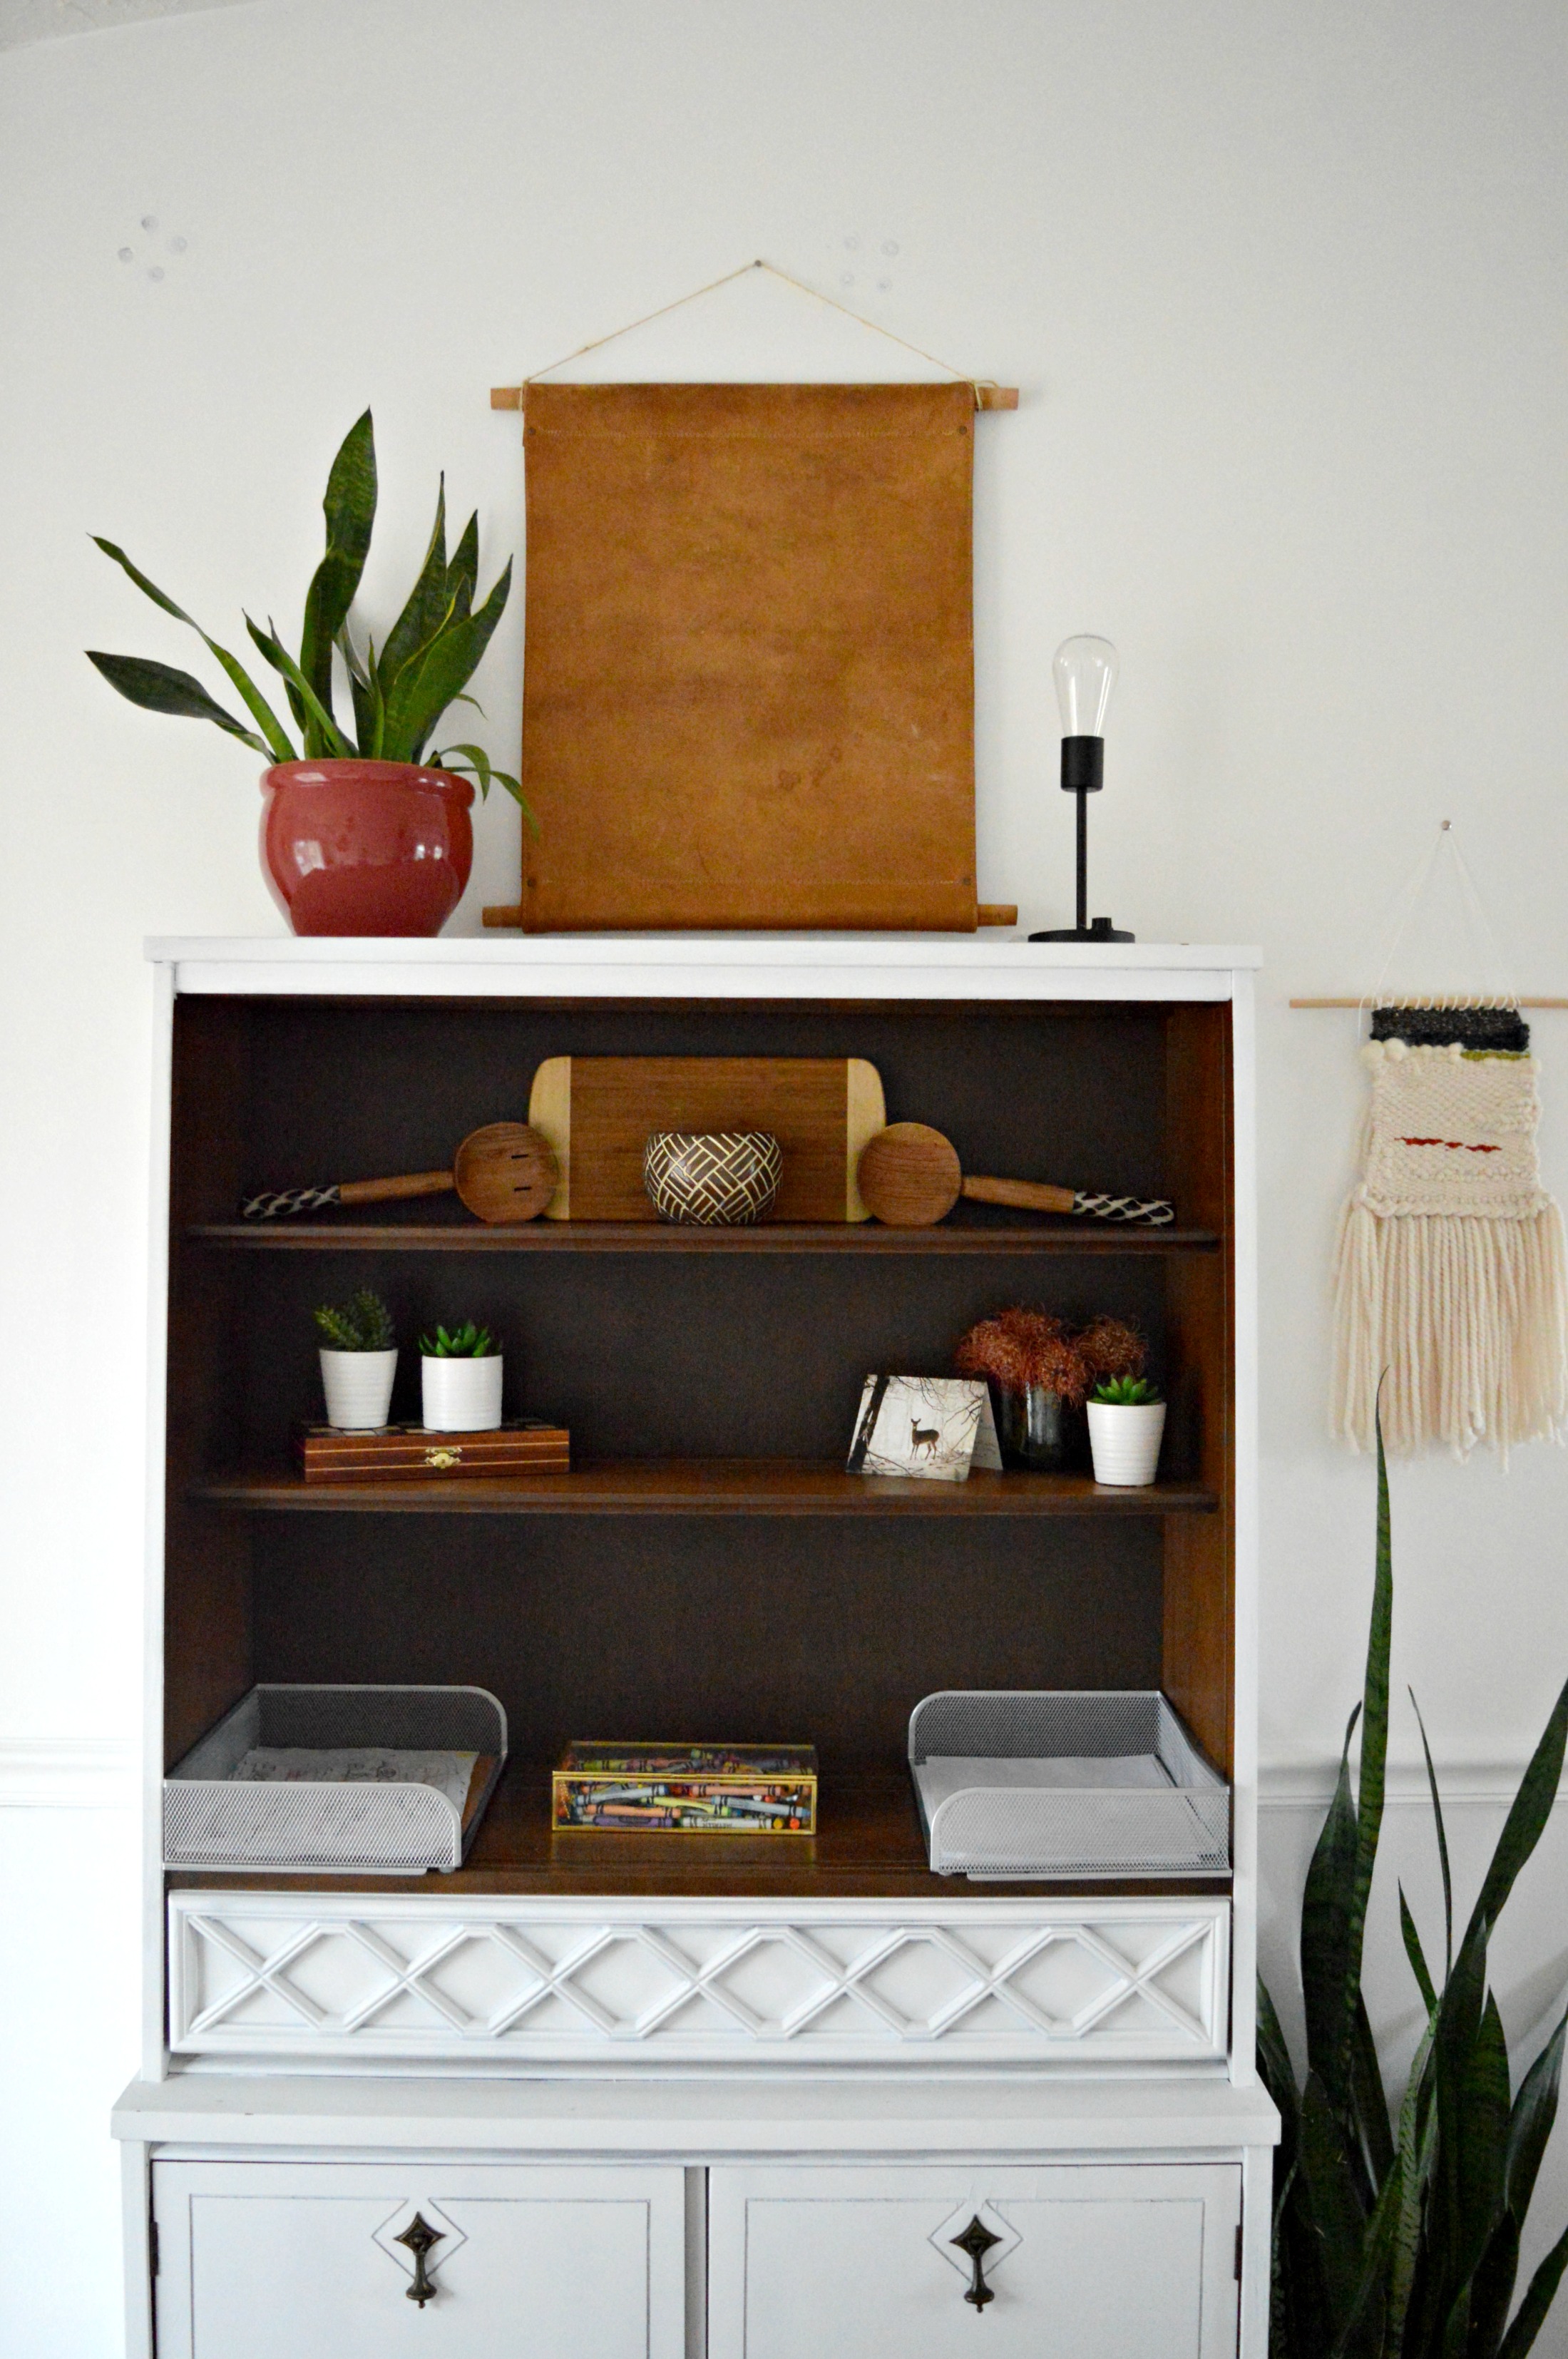
Item 2: I try a big dark green cabinet to store all our craft supplies; perfect style, perfect color
Counter: OOPS, NOT ENOUGH SPACE FOR THAT.
Item 3: I remove the curtains in favor of a cleaner look
Counter: MY EYES! TOO MUCH SUN! (says all my kids who suddenly have sensitive eyes)
Item 4: Replace the old thrifted chandelier with something more modern
Counter: MY FAVORITES DON'T WORK ON A SLOPED CEILING. (So I settle for this one that's like a baby size of what this room needs)
Item 5: Center the table with the sliding glass doors.
Counter: THE DOORS ARENT CENTERED WITH THE LIGHT FIXTURE. NOW EVERYTHING IS OFF, FOOL! GOTCHA!
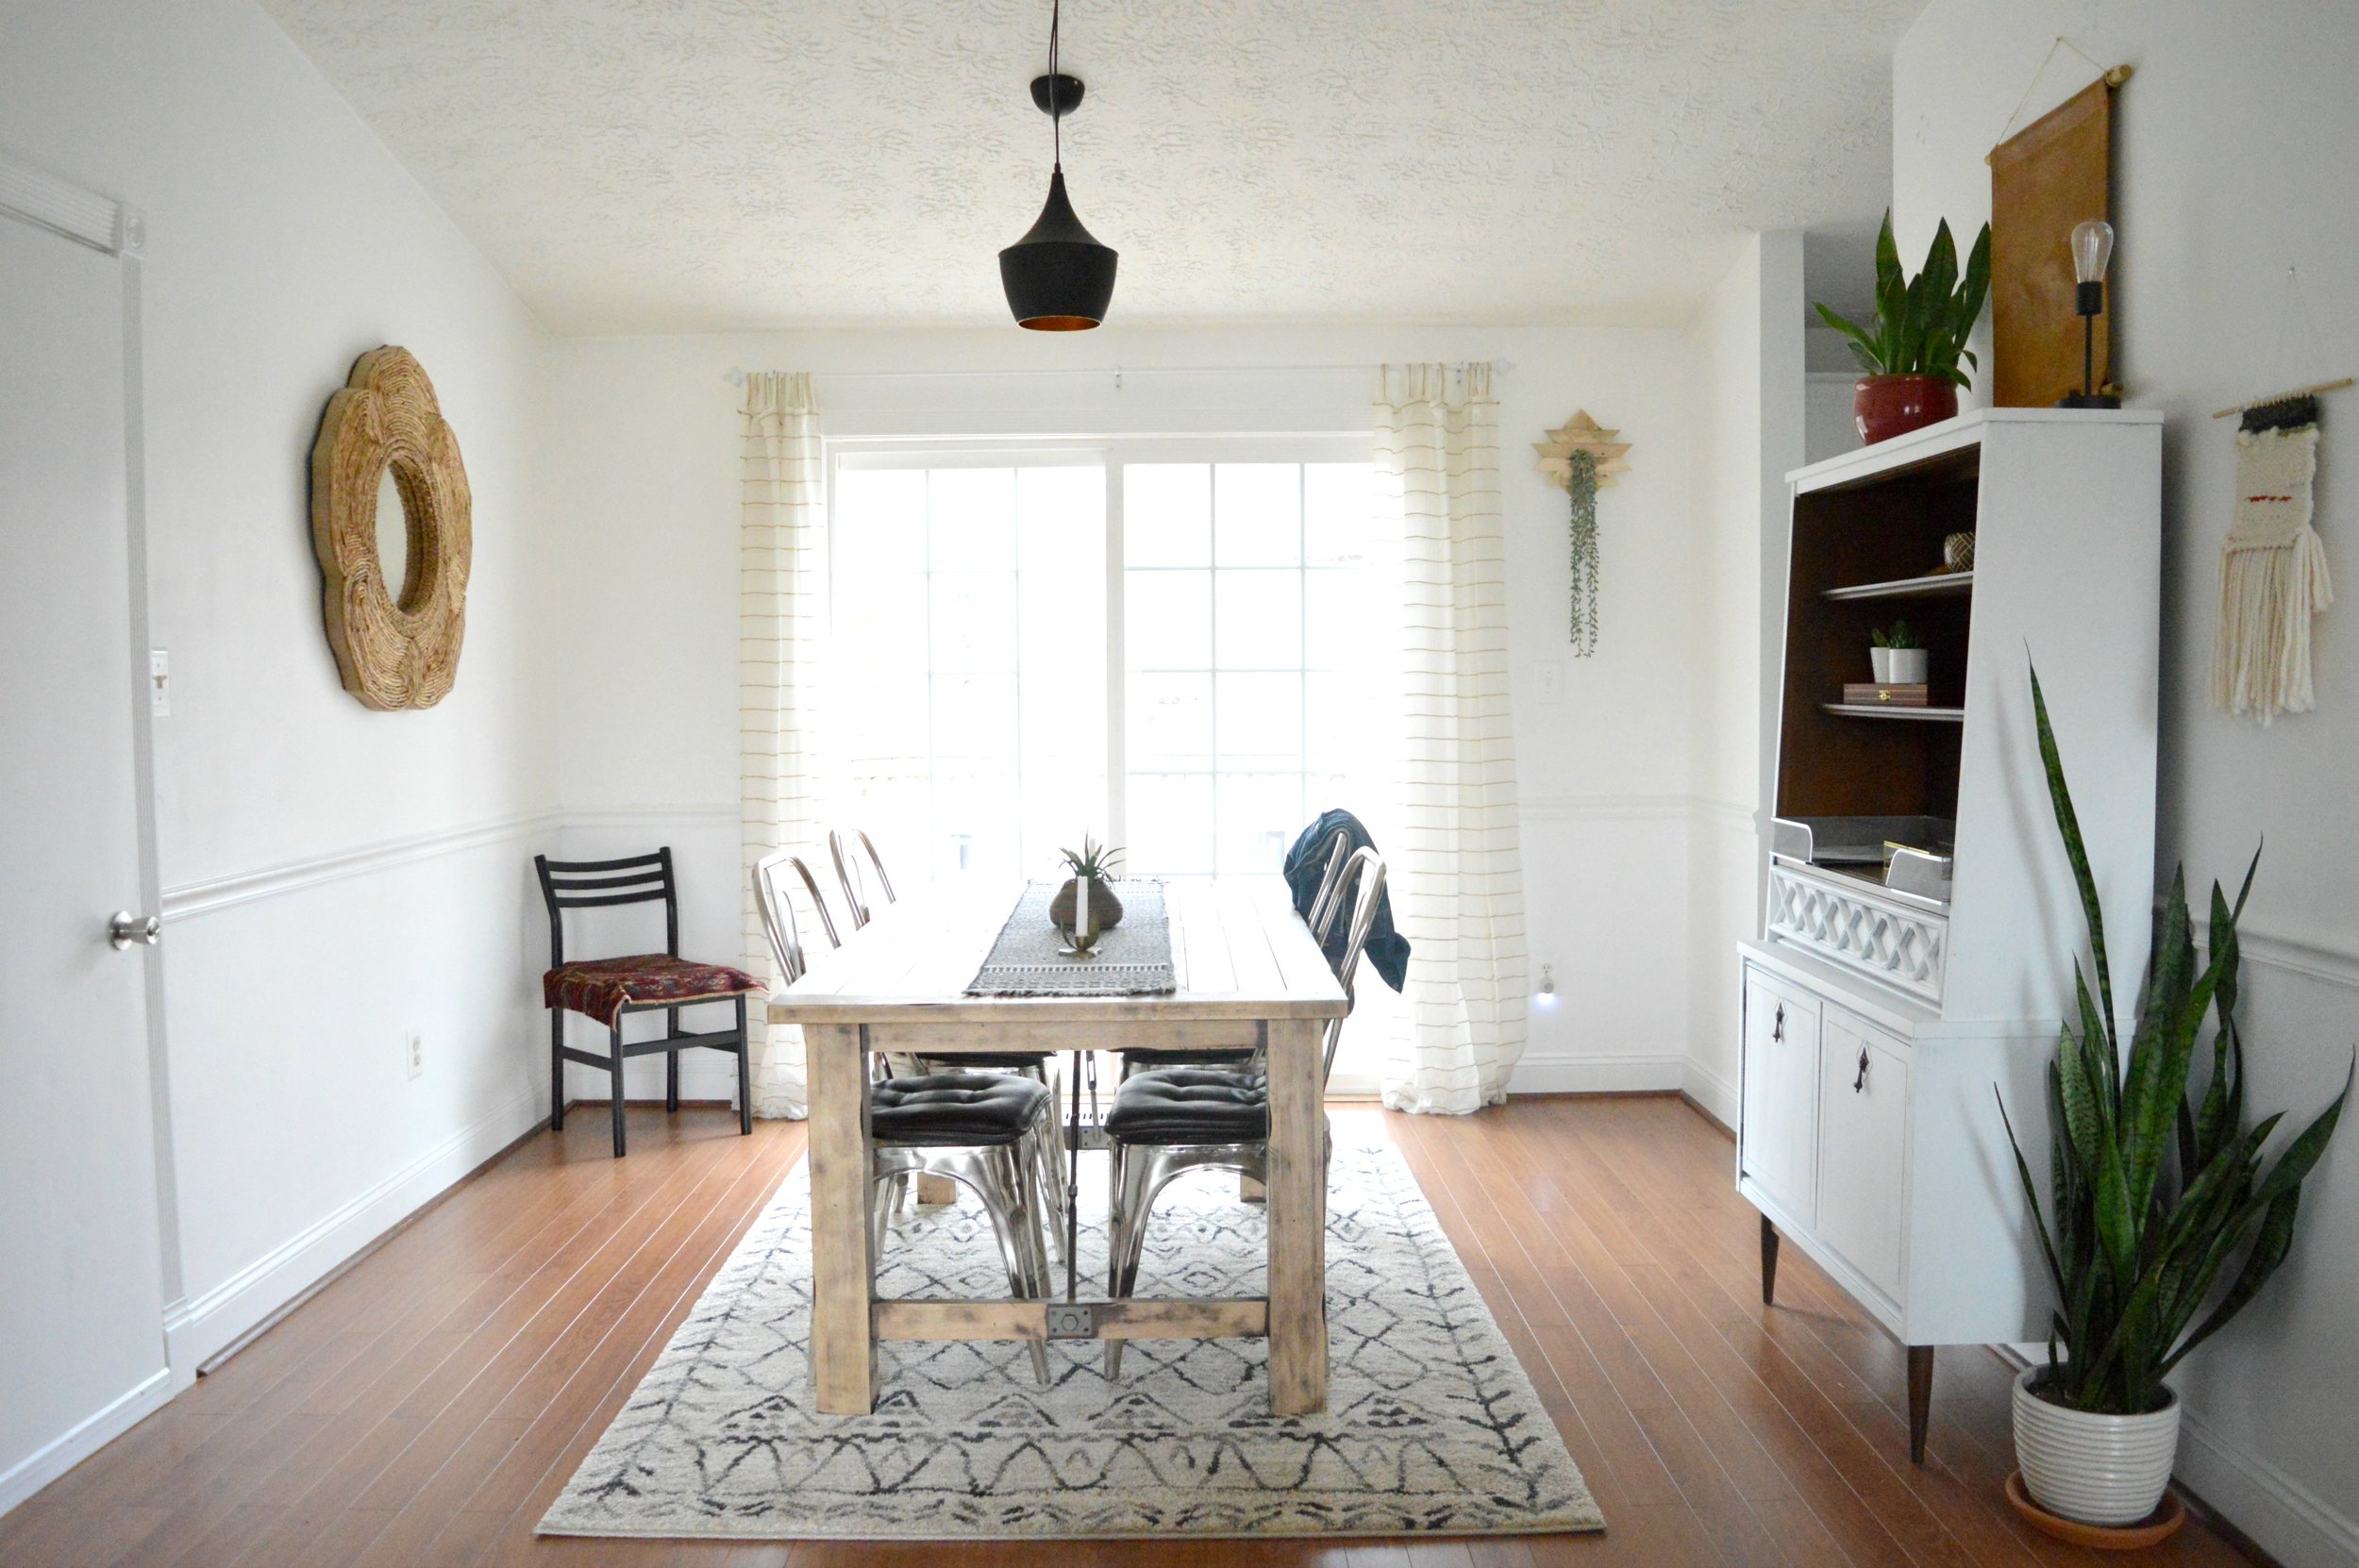
Can you believe our dining room talks that way?! The nerve.

But how about that rug! After selling one of our old rugs I purchased this one for the same amount as I sold the old one for - even stevens! It's an Overstock rug I found here, and is THE softest thing under our feet. I don't mind saying, it's borderline luxurious!

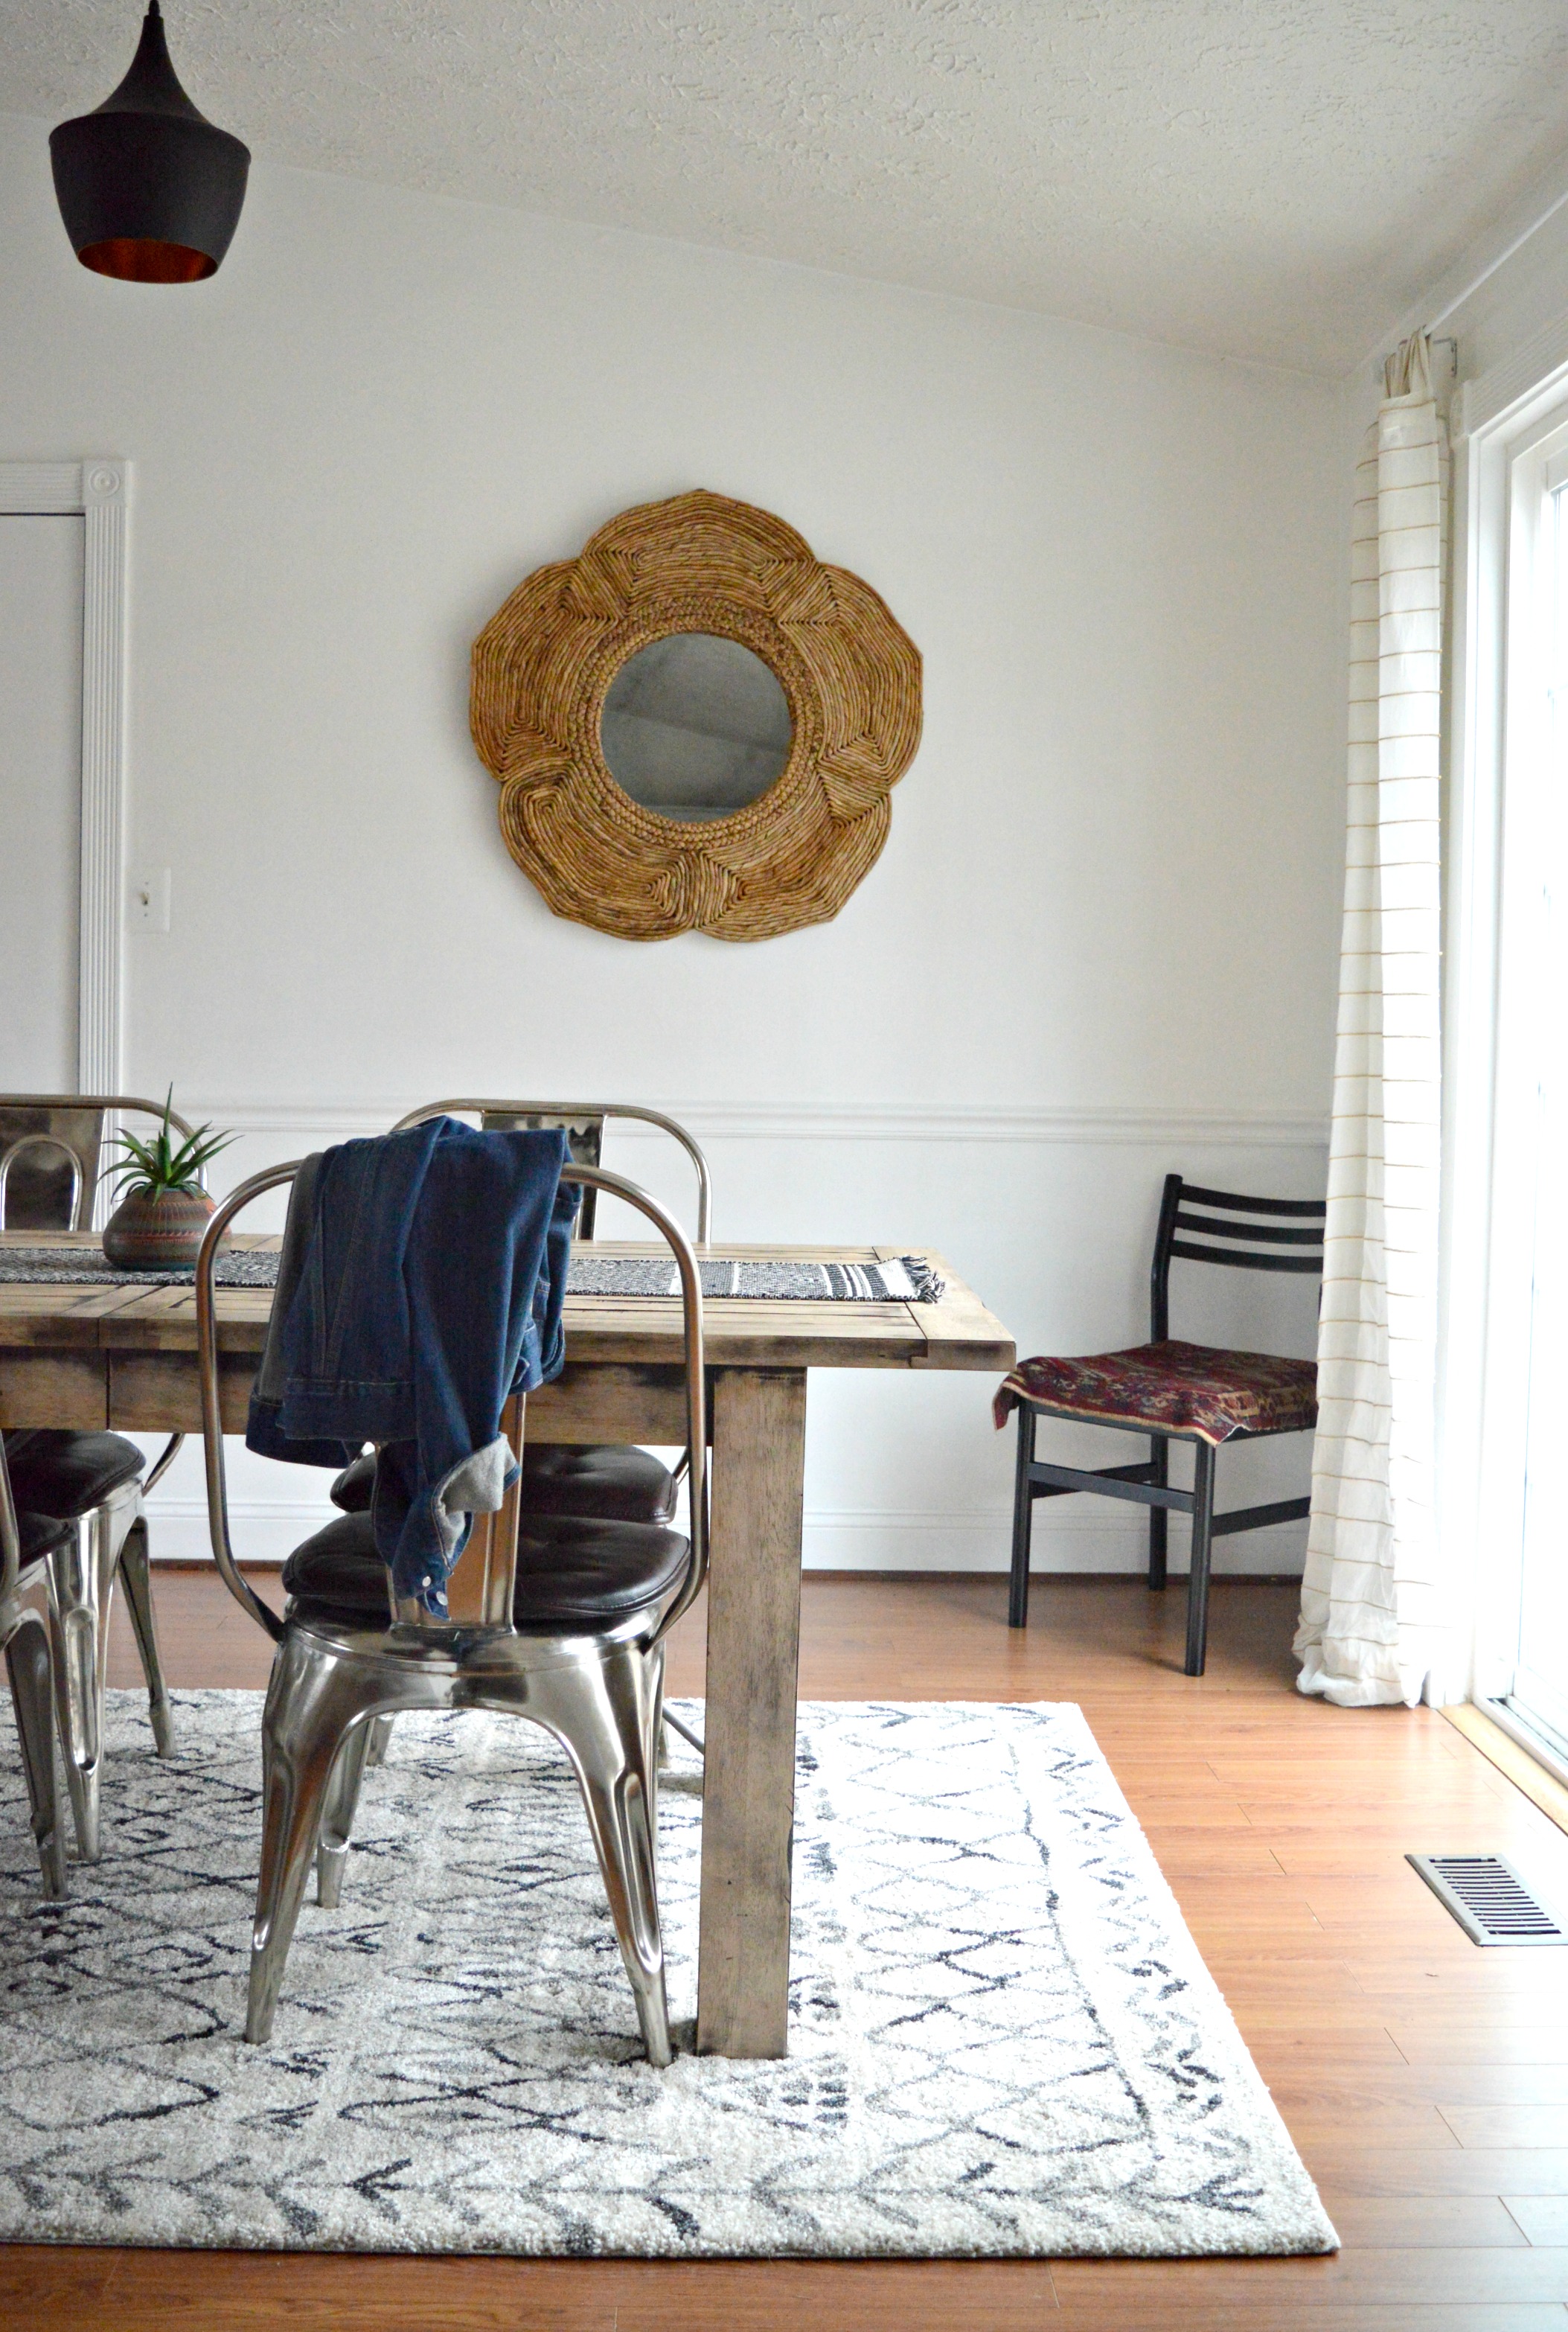
I don't do fussy tables, but I like interesting pieces like this pottery from my grandparents' old lakehouse.

Moving on to the kitchen to finish this marathon tour already! Recognize anything?

I cut a long strip of that dumped old Persian rug to use in here! It's just the kind of excitement this space has needed! I love tossing a bit of unexpected into a space and this rug is just the right dose in here.


That's a wrap, folks! If you made it this far, congratulations; you deserve to start your weekend early! Seriously though, thank you so much for coming by today. I just really enjoy this home and the way it has evolved with our family and it's a special thing to get to share it with you, friends.
Have a wonderful weekend!