A moment of levity comes this week with Nicole's beautiful home. Now, most of you know Nicole as a #howyouhome co-host along with our very own Chelsea. Today, she's giving us the inside scoop on her Nashville home that we've come to admire often in those little Instagram squares.


Nicole and her husband moved from NYC to Nashville several years ago and are now renting in the area. That means Nicole gets the opportunity to be extra creative about her decorating!
From Nicole:
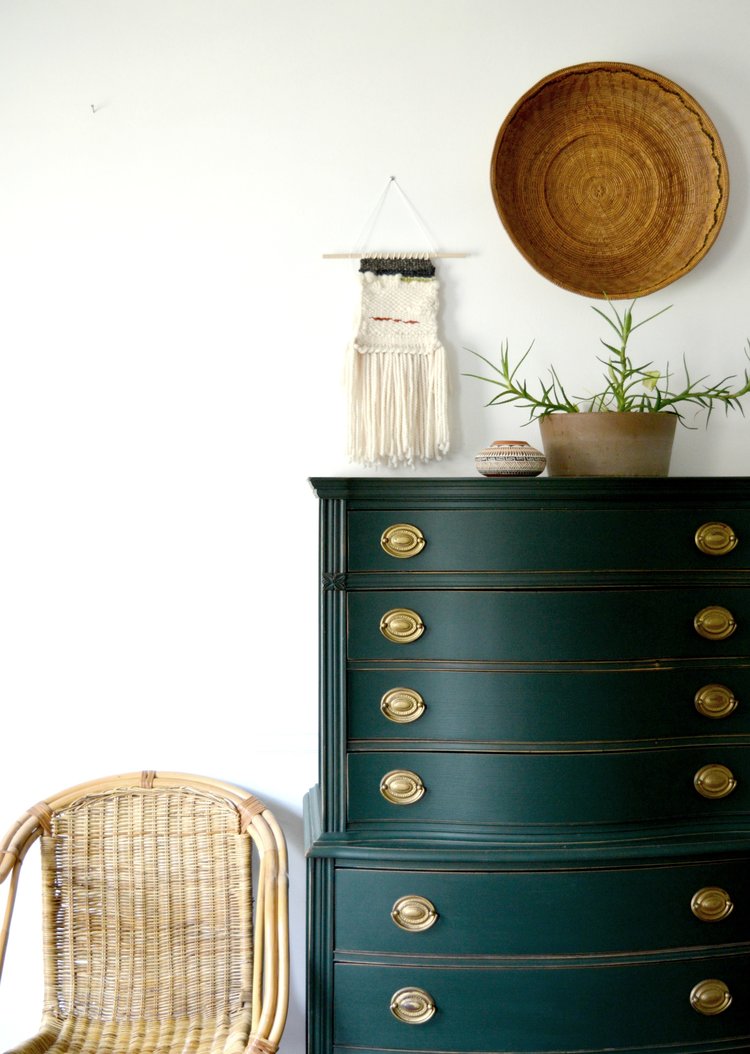
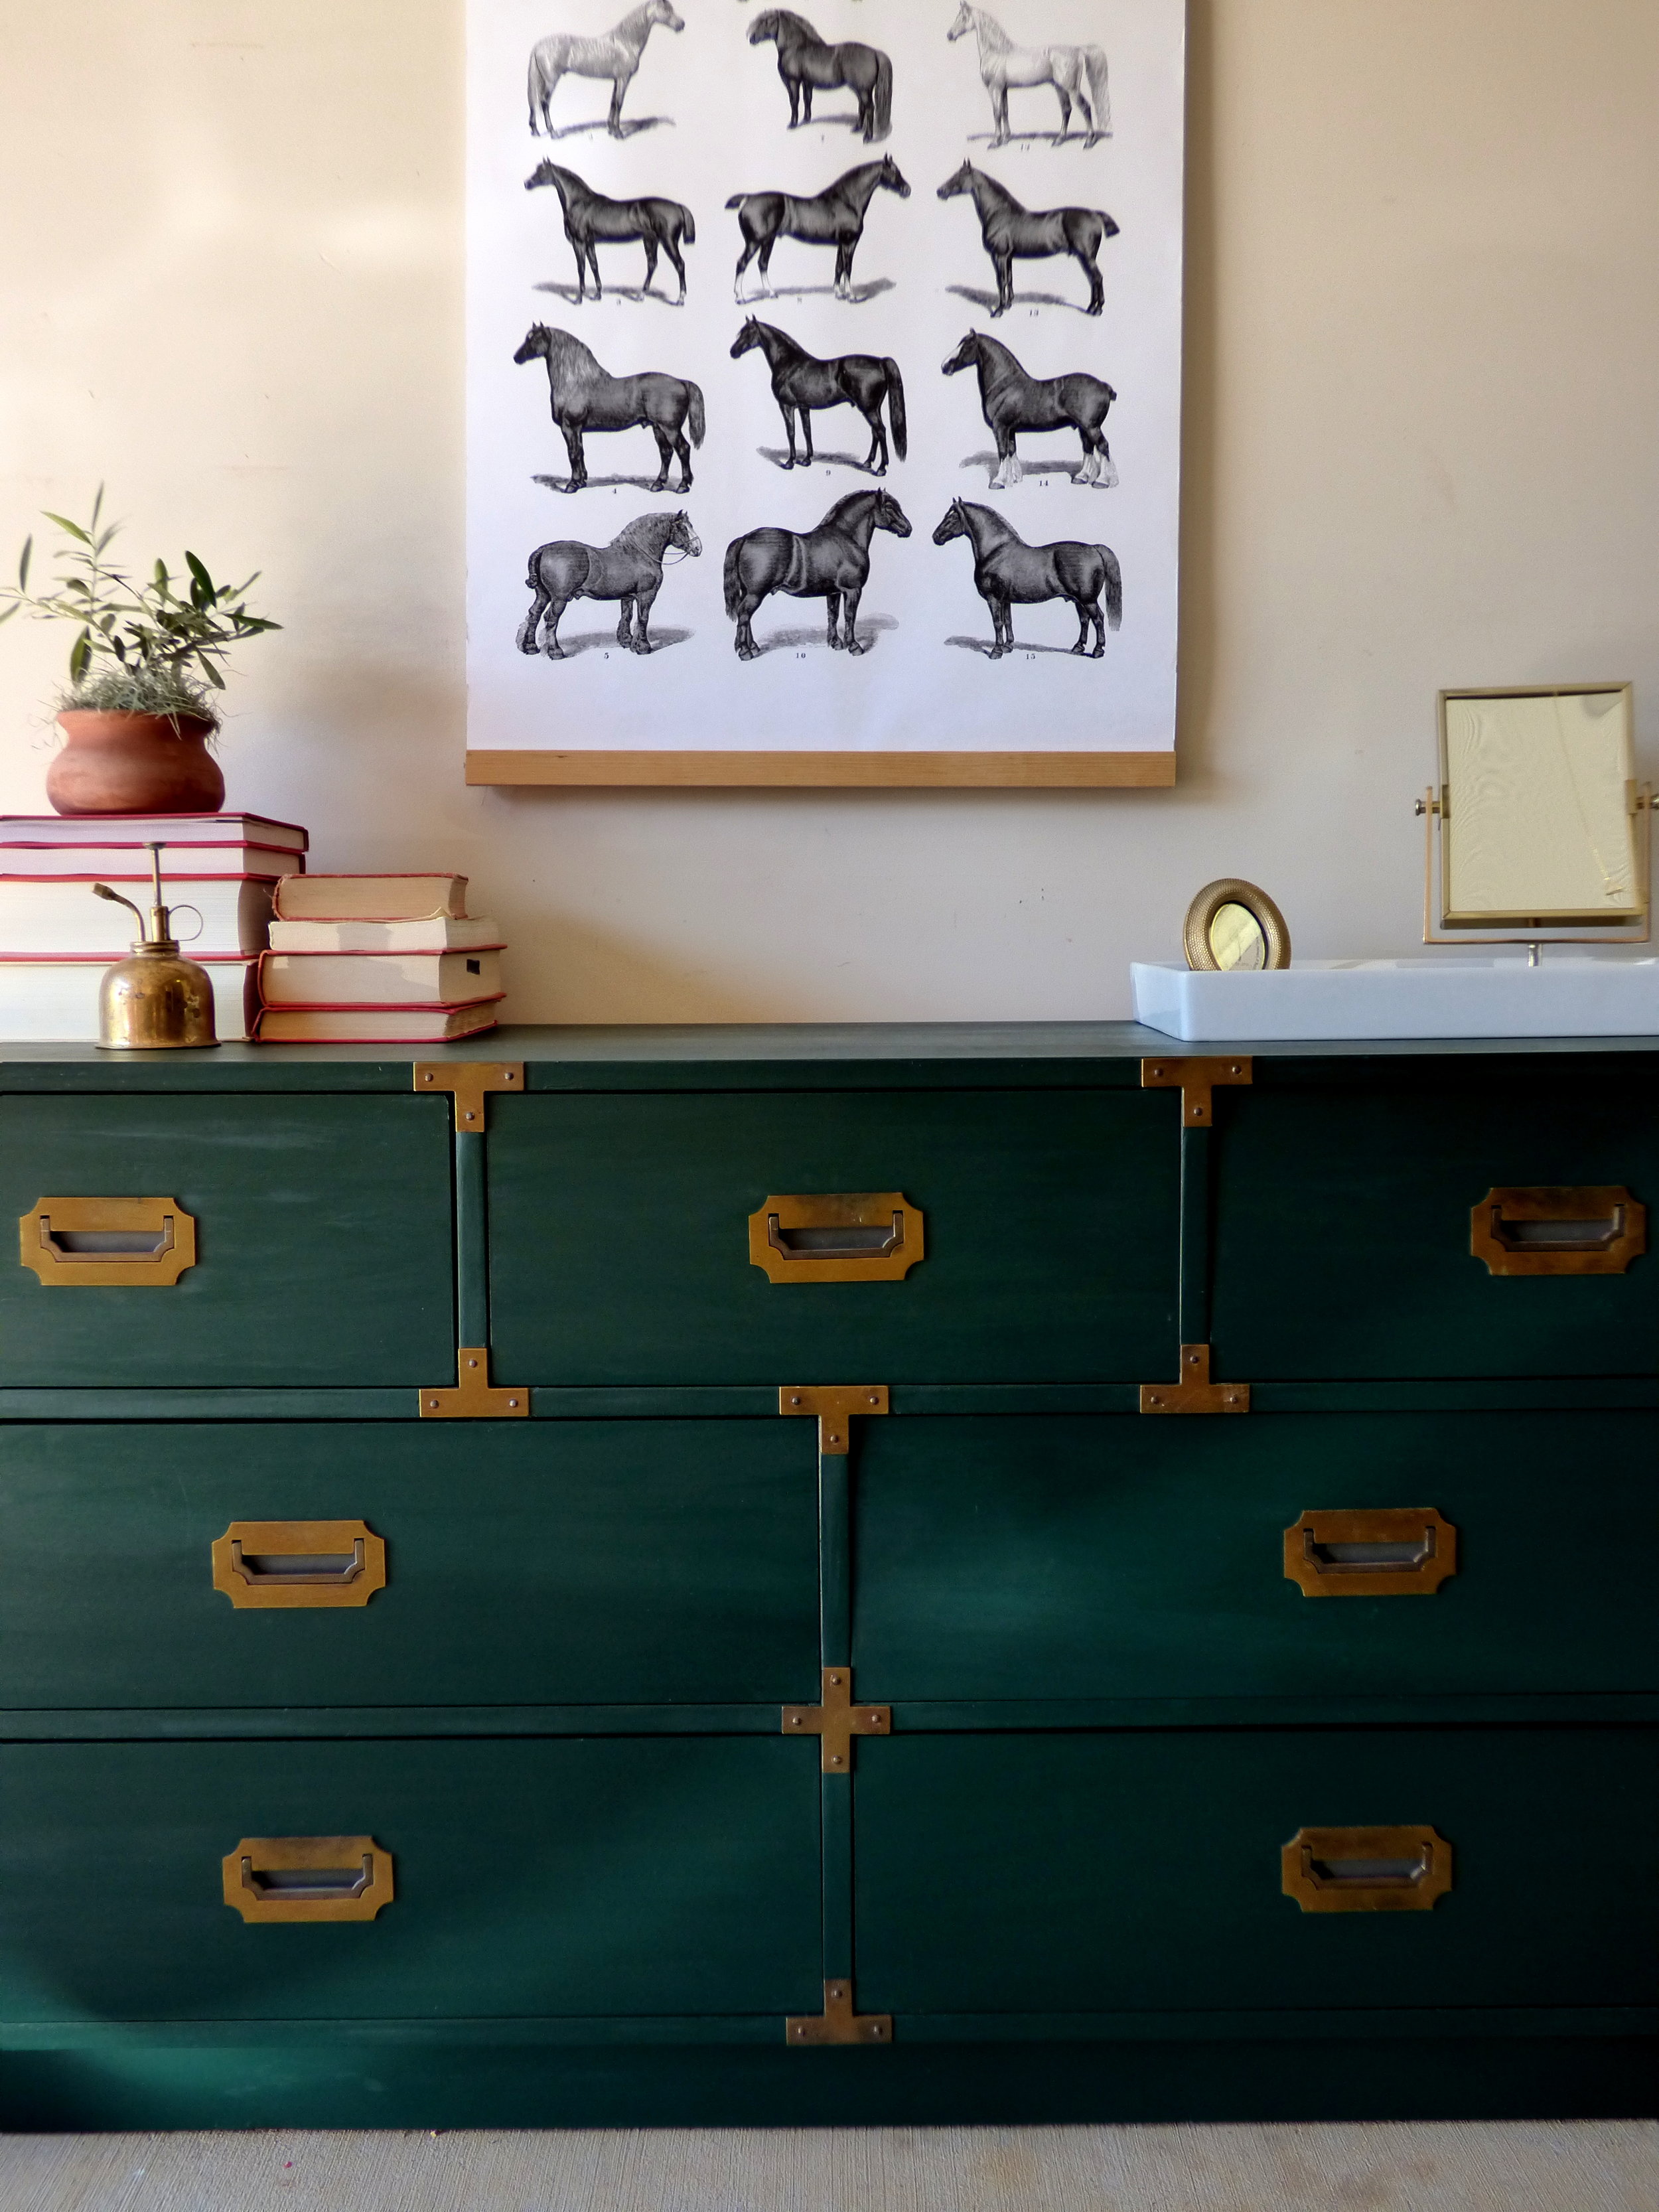
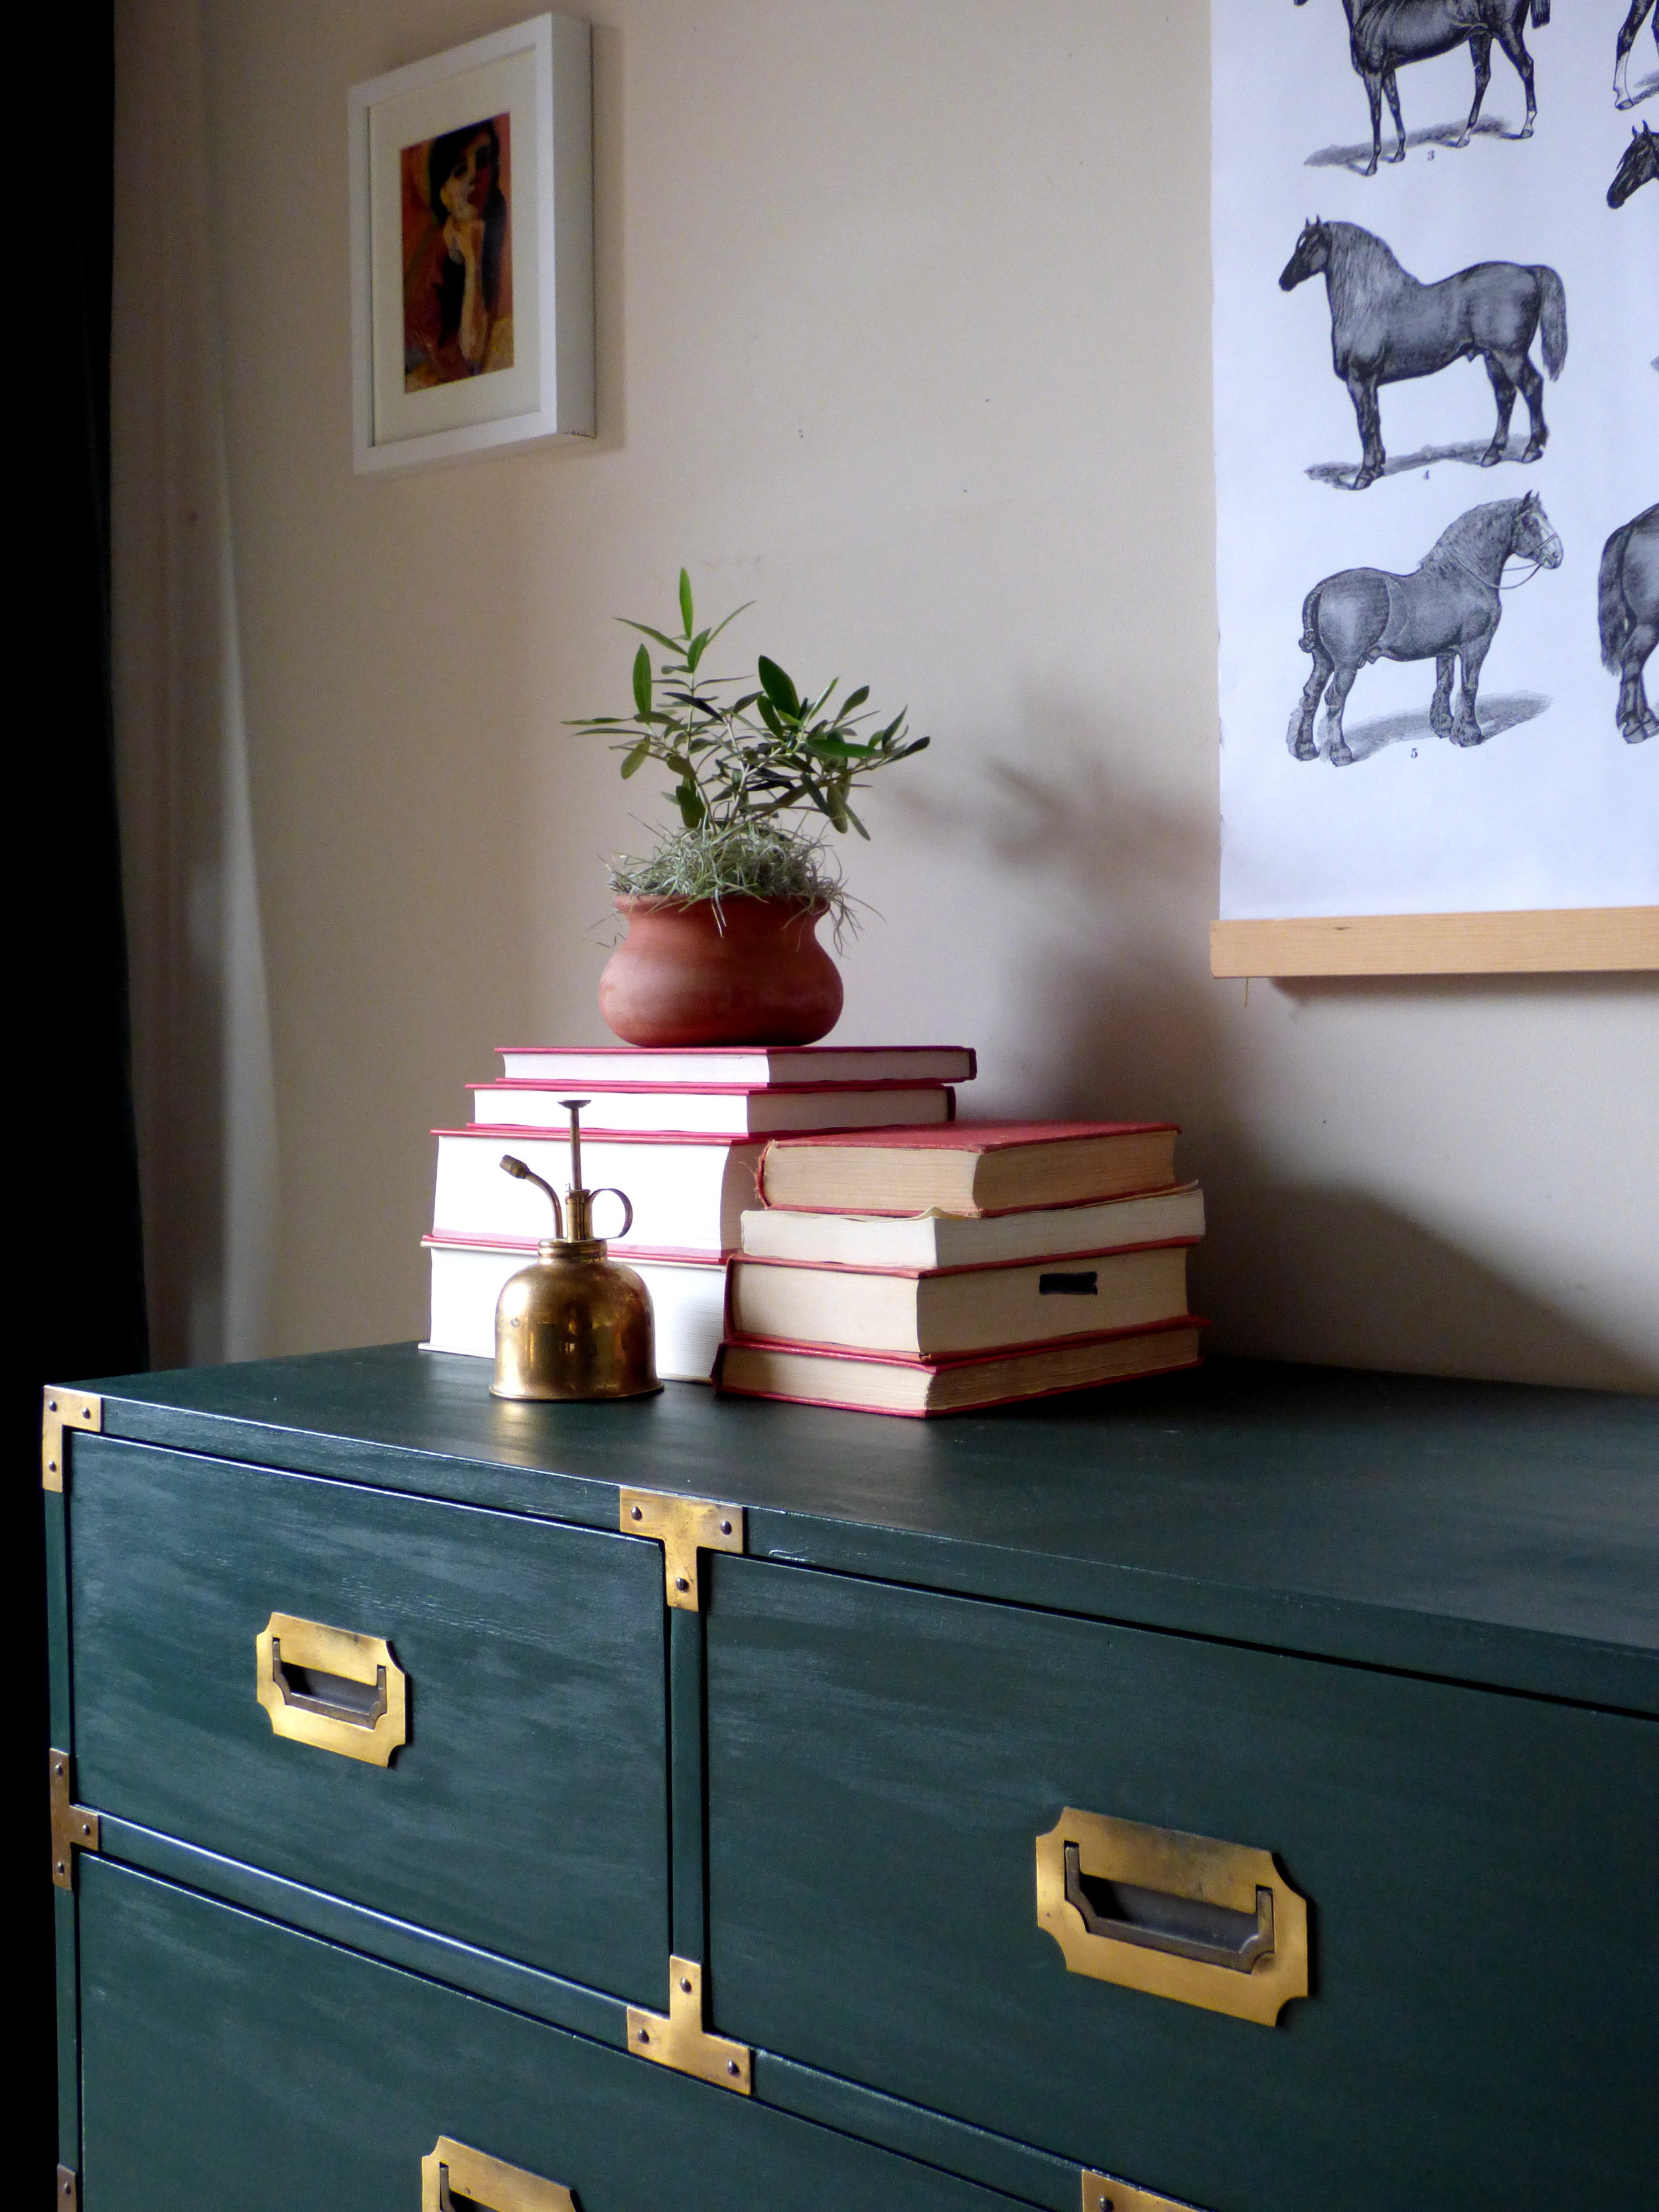
“I like to define my style as eclectic but with a classic spin. It’s definitely a mix of midcentury modern, boho and eclectic with traditional touches. All of the styles together create a more unique look.”


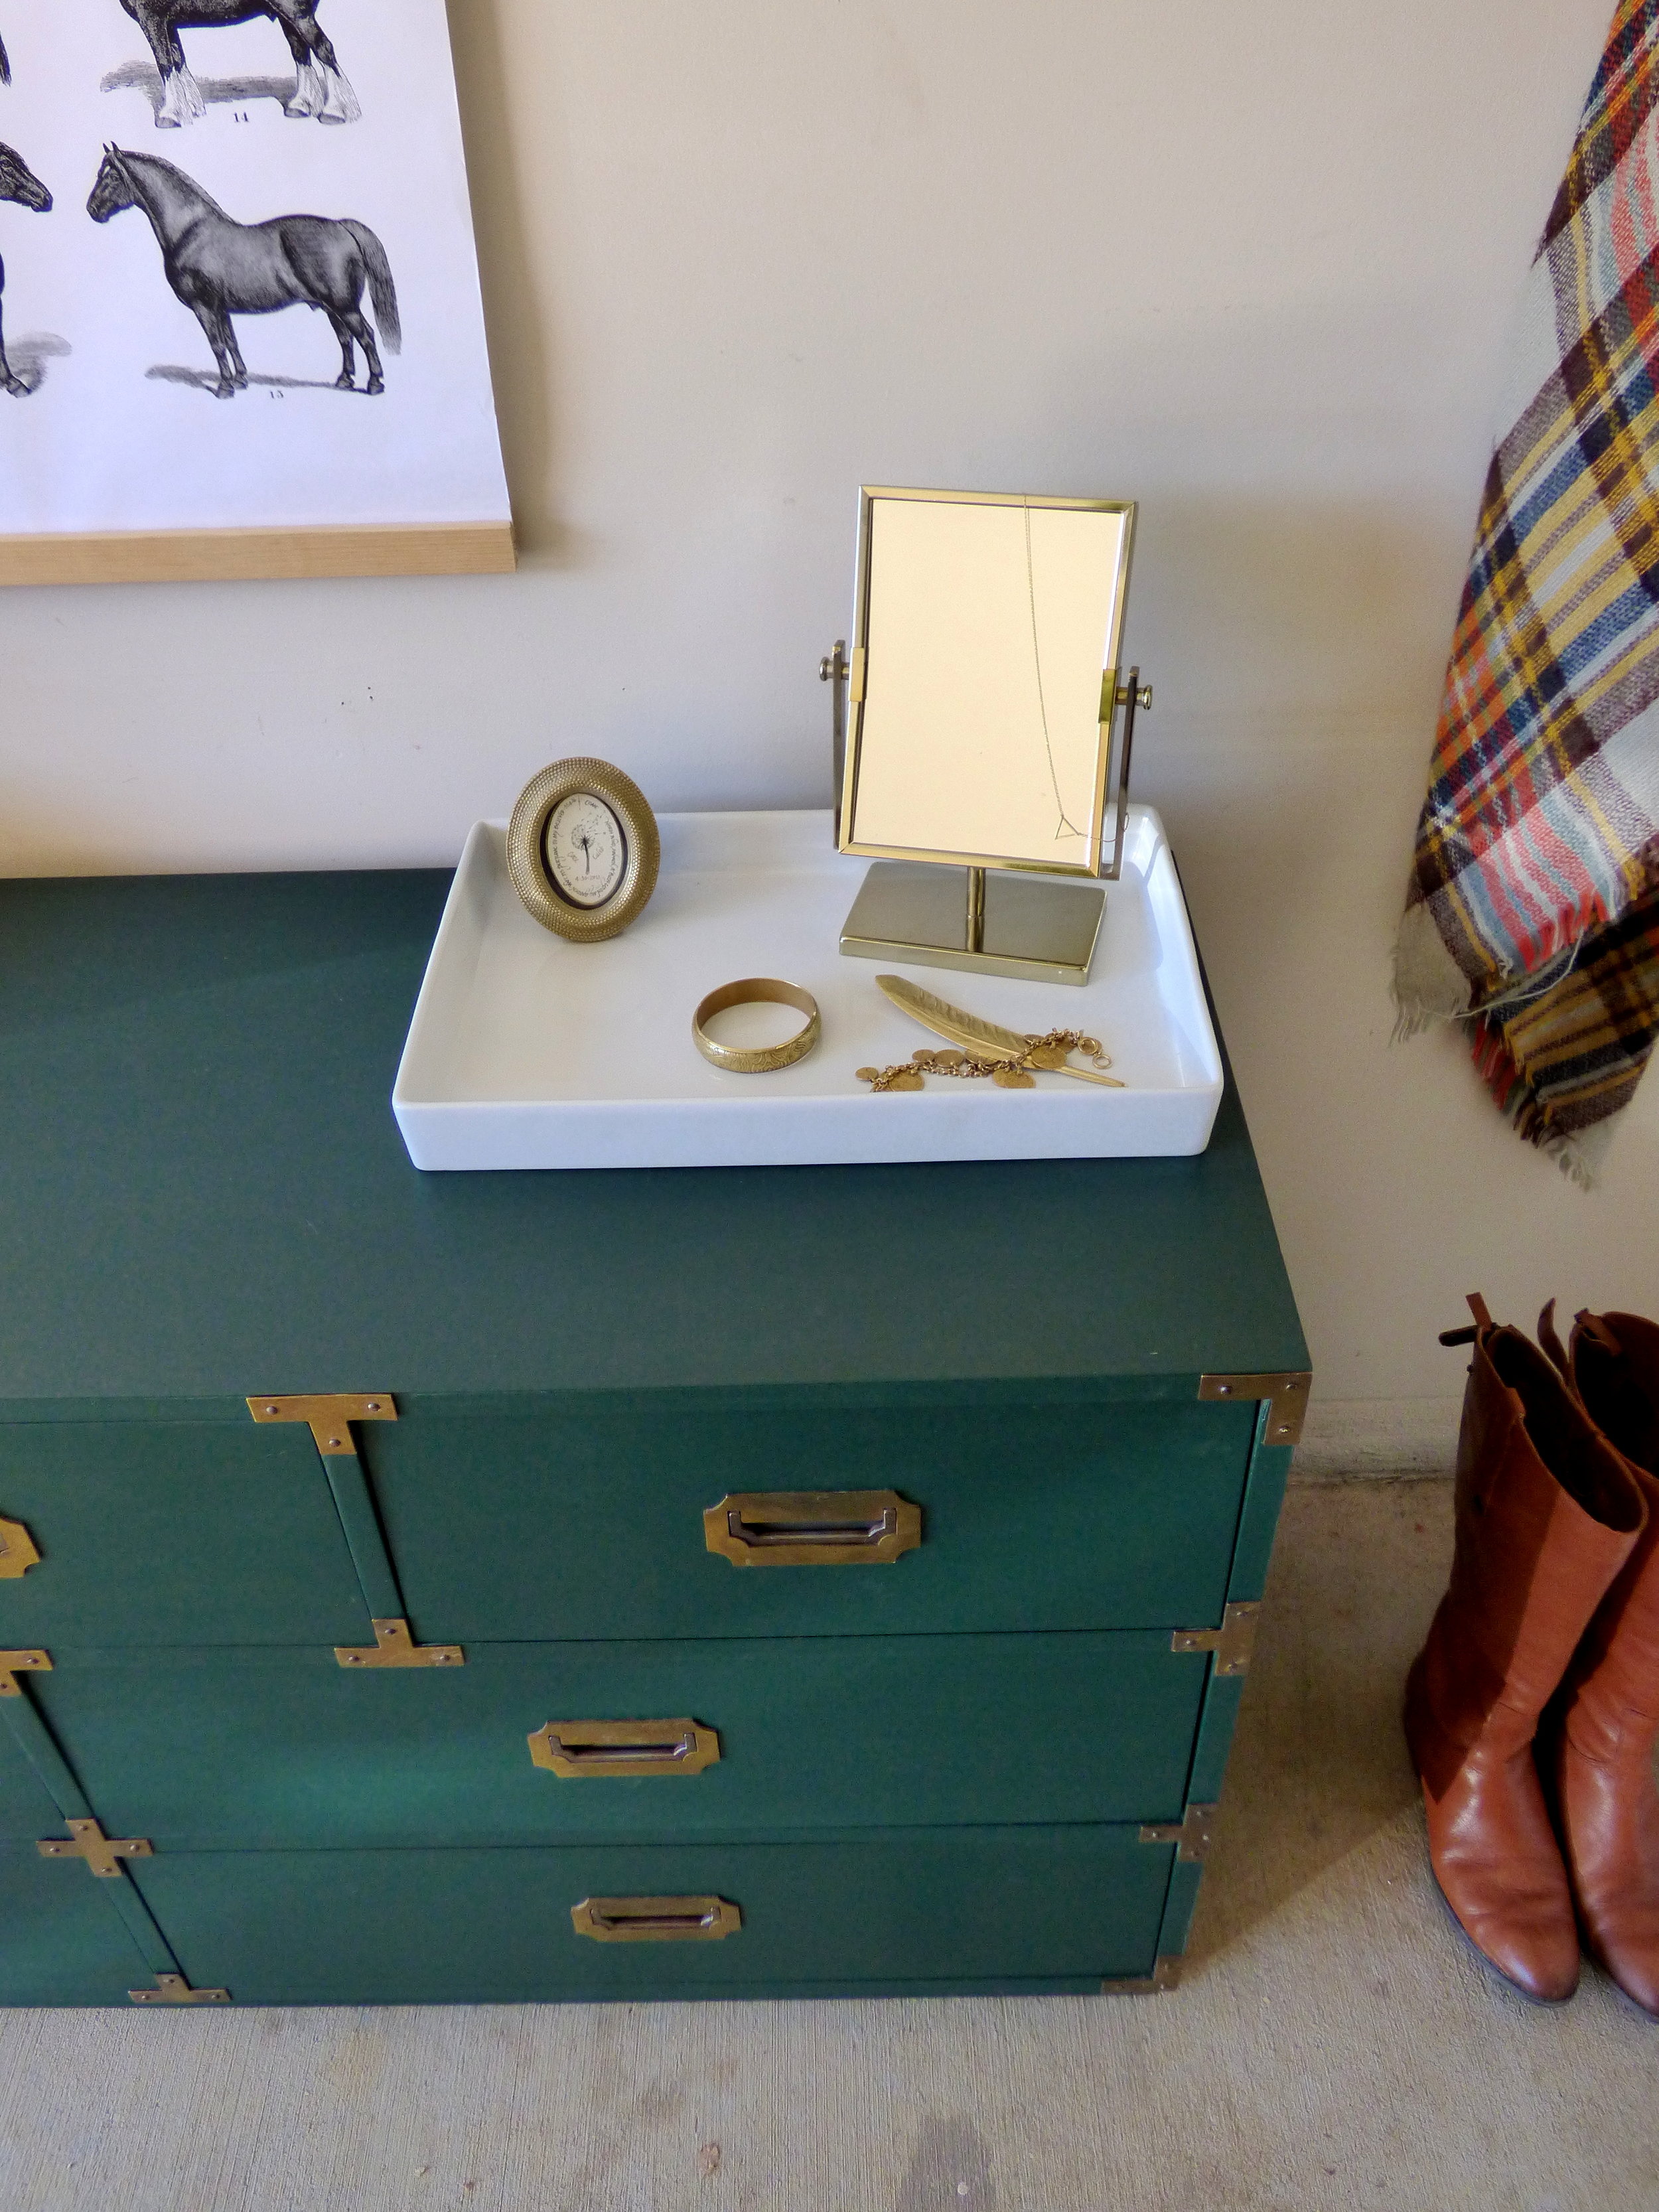
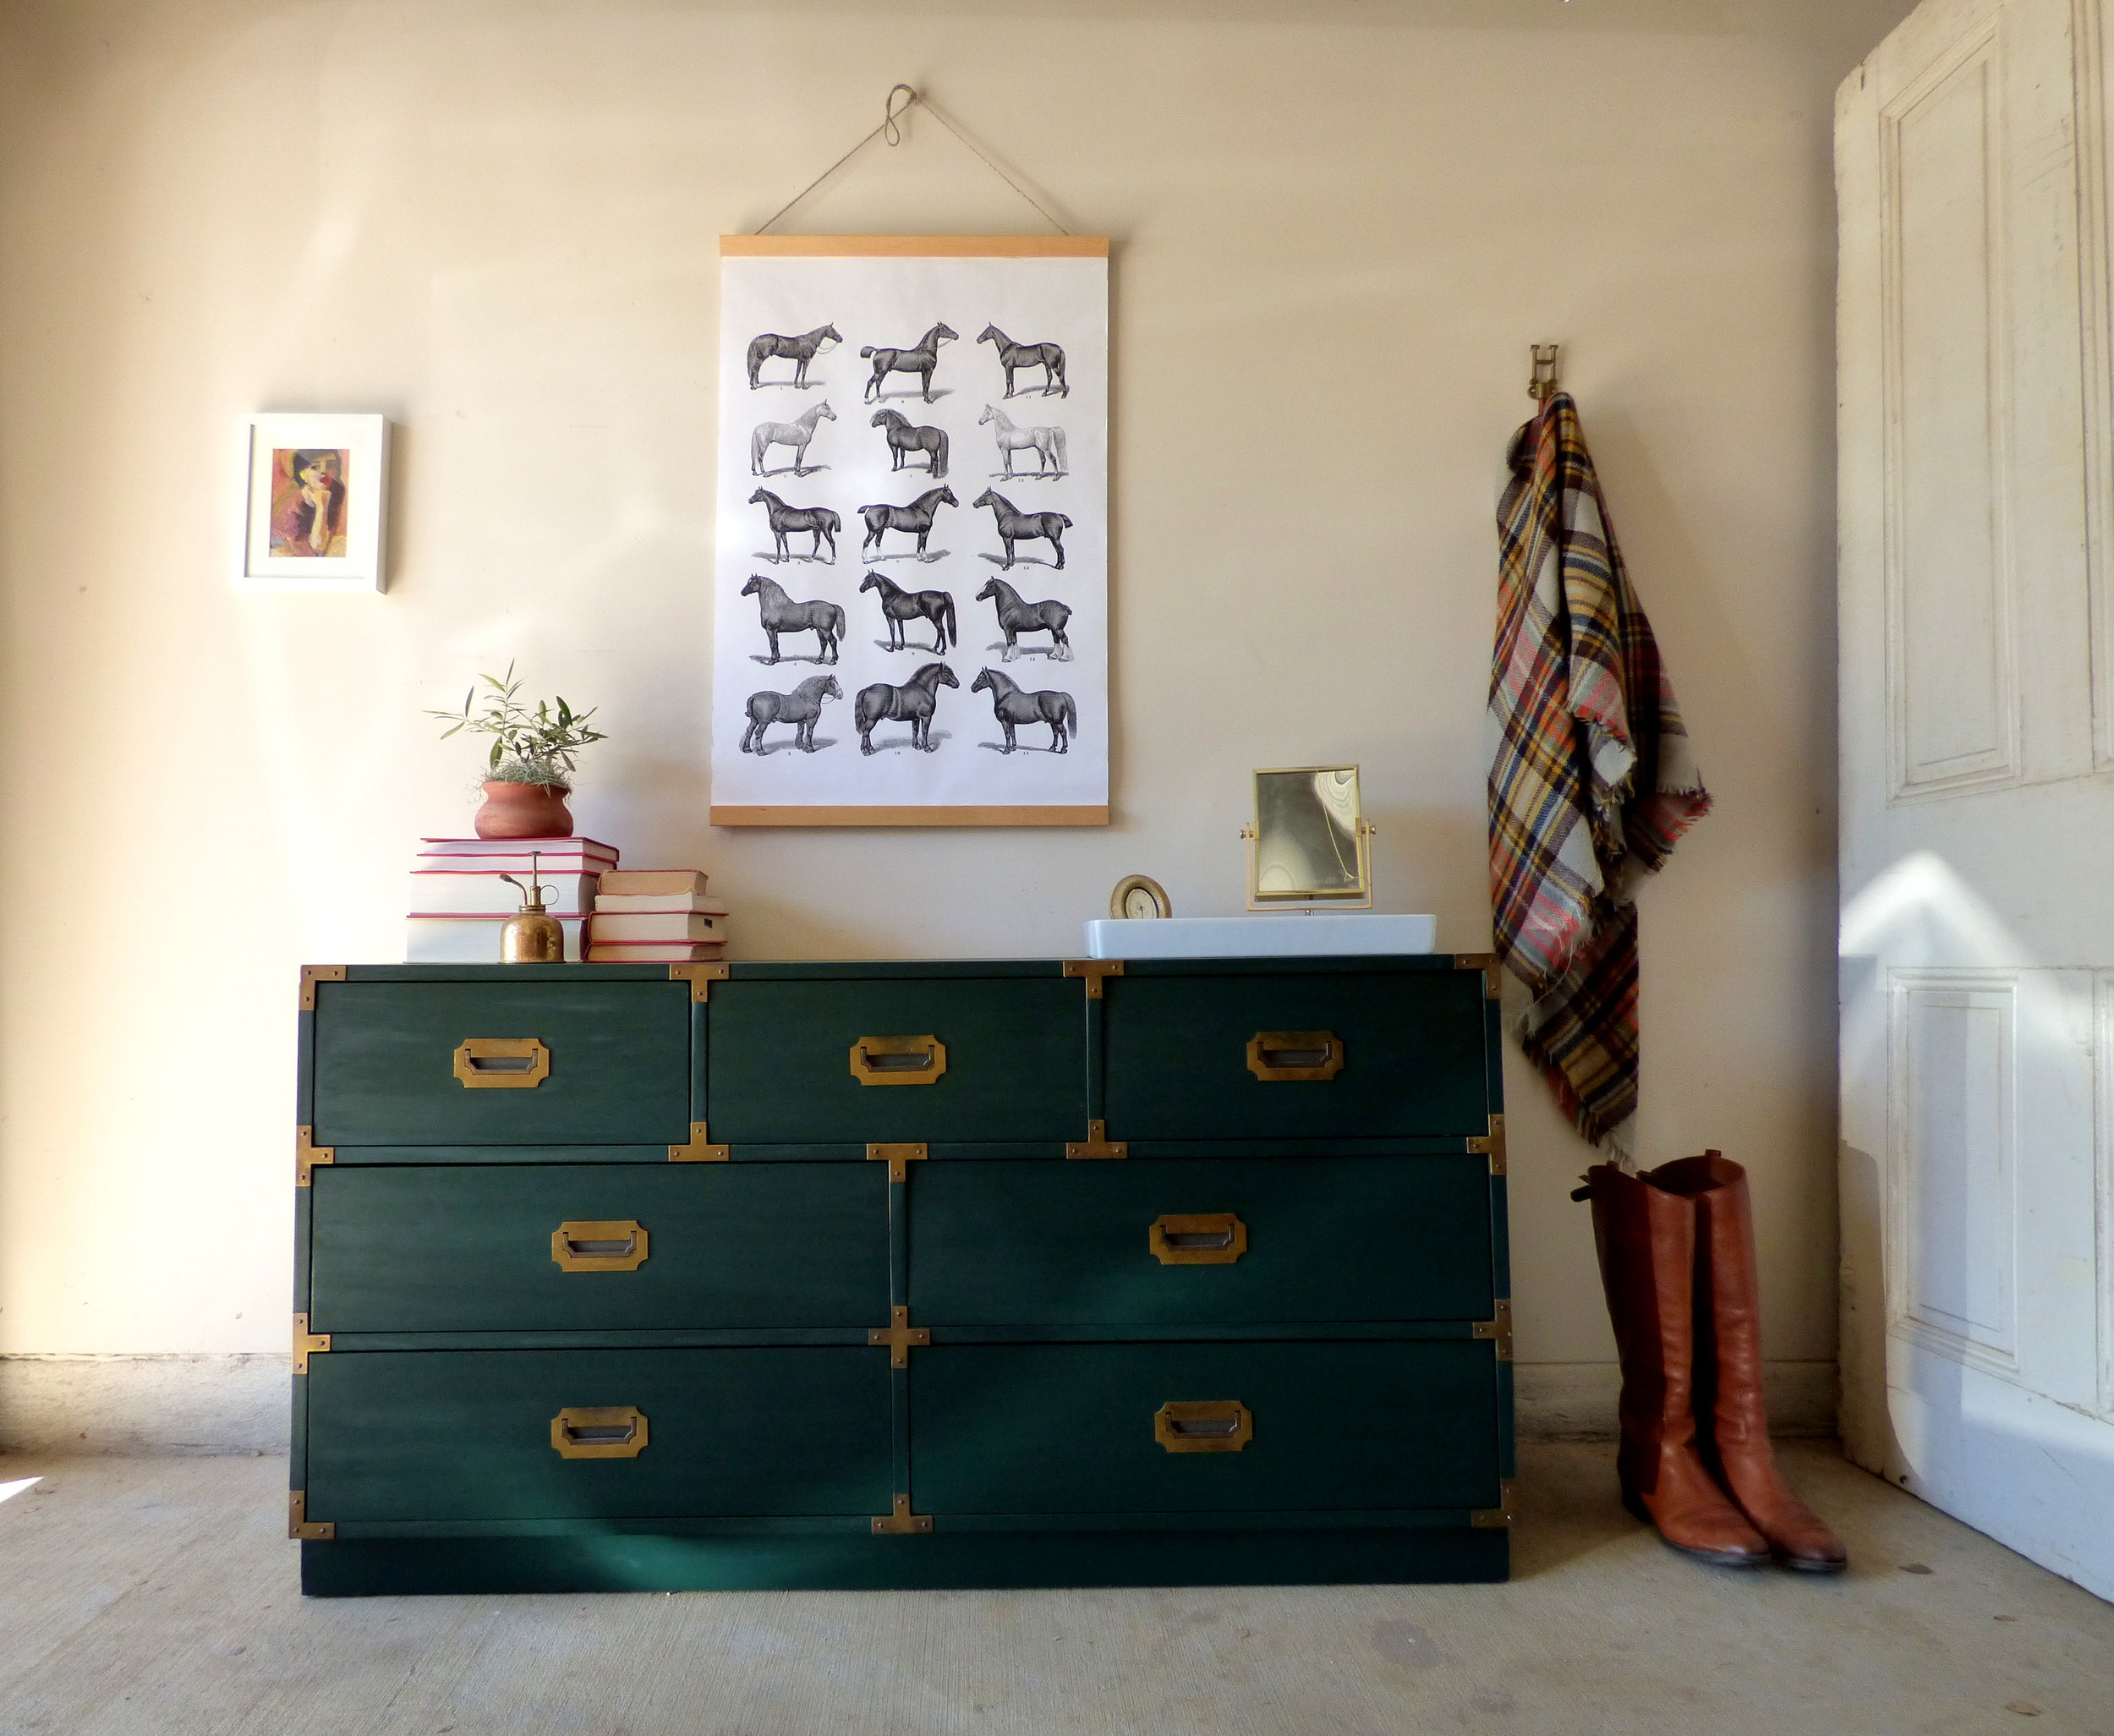
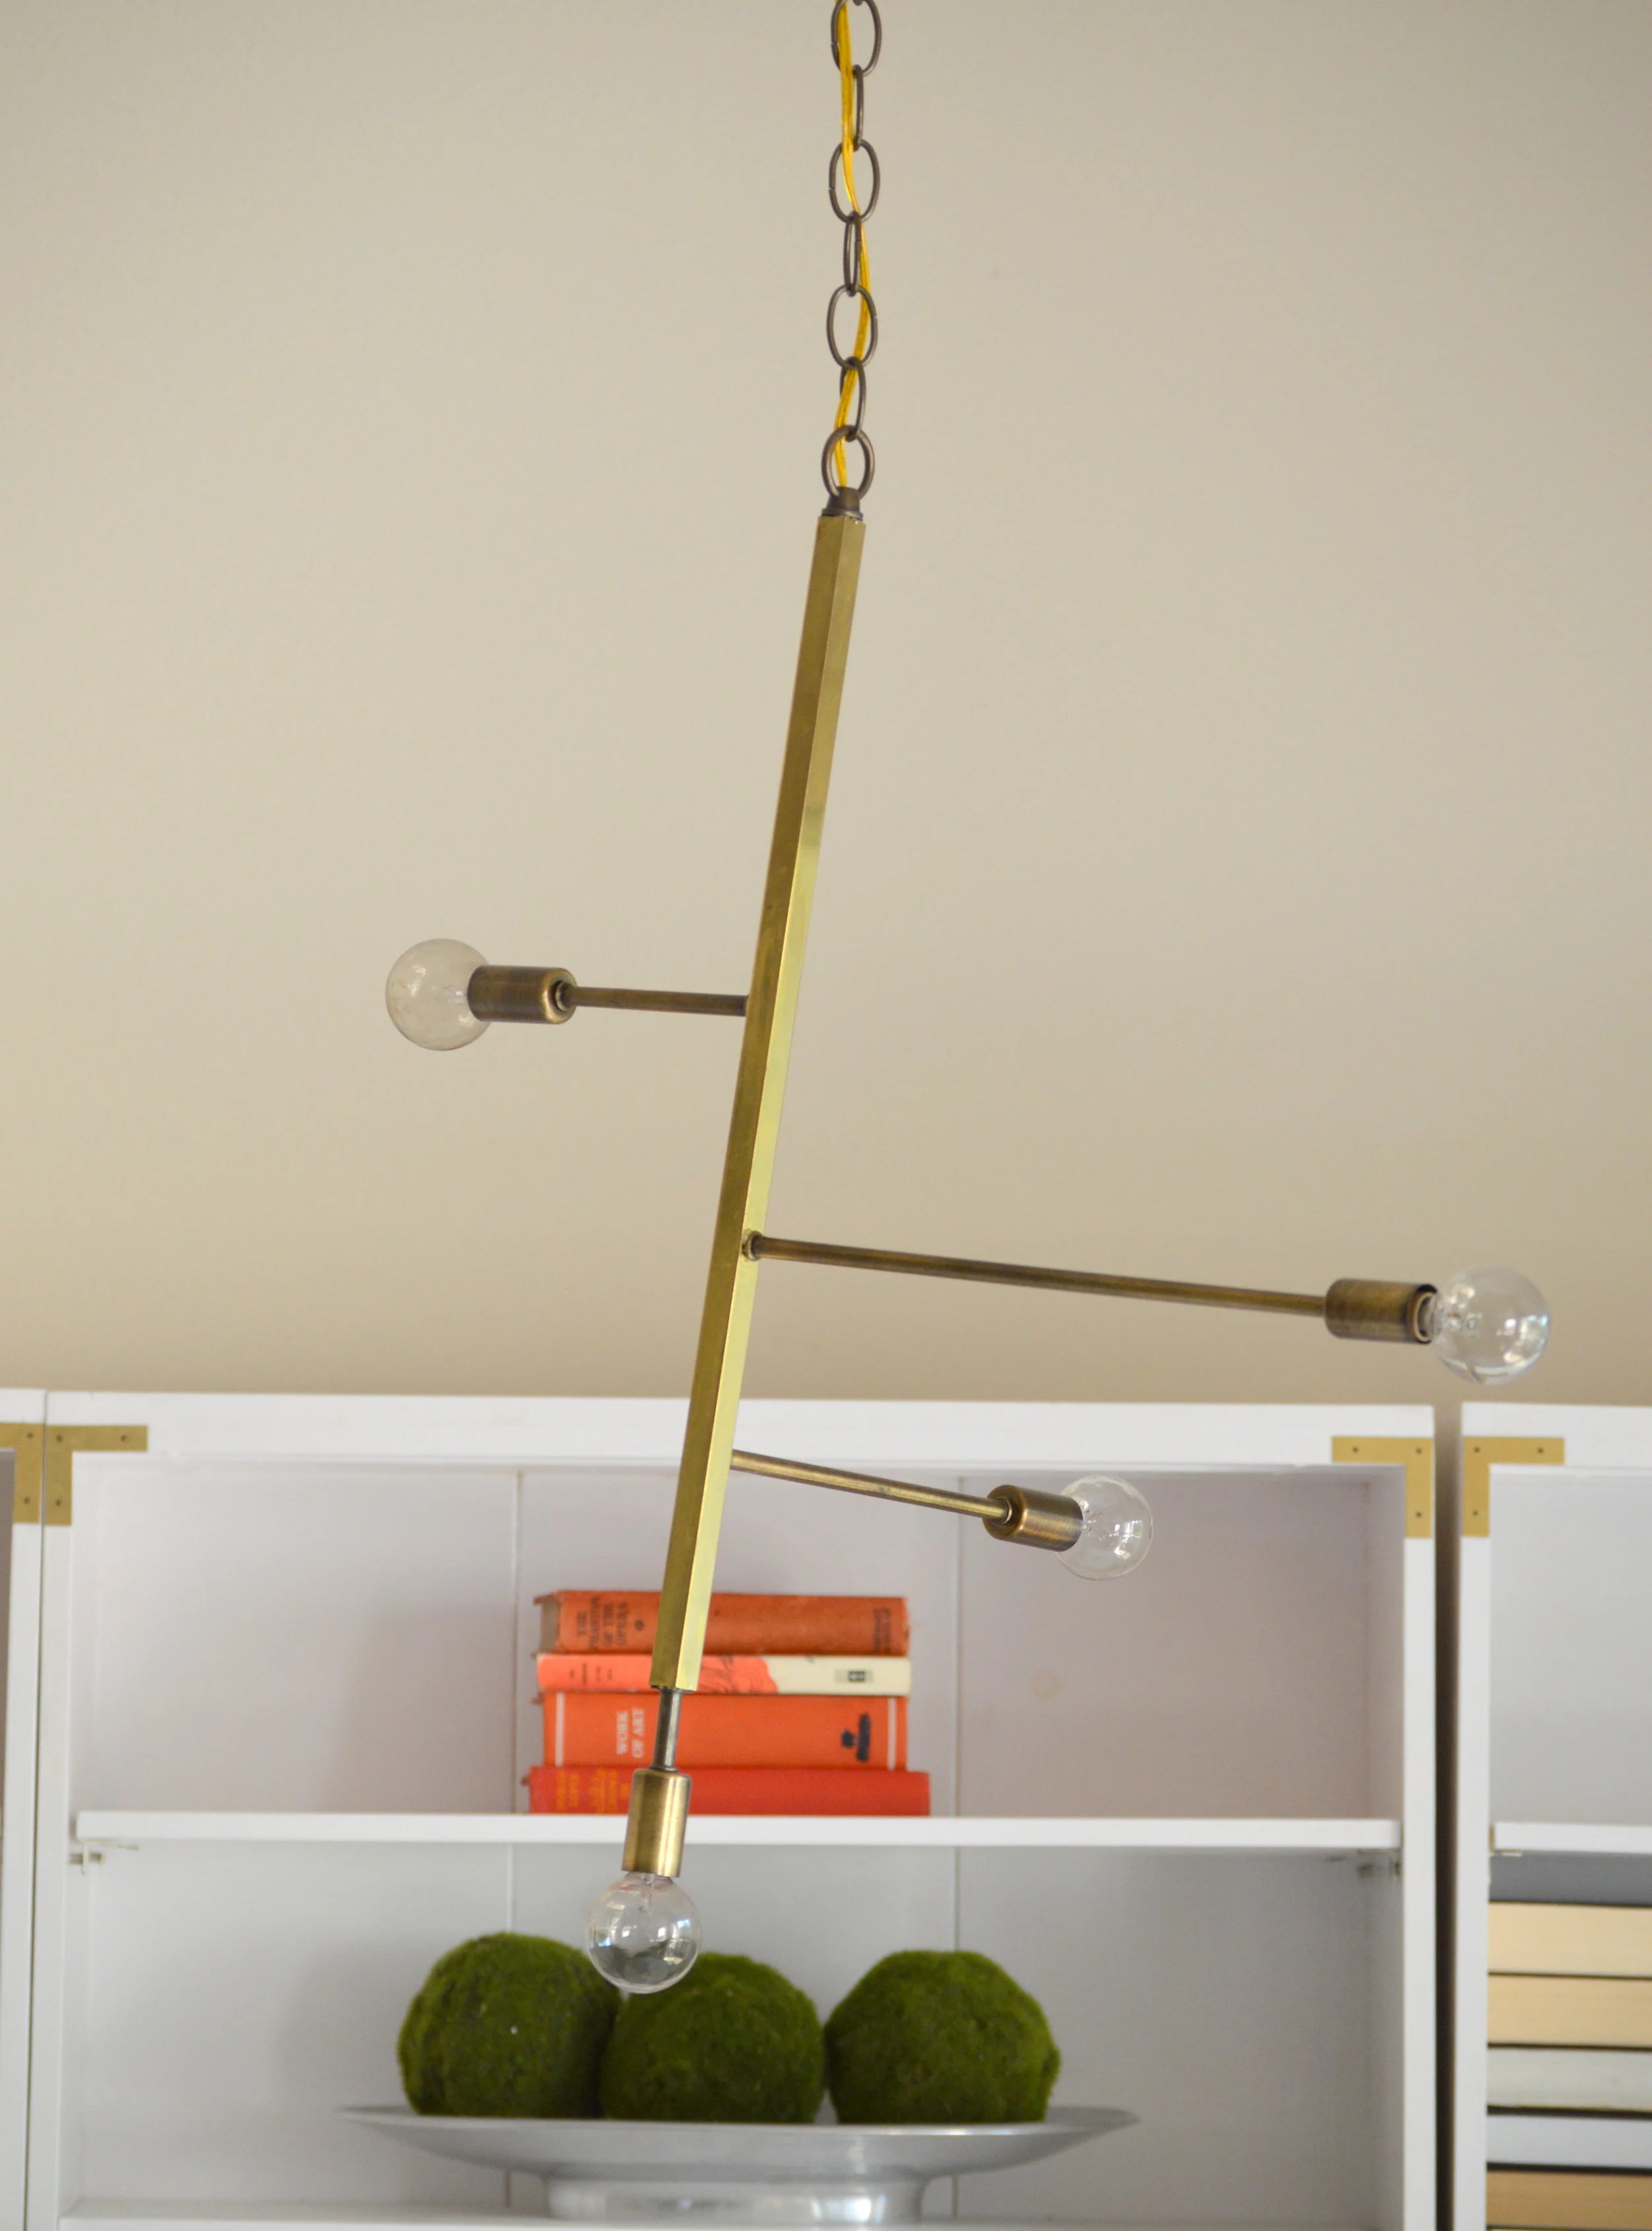
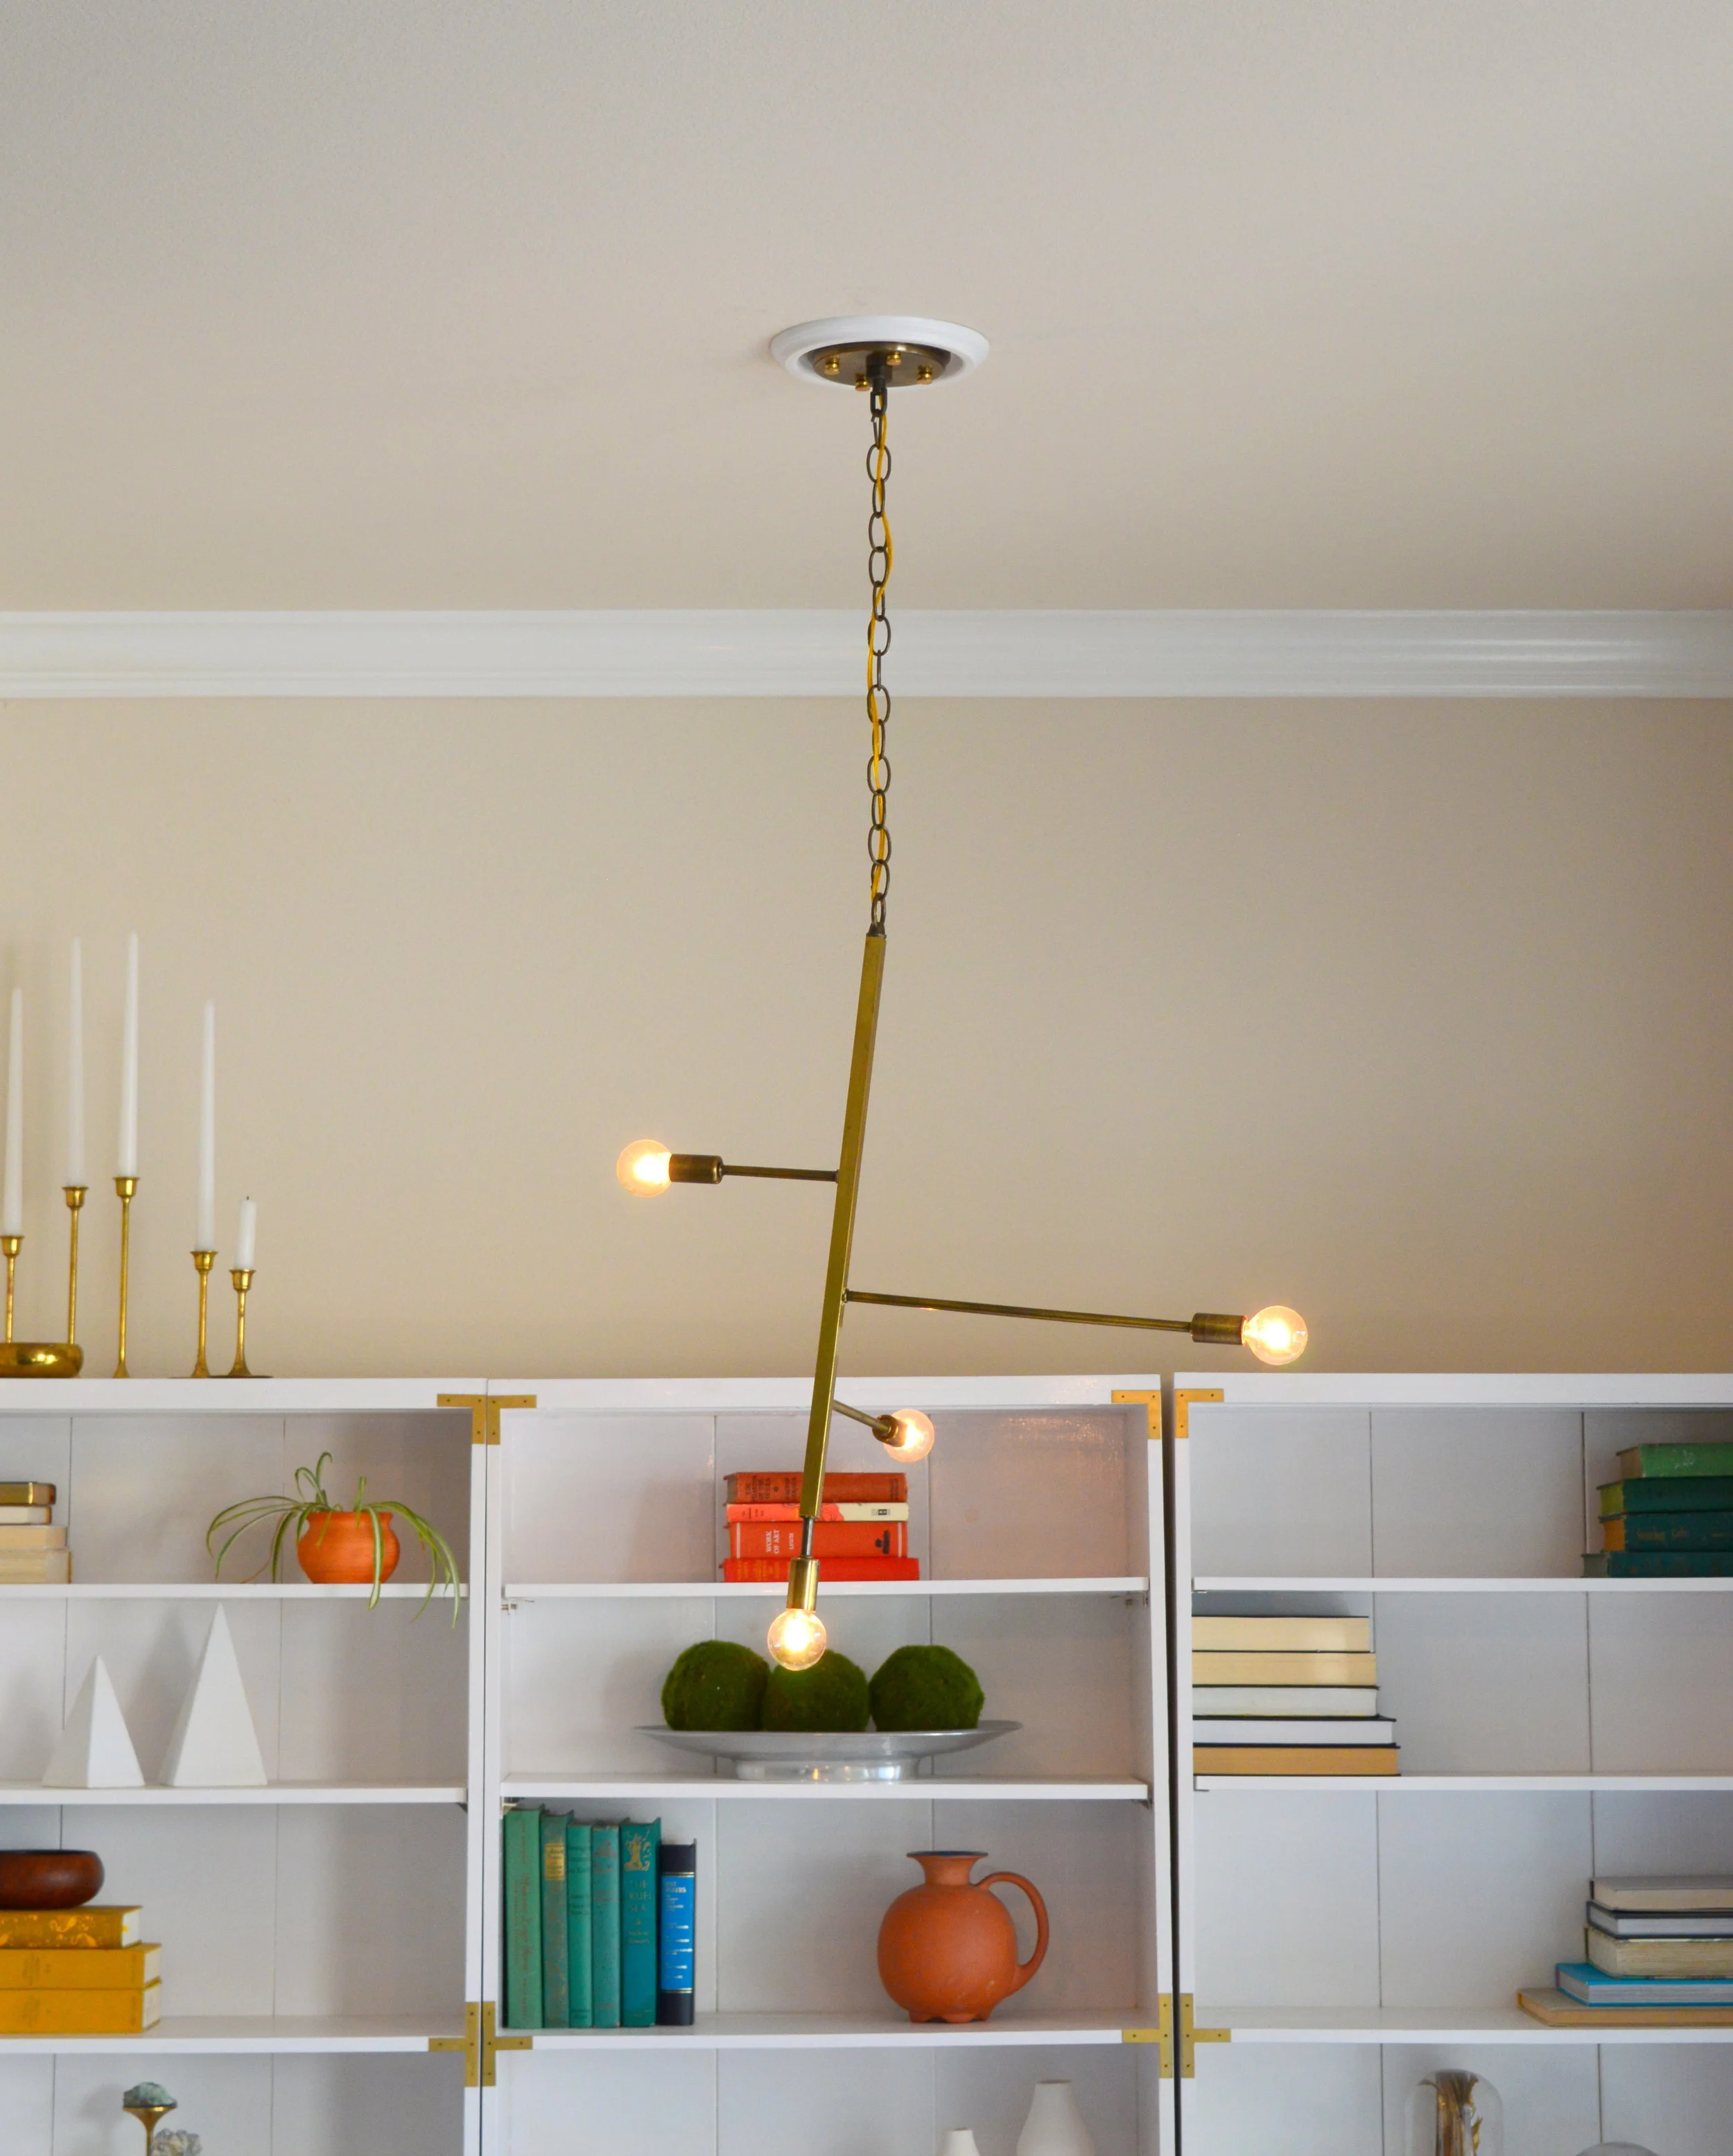
Her living room here has it all - boho elements, thrifted finds, plant life, and some amazing mix-and-match patterns to keep it interesting.
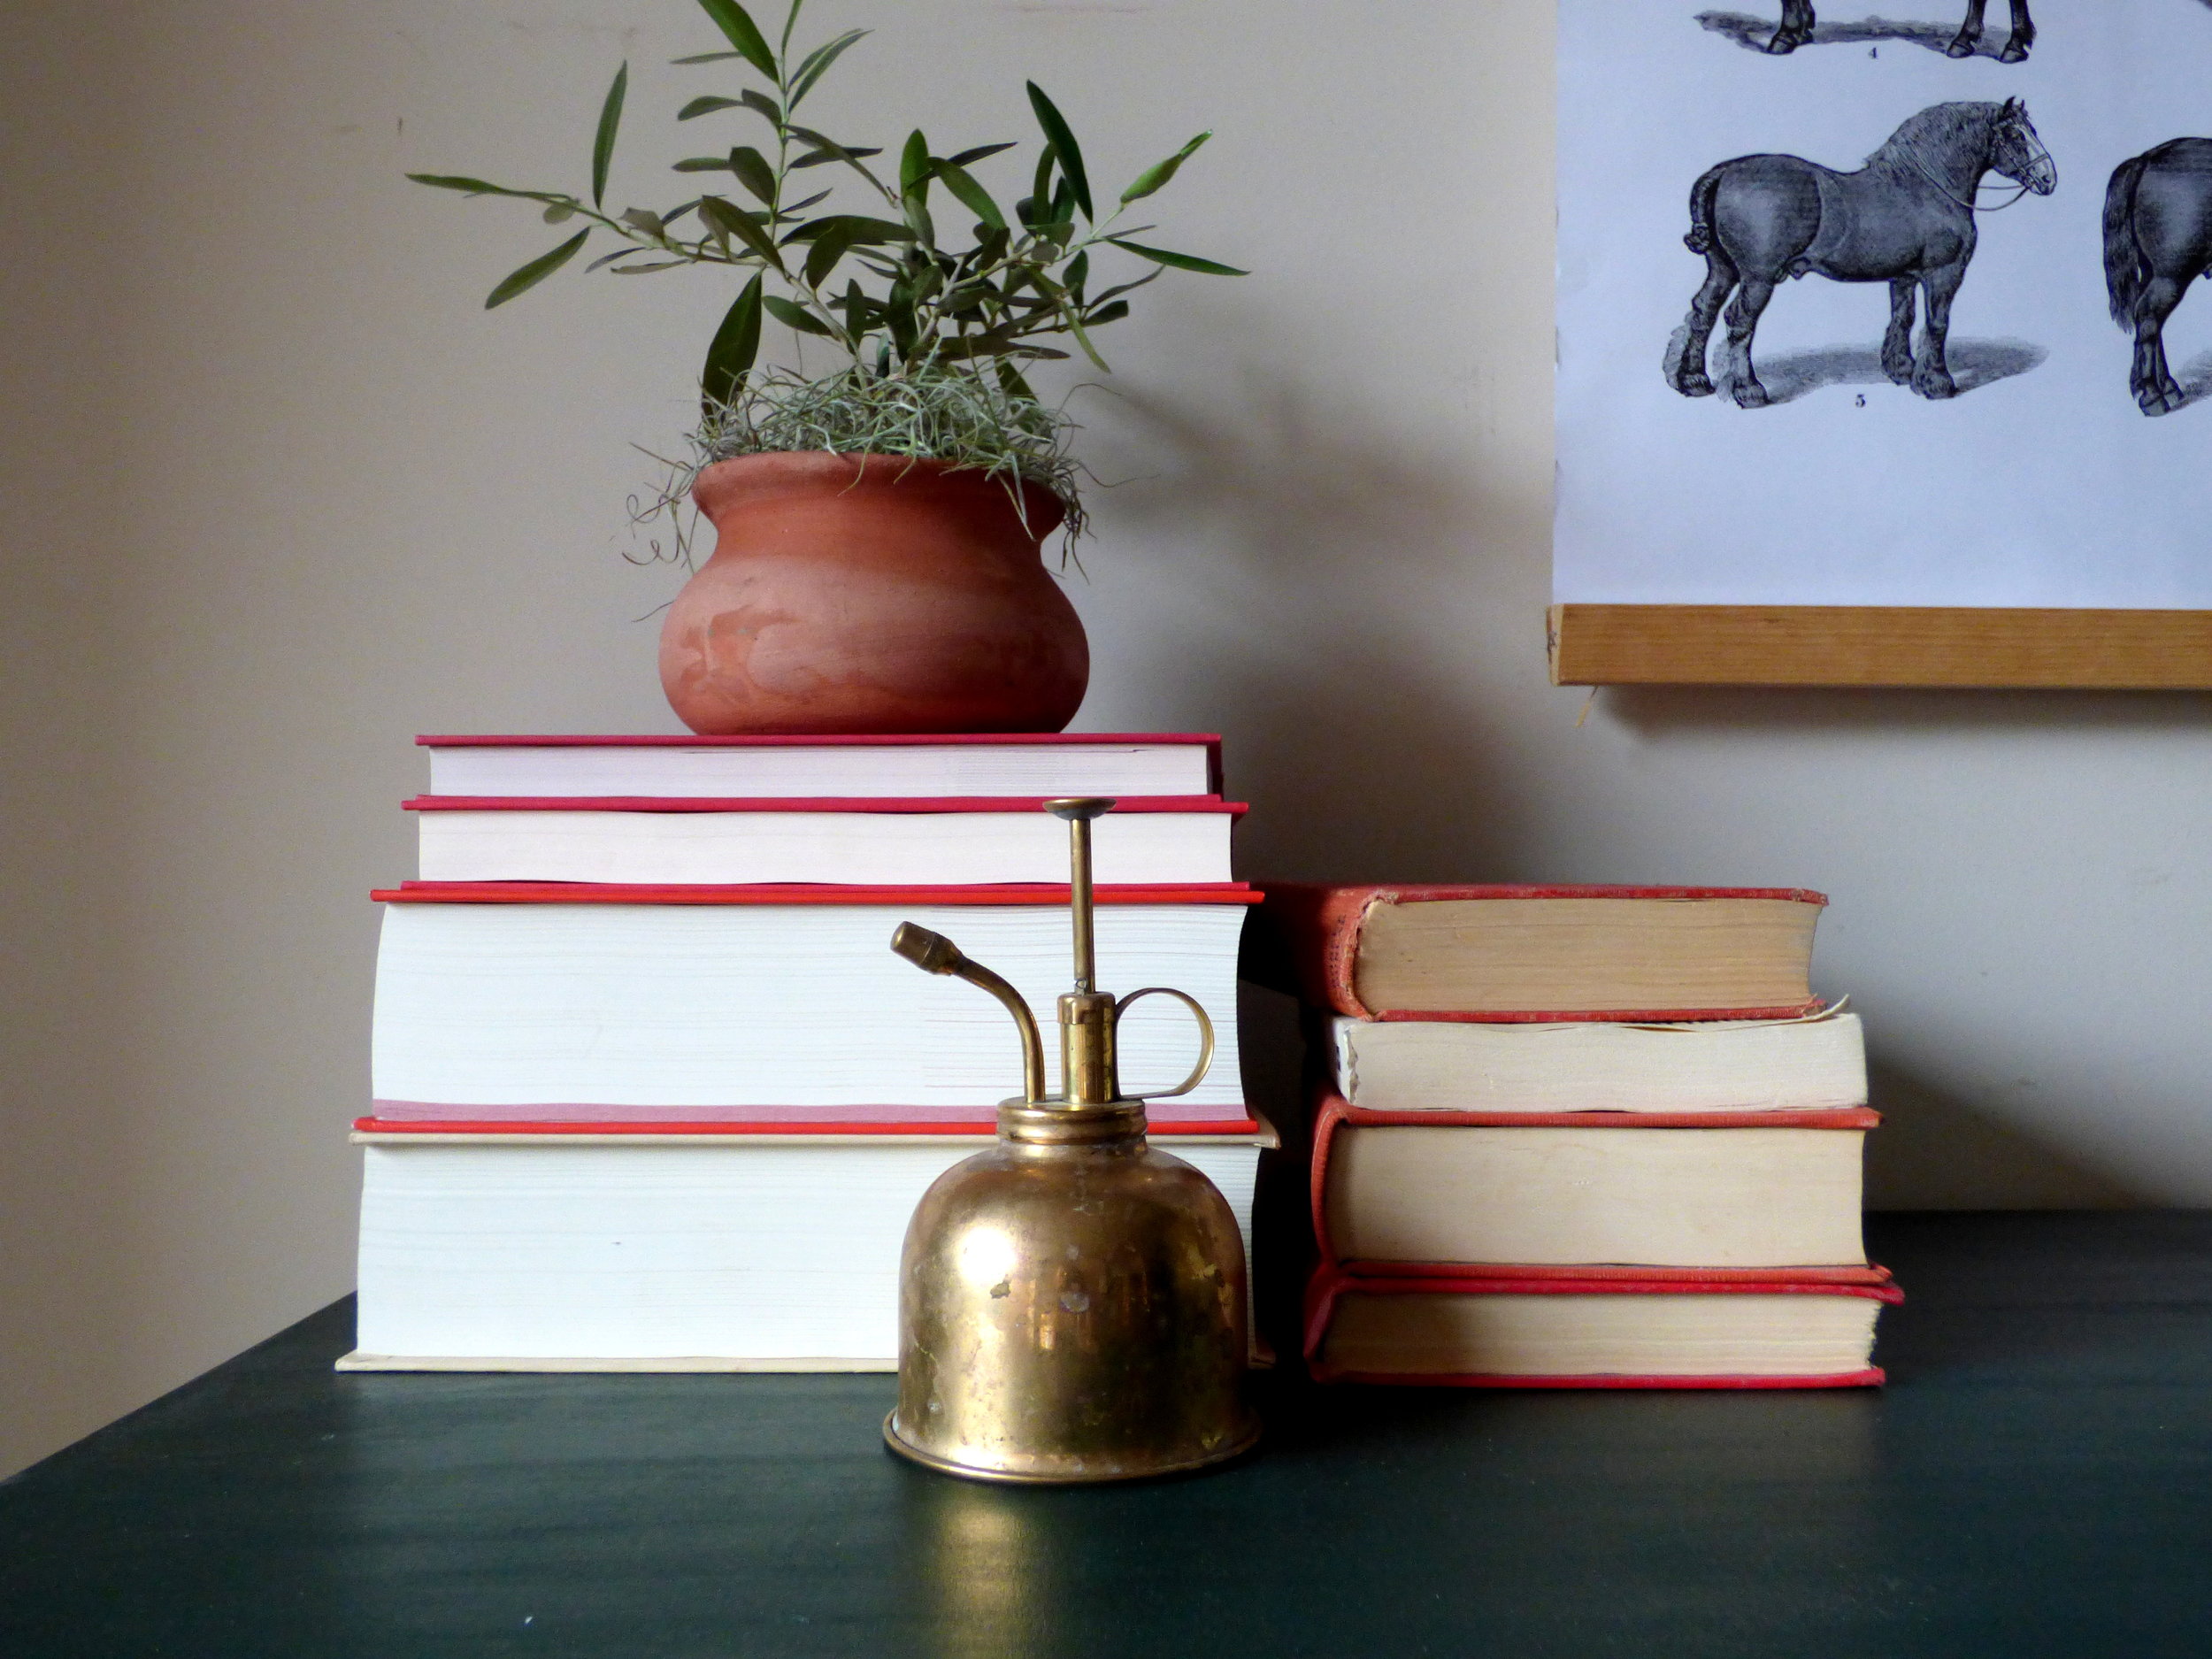
“I’m inspired by the ocean so blue seems to be my go-to choice of color to decorate with. I love pictures of the ocean, boats, and anything tropical. It just relaxes me. A home that is collected over time and from many different sources makes it more unique to you. A ton of my home is from Craigslist and thrift stores! Not only does that make my home more personal to my family but it also makes it more affordable. I prefer to keep a more polished look though so I get rid of unnecessary clutter or pieces that don’t add anything to my space. ”


I wouldn't call Nicole's style minimalist, but she's certainly careful about the items she chooses to surround herself with.
“‘m not gonna spend a lot of money on things that are trendy. I’ll either thrift them, come up with a way to DIY it, and use accessories as a way to change things out with the trends and seasons. We’d rather spend our money on things that are timeless and will stick around with us for years to come. ”

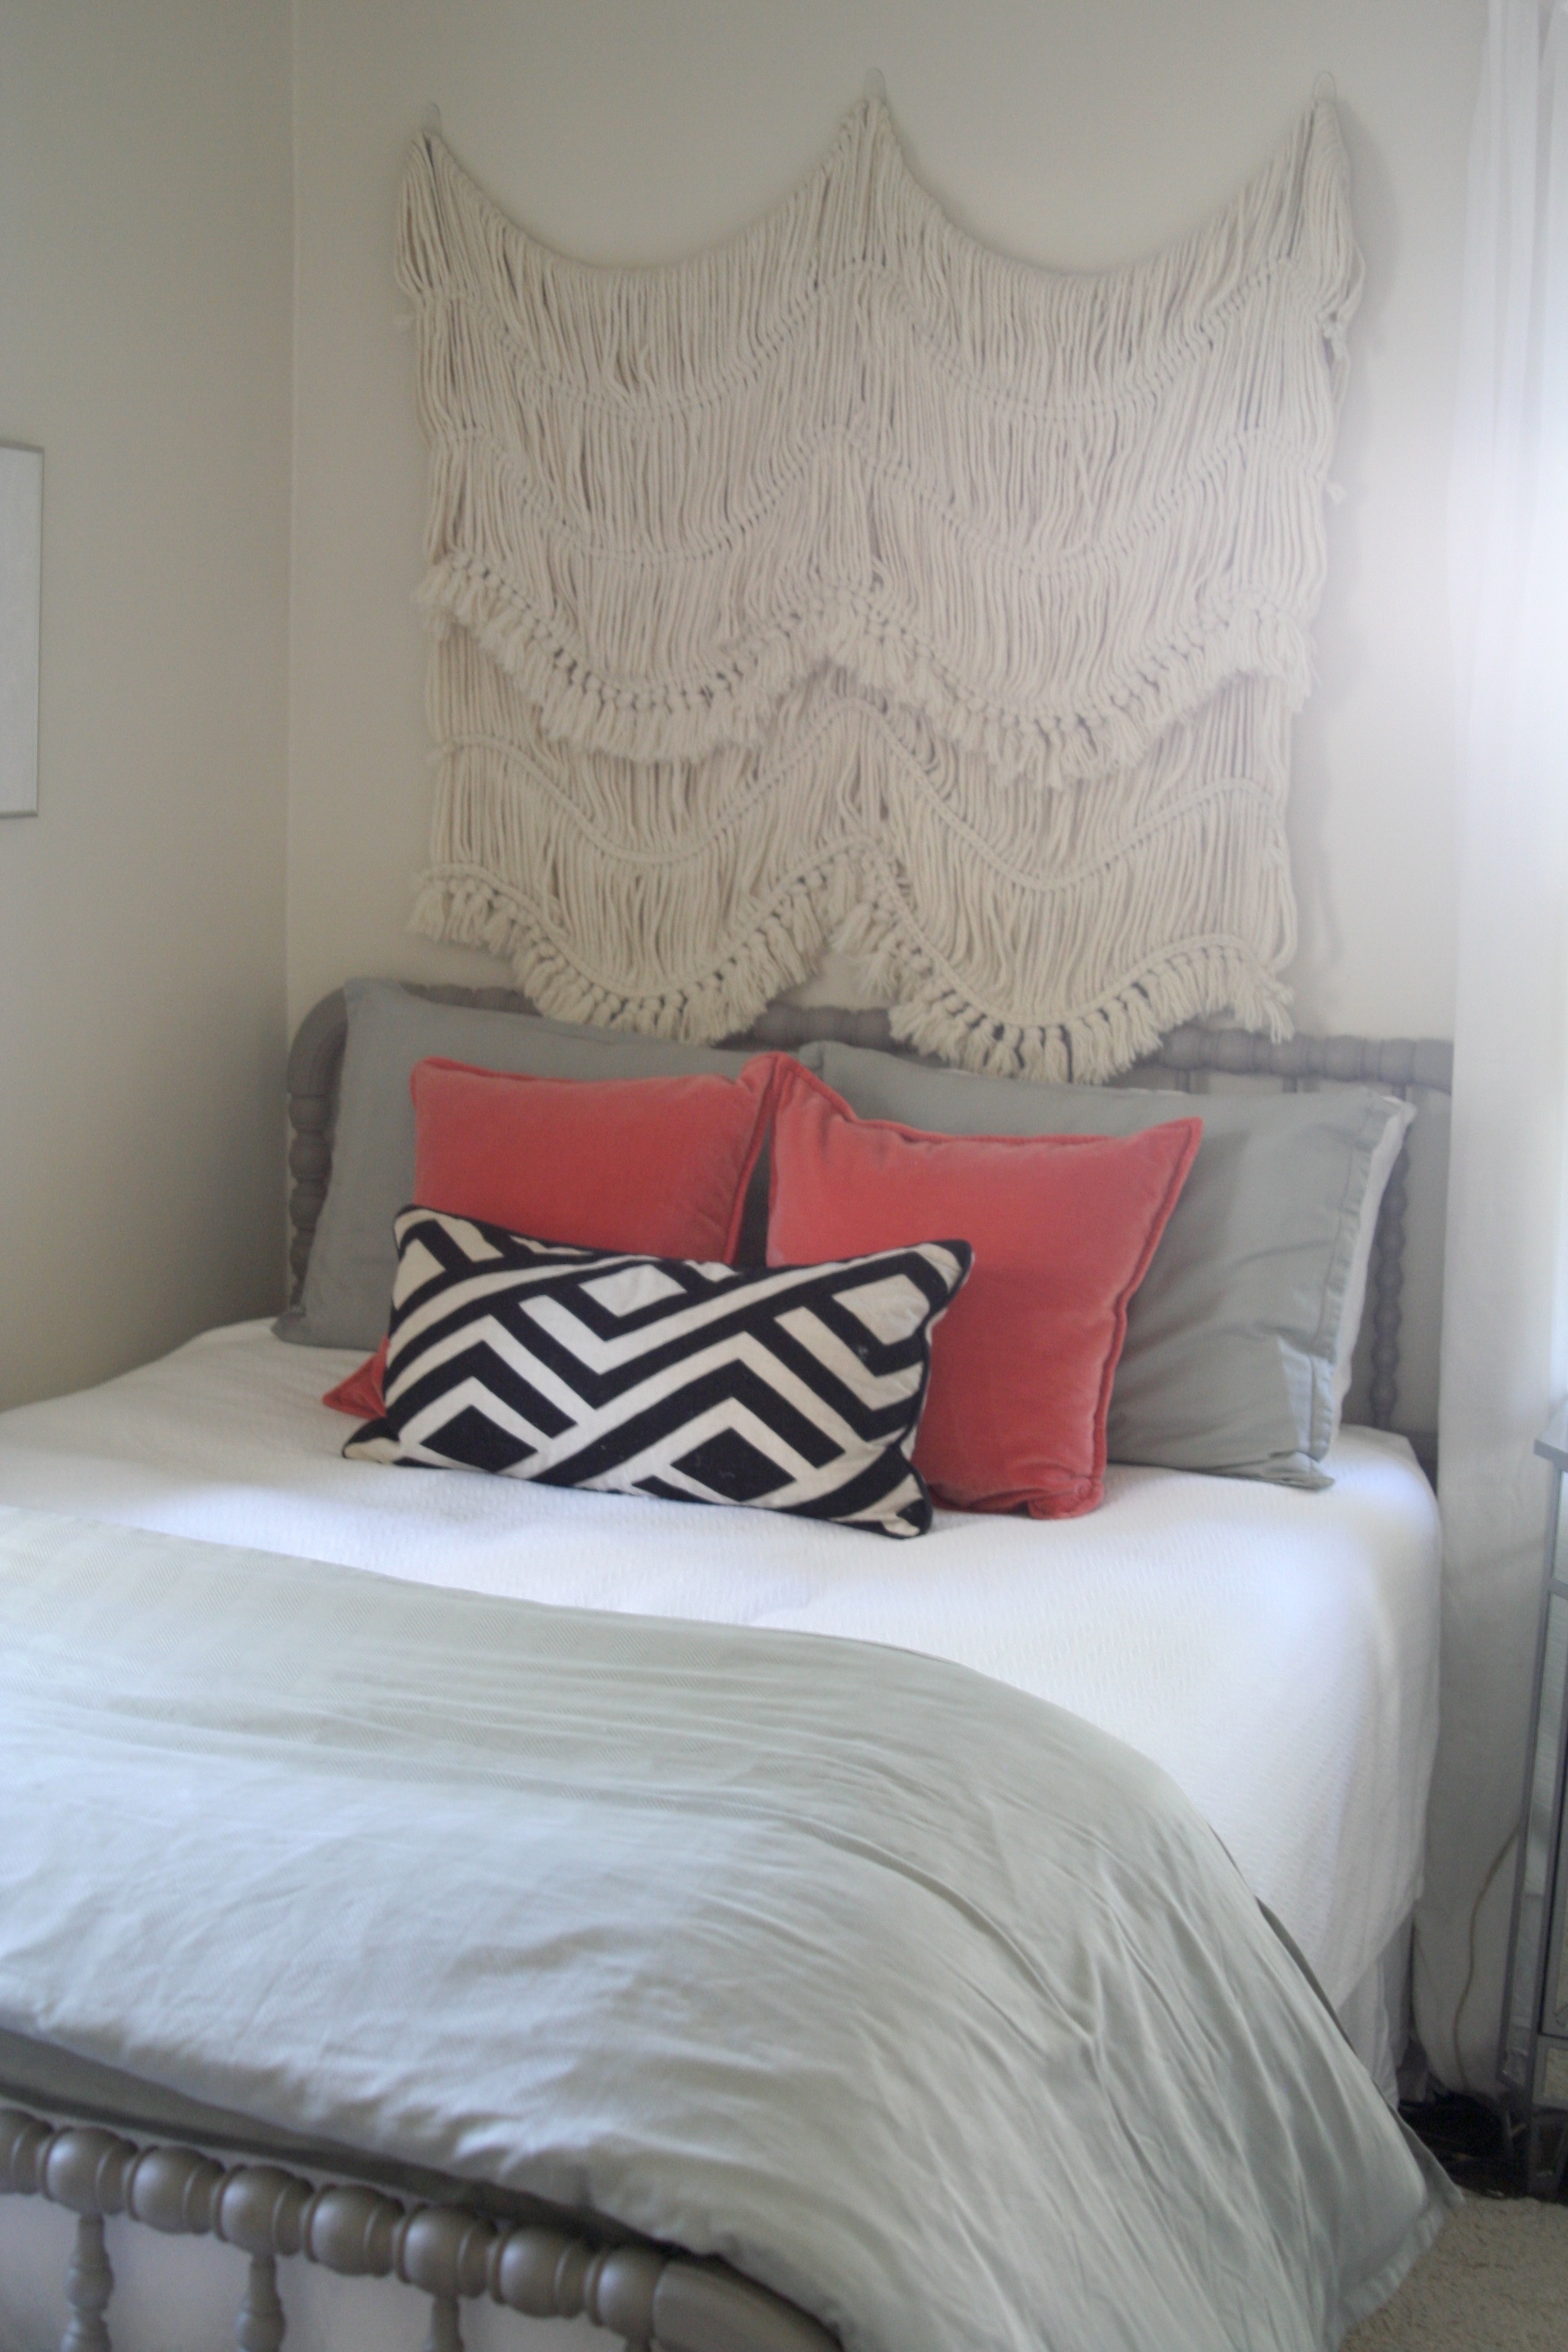
The bedrooms are all kinds of wonderful with their textiles and wall hangings. They're the kind of bedrooms I would have loved to slumber in after Tuesday night - anyone agree?

Nicole, thank you for letting us in to see more outside those tiny squares. Your home is beautiful! Follow Nicole along @sweet_domicile for more!
We're off the Reader Designs next week for Thanksgiving but I'll see you all in December!