Boys' Room Reveal + A Stencil Giveaway!

A stenciled room makeover - again!

After 8 months since my first stenciled room makeover, (which was followed by another a month later at my grandparents' assisted living home), it was only a matter of time before using Cutting Edge Stencils to transform another room in our house!

Colin and Mason's room!

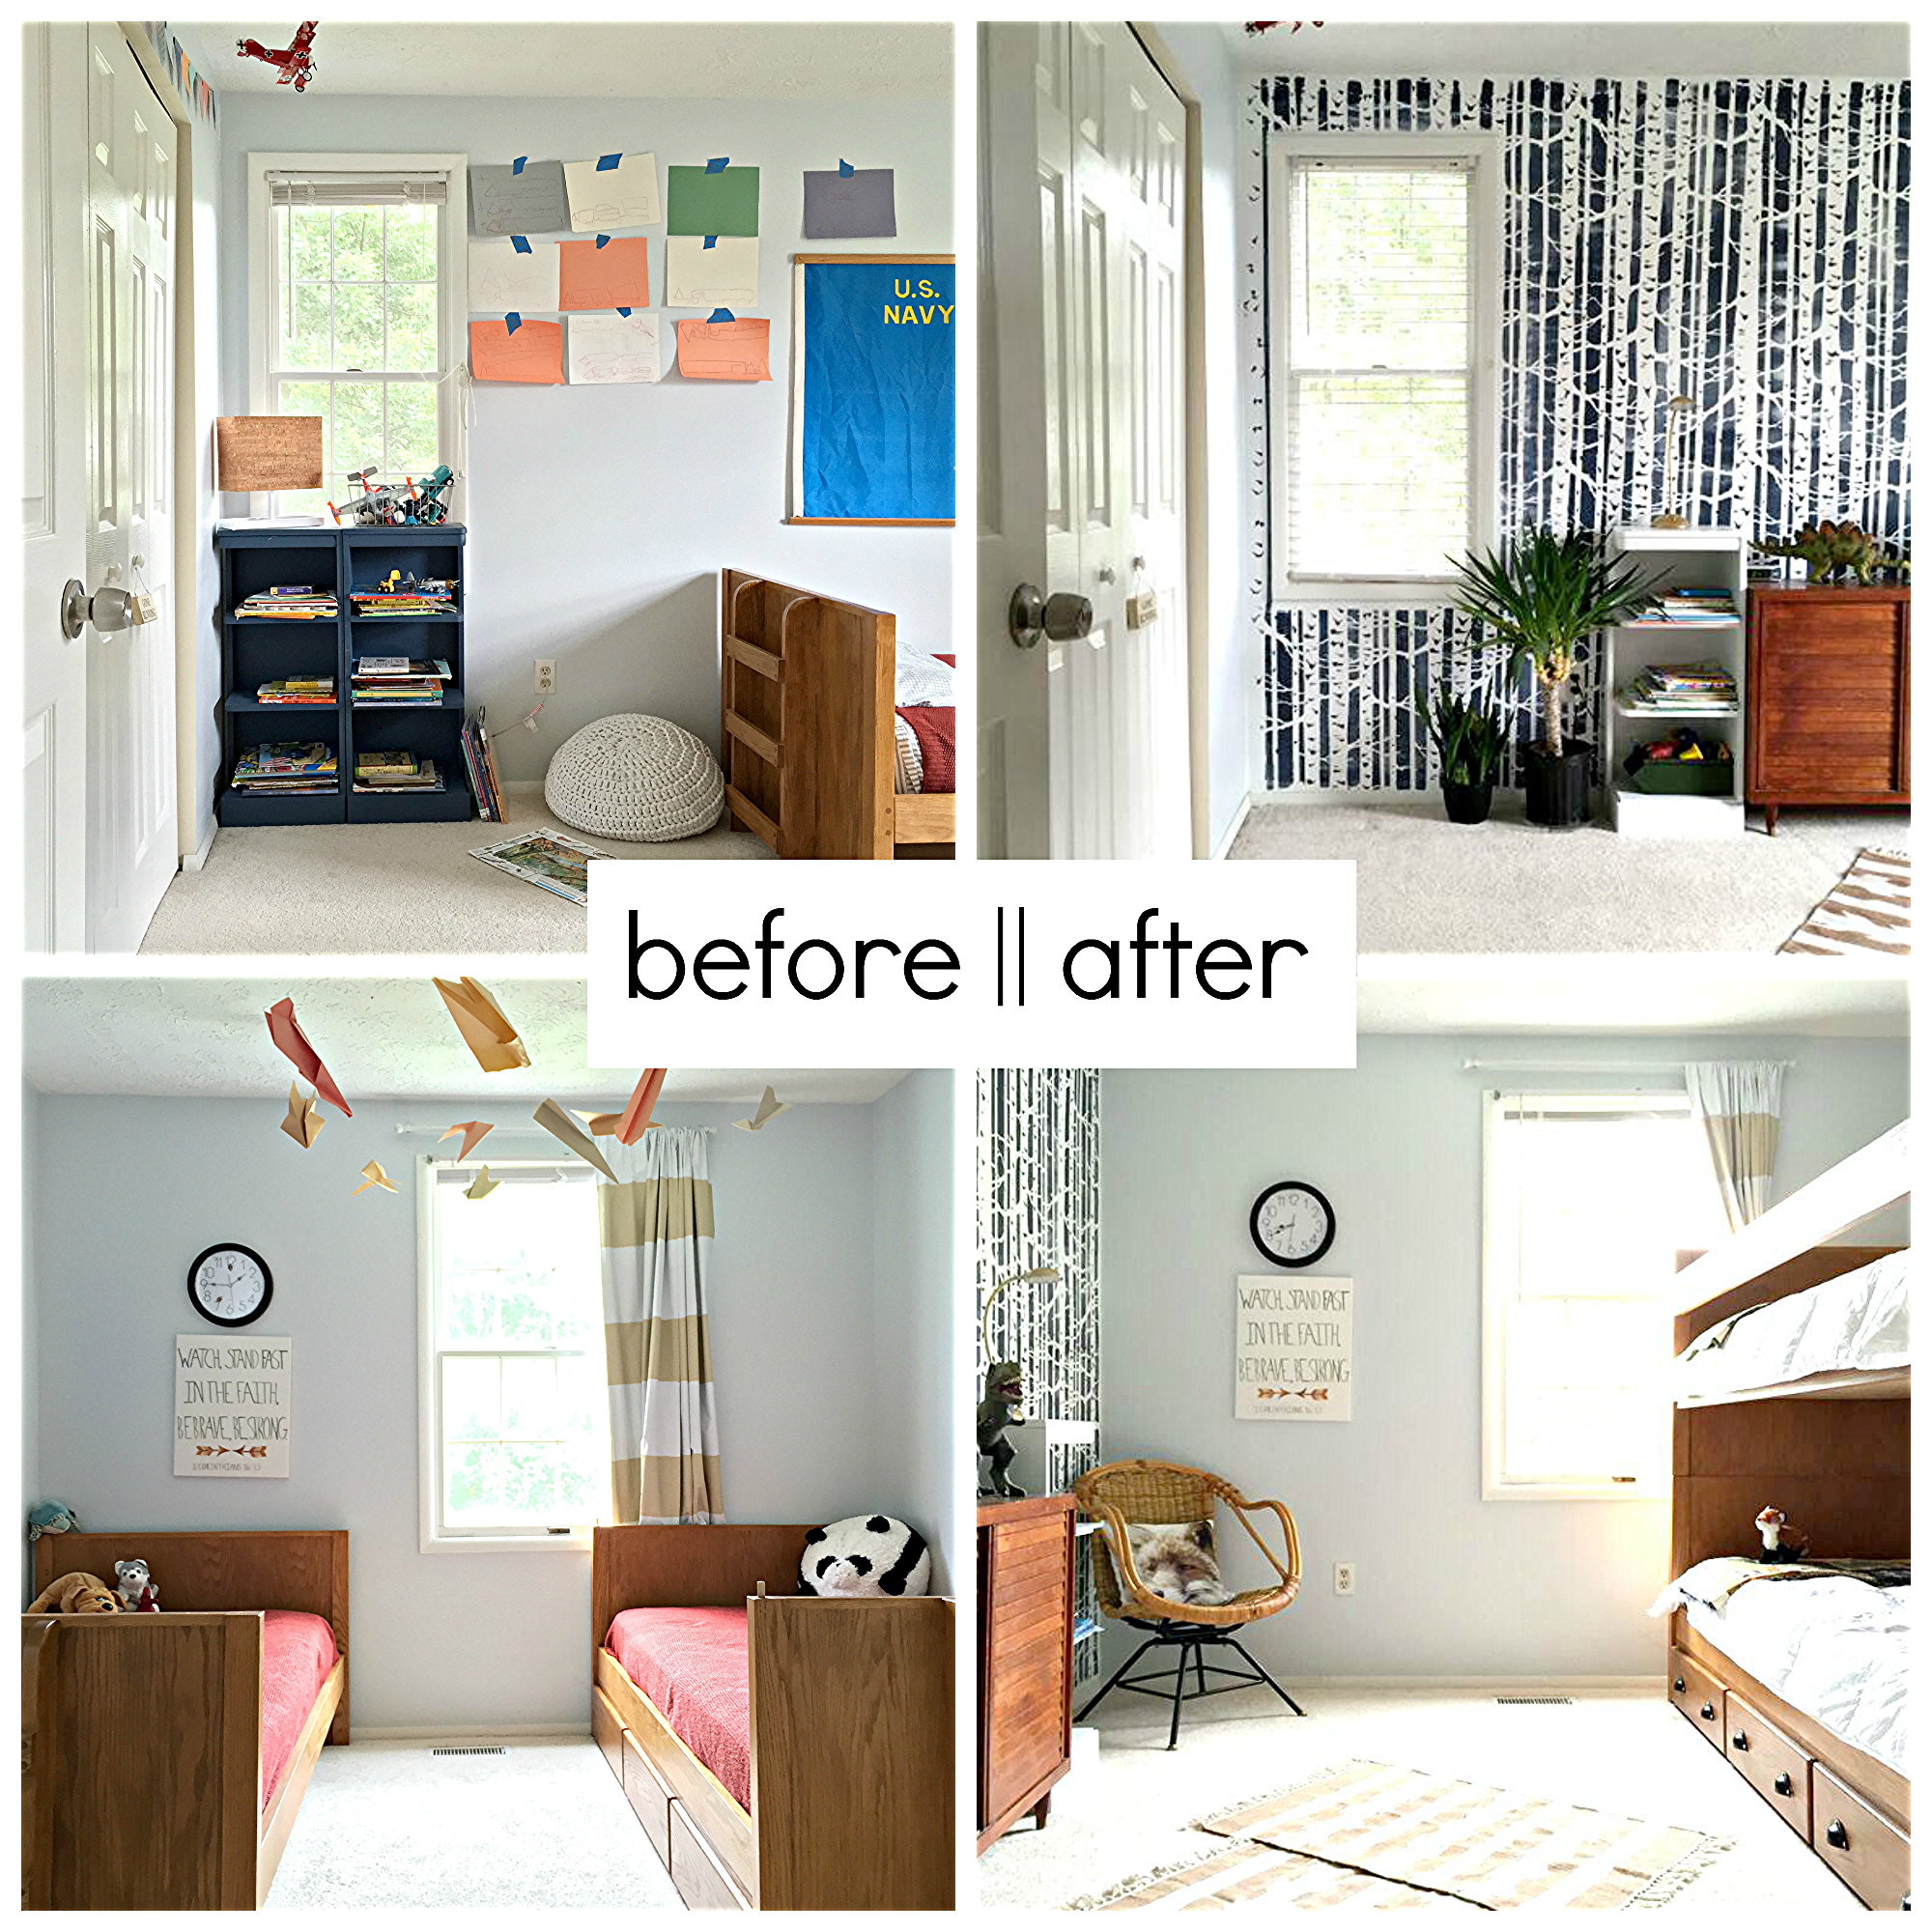
After bunking the beds we had an entire wall to play with. My hope for this room was that it be a fun, open space where our imaginative wild things could let loose and be themselves. And like most wild things, they love being in their natural habitat where they're simply free to be. Our house backs into woods filled with all sorts of wildlife, and the kids enjoy finding interesting things back there every day. The Birch Forest stencil just seemed too perfect for bringing a bit of the carefree outdoors in!

As with the previous walls I've stenciled, this was a piece of cake! Cutting Edge Stencil's sheets are 26" x 48", which makes rolling the pattern on super easy! I blue tape the corners and edge of the stencil in place, use a foam roller, (with a bit of paint, not too much or it cakes inside the small details of the stencil), and roll the paint on in a matter of seconds. When finished with one area, I lay the roller down on the paint tray, gently peel off the stencil sheet, and line it up in the next spot.

Here is a quick tutorial video from CES that shows these steps in action!


This stencil is really the only major thing going on in the room! I considered a few different options for toy storage, but when this petite mid-century cabinet turned up at a yard sale for $30, I decided to reuse the guys' bookshelves which were previously painted blue, to flank the little piece. I love these pieces as a unit and it's exactly the right amount of room for their toys and books.

The funny little LED lights are exactly like the clip-on lights we have in our master bedroom. I found them at Lowes and sprayed them gold, (just like I did to ours). They don't ask for a lot of attention in the room which is just what I was looking for. :)

With so much going on on the opposite wall, I wanted to keep the beds simple. White comforters and homemade quilts from the boys' Nana, (my sweet Mother-In-Law), do the trick just fine. I also hung wire file baskets on the walls for bedside books, and hung simple reading lights, (both from Target), so my guys can have some quiet reading time at the beginning and end of the day. Our Colin's reading light goes on long before the sun comes up - I LOVE that he has this space to quietly read and play before getting ready for the day. It fills my heart to see this room getting loved and used so well.

Mr. Fox here came from H&M and I swear I catch him winking now and then. Such a sly guy. I found him in store on super sale for $5! I've looked for him online with no luck, but this guy is available, as well as his friends, Owl and Wolf. Love how these gorgeous pillows double as art!

This mid-century wicker chair is by far my best freebie find yet! I saw it sitting outside a thrift store with a modest price tag of $10, (!!!), but when I went inside to pay they told me I had accumulated enough customer loyalty points to take a piece for free!

Life is so much more fun with pattern, isn't it?!

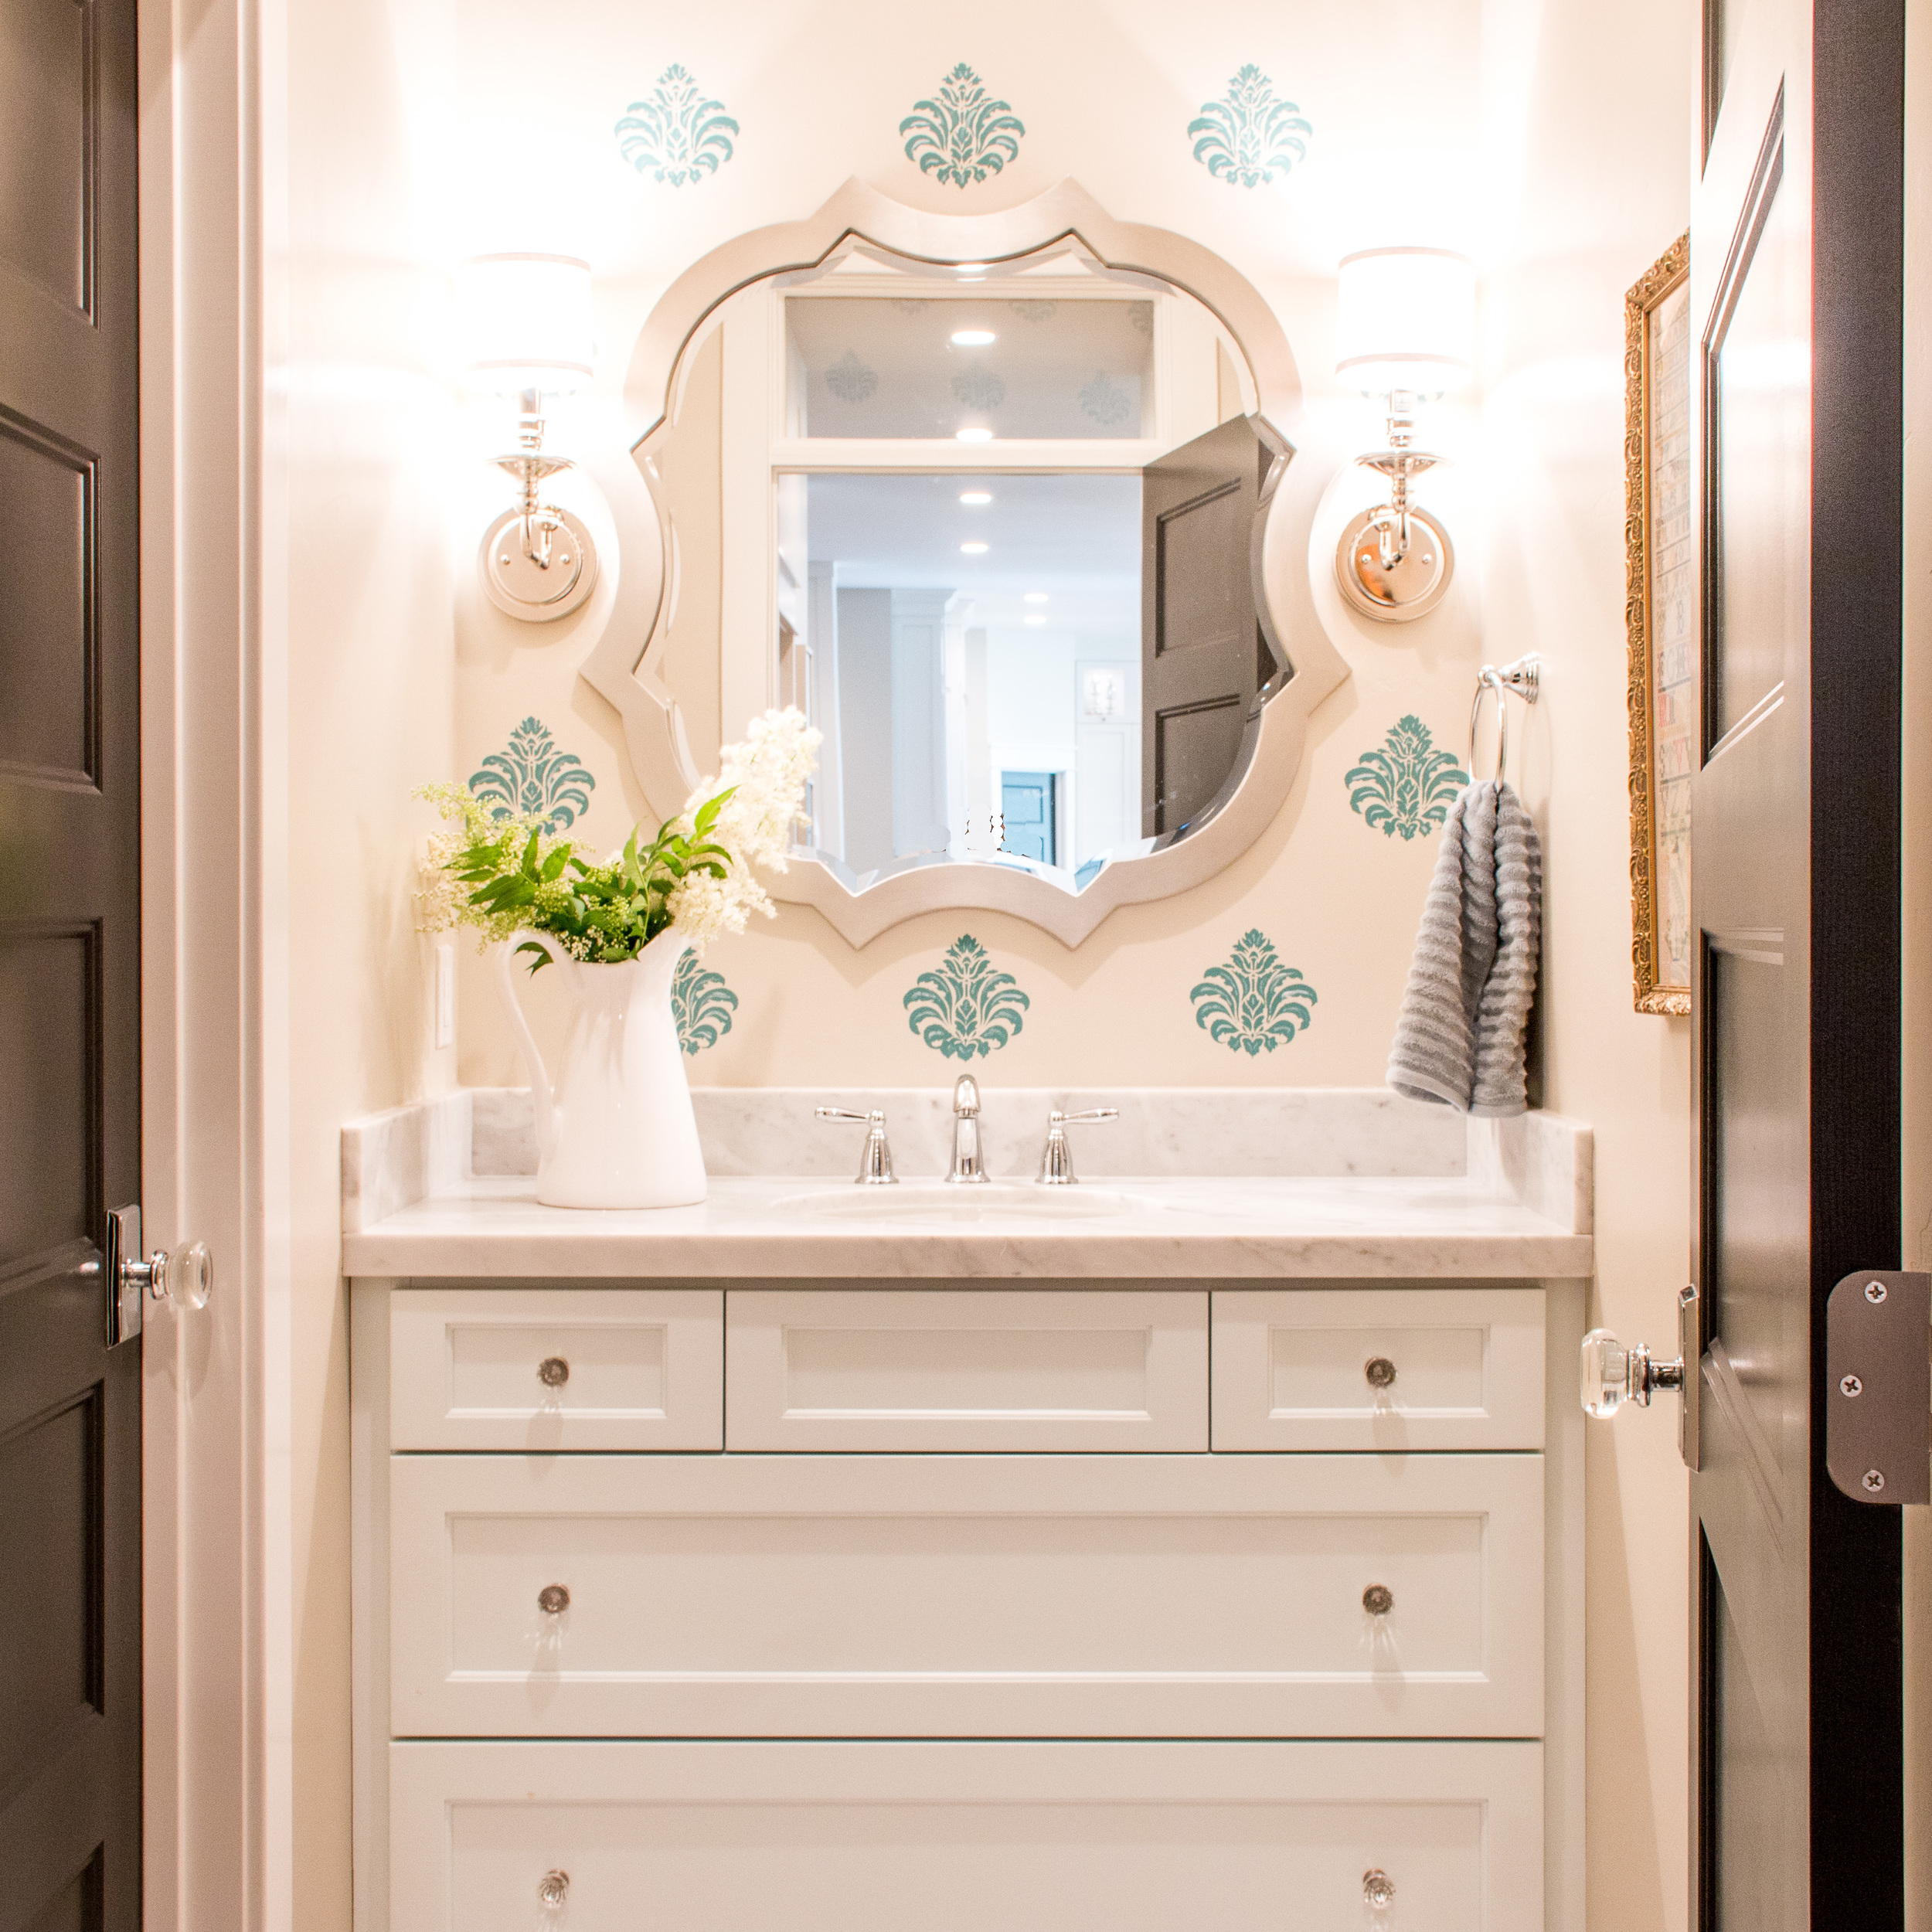
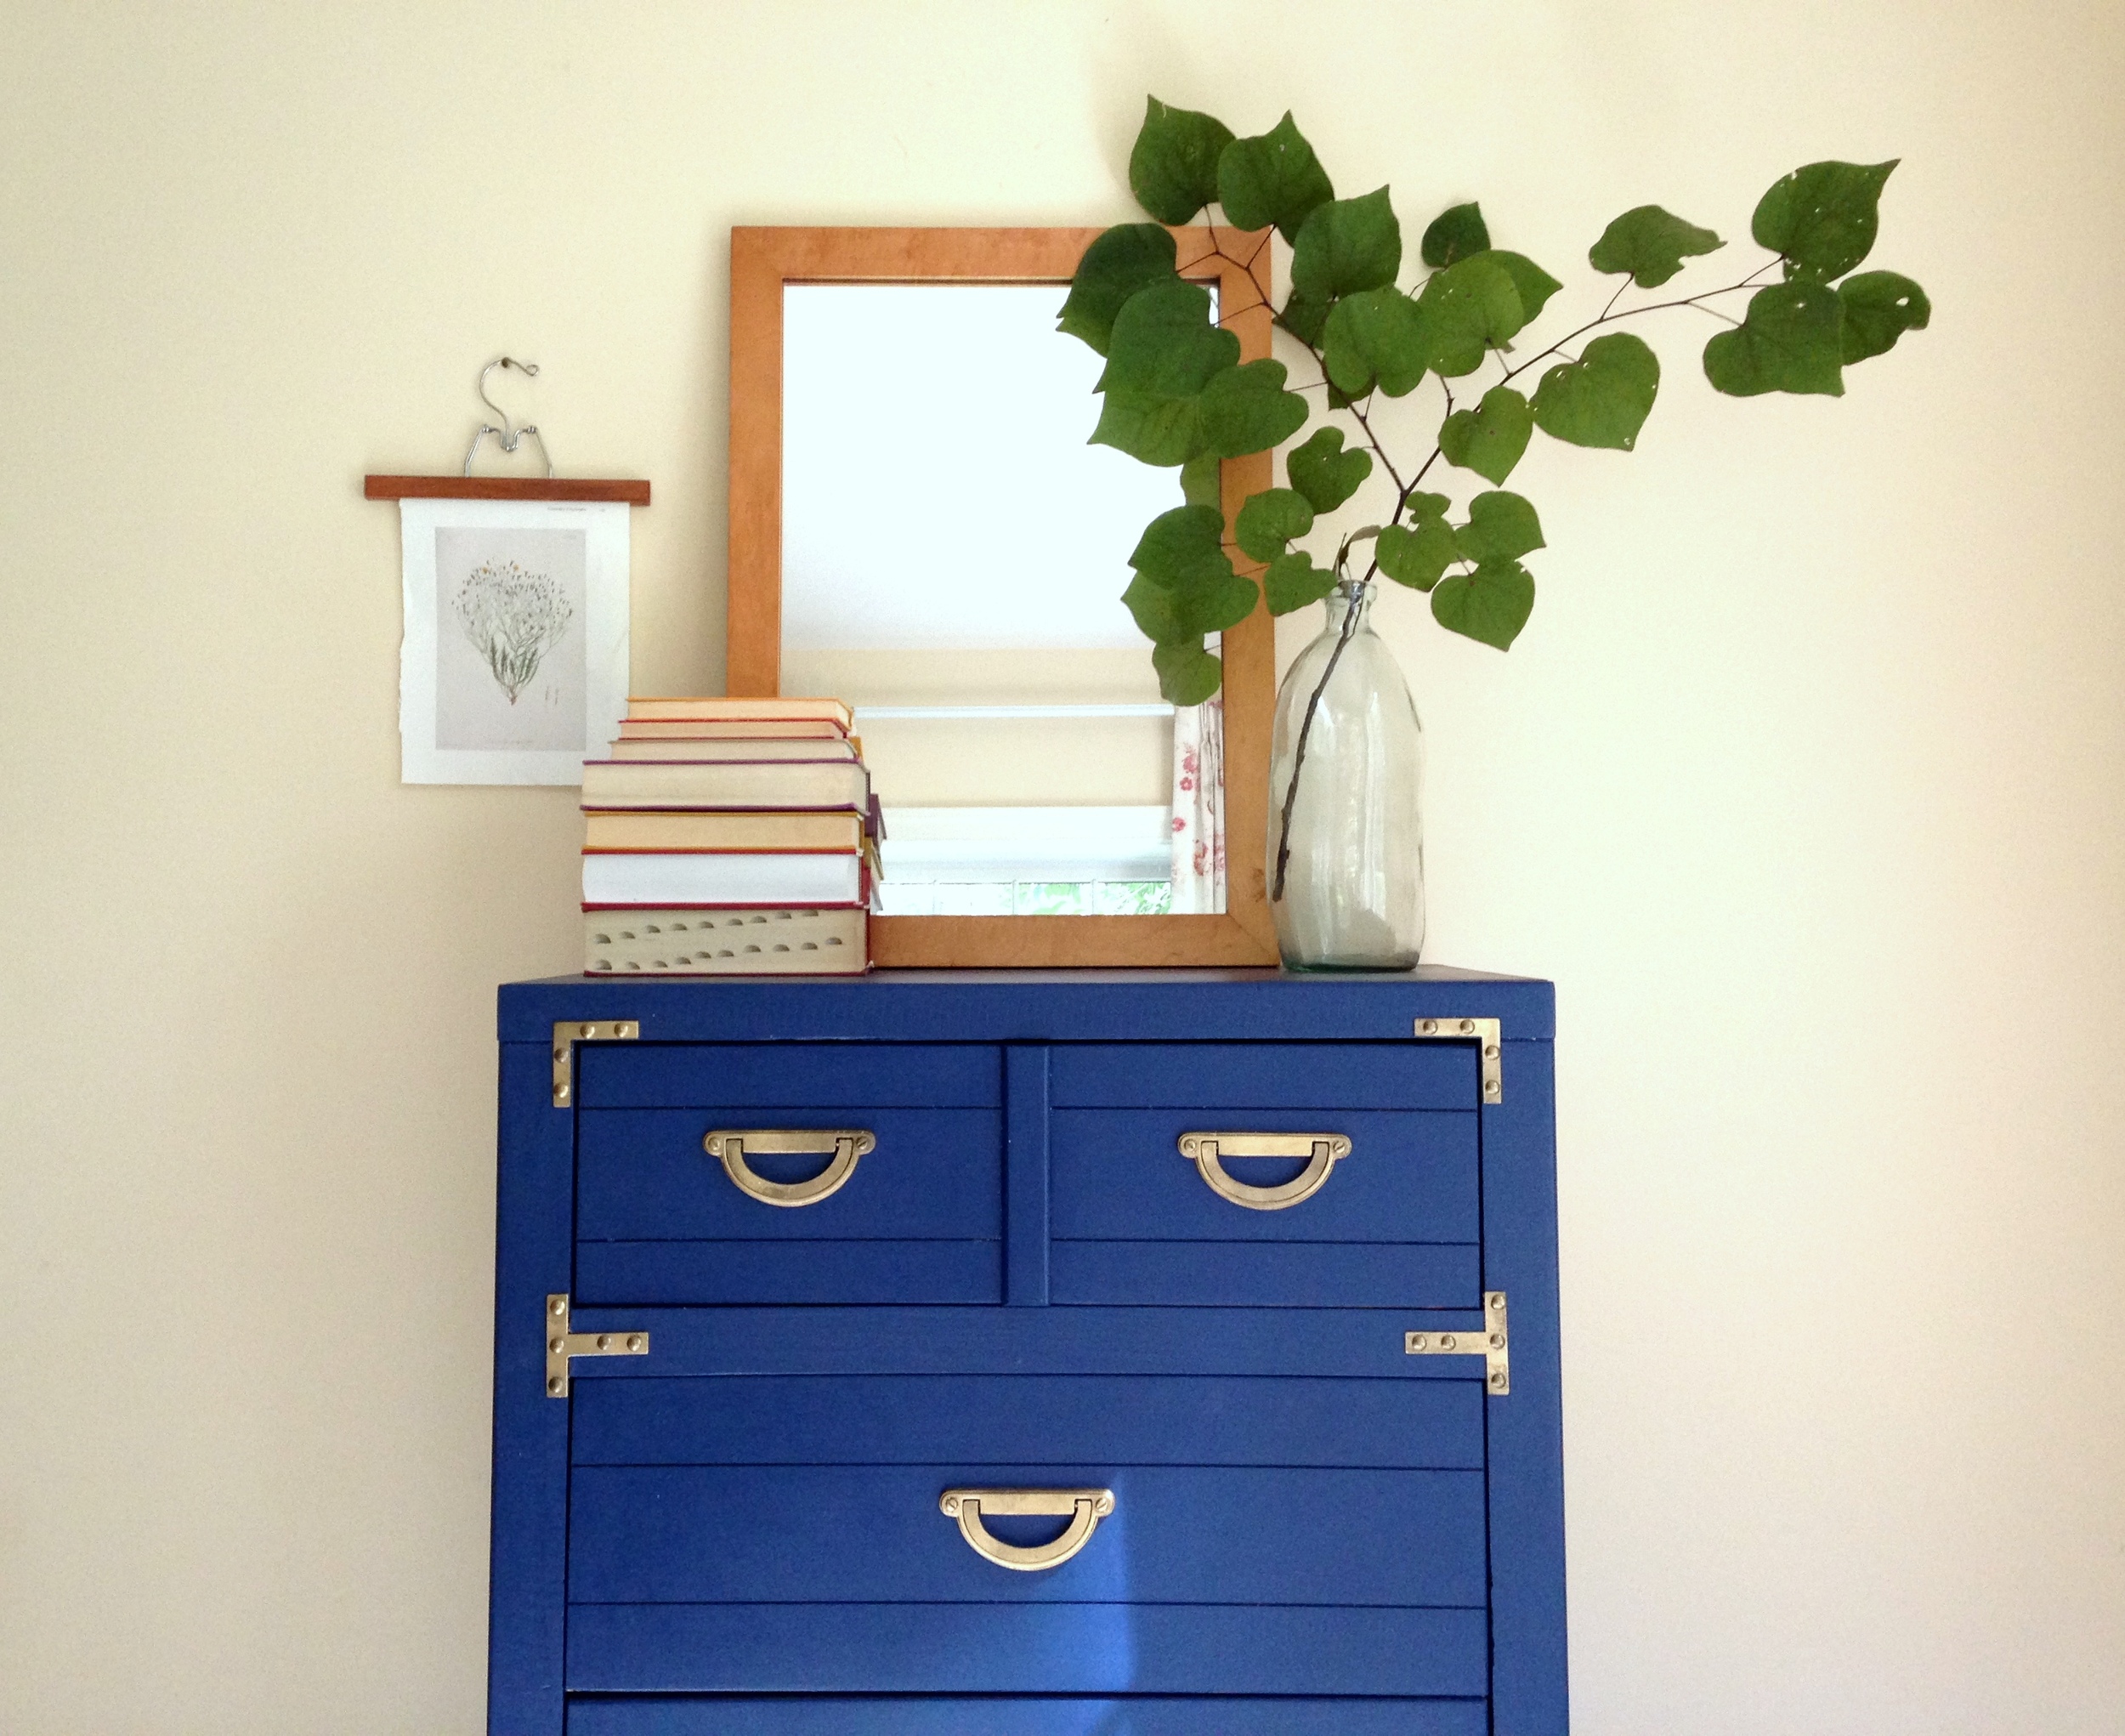
If you agree then we've got a huge treat for ya! The ridiculously gracious team at Cutting Edge Stencils has offered to give another one of our readers a complimentary stencil of their choice! Last Spring we partnered together to give away a stencil, and our lucky winner, Julie, did this with her prize:

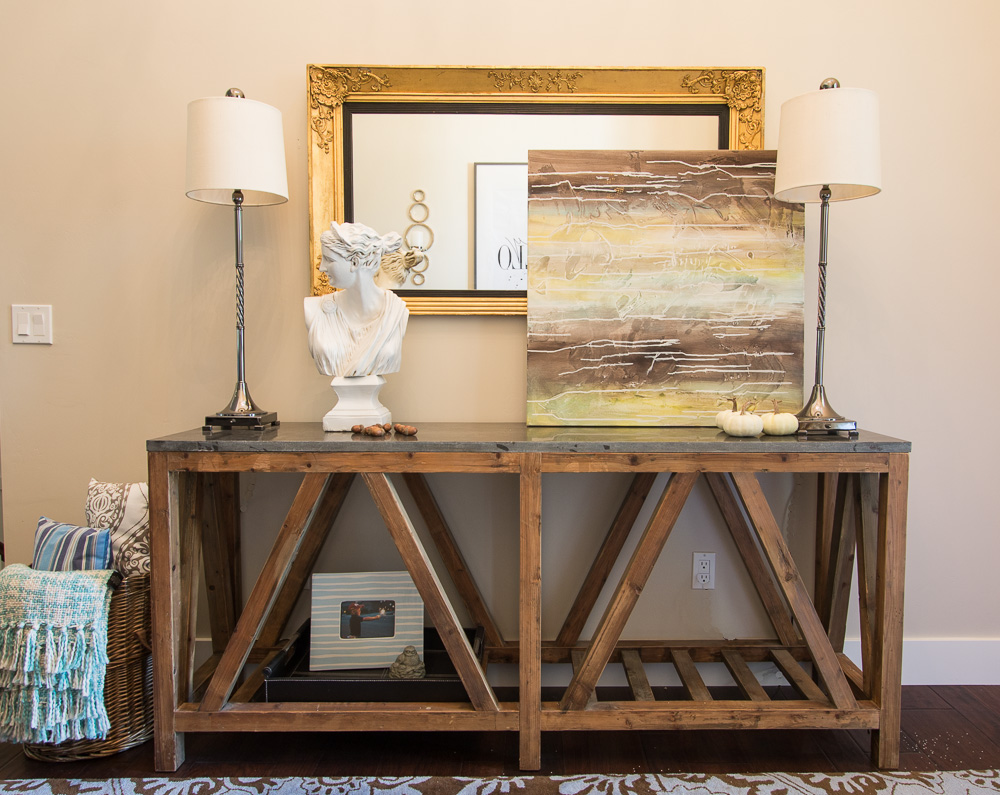
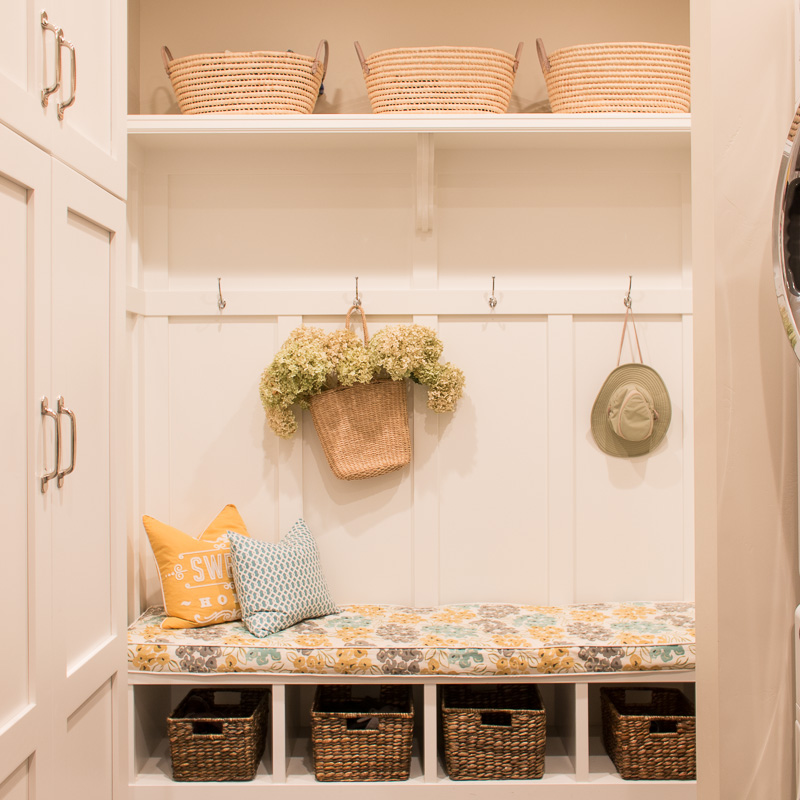
It's amazing what a little bit of pattern can do. You can turn any ordinary piece of furniture, or an entire room, into something extraordinary! We are completely smitten with Julie's use of pattern here and it's a great reminder that even if you're not into an allover wall pattern, there are still impactful projects you can do with a stencil!

1. Check out Cutting Edge Stencils and pick a favorite pattern
2. Leave a comment below with the name of your favorite stencil
3. That's it! For bonus entries you can like their Facebook page and follow their blog.

We'll take entries until Thursday, October 1 at 12 noon EST. We can't wait to see which patterns catch your eye!

Thank you all so much for stopping by!
 

Reader Design: Kathleen's Impeccable Emerald Accents

I have a question for you.  What's better than a Friday?  How about a fall Friday?  Nay - how about a...  

Fall Friday RD.jpg

As Chelsea posted about here and here, we are keen on green this season. Well not only do we have a stunning home tour courtesy of Kathleen from Lindsay Hill Interiors for you today, we have more of our favorite trending fall color: emerald.

From Kathleen:

I would describe my style as crisp, clean, and cozy. I love in a small and cozy much more than big and ornate! I love using white backgrounds and adding interest with pops of color and with wood and texture. I always add something vintage, or antique, or a family heirloom to every room. I think old things have such charm and character, and they help keep us connected to our past and to those we love.
[This is my] dining area with plate wall and old buffet that I painted. I don't love my table, but I'm making it work for now! Also, I removed the inner drum shade lining from the chandelier so the crystals could sparkle.
The Kitchen is my favorite room in the house! I have a thing for white kitchens, and I love adding pops of color to them.

Would you look at those excellent green accents people!?

I snagged this vintage tin canister set at a local antique shop. It's become my favorite kitchen accessory!
My kitchen, living room, and dining area are all open to each other. This sofa, though a nice quality, was a boring brown tweed. I decided to sew slipcovers for my living room furniture (crazy idea, since I had never sewn a slipcover in my life!), but I love how they turned out and how they tie all those open areas together now.
My husband thought I was crazy when I dragged this old door into the house (he still thinks I'm crazy!), but I love using it for seasonal decorating.

I have one of those myself Kathleen [both the decorative door and the less-than-thrilled husband].  Decorative doors unite!

This slate topped entry table is perfect for little vignettes, and to hold my white-headed lady.
This little settee [in the entry] also got covered in a white slipcover. In fact, I started my slipcovering experience with this settee, which was probably a mistake since it was the curviest of the pieces I covered!

Ok well you can't tell this was your inaugural slipcover Kathleen.  And how chic and fun is that typographic wall art and those touches of brass?!

I love the built-ins [in the mudroom] for hiding all those not-so-pretty necessities.
I originally wanted wallpaper [in the hall bath], but when I priced out the one I wanted, I just couldn't bring myself to spend the money. So I went to my local dollar store, bought a cheap stencil, and this is the end result. I love how it perks up this space.
My office is my happy room where I do my creating.
This [master bedroom sitting area] is where I retire to before bed to read, browse IG, and relax.
I love the feature wall behind the bed [in the master bedroom] - it adds a lovely tailored touch.

Thank you so much Kathleen for this incredible gem of a home tour!  And if you are not in on this already, be sure to follow Kathleen @lindsay_hill_interiors for more STUNNING home decor and design.

Want to see your own fall tour on our SPACES page?  We do too!  Tag your your home pics with #stylemuttspaces on instagram or post directly to our Facebook wall.  

Navy Campaign Dresser ||Flip List Item No.4||

Woohoo!  It's fall and I've got another item to cross off my Furniture Flip Bucket List!  I know I shouldn't celebrate too much because I've only got 3 months left to finish the last 3 items, but I'm still gonna take moment to pat myself on the back.  


Since debuting my list of new year's resolutions back in January, I've crossed off items No.6No.5, and No. 7 and now No.4: Refinish a dresser in a velvety navy with gold hardware.  (I know, I'm going in a weird order.  If you're OCD-prone, then my apologies.)  I really should have added refinish a campaign dresser to the list too because that's been a dream of mine too - so I'm crossing this one off as 2 personal wins:

Inspiration Photo Source: Wife in Progress

Inspiration Photo Source: Wife in Progress

So if you are so kind as to follow me on instagram, then you may recognize the original piece from this post:

I was lucky to nab it indeed!  Although it wasn't a true campaign piece with flush recessed pulls and corner braces, I felt like it could still become one.  I decided the best route to go would be adding my own braces but first I would have to remove the brass plates and over-sized stuck-on faux bolts. Prying up the brass strips was easy, but shortly after I got them off my project stalled out: I didn't realize that the brass was recessed so deeply into the wood piece between the drawers and  I needed that piece to be flush in order to add T braces.  

I stayed stumped for a good long while.  I thought about replacing the two pieces of wood or filling the grove with a piece of wood veneer, but then I realized if I just flipped it around then I would have a flat surface to work with and wouldn't need to hunt down the perfectly sized replacement piece!

As you can see the recesses for the brass plates were quite pronounced.  But the other side was as smooth as a baby's bottom so I flipped them over and wood-glued them back in place. 

Then, I temporarily employed my T braces for some extra support while the glue dried for a few days.

I sanded the piece down and primed the flipped wood pieces to prep for paint.  I chose a quart of Compass Blue by Behr Marquee and was DELIGHTED with the quality.  The wet paint settled well without any paint strokes and the eggshell finish was just the right buttery texture I had wanted from my inspiration photo. I hardly need two coats so I have lots of paint left over to play with.

The flat corner and T braces I found in the hardware aisle at Home Depot but their zinc finish did not match the original aged brass pulls.  Cue my next challenge. 

I was going to have to refinish the hardware and still get an rich antiqued finish.  First I primed the braces with flat black spray paint. This will 1) help the next layer of paint adhere to the metal and 2) create the first layer of dimension to the gold finish.  Once the black dried, I applied the second layer of dimension: the gold.  But since the shade of gold wasn't quite "brassy" enough to match the original pulls, I had to give the original pulls a fresh coat of gold so all the hardware would have the same shade.

Then I lightly sprayed both braces and pull again with a little bit of black for the third layer of dimension.  The faint black over-spray gives more of an aged finish and is the third layer of dimension.  The fourth and final layer is to rub each piece down with some dark wax. Then using some aged brass upholstery tacks, I nailed the freshly painted braces into place.

Voila!  A match made in hardware heaven!

This bad boy is now in the garage shop!

Navy Campaign Dresser
32"W x 18"D x 44.5"H
$345 SOLD

If you are interested in this piece or a custom order like it, please contact cate@stylemutthome.com.