DIY Mid-Century Table ||In 60 minutes or less!||

Hi friends! I know this time change kicks a lot of butts who are trying to get up and out the door in the morning, but as a stay at home Mom with no kids in school yet, it's glooorrriiouusss. Before we Sprang forward, my kids were waking up about 5 minutes after we put them to bed at night. But once we jump those clocks ahead an hour, they naively 'sleep in' until the sun rises. It feels like a cruel joke. But, oh, how I've missed starting my days with my bible and journal. I love the sweet moments I spend looking out the window, praying for my family and learning a little bit more about the Lord. I know the littles will adjust to the time change and I'll be chasing after what seconds I can find throughout the day again, but for now, it's a beautiful gift.

Speaking of beautiful gifts, want to learn how you can whip out a cute mid-century table in less than an hour? Check it out!

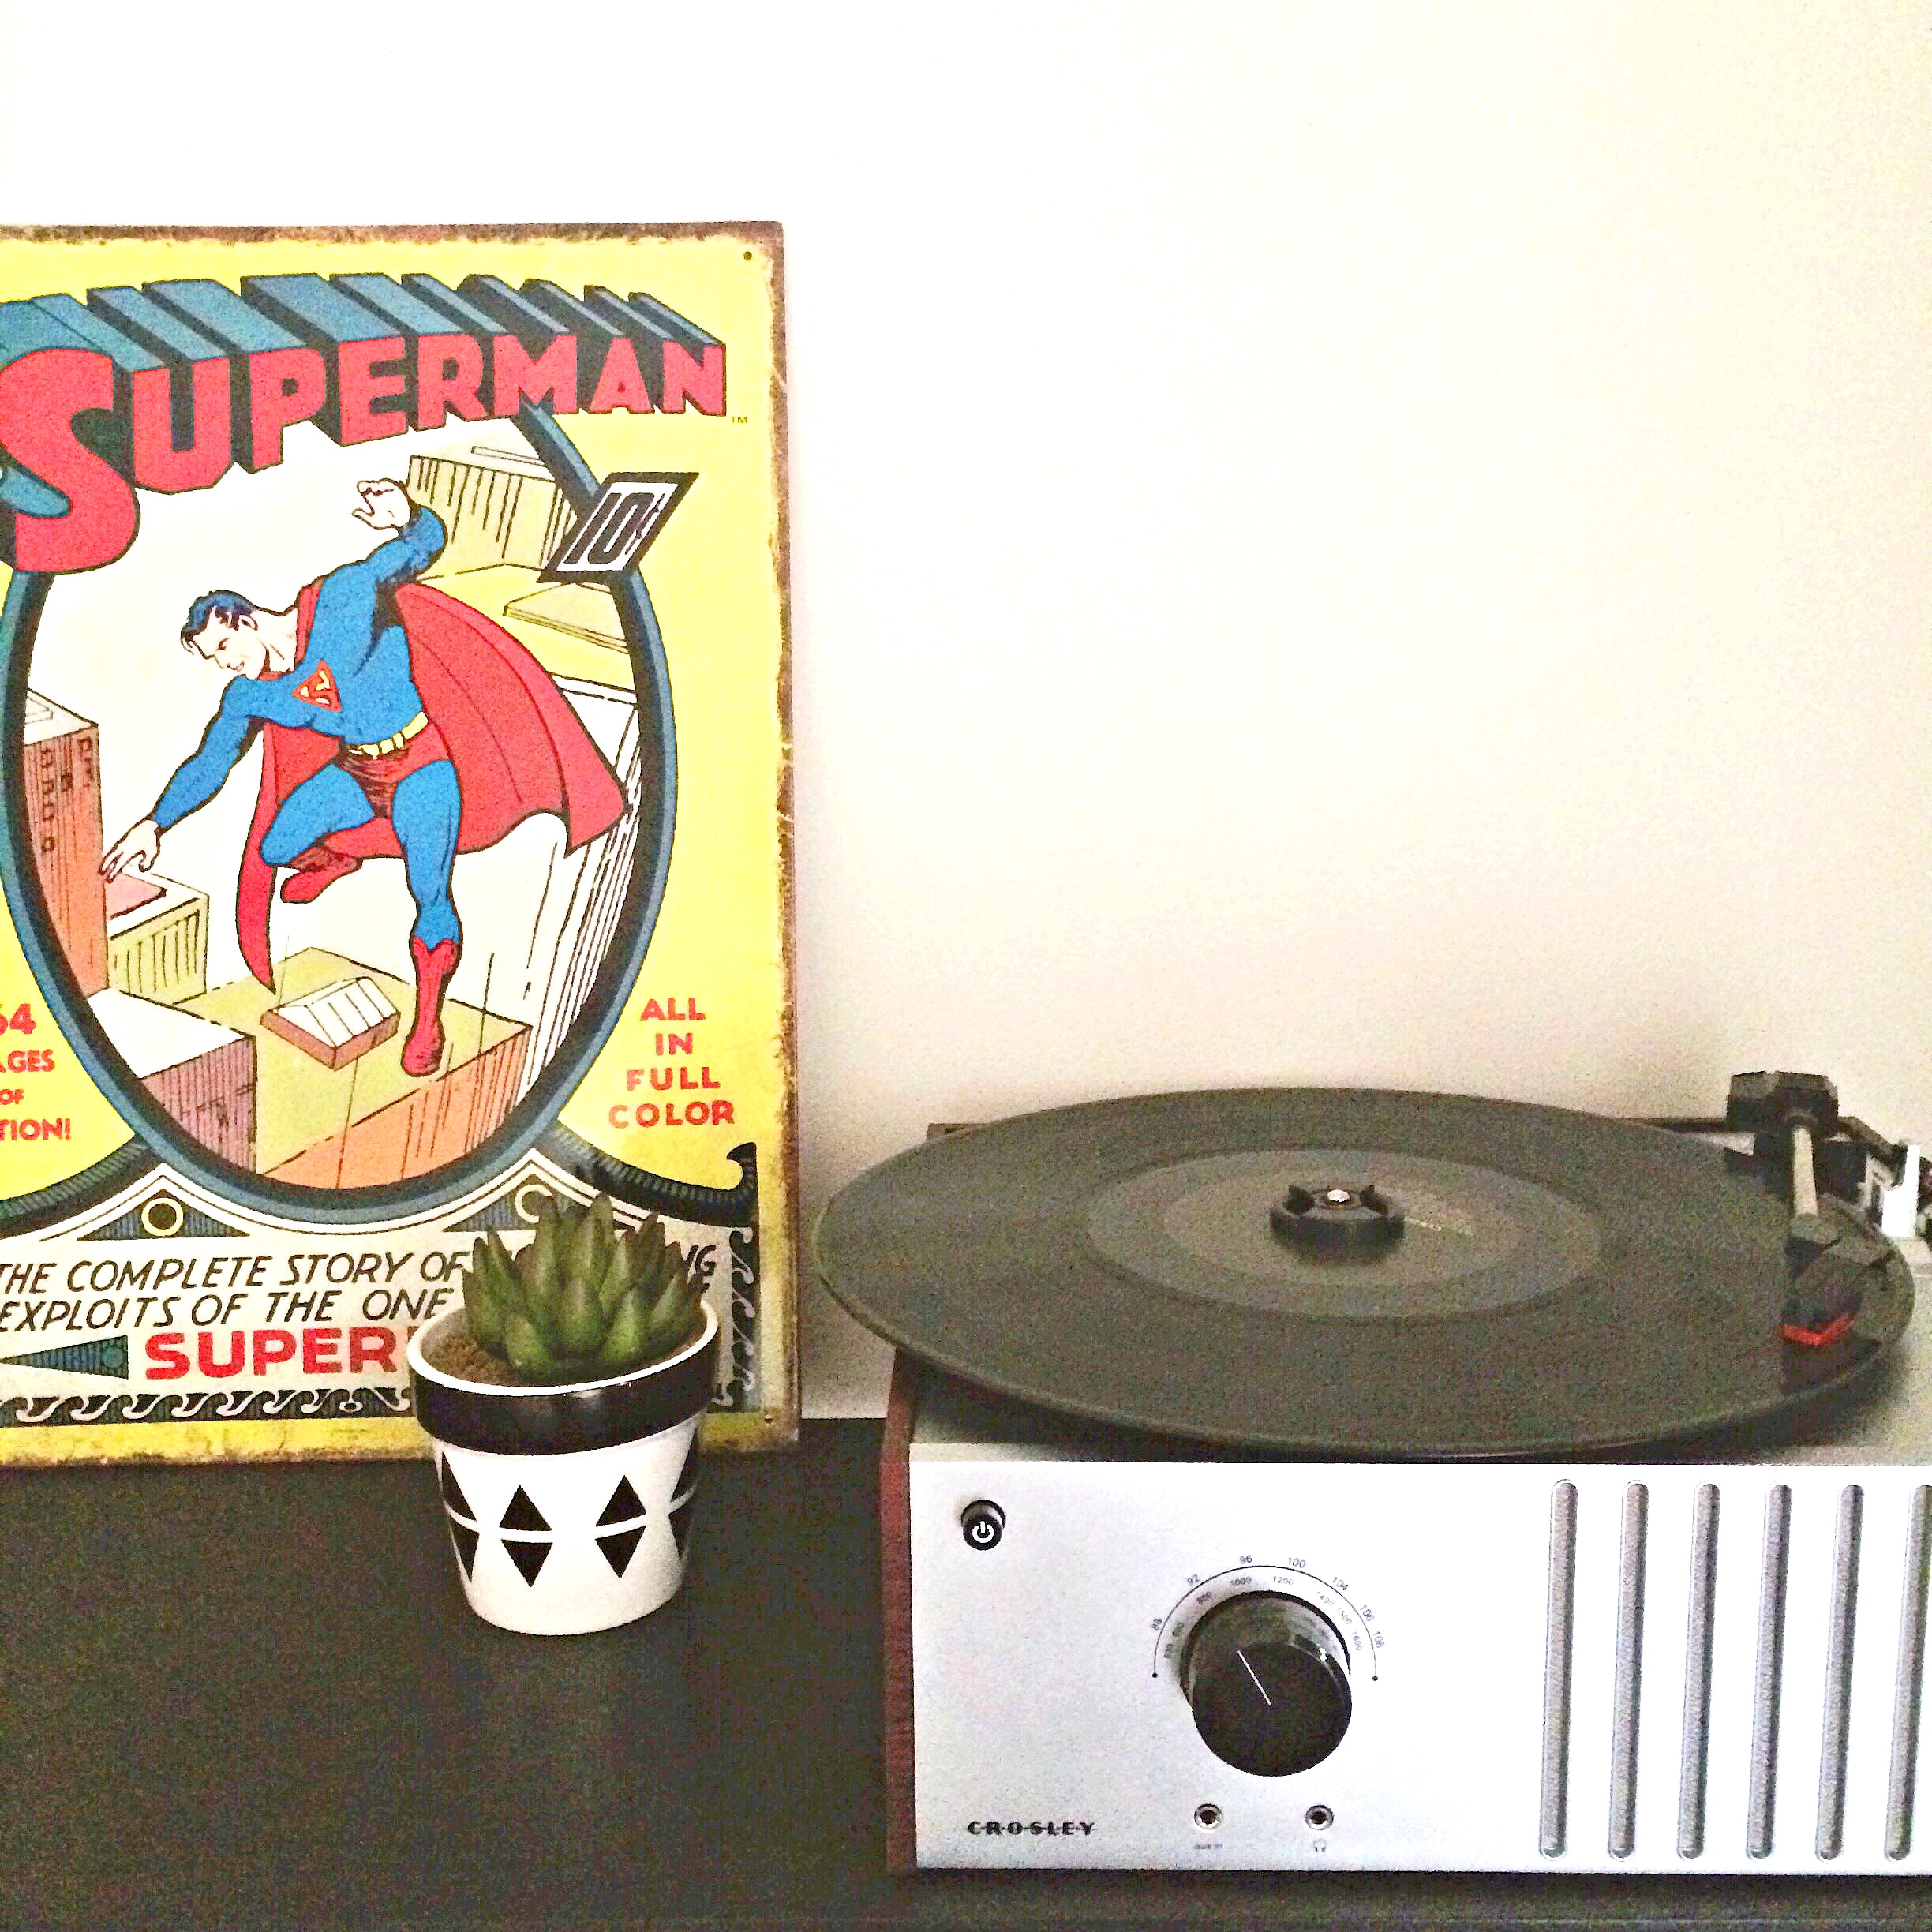
Isn't it sweet? You could put a table like this behind a sofa, at an entry way, or use it as a desk as I've styled it here.

Supplies:
-4 x 27.5" tapered wooden legs from Lowes, (buy them here)
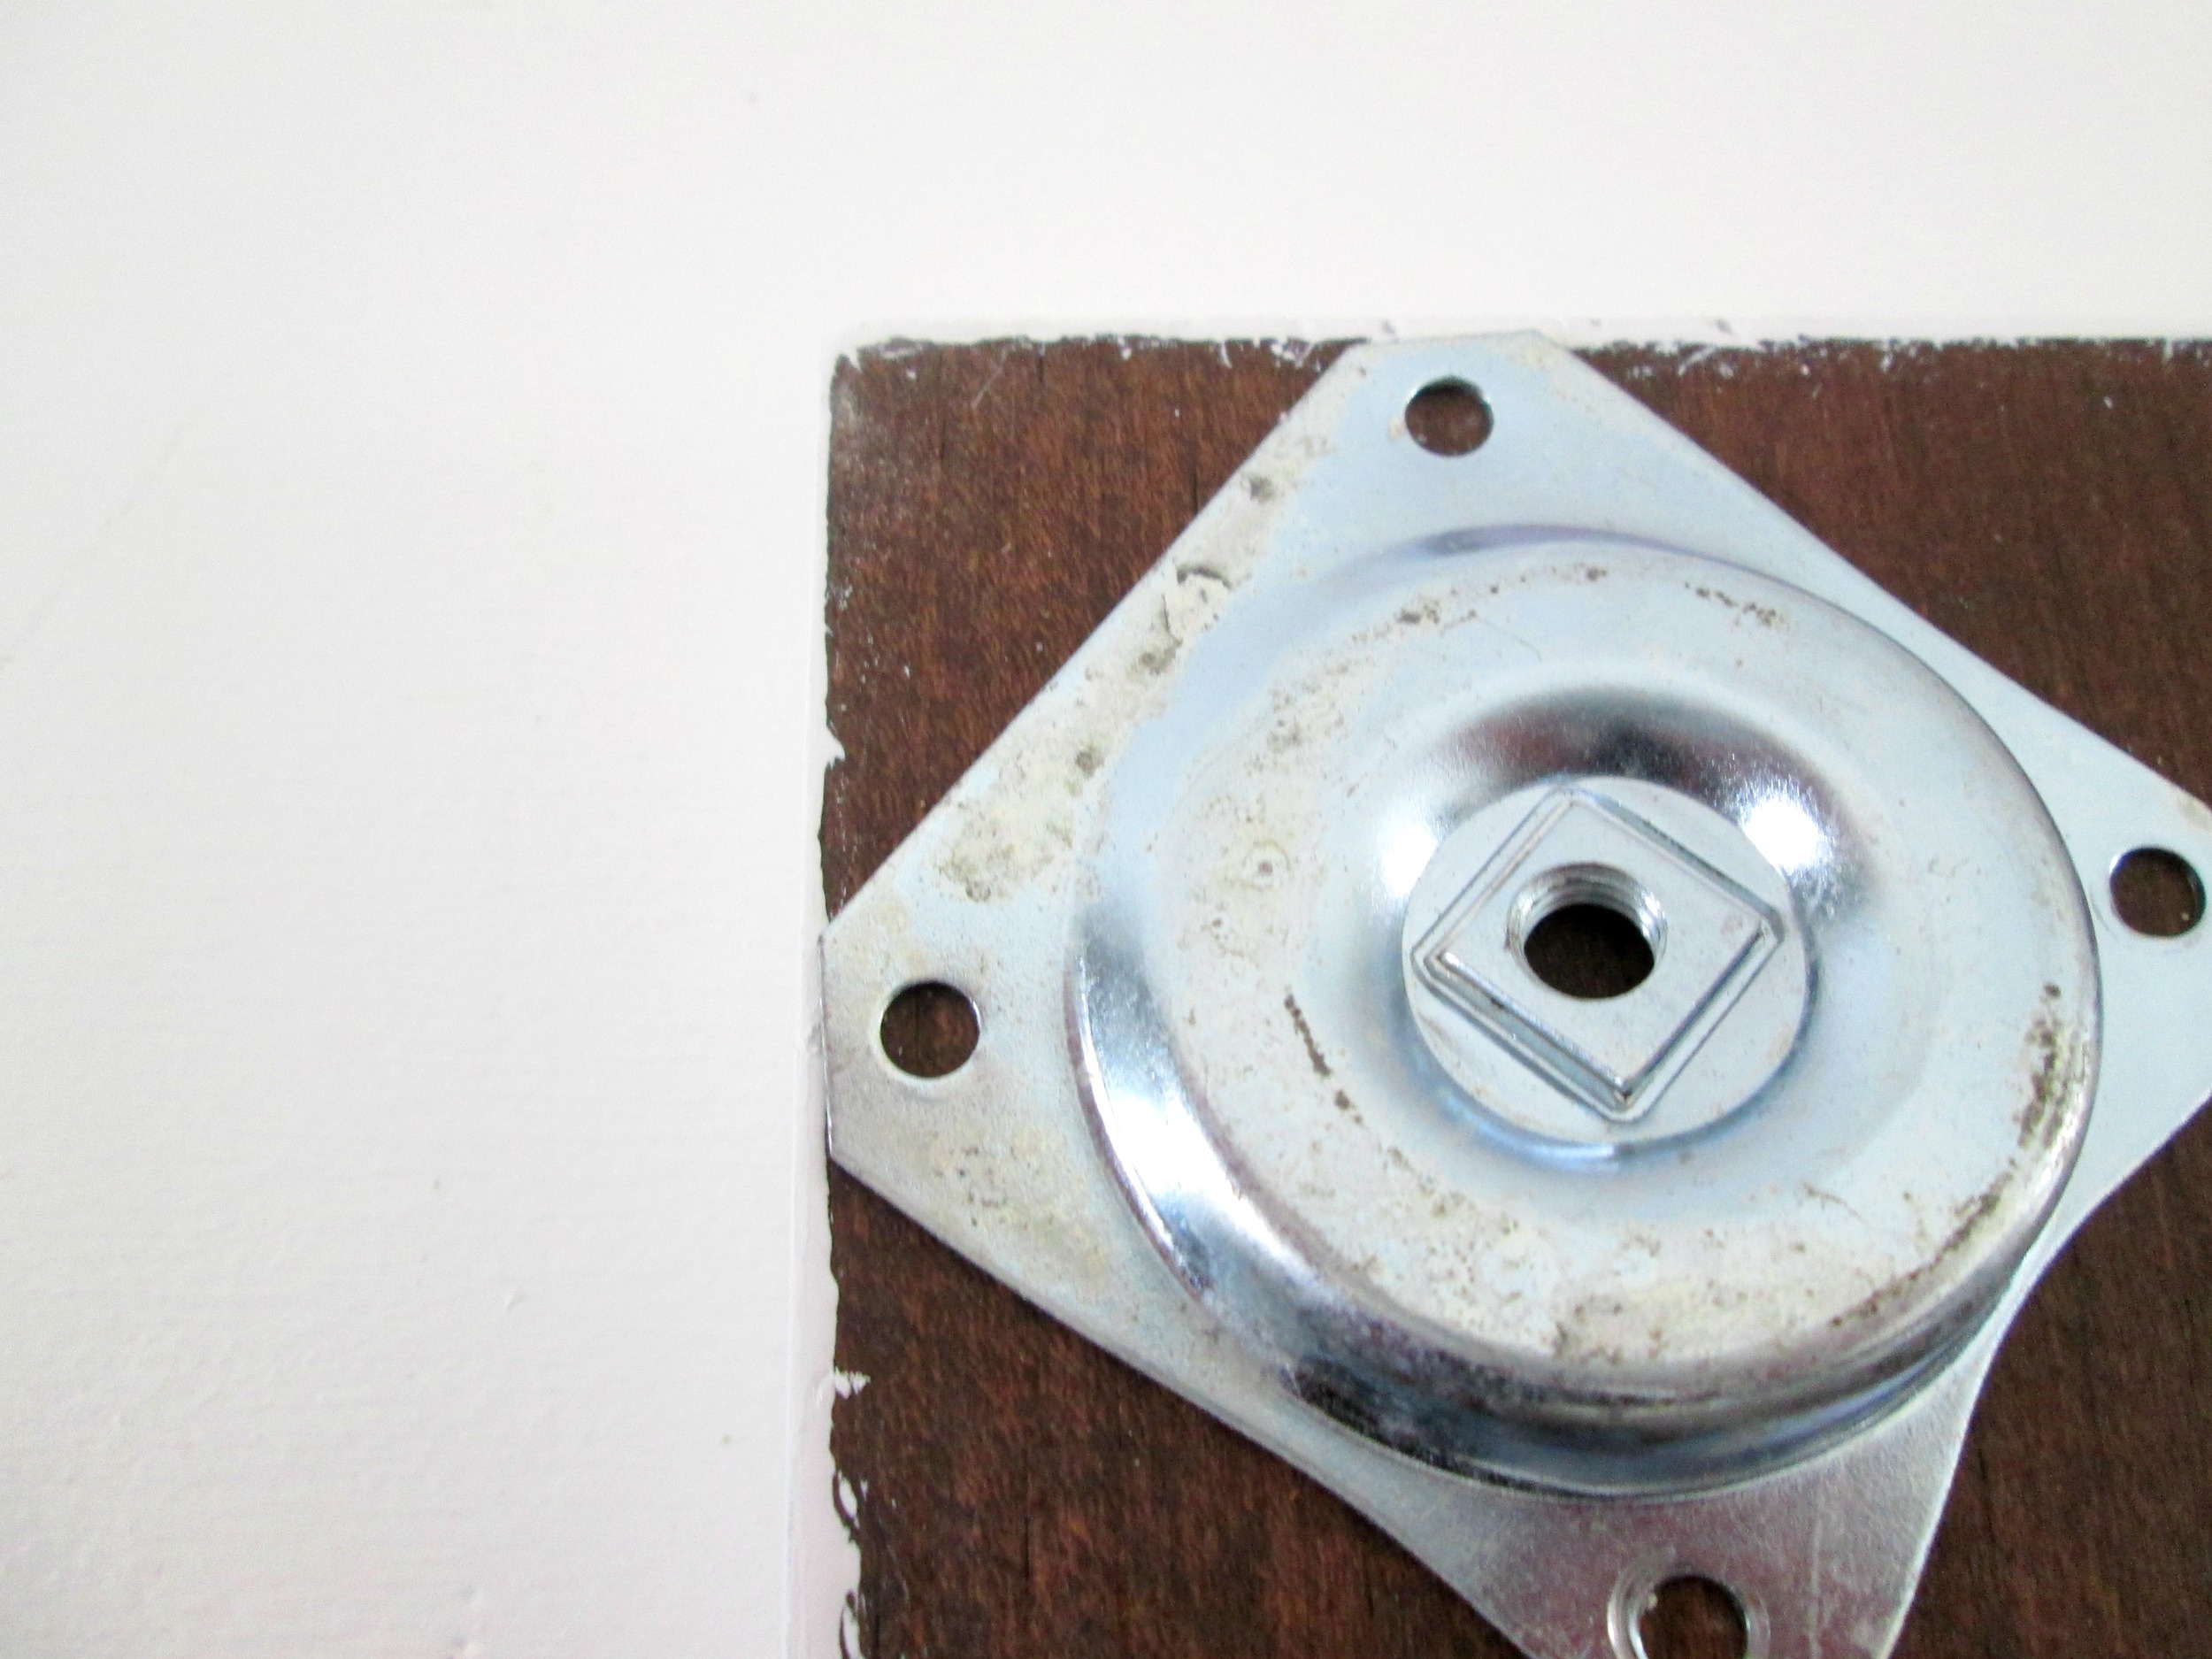
-4 x 2.43" angled top plates from Lowes, (buy them here, they come with the screws)
-48" x 16" x 1" board, (mine was a scrap piece in the garage, but you could find a 16" wide board and have it cut to whatever size you need at the hardware store)
-white paint, (optional)

If you want the top surface of your table and the tapered legs to be white, paint them first and prop up to dry for about 35-40 minutes. I used blue painters tape on the legs where I wanted to protect the bottom caps and up the leg about 12" where I wanted the paint to stop. This is entirely up to you whether you want to paint at all or not. If not, then this project will take you about 12 minutes!

Assembling the table

Step 1:
-Line your top plates up where you want the legs to be underneath the table top. I love the straight corners on these plates that make it so easy to line each top plate up!

Step 2:
-Attach your top plate by drilling the screws provided into the holes at the corners of the plate.

Step 3:
-Screw your legs into the angled center piece

Step 4:
-Pat yourself on the back because you just made a table!

A quick and easy build that you can use throughout your home for years to come - not a bad way to spend an hour!

Mid-Century Accent Table / Desk, now available for sale:
48"L x 28.5"H x 16"D
$65

Thank you all for stopping by!


And the winner is...

A huge congratulations to our Cutting Edge Stencil winner, Julie!!!
Here's a look at the big moment... :)

Woohoo! Get it girl! Thank you so much for entering! If you would please contact us at admin@stylemutthome.com, we can move forward with getting you your Marrakech Trellis stencil!

Thank you to EVERYONE for entering for a stencil! We enjoyed reading each of your picks and where you would use it in your home. We truly wish we could spring this gift for all of you after seeing your creative ideas! If you decide to treat yourself to a Cutting Edge Stencil, please share pictures of your project to our Facebook page so we can 'ooh and aah'! We would LOVE to see how you add pattern to your home!

Thank you so very much to Cutting Edge Stencils for graciously offering this giveaway on StyleMutt Home! It means a lot to us to get to partner up with such an outstanding company to enjoy something so fun like this on our blog. We are customers for life and will indeed be back for future projects!

Have a wonderful day, friends, and thank you so much for stopping by!

Reader Design: Celeste's Home Away From Home

Well, well, well, what do we have here? It's Friday, so that only means one thing around these parts; it's Reader Design day! I don't know about you all, but I look forward to the week's Reader Design like a Christmas Day countdown. It's absolutely one of my favorite things here at StyleMutt Home!!! Know why? Because it's a fun opportunity to share YOUR unique style! With no requirements to be a professional decorator or even a fellow blogger, all are encouraged to share their style here! The purpose of Reader Designs is simply to share beautiful rooms with fresh ideas and document these features in our SPACES page as a source of inspiration! 

Coming all the way from Australia is a very inspirational Reader Design, indeed. Be warned, though; this one may cause the sudden urge to pick up the phone and give a far away loved one a call...

Celestes's living room4 DONE2.jpg

Celeste is a sweet friend via the great land of Instagram - you can check out her adventures @littlefrenchdiary!

From Celeste: 

" My husband and I are renting a little house in East Perth and I had a very hard time trying to get the look and atmosphere I wanted for the living room. But after one year of wondering, I finally got the feeling I wanted for that space. This space is full of photos. Being French, I am away from my homeland and I need to see the faces of my family and friends still around me."

"I didn't want to obstruct the space with too many photo frames. That's why I hung a string across two walls in the living room, where I can hang Polaroids. I love that little corner. I think it gives a certain fantasy to the room. "

A string of Polaroids, folks. Be still my heart!

Well hello there! 

"I also love having unique and vintage pieces around. For example, I found my old suitcase on the street, quite far away from our place. Someone wanted to get rid of it and I couldn't let that happen! It's now sitting proudly on my living room floor. I have "modern" objects on top of it, to break the look and create kind of a "old vs new" style."

What a cool tip! Tucking that one away, for sure!

"I would resume my style by... No style! I don't like sticking to one particular decoration style. I love to play around with objects, old and new. My living room represents the most of my house: full of little fun and cute objects, but in a very cozy and warm atmosphere. The bookshelf is one of my favourite pieces. I absolutely love it's look and the warm feeling it gives to the space. It has our parents wedding photos and ours on it, and a few of our wedding decorations."

This is just precious. 
Can we take one more look at those Polaroids?

This is just all kinds of good. Swooning...

Thank you so much, Celeste, for sharing your warm and cozy living room with us! Love all your sweet details that come together to create this one of a kind, and truly special space.

You guys know what to do now! Share your own room photos directly to our Facebook page or tag #stylemuttspaces on Instagram!

Have an awesome weekend, friends! Thank you so much for stopping by!