Stencil or Wallpaper? ||Can you tell the difference?||

Hi friends! Christmas is behind us, (or really far ahead, depending on how you look at it), but I'm here to bring you good news of great joy. If you've been searching high and low for an affordable wallpaper and have discovered that your wallpaper taste is quite expensive, you might want to consider stenciling! (And at the bottom of this post, we've got the deets on a free stencil giveaway)!

Obviously stenciling walls is nothing new. People have been adding borders and full wall patterns to their rooms for centuries. But, did you know you can purchase large sheets of a stencil pattern now, making the process a gazillion times easier and less time consuming? I know! It's unbelievably life changing, right?! Well, it was for me! 

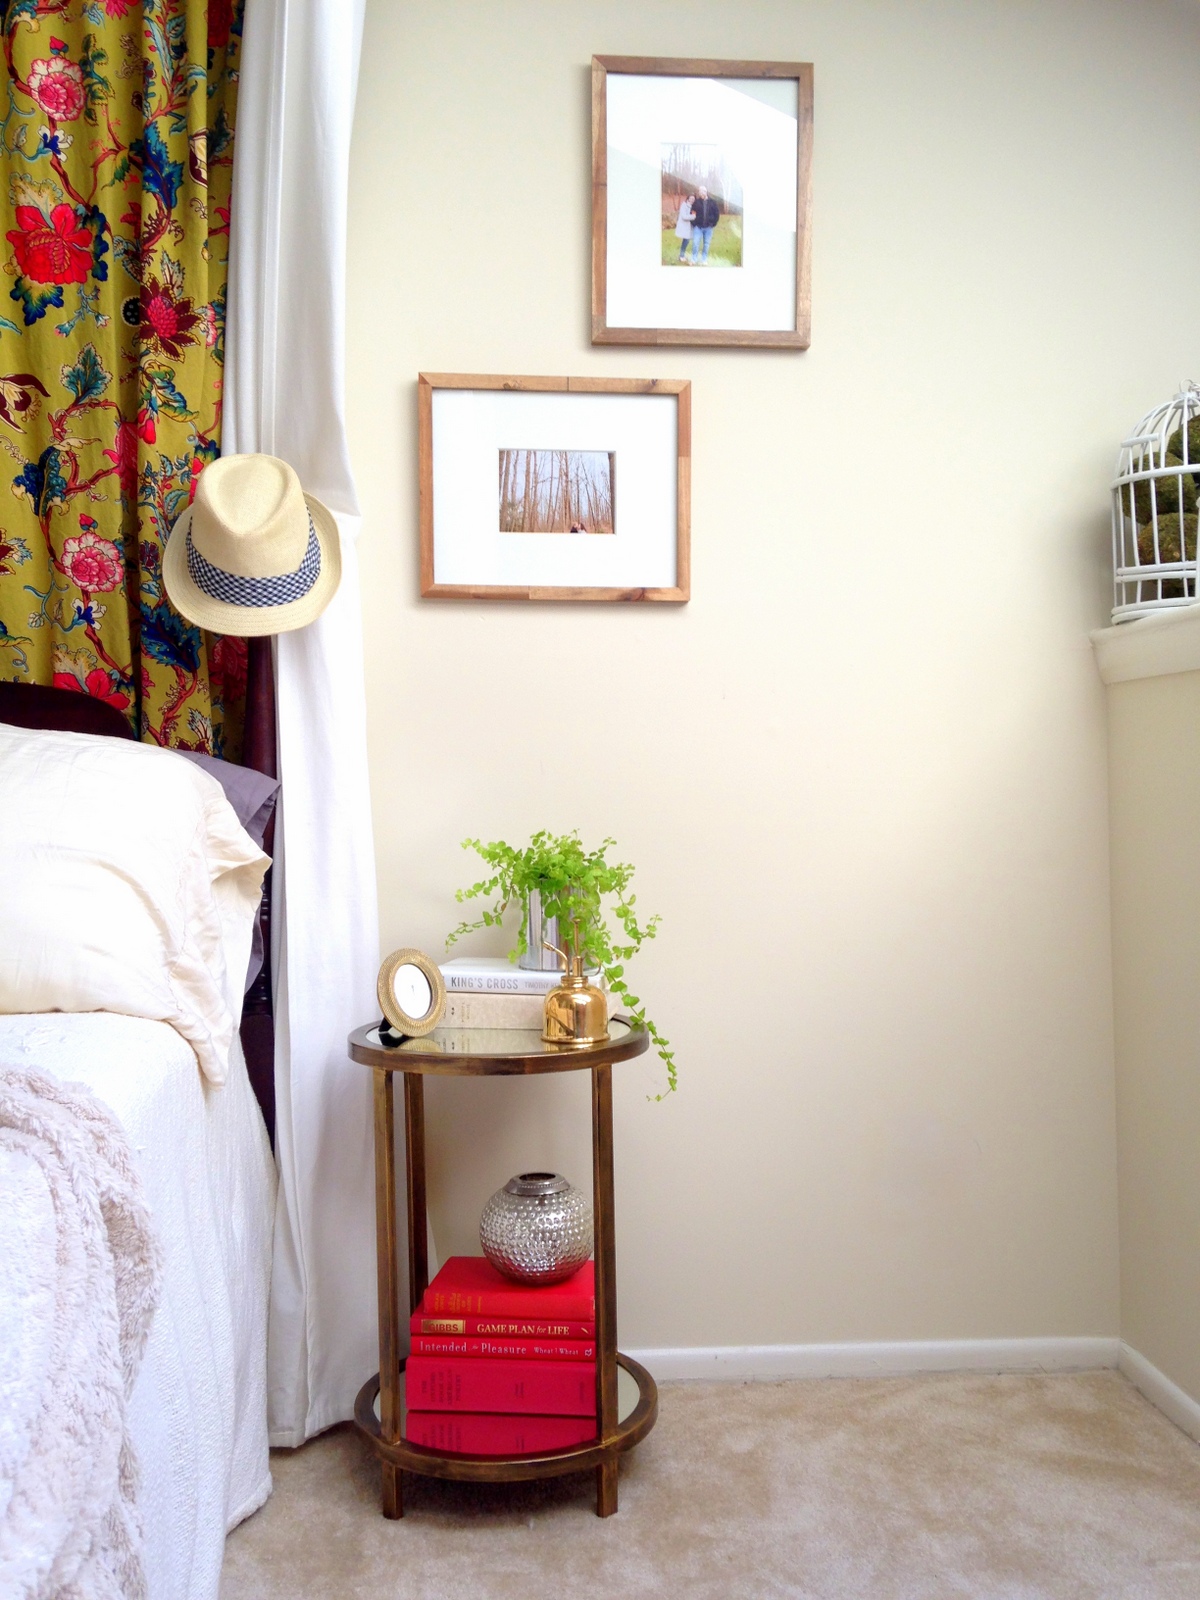
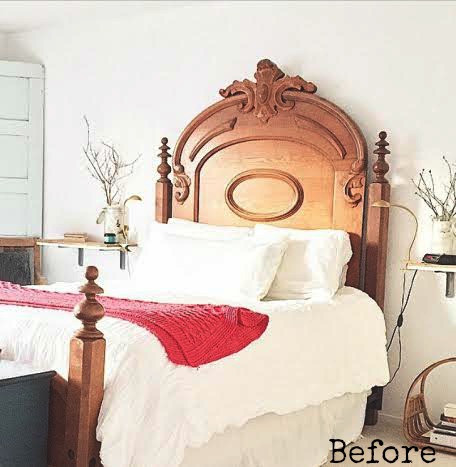
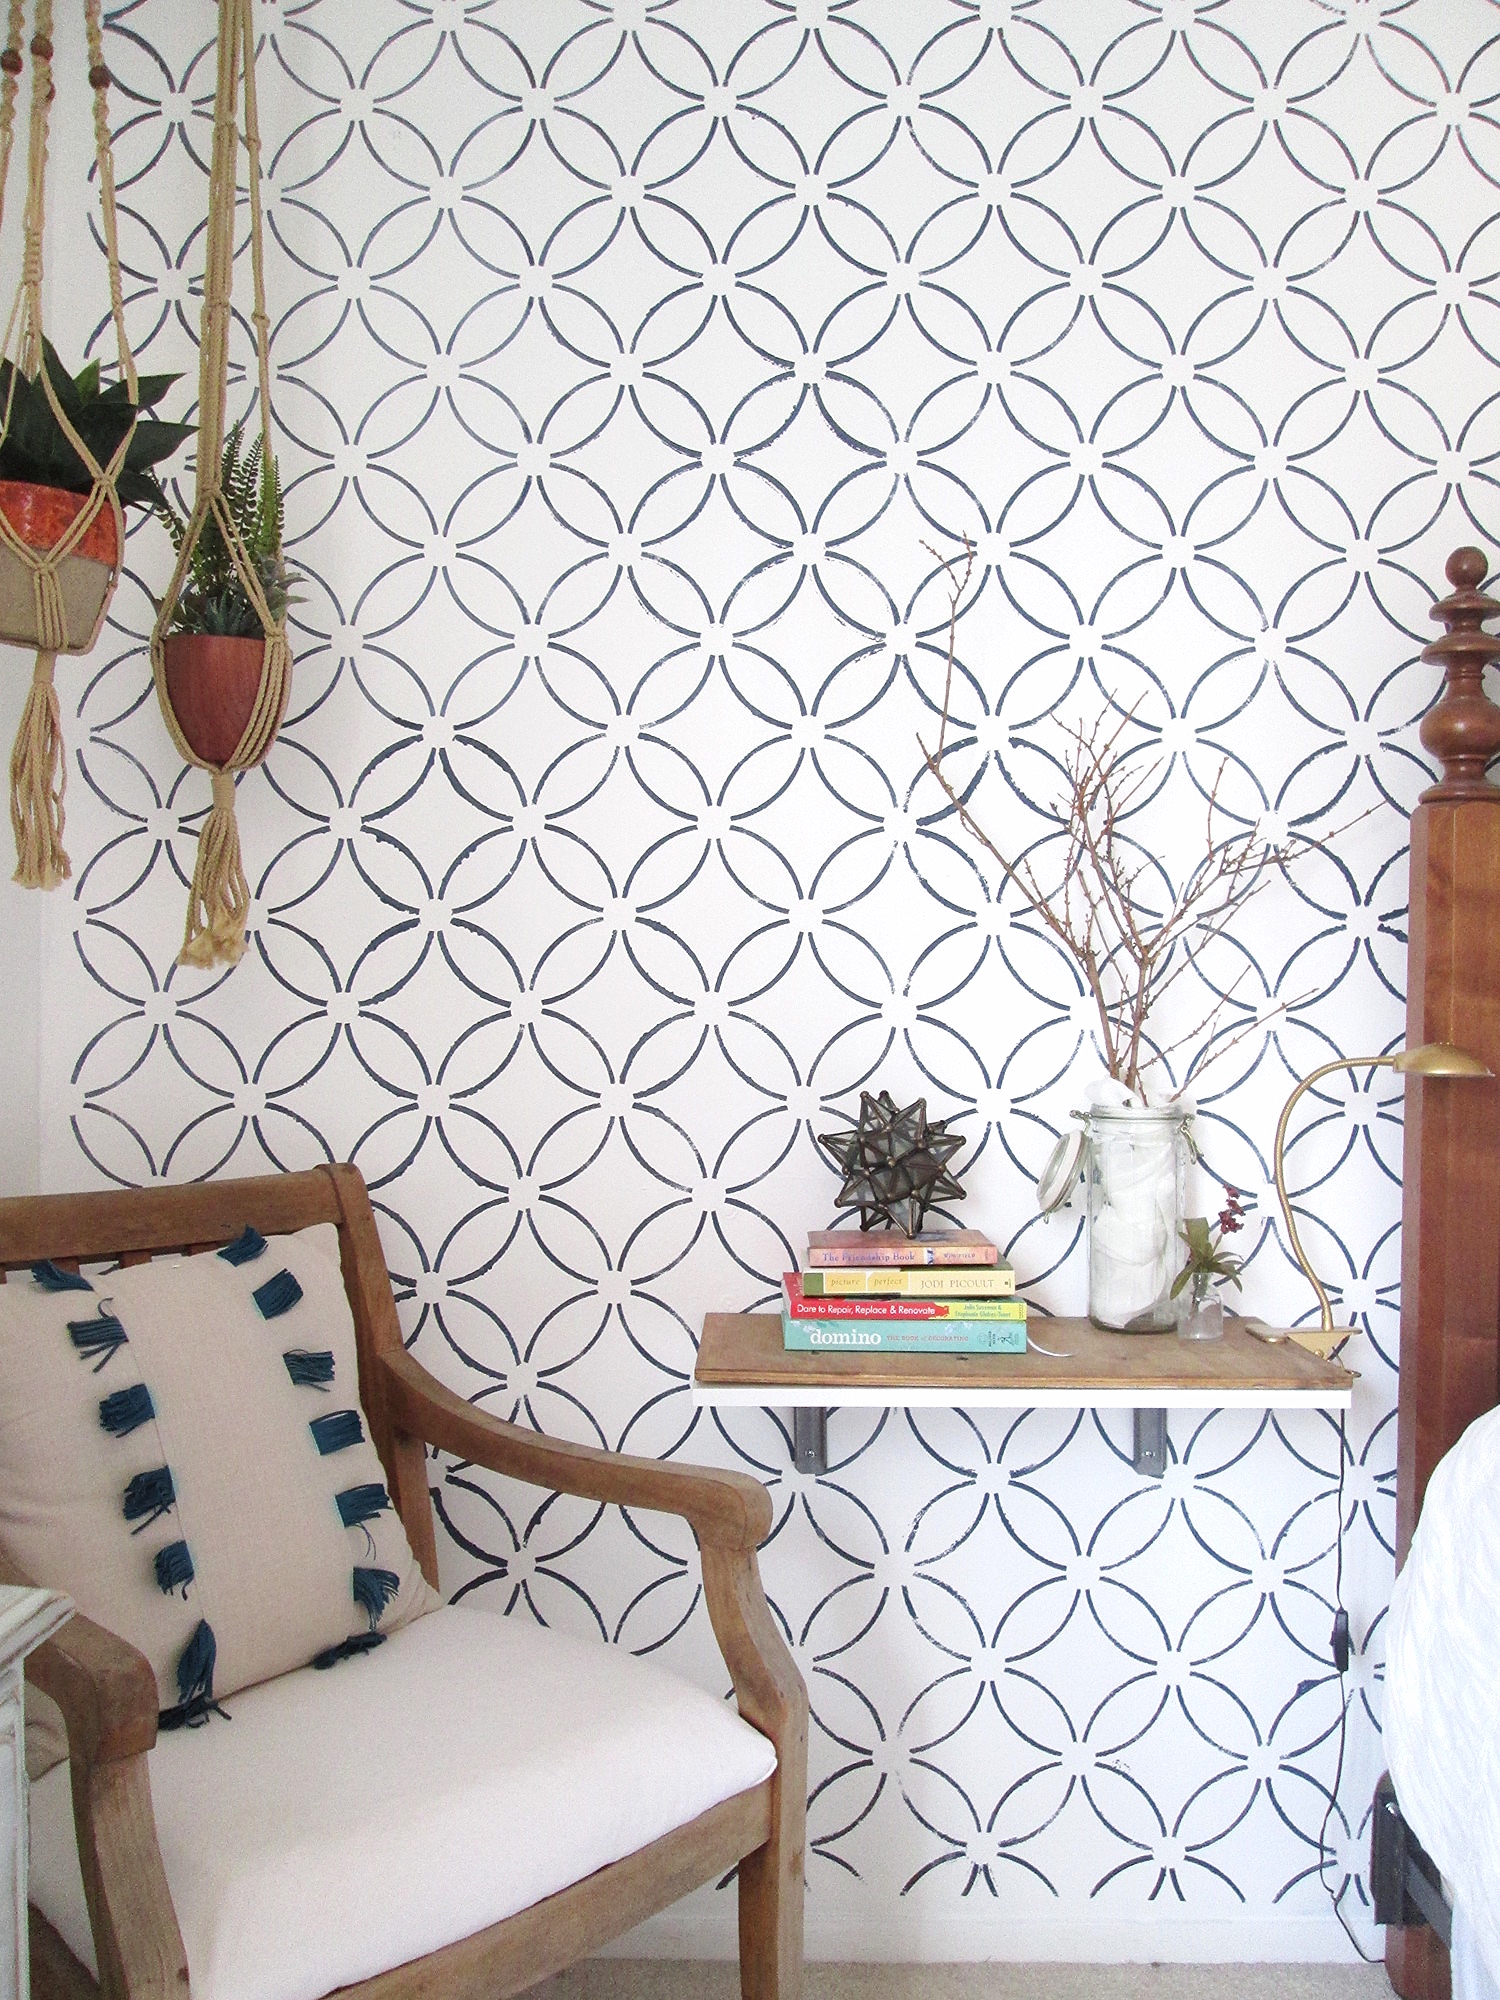
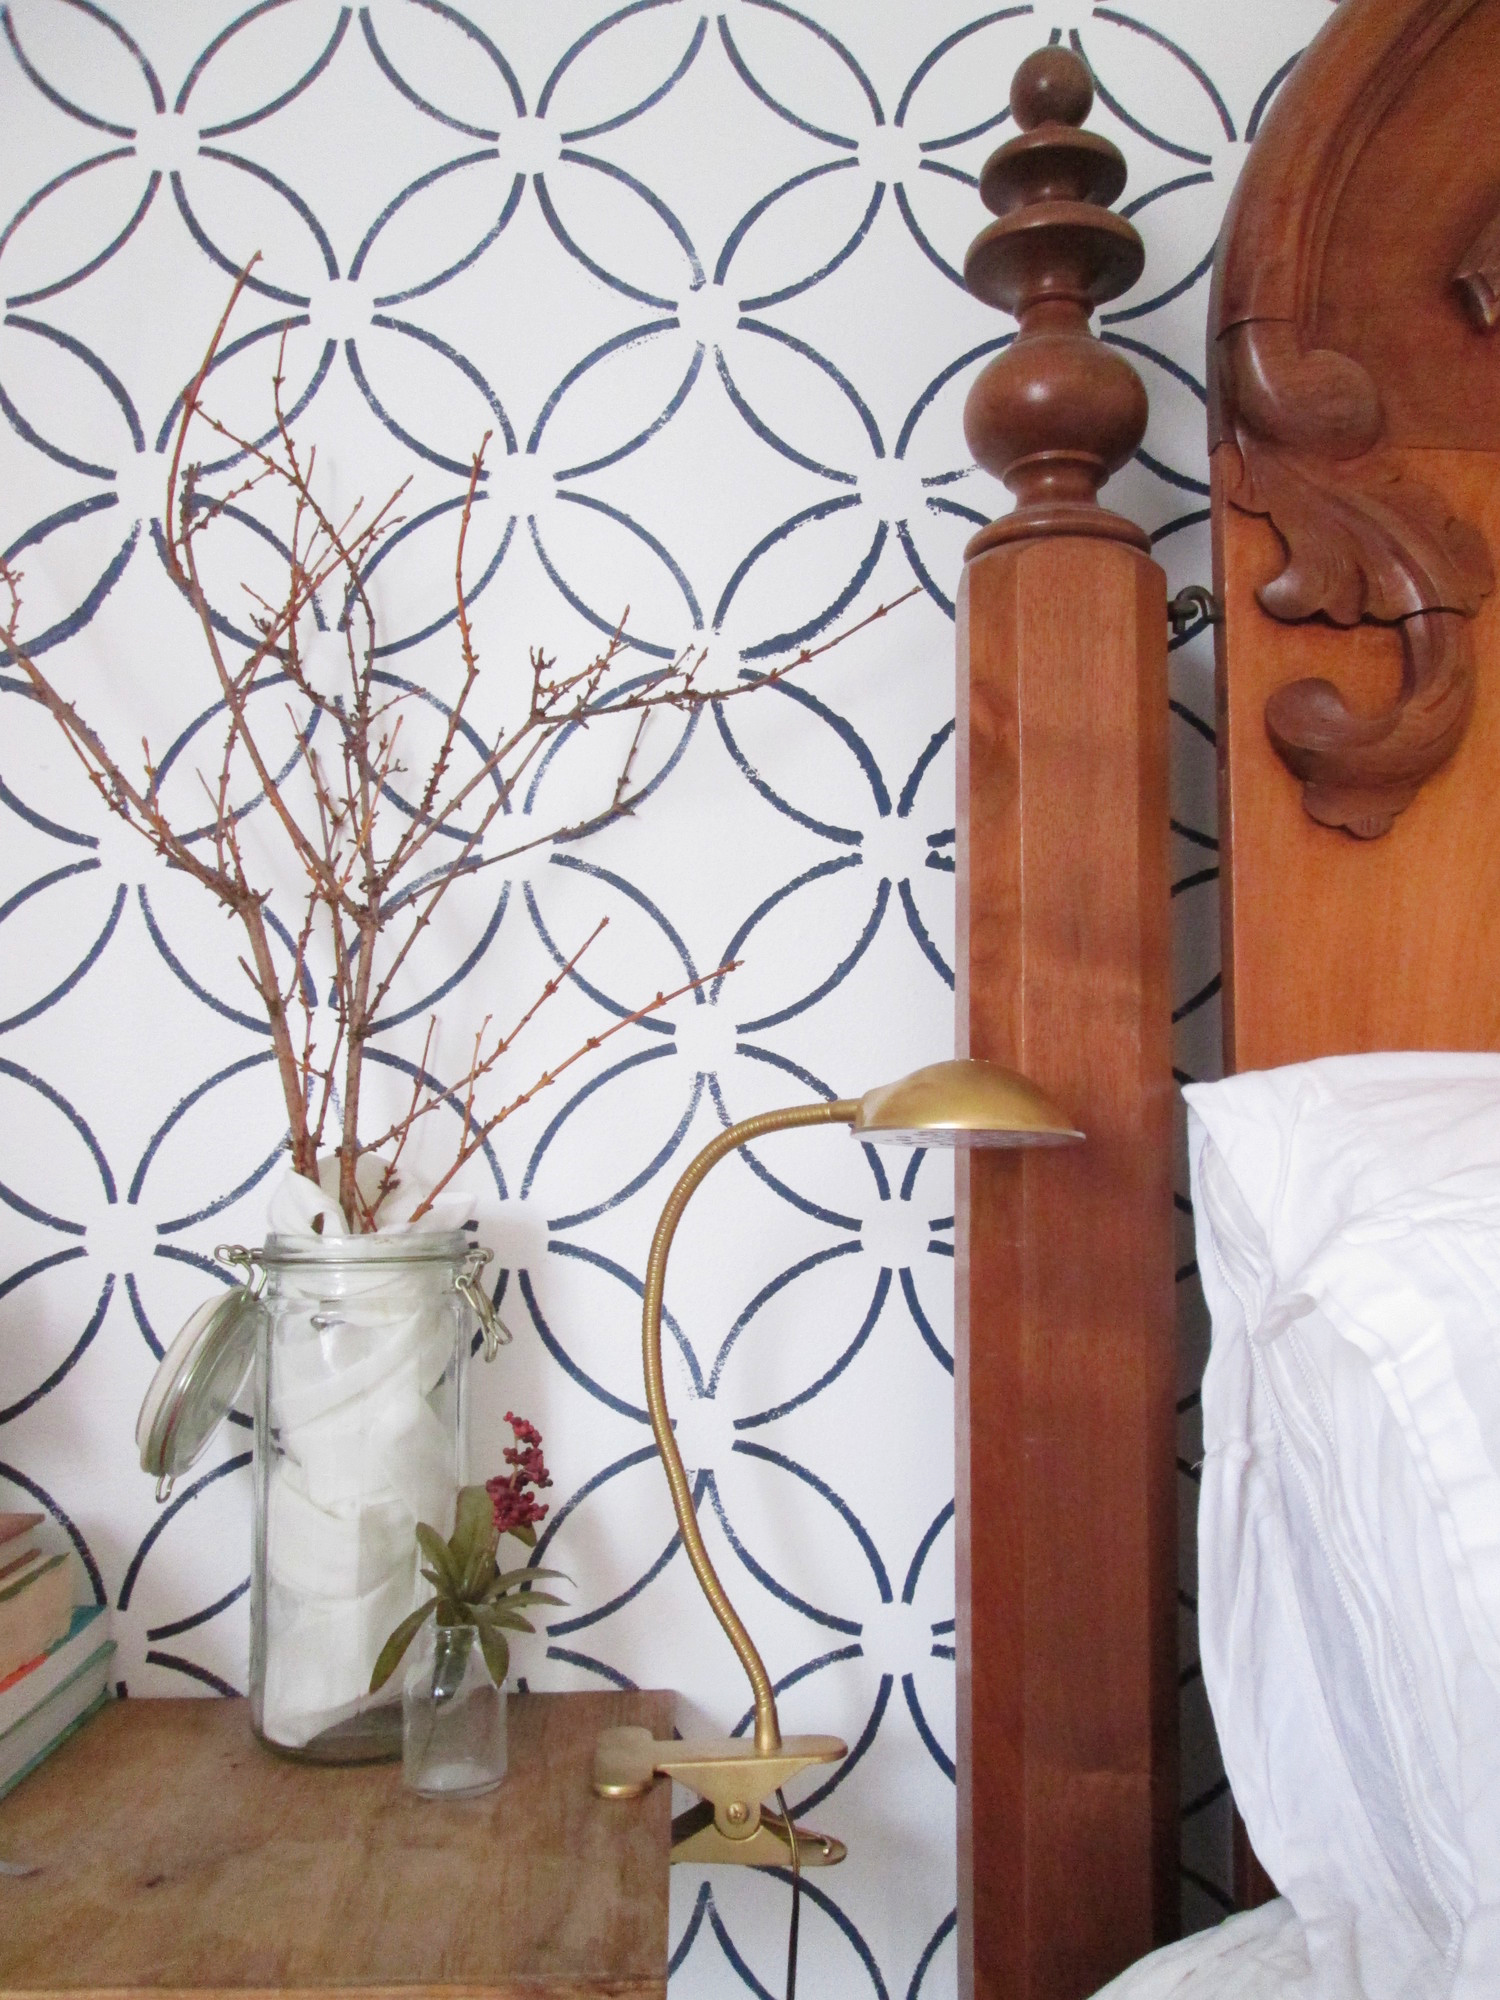
I really wanted to give our master bedroom a more boho chic look and modernize our family heirloom bed. The headboard is quite stunning and grand, but it's not a look even remotely seen anywhere else in our home. I don't need or care to have every room in our home looking the same from one to the other, but I like there to be some continuity in the mix of styles. Our bedroom was previously  a one-style show with the headboard taking center stage. And it was a bit of a diva. I couldn't figure out how to mix anything else into the room until I finally thought about adding an accent wall right behind the bed! 

So I searched and searched for the right wallpaper to do the job and fell in love with a gorgeous print - at $225/roll. Given the size of our wall, this would have cost $900. I kept looking around, trying to forget the one I'd fallen for, and ultimately decided no paper was going to come close. So, I changed course and decided to go the less expenisve route and stencil!

I happened upon an amazing shop on Etsy called Cutting Edge Stencils. They sell most of their stencils by 2'x3' sheets, and include border and edger sheets as well! For less than $40, I got a gorgeous 2' x 3' stencil sheet, an edge/corner stencil sheet, and incredibly helpful instructions for the best supplies and paint to use for stenciling. 

This was my first experience stenciling a wall, and the process couldn't have gone smoother - and it was completed in less than 2 hours

Here is a side-by-side of our bedroom before stenciling and then after.

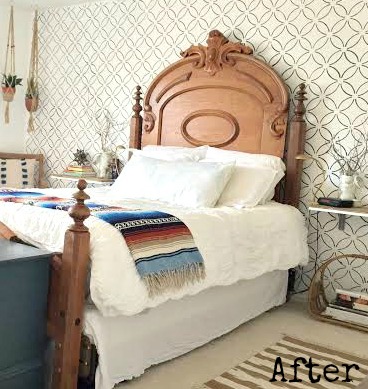
I can't believe I didn't do this sooner! Our room looks much more 'us' now - so eclectic and laid back. Definitely snapped up!

IMG_2863.JPG

To get this wall finished in 90 minutes, I added blue tape to the corners of my stencil sheet, stuck it in the upper right corner of the wall, and got to work with my small roller. The key to keeping the paint in the stencil and not smudging was NOT overloading the roller with paint. A tiny bit really goes a long way. Then, I'd gently peel the stencil sheet away from the wall, line up the pattern, and re-stick to do the next section. 

This whole section (plus another column I cropped out), was done with one sheet in about a minute. Stenciling for the win!!! The hardest part of this project was moving the furniture away from the wall, (and that is included in the 2 hours I said this project took me). 

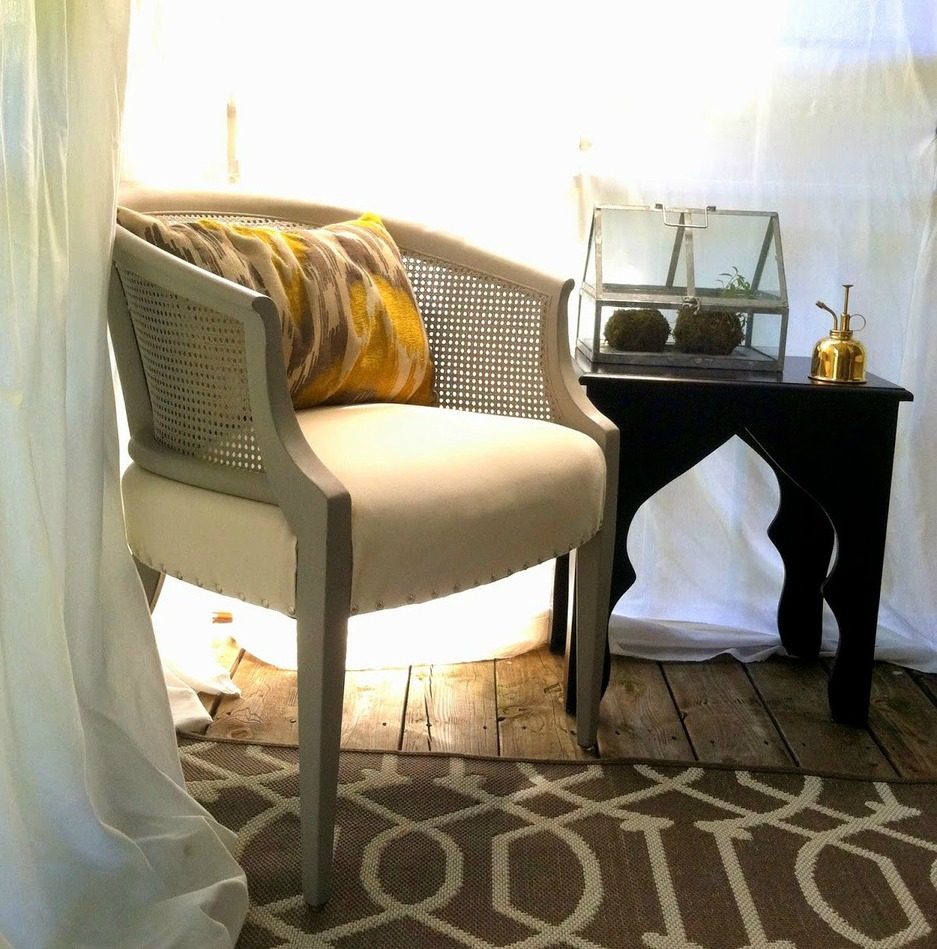
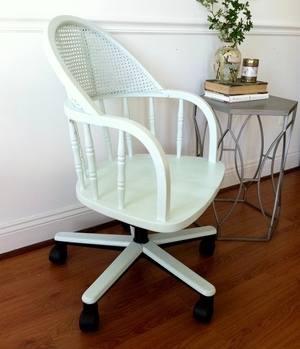
Fun fact: I found that chair outside of an auto shop when the kids and I were waiting on an oil change. When I asked about it, the shop owner didn't even know it was there! It just needed a good scrub and a new seat.

IMG_2847.JPG
IMG_2849.JPG

Quite the transformation for $40 and less than 2 hours of time!

Shire approves!

A full tour of our updated boho bedroom can be found here!

If you've been considering adding a patterned wall to your home, my recommendation for Cutting Edge Stencils is sky-high. And guess what?! They're offering one of our readers a free stencil! Enter here for your chance to win a stencil of your choice from Cutting Edge Stencils!

Thank you so much for stopping by!


Staging Smart: Tips For Staging in Small Places

GORGEOUS Photo Cred: Jillian Michelle Photography

GORGEOUS Photo Cred: Jillian Michelle Photography

Caleb and I hit our first wedding anniversary this weekend!  Can I get a woot woot?!   I'd heard that the first year of marriage is supposed to be the hardest, but I think because I made Caleb patiently date me for so long {4 years to be exact} we covered a lot of the hard topics pre-rings.  This last year, I mainly just had to overcome adjusting to my first boy roommate and how to feed a man who's taste buds are more like an 8 year old boy's {love youeeee}.  Here's to year two!

Now that we're officially not newlyweds, Caleb and I are also approaching the anniversary of moving into our apartment.  This means that for a whole year Caleb and I have been carrying furniture up 3 flights of apartment stairs and rearranging our apartment like a sliding tile puzzle just to flip, stage, sell, and repeat again.

Last week Chelsea kicked off our series on staging.  I'm gonna go ahead and nick-name the series Staging Smart so if you are just checking in {why hello there and welcome!} be sure to check it out.  So in the hopes that I am not the only one in a tiny-apartment-furniture-flipping situation, I'm following Chelsea up with some tips about how I stage-to-sell in a small space.

Besides being only 863 sq.ft., our apartment comes with some additional challenges:

1} Our apartment doesn't get the best natural light for photos
2} Our open-concept with a loft means I do not have a lot of blank walls to stage/ play with
3} I am NOT a minimalist... I am a collectionist {ergo I have a lot of stuff to move and stage around}

Figuring out how to stage around these hurdles came through a lot of trial and error.  My staging journey began with my first piece for sale: the tufted mid-century modern bench.  I was so excited to show off my first piece, that I kicked Caleb out and hurried to clean the entire apartment before the tiny window of decent light hit our skylights like the fleeting sunbeam on treasure map in Raiders of the Lost Ark.  

©1981 Paramount Pictures. 

©1981 Paramount Pictures. 

But when I staged it as the coffee table in our living room, the piece was definitely getting lost in the busy background of our apartment:

After moving it around multiple times, I began to get discouraged that none of pics were showcasing the piece.  I eventually gave up and I brought it over to Chelsea's to borrow her great staging wall:

After seeing how the bench popped against a plain background, I was determined to find an alternative way to photograph pieces without schlepping them to Chelsea's every time.  So next I tried staging outside:

But I was dealing with carrying pieces up-and-down 3 flights of stairs {more than I already am}, harsh direct sunlight, un-groomed grass {not to mention some rogue piles of dog poop...}, and quizzical looks from neighbors.  So I turned to our balcony in hopes of finding a relatively easy solution to a simple staging backdrop: curtains.

Utilizing our porch curtains was a HUGE step in the right direction.  The trick with staging on the porch was that sometimes the sunlight would back-light my pieces:

The good news is with a little a photo editing, you can actually use that to your advantage.  All I had to do was increase the brightness, mid-tone, and add a pinch of contrast:

If you have the momentum to wiggle a big piece into your staging-spot, then you better take advantage of the trouble you went through to set up.  Chelsea touched on staging multiple ways to show a piece's versatility, but I find it is also helpful to stage them to show a piece's personality:

Cool & Classy?

Or Colorful & Contemporary?

Both incorporate many of the same elements: geometric lamp, starburst mirror, moss ball, and books. But I chose to use the photo sesh I though brought more life to the piece to market to buyers.

With the smaller pieces, it is a little easier to find places for them inside.  But if you are going to stage a piece in a complete room and not with a blank backdrop, try to find a way to easily transform your space to best highlight it.  The trick is using what you have in new ways.  These tables were staged in the same spot but with subtle differences.  Can you spot them?  

Answer: curtain behind headboard, bedding, overall color schemes, rug, hat, and table top decor.

When staging these pieces, I tried to think like their potential buyers: the gold and mirrored accent table felt like it would attract a glamour-loving easy-breezy girl.  The x-base campaign table felt more masculine and classic.  Interestingly enough, the mirrored accent table sold to a cute twenty-something co-ed and the campaign table to a guy who's girlfriend was helping him style his first place.

Ok let's re-cap the takeaways for staging in small spaces:

1} If you don't have a simple backdrop that allows your piece to "pop," try making one
2} Take advantage of your piece once it's in place and style it for multiple photo shoots
3} Decorate around your piece to enhance it's unique personality 
4} Think about what kind of buyer(s) your piece might attract when styling your piece

Hope this helps all you small-space-stagers out there!  If you have any tips of your own, we'd love to hear them!

Staging Smart: Tips For Staging Small Pieces

Hello, friends! Following up my earlier post this week on the importance of staging refinished furniture, (for the purpose of selling), I thought it might be fun to talk about staging different pieces. Today I'll cover smaller pieces like end tables and accent chairs, and next week we'll discuss the larger beasts.

For whatever reason, I find it more difficult to stage a smaller piece. I love playing with the surface and surrounding of a large dresser or china cabinet, but when all I have is a small footprint to work with, I tend to scratch my head staring at it. I don't really have a specific 'formula' to share, but I've learned that it's okay to stage smaller pieces a bit 'abstractly'. It's not likely that anyone would place a little table floating rogue on the open floor, but it's okay to stage it that way!

It's also okay to settle these small pieces in and sprinkle a little 'life' around them. Some of my go-to accessories for small tables include an open book or neat stack of books, fresh flowers, succulents, and pretty candles. We don't use all of these at once, but it's fun to play with one or two, step back, and see what looks the most natural.

Accent chairs are also one of those pieces that can be a little tricky to stage photos. Accent chairs are just that - accents to a whole, finished room. Taking a picture of one by itself just feels a little bit awkward. Just like with small tables,  it's okay to keep it simple but still bring a bit of energy to your shots. Go ahead and get artistic with your shots. Play with angles, with lighting, with accessories. The top right photo below was a really different kind of shot for me. I had just refinished this antique chair that was passed down from my husbands grandparents. I refinished it in a soft color but wanted to stage it with a bit more life to show it's versatility - that even pale painted antiques can be edgy. :)

Do you have any small piece staging tips that you could share? If you've got photos we'd  love to see! Share either on our Facebook wall or Instagram, using the tag #stylemuttrefinishes. Next week we'll be back with more staging fun!

Have an awesome weekend and thank you for stopping by!