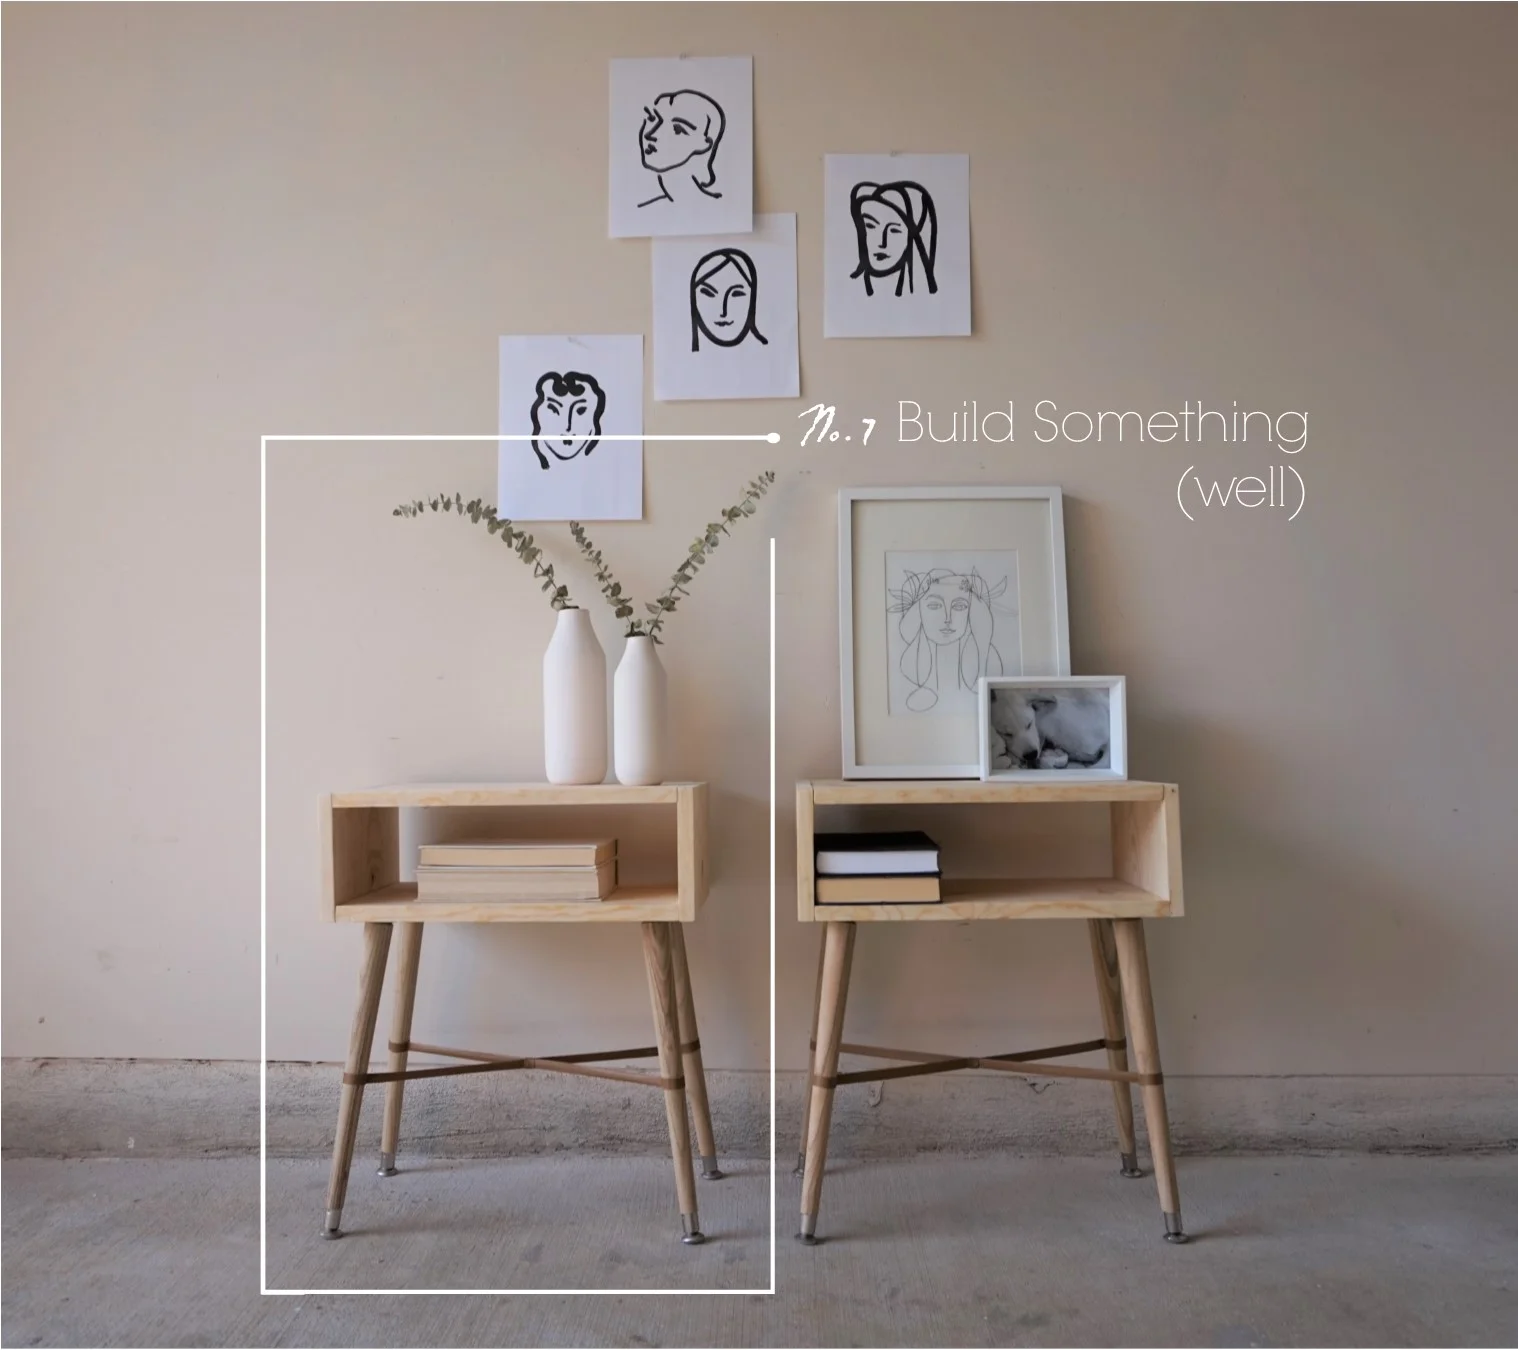
Hi, friends! We've had a lot of fun furniture and eDesign reveals to share around here lately, but it's been quite some time since we've shared anything new from our own home fronts! As our plates have been filled up with these various projects, the ones we've desired for our own homes have been set aside for quite some time.
But I can only partially blame the busy schedule.
I've always felt like our bedroom was the black sheep of our home. It's not that I never felt satisfied with it, but it's always stuck out as an entirely different style and feel from the rest of the house. Our home has evolved to this cozy minimal bohemian look that's very laid back, understyled and layered for function. Since before we were married I've had the pleasure of using a family heirloom bedroom set that was anything but laid back! The carved antique wood was completely unique, remarkable and unlike anything I've ever seen.Still, I couldn't figure out how to make the large and ornate pieces work in this house. Here's a shot from last Christmas:

Like I said, this was beautiful to me! I loved our bedroom, truly. But as I really started to embrace a style that felt a lot more 'us' as a whole, I needed a clean break with the fancier bedroom set so our home could be consistent the whole way through. I found inspiration from a very simple shot I took last year of a chair, a plant and a wall hanging:

Don't worry, you're not missing anything here; it's really about as dull an inspiration pic as one could strum up. But here's what I liked and why I thought it worth setting as my guide - it's both simple and interesting. It's monochromatic yet cozy. It's fresh. These are the things I wanted for my bedroom and I did revert back to this photo to keep myself in check when I was tempted by evil things like color and pattern. HAHA! I'm totally kidding. I love color and pattern, just in very particular execution for my own home. So let's take a look around at our brand new bedroom!


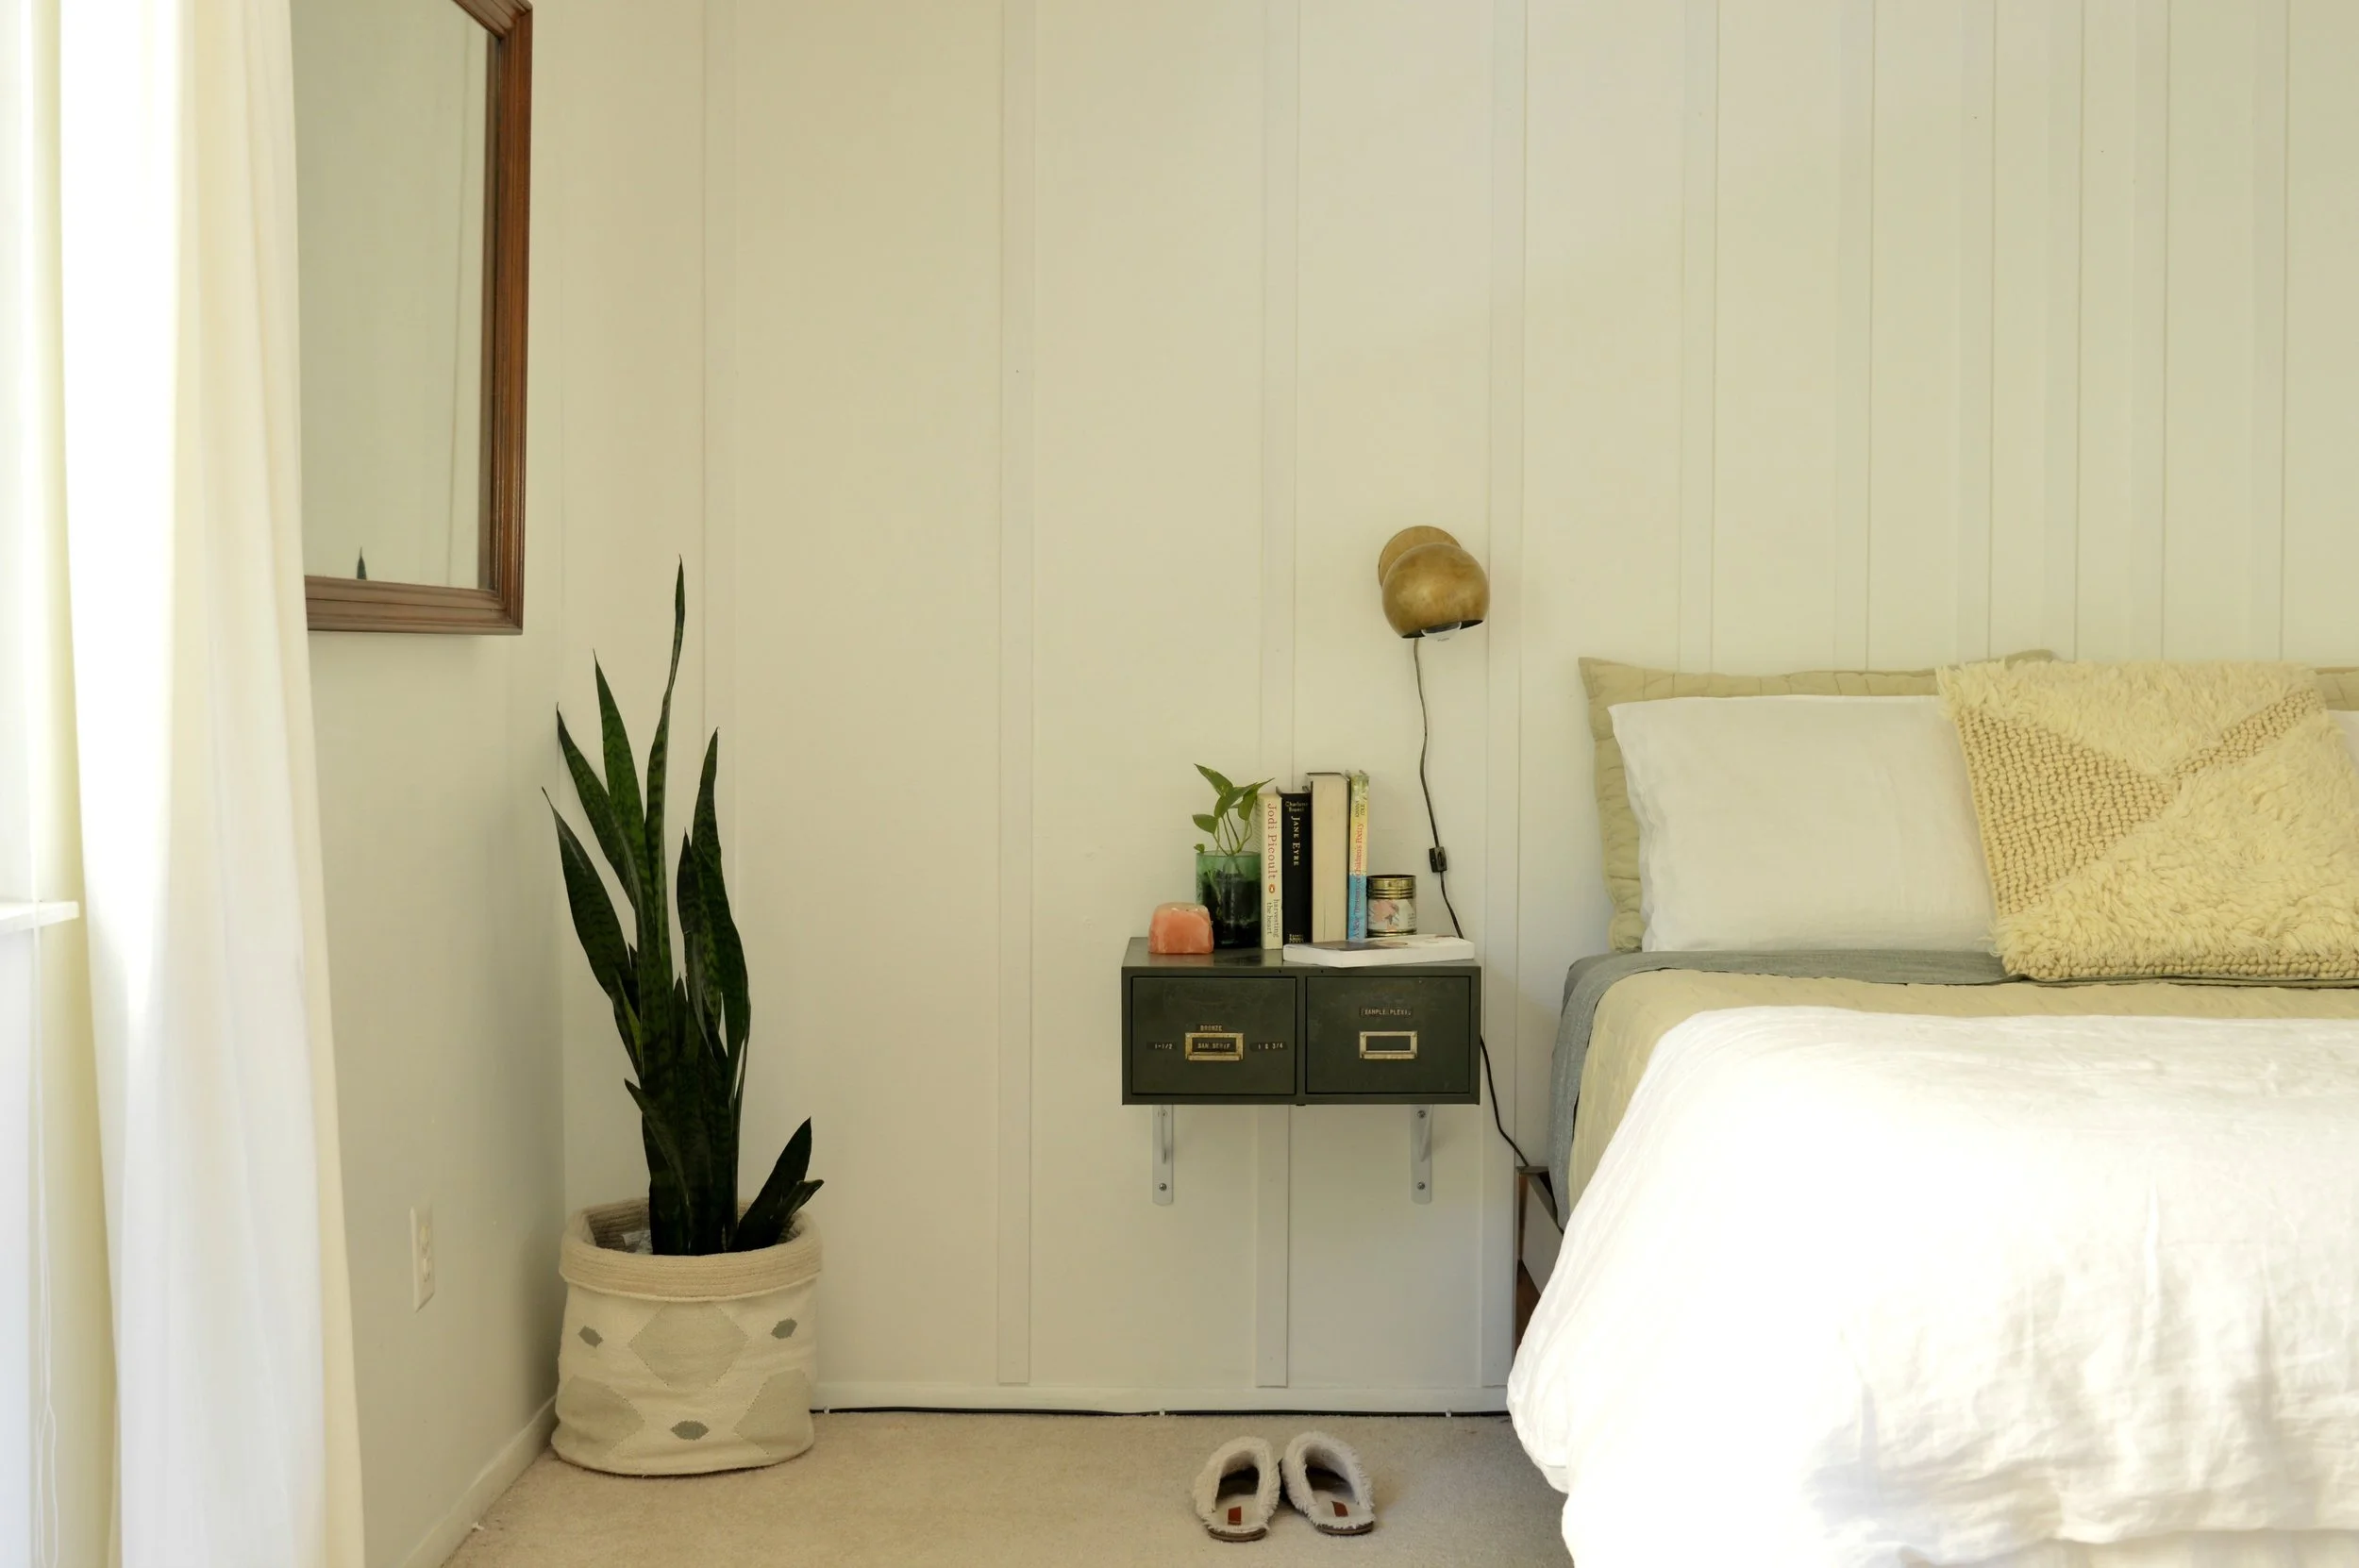
My main objective was a quiet and calm space that still had that interest and unique appeal that I so love. I knew I didnt' want another headboard, but also that I didn't want nothing. After using the idea for horizontal trim in this clients bedroom, I loved that touch of something on the wall that didn't scream for attention. I strummed up this idea to install vertical trim pieces that start close together at the center of the bed, and then fan out, getting wider and wider. The pieces that are close together anchor the bed just as a headboard would! Don't you just love visual tricks?! I think I get those kicks from my Mama. Looking around, I kept my white dresser that I had refinished a couple years ago, but the bed and Matt's dresser were lucky Craigslist finds. After many years of a matching bedroom set, I've welcomed some inconsistencies and mixed pieces.

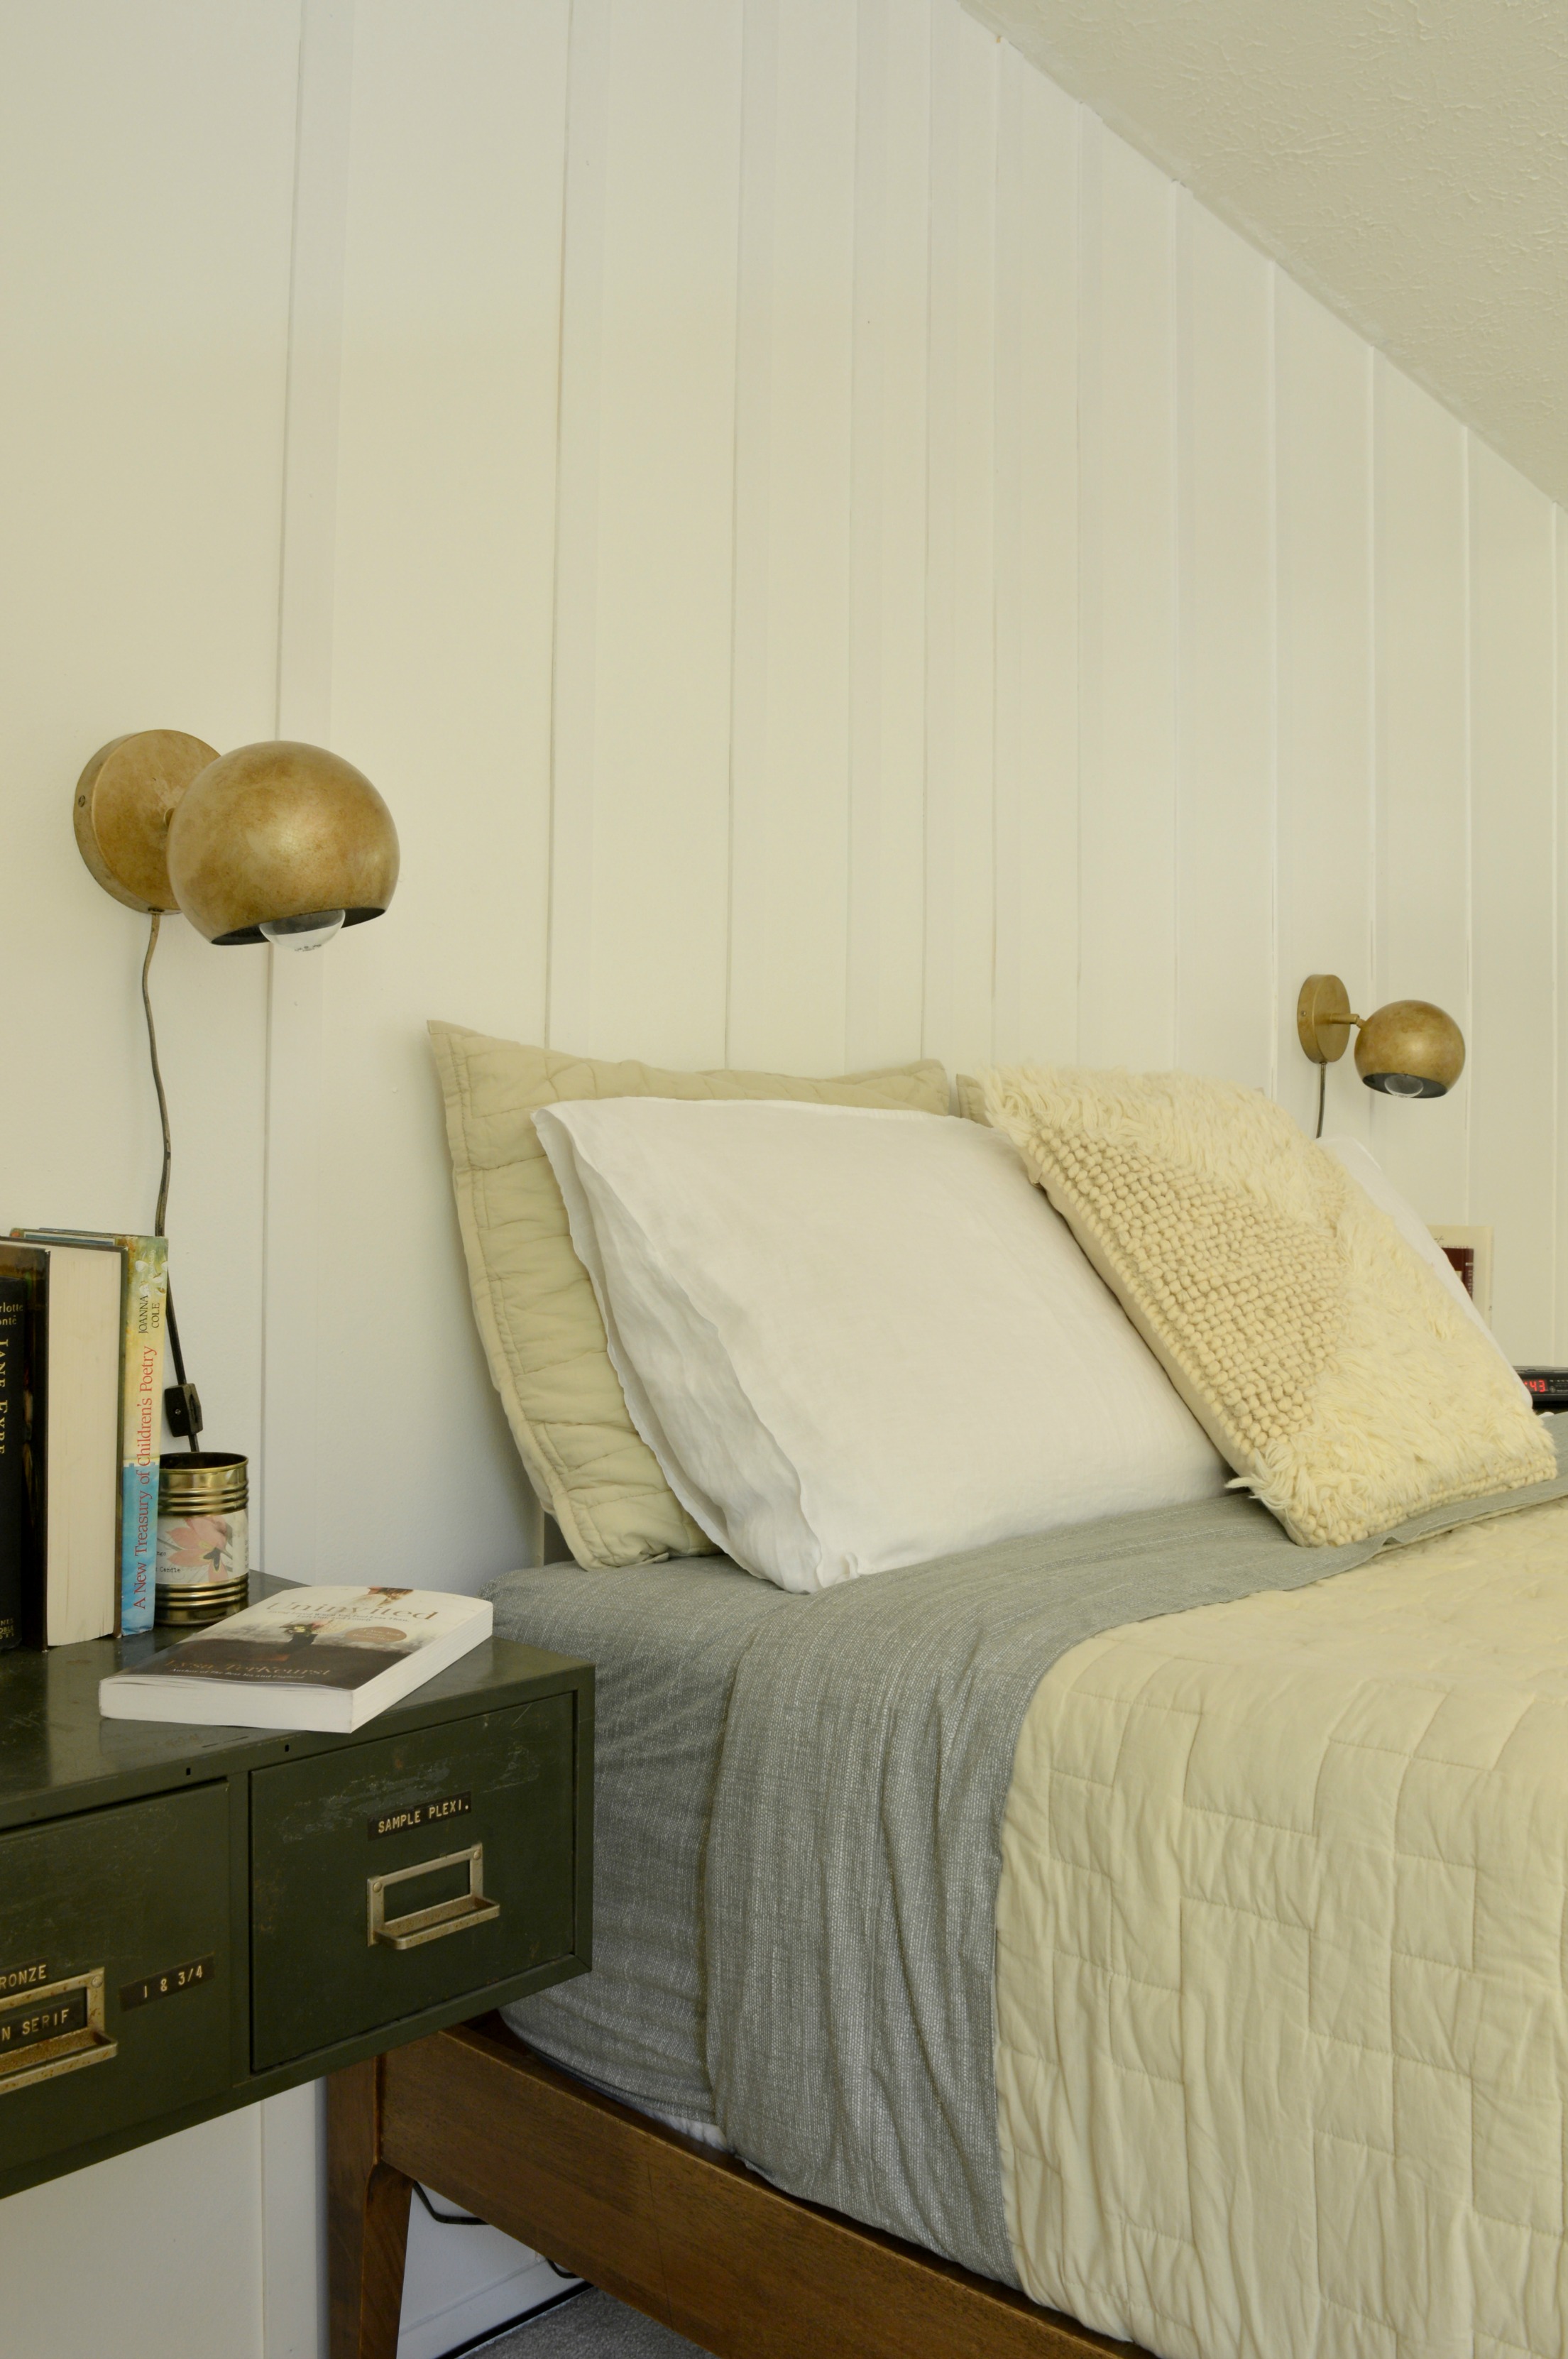
The idea to use floating dark green two-drawer file cabinets as nightstands came a while before I actually found a pair of dark green two drawer file cabinets. These guys were tucked in the corner of a local antique shop for $35/ea. Not a bad deal! (Of course, Matt was the one who handled the installation logistics) Fun fact: My kids have been writing each other a lot of notes lately.. They write apologies when they've been unkind, thank you notes when they've been helped, and don't even get me started on all their correspondence to the tooth fairy. Now I have a 'Small Letters' drawer for these precious small letters.

Another major component to pulling off an interesting beige and white room is choosing the right bedding. When you go monochromatic, texture and pattern can make a huge difference! When Cstudio Home reached out to introduce themselves, I was smitten with their use of texture and tone-on-tone pattern! The way their blankets are stitched, the subtle weave of the sheets - it's all a minimalists dream come true! We've got the Studio Quilt in Sandstone, the Canvas Sheet Set in Moss, and the Woven Shag Pillow Cover. I've made our bed and am more than willing to sleep in it!


I love the subtle pattern on the sheets - I've never had sheets worth looking at so I've never turned them down like this before! But the subtle mossy green is just so lovely with the white and beige pieces. Fresh, just like the plan.
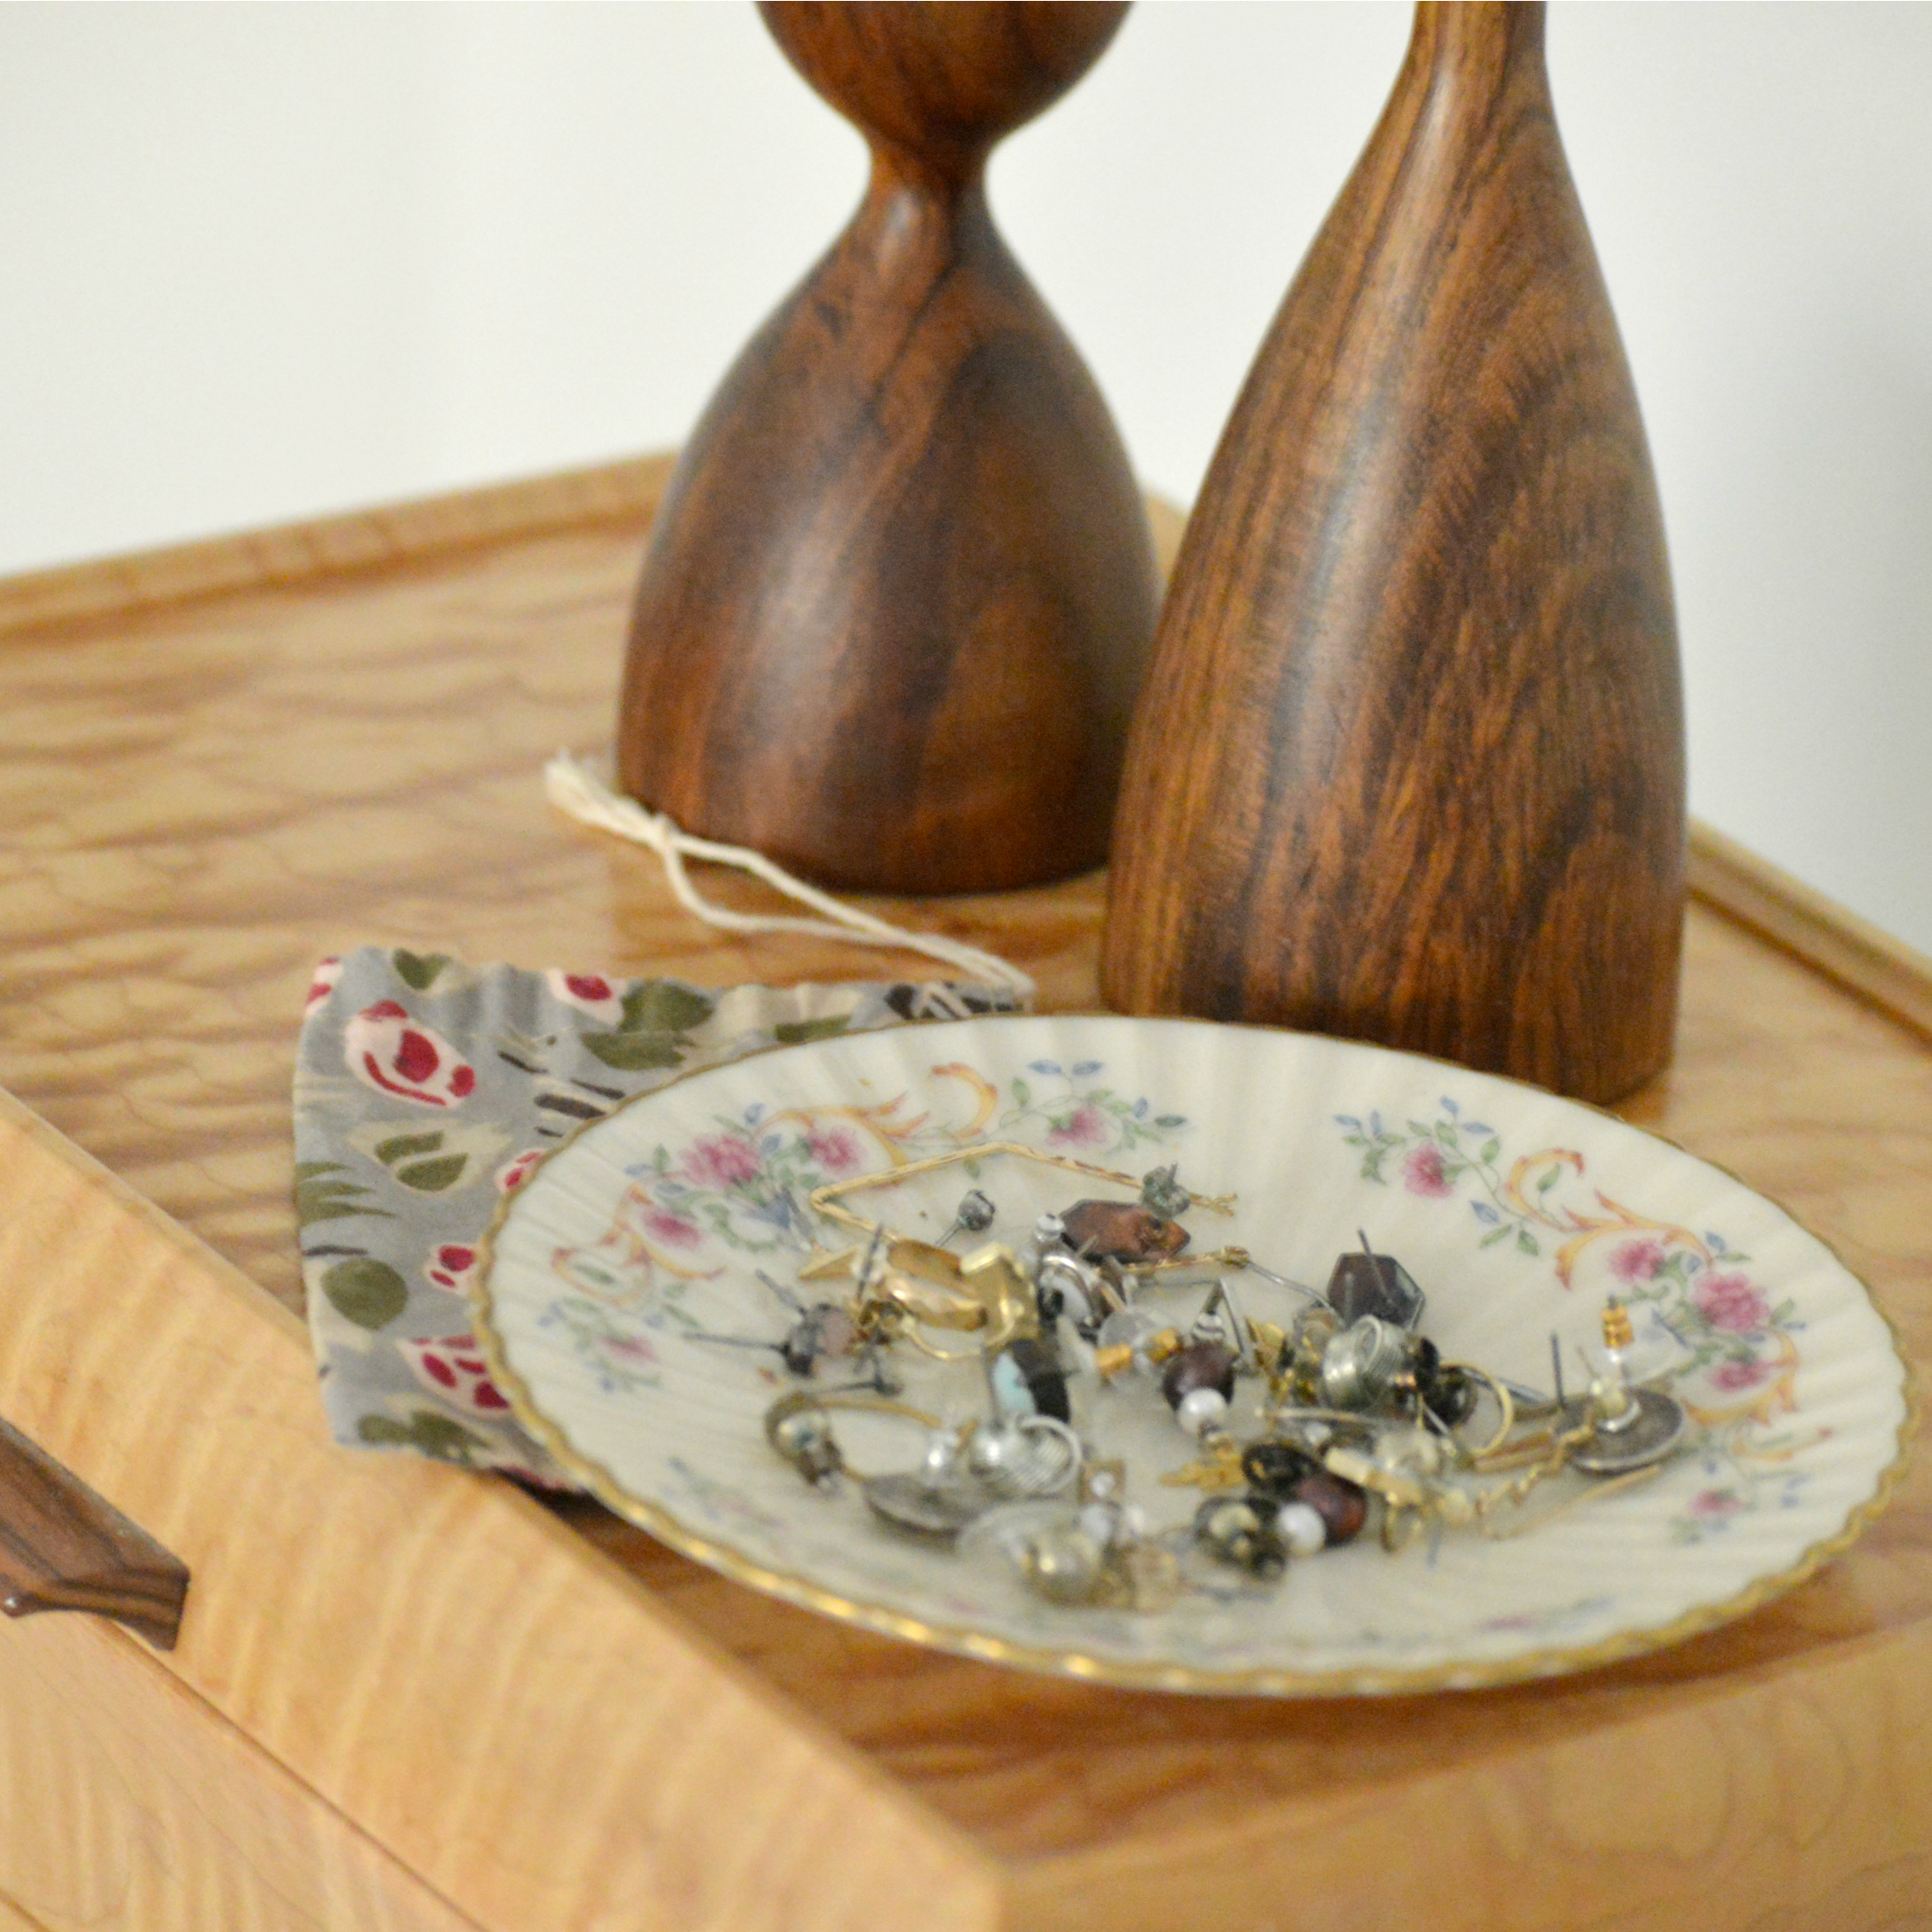
Of course the only true way to make your space truly unique and one hundred percent you, is with your own personal pieces. I may not be able to look at this photo of my grandpa yet without a lump forming in my throat, but I absolutely want to see this every day. I miss him so. The dish to the left is a saucer from my grandma's china collection, and it's where I keep all my studs. I haven't found another way to keep them organized until now! (Well, they're still not so much organized as I can just see them all better)


This vanity mirror hung horizontally was an estate sale find last Spring. I loved the wood pieces of the frame fit together like a puzzle, and it's such a lovely shade of wood; couldn't turn it down.

That's a wrap! Thank you, friends, for coming by. I realize it's a pretty underwhelming room reveal compared to what's out there, but I really believe simple can be interesting, too, and wanted to share my own experience with this room's evolution. Onward and upward, I say! Grateful to finally be at this end of the transformation. :) We would love for you to come back tomorrow to see what Cate has whipped up in her room! It's so beautiful, completely 'her' and I'm just smitten...oh, I can't wait for you to see!