Sleek, glam desk || Before+After

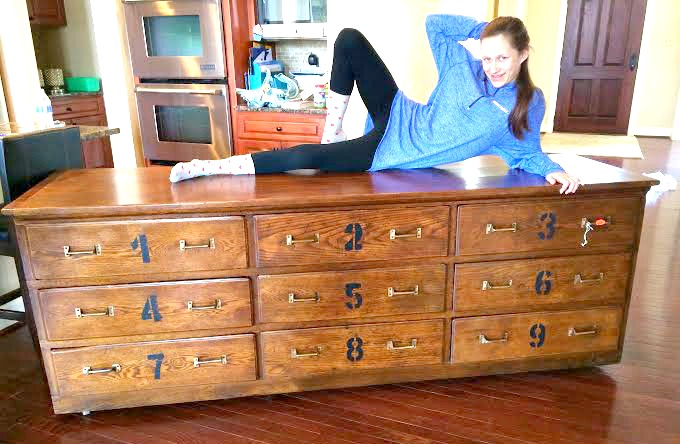
Hi friends! Quick rhetorical question for ya: Would you bring this desk home with you from a thrift store?

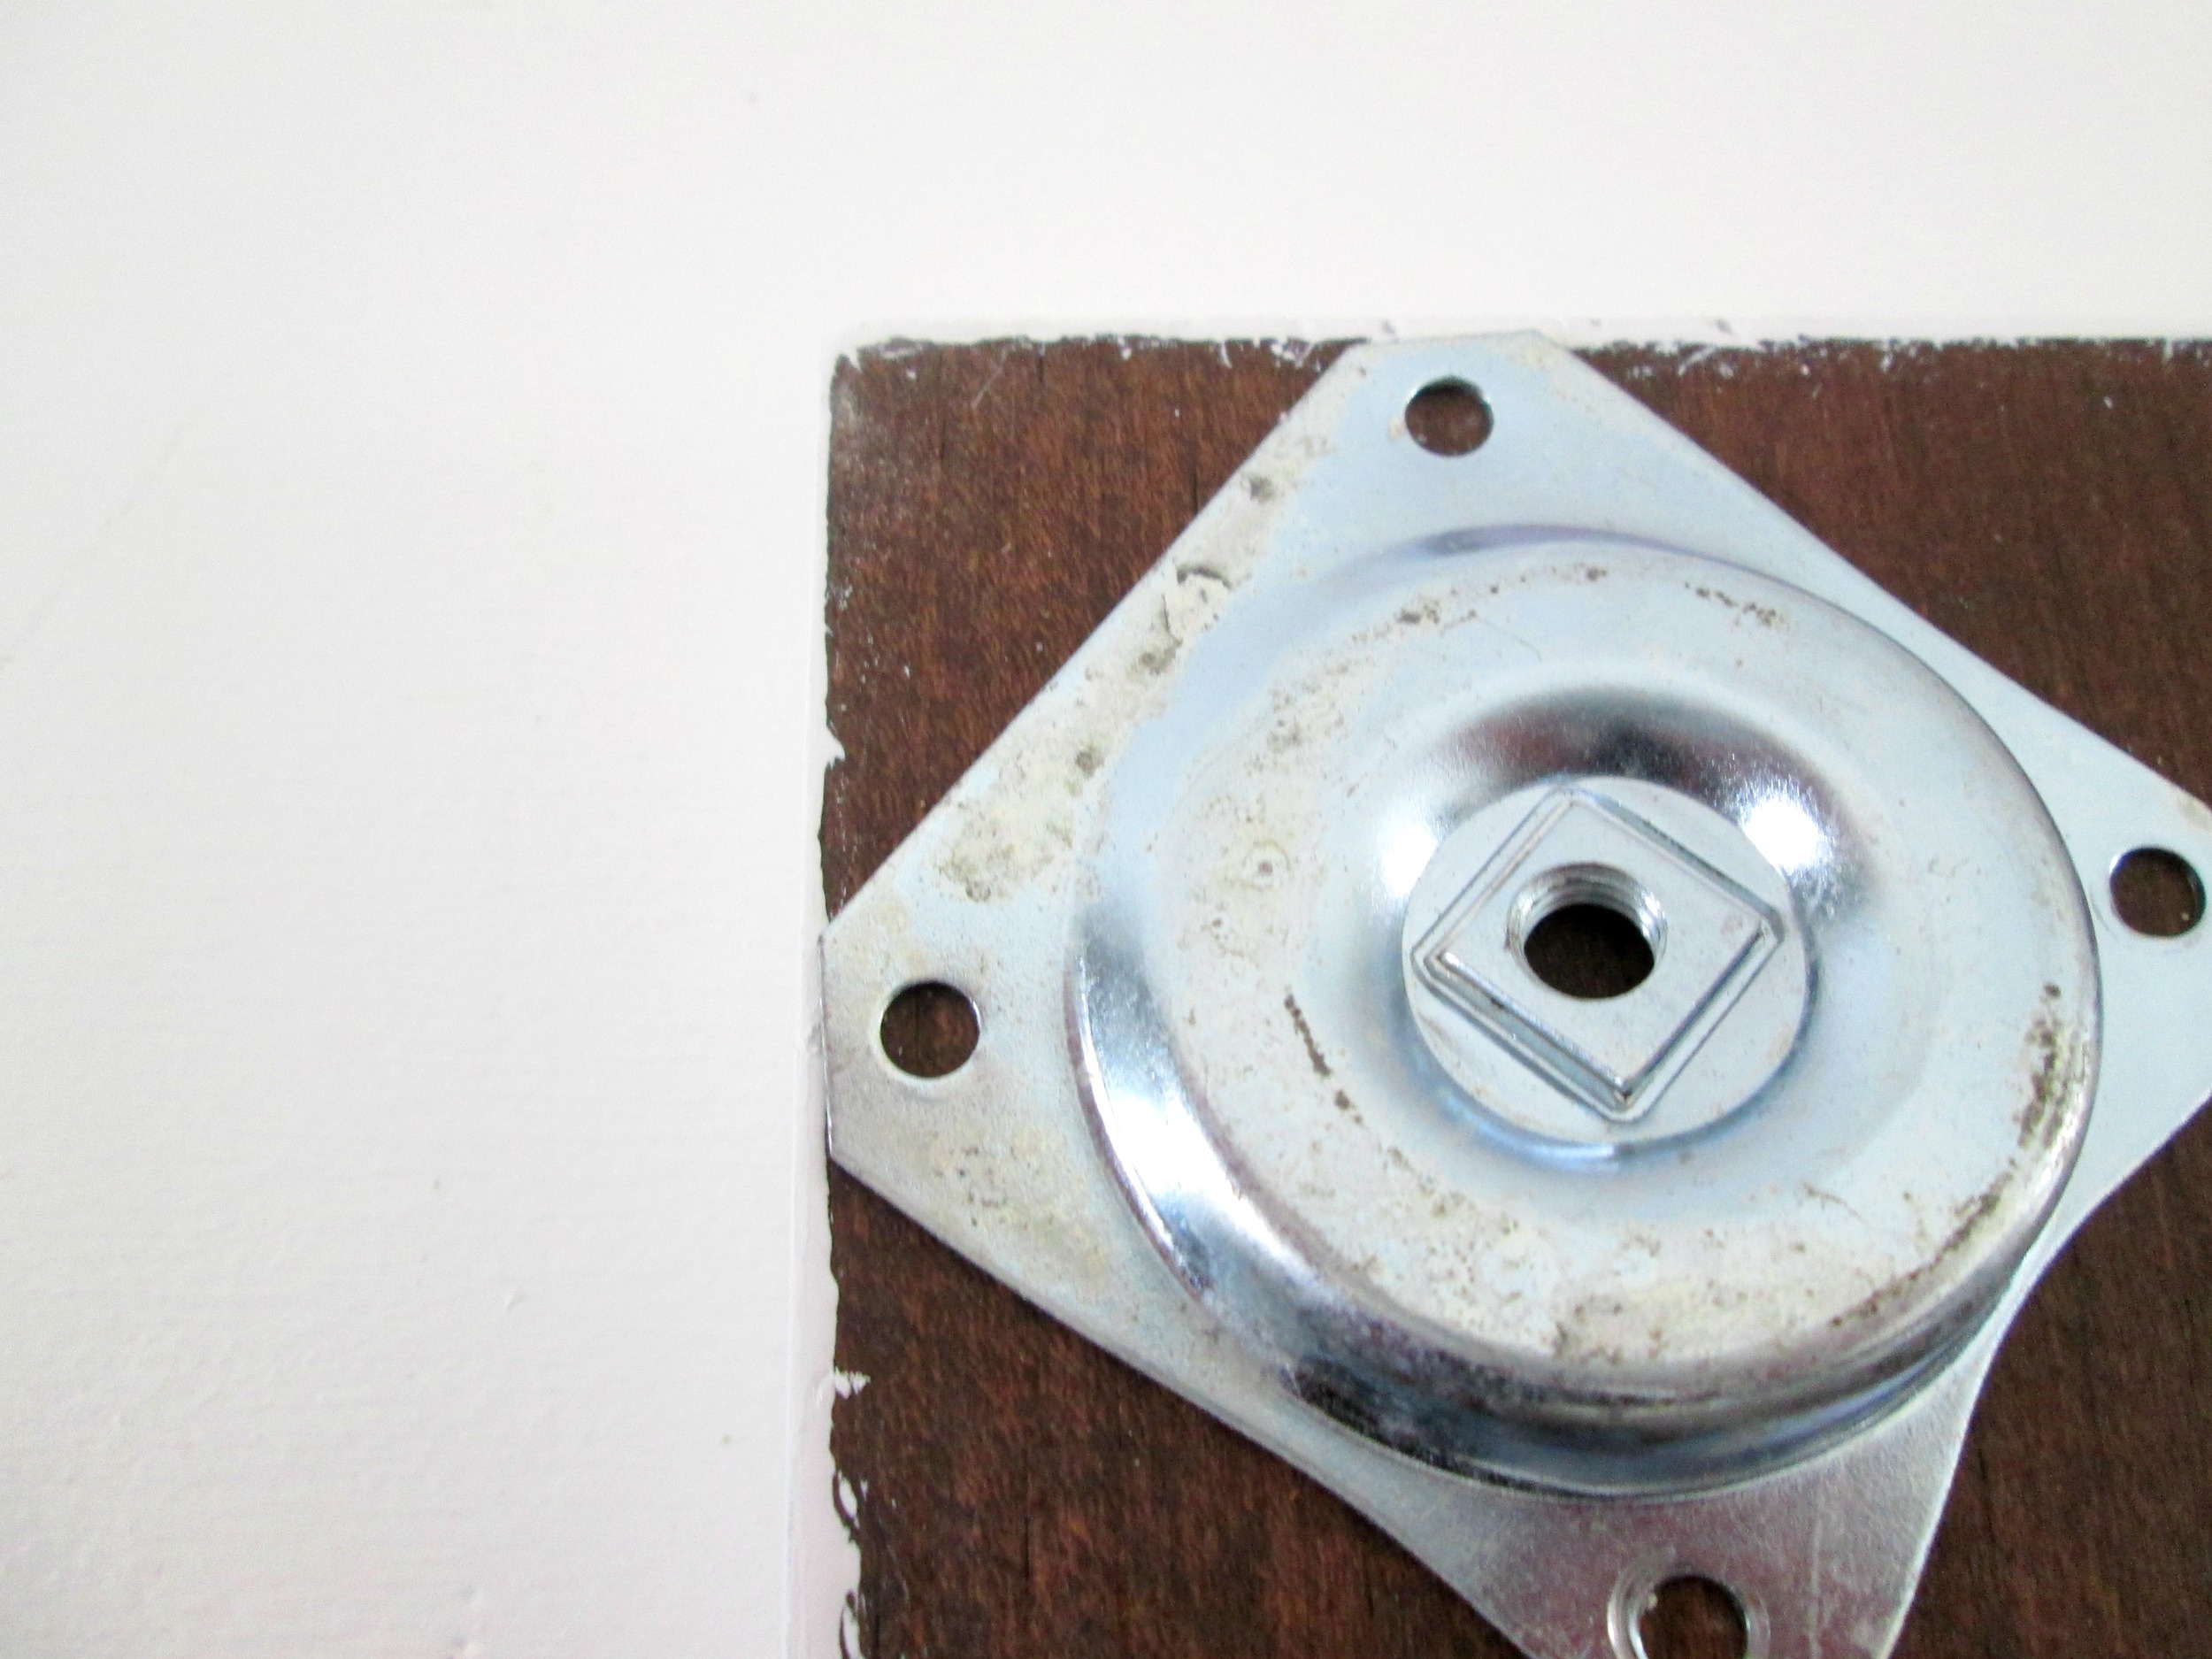
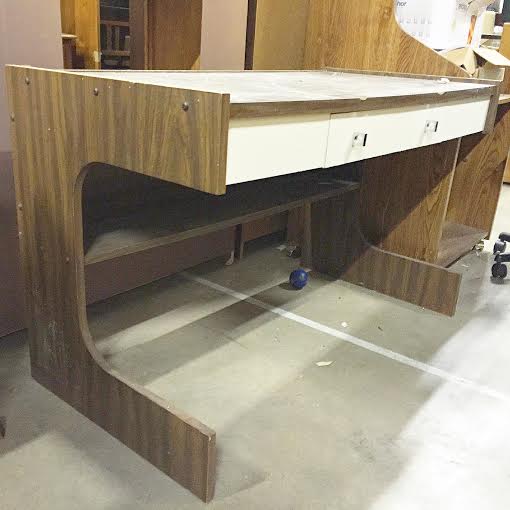
It certainly wasn't much to look at when I saw it a month or so ago. In fact, I passed it by twice before removing all the junk stacked on top to take a closer look. And let me tell you, the closer look did NOT help! Peeling contact paper on the drawer fronts, unattached corners of veneer, and what appeared to be a coded treasure map etched into the top surface. So, I took all of this and weighed it against the one pro - the shape! I thought, if I can do something, anything to help this desk, it could be da bomb diggity!

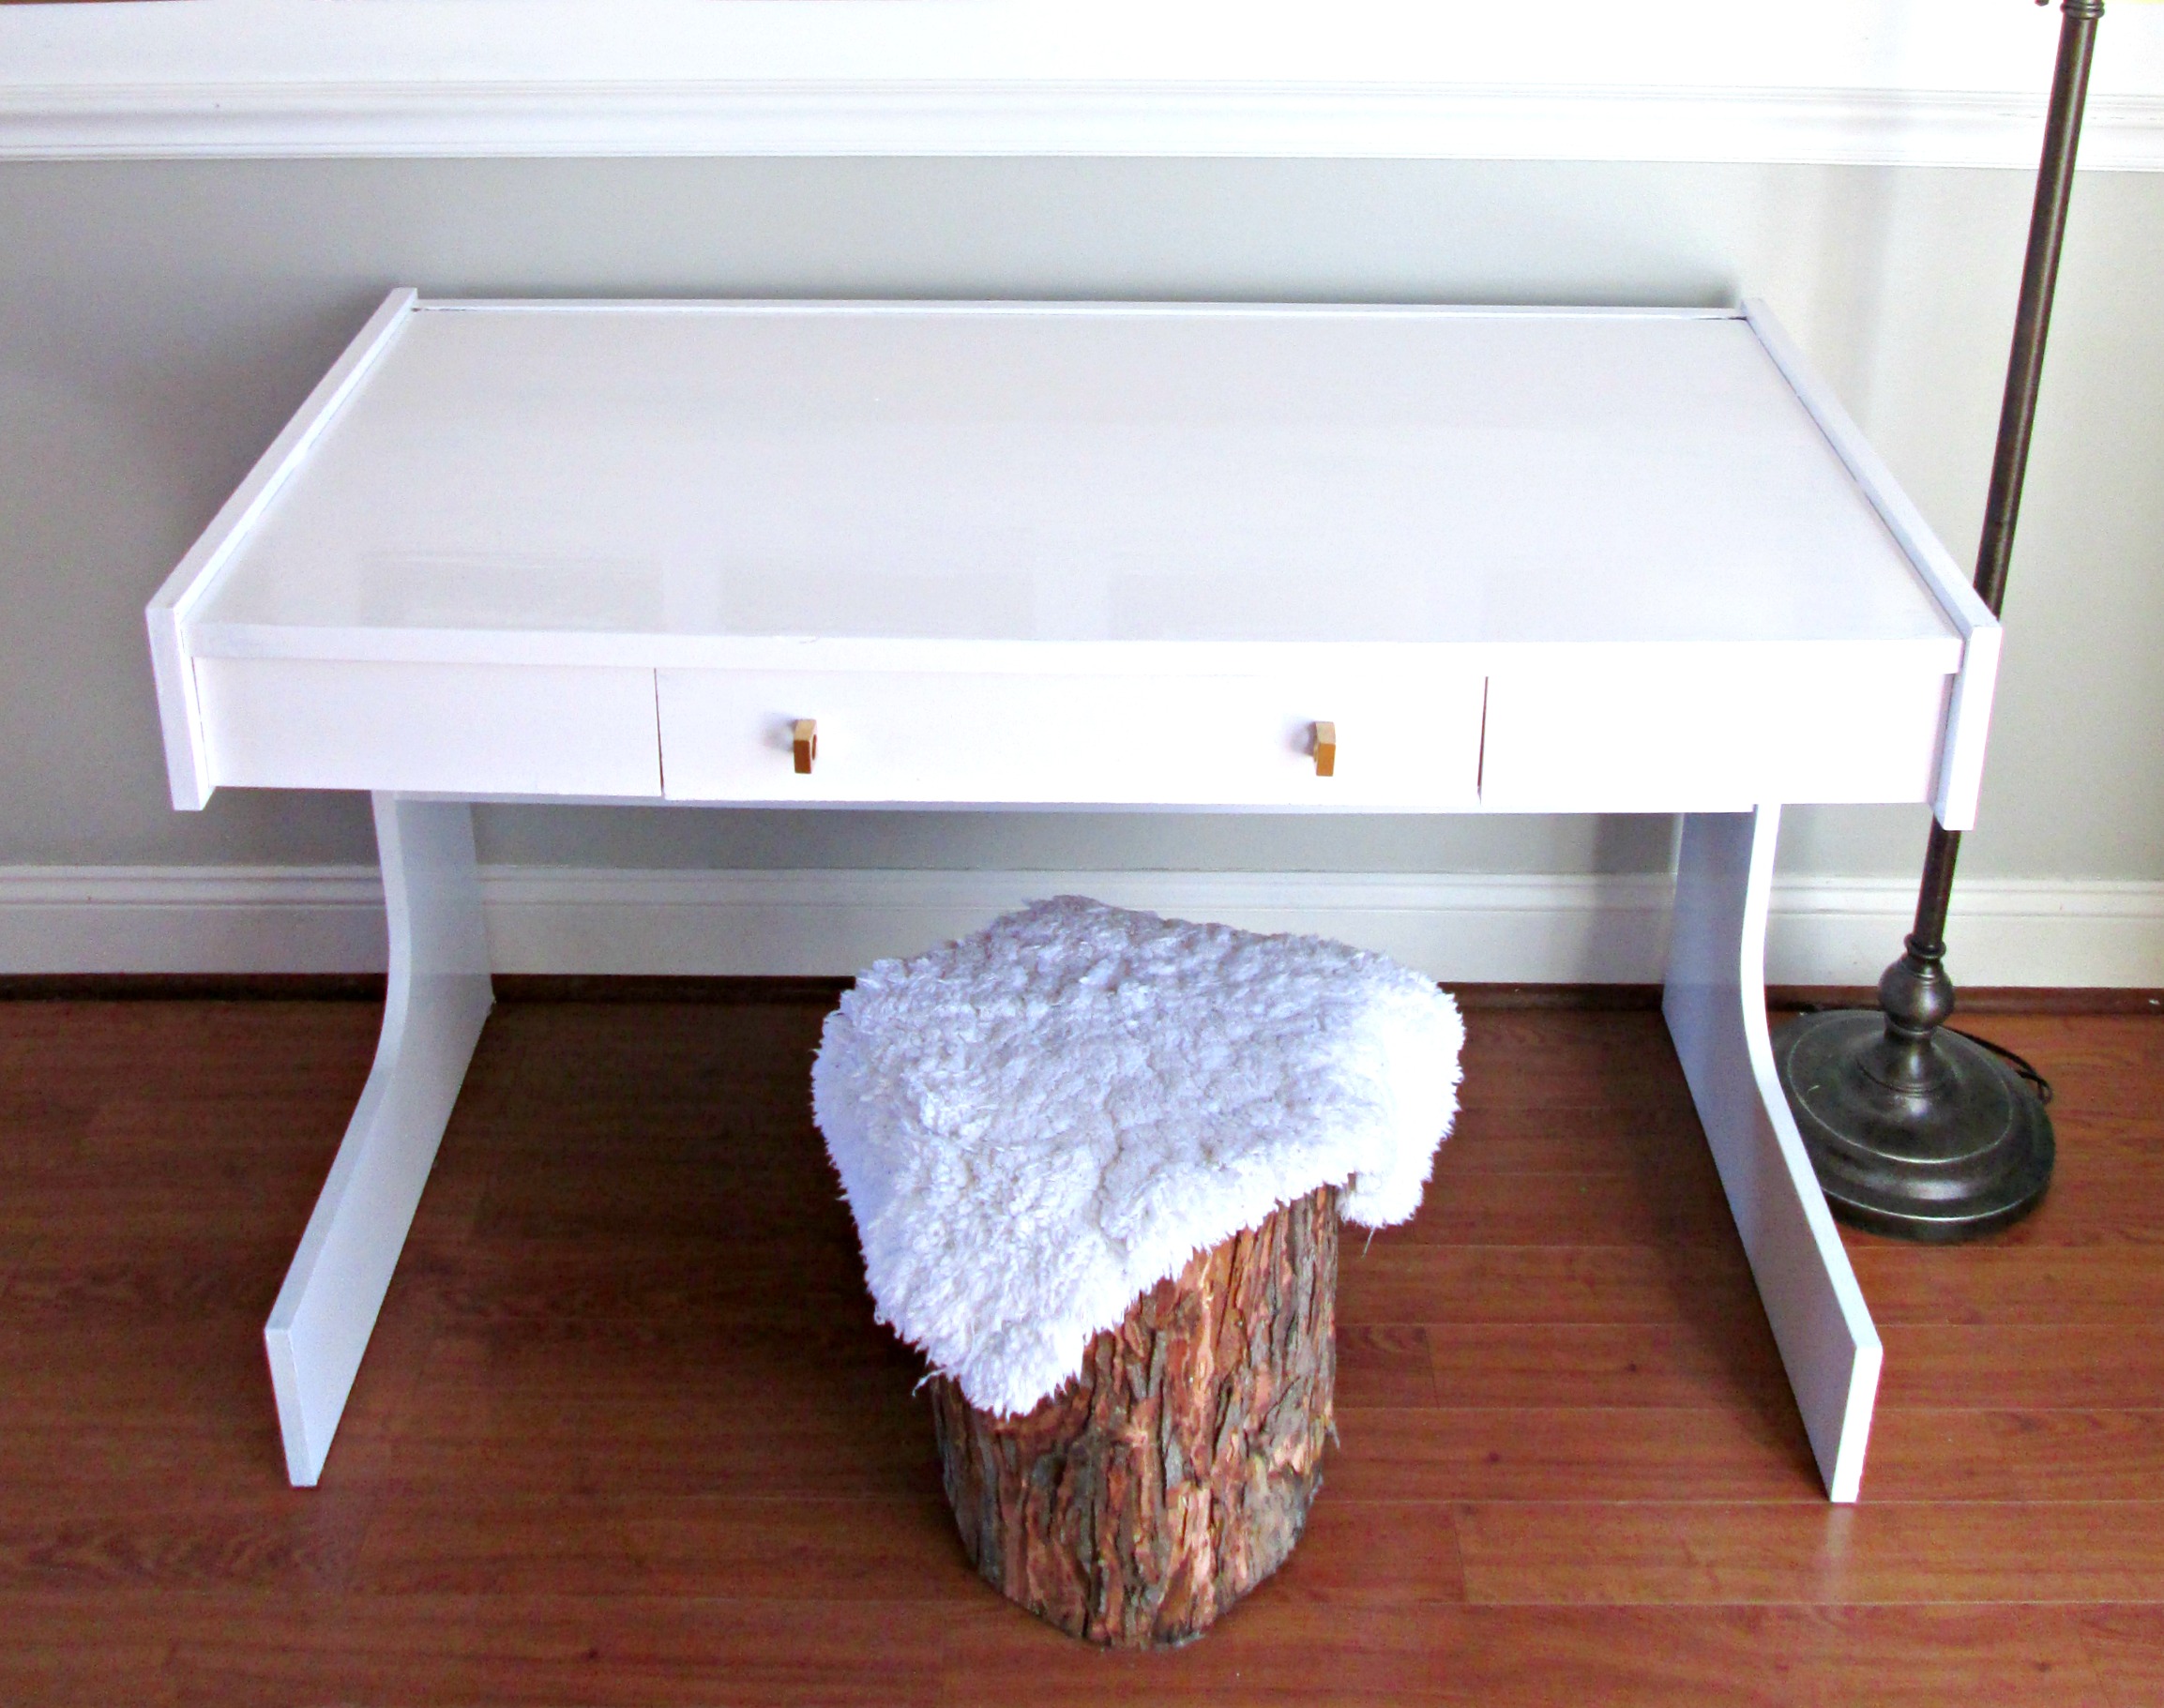
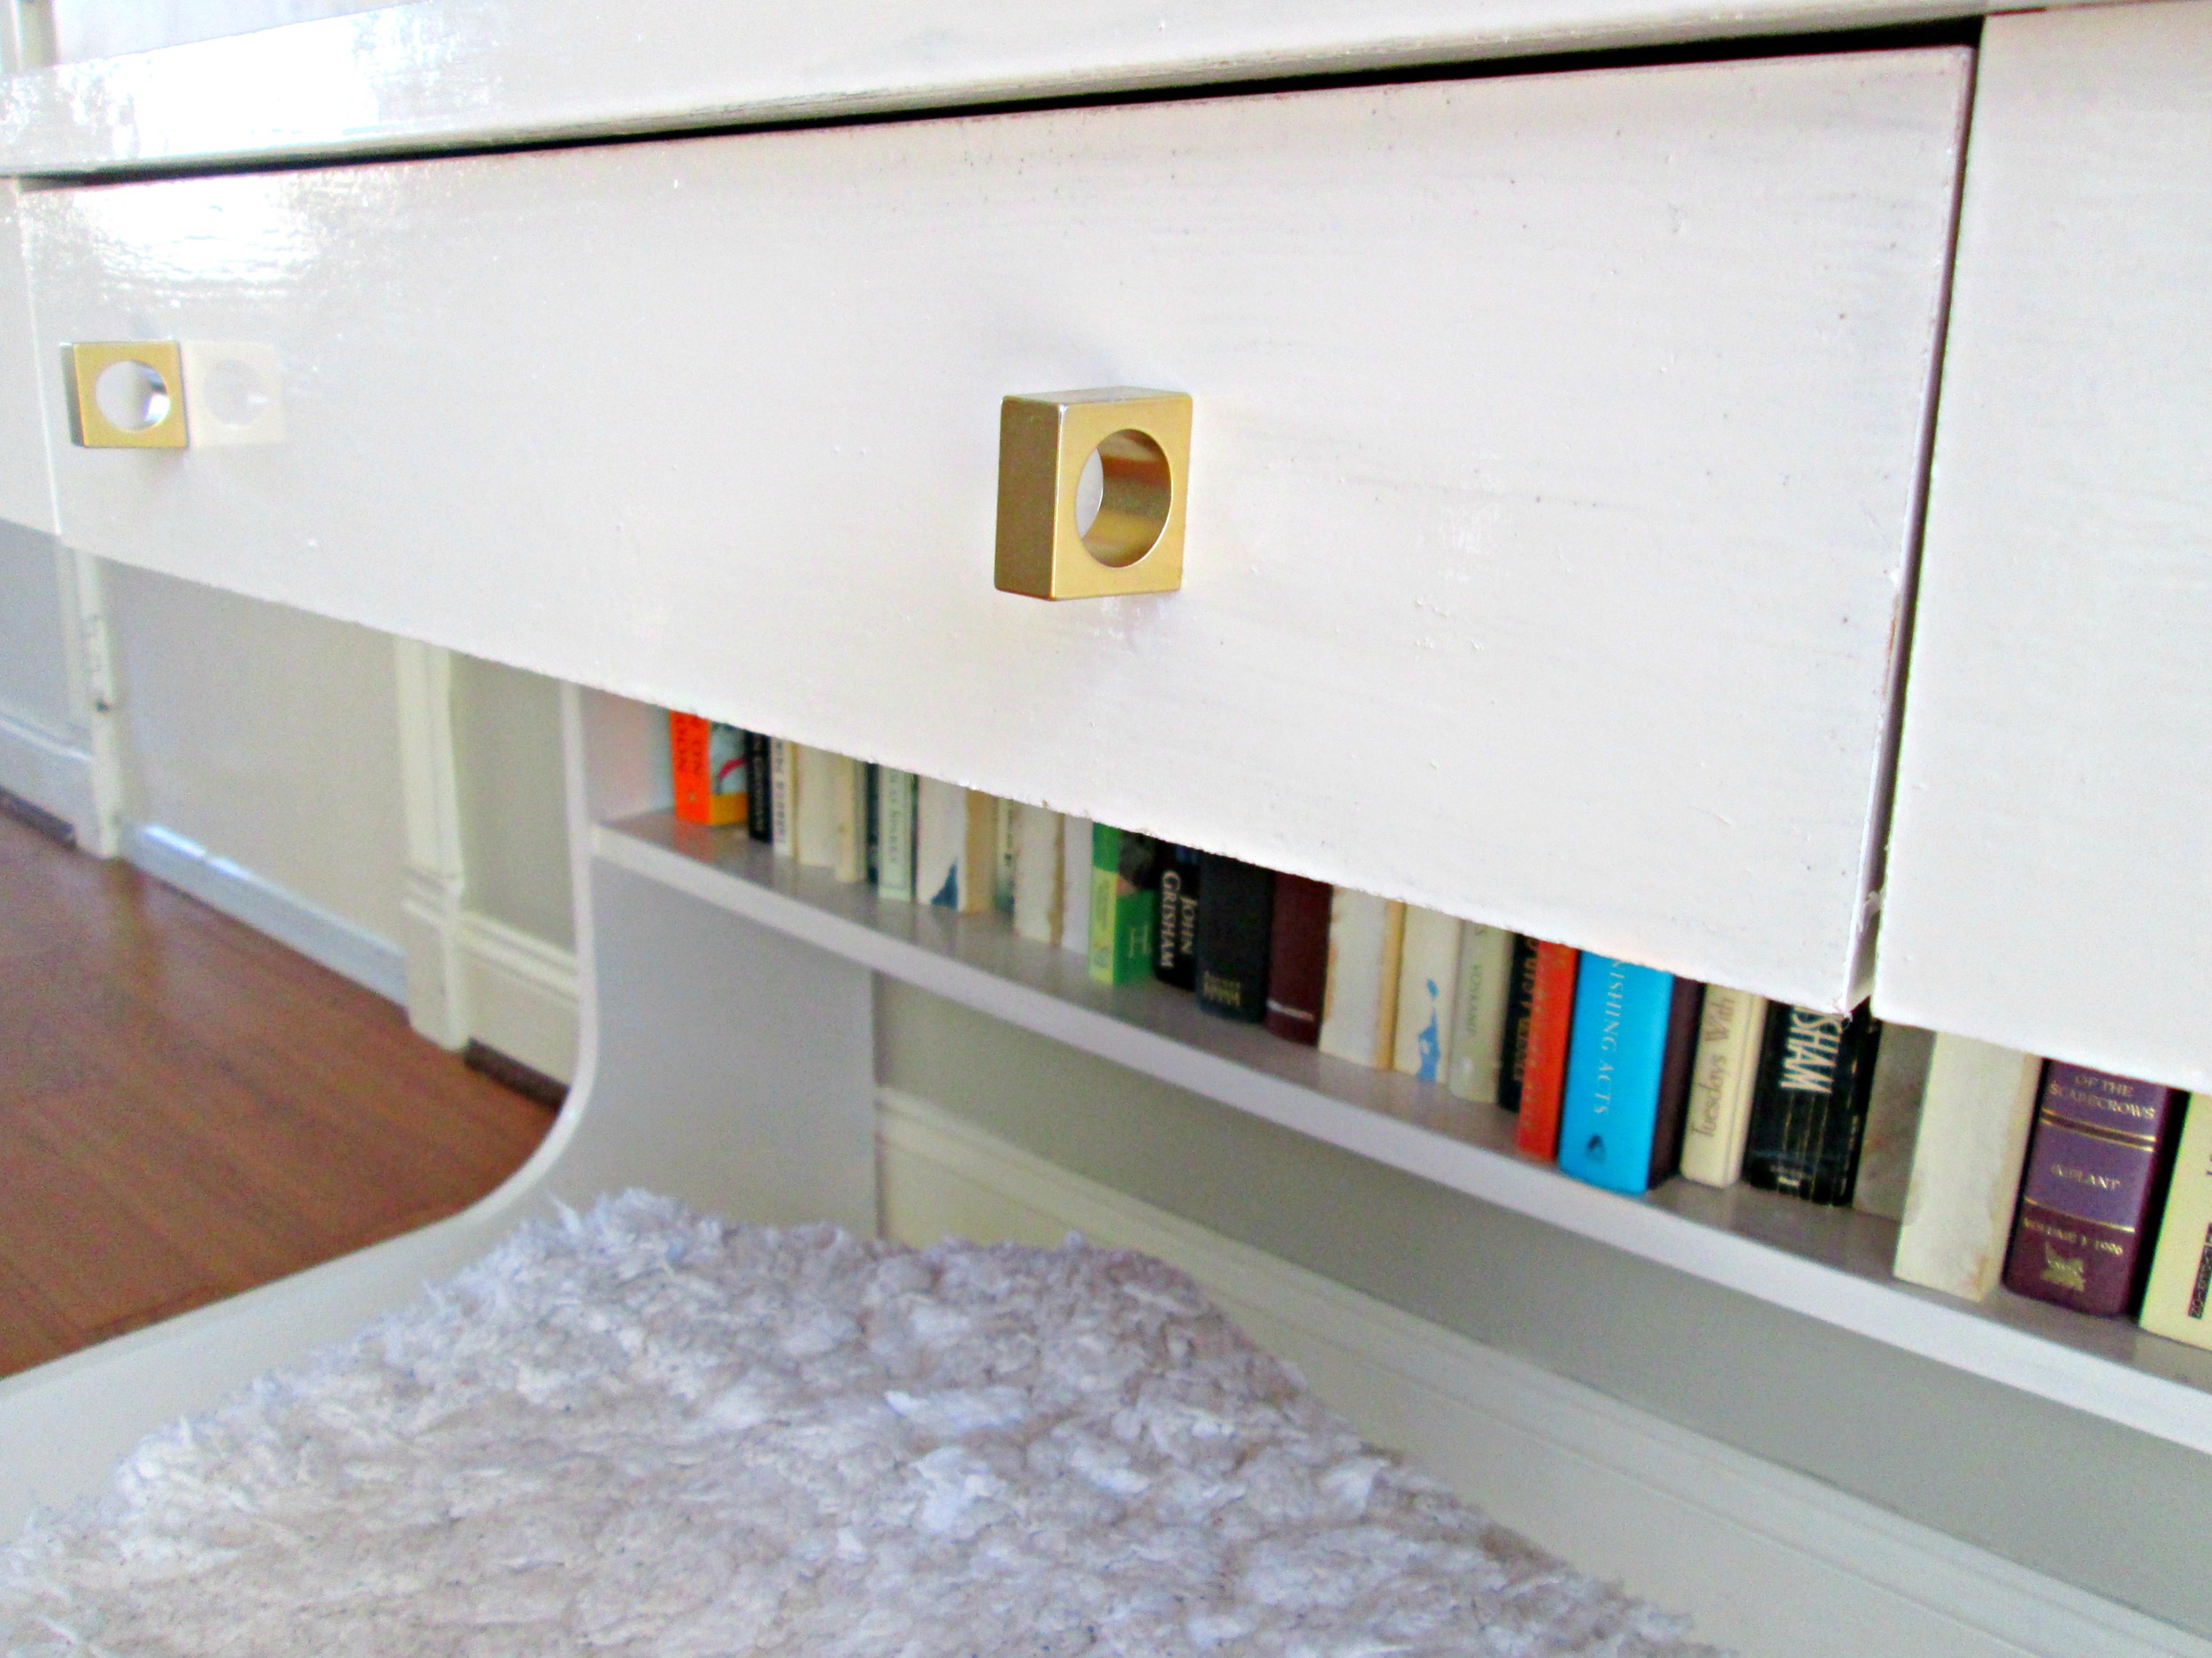
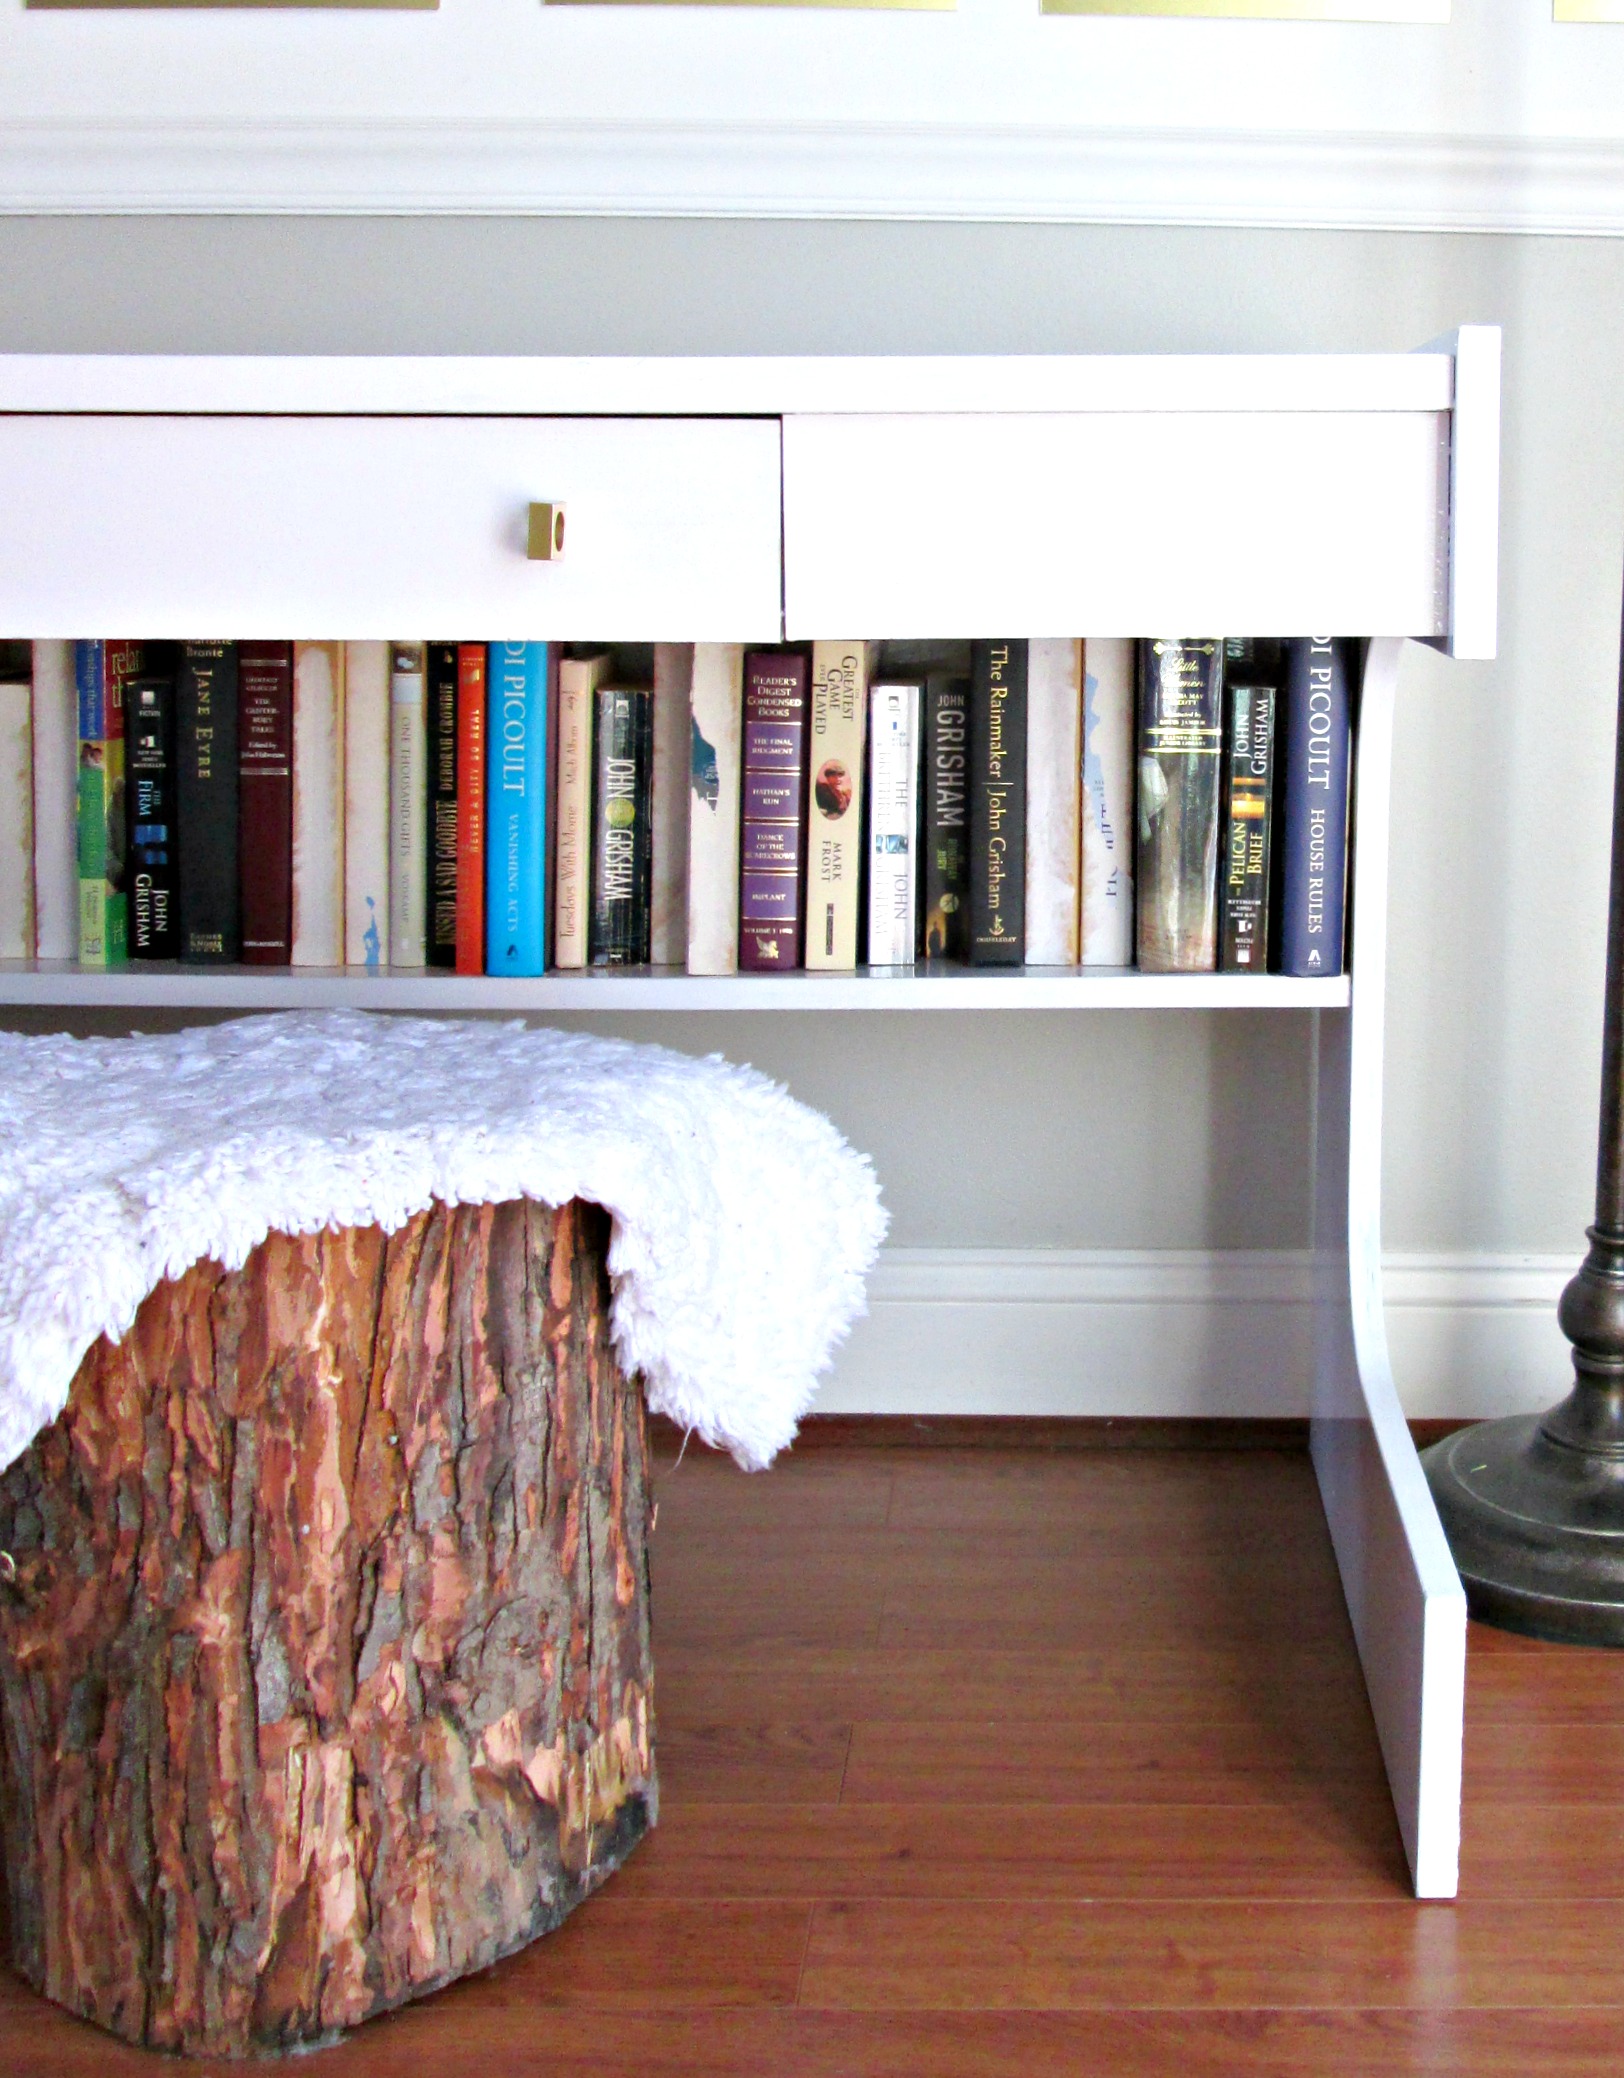
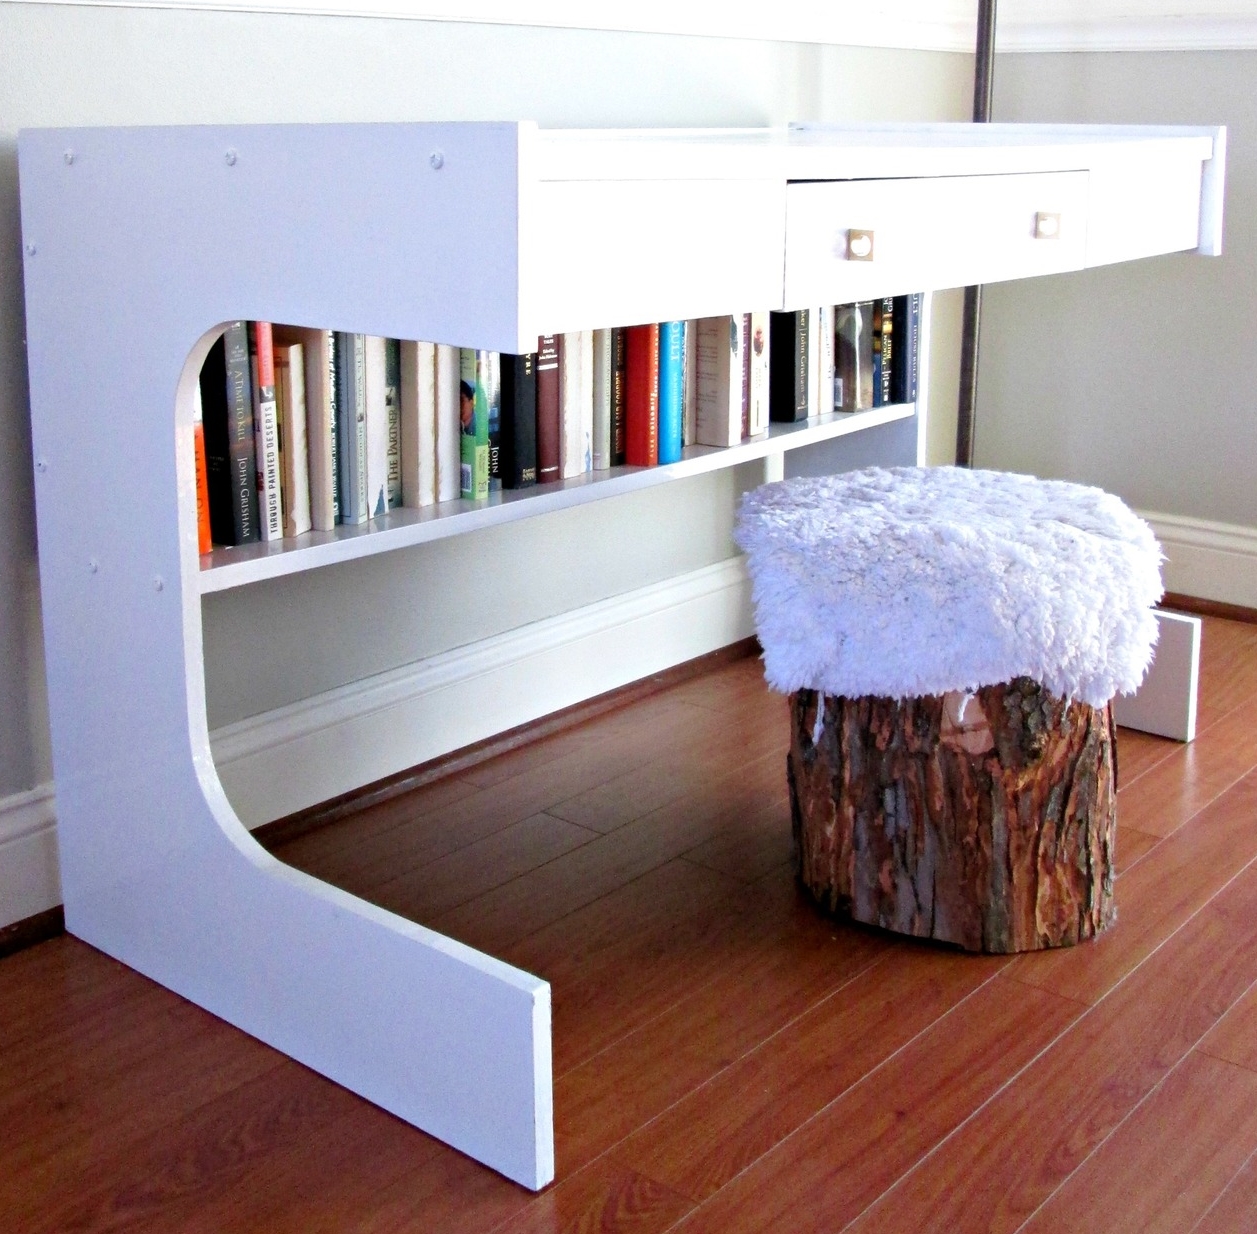
So I painted it glossy white and sprayed the handles gold. Done and done.

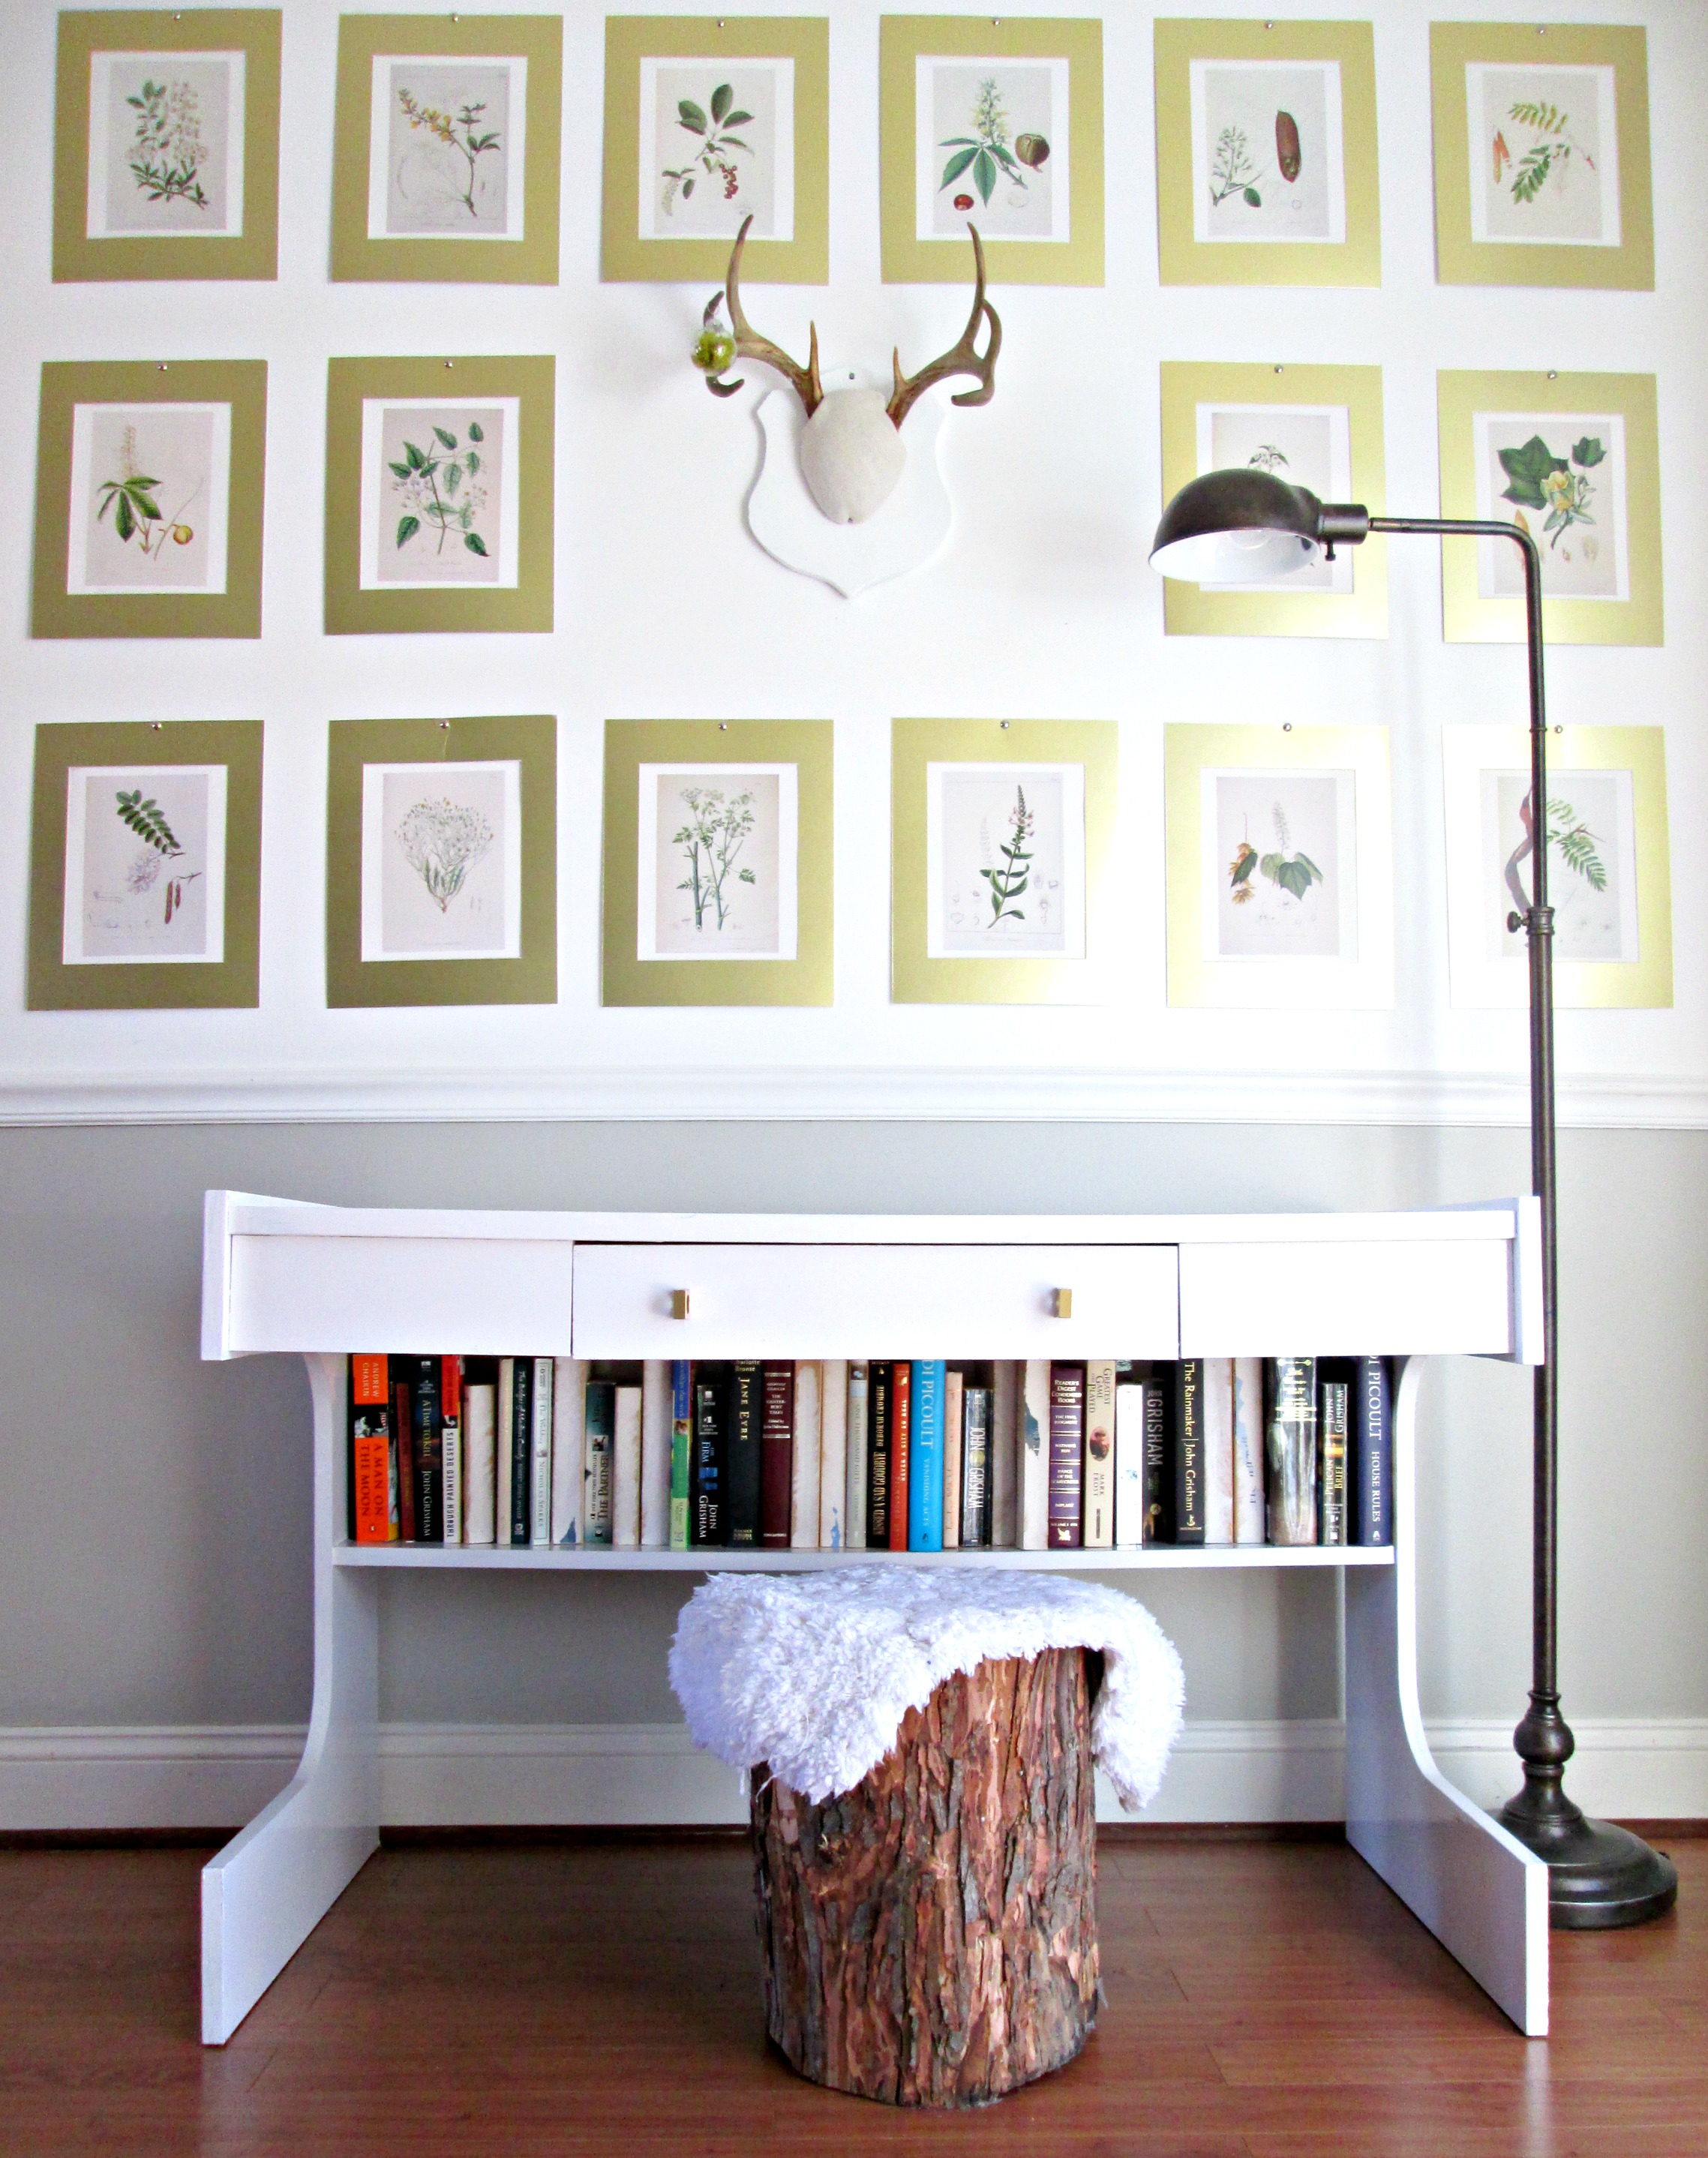
It's not every day that a simple coat of white paint impresses me this much, but if there were ever a piece to paint white and be DONE with it, this was the piece! I used Glidden's Trim, Door, Furniture paint in Bright White. I've shared this paint before with this custom three-piece set, but let's just say it again: If you want a high gloss finish that's as easy to achieve as the no-prep chalk paint, THIS is your paint. It's thick as molasses, and adheres to anything. I didn't do any prep on this piece other than cleaning it up a bit, (and I did use strong wood glue to reattach the veneer and peeled off the loose contact paper). But with a paint this thick, it's going to hold everything together anyways. 

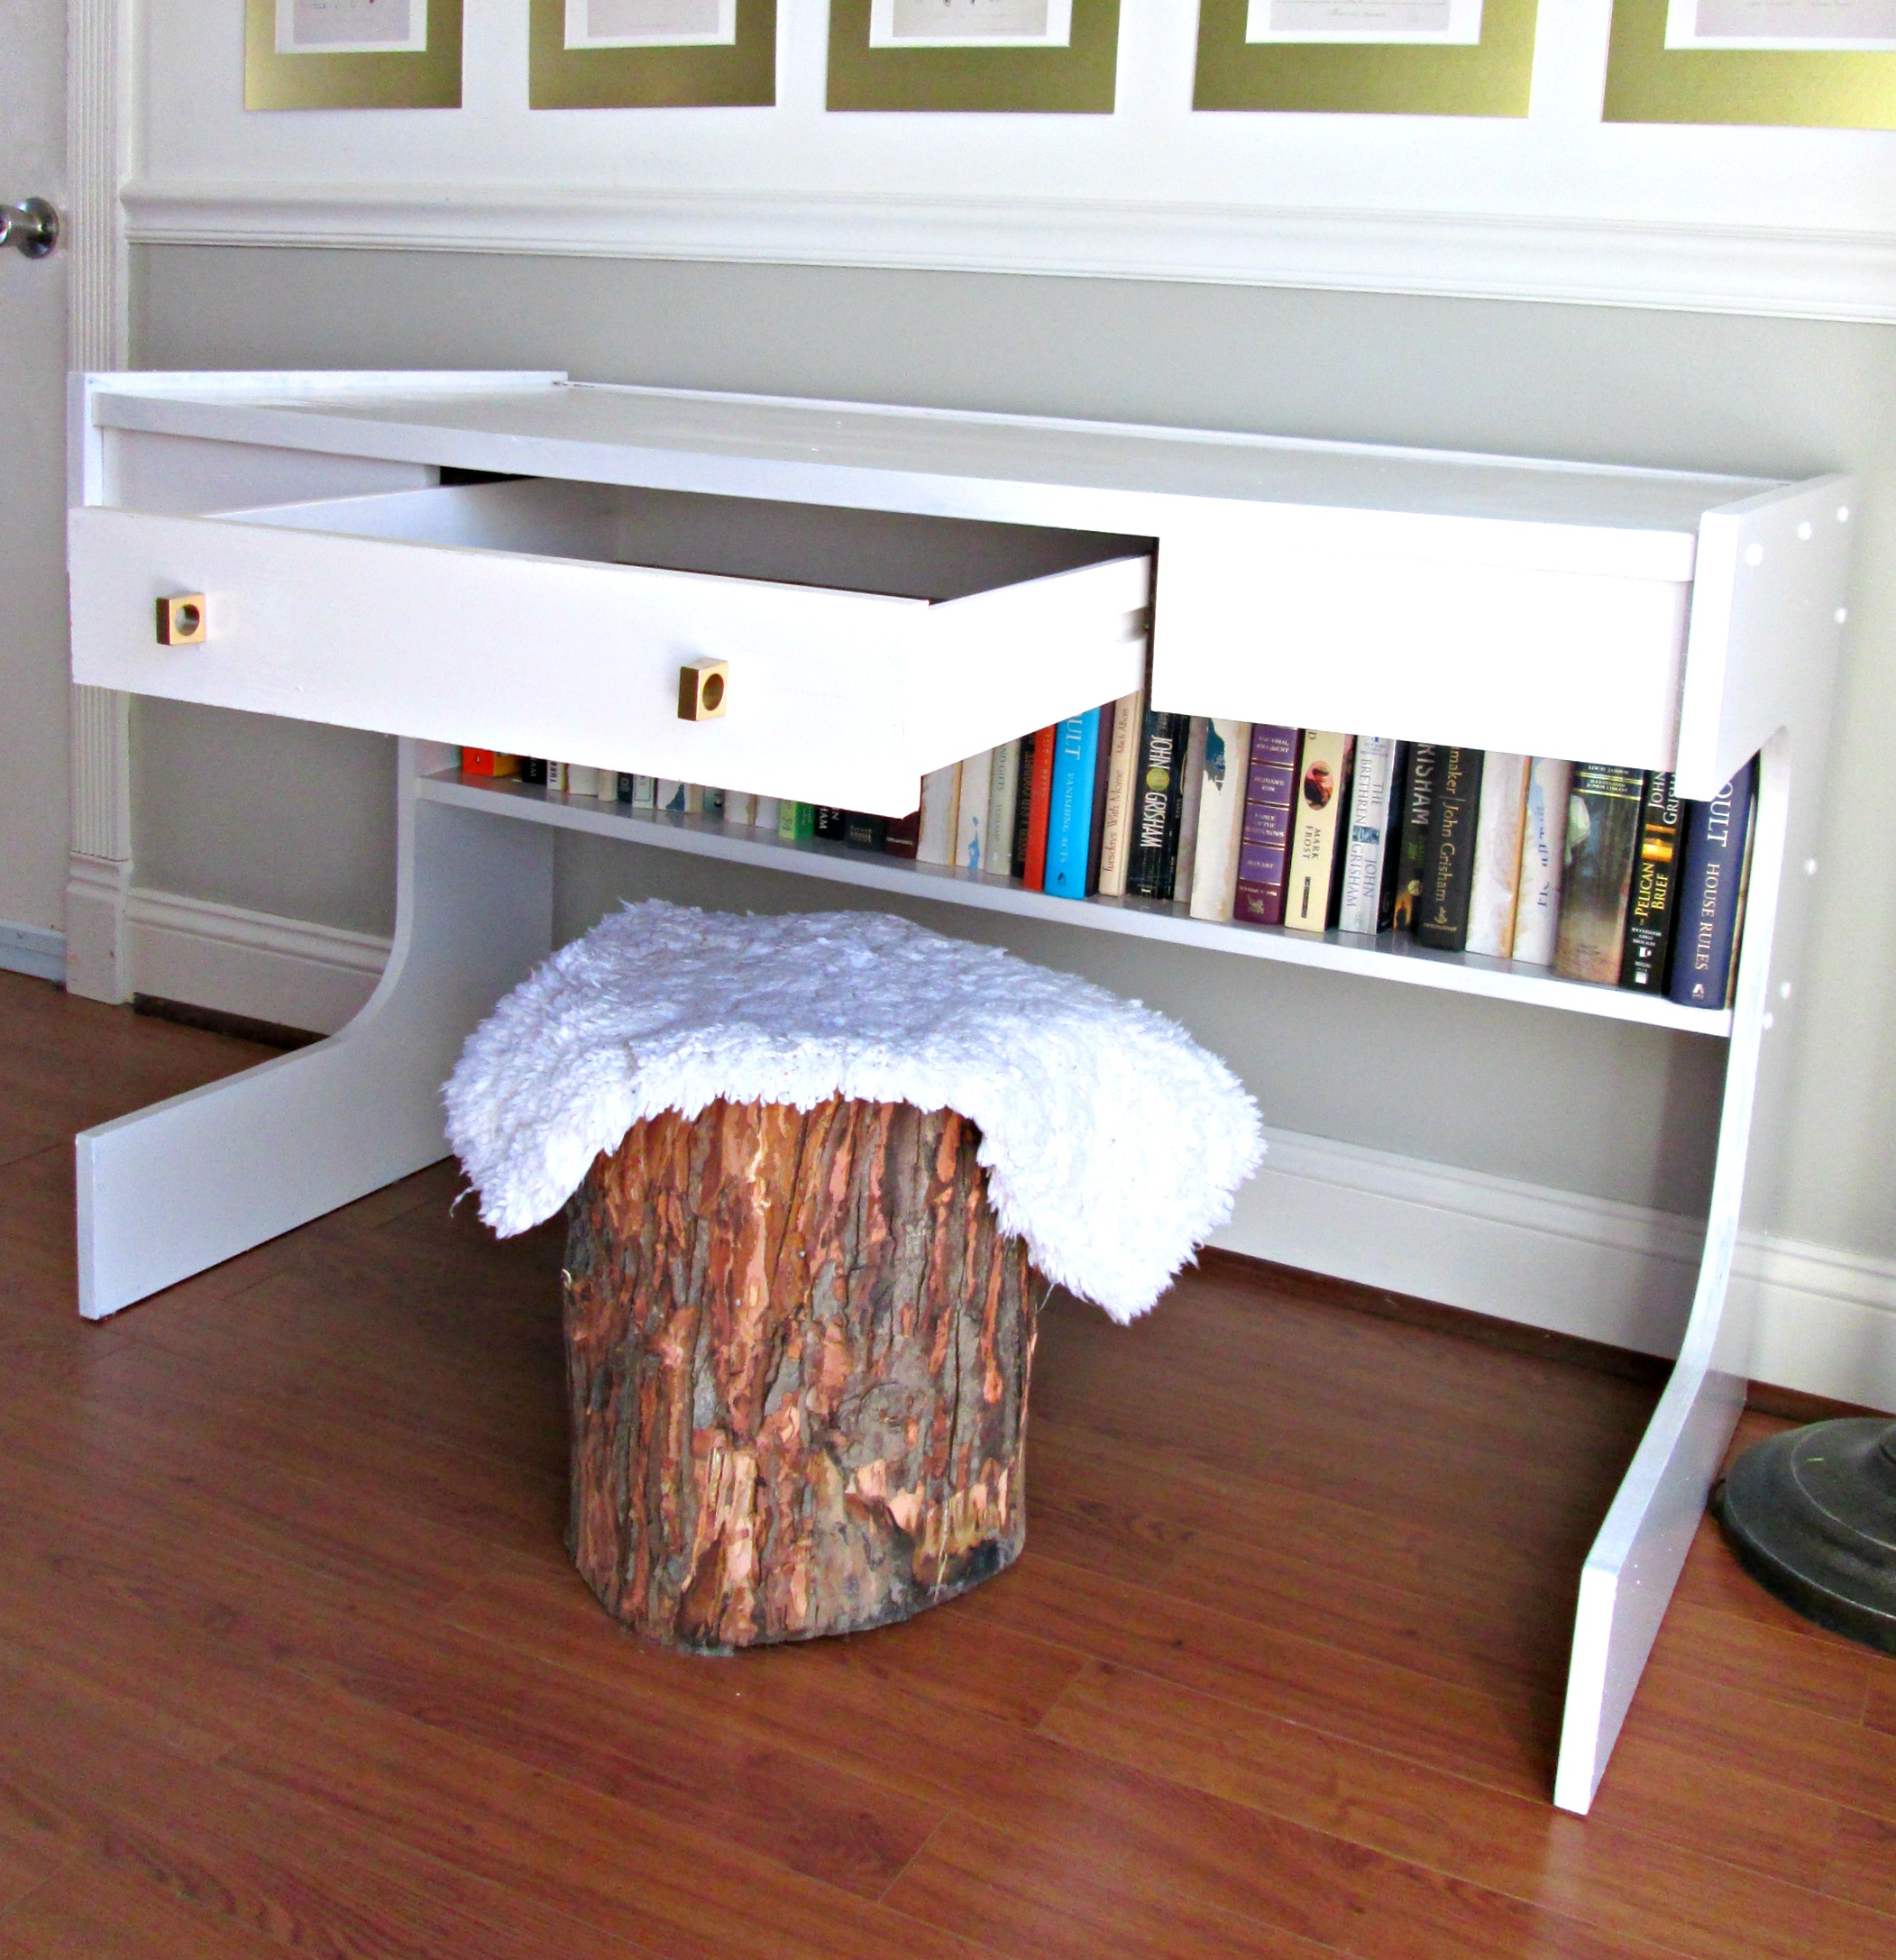
When dry, the surface settles to a smooth, glassy finish that is reflective and durable as anything I've seen. I've banged pieces covered in this paint and not a single thing happens. The paint won't chip, peel, or get a single ding.

This piece is now available for sale to the DC metro area
46.5"W x 28.5"H x 23.5"D
$275
Contact chelsea@stylemutthome.com if interested!

Check back tomorrow for you know what! ;) Thank you all for stopping by!

Celebrating this one turning 4 today! Happy Birthday to our Mason! You are larger than life and it's a pleasure to be your Momma.


A Brand Spankin' New Pillow Source, (and she's 13!)

I feel like this is HUGE news! I mean, I get excited whenever Cate and I find a new source to share, (even if it's only new to us), but this one I know well, love dearly, and is an actual fresh new source for all your pillow needs!

She's thirteen years old, sweet as a bug, has mad sewing skills, and is officially open for business.


Meet Katie, ya'll.

Oh, and she is a part-time furniture model. Hah! Seriously though, how cute is she, (and how AMAZING is this piece she and her folks just found to use as a media center)!?!

No sooner had Katie started teaching herself how to sew when beautiful, well constructed items were flying out of her sewing machine. A free spirited chica with a passion for fashion and interior design, Katie has the skills to match her dreams in the creative business industry. And she likes my kids, so she's the complete package in my book. ;)

When I, (who knows nothing about sewing except for an uneven hand stitch), humbly asked Katie if she'd mind making us some pillows for the Spring and Summer seasons, I was giddy when she agreed! I found my fabric in the same day and let me tell ya, she did not disappoint - she completely outfitted our entire Living Room!

These are the two fabrics I chose:

pillows18.jpg
pillows19.jpg

And the magic that Katie turned them into:

This JoAnns black and white tribal print, (paired with soft pink linen pillows from H&M), was intended for Spring and Summer pillows, but there is no way I'll be putting these beauties away once next Fall and Winter roll around, that's for sure!

This funky multicolored fabric just sings in our light and airy living room! The peachy pink, mint green, and camel brown were borderline too perfect with the colors I wanted to nod at over these next few seasons, but it was too fun to pass up. And I couldn't say no to the triangle pattern!

And with the leftover fabric, Katie even made her biggest-littlest fan a pillow just her size!

So here's the deal; Katie is open for business to StyleMutt Home readers! If you are interested in finding your own fabric and having her work her magic, please contact me at chelsea@stylemutthome.com and I'll forward any orders on to her! All her pillows are constructed with envelope enclosures that make it easy to slide your pillow form inside. And, between you and me, I happen to know that Katie is trying to save up some money so she can join a missions trip to Guatemala this summer. Need I say more? Let's help a girl out and get some awesome pillows in return!

Thank you so much Katie for sharing your amazing skills with us! 

And thank you friends for stopping by!

DIY Mid-Century Table ||In 60 minutes or less!||

Hi friends! I know this time change kicks a lot of butts who are trying to get up and out the door in the morning, but as a stay at home Mom with no kids in school yet, it's glooorrriiouusss. Before we Sprang forward, my kids were waking up about 5 minutes after we put them to bed at night. But once we jump those clocks ahead an hour, they naively 'sleep in' until the sun rises. It feels like a cruel joke. But, oh, how I've missed starting my days with my bible and journal. I love the sweet moments I spend looking out the window, praying for my family and learning a little bit more about the Lord. I know the littles will adjust to the time change and I'll be chasing after what seconds I can find throughout the day again, but for now, it's a beautiful gift.

Speaking of beautiful gifts, want to learn how you can whip out a cute mid-century table in less than an hour? Check it out!

Isn't it sweet? You could put a table like this behind a sofa, at an entry way, or use it as a desk as I've styled it here.

Supplies:
-4 x 27.5" tapered wooden legs from Lowes, (buy them here)
-4 x 2.43" angled top plates from Lowes, (buy them here, they come with the screws)
-48" x 16" x 1" board, (mine was a scrap piece in the garage, but you could find a 16" wide board and have it cut to whatever size you need at the hardware store)
-white paint, (optional)

If you want the top surface of your table and the tapered legs to be white, paint them first and prop up to dry for about 35-40 minutes. I used blue painters tape on the legs where I wanted to protect the bottom caps and up the leg about 12" where I wanted the paint to stop. This is entirely up to you whether you want to paint at all or not. If not, then this project will take you about 12 minutes!

Assembling the table

Step 1:
-Line your top plates up where you want the legs to be underneath the table top. I love the straight corners on these plates that make it so easy to line each top plate up!

Step 2:
-Attach your top plate by drilling the screws provided into the holes at the corners of the plate.

Step 3:
-Screw your legs into the angled center piece

Step 4:
-Pat yourself on the back because you just made a table!

A quick and easy build that you can use throughout your home for years to come - not a bad way to spend an hour!

Mid-Century Accent Table / Desk, now available for sale:
48"L x 28.5"H x 16"D
$65

Thank you all for stopping by!