Alternative Bedside Ideas

Hi All! Last week our sweet friend, Iris, (Around the Watts House), alerted Cate and me of a fun opportunity to submit some refinished work to HGTV and we couldn't wait to spread the word to you! (Thanks for lookin' out, Iris!!!) The call is for all madeover bedside tables and nightstands - they're asking peeps on Twitter and Instagram to tag their new and improved bedside pieces with #HGTVmakeover for a chance to be shared in one of HGTV's upcoming blog posts! How fun! You have until this Friday, 2/20 to tag your work if you've got something to share!


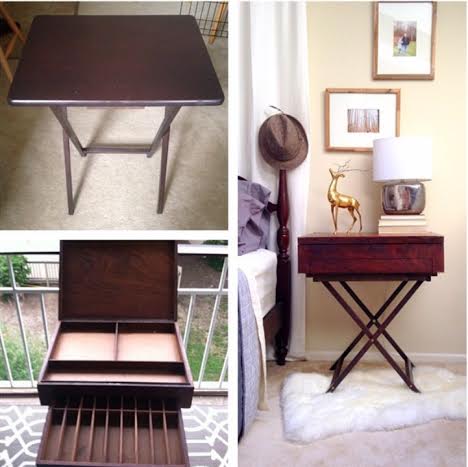
I think our girl, Cate, has a pretty good chance with these beauties, yes?!

Interesting fact: My home has not a single bedside table! I actually never thought about it until Iris shared this HGTV contest for bedside tables with us! Here's why we've skipped traditional nighstands: The boys need about as little furniture as possible in their room. We've got their beds, a bookshelf and that's it. The rest of the space is spared for wrestling. And by keeping their decor simple, I'm pretty confident we've spared ourselves some emergency room visits. :)

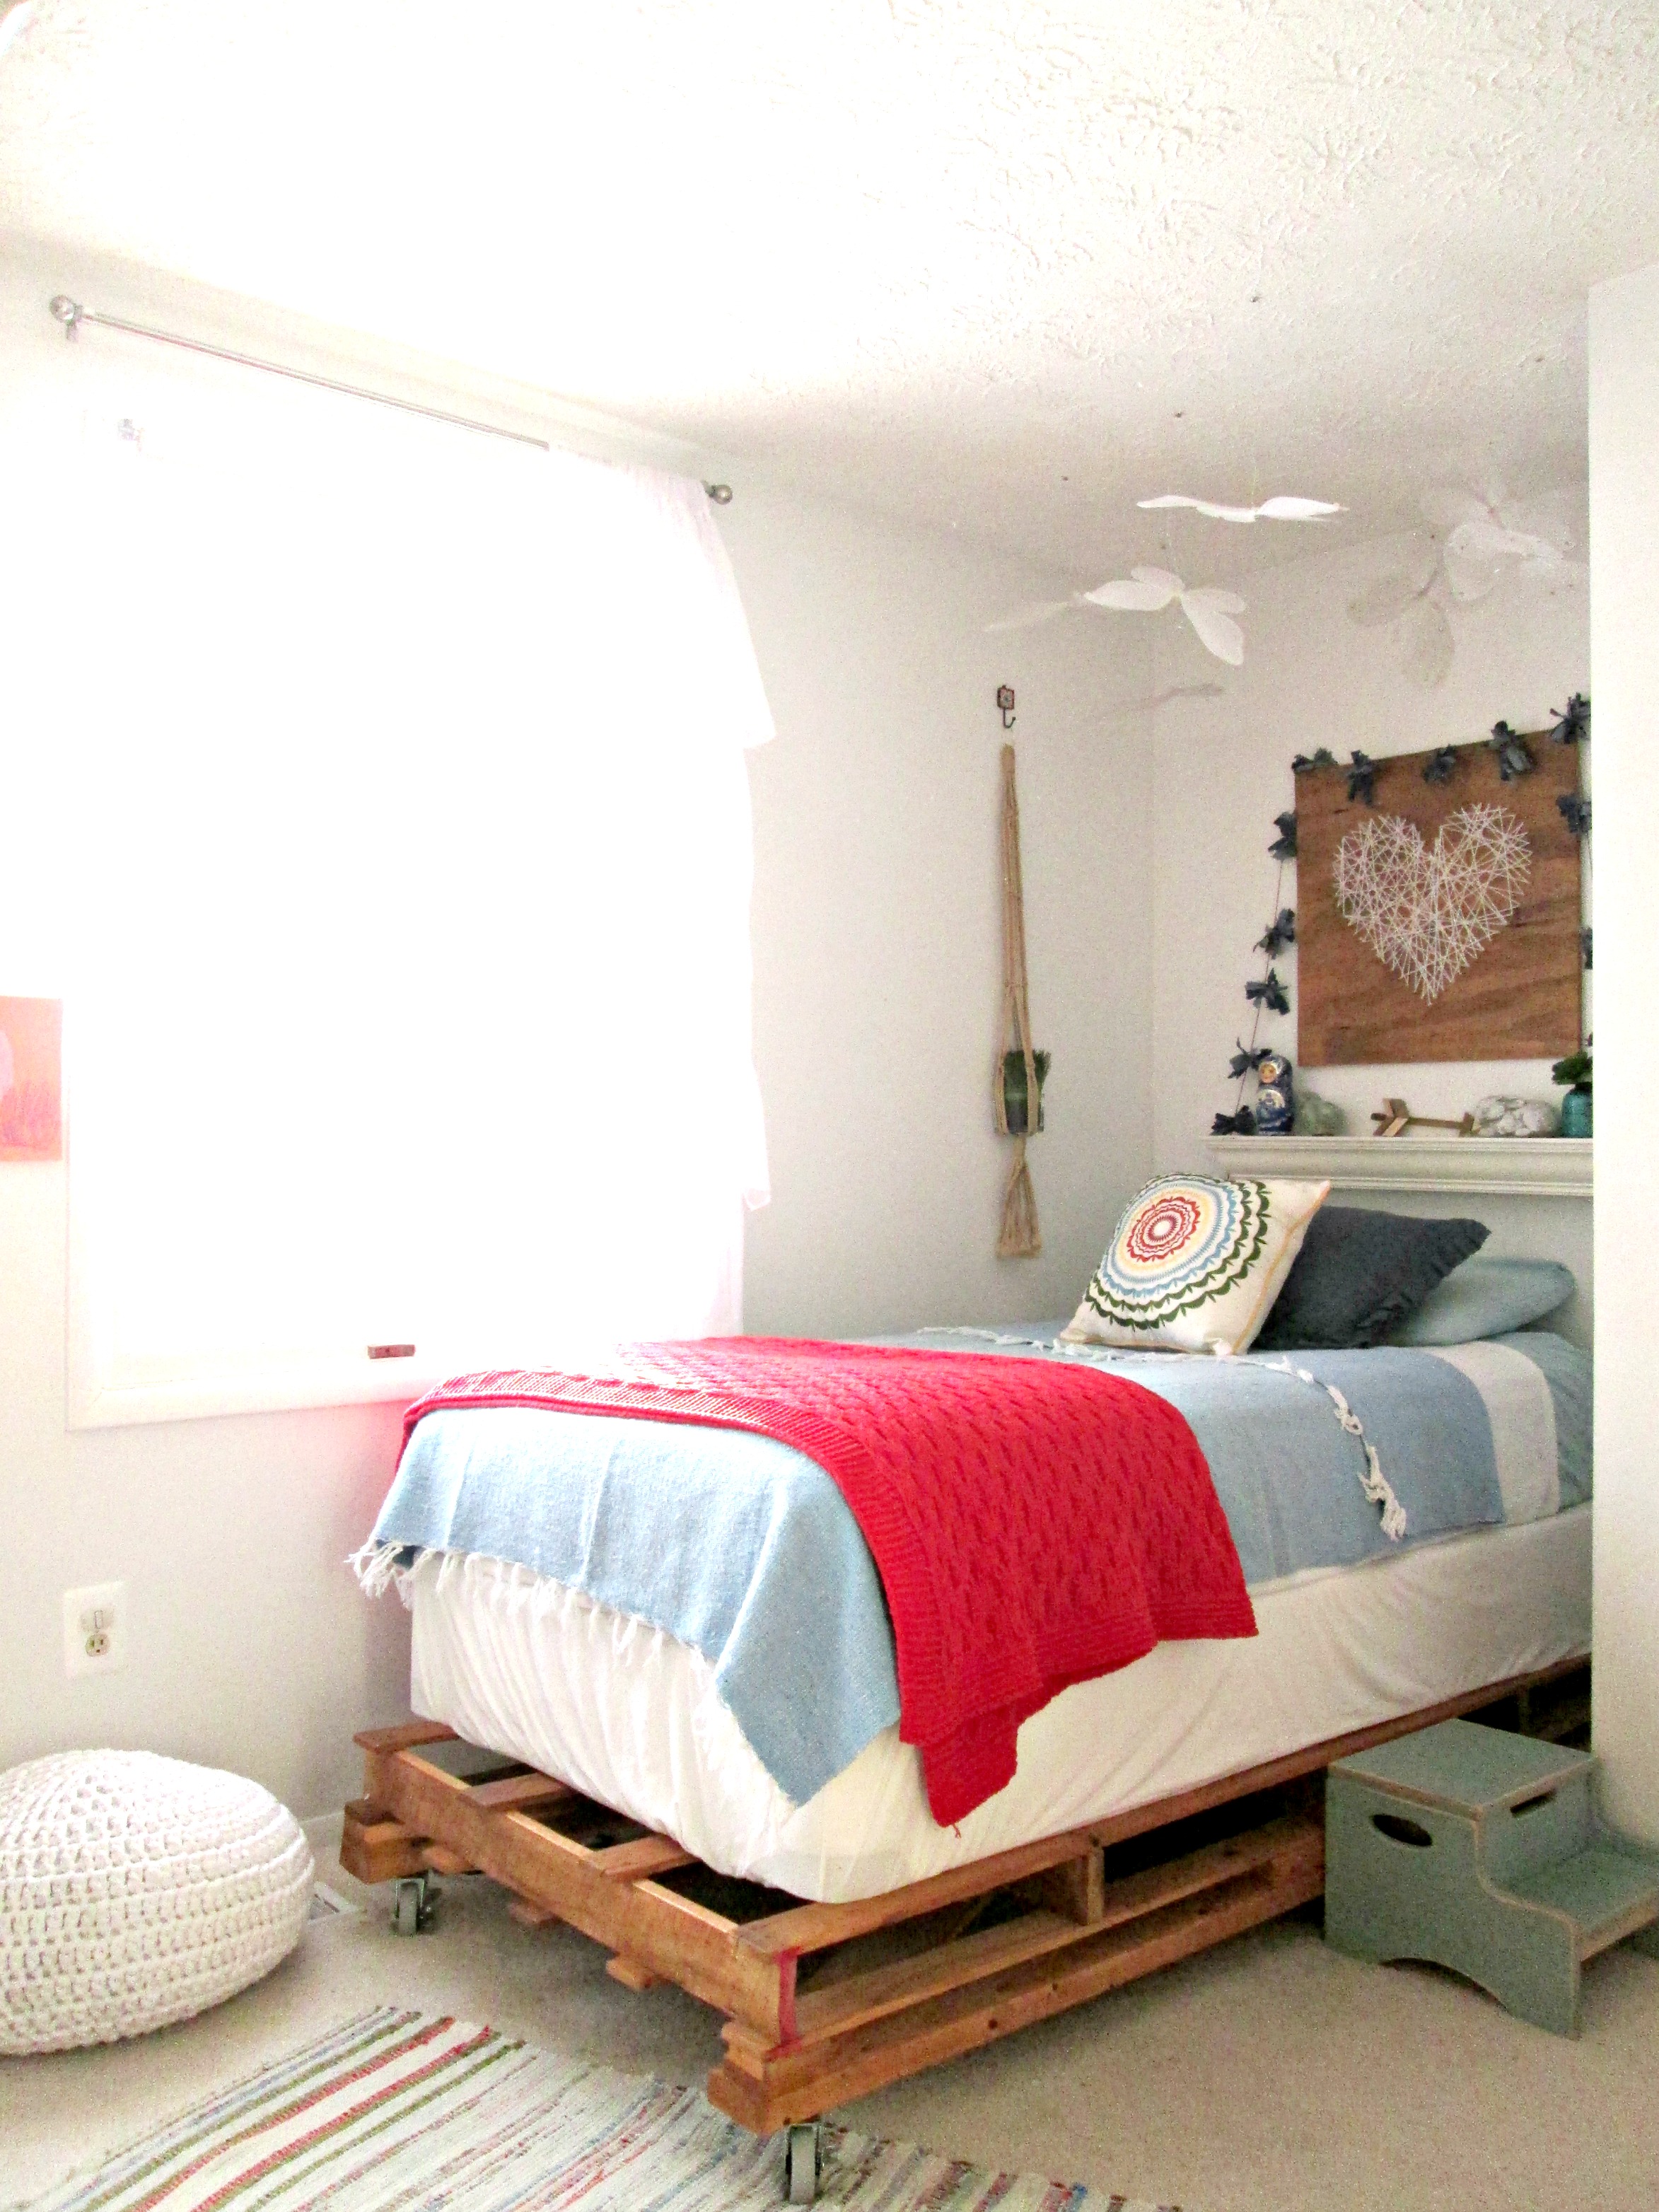
Our girl Shire's bed is snug inside a little nook in her room. It's a cozy spot that fits her twin bed, but with only a few inches on either side there's simply no room for a table. So we placed a shelf above her bed! This acts as both surface space for her water bottle at night, a spot for her beloved knick-knacks, (she's a true bowerbird), and topped with a piece of art, it's also her 'headboard'.

DONE3.jpg

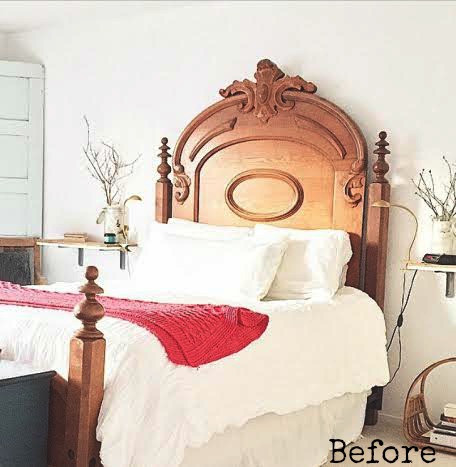
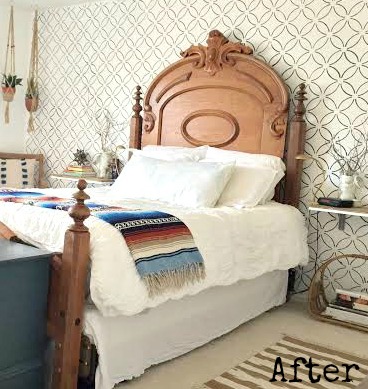
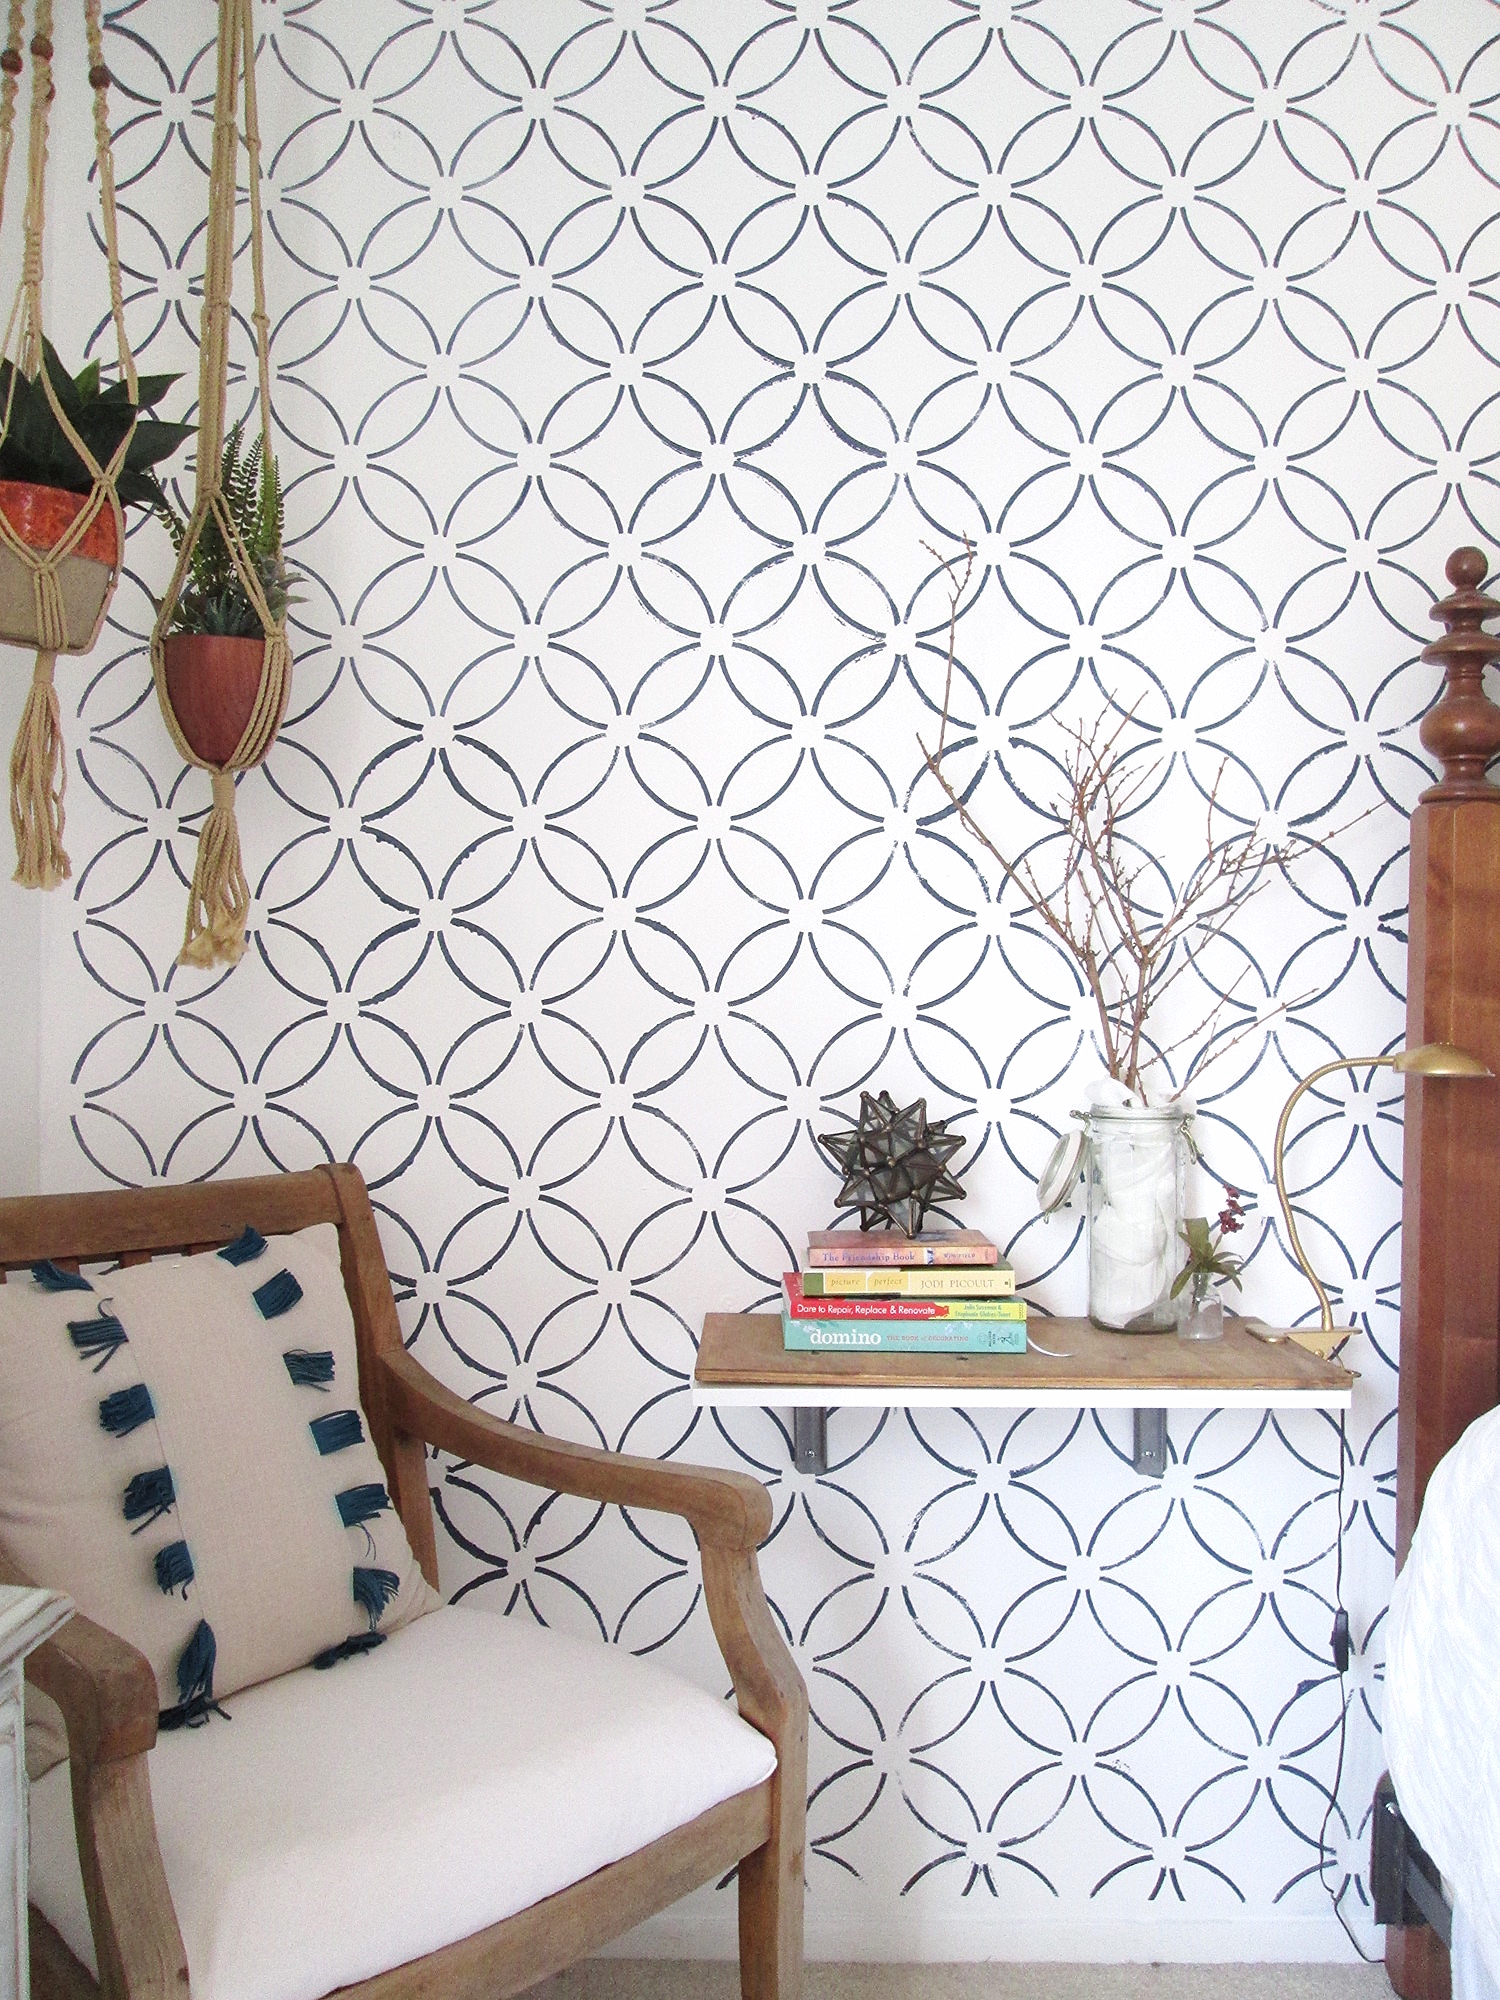
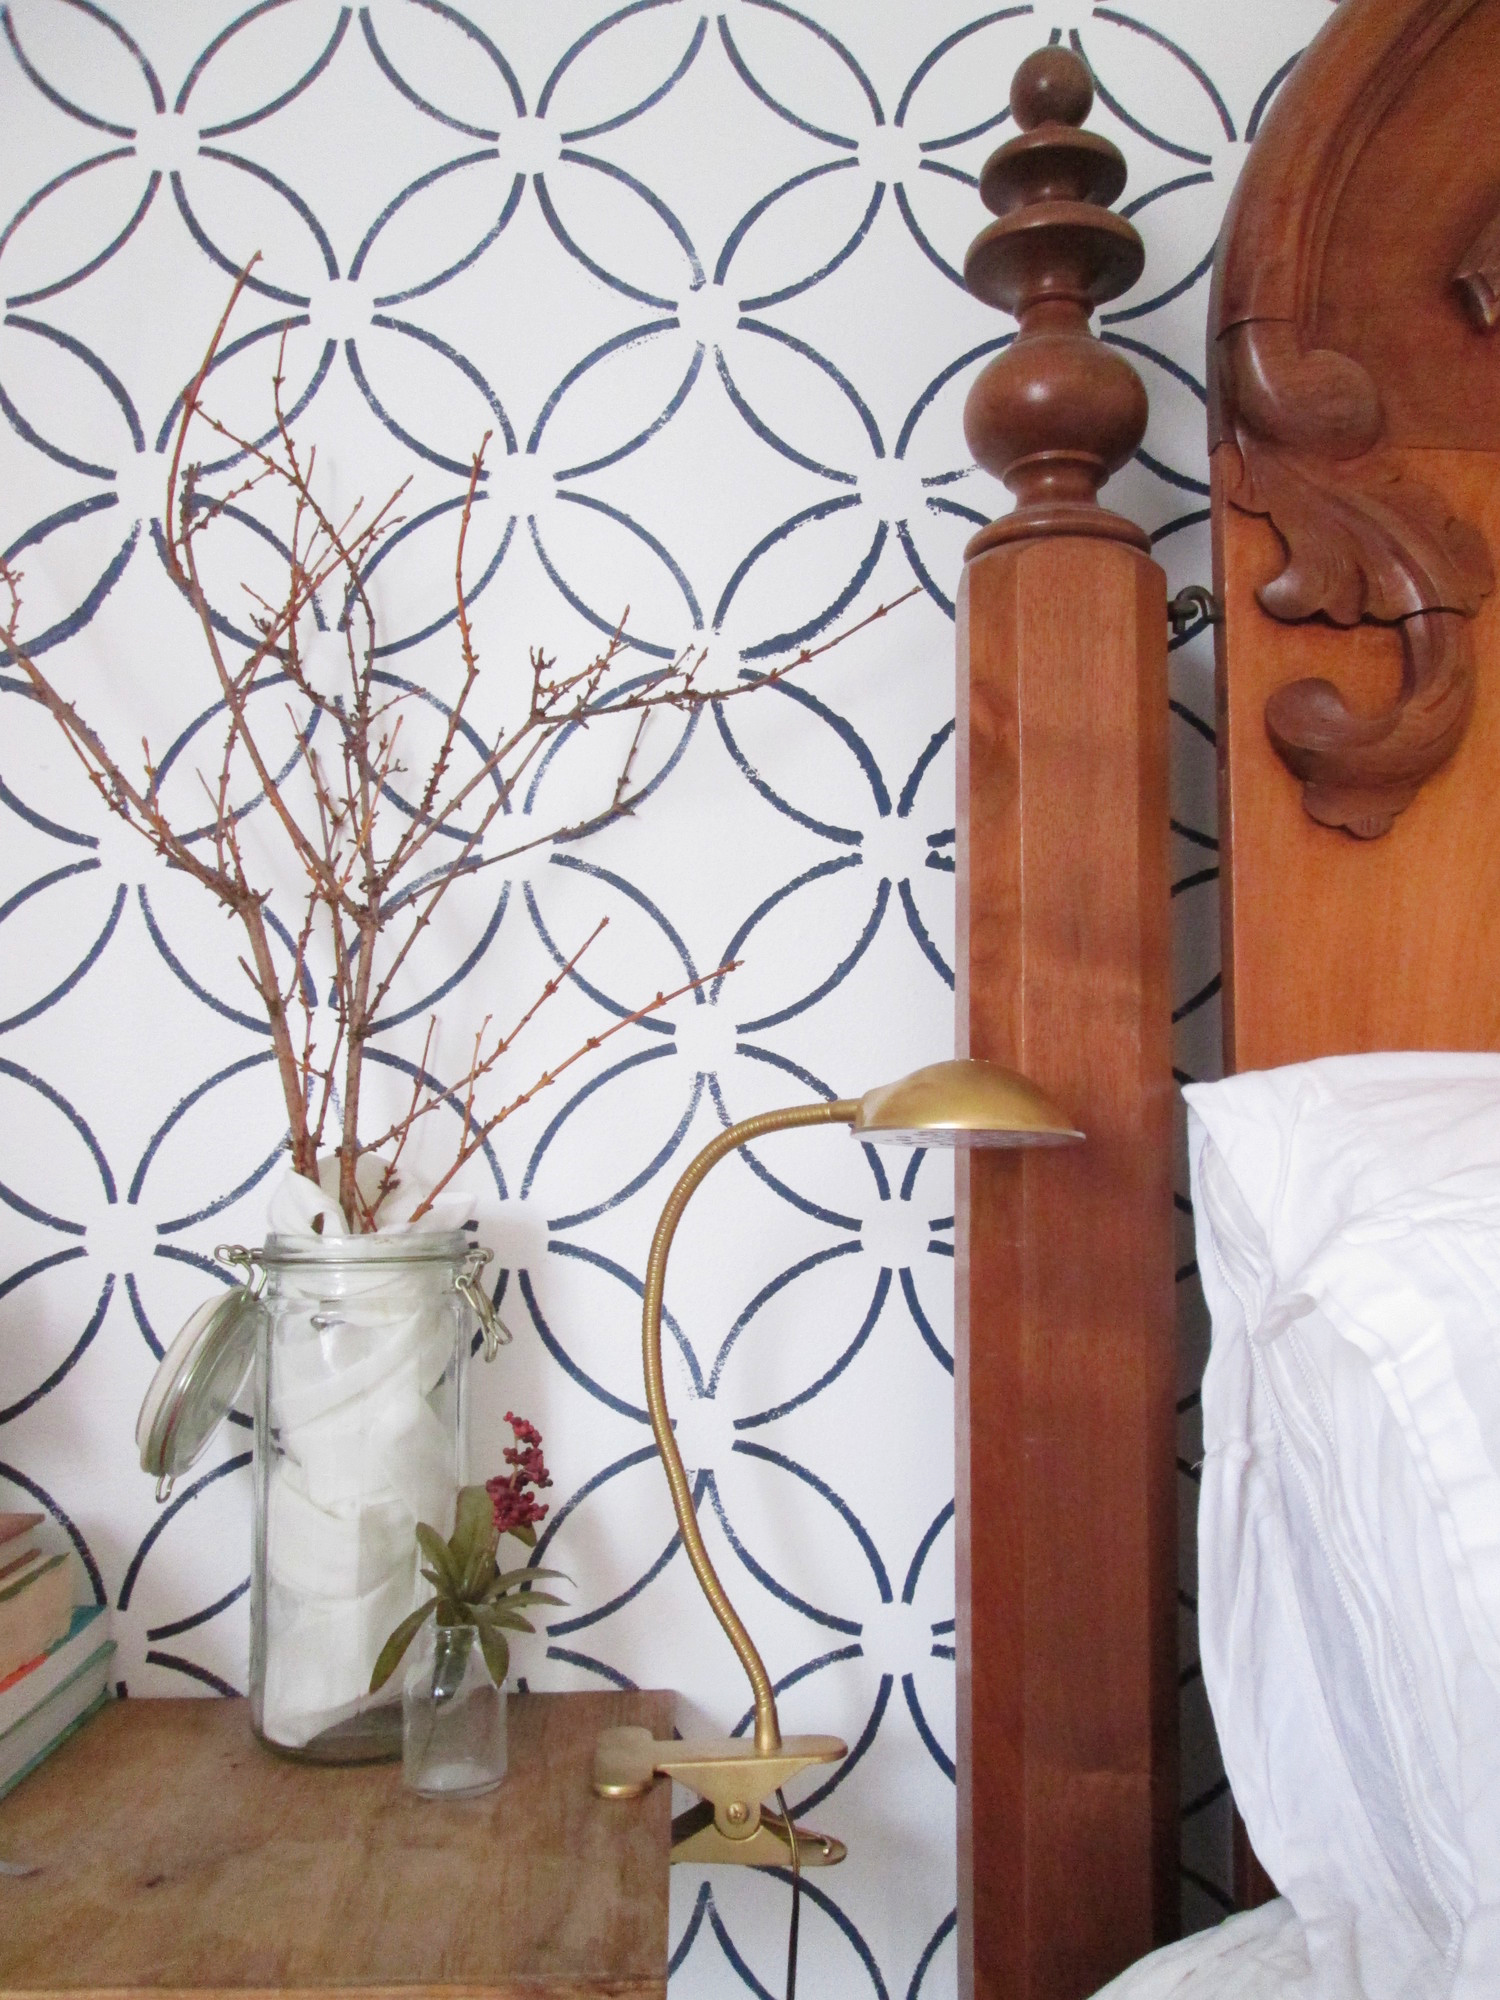
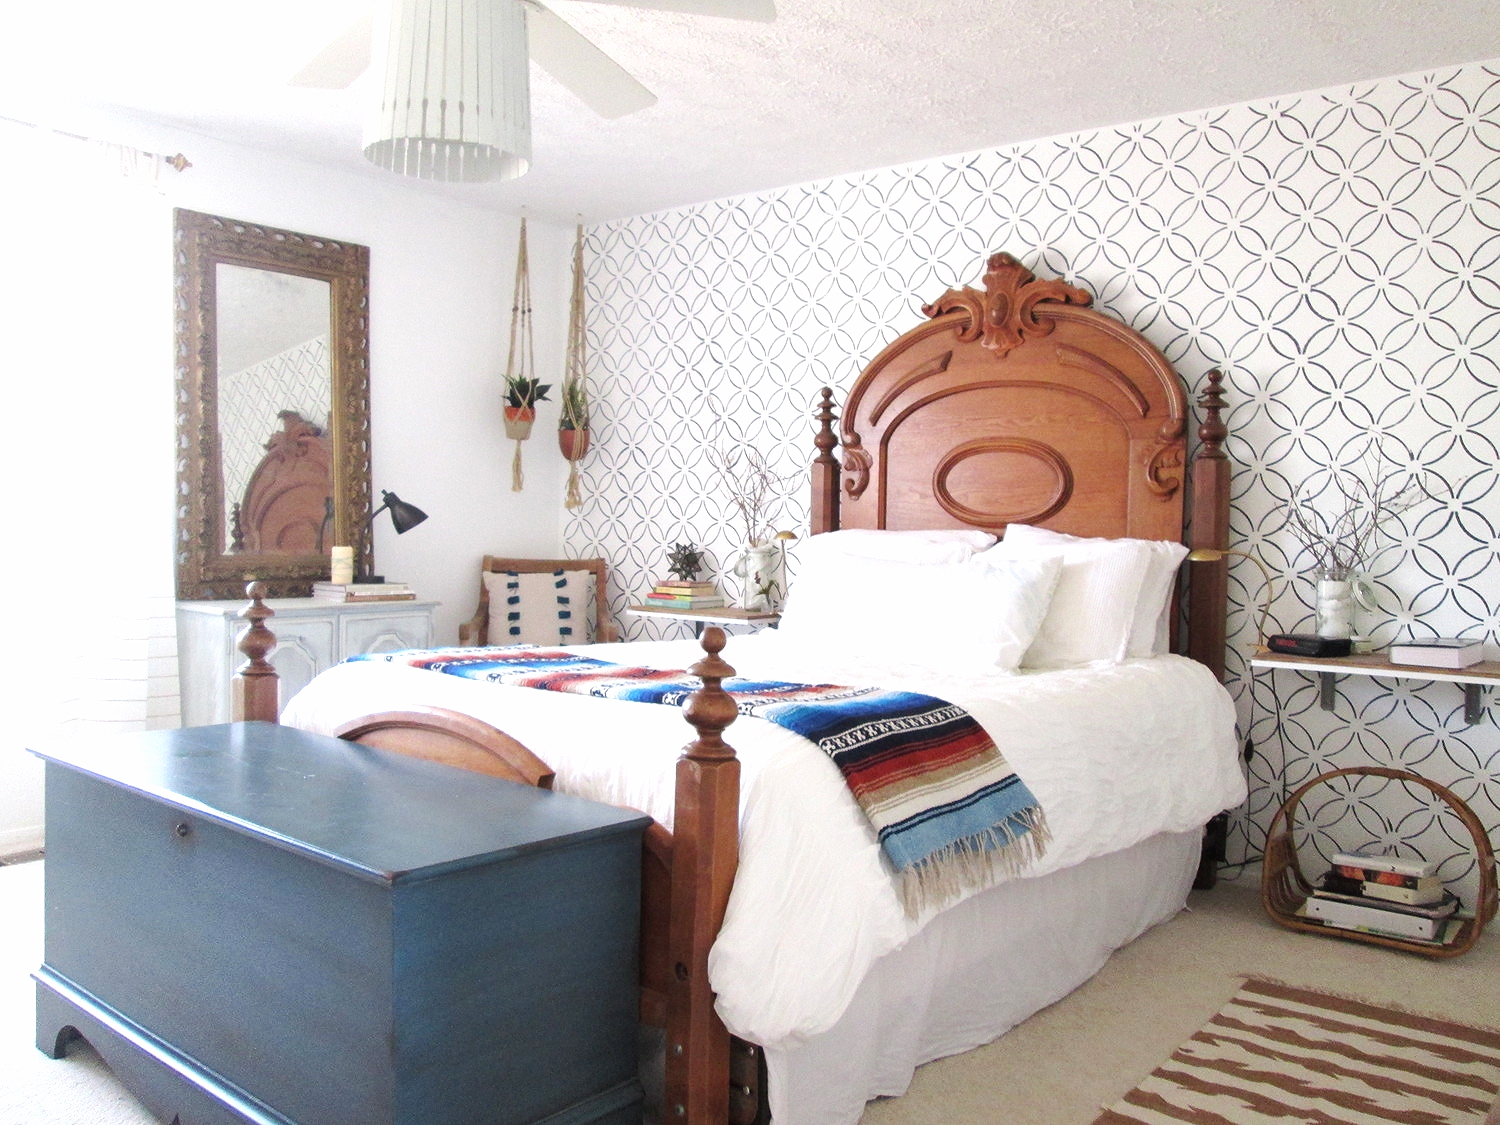
And then there's our master bedroom. A couple weeks ago I shared our bedroom after stenciling the accent wall behind the bed, but I didn't talk about any other details in our room. If you caught that stenciled wall post, you might recall me saying the bed is an antique family heirloom which has been passed through my family over several generations. With my bohemian driven style, I just couldn't see anything holding it's own right next to that headboard. So, I decided to do something minimalistic and just float a pair of shelves! 

We used basic white laminate board shelves from Lowes, but topped them with a piece of stained particle board cut to the exact same size for a customized two-tone look, (which we echoed on our floating wall shelves as well).

These shelves meet our surface needs and we never feel like we need more storage. I love how using something simple at either side lets the bed shine!

DONE6.jpg
DONE1.jpg

I'm not sure if our bedside solutions meets the criteria for the #HGTVmakeover contest, but I thought them worthy of sharing for anyone else who might be stumped on bedside surface space! 

Thank you all for stopping by!

Don't forget to tag your refinished bedside tables and nightstands with #HGTVmakeover on Twitter and Instagram! We'd love to hear if any of our friends get featured, so keep us posted!

DIY Belted Wall Clock

Hi guys! Just stopping by today with a really fun DIY that would fit into just about any decor style! This hanging belted clock got a really fun response on Instagram a couple weeks ago and I've been excited to share the deets here on our blog!

We may be on the brink of Spring, but there's never a time that I turn my nose to a touch of leather. It's one of those materials that charms a space with it's sexy edginess! It doesn't follow rules; it pairs well with hard industrial elements as well as softer bohemian touches. It's never inappropriate at a party. :)

The hanging belted clock is just a subtle way to add a little leather into your home without breaking the bank or making a huge commitment. 


Supplies:
Clock - I used an 8" wall clock from Home Depot, (less than $10)
Belt - Find one with a width less than the clock's frame - if the belt is wider, the clock won't hang flush against the wall. Check your local thrift store for a plethora of cheap belts! (less than $4)
Hot glue gun (around $10)
Metallic paint marker, *optional - I used one from AC Moore to cover my face numbers in gold (less than $2)

Step one: Remove the frame of your clock by unscrewing it from the back. Color over the face numbers in the metallic marker, then replace clock frame.

Step two: Trace hot glue around the bottom two thirds of your clock and pull the belt around. Do this with the clock lying flat on a protected surface so that you can make sure the clock and belt are both flush. 

Step three: Thread the belt through the buckle. Remember, you want the buckle to be seen from the side as it hangs, so take that into account when deciding how much hang room you want between the belt and the top of the clock..

Step four: Find a winning spot and hang this gem up!

Step five (IMPORTANT): Invite some friends over and ask them if they know the time so they're sure to notice your kickin' clock.

See, nothing major! It's just a fun little touch that makes a space that much more unique!

IMG_2965.JPG

Thank you so much for stopping by today! 

Do you have any fun leather projects to share? We'd love to see! You can either post your handiwork directly to our Facebook page or tag #stylemutthomeprojects to Instagram!


Stencil or Wallpaper? ||Can you tell the difference?||

Hi friends! Christmas is behind us, (or really far ahead, depending on how you look at it), but I'm here to bring you good news of great joy. If you've been searching high and low for an affordable wallpaper and have discovered that your wallpaper taste is quite expensive, you might want to consider stenciling! (And at the bottom of this post, we've got the deets on a free stencil giveaway)!

Obviously stenciling walls is nothing new. People have been adding borders and full wall patterns to their rooms for centuries. But, did you know you can purchase large sheets of a stencil pattern now, making the process a gazillion times easier and less time consuming? I know! It's unbelievably life changing, right?! Well, it was for me! 

I really wanted to give our master bedroom a more boho chic look and modernize our family heirloom bed. The headboard is quite stunning and grand, but it's not a look even remotely seen anywhere else in our home. I don't need or care to have every room in our home looking the same from one to the other, but I like there to be some continuity in the mix of styles. Our bedroom was previously  a one-style show with the headboard taking center stage. And it was a bit of a diva. I couldn't figure out how to mix anything else into the room until I finally thought about adding an accent wall right behind the bed! 

So I searched and searched for the right wallpaper to do the job and fell in love with a gorgeous print - at $225/roll. Given the size of our wall, this would have cost $900. I kept looking around, trying to forget the one I'd fallen for, and ultimately decided no paper was going to come close. So, I changed course and decided to go the less expenisve route and stencil!

I happened upon an amazing shop on Etsy called Cutting Edge Stencils. They sell most of their stencils by 2'x3' sheets, and include border and edger sheets as well! For less than $40, I got a gorgeous 2' x 3' stencil sheet, an edge/corner stencil sheet, and incredibly helpful instructions for the best supplies and paint to use for stenciling. 

This was my first experience stenciling a wall, and the process couldn't have gone smoother - and it was completed in less than 2 hours

Here is a side-by-side of our bedroom before stenciling and then after.

I can't believe I didn't do this sooner! Our room looks much more 'us' now - so eclectic and laid back. Definitely snapped up!

IMG_2863.JPG

To get this wall finished in 90 minutes, I added blue tape to the corners of my stencil sheet, stuck it in the upper right corner of the wall, and got to work with my small roller. The key to keeping the paint in the stencil and not smudging was NOT overloading the roller with paint. A tiny bit really goes a long way. Then, I'd gently peel the stencil sheet away from the wall, line up the pattern, and re-stick to do the next section. 

This whole section (plus another column I cropped out), was done with one sheet in about a minute. Stenciling for the win!!! The hardest part of this project was moving the furniture away from the wall, (and that is included in the 2 hours I said this project took me). 

Fun fact: I found that chair outside of an auto shop when the kids and I were waiting on an oil change. When I asked about it, the shop owner didn't even know it was there! It just needed a good scrub and a new seat.

IMG_2847.JPG
IMG_2849.JPG

Quite the transformation for $40 and less than 2 hours of time!

Shire approves!

A full tour of our updated boho bedroom can be found here!

If you've been considering adding a patterned wall to your home, my recommendation for Cutting Edge Stencils is sky-high. And guess what?! They're offering one of our readers a free stencil! Enter here for your chance to win a stencil of your choice from Cutting Edge Stencils!

Thank you so much for stopping by!