Salvaged, Rustic Farm Table - Do It Yourself!

Hi friends! Just stopping by to share a quick and easy 'how-to' for achieving that weathered, salvaged finish for almost any dining table! We've all seen the gorgeous farm tables filling antique stores and box stores alike, but did you know that achieving that time-worn, storied finish doesn't take as many decades as you'd think?! In fact, it takes about 30 minutes.

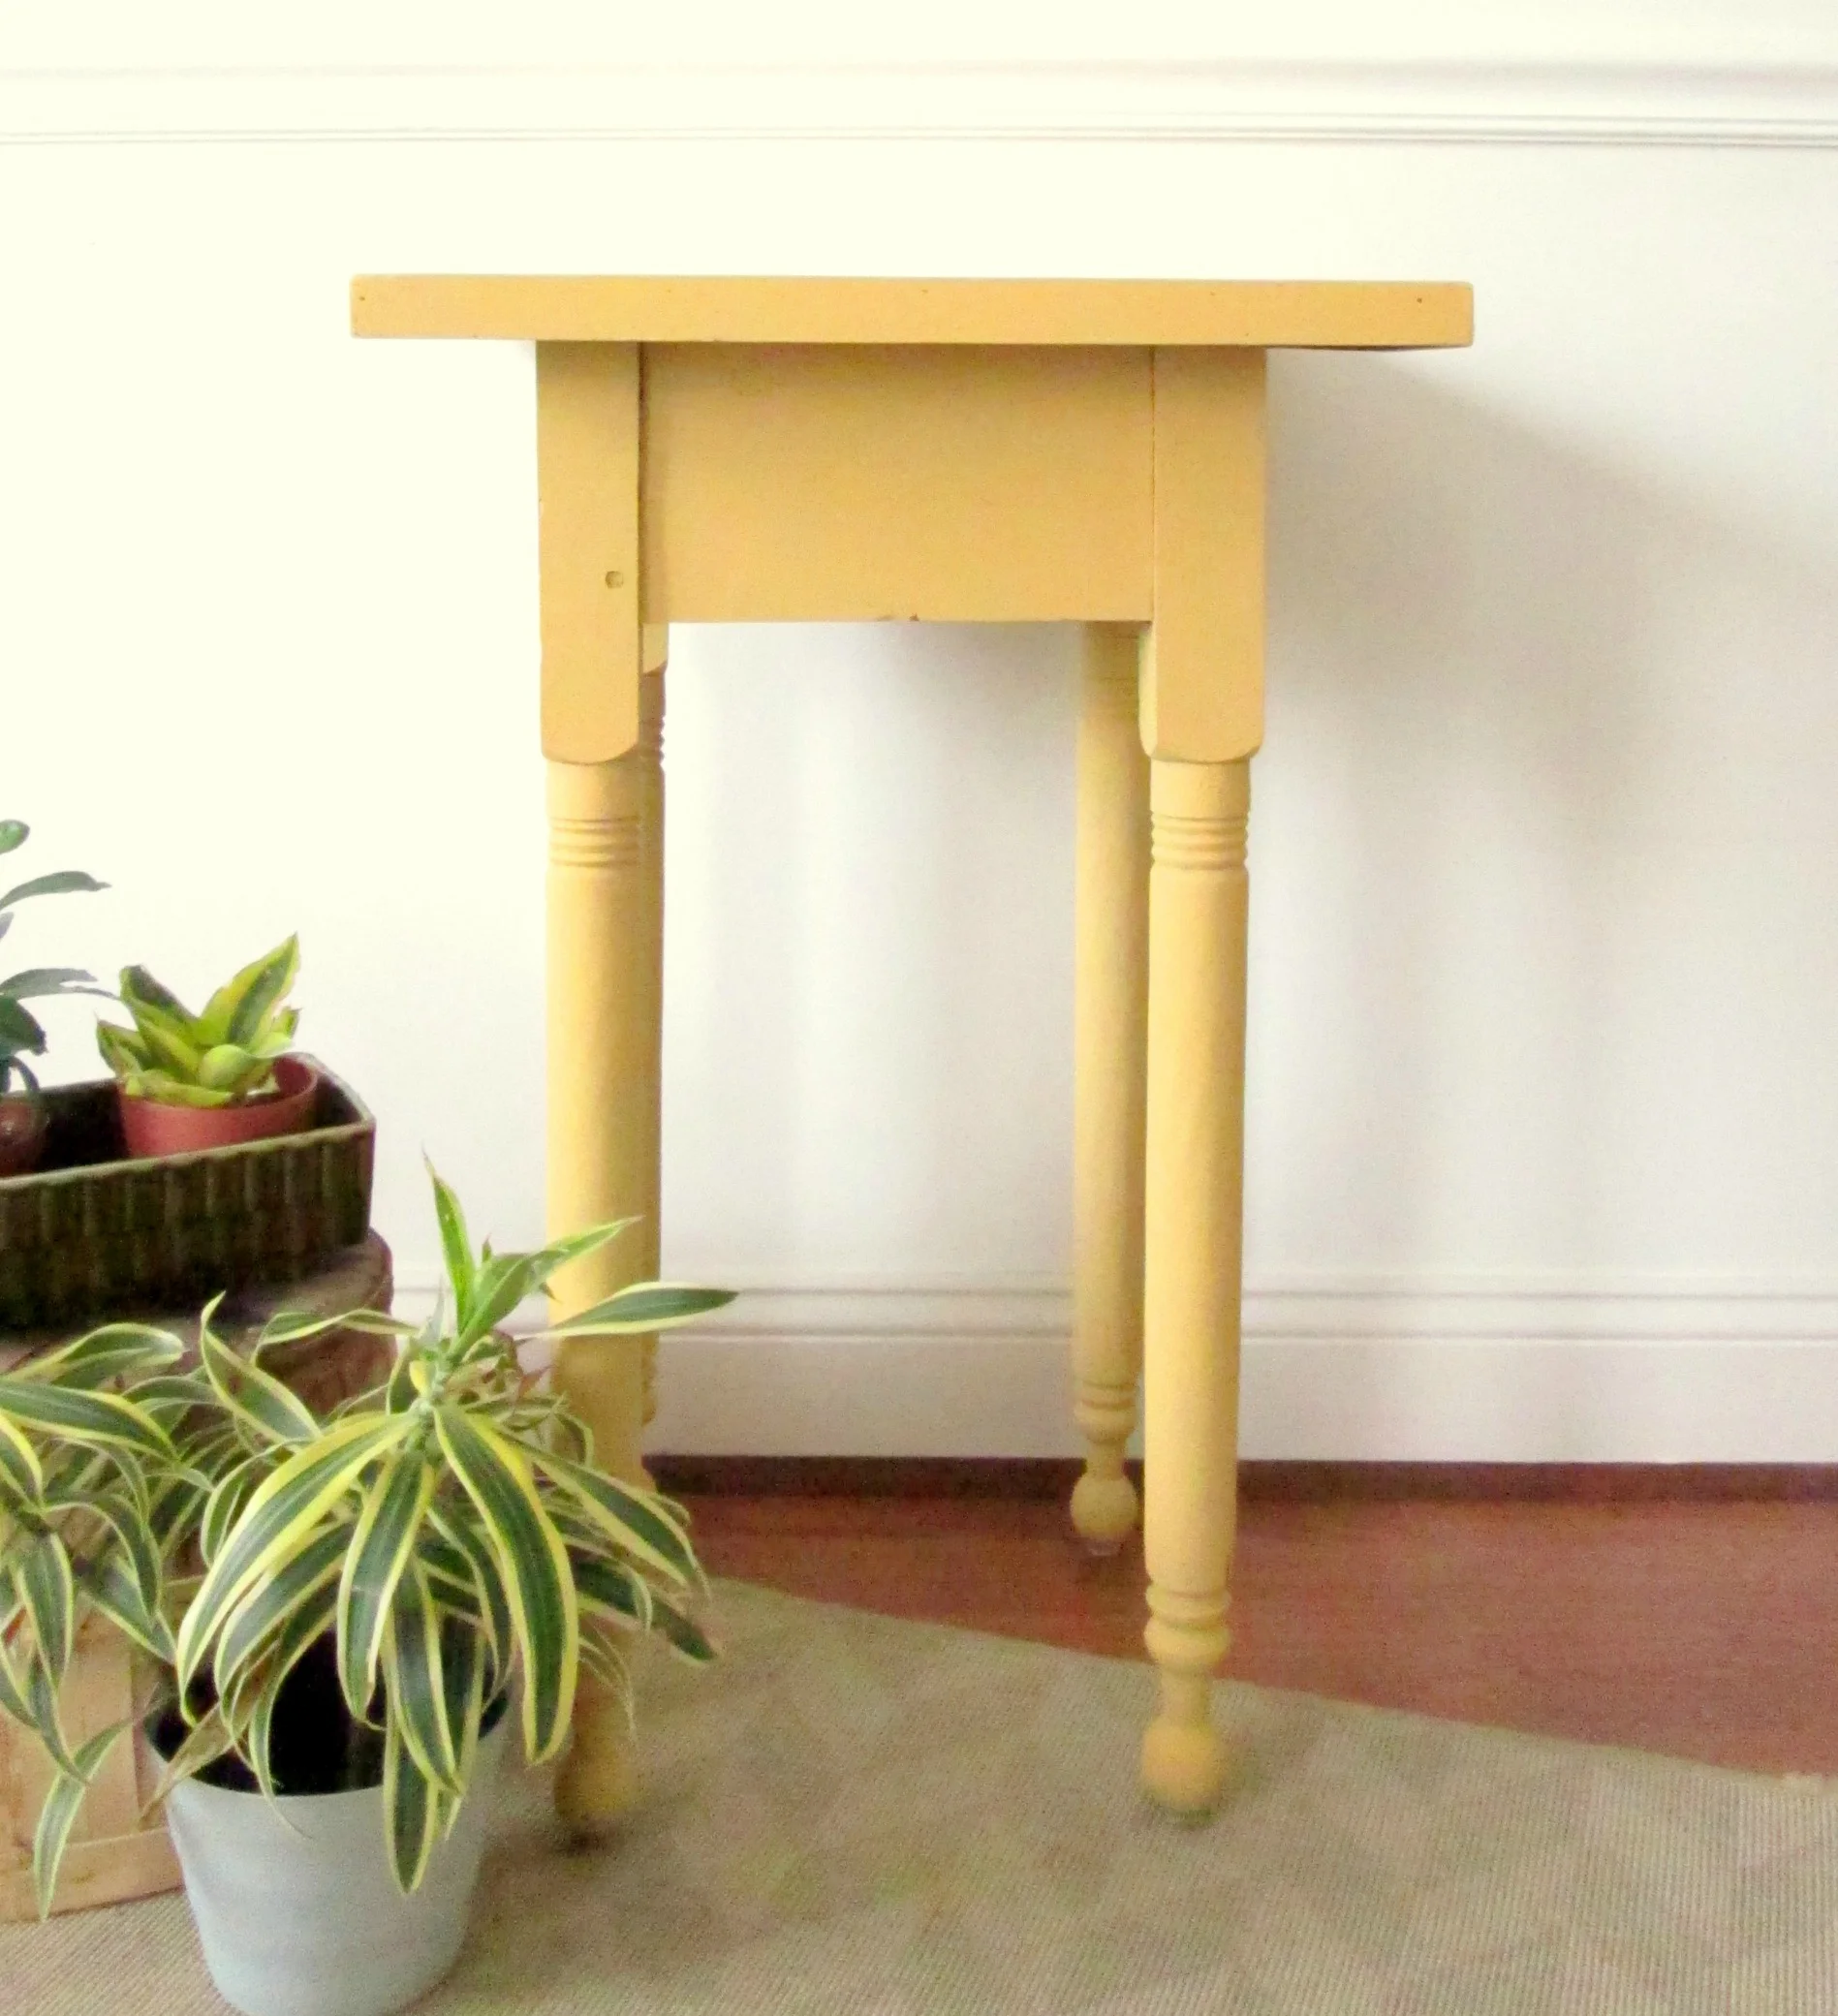
I found this octagon table at a thrift store a few weeks ago and was drawn to it's shape and base more than anything.

My plan was to strip the top completely and then re-stain it in something rich, like an Espresso. But, upon closer inspection it looked like a fun piece to IMperfect, rather than perfect.

The first step was thinning out the stain on the surface, which I did by dampening a rag with mineral spirits and giving the top surface a good wipe down.

While the surface was still damp, I used fine 220 grit sandpaper in the electric sander to further lighten the surface and remove some of the stain.

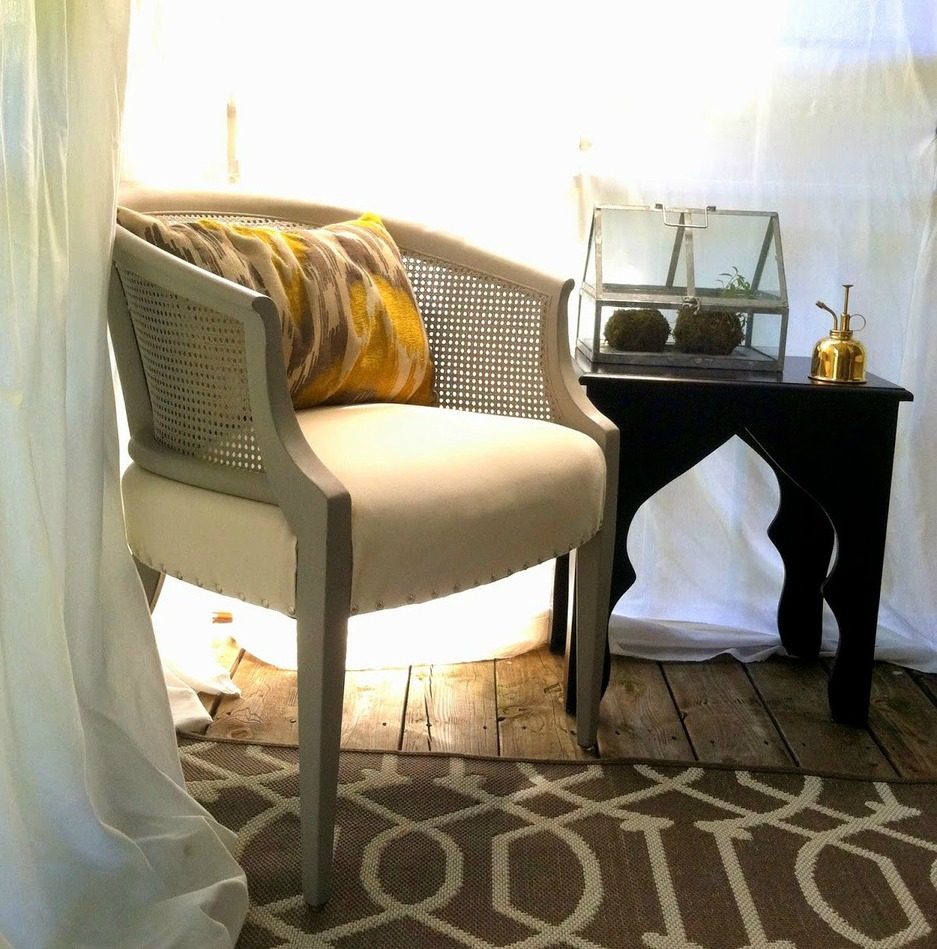
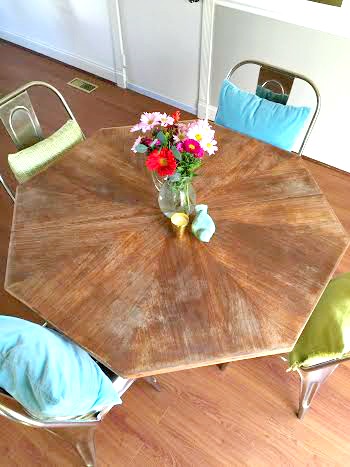
The final product! A perfectly imperfect, uneven, textured looking surface. Sanding with a fine paper gave the table a completely smooth and glassy surface, despite it's rustic, weathered look.

For the base, I used Rustoleum Flat White spray paint to paint the inside white, then used Annie Sloan's Pure White Chalk Paint to complete the outside of the base and apron.

Before + After

geo table3.jpg

Two-tone Octagon Dining Table
Available for sale
$395

Thank you for stopping by!


Staging Smart: Tips For Staging Small Pieces

Hello, friends! Following up my earlier post this week on the importance of staging refinished furniture, (for the purpose of selling), I thought it might be fun to talk about staging different pieces. Today I'll cover smaller pieces like end tables and accent chairs, and next week we'll discuss the larger beasts.

For whatever reason, I find it more difficult to stage a smaller piece. I love playing with the surface and surrounding of a large dresser or china cabinet, but when all I have is a small footprint to work with, I tend to scratch my head staring at it. I don't really have a specific 'formula' to share, but I've learned that it's okay to stage smaller pieces a bit 'abstractly'. It's not likely that anyone would place a little table floating rogue on the open floor, but it's okay to stage it that way!

It's also okay to settle these small pieces in and sprinkle a little 'life' around them. Some of my go-to accessories for small tables include an open book or neat stack of books, fresh flowers, succulents, and pretty candles. We don't use all of these at once, but it's fun to play with one or two, step back, and see what looks the most natural.

Accent chairs are also one of those pieces that can be a little tricky to stage photos. Accent chairs are just that - accents to a whole, finished room. Taking a picture of one by itself just feels a little bit awkward. Just like with small tables,  it's okay to keep it simple but still bring a bit of energy to your shots. Go ahead and get artistic with your shots. Play with angles, with lighting, with accessories. The top right photo below was a really different kind of shot for me. I had just refinished this antique chair that was passed down from my husbands grandparents. I refinished it in a soft color but wanted to stage it with a bit more life to show it's versatility - that even pale painted antiques can be edgy. :)

Do you have any small piece staging tips that you could share? If you've got photos we'd  love to see! Share either on our Facebook wall or Instagram, using the tag #stylemuttrefinishes. Next week we'll be back with more staging fun!

Have an awesome weekend and thank you for stopping by!

Basket Art

Hey, All! A huge trend I'm seeing right at this very moment is ORGANIZATION! Perhaps the new year surfaces a desire for more order in the home...or maybe folks are just bored during the cold winter months and itching for things to do! Whatever the reason, there are lots of posts about how to organize and organizing challenges floating all over social media. 

I'm not a great organizer and am okay with a bit of chaos, but I do like for everything in my home to have a place to go at the end of the day, even if it is just random stashing. My favorite stashing is with baskets - especially big ones!

Obviously, using baskets to corral 'stuff' is nothing new. However, I do like to have a little fun with them before settling them into our home. Baskets are a great opportunity to create a custom piece!

Here is a picnic basket we received as a wedding gift and now use for the kids' library books. I painted three triangles on it to fit it into our room and break up that corner of brown. To make the triangles, I carved a triangle out of a piece of cardboard and used it as a stencil. I just placed the triangle stencil where I wanted it, painted it in, then moved it down to the next one - easy peasy!

Since most of the kids' toys are stashed in the basement and procreating as we speak, we don't need anything too big on our main floor for storage. This basket, which I painted simple stripes around, is the right size, easily accessible, and is another source of pattern on that floor.

Our 'entry nook' was the perfect spot for this taller basket which keeps a lot of our shoes. I went for a color-blocked look and absolutely adore it! Gives it a little 'oomph', you know?!

baskets 8 DONE.jpg

So there you have it! That's how I like to do baskets in our house. :) If they're needed, (and boy do we need them), why not have some fun with them! 

Closing out the week I'll be back to discuss some staging tips for small pieces. Would love for you to dig up any pictures you have of staged end tables and accent chairs so you can be ready to share them to our facebook wall! We love seeing your handiwork and getting inspiration from you!

Thank you all for stopping by!