Favorite Transformations of 2014!

Hi Friends and Happy 2015! This post has been particularly fun to put together as it's been a big year for us! It's been a year of dramatic DIYs and transformations, starting with this blog itself!

We said goodbye to Chelsea's Garage just a few short months ago to begin something fresh and new with StyleMutt. It's been an awesome beginning and we are really excited about what 2015 will hold!

We're ready to dive into 2015 and even have some spectacular projects already up our sleeve, but first, we're taking a day to reminisce  over our favorites from 2014:

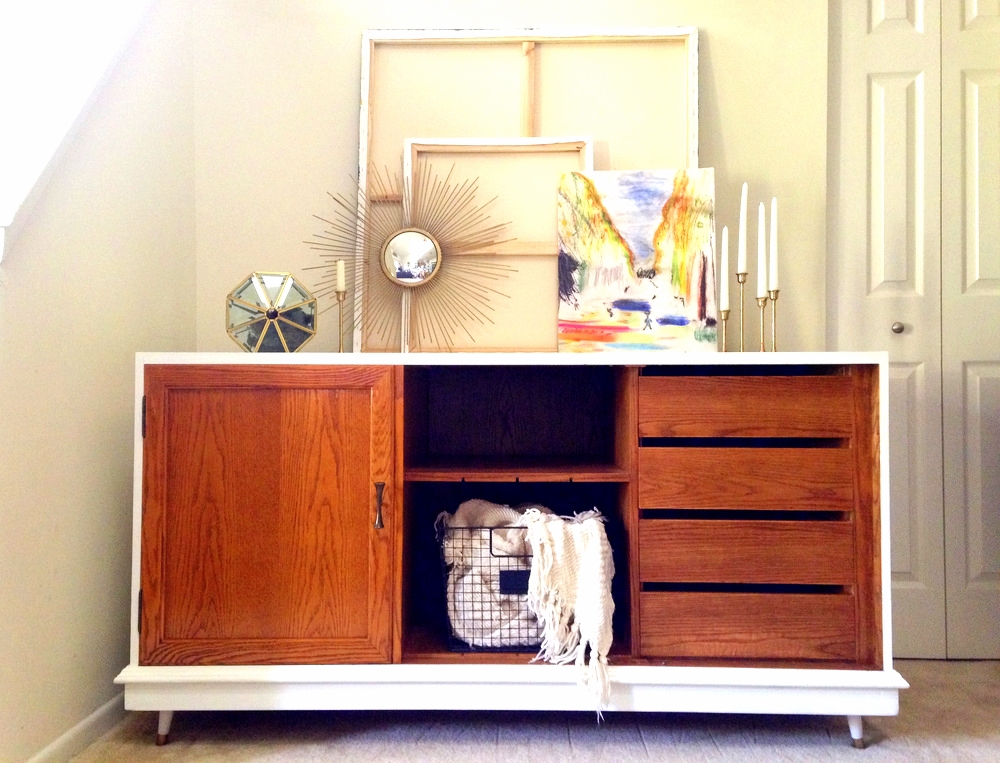
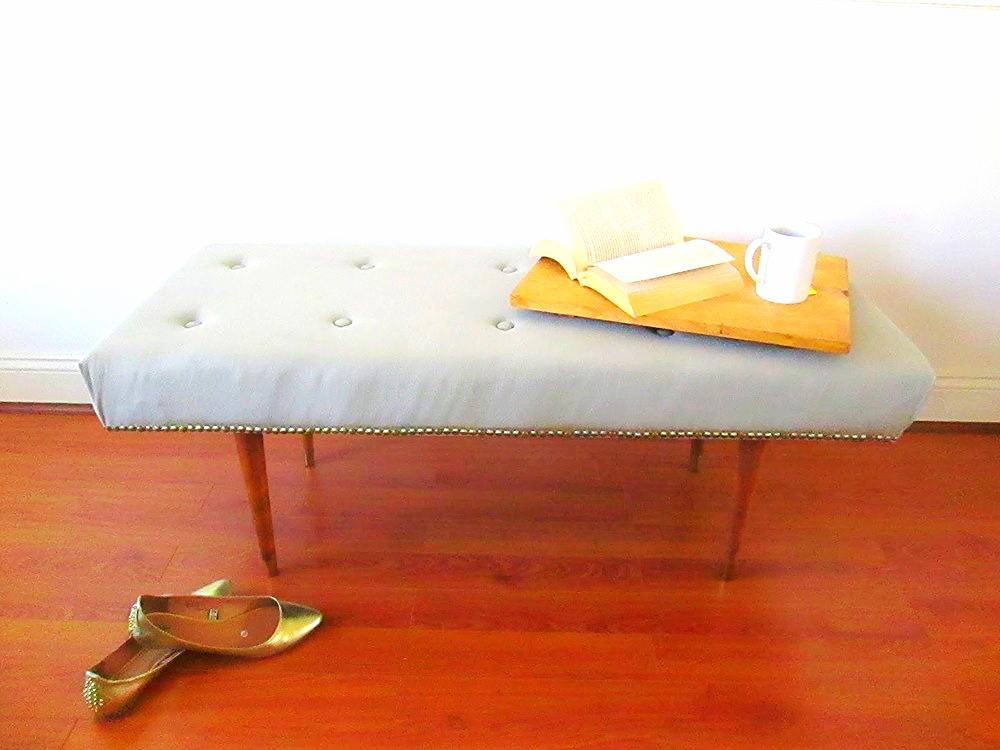
No question, we share more than a few style loves - not the least of which is mid-century modern!`

white lacquered set.jpg

And we discovered just how fun it is to work with bamboo!

bamboo coffee table.jpg

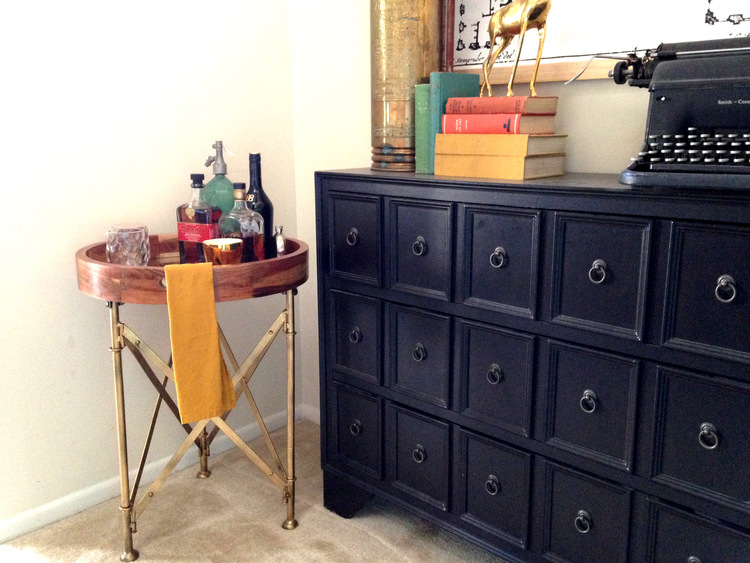
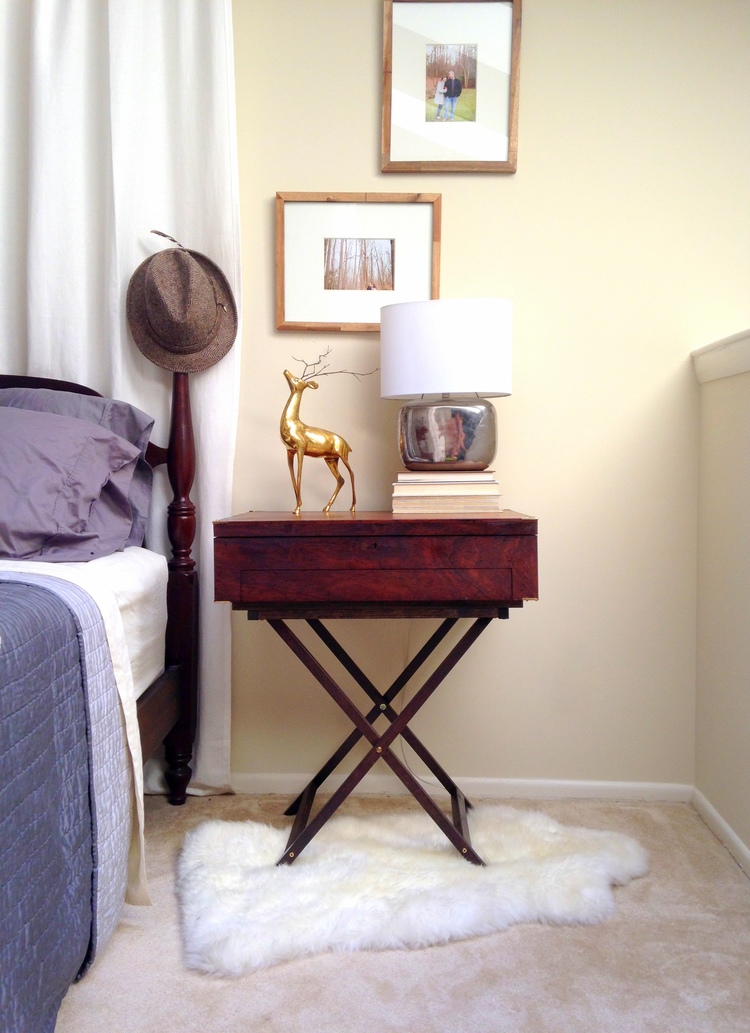
But we are true StyleMutts, through and through, and enjoyed embracing the many styles that make us tick::

aqua chair.jpg

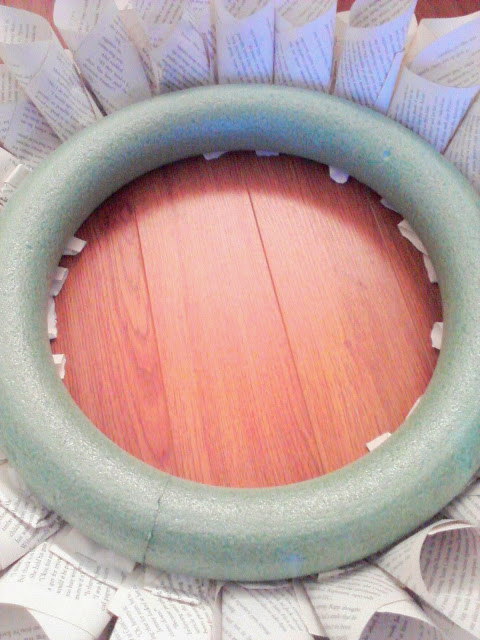
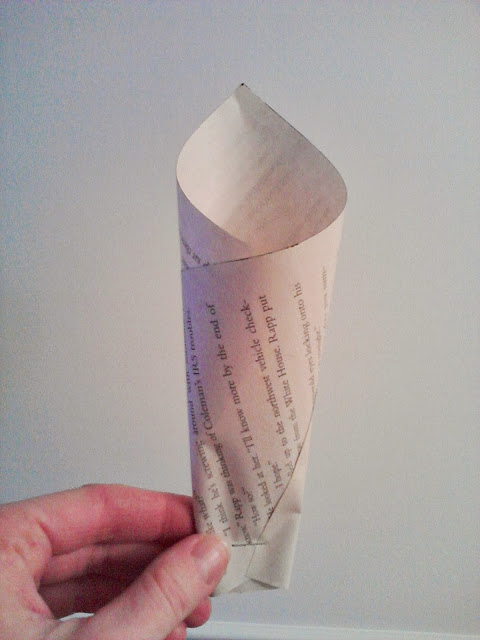
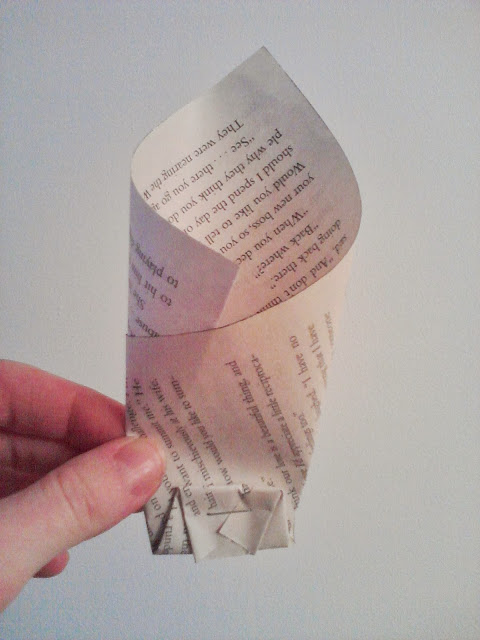
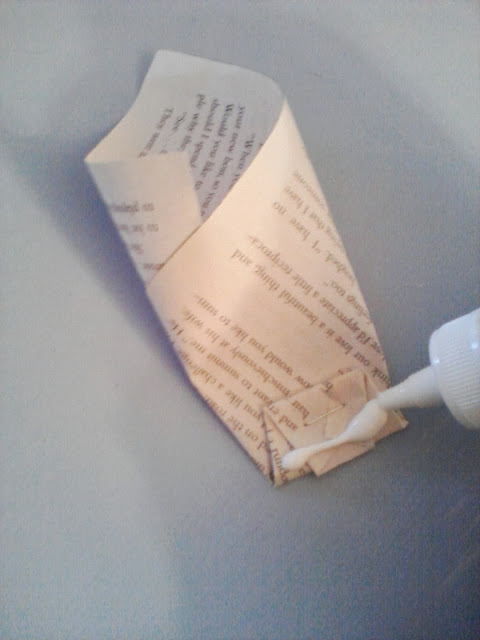
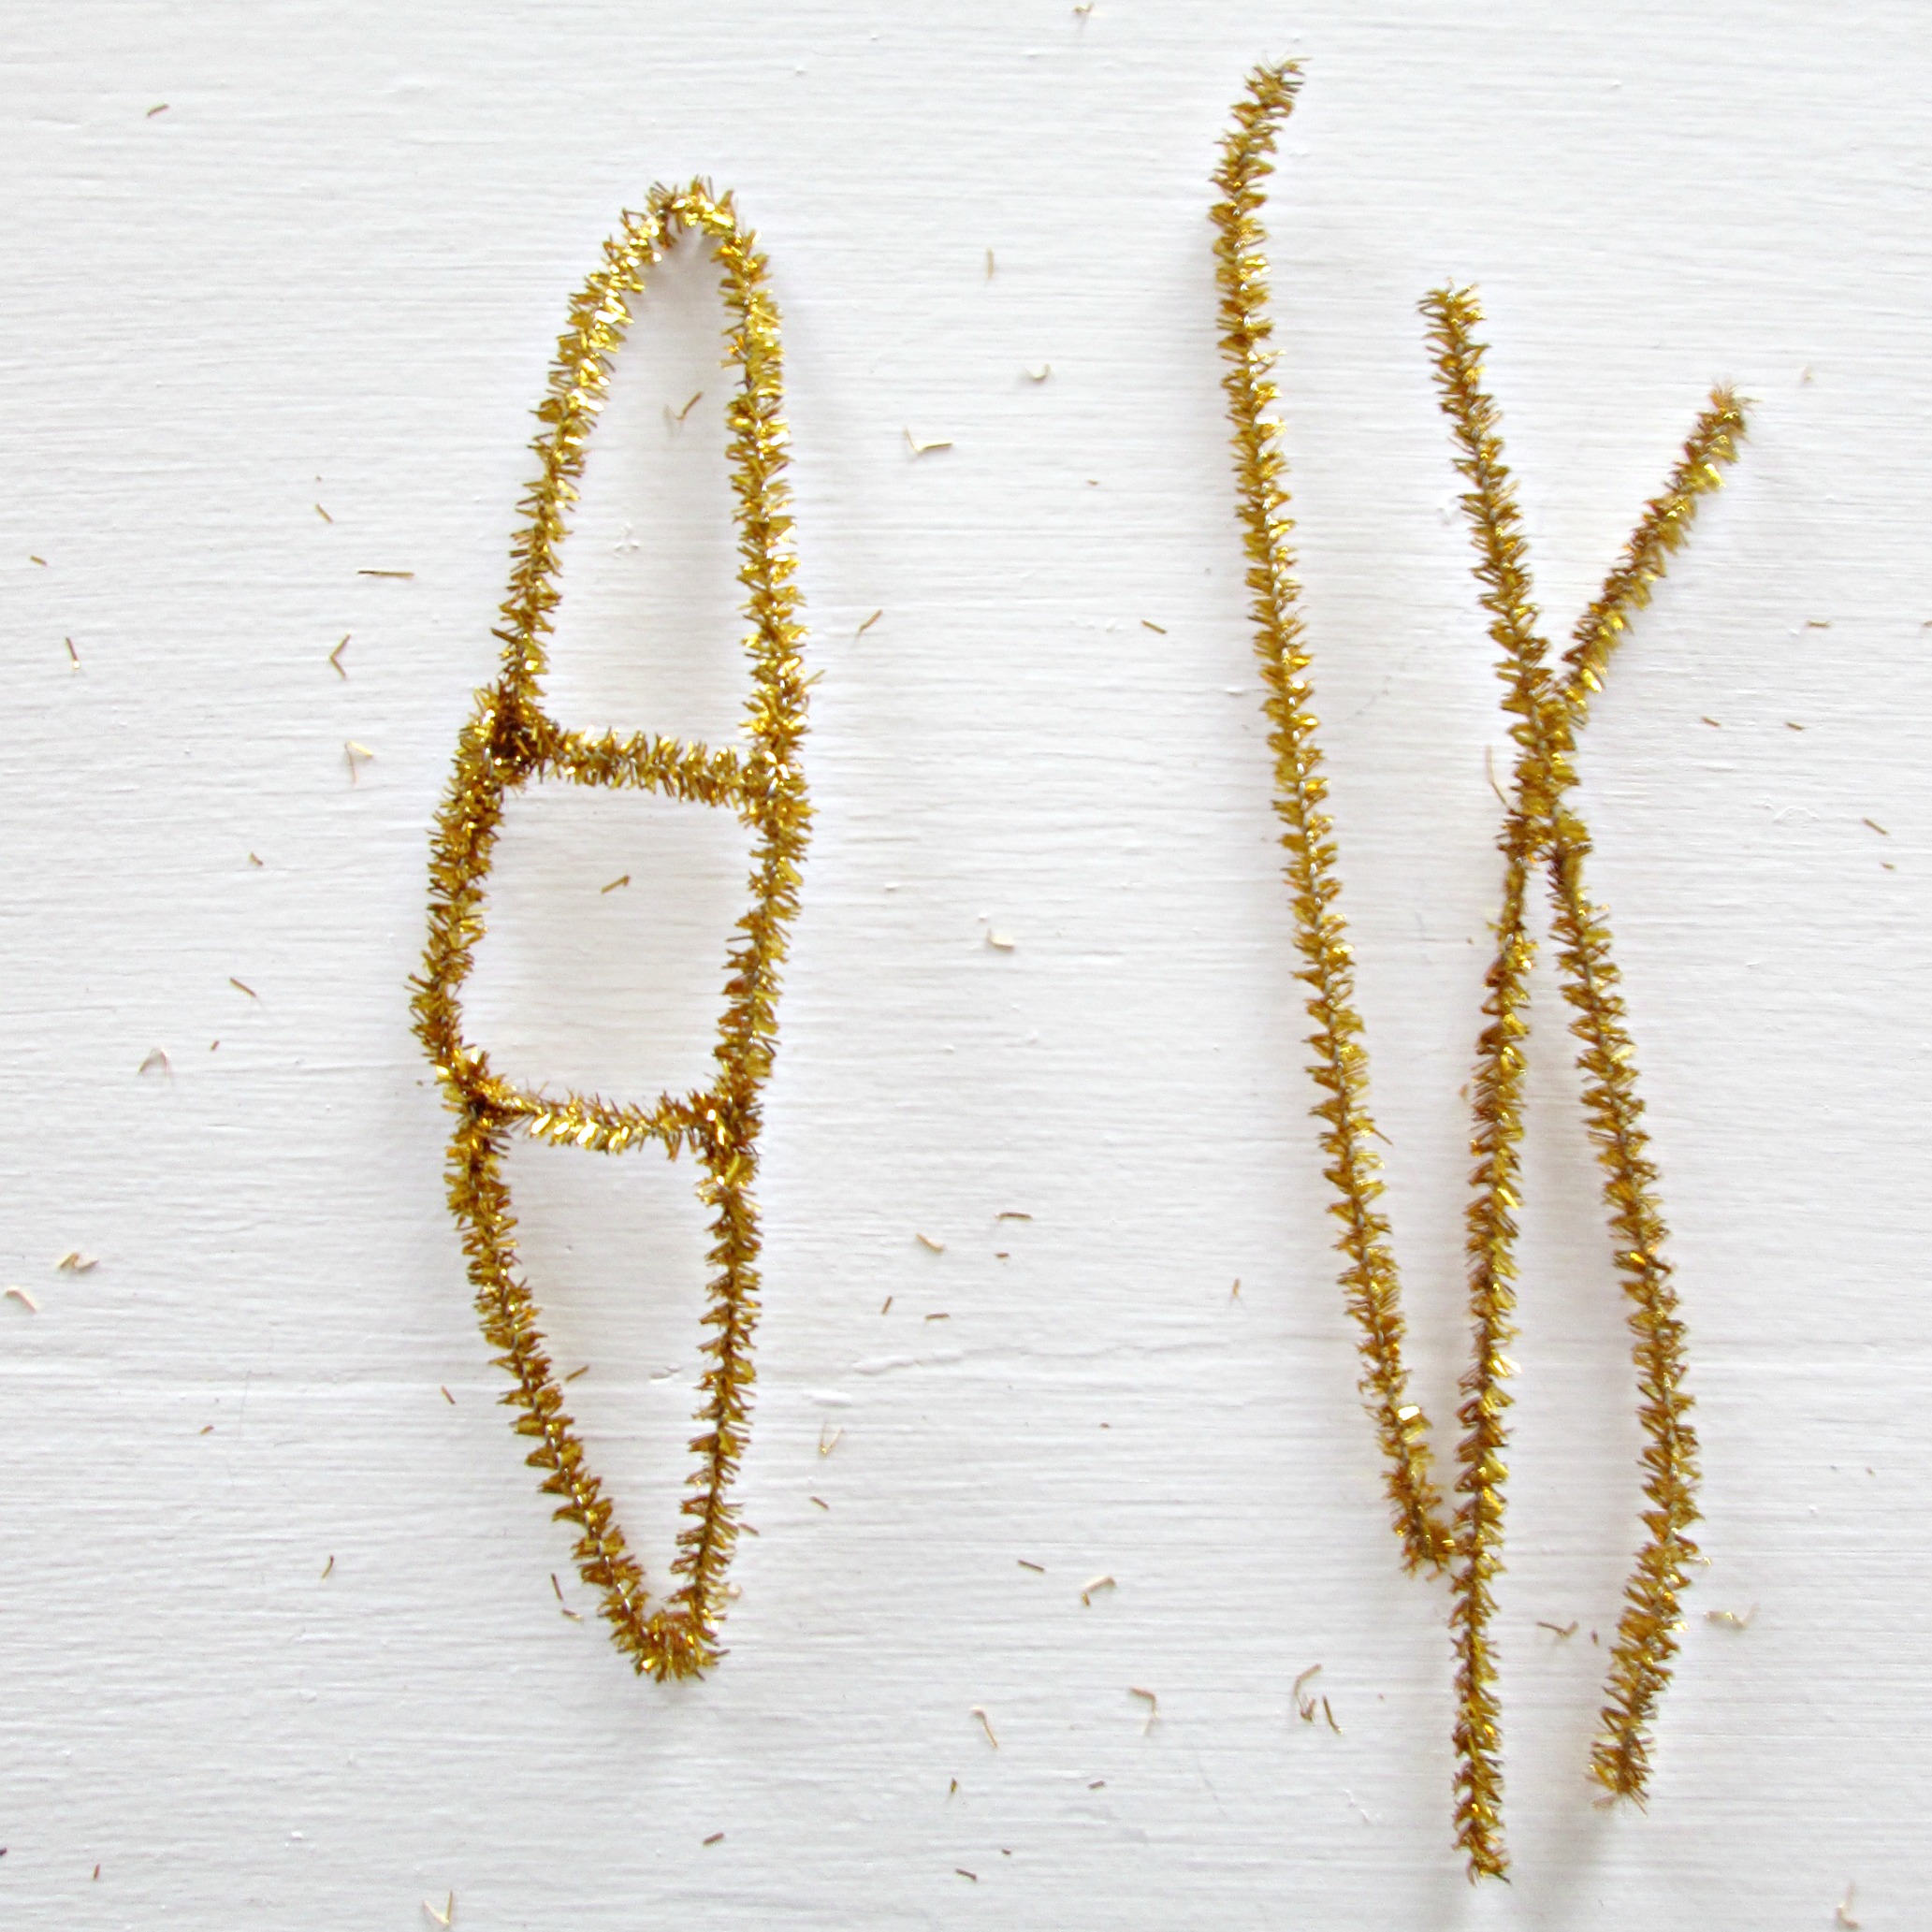
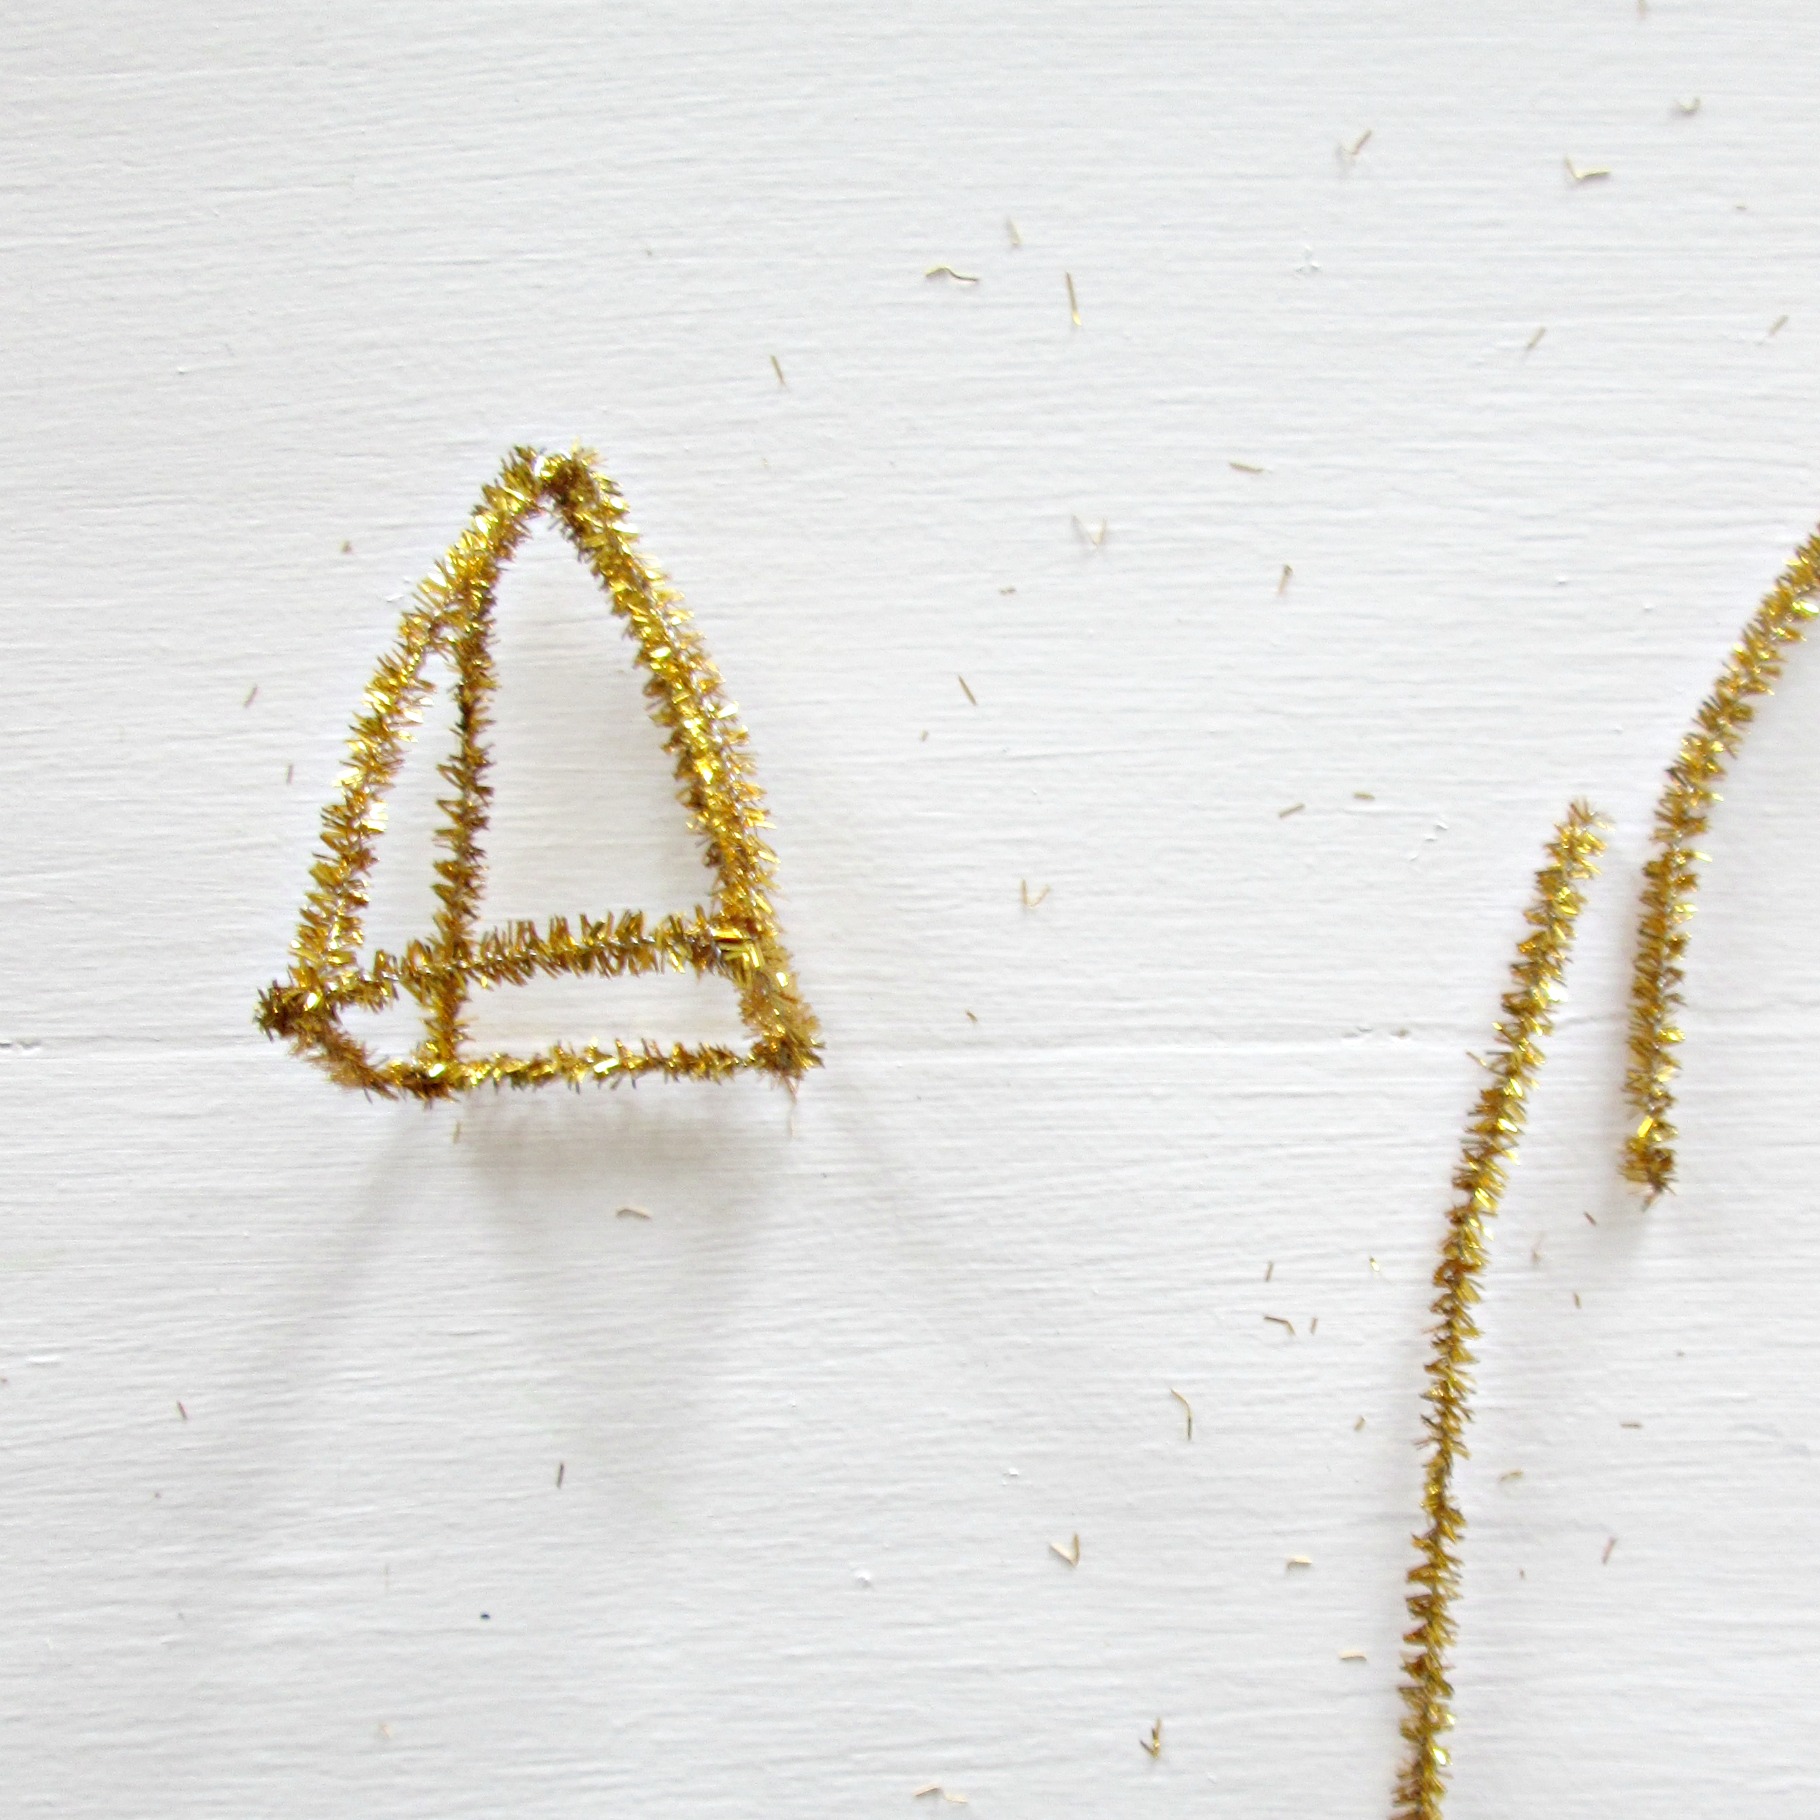
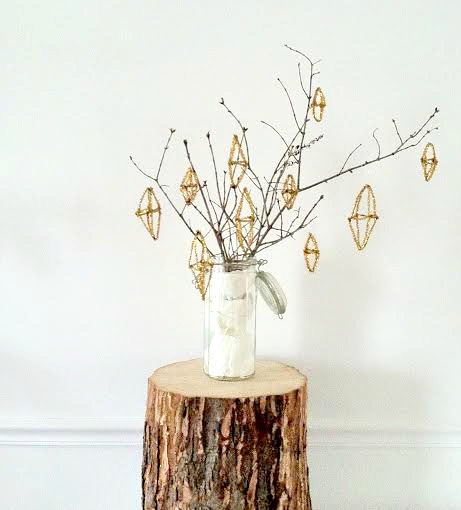
Of course, not all the transformations involved furniture:

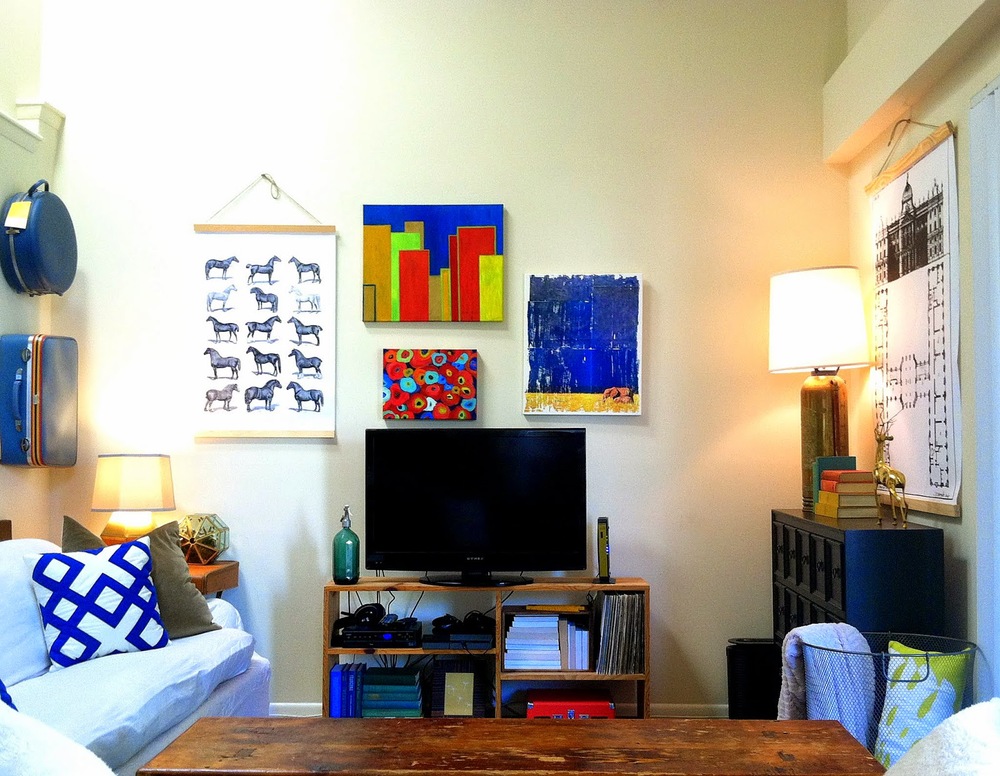
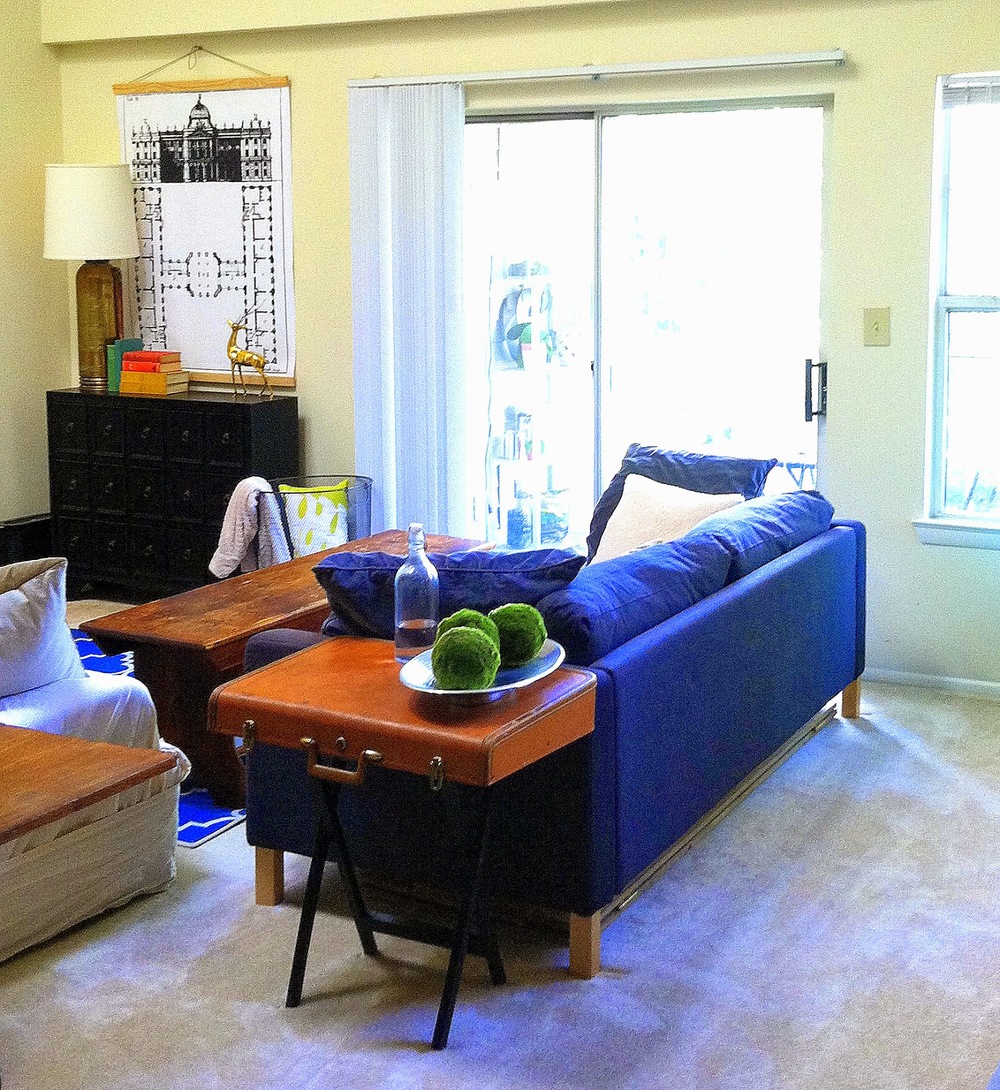
In fact, some of the transformations were of entire spaces!

It's been a tremendous year, indeed, and we just want to say THANK YOU for hanging with us, for your encouragement, and for making this adventure completely worth it. Happy New Year, Friends!

Chelsea and Cate

DIY Bookpage Wreath - Repost

Hi All! I almost forgot to share this old bookpage wreath tutorial from long ago! I shared it on Chelsea's Garage, (my old blogger stomping grounds), a couple of years ago and its been one of the most popular projects spit out of this small production line. This is a wreath I keep up year round, but I always like to share the tutorial again near the holidays, in case anyone's interested in a fabulous wreath project.

paper wreath9.jpg

For this project, you need just a few fairly common supplies:
-A book or two, (I used two with slightly different color pages for contrast)
-Stapler
-All purpose glue
-Foam wreath frame
-Black craft paint, (optional)
-Small artists brush, (only if you're using the black paint)

Step 1: With the books closed, take the brush and paint the outside of the pages with the black craft paint. Giving them a darker edge will create some visual contrast between each page in your wreath.

paper wreath3.jpg

Step 2:  Tear out a page, form it into a cone
Step 3: Fold the bottom of the cone up about an inch, and staple
Step 4: Glue the bottom edge of your cone
Step 5: Place your hand gently in the cone, and attach the cone to the foam wreath frame, working your way from the outside, in.

Not too complicated, right?! As you work your way inside the foam frame with the cones, it's helpful to add glue to both sides of the cones so they attach both to the frame, and the previous row of cones. Just tuck em' right in there.

I hope you're having a wonderful week and are enjoying this special time of year. It goes by so fast, I know. I have no tips on slowing down time, but I think pace is one thing in our control that we should handle with care. Don't overload your plate. Be realistic with your time and commitments. Be honest about your priorities. These DIYs are a dime a dozen and are absolutely unnecessary to enjoying the holiday season. They're simply meant to give you ideas and ways to add a bit of festive spark, if time allows, to your home.  

Thank you all so much for stopping by!

DIY Gold Geometric Ornaments {Holiday DIY No. 5}

Hi All! On Monday I shared our Holiday Home Tour! Click here in case you missed it and want to look around - I'm still excited about it! I went a little simpler this year and for us, it's just right. Any Office fans out there? Remember K-I-S-S; Keep It Simple Stupid? Well that's been my motto lately. But even simple can be lovely and cozy and cause warm fuzzy feelings. 

I'm kind of sad, (and kind of glad), to say it, but this is the last Holiday DIY project I'll be sharing before Christmas! I know we're still a chunk of days away, but I'm parkin' this DIY bus a bit early to devote the remainder of this special time to my nearest and dearest. I don't even remember what DIYs I said we'd be covering, but I know there are a few we didn't check off. I think we made our way through some good ones though, yea?! All are linked in our sidebar to the right if you want to go back and recap. 

For the grand Holiday 2014 DIY finale, we're making ornaments! A little sparklier than the scrapbook paper ornaments we did last year, but just as easy! 

geo phone ornaments7.jpg

Geometric patterns are really trending right now, and I loved the idea of using gold pipe cleaners for a healthy dose of sparkle! Ever since our youngest became a giant wrecking ball, we have not hung our glass ball ornaments on the Christmas tree. I've used them elsewhere over the years, but not dangling helplessly and vulnerable from our trees. I do miss the shine they add, so I thought these gold geometric diamonds would be a perfect replacement! Best part is, they can't break! Do your worst, my wild little man!

These ornaments are really very easy to make. Here's how!

geo ornaments15.jpg

1. Take three pipe cleaners and cut them clean in half, (or in thirds if you want to make them smaller - I did an assortment of both).

2. Use one 'stem' to make a square. Secure the ends by twisting them together, or securing with floral wire.

3. Use another stem and bend it into an open bottom triangle. Attach the ends to one side of the square.

4. Make another open bottom triangle and attach it to the opposite side of the square.

5. Bring the tips of your two triangles together and secure with floral wire. Now you should have a pyramid. 

Repeat these steps on the other side of your square to form a diamond! Use floral wire to make a small hook for hanging.

I'm really diggin' these on our tree! I've already stepped on one that 'fell', (haha, right), and just tweaked the form back into shape, and rehung! I love finding ways to make my style more child friendly. What an interesting challenge, indeed! 

Rather BUY than DIY?

Check these out from KelsoDoesntDance on Etsy!

geometric ornaments.jpg

You have yourselves a merry little weekend! Thanks a lot for stopping by!