Happy Friday, folks! I'm excited to kick the weekend off with a couple of entertaining pieces - a matching buffet and bar cart! I've actually never done a bar cart before - the ones I see while out thrifting are glass and brass/gold and don't need any of my attempts at improvement. But, when I saw an all wood bar cart in perfect condition on old casters, I grabbed it with not the faintest idea of what to do!
Fortunately, I also snatched up this buffet on the same day which gave me a great jumping off point for creating a set! (I'm gonna go ahead and apologize now for the quality of the pictures - I had a tight window to get them done and it was during our darkest, rainy day this week while my kiddos ate lunch. These pictures were the least of our disasters this week, however, and I'm already looking forward to starting fresh come Monday! Just don't stare at my blurry pictures too long, I'd hate to awaken your vertigo.)
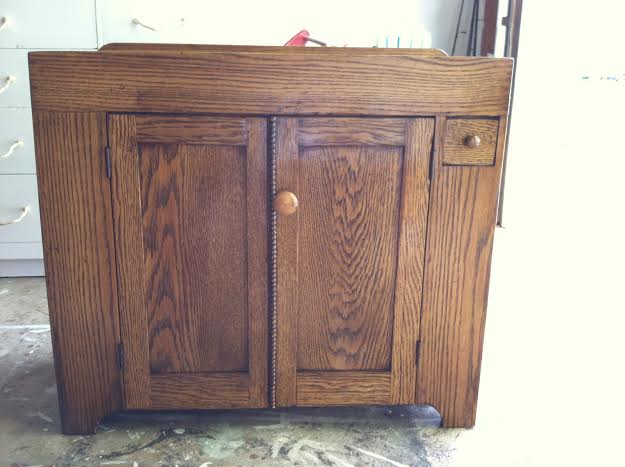
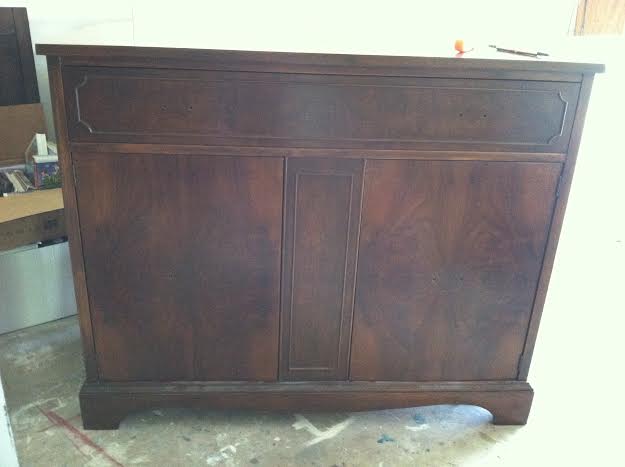
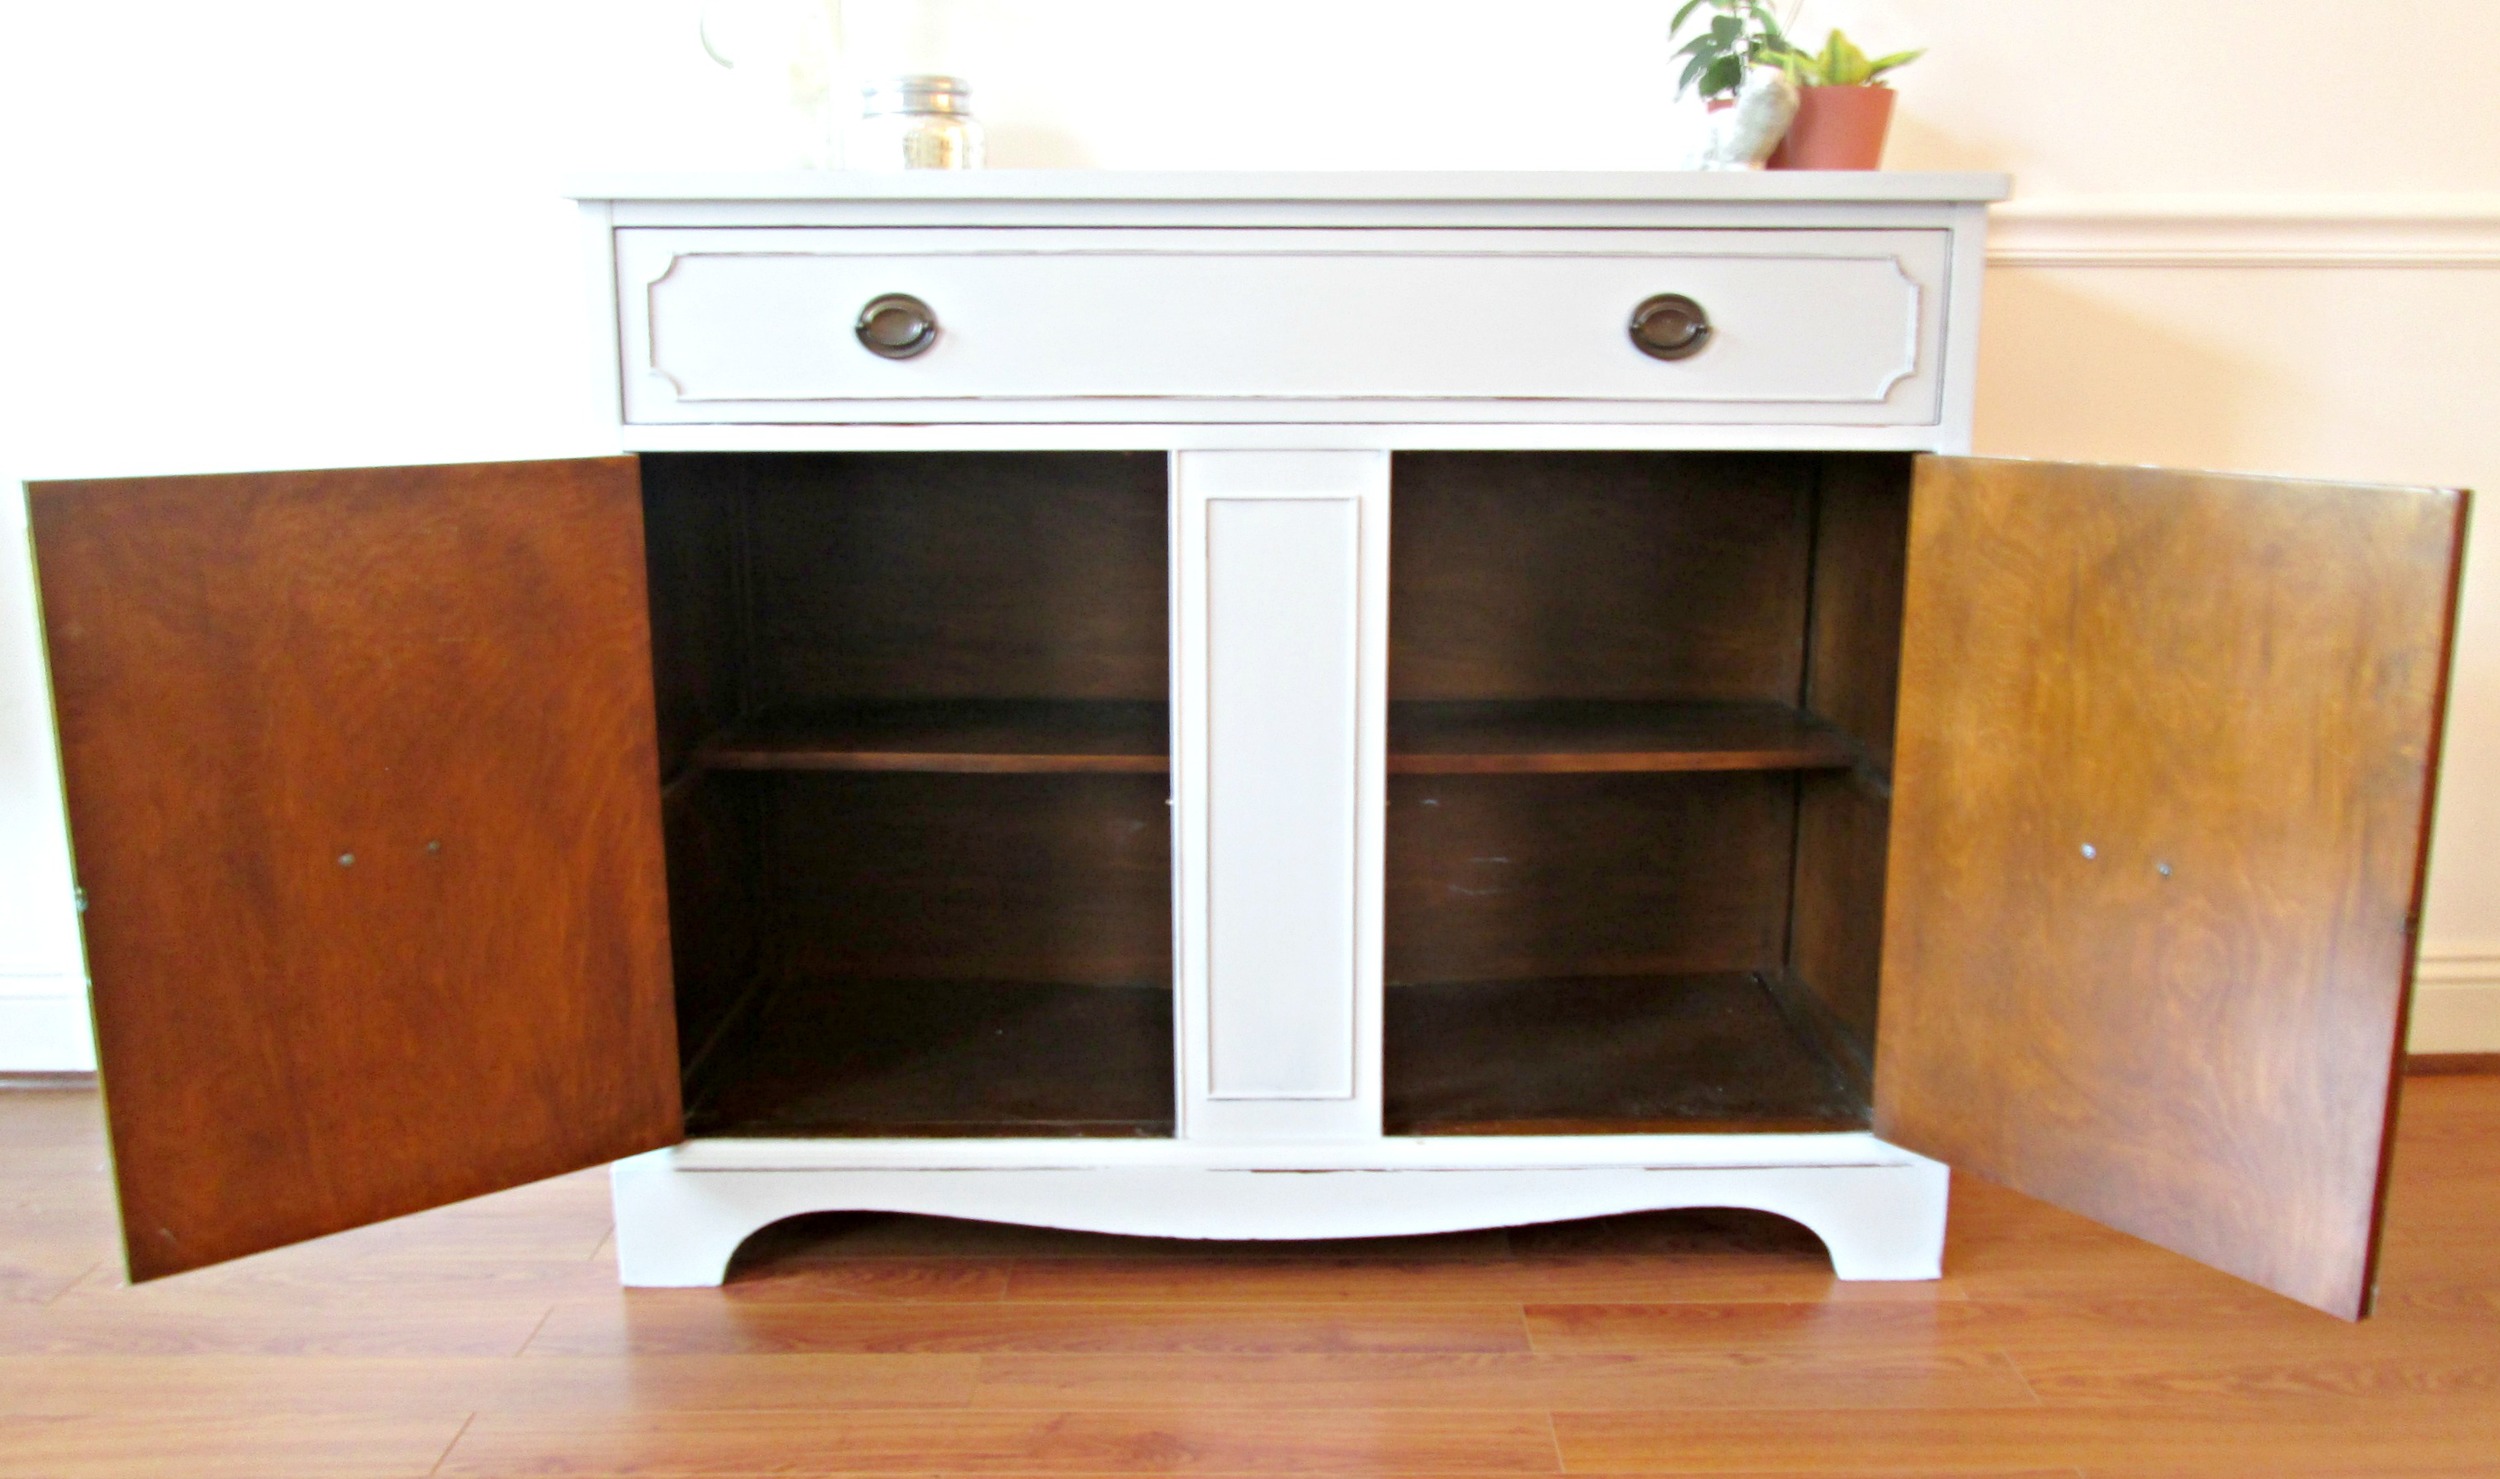
BEFORE
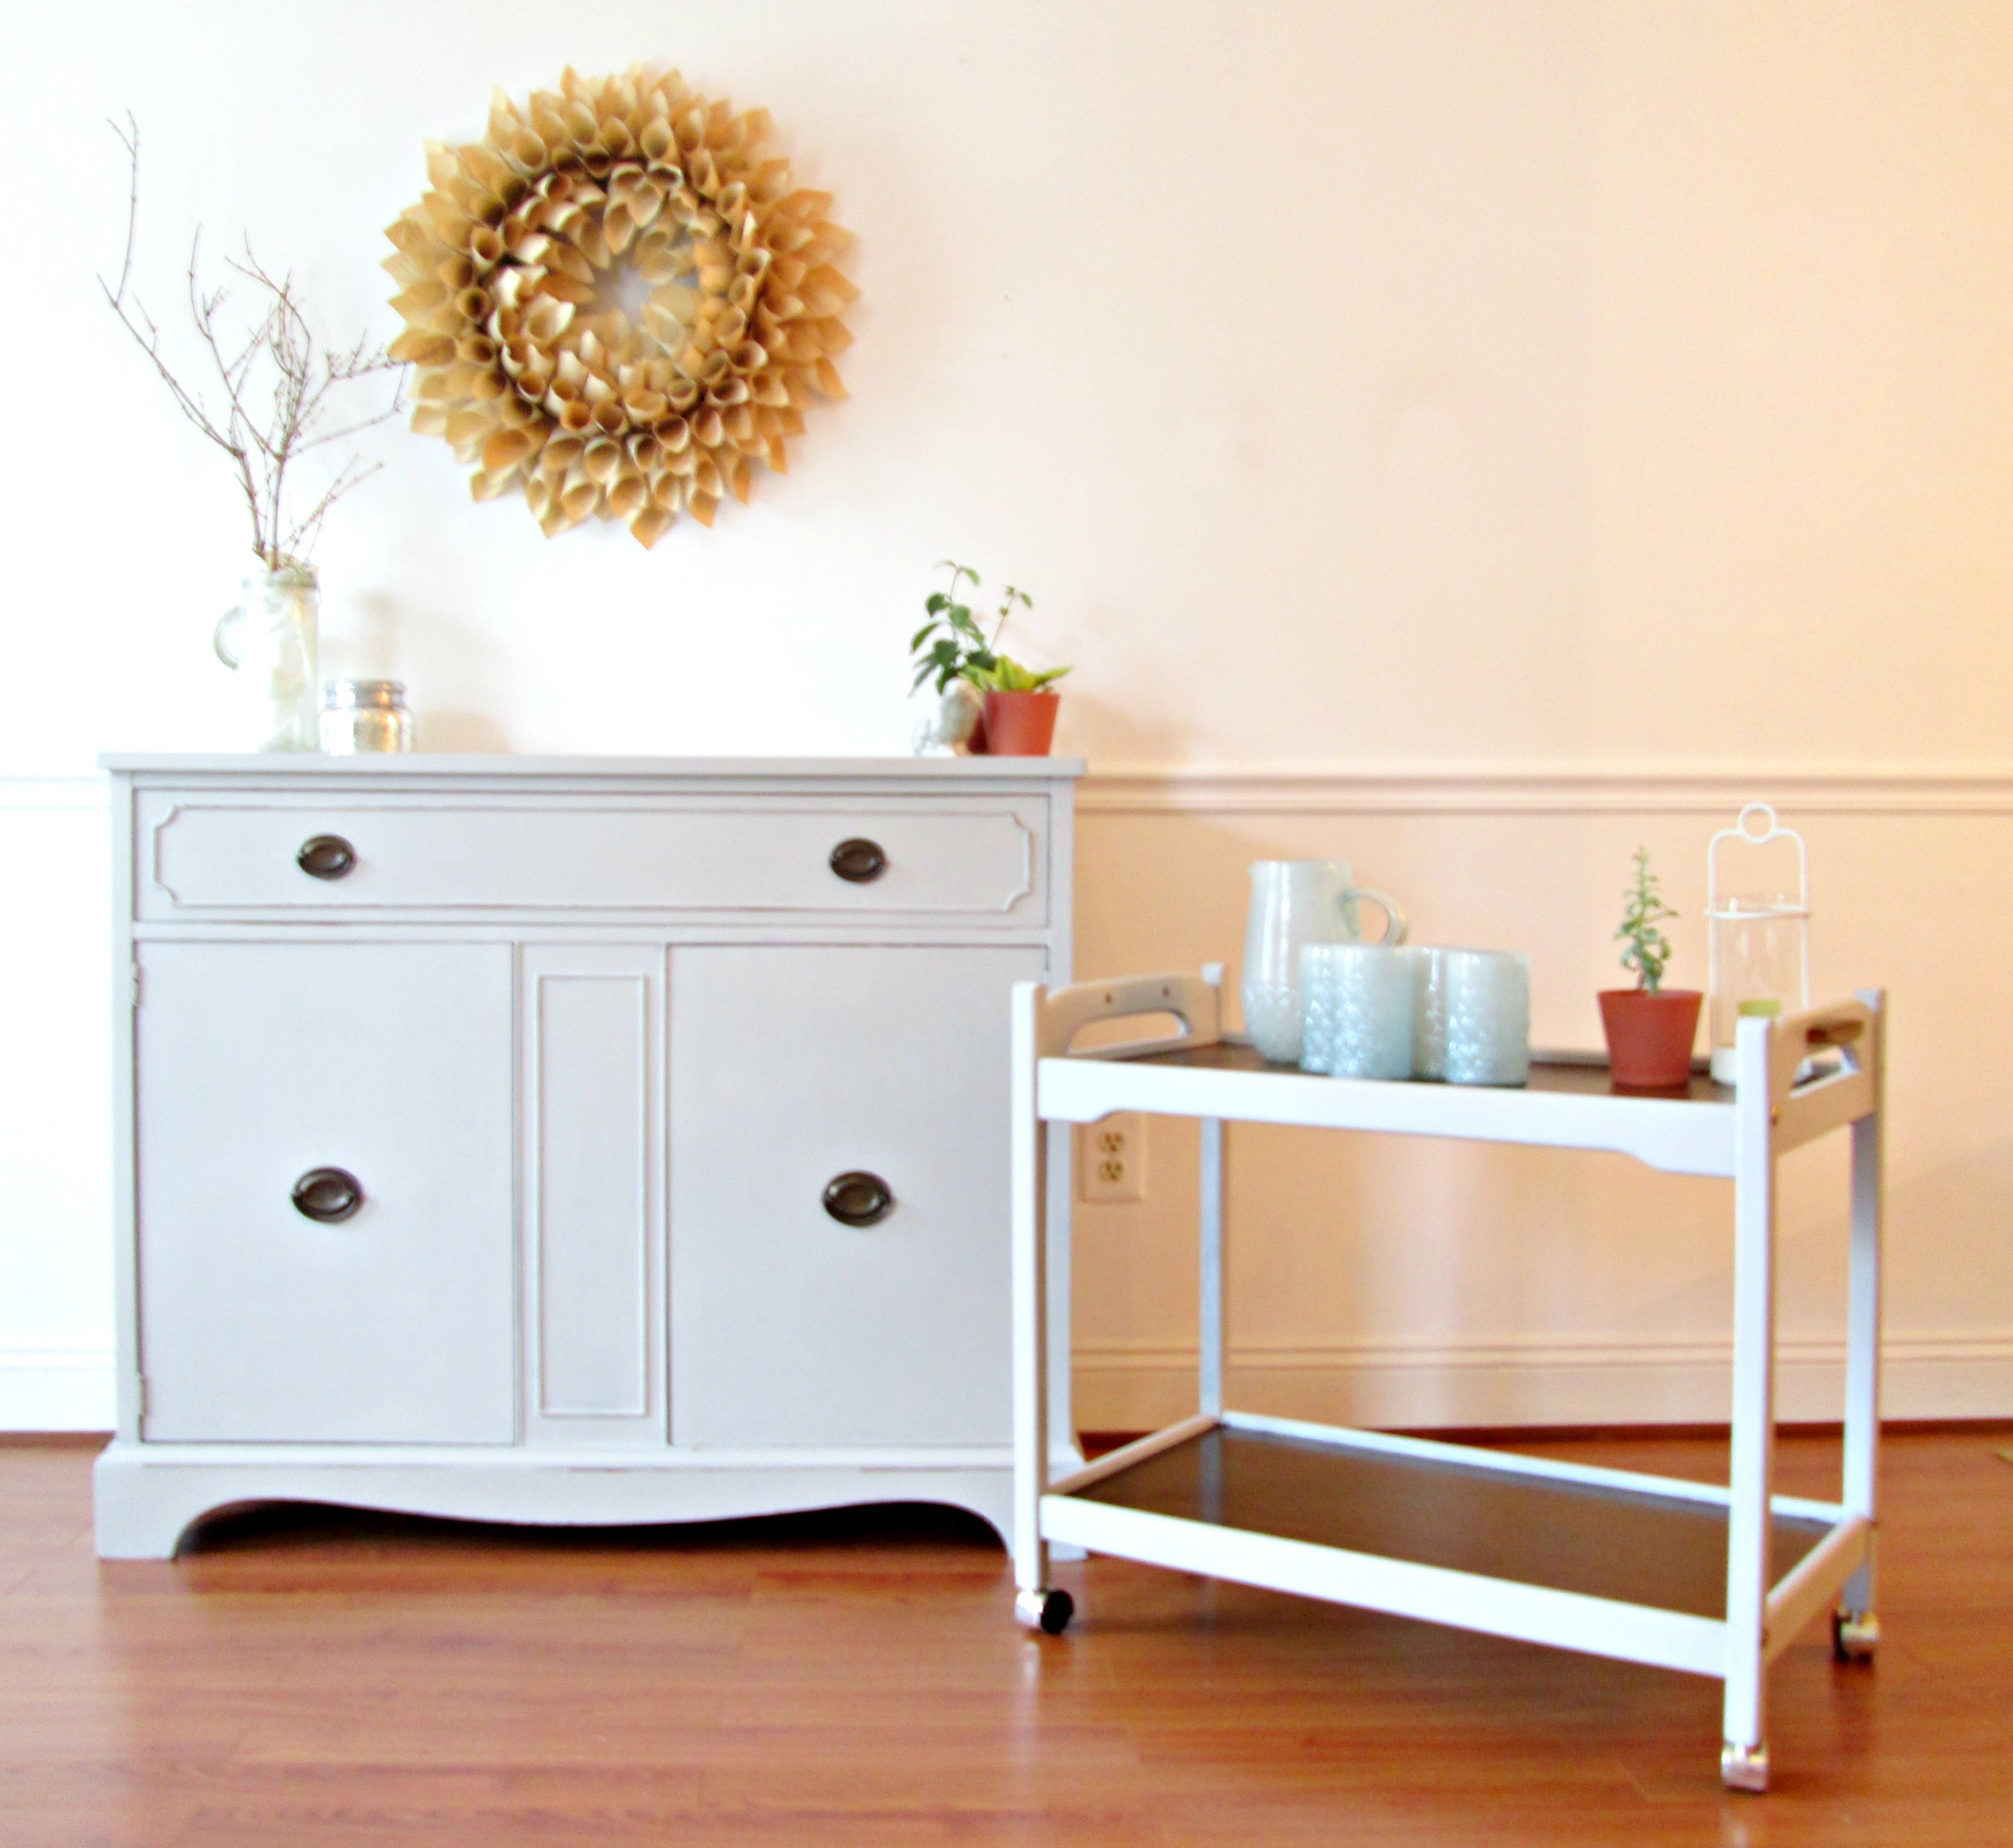
AFTER

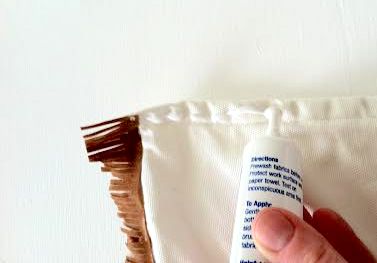
I really wanted to maintain the traditional integrity of the buffet and decided to go with a classic color - a very soft, creamy grey. One of my favorite custom color mixes is Paris Grey and Old White, (both by Annie Sloan Chalk Paint), about equal parts of both. Rather than do any deep distressing, I just painted on two solid coats, applied the clear wax with a brush, and then buffed with a clean cloth. When buffing, I pressed a little harder with my cloth along the edges and details to pull some of the paint away, but it's nothing harsh.

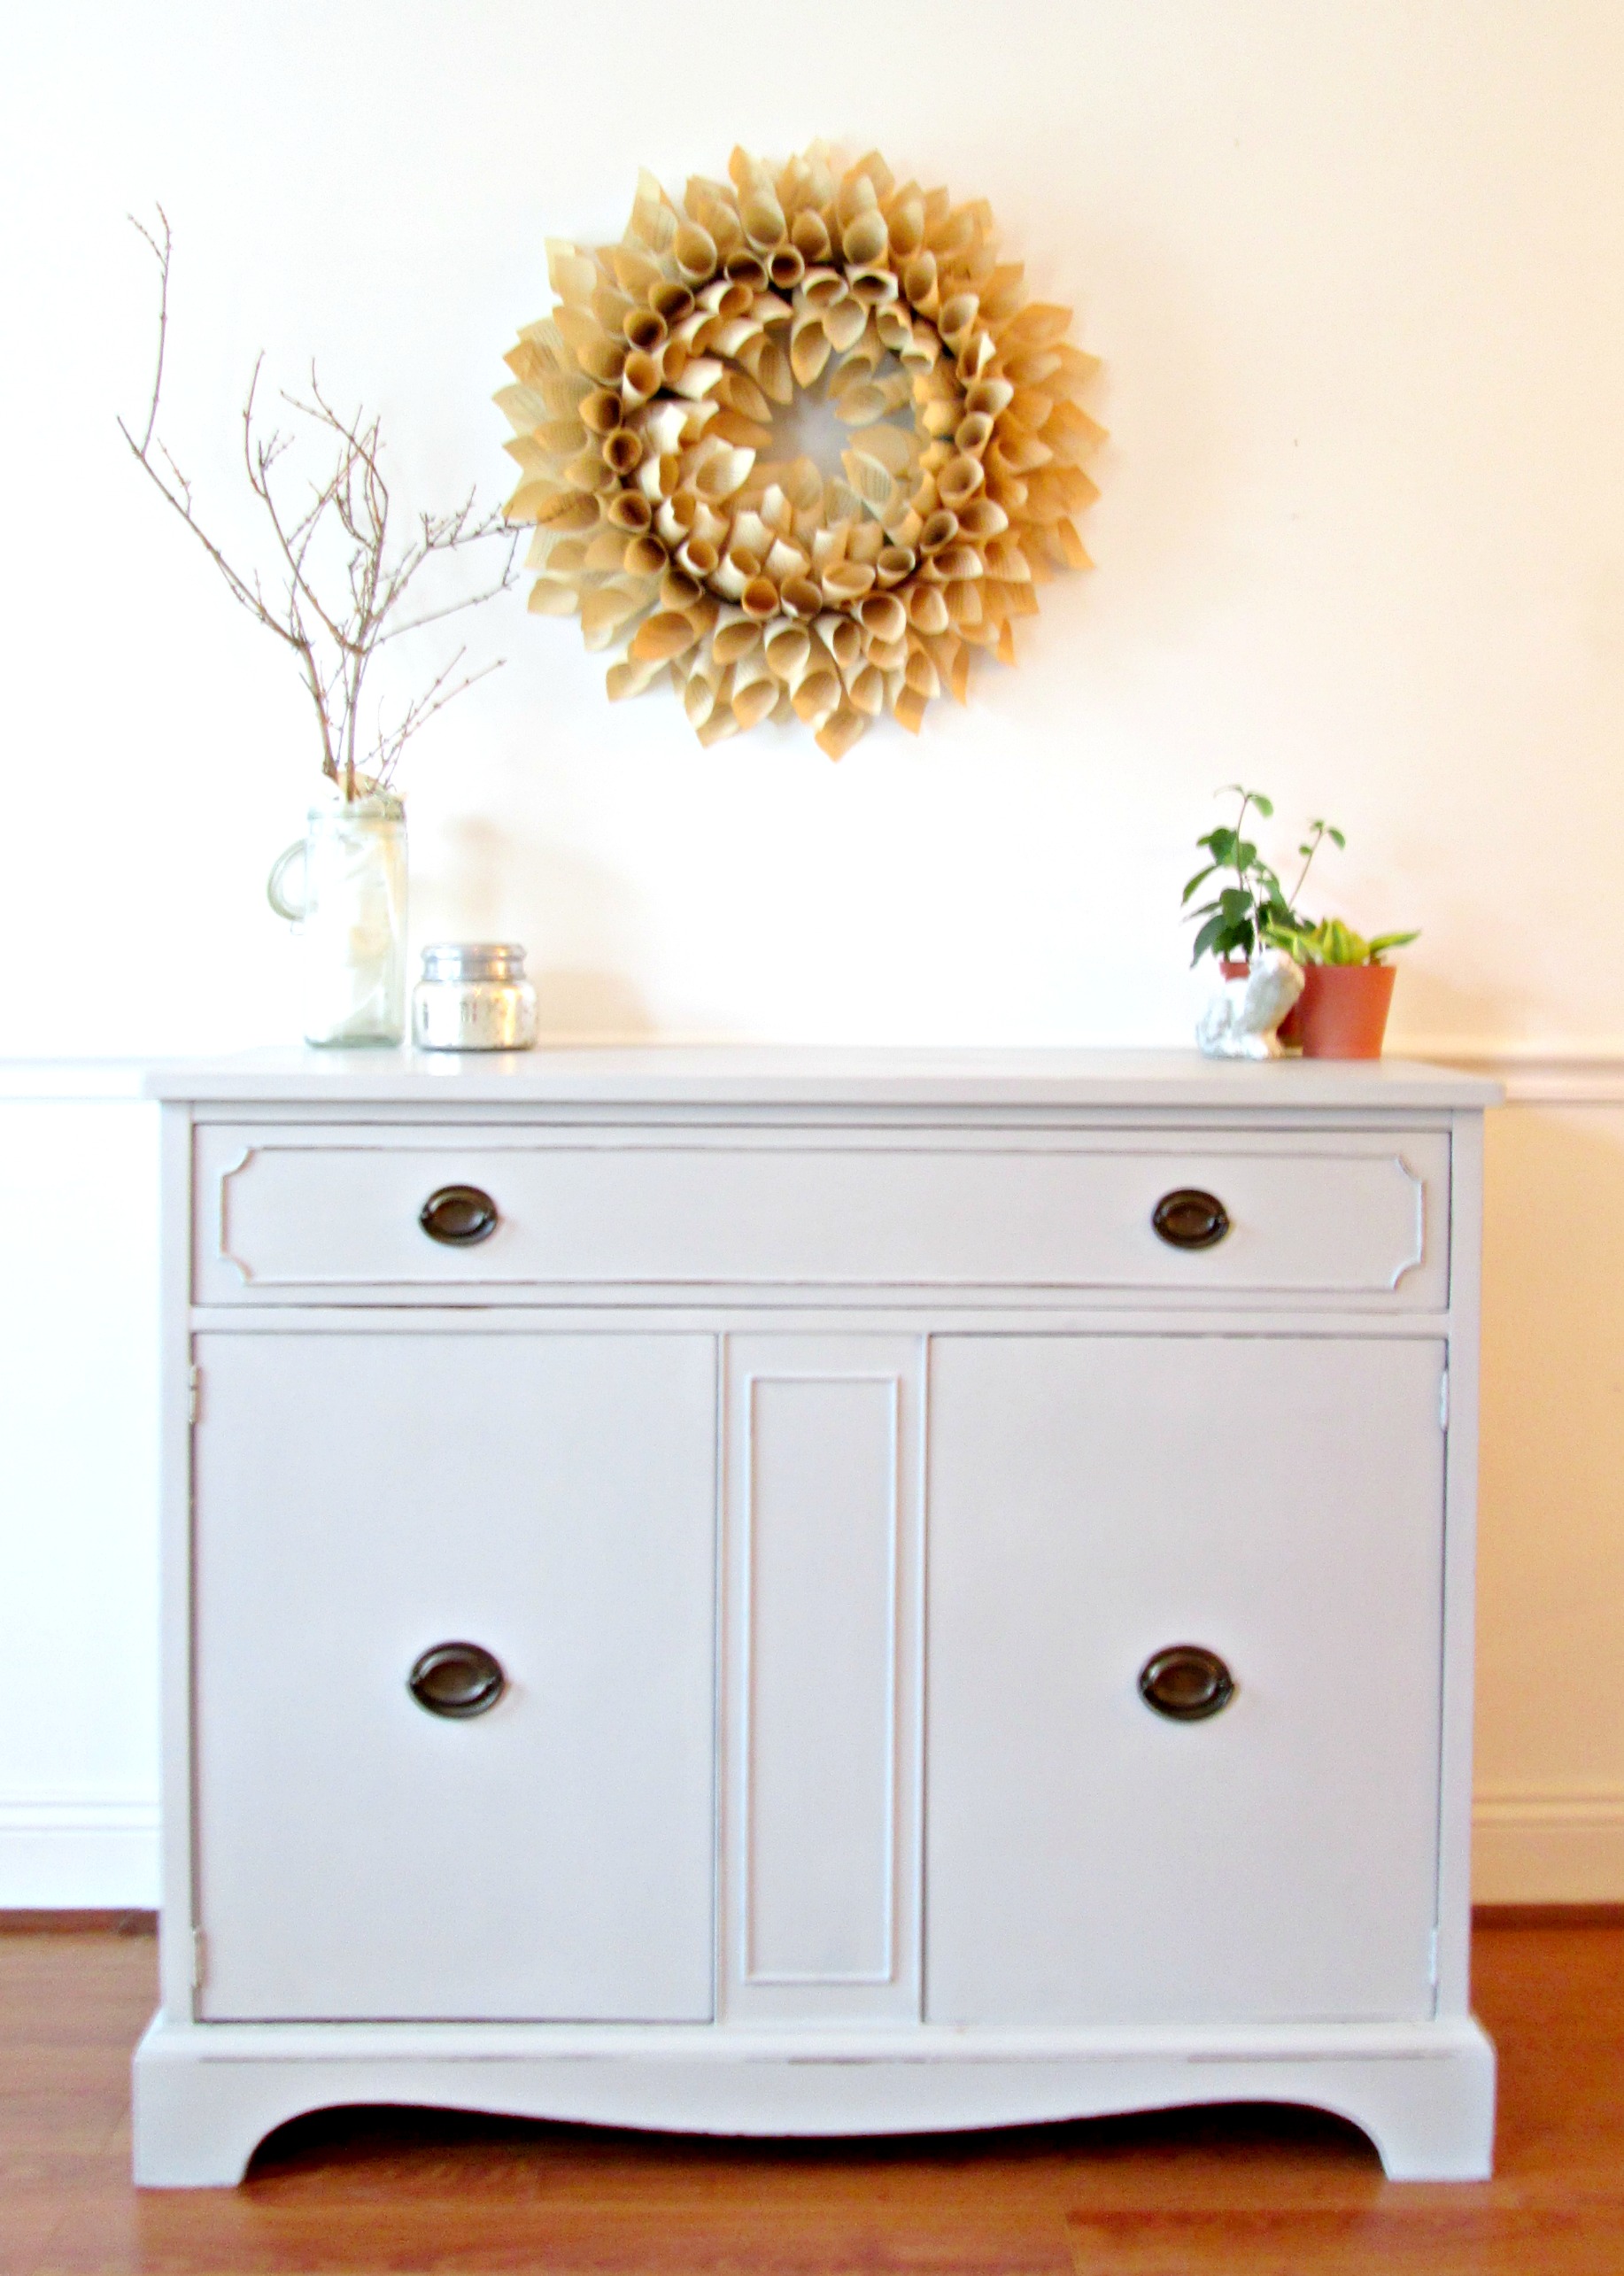
Seems a typical, lightly distressed grey buffet, right? But wait! There's more...

I'm not a totally traditional gal - I appreciate traditional pieces and design, but I personally prefer to put soft, unexpected 'twists' on such classic styles. Nothing that screams "whoa there, big fella!", (name that Seinfeld episode), but enough to give such sophisticated pieces a more casual, edgy look. I am in debt to Cate for helping me with this one - I knew I wanted to do something a little different with this piece, but I really didn't want to cross the crazy line. Cate's fresh eyes were so helpful and when she suggested leaving the inset panels in their natural wood state, I knew she'd hit the nail on the head. It was just enough of a twist without going overboard, maintaining the classic integrity of the piece.
And with a matching bar cart to boot, we're quite classy, indeed, today!
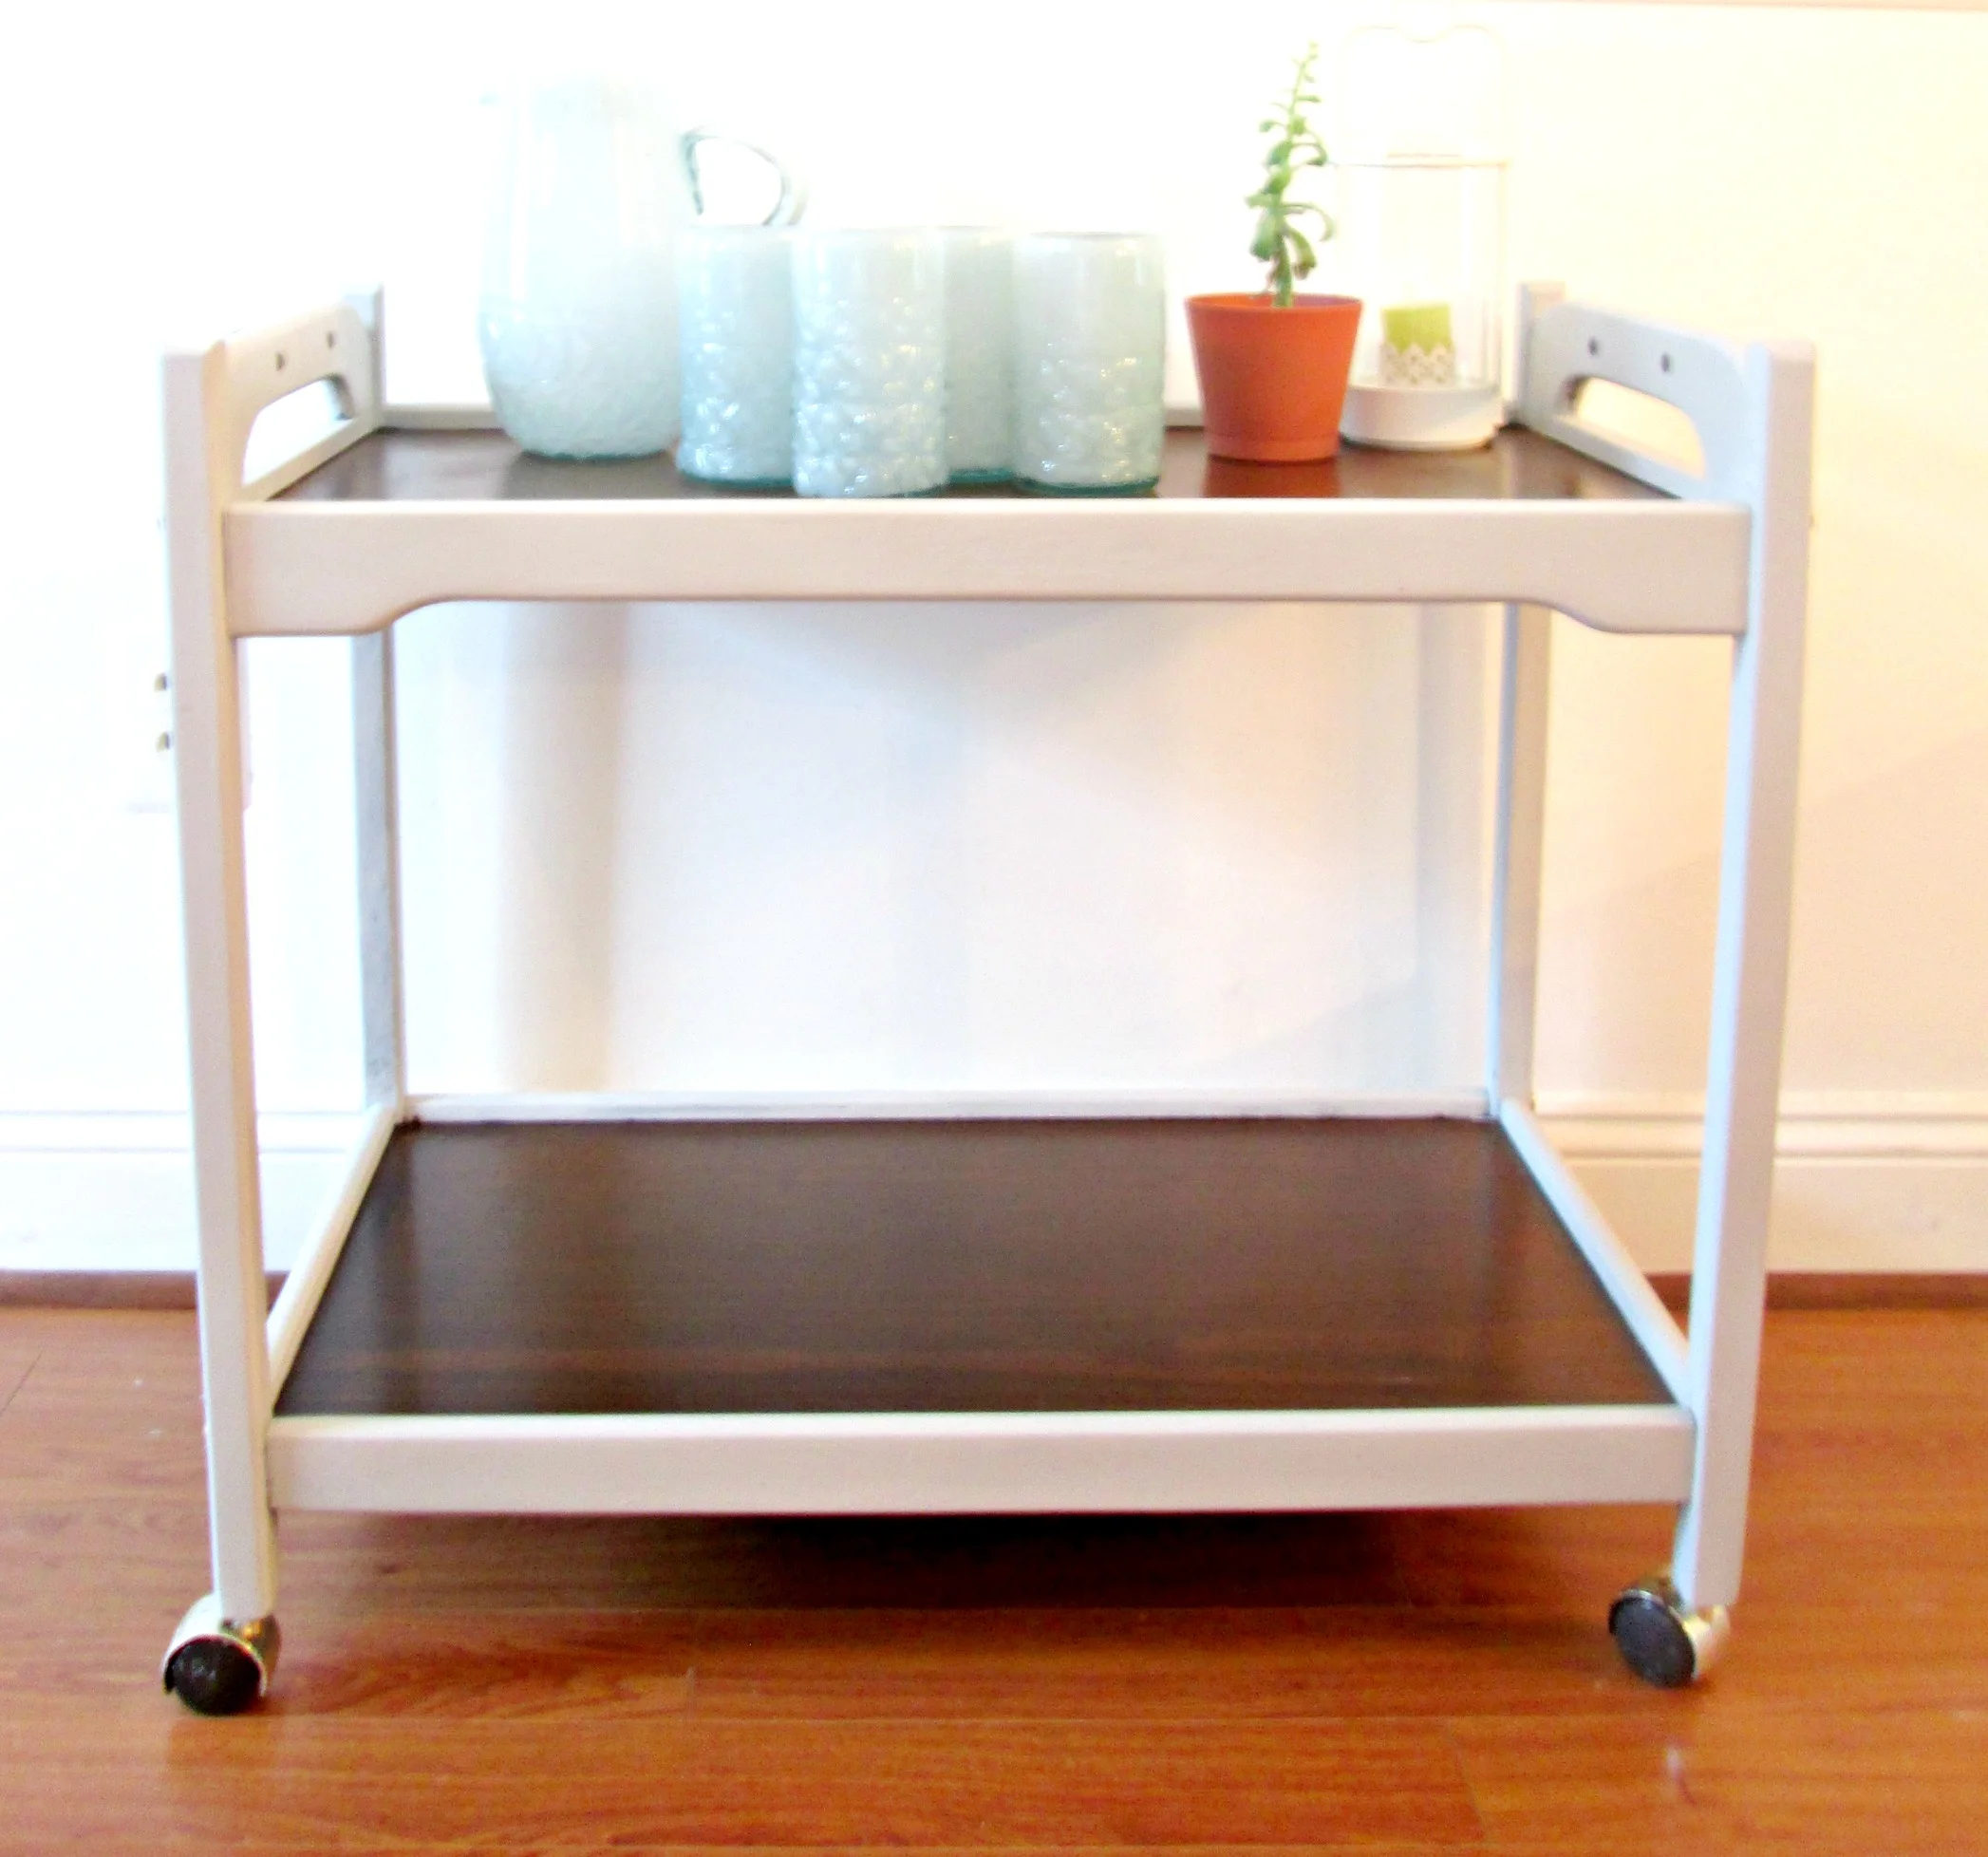
For a touch of glam I added aged brass pulls which I had removed from another piece last month. It was one of the easiest updates considering the impact they add to the simple cart. (NEVER throw out old hardware...unless you feel it's truly quite hideous!)


This set is now available for sale, $525. Email me at chelsea@stylemutthome.com if interested!
To see what else we've got for sale please hop over and browse our Garage Shop!
Enjoy your weekend and thank you for stopping by!