"You gotta keep em' separated"

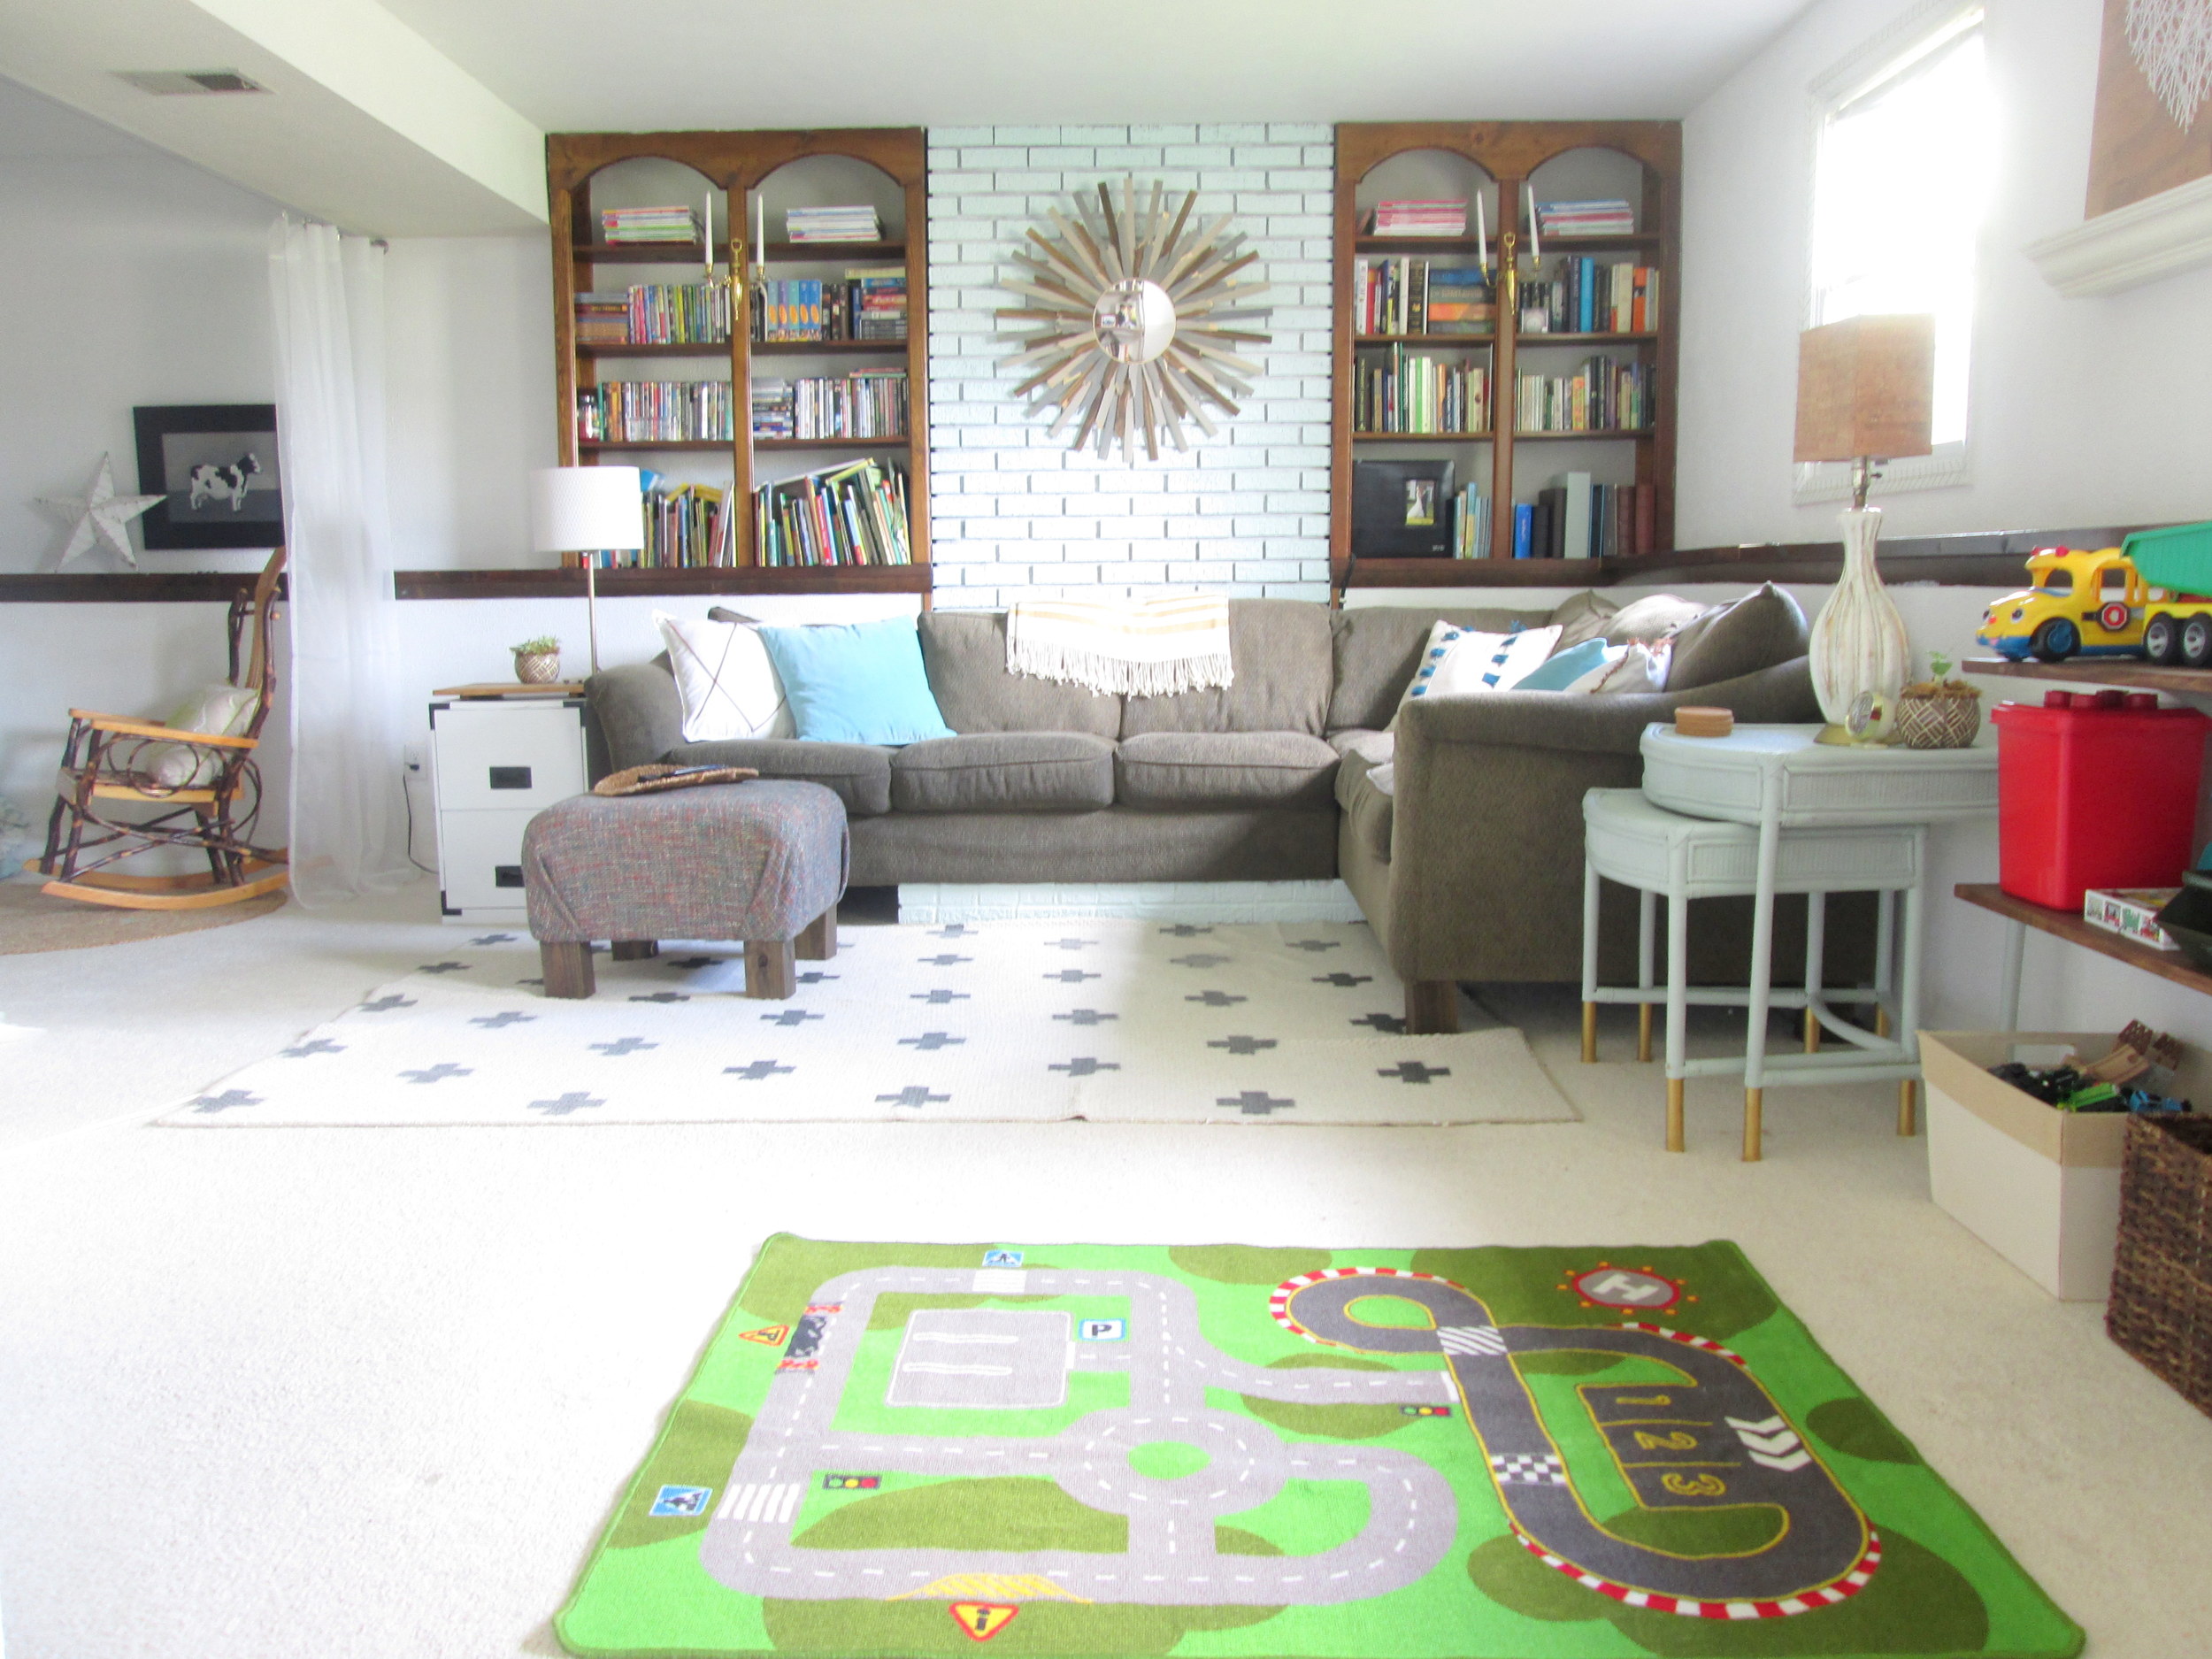
Deepest apologies for the outdated Offspring reference in the title. Today we're discussing room separation and I couldn't get that song, (which is etched into most of my memories from middle school), out of my head. Yesterday we took a trip down to our basement where I shared some new built-in shelves  and we're going to stay down there again today! Our L-shaped basement is our go-to place for family time, (see a full tour of this room on our Spaces page). But, it's also where our guest room is! We are so grateful to have a little place for guests to stay, but I wanted to make the spot feel a little more private since it's technically out in the open. 

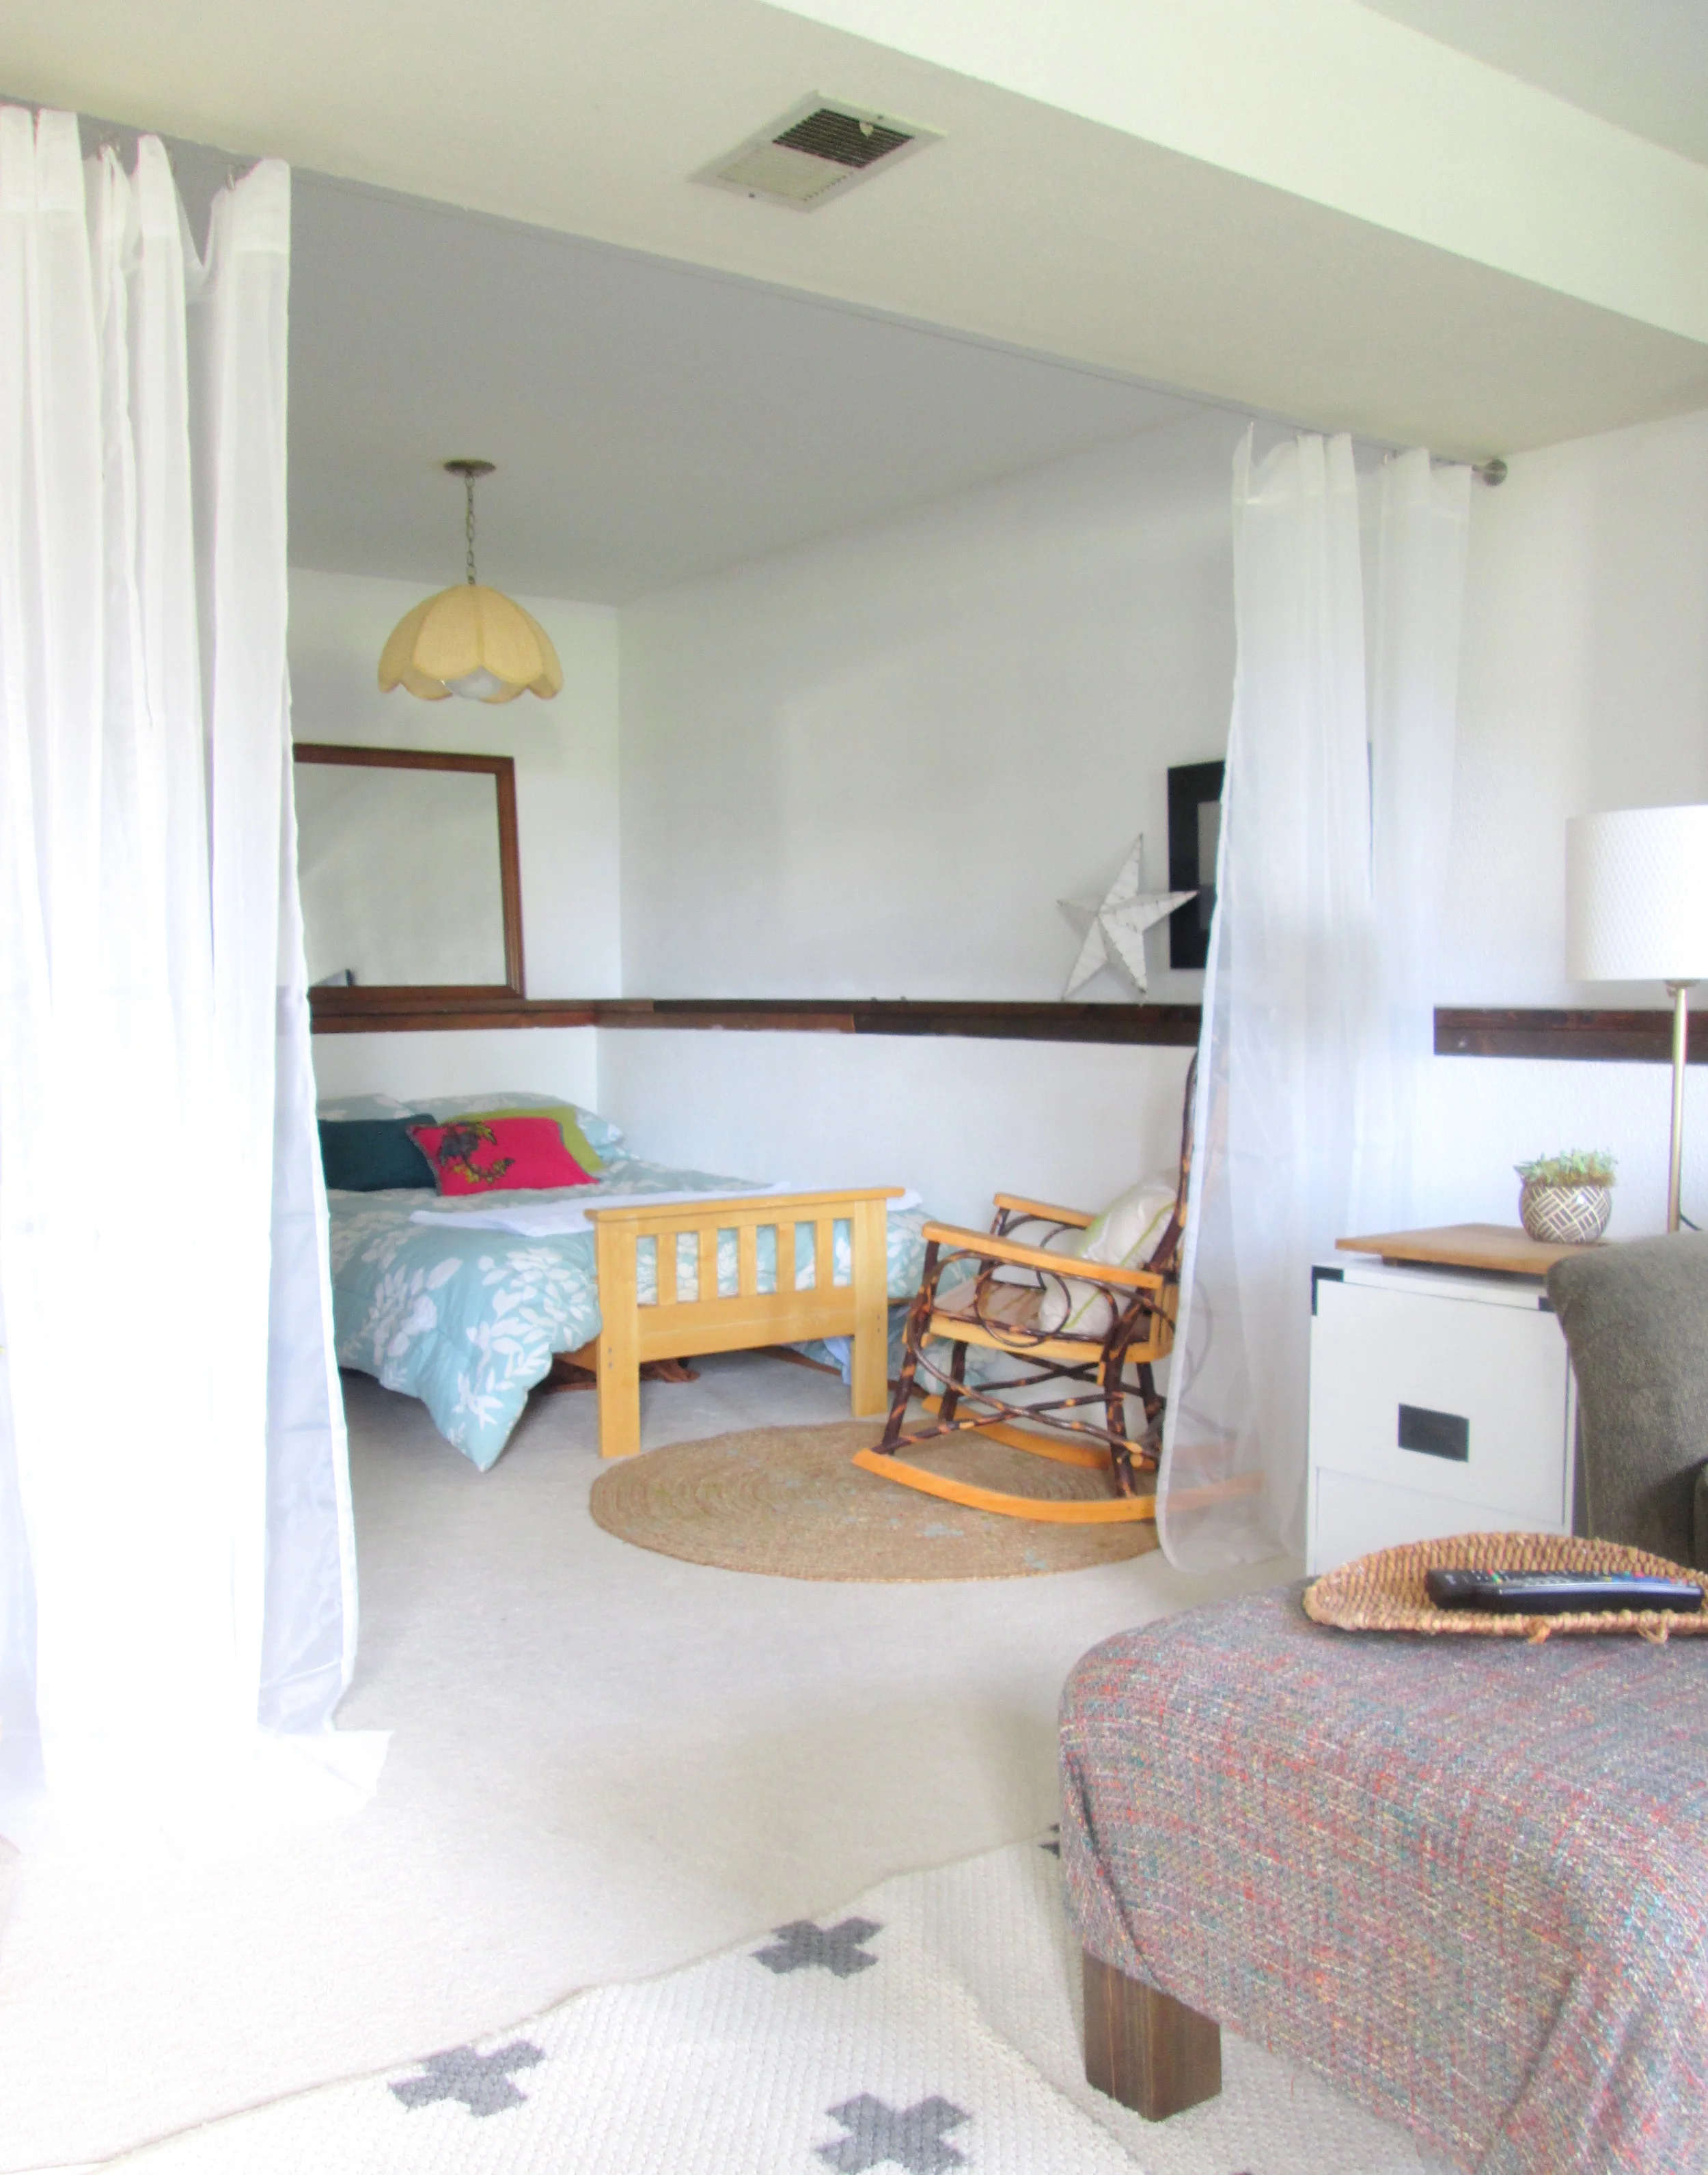
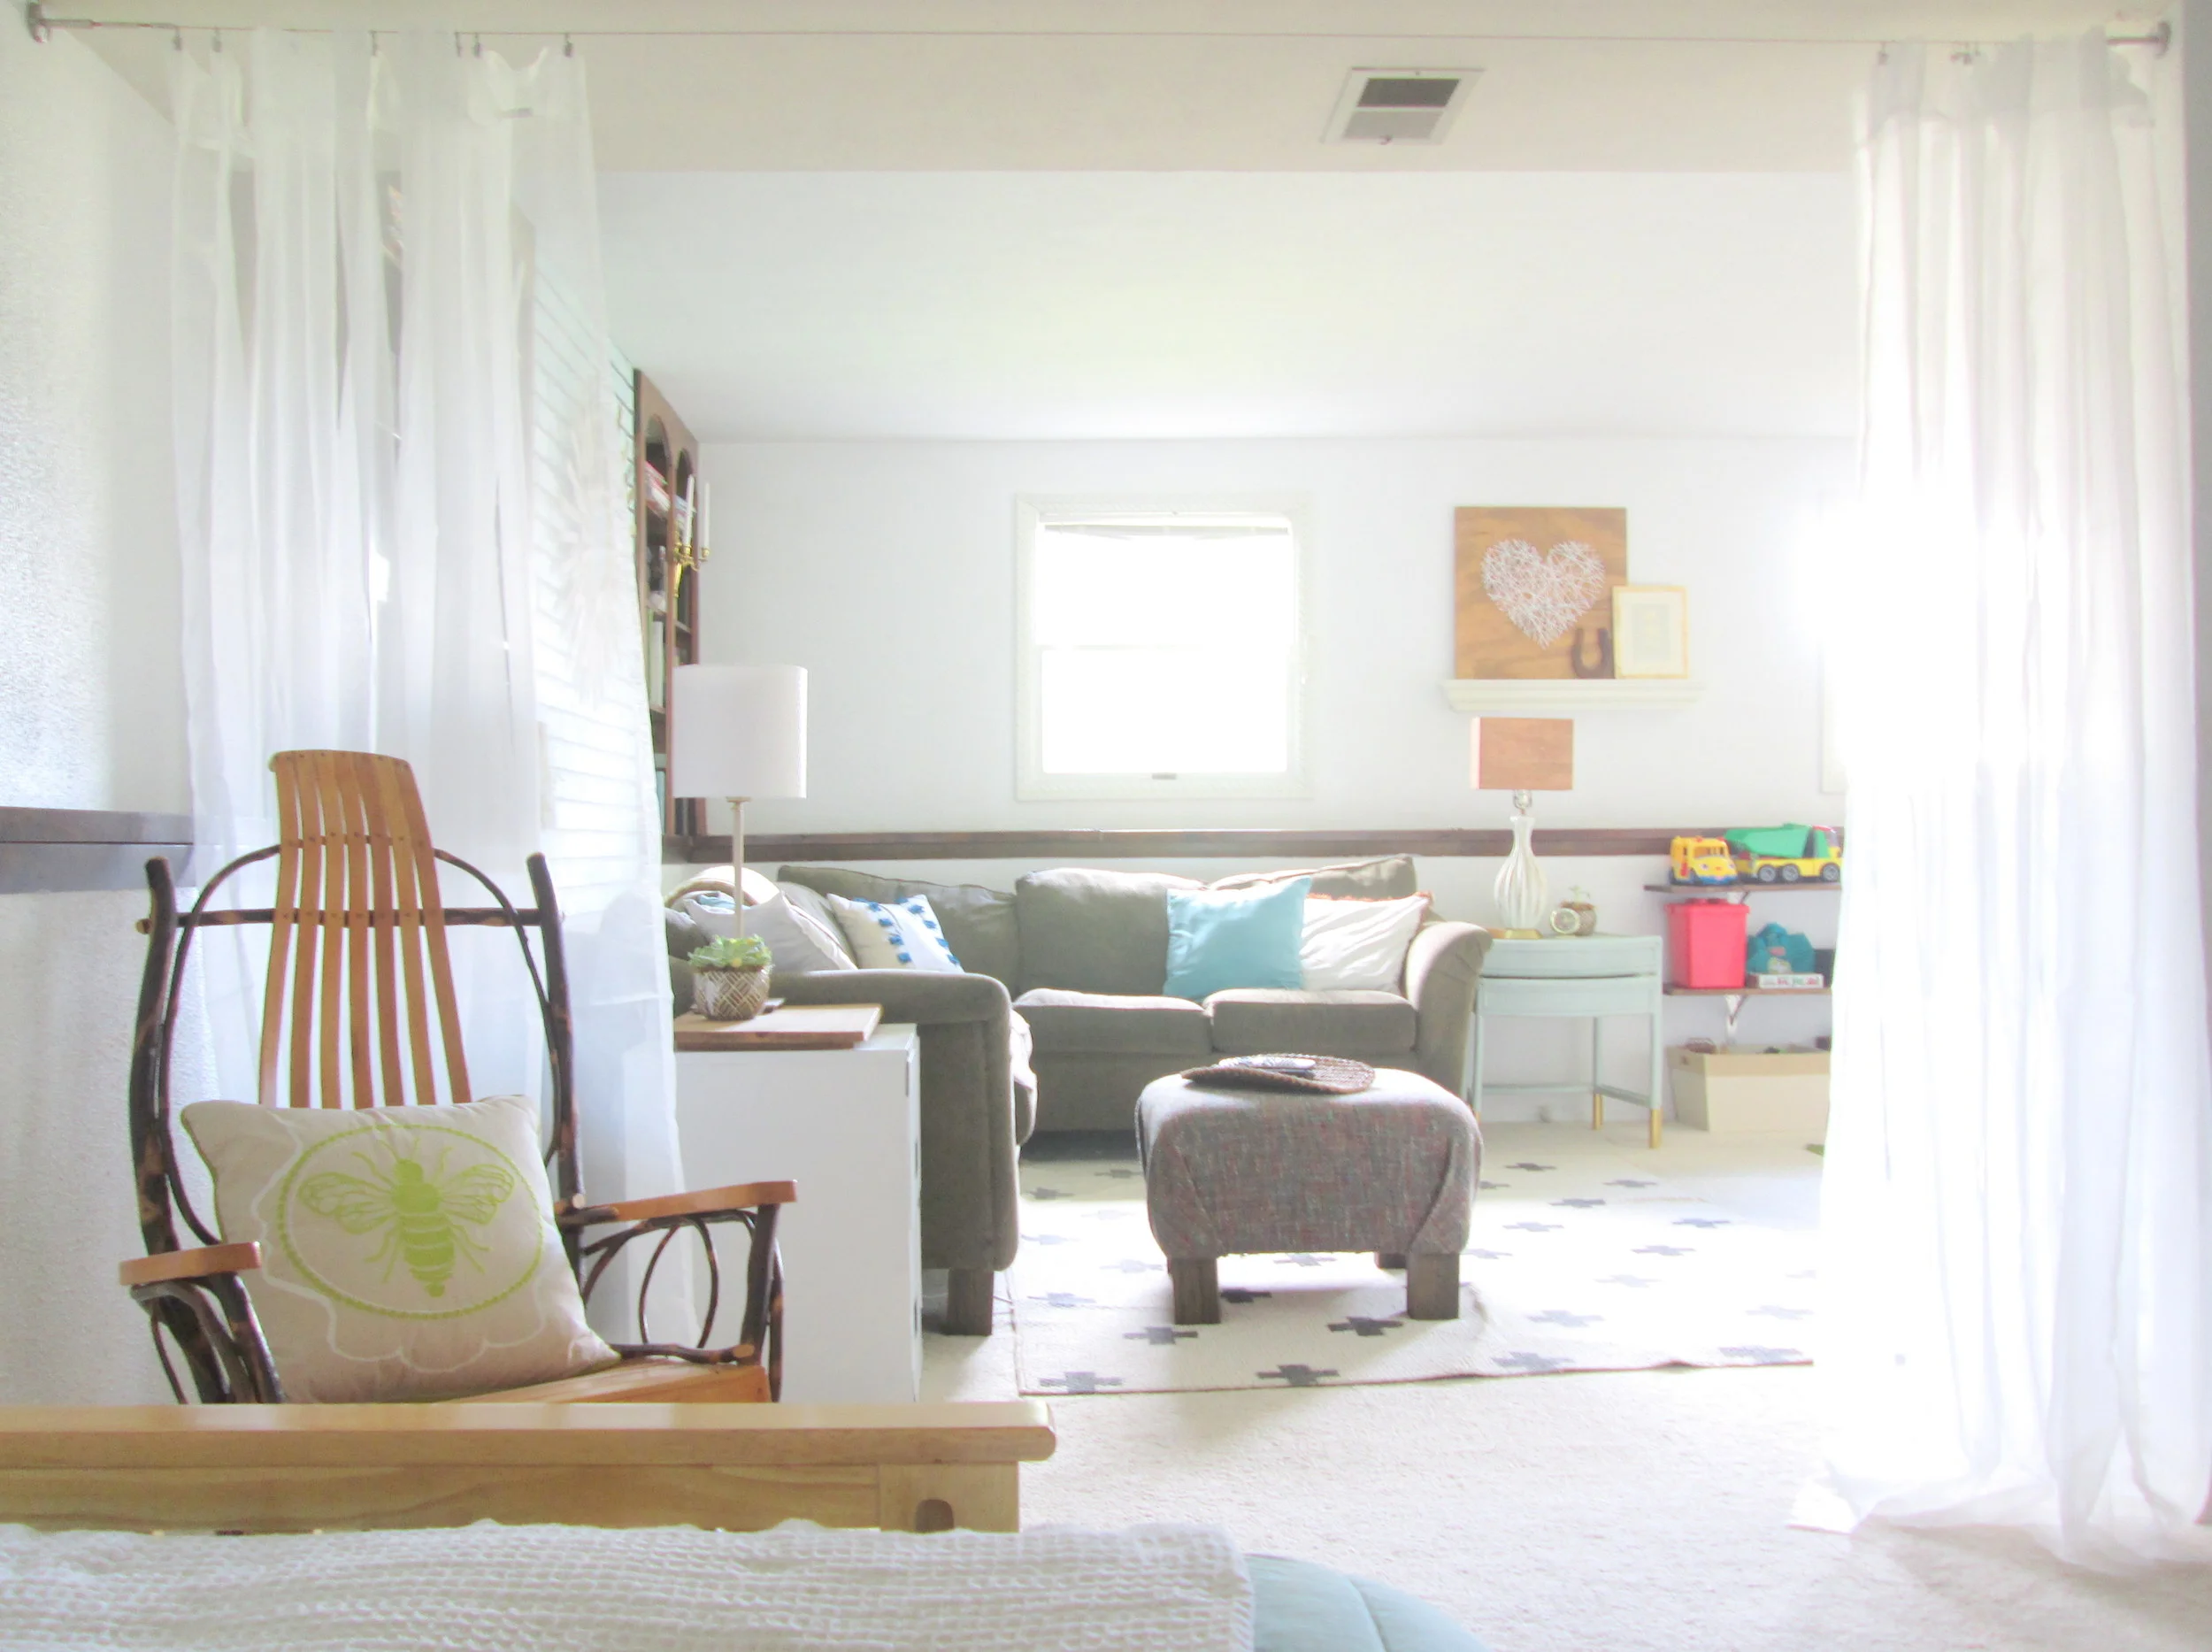
To create a bit of separation I hung 4 sheer white panels of IKEA TERESIA curtains using two DIGNITET curtain wires attached to the wall.

As seen on IKEA's site:

These were really simple to hang once I understood the instructions, which were par for IKEA. I mean, with IKEA instruction manuals, the whole righty-tighty, lefty-loosey rule goes right out the window. Basic instincts mean nothing, am I right?! All in all, I am so pleased with this solution for a bit of division in our basement. It's not intrusive but rather adds to the aesthetic when you're down there looking from one room to another. And when guests have stayed we've already heard how nice it's been to draw the curtains closed for bedtime!

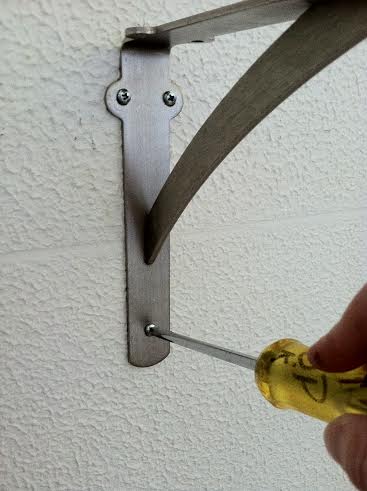
Another view of how it's attached to the wall. The wire line has remained nice and tight, (despite the kids swinging the curtains back and forth daily).

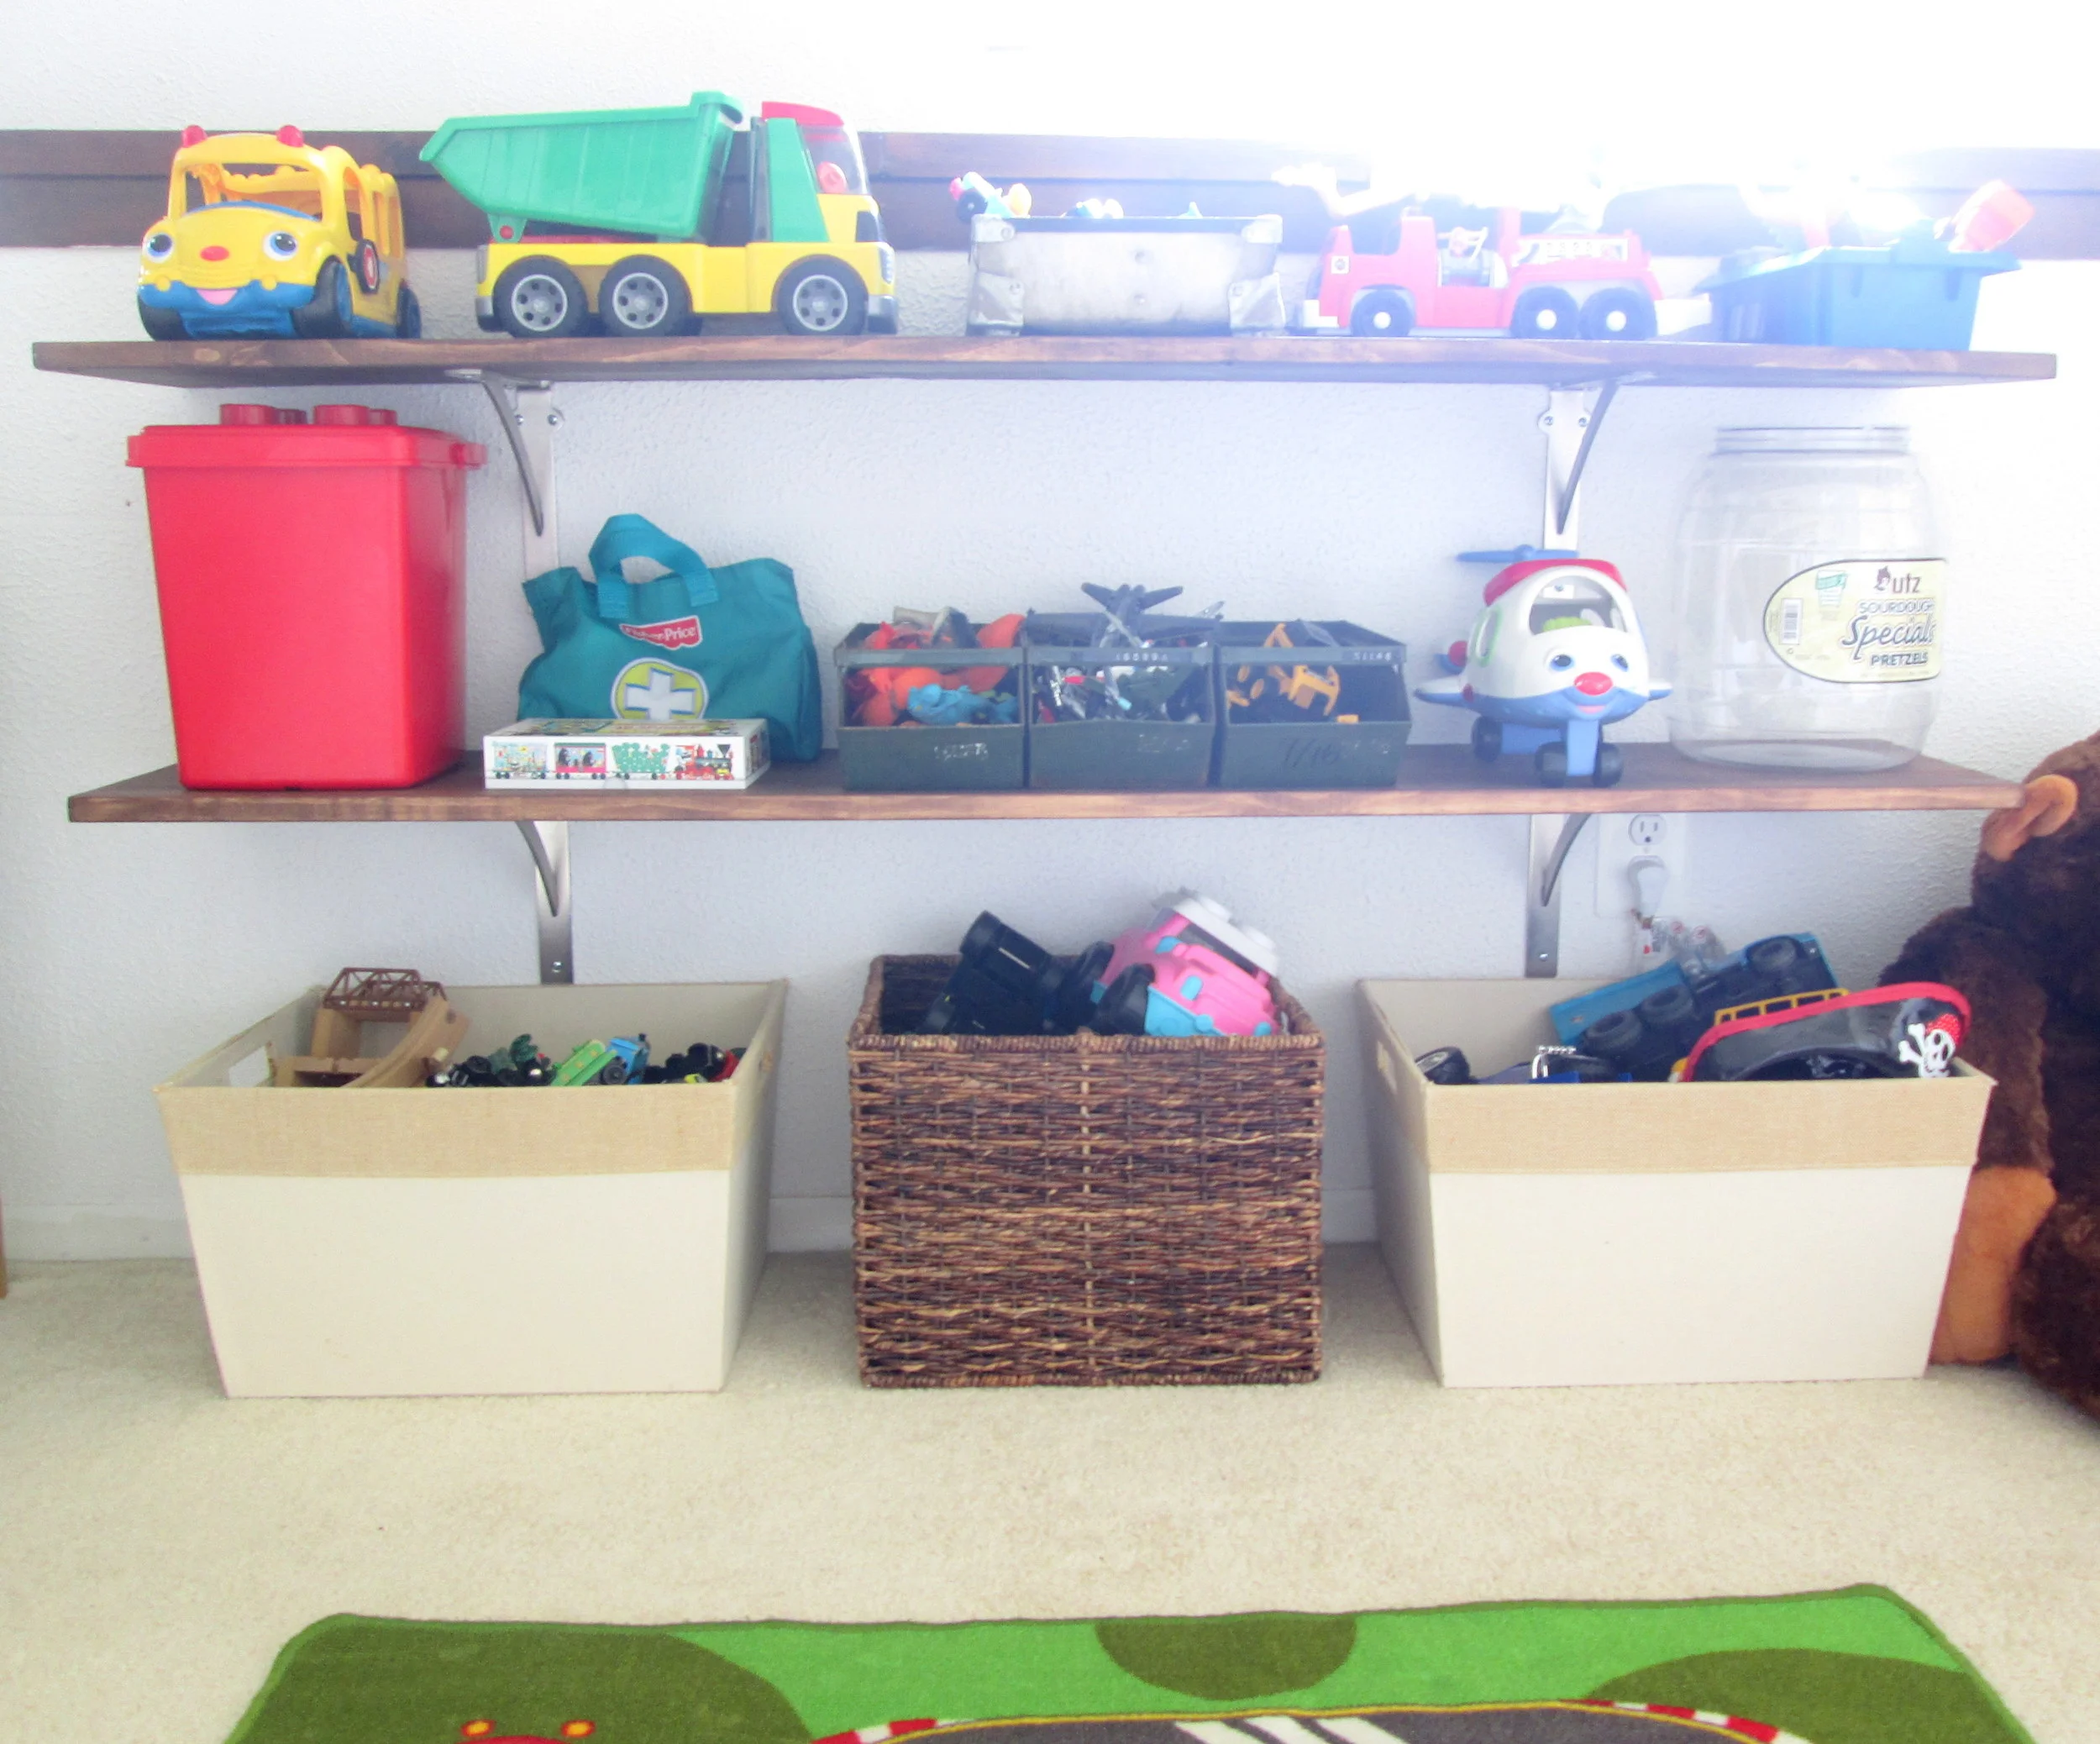
Let's take a little peek around, shall we?

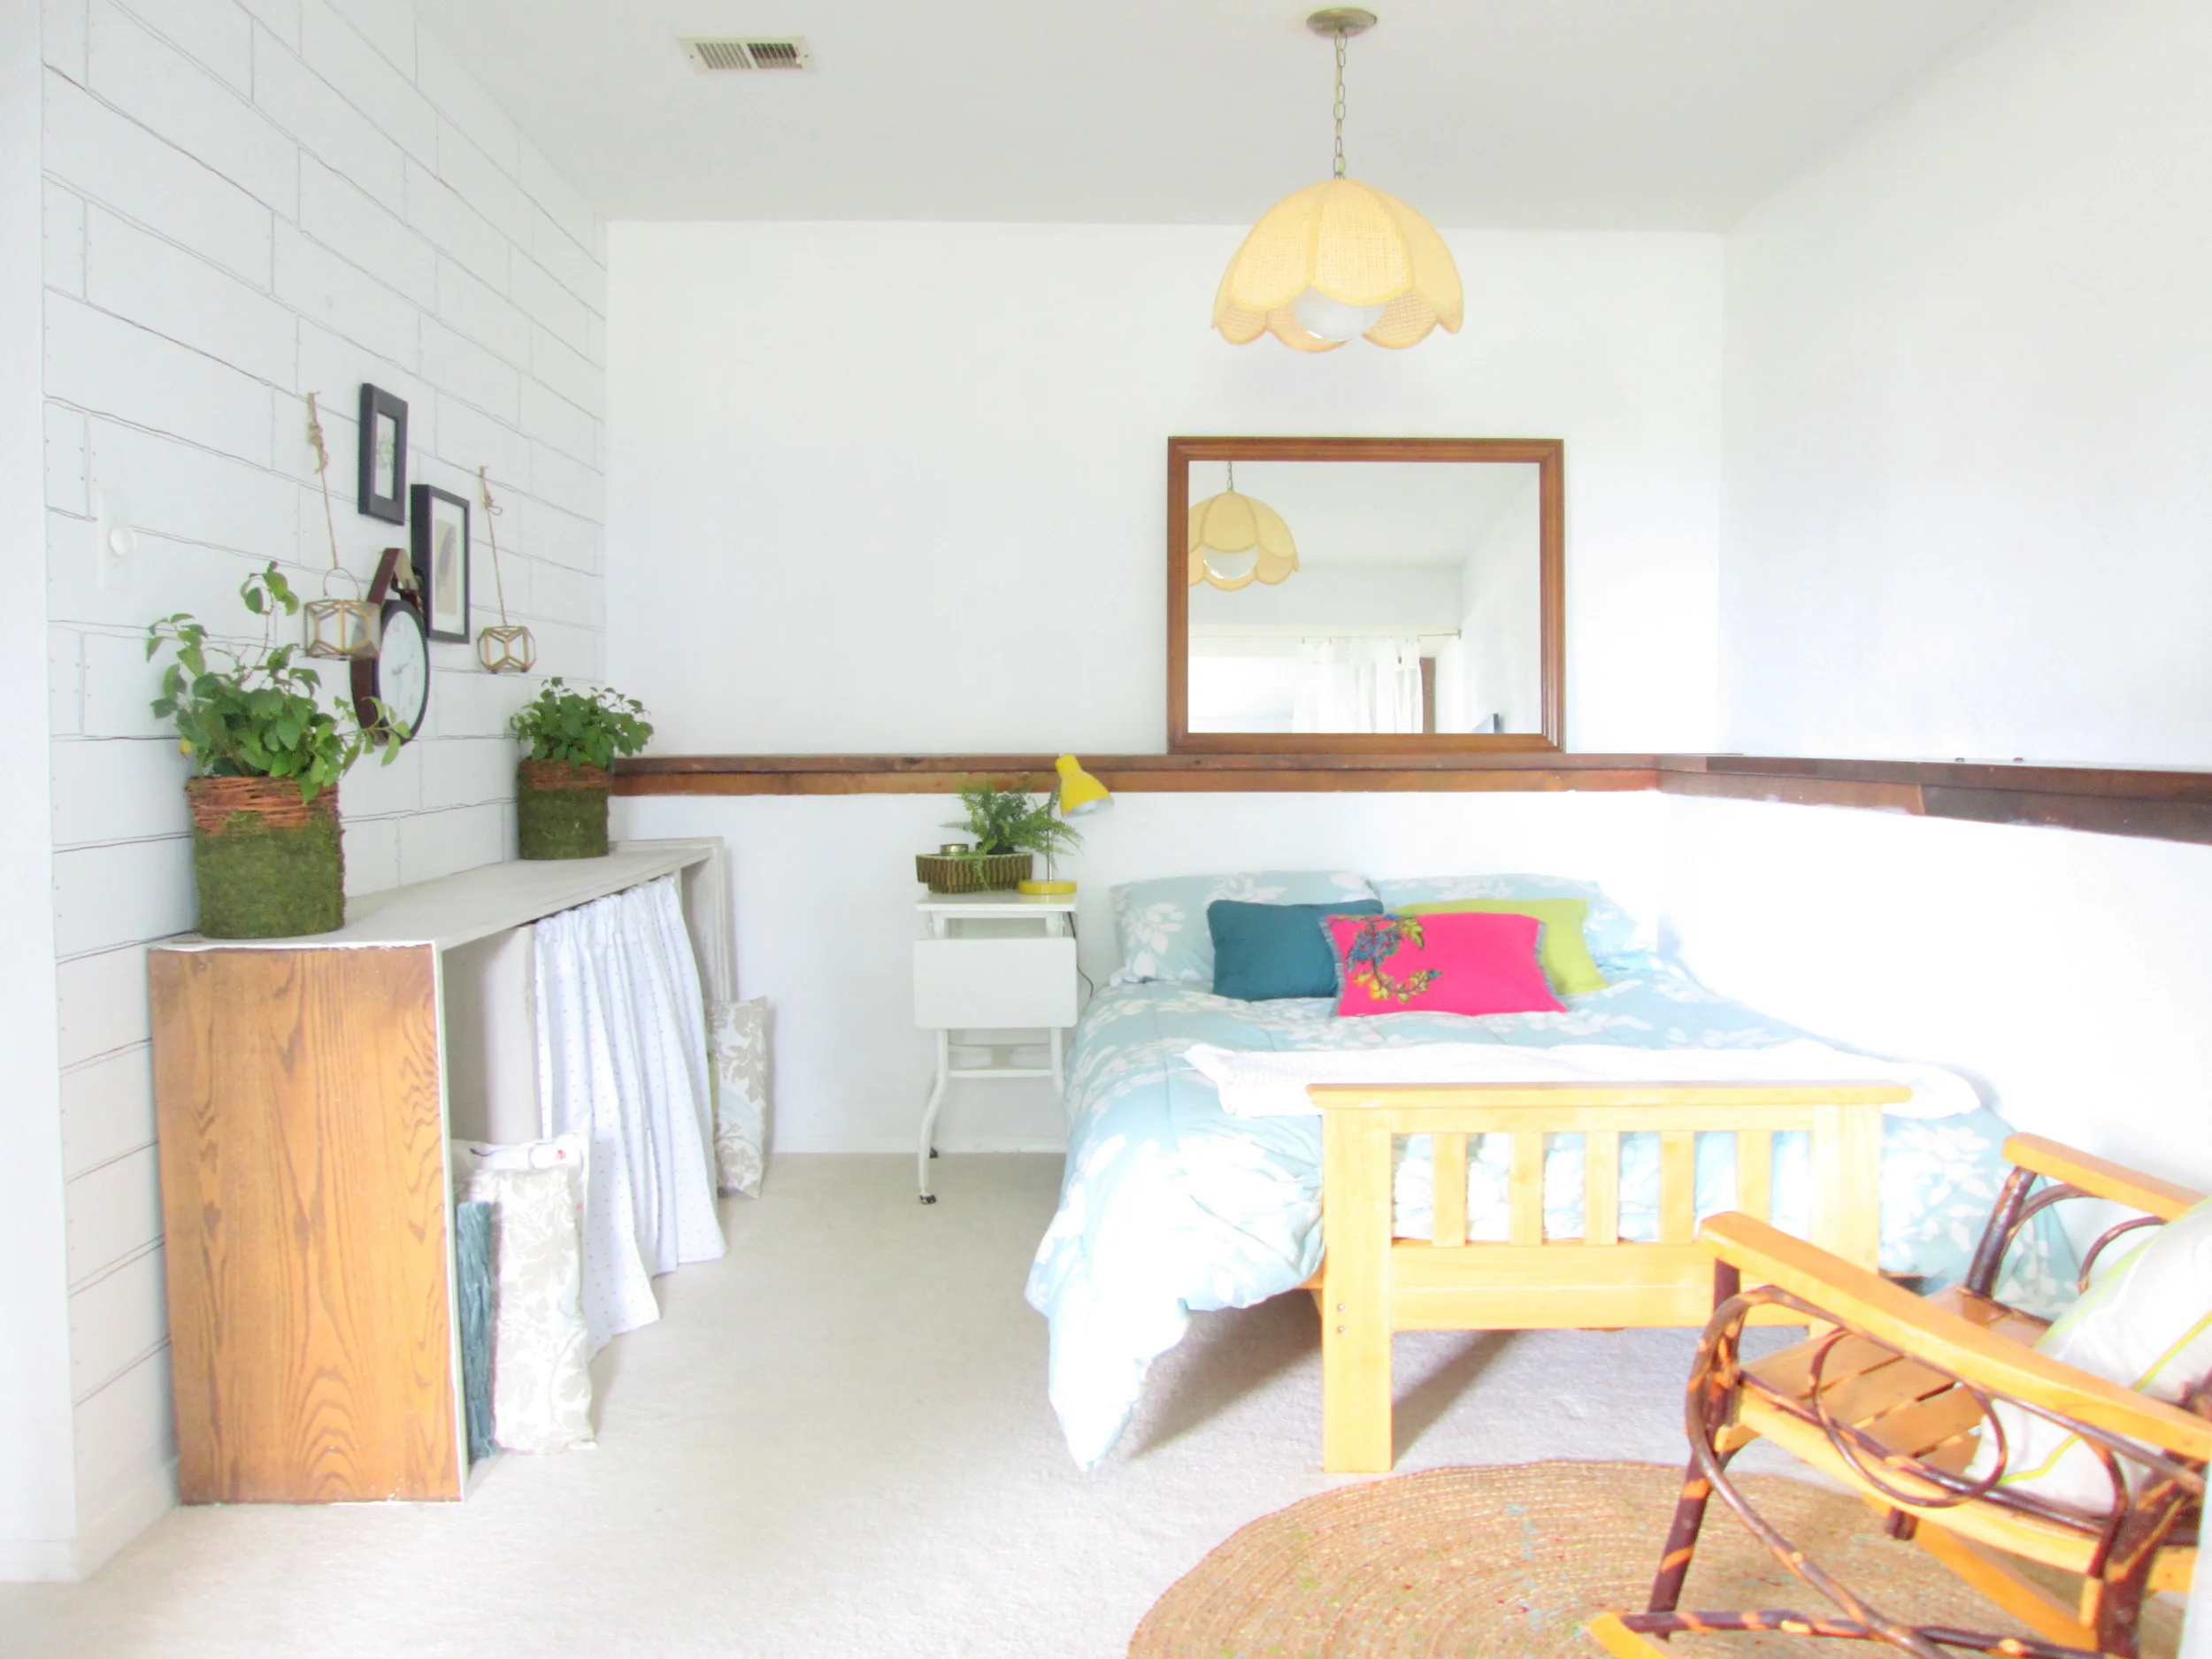
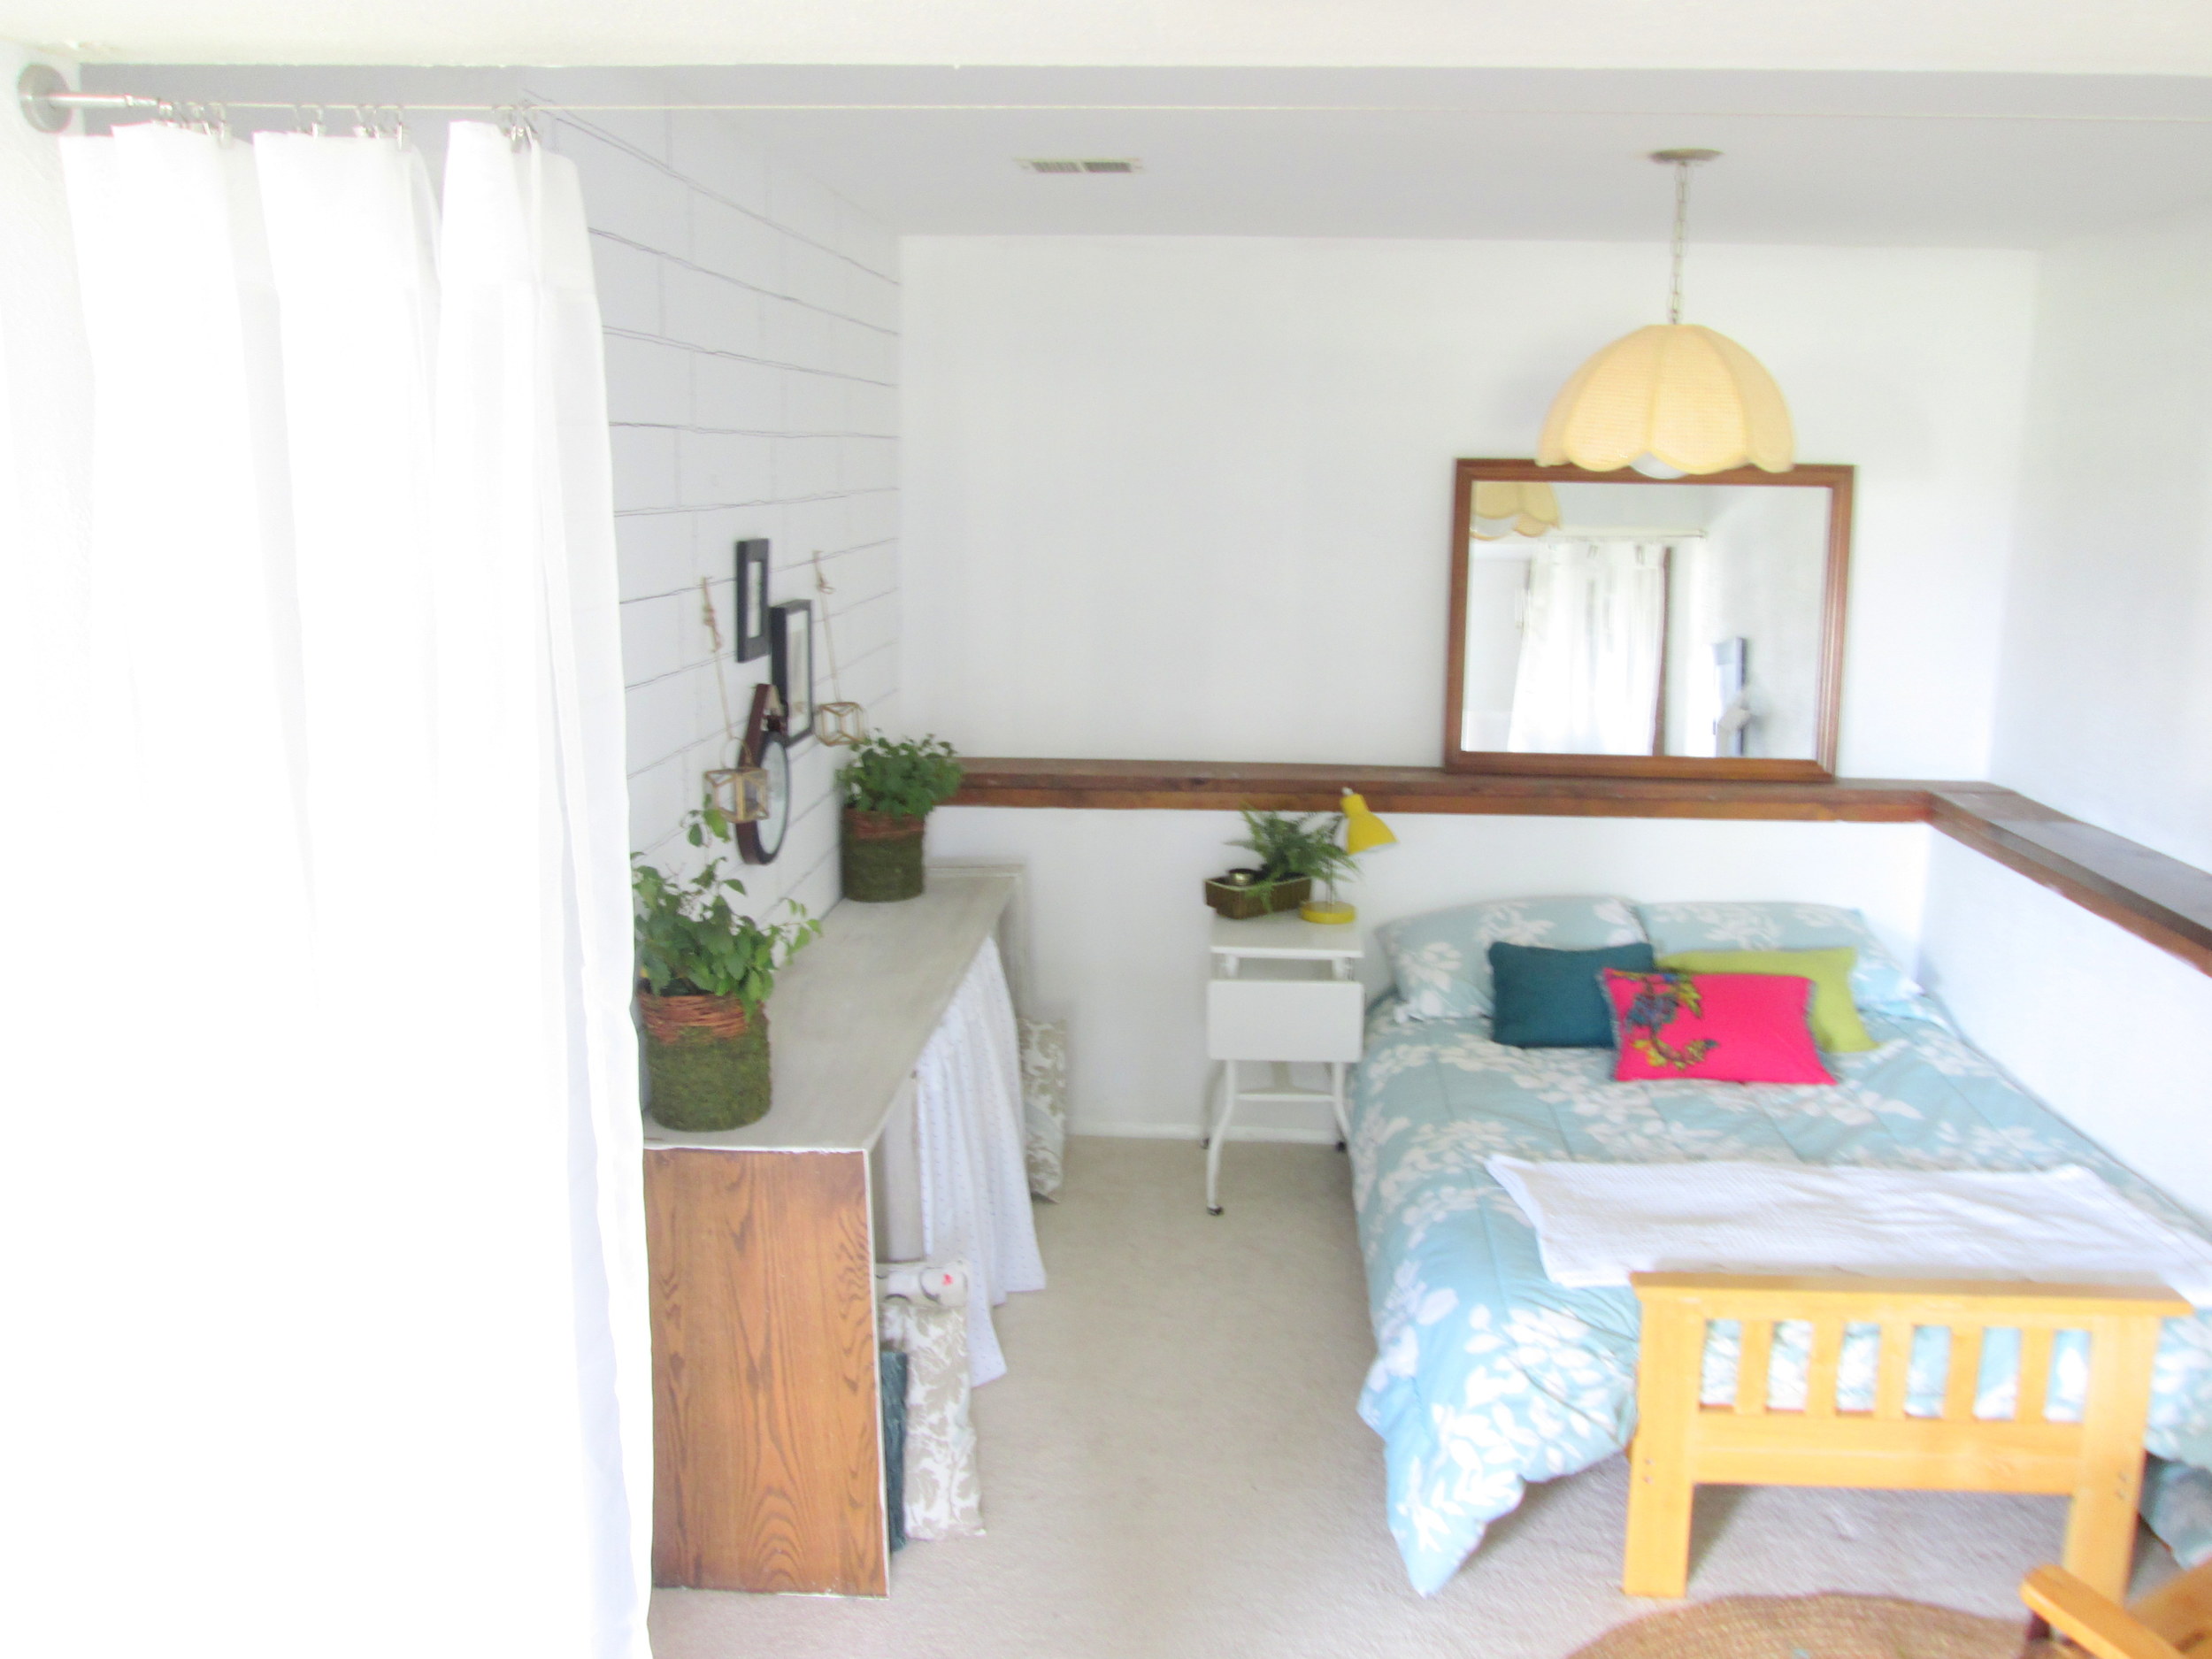
Fun tip: Turn a large, unused bookcase over on it's side and use it as a sideboard! A tension rod hangs a curtain to hide our unattractive extra office supplies and devices, and the vertical 'cubbies' on either end stash off-season pillows.

And if you wanted to get really technical here, that 'curtain' is actually a pair of standard pillowcases! I loved the cross pattern that echos the Swiss Cross rug I made for the sofa area on the other side of the room.


With the curtains in place, I was able to create a small sitting area at the foot of the bed with some family pieces - a rocking chair from my husbands side and an original painting by my grandmother.

With the curtains in place, I was able to create a small sitting area at the foot of the bed with some family pieces - a rocking chair from my husbands side and an original painting by my grandmother.

One last curtain call!

This particular project really satisfied my wish to create a cozier, more peaceful spot for visitors. What are some other ideas you've seen to create room division in one large space?

Thank you all so much for stopping by! (and our guest room has been added to our Spaces page along with a handful of other fun rooms to tour!)

Heavy duty toy-shelves (hung in drywall!)

Hi All! Fall is happening in Northern Virginia! The air just smells delicious. Even with a 30 degree temperature drop to the 30s this past weekend, my favorite part was sitting around a fire pit, snuggling under blankets, and roasting s'mores with my family. This season is short but oh, so sweet.

Today I'm excited to share that we've got brand new toy-shelves! We were previously using the IKEA TROFAST toy storage system. It ended up not being the most practical toy storage for our family. The stacked bins made it really hard to see what toys were where and as a result I felt like the kids weren't enjoying playing with their toys as much as they should. Then it hit me - if the toys were out in the open, perhaps they'd be played with more!

Before, with the IKEA TROFAST storage system

Before, with the IKEA TROFAST storage system

Now, with custom made, open shelves

Now, with custom made, open shelves

After running the idea by my husband Matt, and getting one thumb up, I was ready to begin! I measured the wall space where I wanted to build shelves, and went out to buy a couple 1" x 12" shelves, (which I cut to 60" myself at home), and brackets. I stained the shelves in Hickory wood stain and then got to work with hanging!

Matt was kind enough to help me with this project so I could take pictures of some of the steps. Since we don't have studs in the particular section of wall we used, I think this is a good opportunity to address how to hang heavy shelves without using studs, (well, I did have one stud...get it...)!

 Measure and mark with a pencil where you want your brackets to hang, then mark the holes where your anchors and screws will go.

 Measure and mark with a pencil where you want your brackets to hang, then mark the holes where your anchors and screws will go.

Make sure you use a level several times to make sure your brackets are lined up straight.

Make sure you use a level several times to make sure your brackets are lined up straight.

These drywall toggle anchors are not jokin' around and are what you want to use when hanging anything substantial into drywall.

These drywall toggle anchors are not jokin' around and are what you want to use when hanging anything substantial into drywall.

Check em' out!

Check em' out!

No electric drill needed for this project! Just a regular screw driver gets the toggle anchors securely into the wall.

No electric drill needed for this project! Just a regular screw driver gets the toggle anchors securely into the wall.

Screw them into the wall until they are flush with the surface.

Screw them into the wall until they are flush with the surface.

Once your toggle anchors are in, place the bracket over the anchors and screw the screws into the anchors.

Once your toggle anchors are in, place the bracket over the anchors and screw the screws into the anchors.

Again, a screwdriver is all you need for this job, no electric drill needed!

Again, a screwdriver is all you need for this job, no electric drill needed!

Then lay your boards on top of the brackets and use shorter screws to attach the boards to the brackets, (from underneath, as seen in the picture).

Then lay your boards on top of the brackets and use shorter screws to attach the boards to the brackets, (from underneath, as seen in the picture).

All done!

Basement6.jpg

Those toggle drywall anchors are what dreams are made of - no more worrying about studs or tossing projects out just because the studs aren't lined up where you need them! These babies hold up to 100 lbs each! Not too shabby.

To round up some of the smaller toys I found some old metal containers at the Old Lucketts Store, (rt 15 North in Leesburg, VA). 

Looking at these shelves, you would never know we have a daughter, too... But, this new 'system' of keeping everything out in the open has been a home run for us! The kids have been playing so well and creatively together - something I thoroughly enjoy watching or being a part of myself!

And if I have any work to do, I get to sit right there with them in our little built in office!

View as you come down the basement stairs. So grateful for this space to play and kick back!

(If interested, I've added the rest of our basement onto the Spaces page, seen in the menu bar!) 

I know not everyone is looking for toy storage solutions, but hopefully this post is useful to anyone needing to hang shelves into stud-less drywall! I was pretty excited about this discovery - it's like a whole new world opened up!

Thank you all so much for stopping by!


Large Botanical Gallery Wall {+ tips & tricks!}

Hi guys! I recently made a big, life-changing step when I overcame a personal fear; the fear of gallery walls.

I've always been struck by large, organized, symmetrical gallery walls. I think they're stunning! However, it's always intimidated me to try to hang everything absolutely perfect. In the past this intimidation has lead to random, haphazard gallery walls which weren't supposed to be even or organized. Those were my safe zone where I felt comfortable. (Kind of like when I get home from church on Sundays and change into despicably ill-fitting sweatpants.)

After finding an entire book of botanical prints on Ebay for $4, I took a leap out of my comfort zone to create a big, structured gallery wall in our dining room! Since these prints were already large, (11 x 13), and I wanted to use a lot of them, (16), I decided to just mount them using mattes to keep the expense of this project low. I used painters tape to attach the prints to the mattes, which will peel off easily without ripping the prints should I ever decide to use them another way.

Drawn From Nature + Antiqued Gold Mattes from Matboardplus.com

To begin, I measured the space I wanted to use on the wall and then taped those measurements onto the floor using painters tape. Then I added the mirror, ($12.95 on sale at Anthropologie), in the middle, measuring all four sides to be sure it was centered. Once the mirror was in place I filled in the rest of the space with the prints! Taking a picture of the finished product on the floor really helped when I went to hang everything on the wall. I liked the arrangement I had on the floor and didn't want to forget where they all went!

To get the gallery up on the wall, I basically followed the same steps as I used for the floor triall! I pulled the tape up off the floor and used those same strips to create my rectangle on the wall, (definitely grab a level to make sure your tape is...level). Second, I hung the mirror, measuring all four sides to be sure it was in the center. Then I filled in with the prints! I hung these with simple metallic tacks, which is way easier than measuring where to hang a nail for a frame. Baby steps.

All finished!

Another tip I've seen for hanging a precise gallery wall is to trace all the frames onto brown packaging paper and cut them out. Then tape each 'paper frame' onto the wall, moving them around until you're satisfied, (idea seen below from Young House Love).

Have you hung a gallery wall in your home, (symmetrical OR random)? We'd love to see it and/or hear your tips! Just share right to our Facebook page or tag #stylemuttprojects on Instagram!

Thank you for stopping by!