Mismatched Chairs

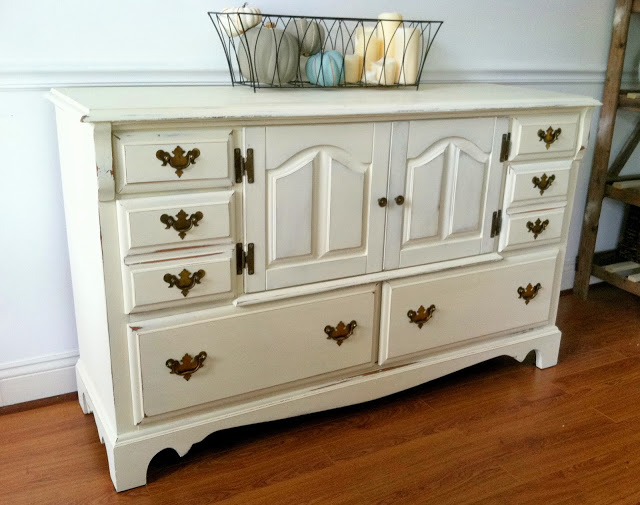
Mismatched chairs are becoming more of a thing these days and I don't mind one bit.  {A} I've always been pro a bit of whimsy and beautiful disorder.  {B} It's economical!  Thrift for loners and you can get a great set you don't have to worry about matching.   And {C} I like to think of it as rescuing the "Charlie Brown Christmas Tree" of sad and lonely chairs - find it, give it some shiny love, and put it with some new friends!

This summer I was helping out some great friends who just moved their home business into their first ever office space.  They asked me to thrift for some chairs to fix up and transform into their conference table chairs.  Normally, I would not recommend painting your chairs "Berry Pink" but these guys wanted their chairs to be the color of their business logo.  So I set out to find some lonely chairs to "Charlie Brown Christmas" ;)

The hunt did not let me down!  It can be easy to pass by such losers as these pieces when you are looking for to impress your clients with at the new office.  Although it is hard to believe that these chairs could ever look like they belong together, after a coat of paint and new matching upholstered seats - it's a mismatch made in heaven!

Ahhhhh.  That's better.

Now it's your turn,

~Cate

This post was originally featured under Chelsea's Garage, now affectionately known as StyleMutt.

Old White, distressed dresser; Classic

Hi friends! Well the garage became quite full this weekend and I'll be working steadily over the next week or so to complete both custom orders and my own finds, (including a beloved family heirloom, my first dining set in a long time, and an experimental piece...). Most of what you'll see from me here will be furniture transformations, at least for a little while. So let the good times roll!...

~Before~

~After~

When I have the opportunity by both space and time to work on my own found pieces, I love to hunt for versatility; pieces that can swing more than one way. This piece, refinished in Old White by Annie Sloan Chalk Paint, is the epitome of versatility. Place the TV on top and add a dash of sophistication to the family room. Stand it up against the wall in the dining room to double as an elegant buffet and serving ware storage piece. Or complete a bedroom with a vintage vibe with a dresser capable keeping all garments organized.

Through gentle distressing of the warm off-white color and reattaching the original aged brass hardware, this piece has a distinctly sophisticated vintage feel. 

{SOLD}
*contact me if interested in a similar piece*

Thank you for stopping by!

~Chelsea

This post was originally featured under Chelsea's Garage, now affectionately known as StyleMutt.

Repurposing a Candle Holder as Chandelier

As you may have gathered, Chelsea's Garage is growing and I am honored to be a new member of the family - not only on the blog but also in life!  Chelsea and I met because I was dating her brother Caleb.  We hit it off right away and over our mutual love of design, do-it-yourself projects, and turning trash to treasures.  I didn't realize that with Caleb came such a steal of a family!  I stuck around and I guess Caleb thought I was a good fit and proposed this past spring ;)  Now I'm to be a permanent fixture as the new sister-in-law.

So let's start with a thinking-out-of-the-box project.  I found this guy at a thrift store for $5.  Loved the branch motif but it was just a little too big to put anywhere.  He needed a flat surface to be functional as a candle holder but in my tiny apartment, flat table real estate is hard to find.  So what to do?  Hang it on the wall and sacrifice it's only function as a candle holder?  Yes I could call it art but free wall space was also sparse...

Boom! I knew.  What's one of the most underutilized decorating spaces in your home?  The ceiling.  And it just so happened that I had the perfect spot of ceiling over a bland window bench that could use some pizzazz.

To get started I needed:
1} Sturdy Chain
2} 2 Ceiling Hooks
3} Large Jump Rings
4} Needle-Nose Pliers

I attached the jump rings onto the candle holder where they wouldn't slide off and would be balanced when hung on the chain.

When I liked the placement, I attached the chain and held it up to the ceiling to measure the length I wanted it to hang down.  Didn't want it too close to the ceiling that it would cause fire hazard problems and didn't want it too low that it would be in the way of any day-to-day life.

After installing the hooks in the ceiling, my out-of-the-box project was ready to hang!

Now it's your turn to think-outside-the-box ;)

~Cate

This post was originally featured under Chelsea's Garage, now affectionately known as StyleMutt.